Category Archives: AO2 Explore Ideas

Filters

Author:
Category:

White Balance And Contact Sheets

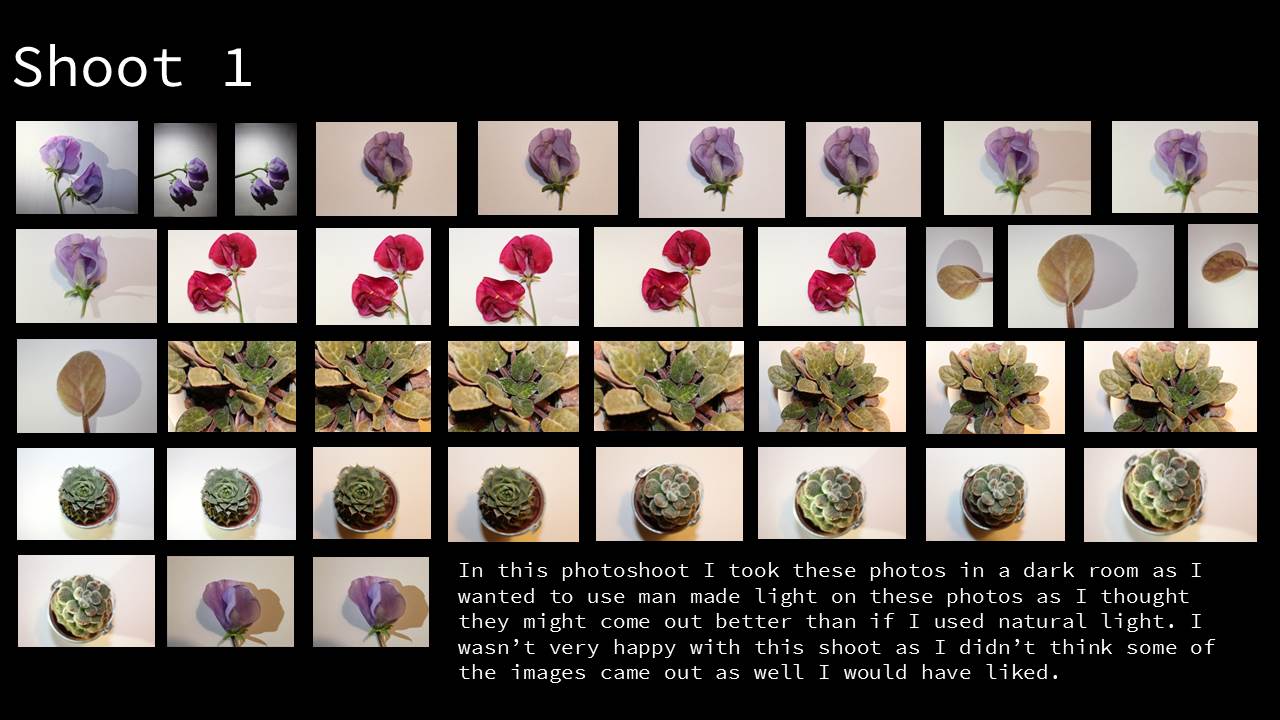
Contact Sheets

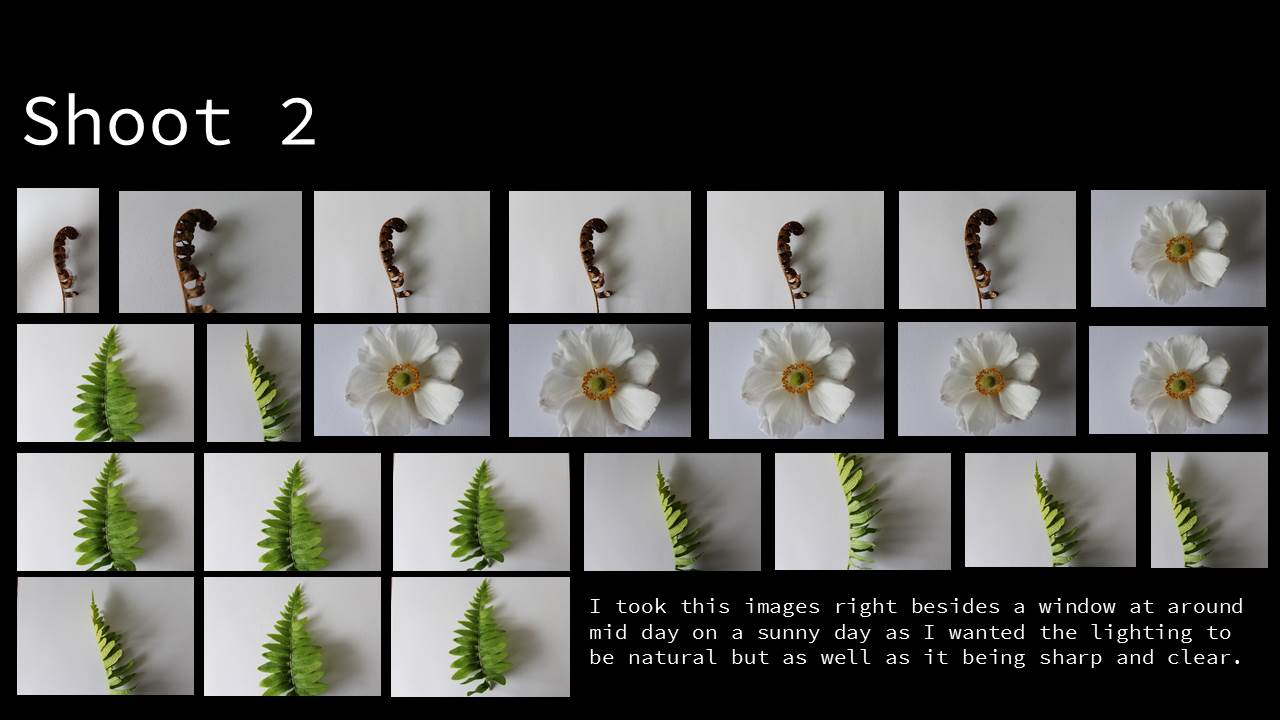
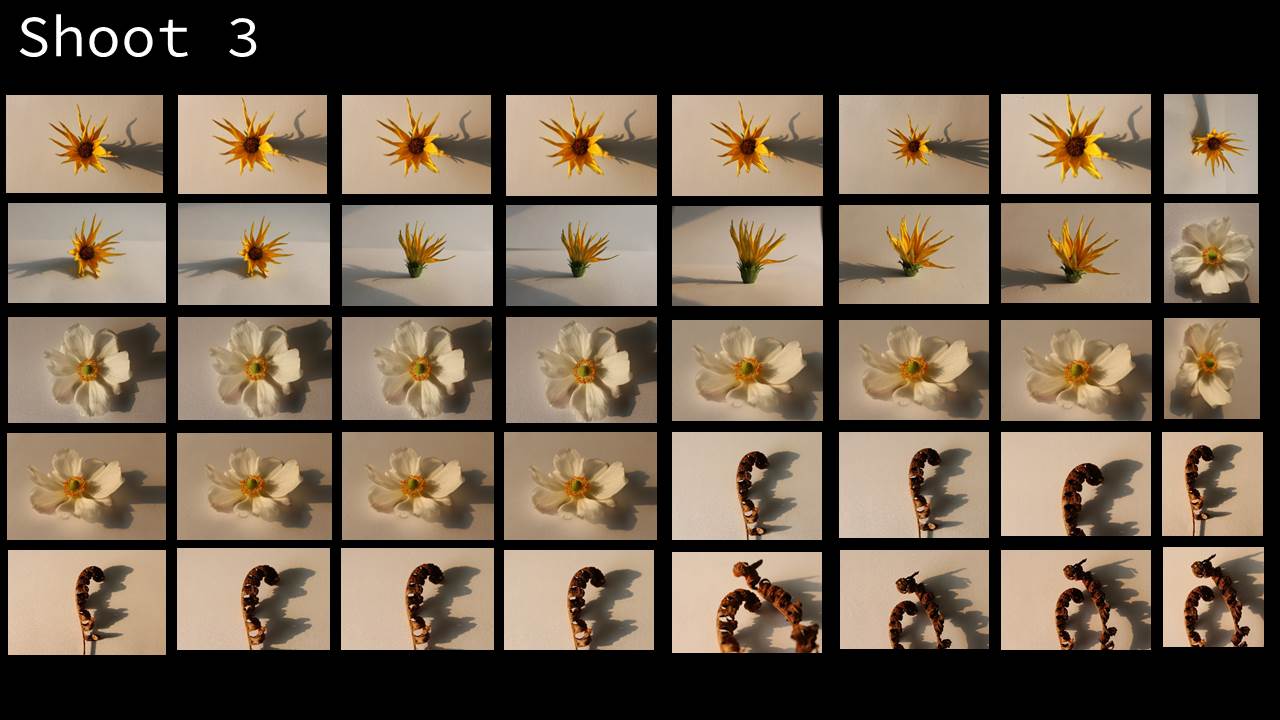
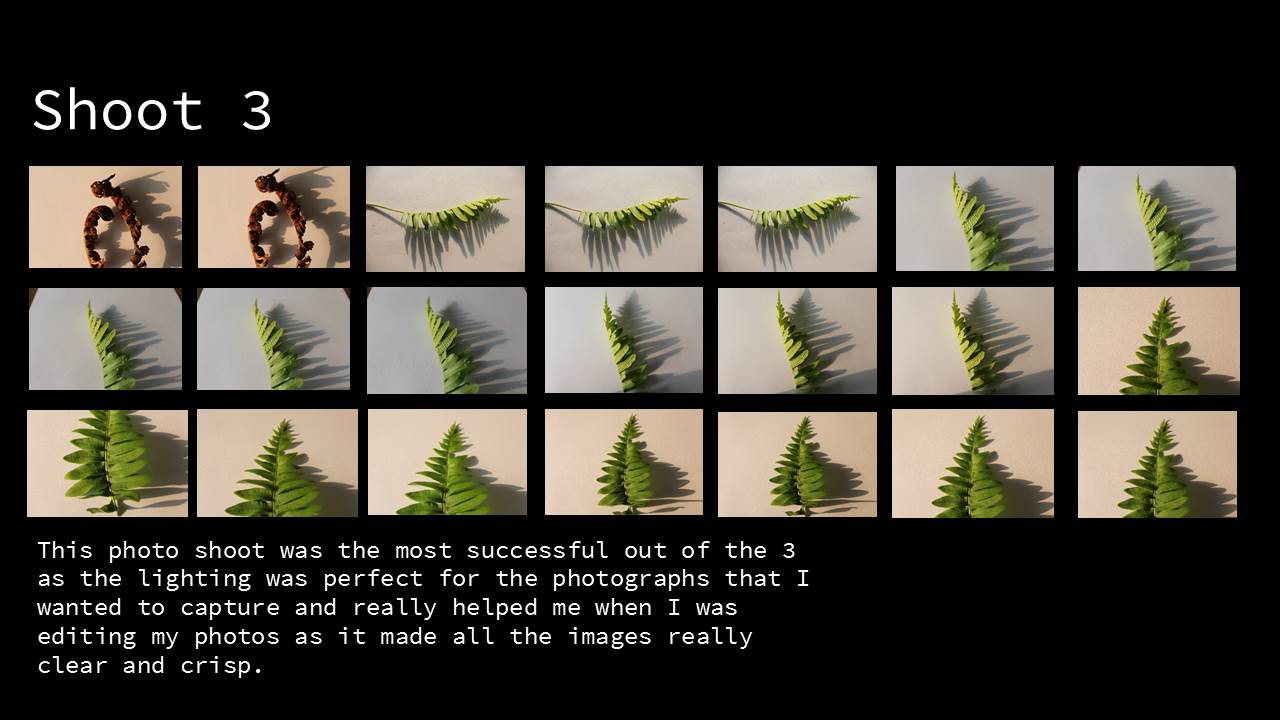
Beneath is what is called a contact sheet, in which we can use to present multiple pictures taken in a shoot to easily pick, or present our favorite photos taken.

How to make a contact sheet

Upload images onto Bridge.
Select the images wanted using Ctrl Right Click.
Locate the tool drop down box at the top of the screen, and select Photoshop and Contact Sheet II.
From there you can customize the presentation of the contact sheet, (How many column/rows) and click OK to confirm your decision.
White Balance 

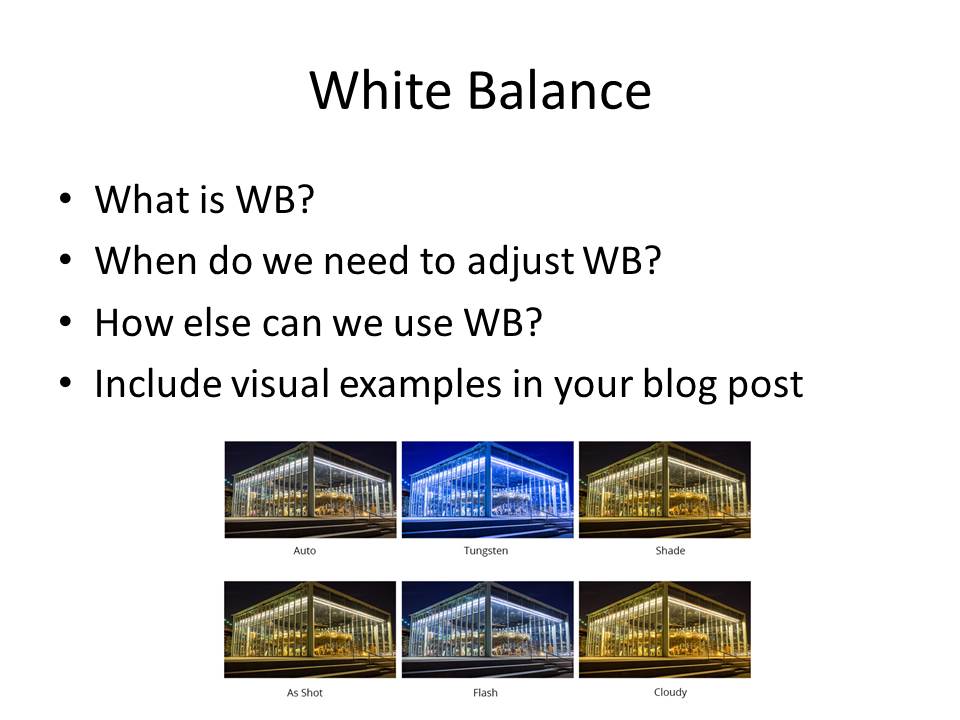
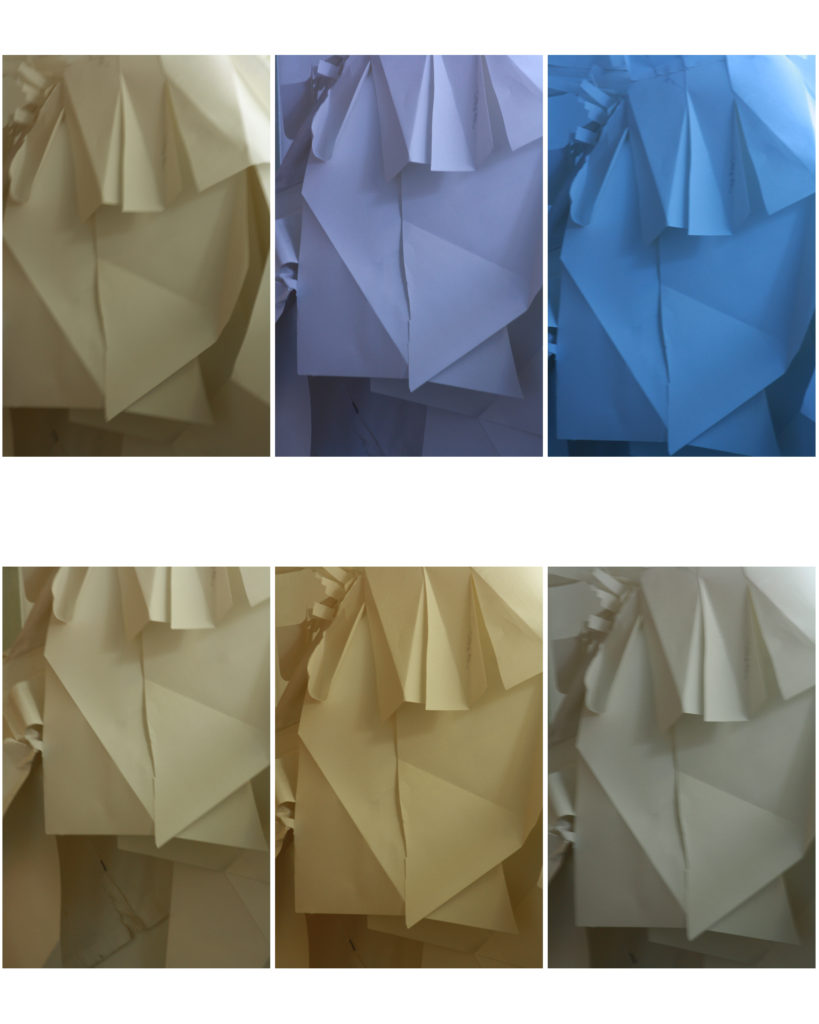
White balance is the process of removing what we perceive as 'white', and what is rendered white onto our cameras, into the photo taken (as seen above).

We may need to adjust white balance when wanting to take a picture of scenery that we wish to have a warm glow to, or maybe use it to emphasize the blue of ice within it. The white balance button can be located above the navigation buttons on the camera, from which multiple options can be chosen.
Image result for white balance

White Balance Photoshoot

What Is White Balance?

At it’s simplest white balance is adjusted to get the colors in your images as accurate as possible. If it is not adjusted to suit the environment, images will appear too warm or cool. This will result in highly blue or orange photographs.

Image result for WHite balance

Image result for WHite balance

Here are the images in which I took around school came out.

  • To produce this contact sheet I used adobe bridge and Photoshop.
  • I then selected all the images in which I intended to use for the contact sheet in adobe bridge.
  • After having selected the images I clicked on tools and then dropped down on the ‘Photoshop’ option and clicked contact sheet II.

A contact sheet is a piece of photographic paper on to which several or all of the pictures in a shoot have been spread out.

We use contact sheets to easily pick out and select the best and worst images from a photo shoot and simply display all the photos in which one has taken.

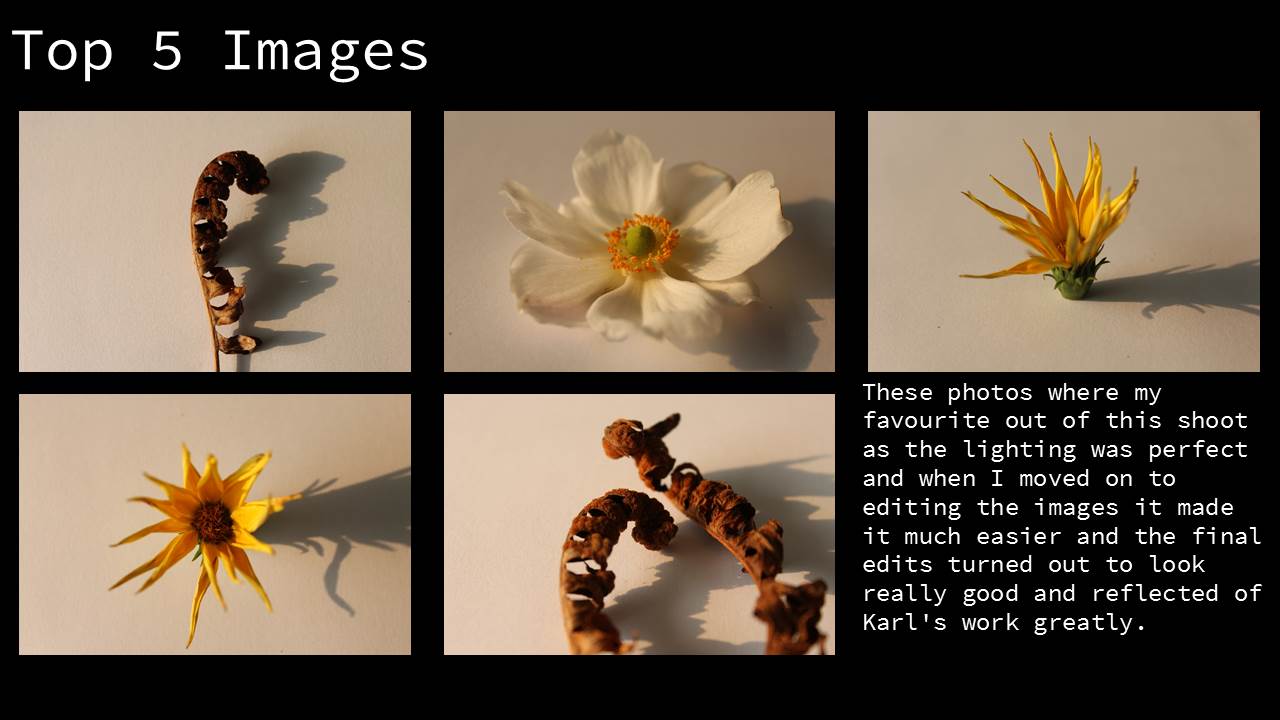
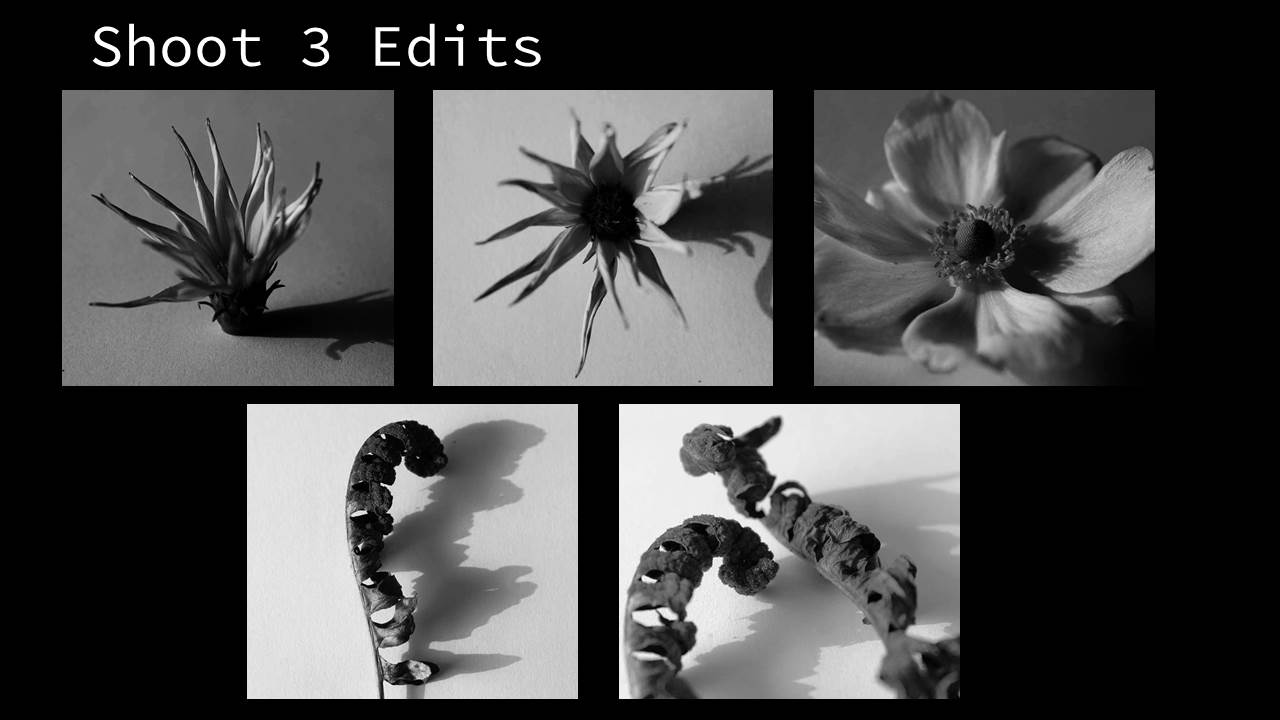
After having created a contact sheet we select our best images and then edit them accordingly.

Independent Study (+ homework) Sept – Nov 2017

You are expected to take responsibility for your own learning, progress and success during A Level Photography…

  • minimum 2 hours per week
  • complete any incomplete class tasks
  • contribute your own photo-assignments + research
  • seek out opportunities to extend your learning / skill level
  • if you are absent you must check the blog daily / check emails for instructions, guidance and advice and complete in accordance with deadlines for your teaching group (these may change depending on timetable).

Task 1 (Week 1, 2, 3)

Blog posts / Sections to complete  Actions to take Assessment Complete by:
Homework Assignment 1: Take 150-250 photos that explore shape, pattern, line, repetition, symmetry, shadow, tone, curves, angles, edges Make planning  sheet

Photo Assignment

AO3 Lesson 1

Week 3

Artists references: Research the work of at least two formalist photographers eg Rodchenko / Brett Weston / Paul  Strand / Peter Keetman / Jan Groover AO1
Image Analysis: Choose 2 key images from each artist and analyse in details using the model of form-meaning-judgement-context. AO1

Task 2 Due in Lesson 1 | Week 4

Blog posts / Sections to complete Actions to take Assessment Complete by:
Homework  Assignment 2: Take 100 – 200 photos of types of things eg objects, buildings, people Make planning  sheet

Photo Assignment

AO3 Lesson 1

Week 4

Artists references: Research the work of at least two TYPOLOGIES artists eg Bechers /Sander AO1
Image Analysis: Choose 2 key images from each artist and analyse in details using the model of form-meaning-judgement-context. AO1

Task 3 Due in Lesson 1 Week 5

Homework Assignment 1: Produce 100-200 images that show a response to abstract art and photography Make planning  sheet

Photo Assignment

AO3 Lesson 1

Week 5

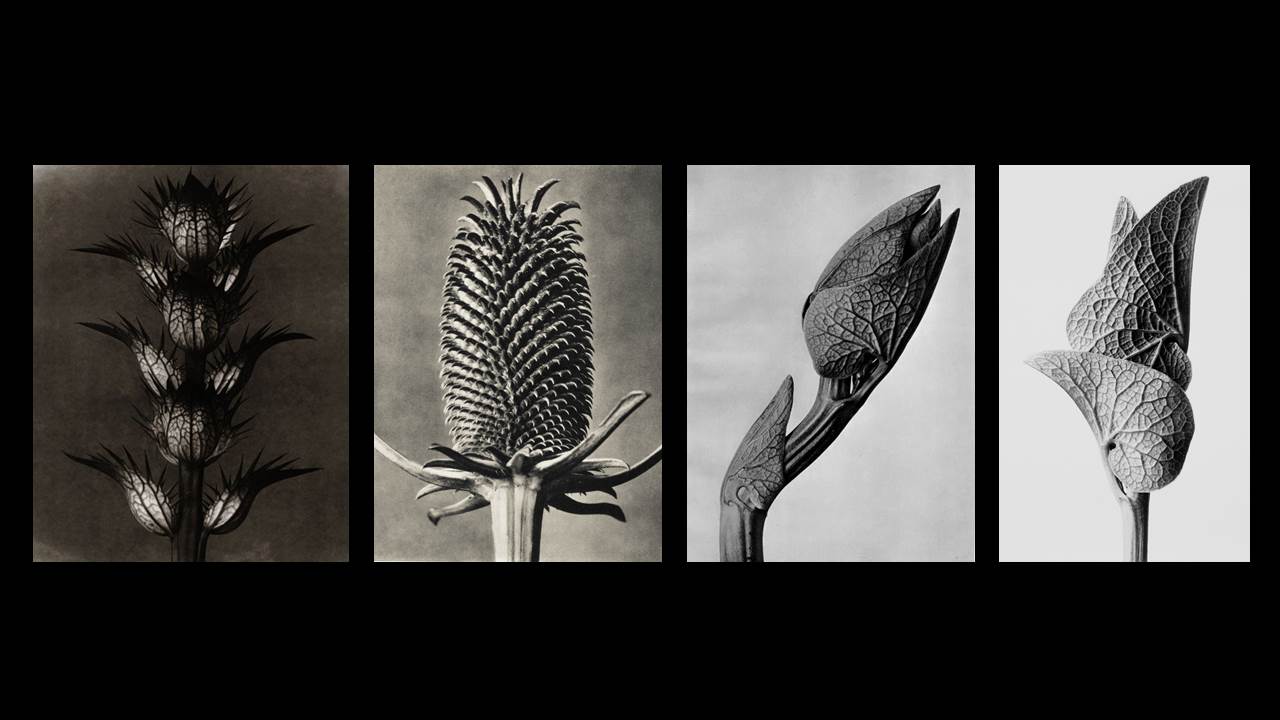
Experimentation : Photo safari grid, overlays, tracing paper AO2
Artist Reference : Ernst Haas and Maholy Nagy AO1
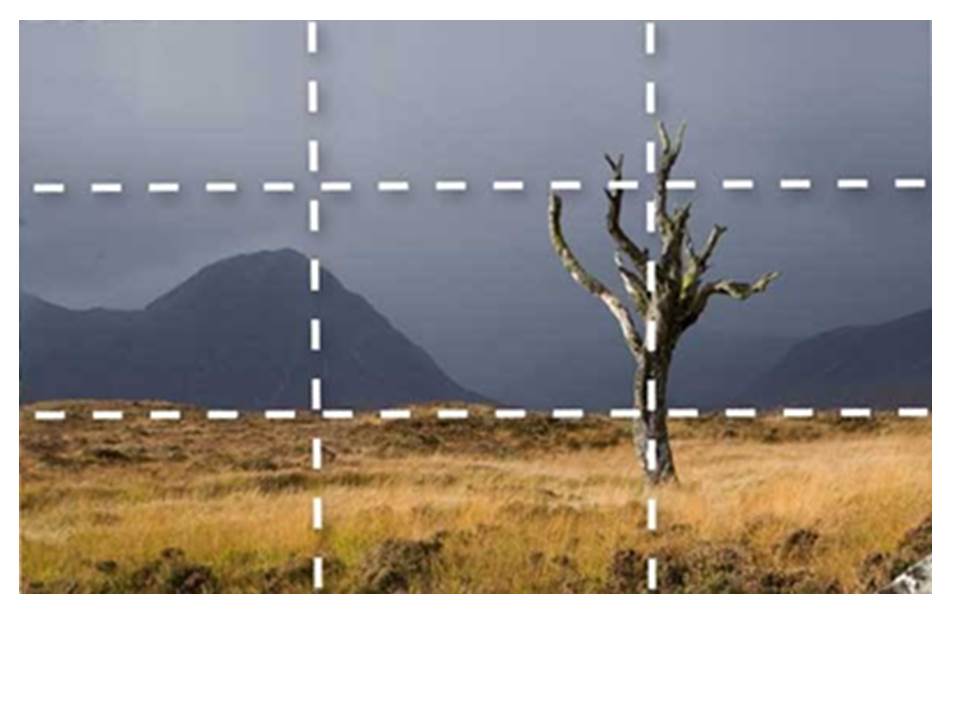
Image Analysis : Rule of Thirds and depth of field AO1

Task 4 Due in Lesson 1 Week 5

Blog posts / sections to complete Actions to take Assessment Complete by:
Homework Assignment : Take 100-200 photos of different textures and surfaces eg rust, mould, rough , smooth , contrasting surfaces Make planning  sheet

Photo Assignment

AO3 Lesson 1

Week 6

Experimentation : juxtaposing textures and surfaces AO2
Artist Reference and Image Analysis :

Frank Hallam-Day / Aaron Siskind / Keld Helmer Petersen

AO1

Task 5 Due in Lesson 1 Week 6

Blog posts / Sections to complete Actions to take Assessment Complete by:
Homework Assignment; Produce 100-200 images that explore a colour, contrasting colours or colour harmonies Make planning  sheet

Photo Assignment

AO3 Lesson 1

Week 7

Experimentation; cut, tear and shape coloured card (flat and 3-d) to photograph AO2
Artist References : Franco Fontana / Tamara Lorenz AO1

Practical Skills || Formal Analysis

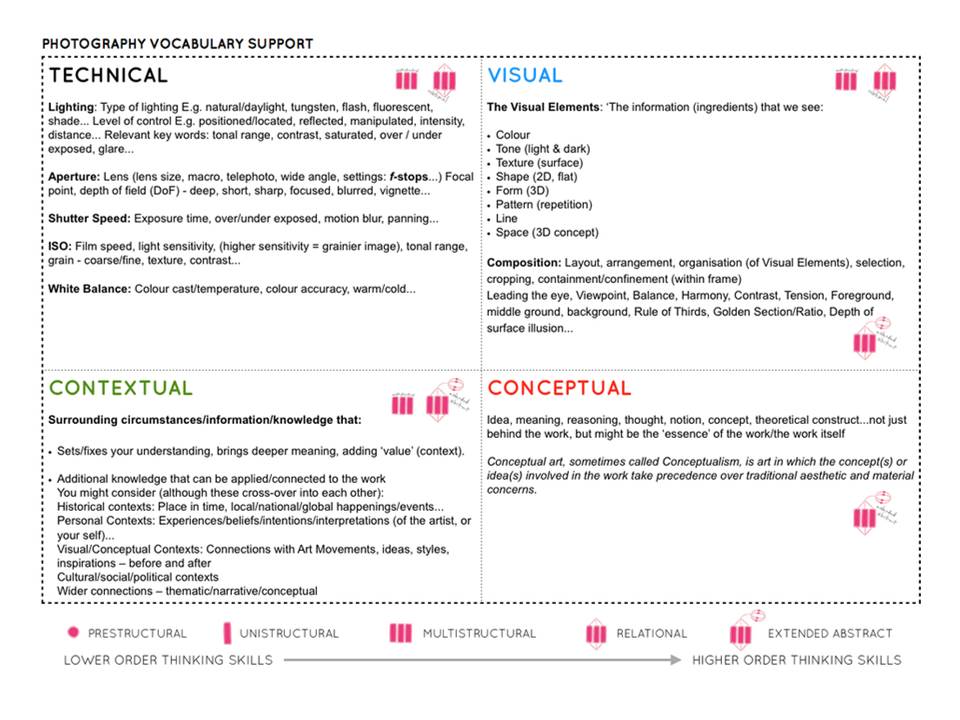
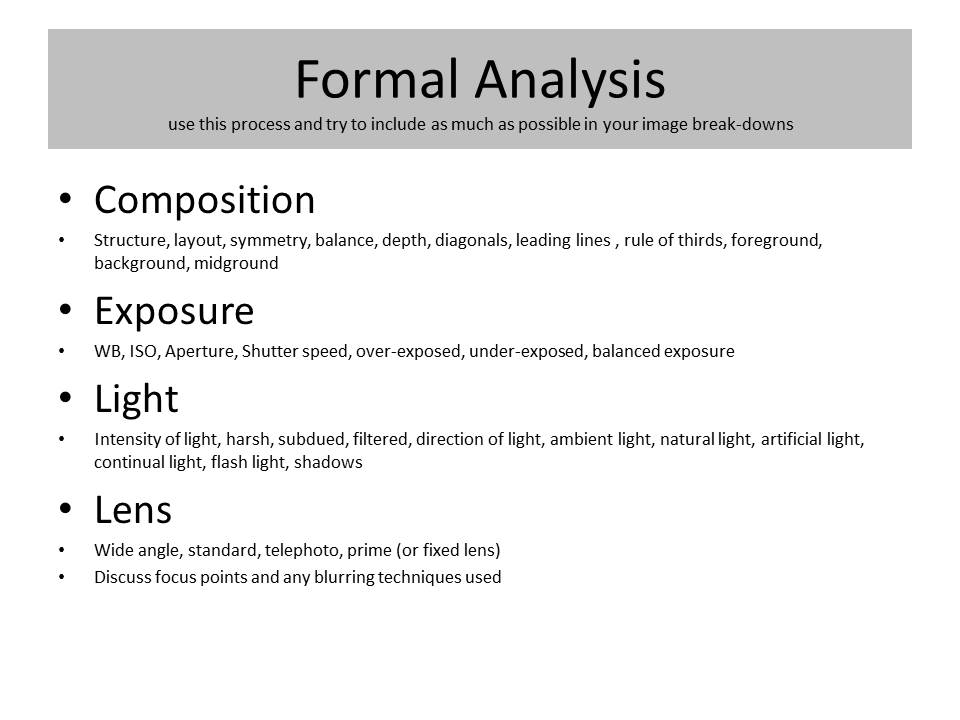
Use C.E.L.L. to help you describe and analyse images. Be prepared to discuss…

Composition : layout, structure, depth, rule of thirds, balance, symmetry, leading lines

Exposure ; over exposed, under exposed, balanced exposure

Light : Natural, artificial, harsh, soft, overhead, side etc

Lens : wide angle, telephoto, standard, macro, fish eye, focal length, focal point, depth of field, foreground, midground, background etc

Use this link to explore camera skills…

Camera Skills

And create a set of blog posts that display your creative results and understanding of…

  • camera handling skills as you learn them / explore them
  • formal analysis of 1 x key image per photo shoot
  • evaluative and reflective skills
  • the role of contact sheets