




Monthly Archives: September 2017
Filters
White Balance and Contact Sheets
Contact Sheets
Experimenting With White Balance
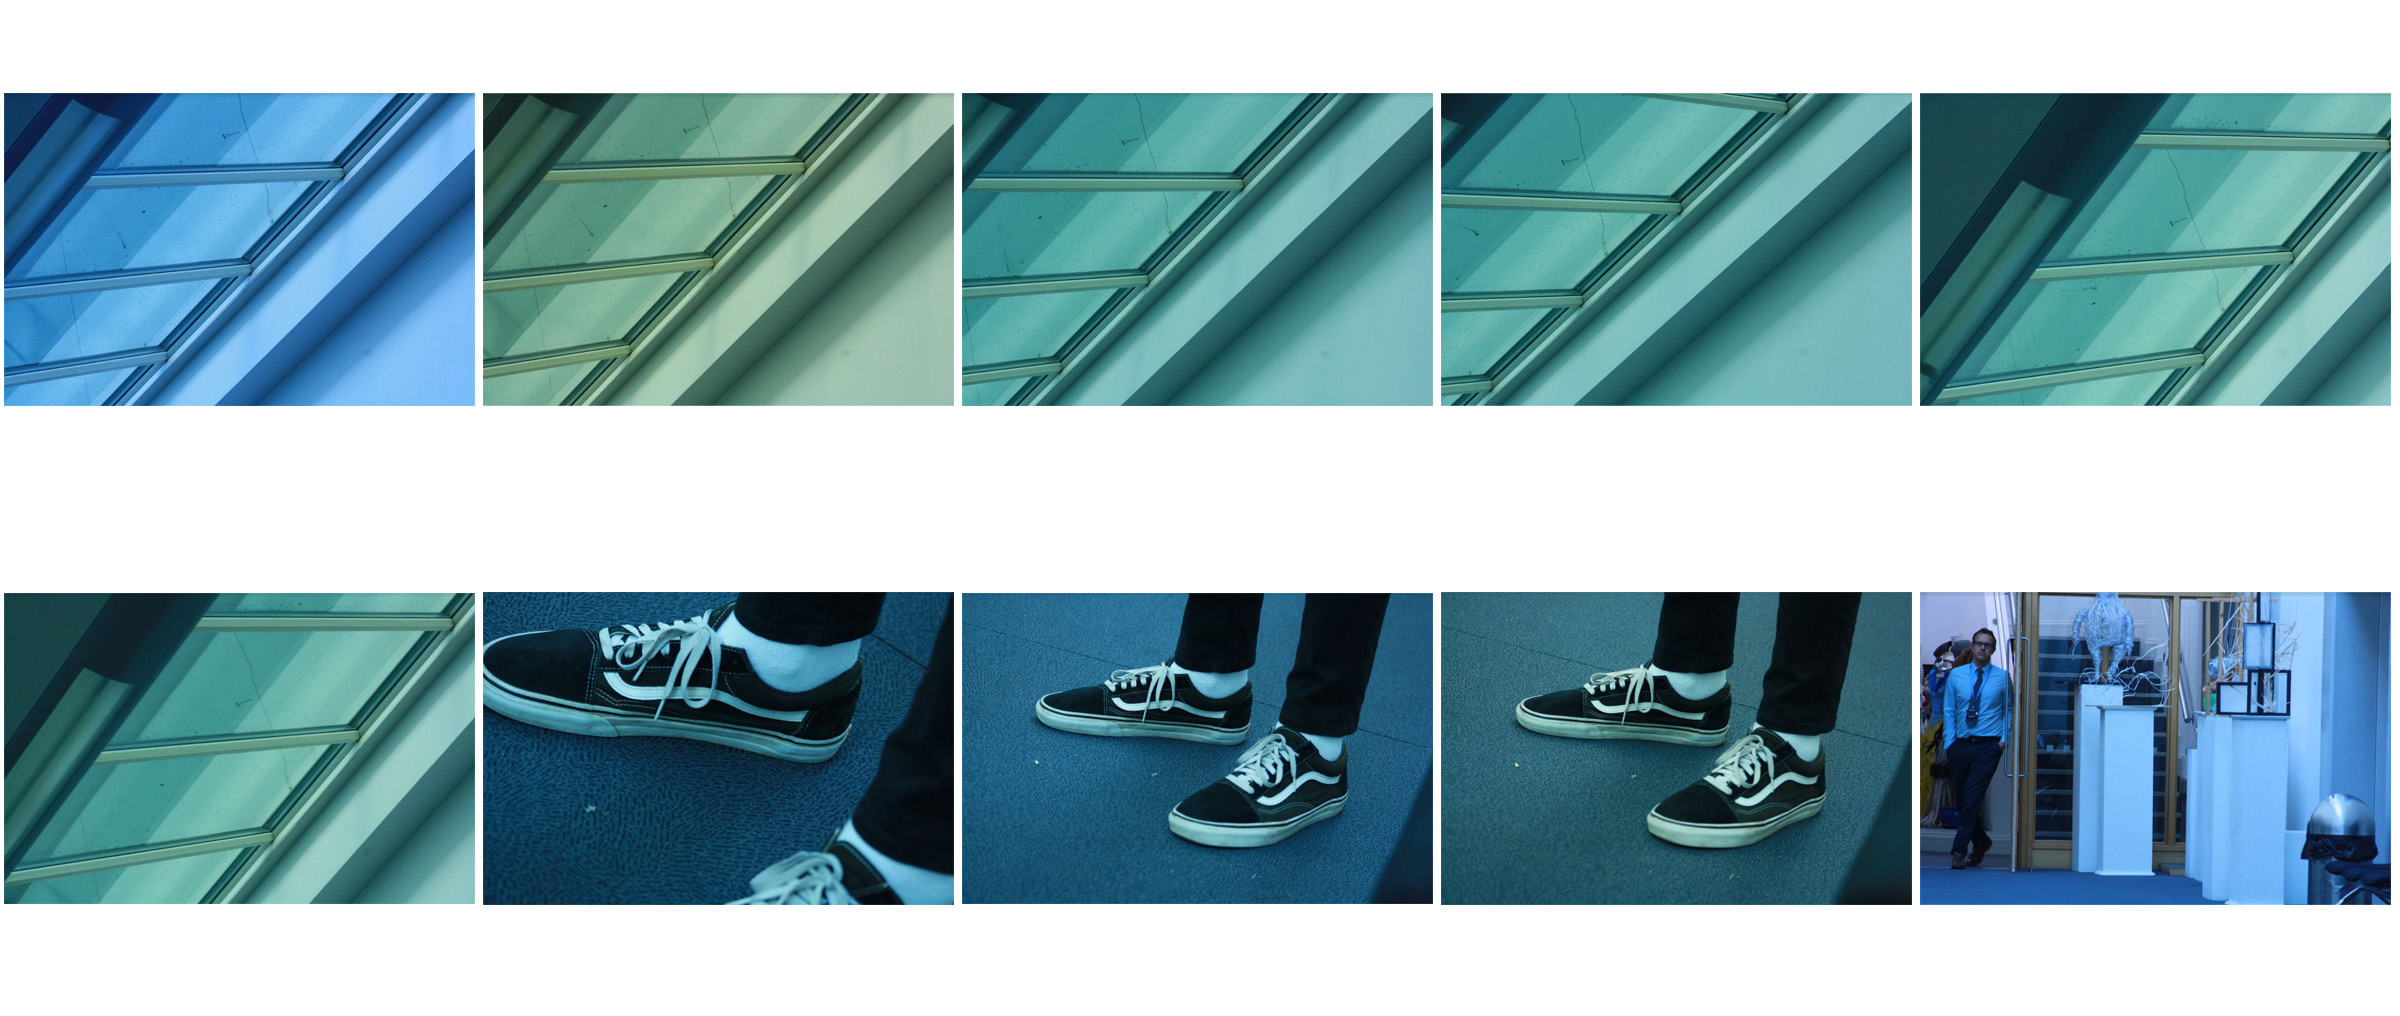
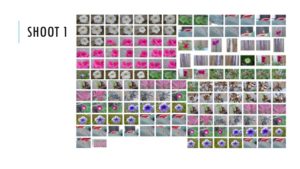
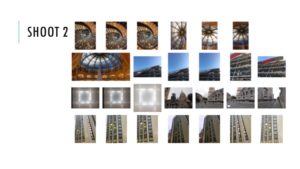
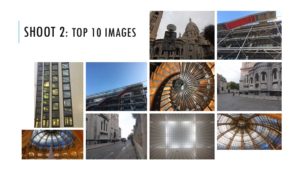
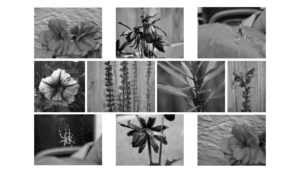
In order to produce this contact sheet I…
1) Took the photos, experimenting with the white balance tool on the camera.
2) Selected the successful photographs that I wanted.
3) Added the images to Adobe Bridge and selected them all.
4) Transferred these images from Bridge to Photoshop in the form of a contact sheet.
5) Then i cropped the contact sheet in Photoshop and saved them as a JPEG image.
A contact sheet is a range of photos within one image, spread out in order.
They’re used in order to select out the best and worse photographs from a photo shoot.
From having it you are able to pick out what photos are better that others as it is easy to compare photographs when they’re all compiled into one sheet.
White Balance Photoshoot
What Is White Balance?
At it’s simplest white balance is adjusted to get the colors in your images as accurate as possible. If it is not adjusted to suit the environment, images will appear too warm or cool. This will result in highly blue or orange photographs.


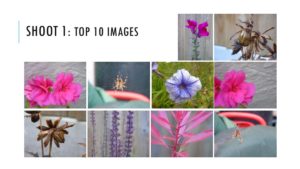
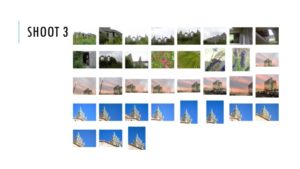
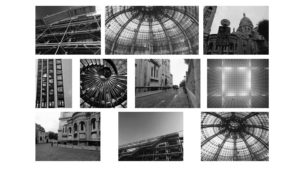
Here are the images in which I took around school came out.

- To produce this contact sheet I used adobe bridge and Photoshop.
- I then selected all the images in which I intended to use for the contact sheet in adobe bridge.
- After having selected the images I clicked on tools and then dropped down on the ‘Photoshop’ option and clicked contact sheet II.
A contact sheet is a piece of photographic paper on to which several or all of the pictures in a shoot have been spread out.
We use contact sheets to easily pick out and select the best and worst images from a photo shoot and simply display all the photos in which one has taken.
After having created a contact sheet we select our best images and then edit them accordingly.
Induction Task – Introduction to the formal elements
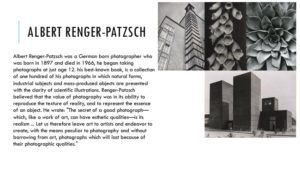
Albert Renger-Patzch part 2
Albert Renger-Patzch Part 1
Brandon Woelfel part 2
Brandon Wolfel part 1
Induction Task – Looking at the formal elements.




Induction Task – Looking at the formal elements
