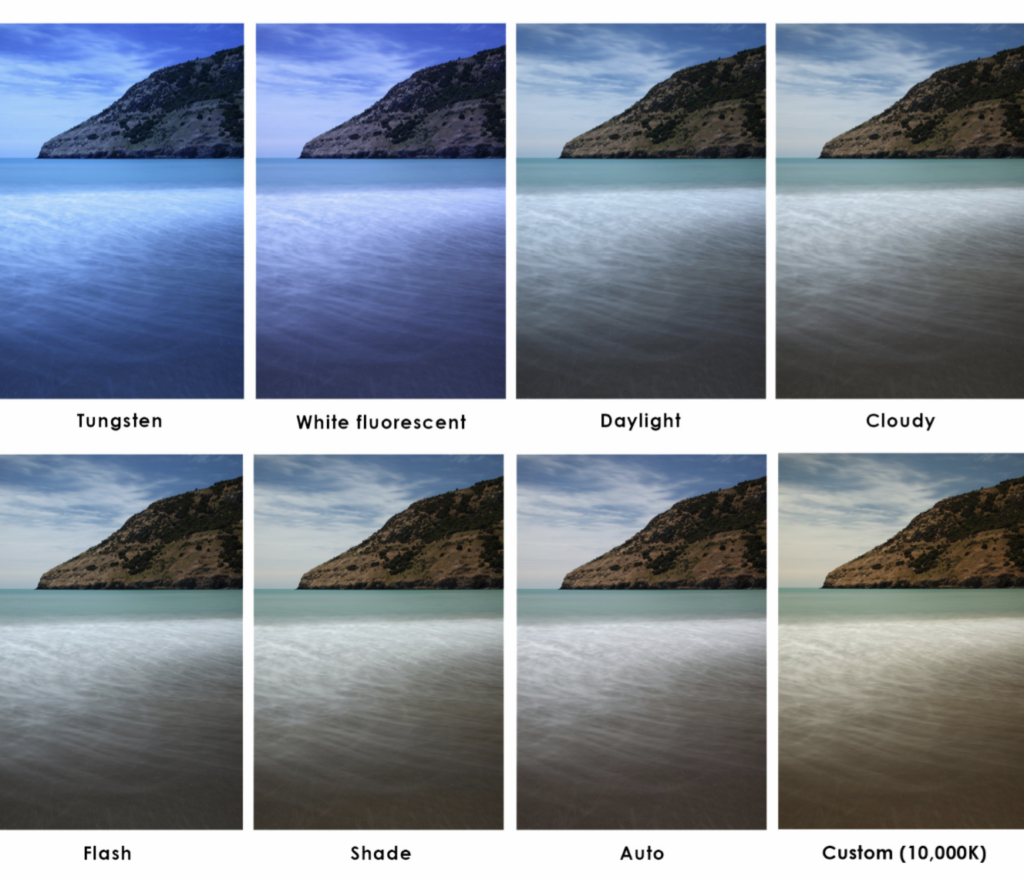
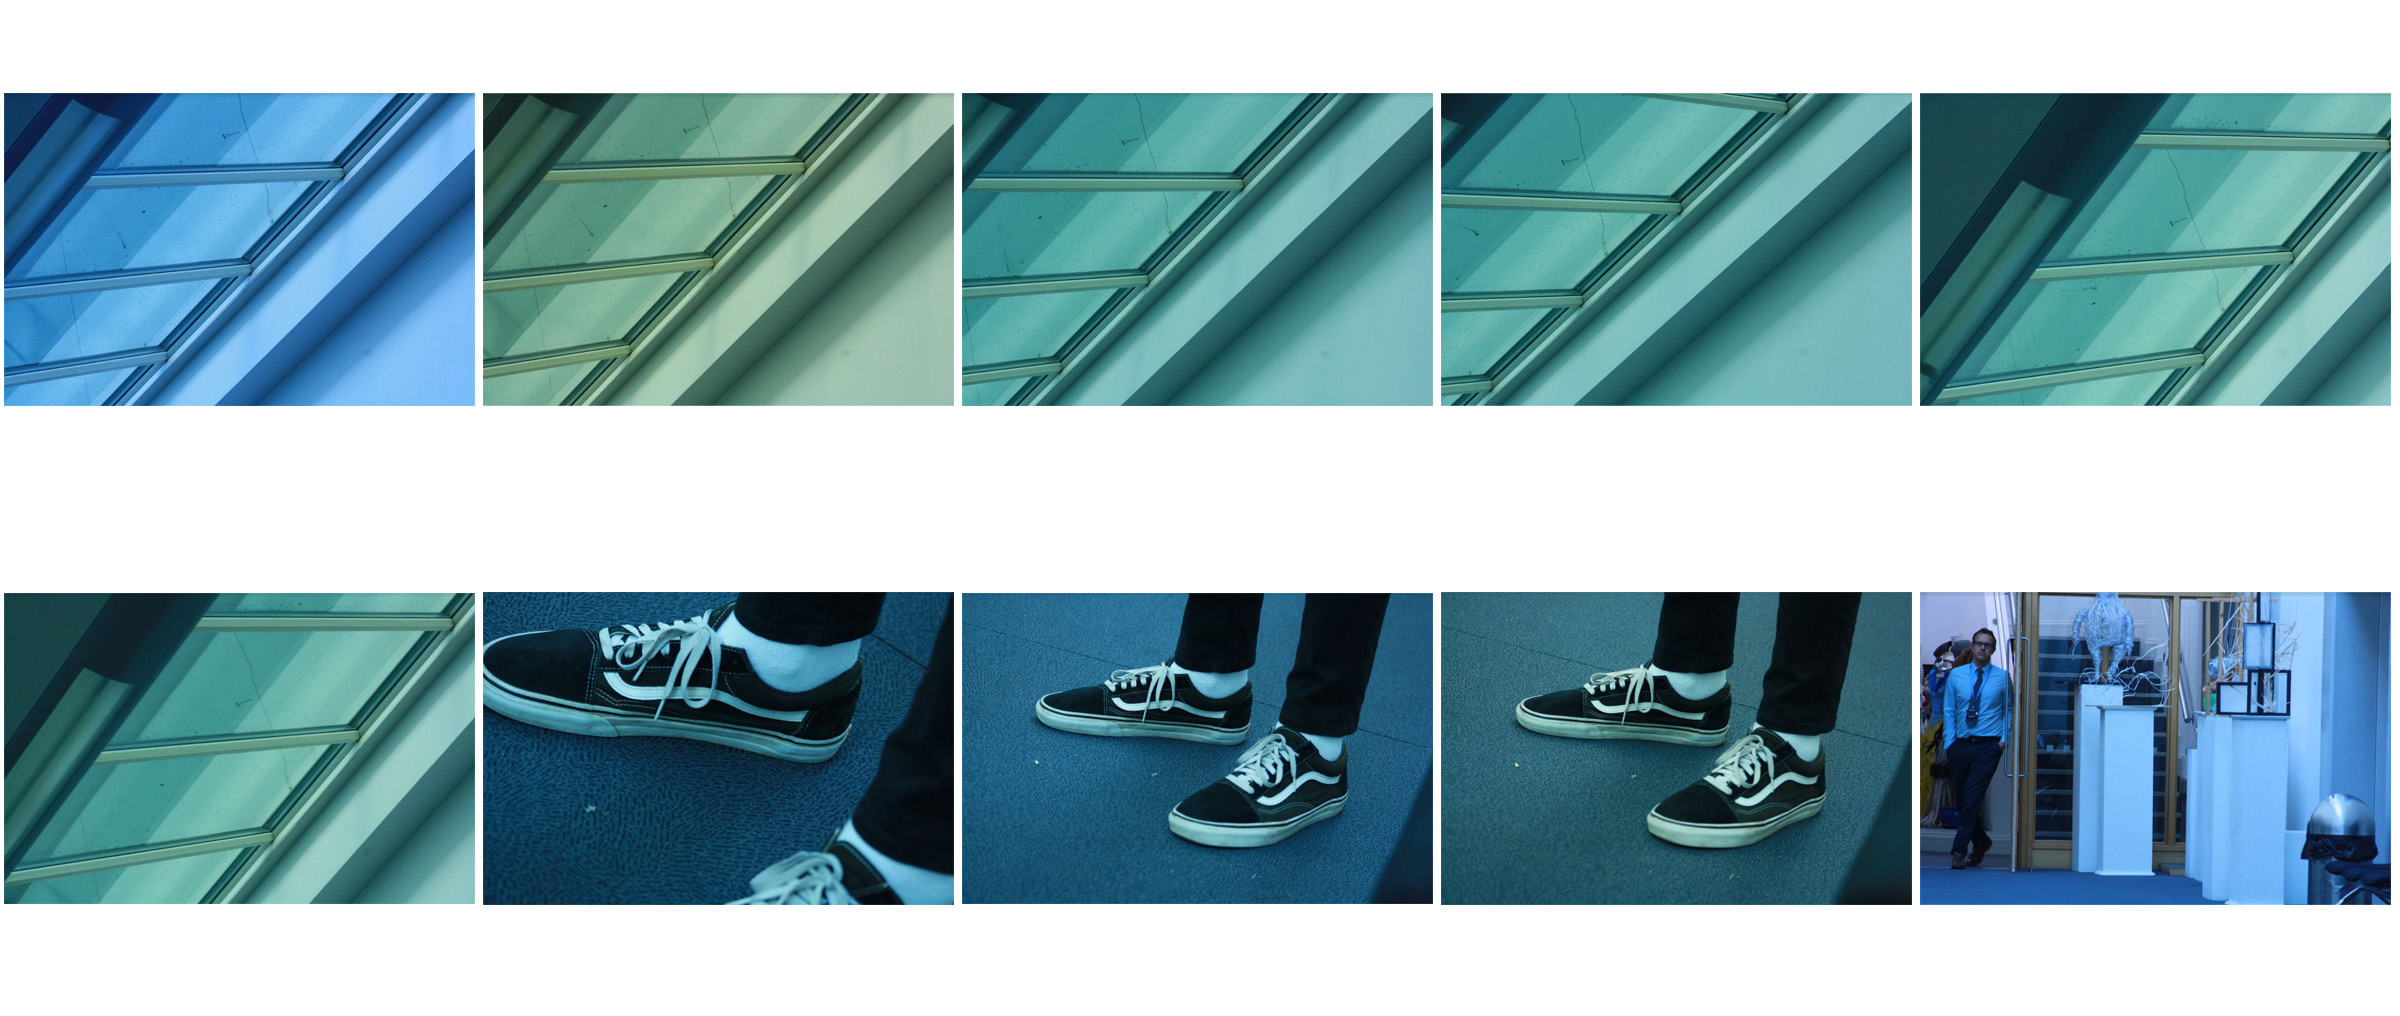
 Remember…each task requires a new blog post! Keep your blog posts visual!
Week 3
Lesson 1
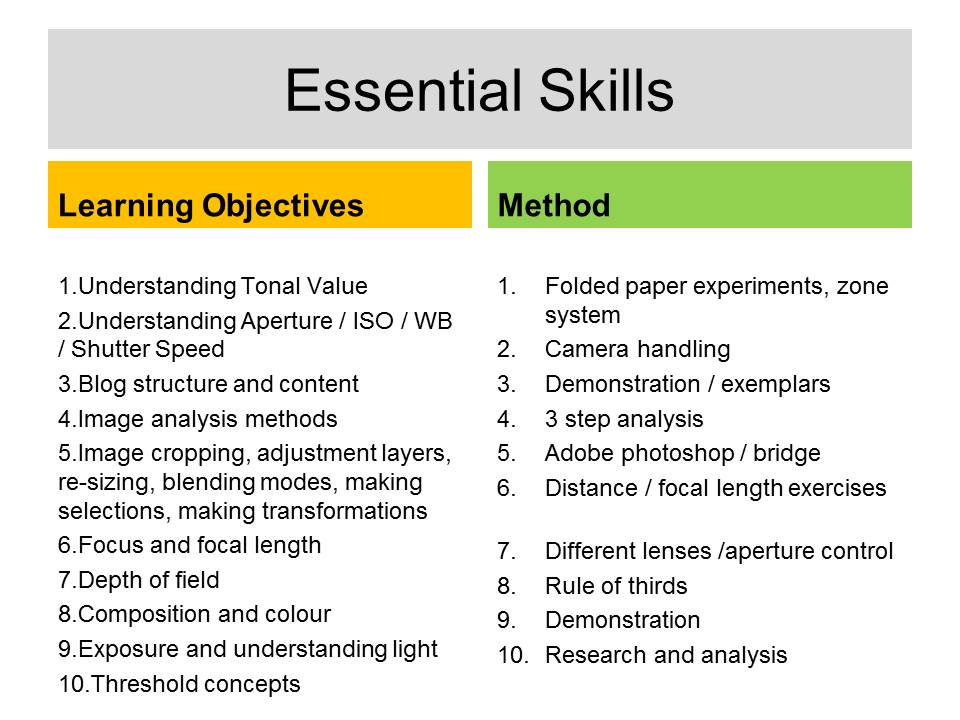
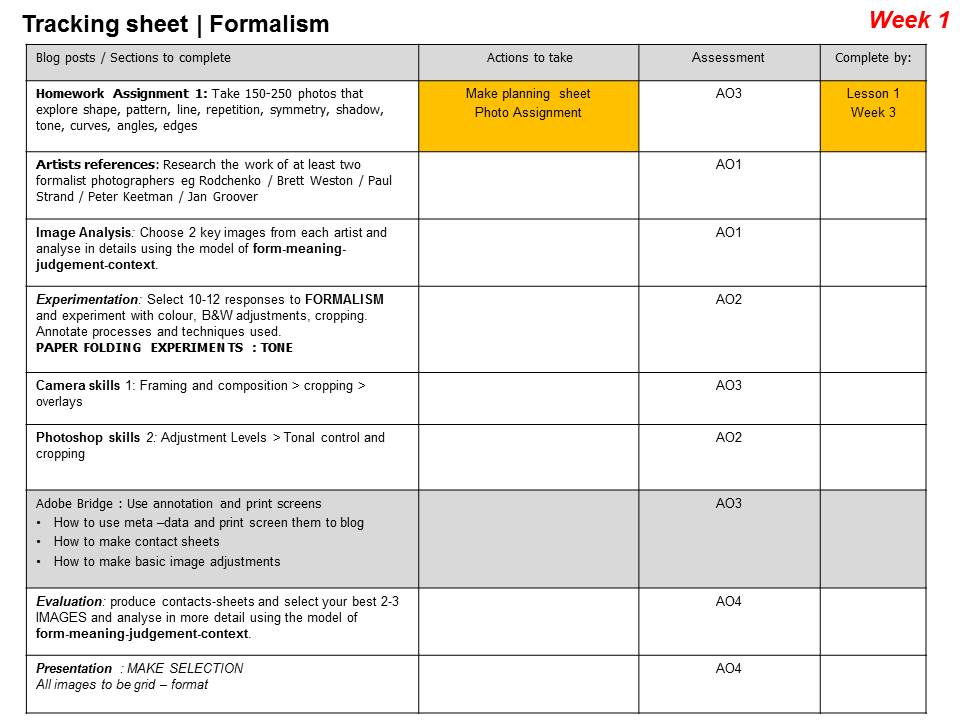
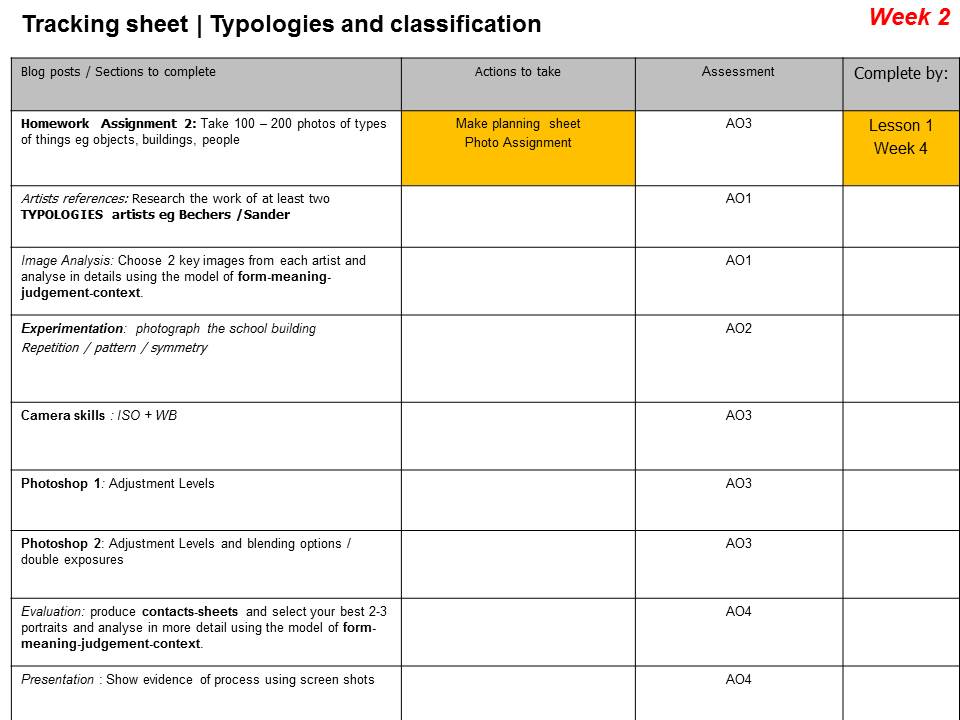
Homework check in, upload and explanation of homework 2Camera Skills : Looking at the exposure triangleCamera Skills :Exploring exposure
Lesson 2
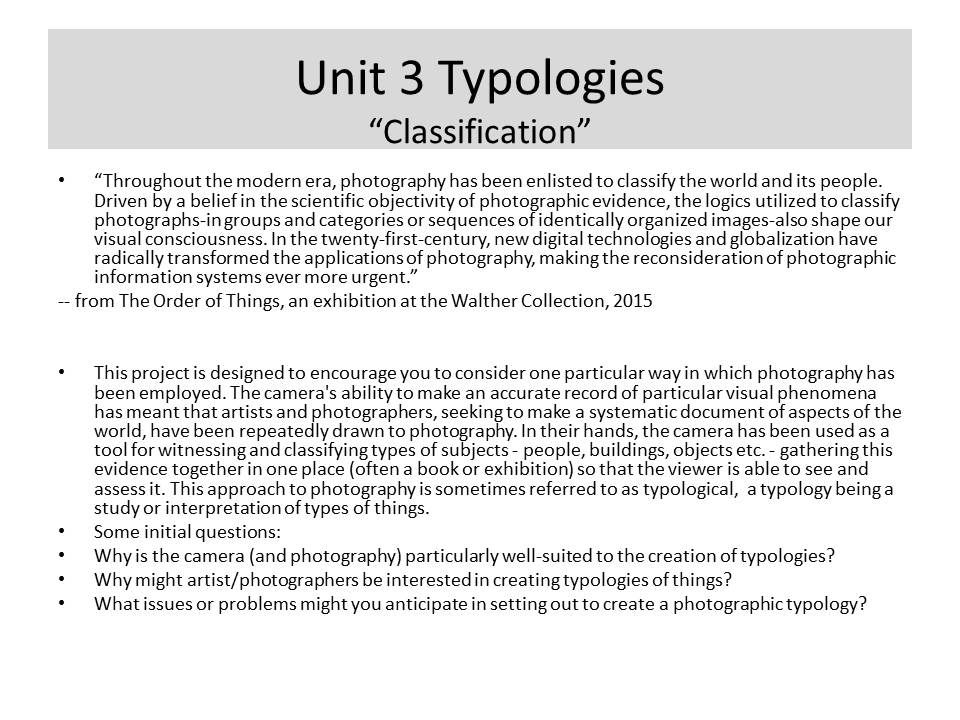
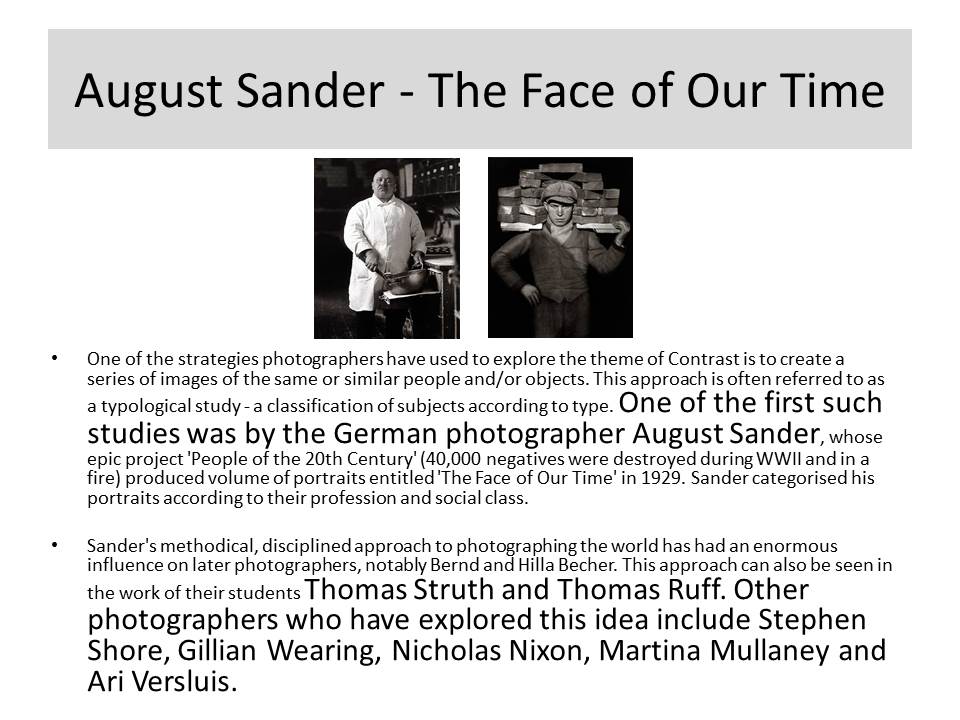
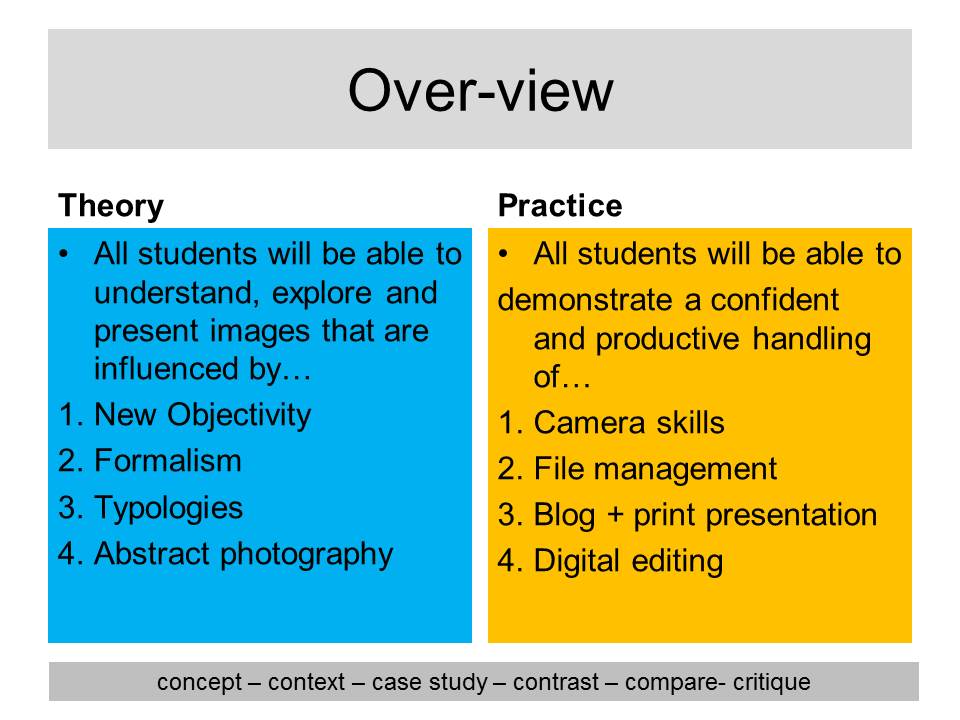
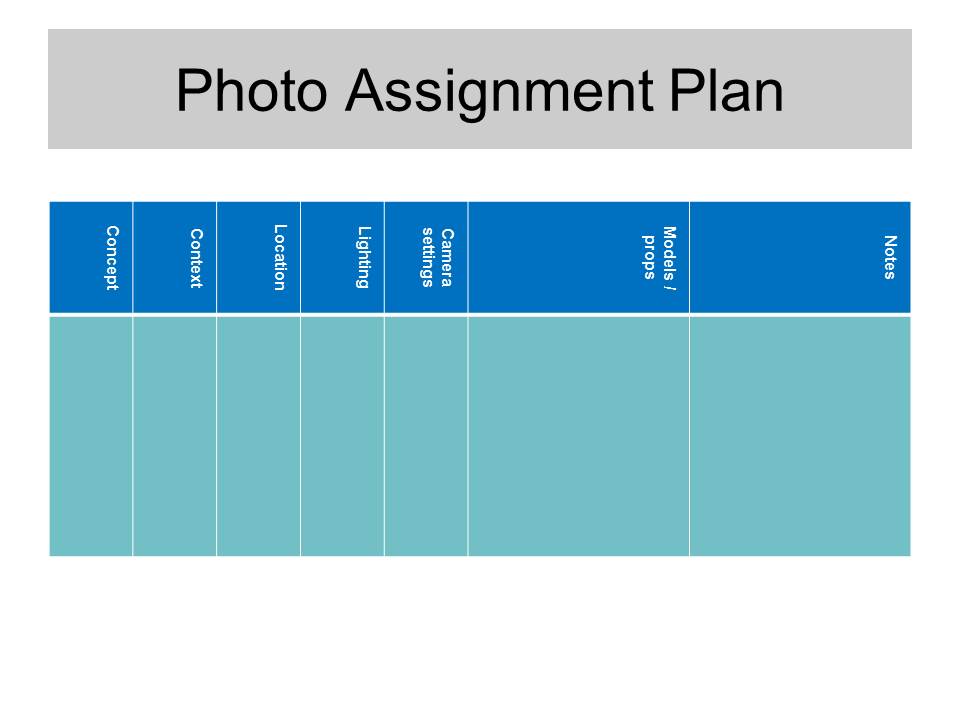
Theory, concept and history : TypologiesPhotoshop Skills : looking at tone / contrast :what is it? Why is essential to photography? How do we create tone and contrast on Photoshop? What is high key vs low key?Ansel Adams Zone system : include a diagram, examples and compare your original image to your edit.
Lesson 3
Camera Skills : shutter speeds > creating a sense of movement and capturing actionPhotoshop skills : cropping and making a selection, free transform, colour overlays and blending
Lesson 4
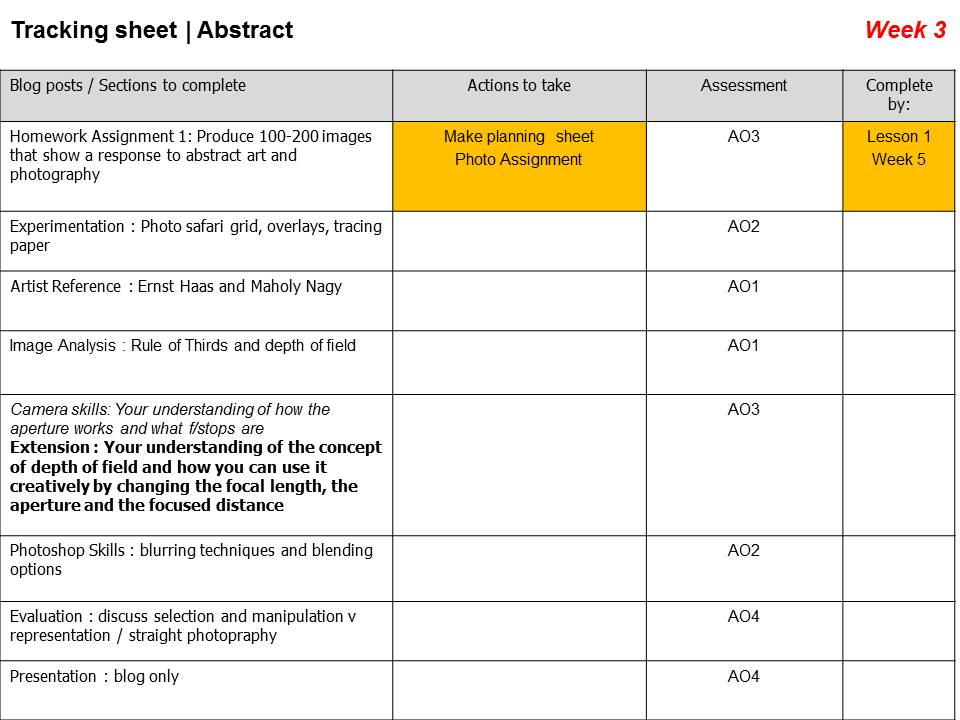
Camera Skills : Depth of field and focus points / focal length + exposure compensationPhotoshop skills : double exposures and blurring to create depth
Week 4
Lesson 1, 2, 3, 4
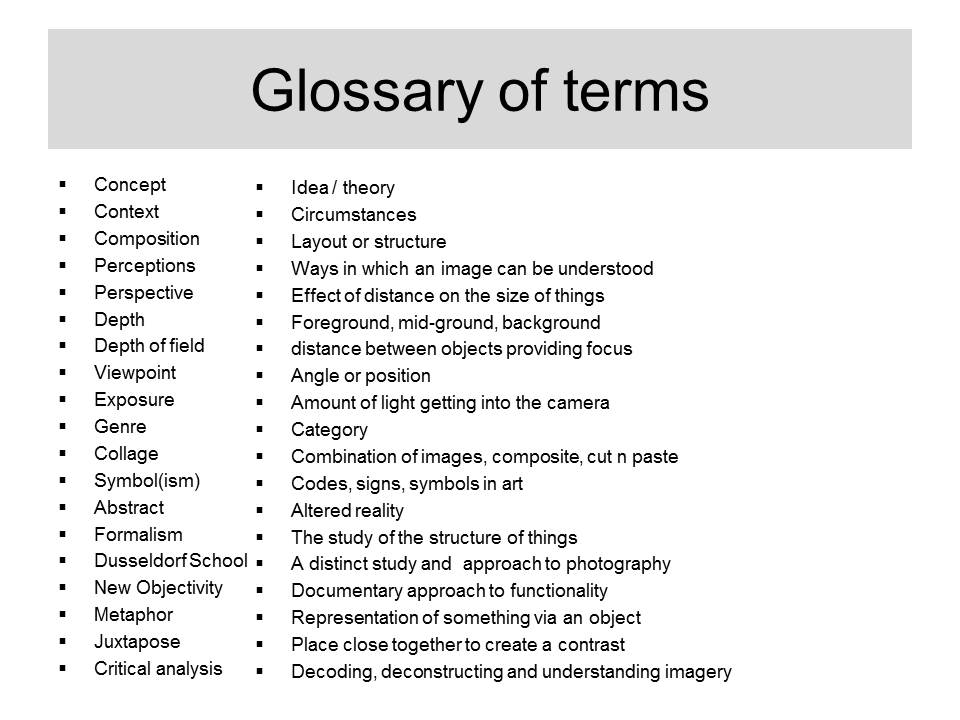
Camera Skills : Depth of field and focus points / focal length + exposure compensationPhotoshop skills : double exposures and blurring to create depthhttp://www.nikonusa.com/en/learn-and-explore/a/tips-and-techniques/understanding-focal-length.htmlAnalysis techniques
Week 5
Lesson 1 and 2
- think about : making image selections…working towards a final presentation
- think about : blog layout and design features + action plans
- Check : homework progress…looking at texture and surface
- Create blog post : analysis and interpretation / Robert Frank…use of key vocab
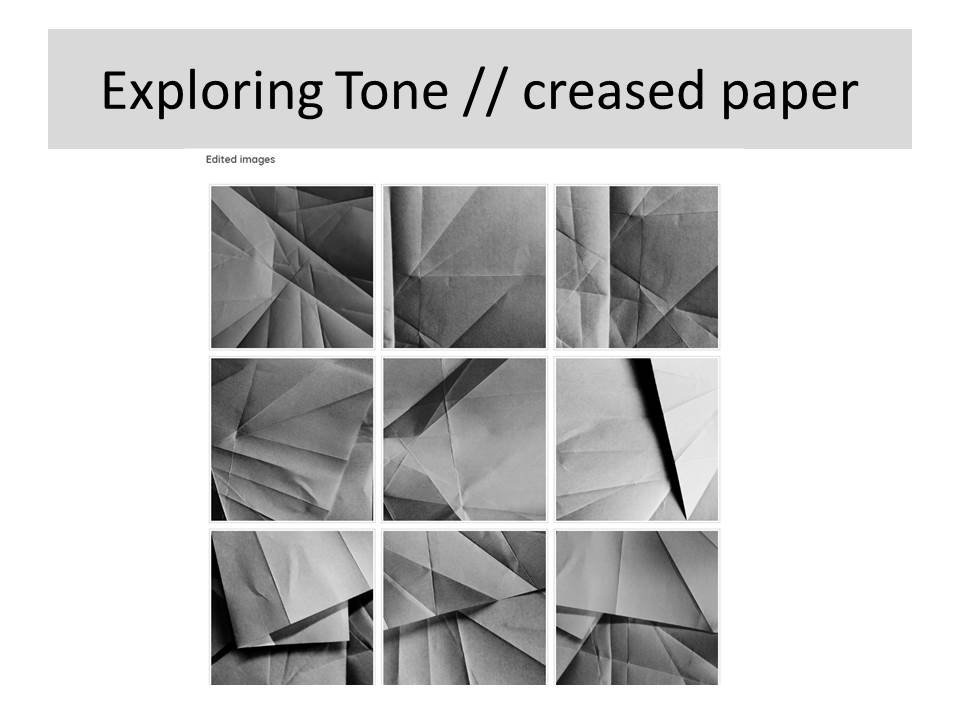
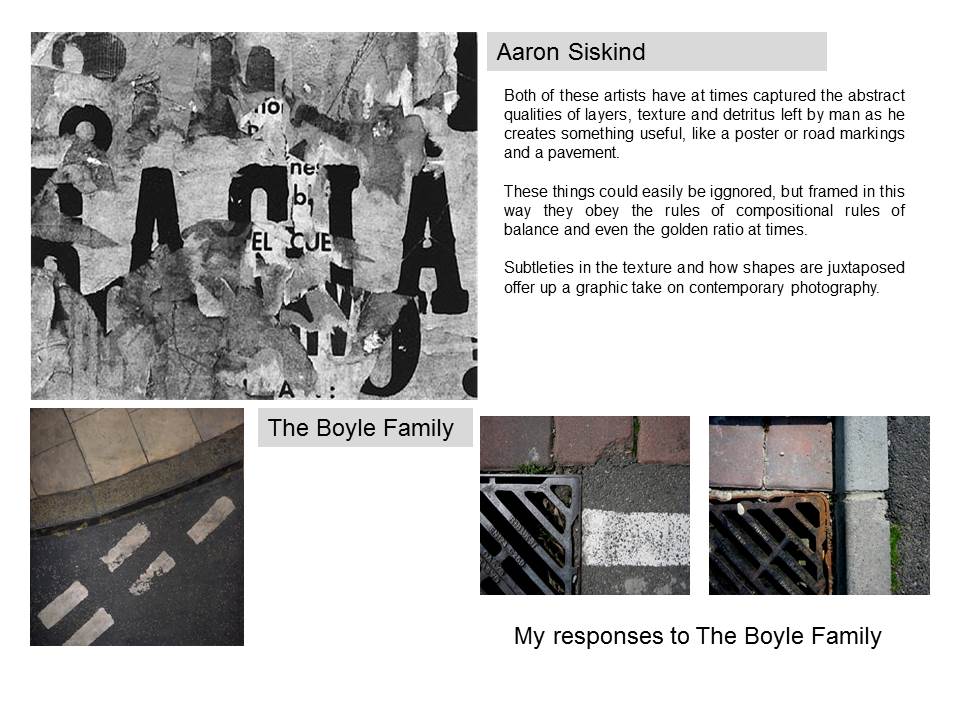
- Create blog post : Keld Helmer Peterson analysis and response : include your original 4 x images : Use Threshold Adjustment : Add screen shots : Square Format : Grid of 4 : Upload to your blog post and print out ! remember to add CATEGORIES
- Click on this link for more…
- https://www.creativereview.co.uk/black-noise-by-keld-helmer-petersen/
Lesson 3 and 4
Mr Cole will be on residential with D of E students on Wednesday and Thursday…so you will be expected to complete current / outstanding blog posts and publish for tracking and assessment. Miss Hearn will be available on Thursday and Friday. Mr Cole will be available on Friday too.
We expect you to use this time wisely and upload all incomplete blog posts…remember, the homework tasks are NOT optional and form the spine of your coursework ie your photo-shoots!
Week 6 + 7
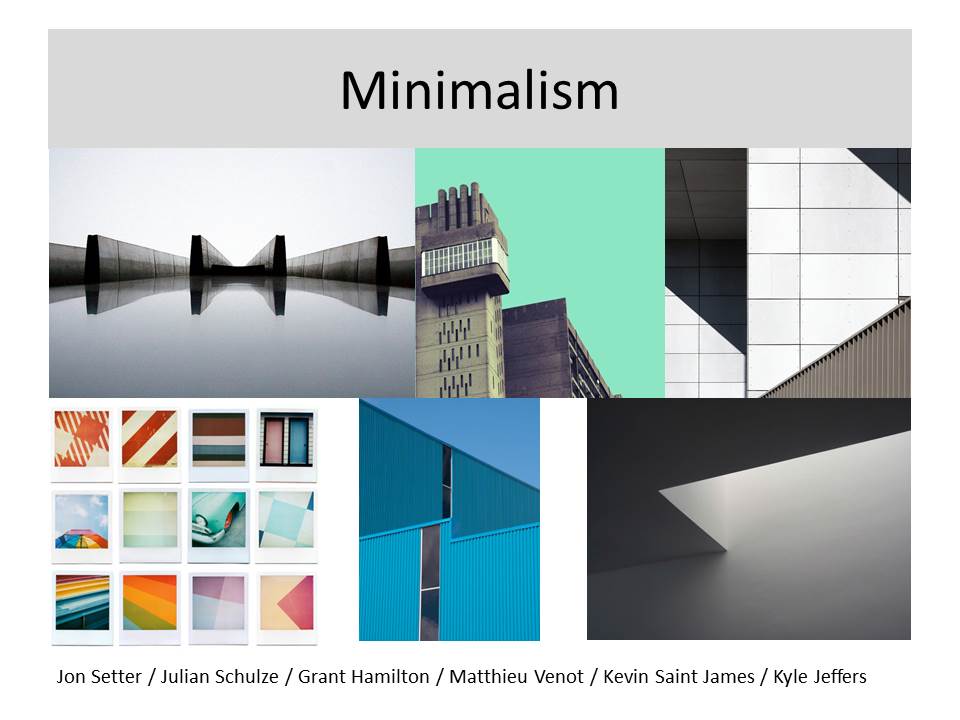
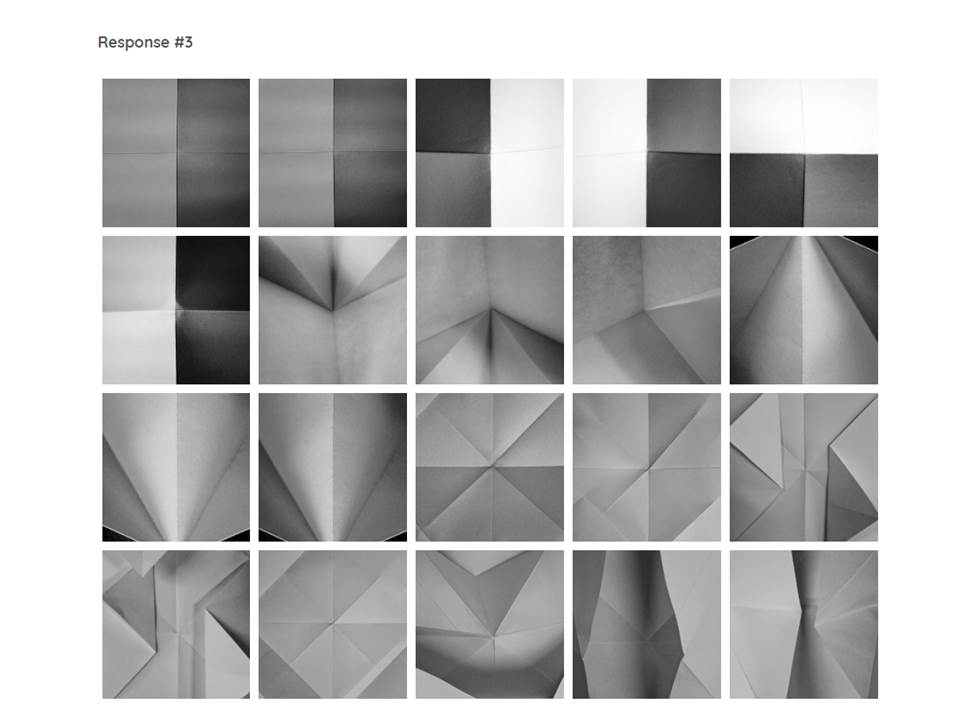
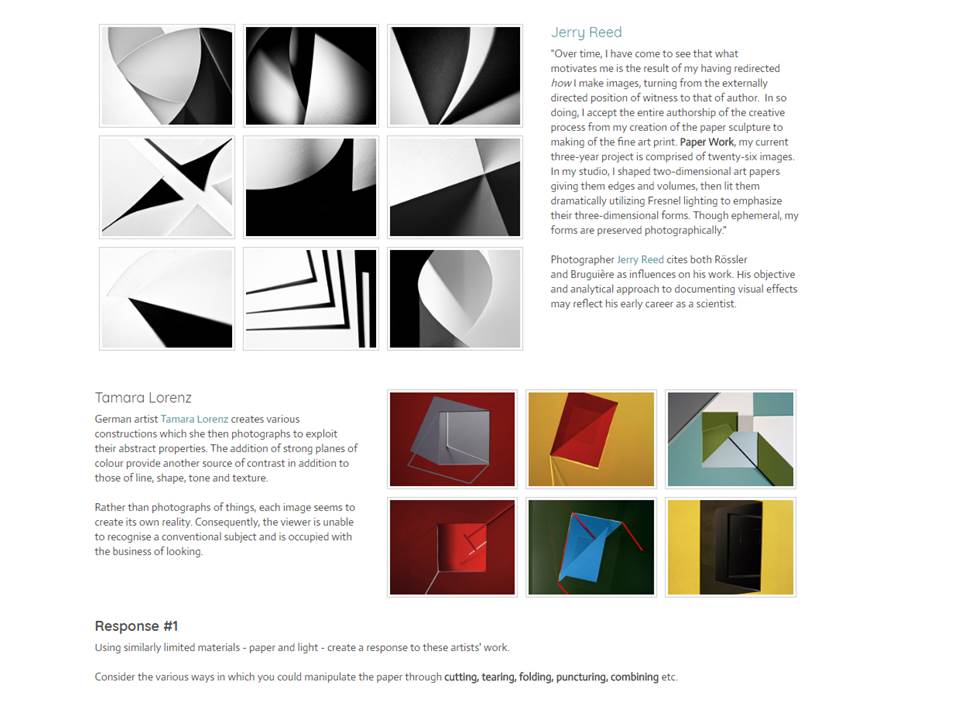
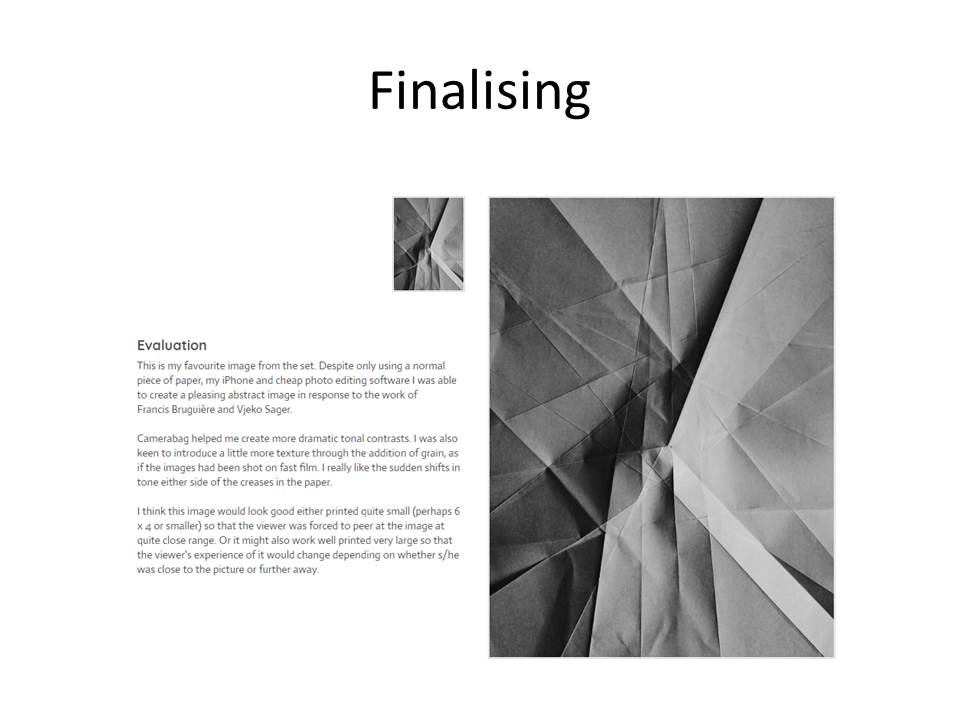
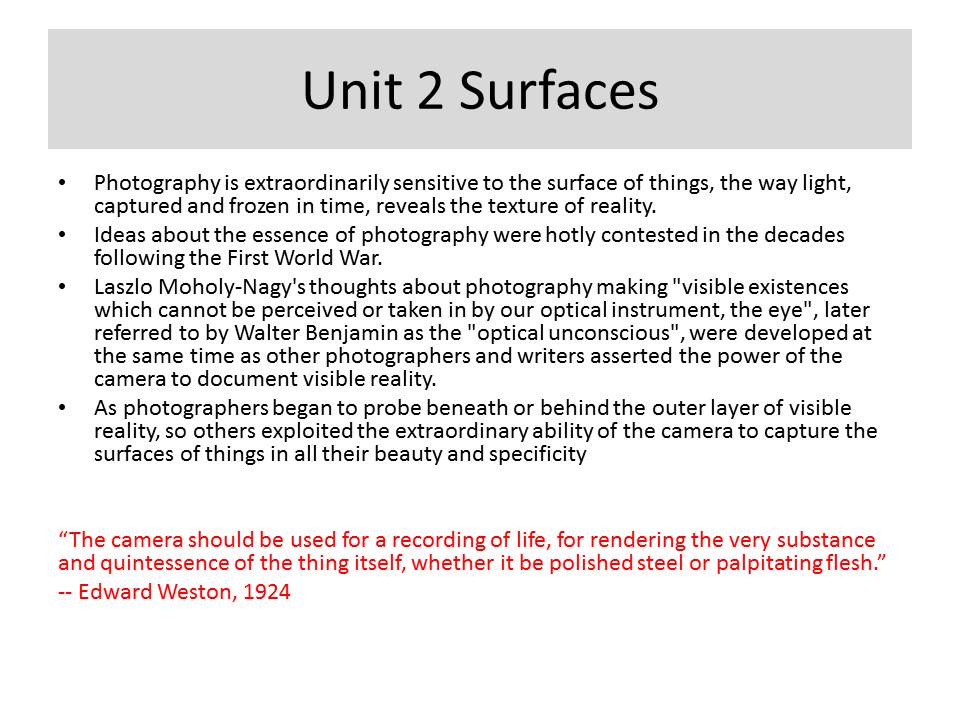
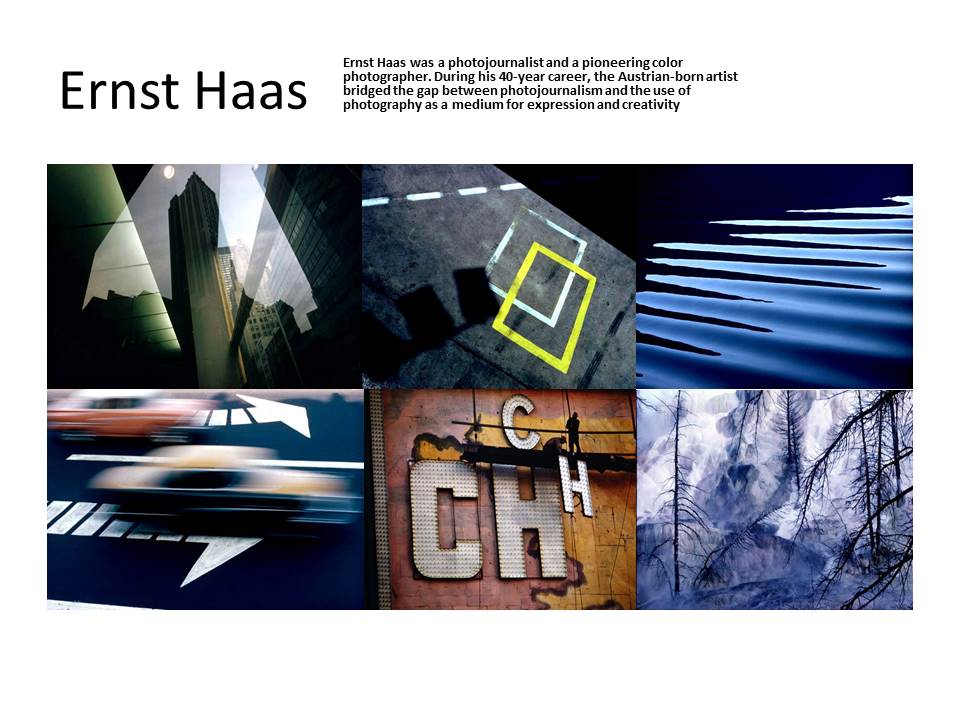
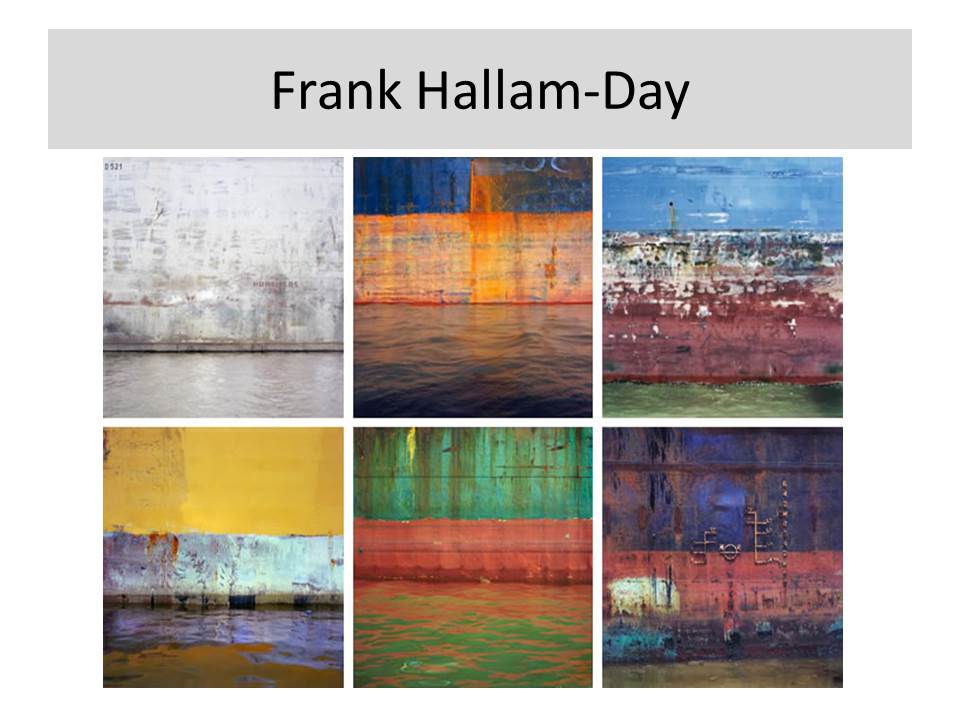
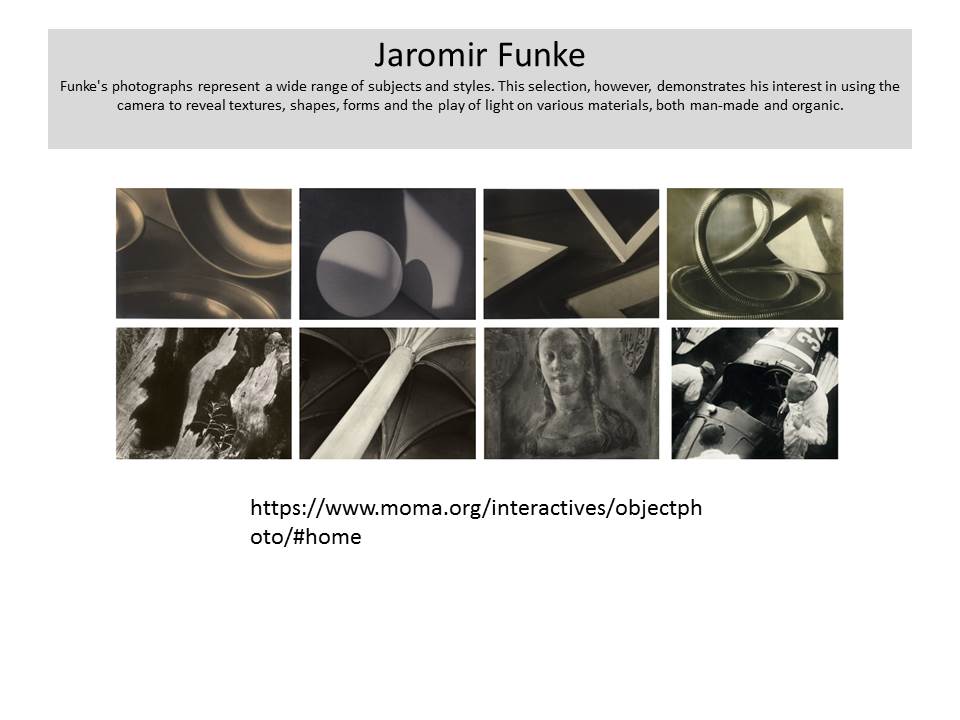
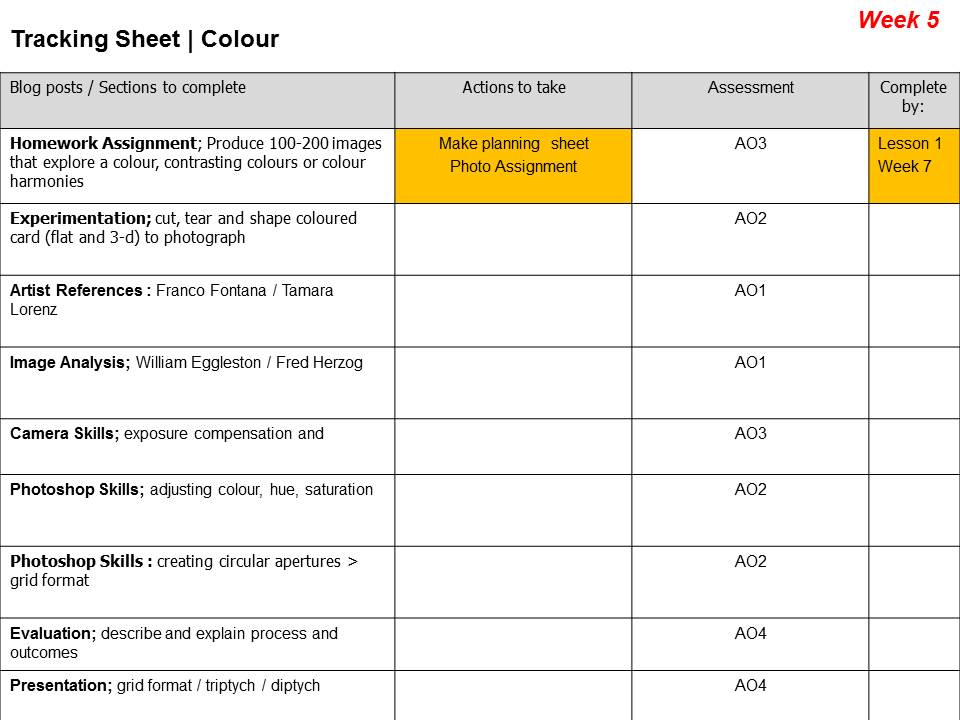
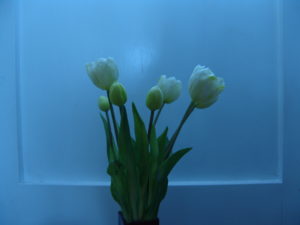
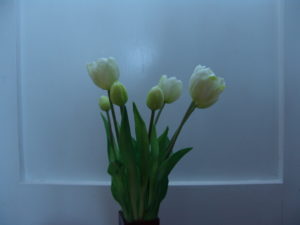
- this week your focus is on colour and is linked to your homework task. Look at the stimulus material below to help you develop your ideas and incorporate colour.
- you should be in a position now to make your final selections : choose a range of your best images that you would like to present and evaluate / critique
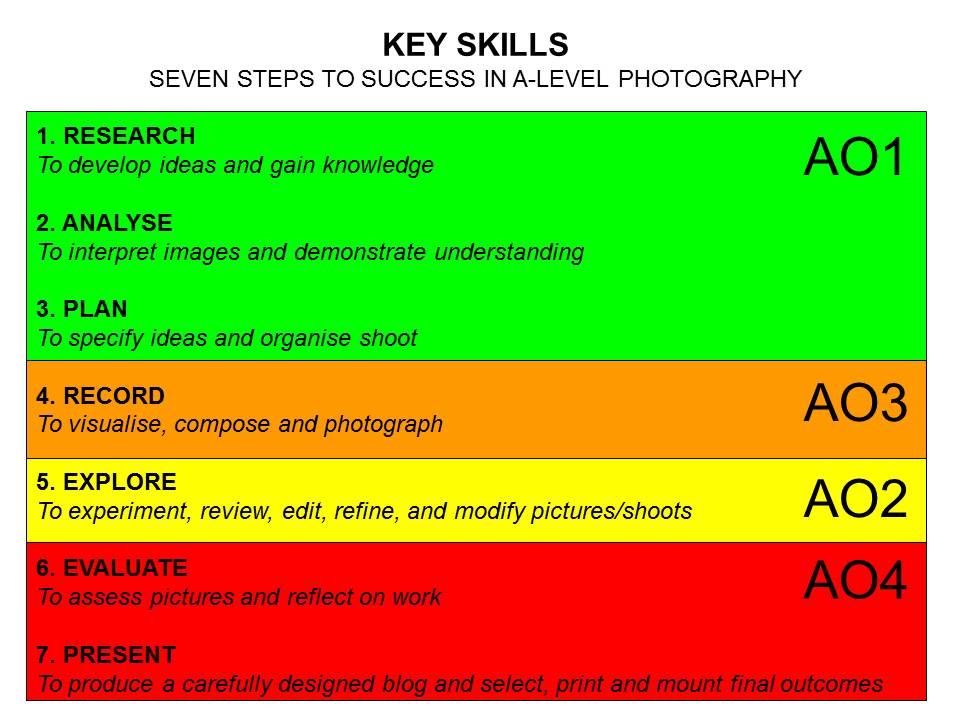
- REMEMBER…WE HAVE BEEN LOOKING AT THE FORMAL ELEMENTS AND ABSTRACT PHOTOGRAPHY…THIS SHOULD BE CLEAR IN YOUR WORK
- your choices may be in the form of a single image, a two-frame image, a triptych, a grid or another idea…
- you must include edits and original images…always show your process including screenshots
- aim to narrow down your selection to 3, 4 or 5 choices…
- Then finally…choose 1 image
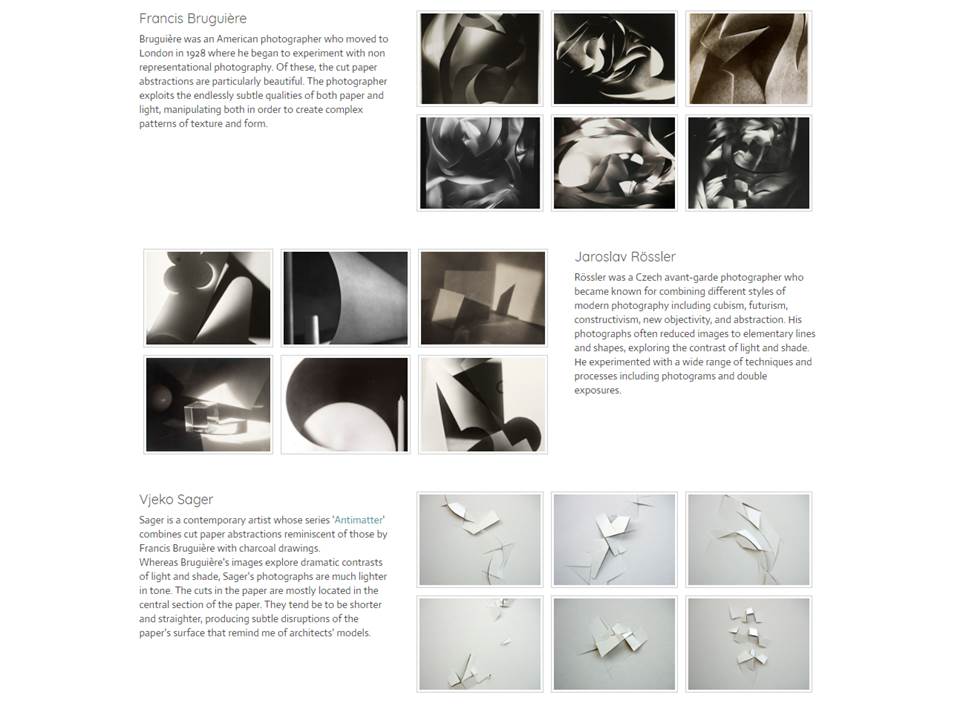
- Compare and contrast your final choice of image to a photographer (s) and create a case study including analysis of a key image by your choice of photographer
- BLOG POSTS : take care with your presentation and include hyperlinks to helpful artciles / websites and embed relevant videos too…
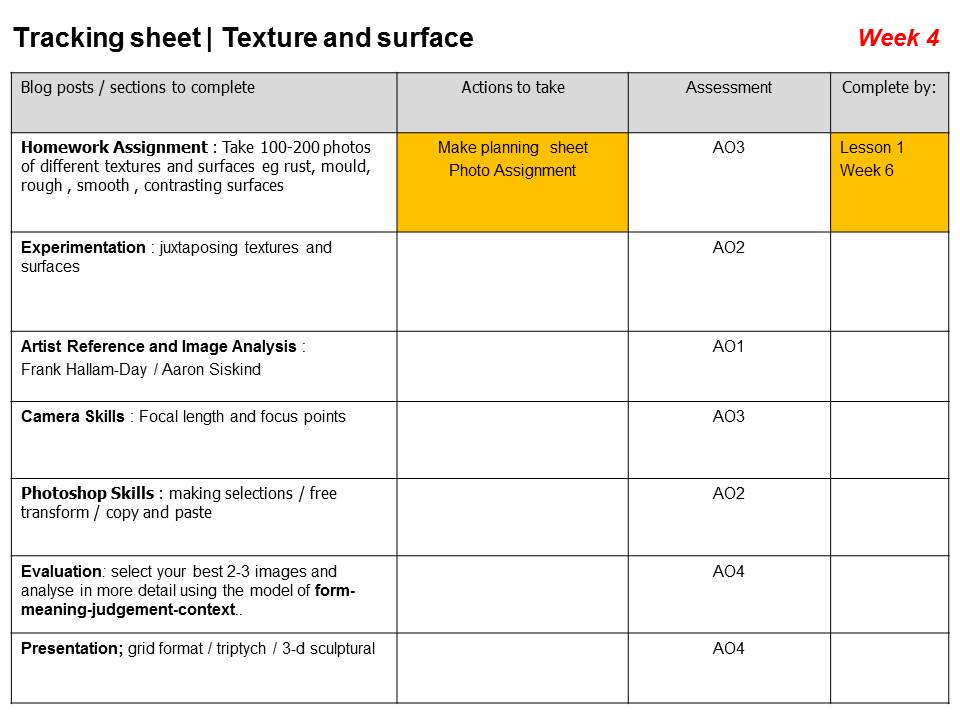
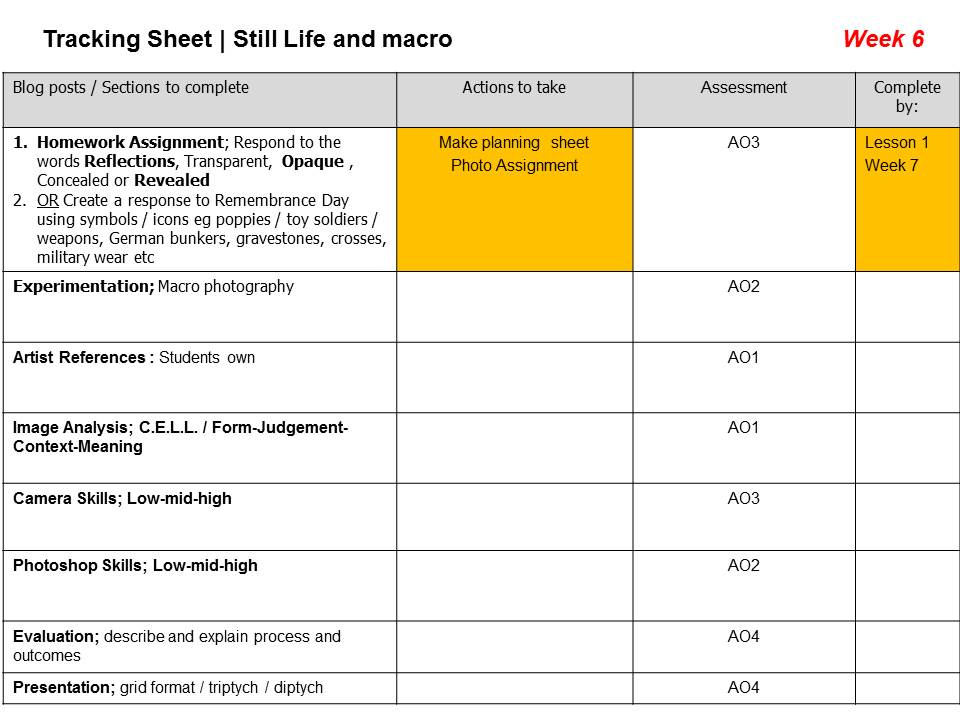
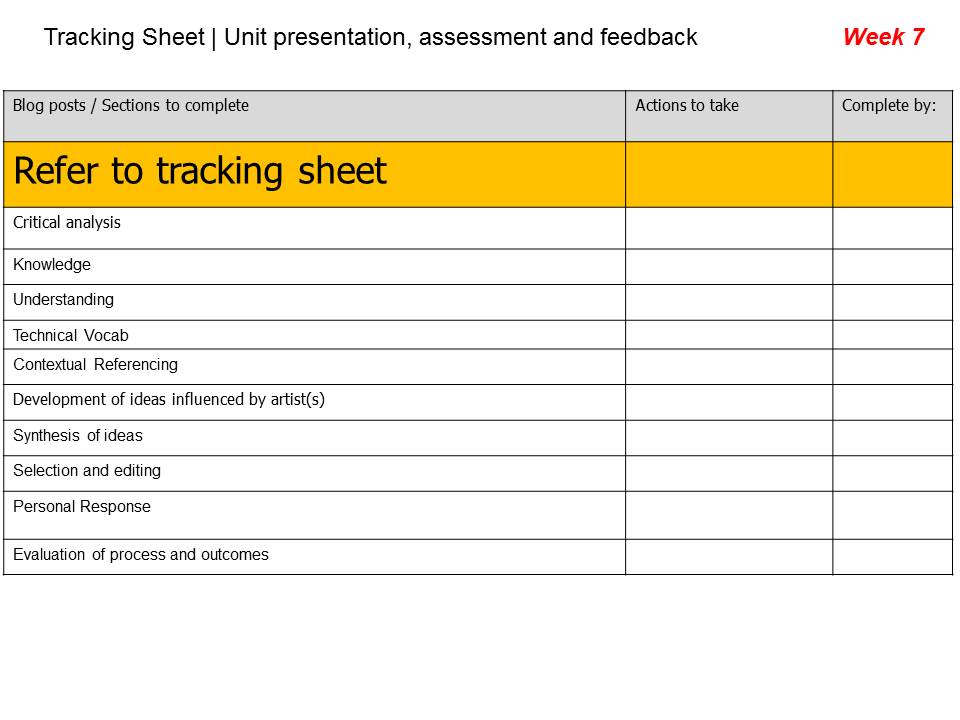
- Extension : see tracking sheet below
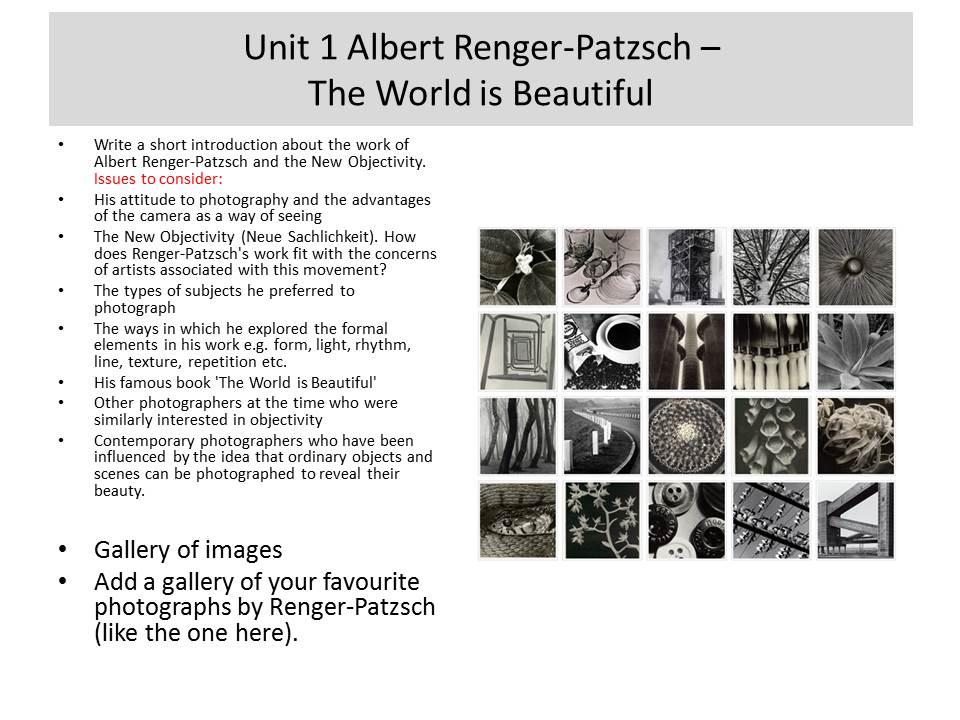
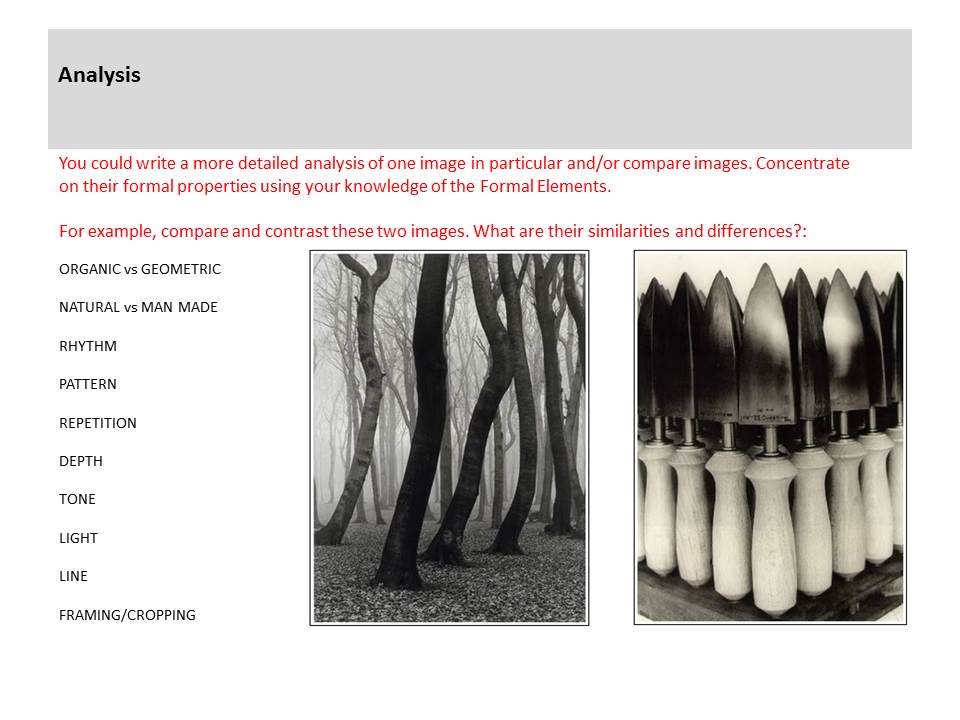
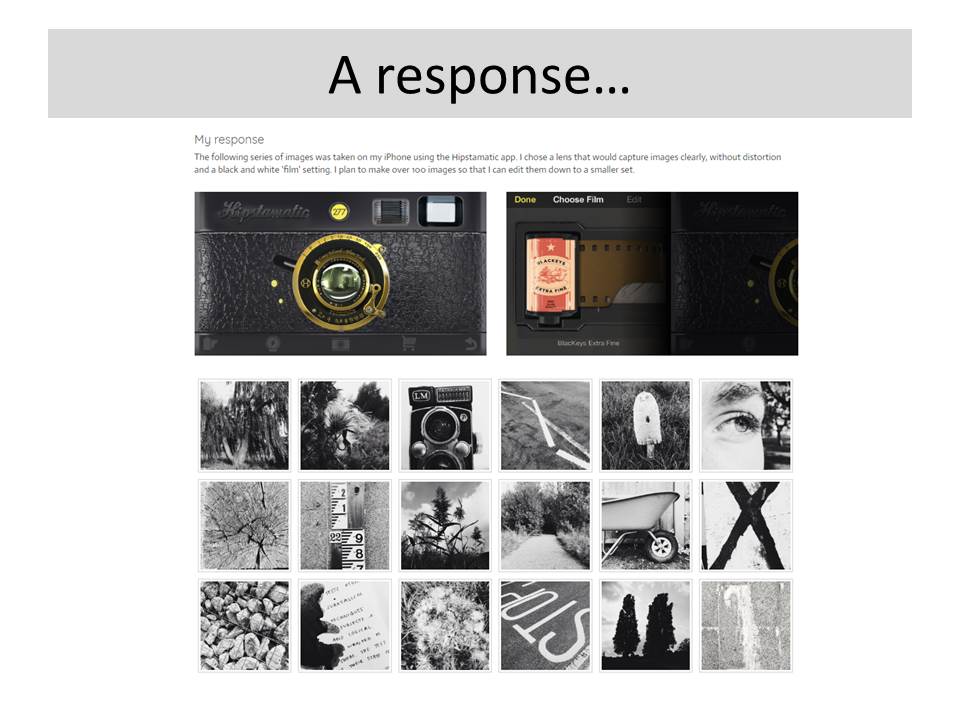
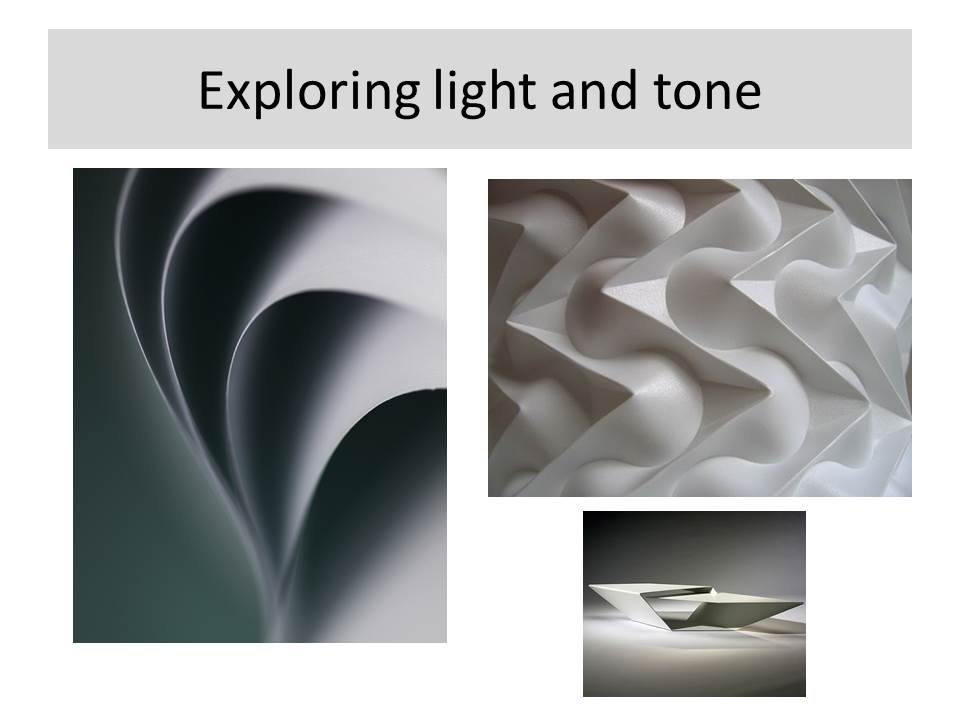
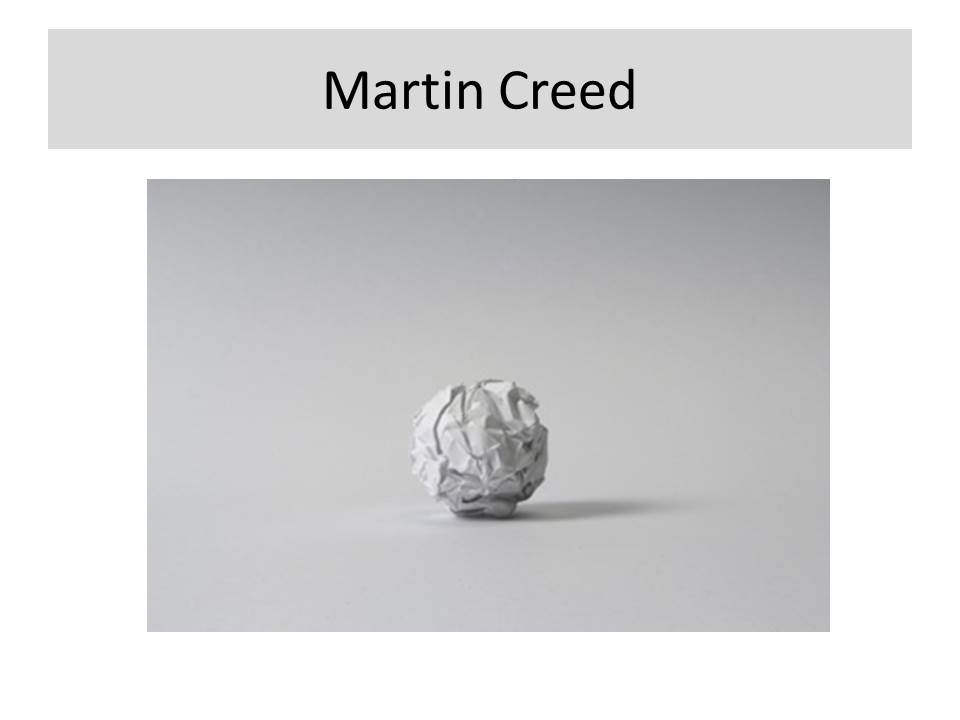

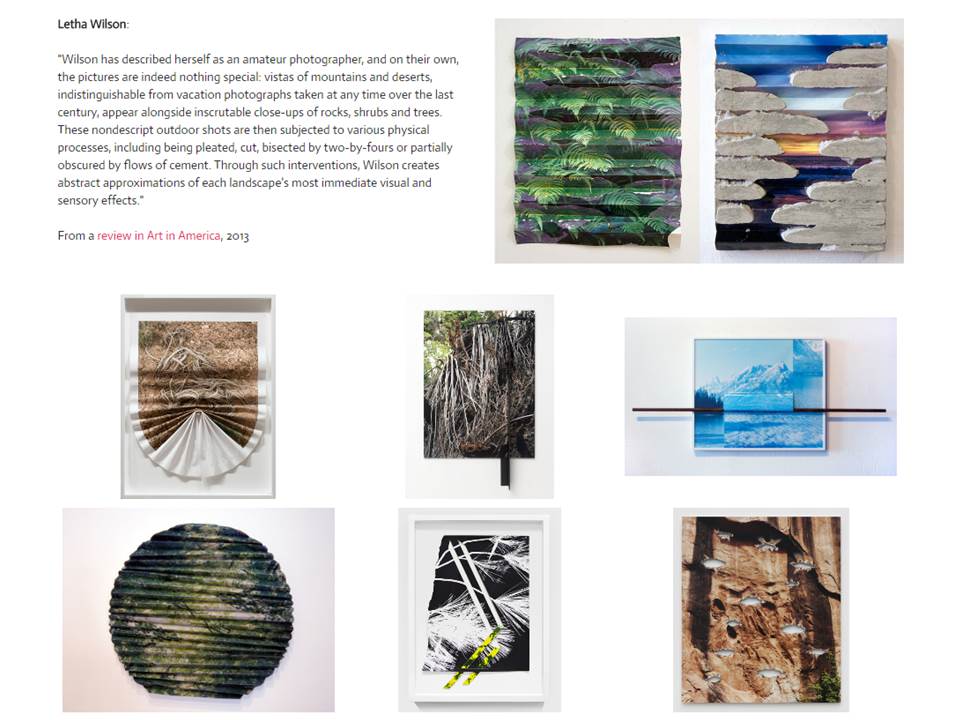
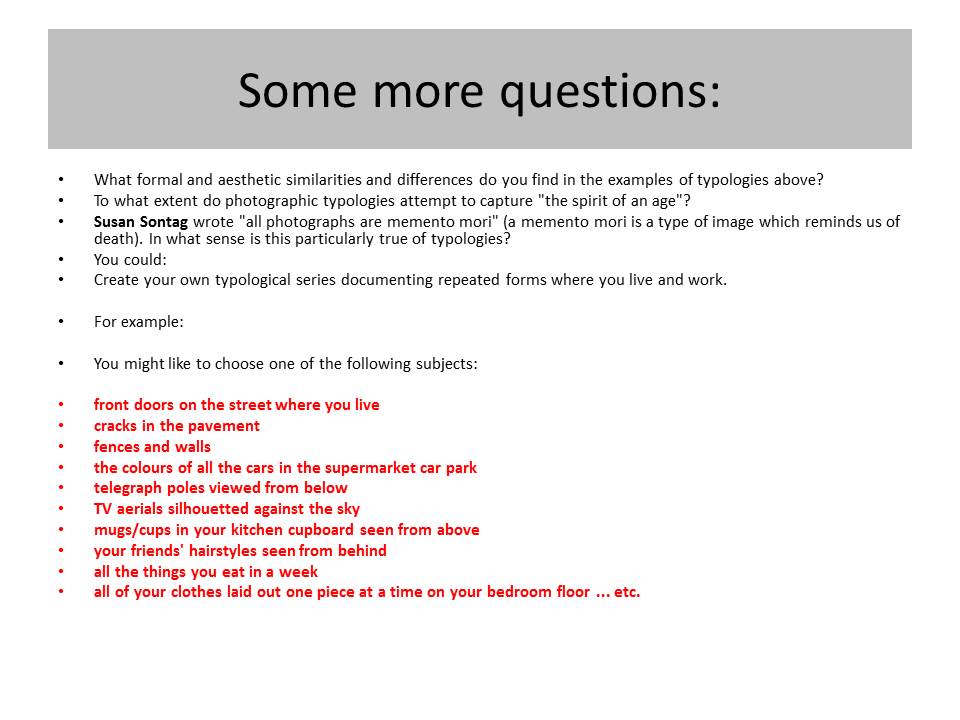
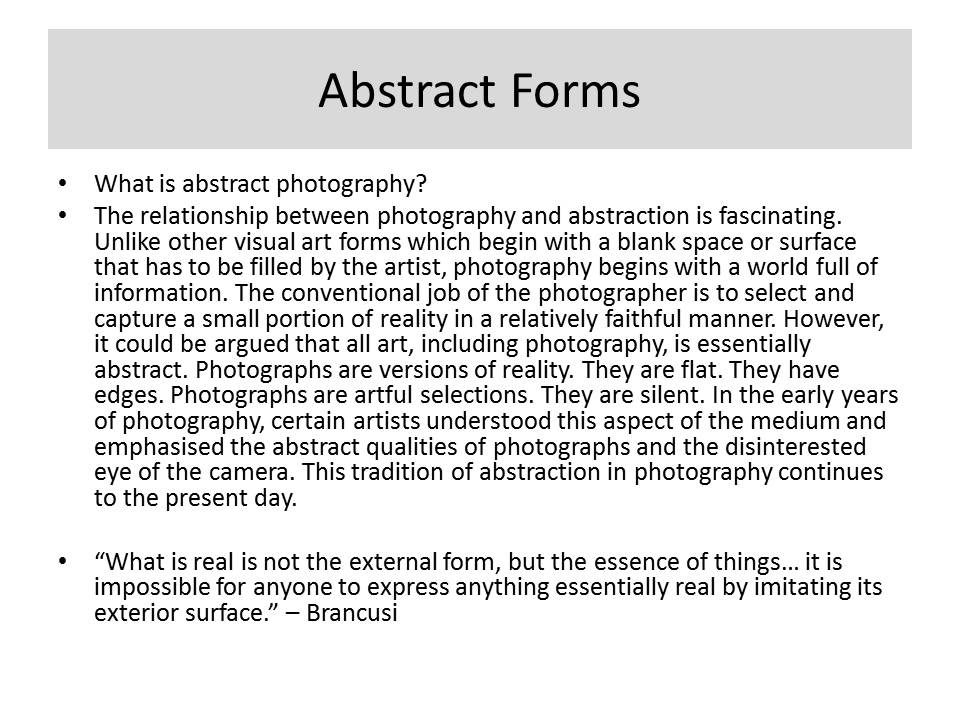
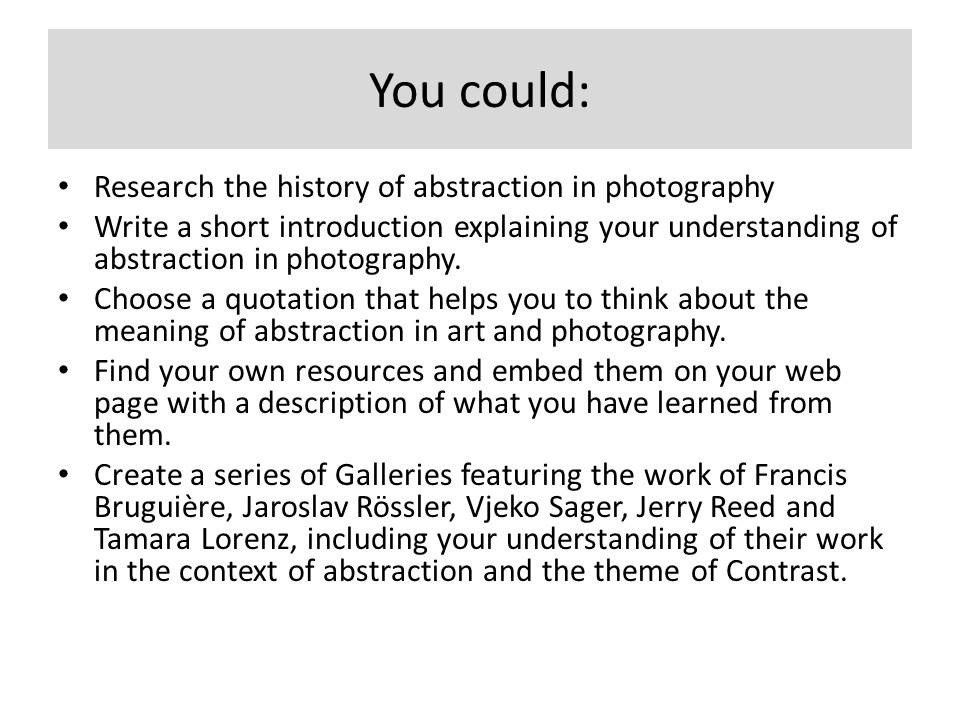
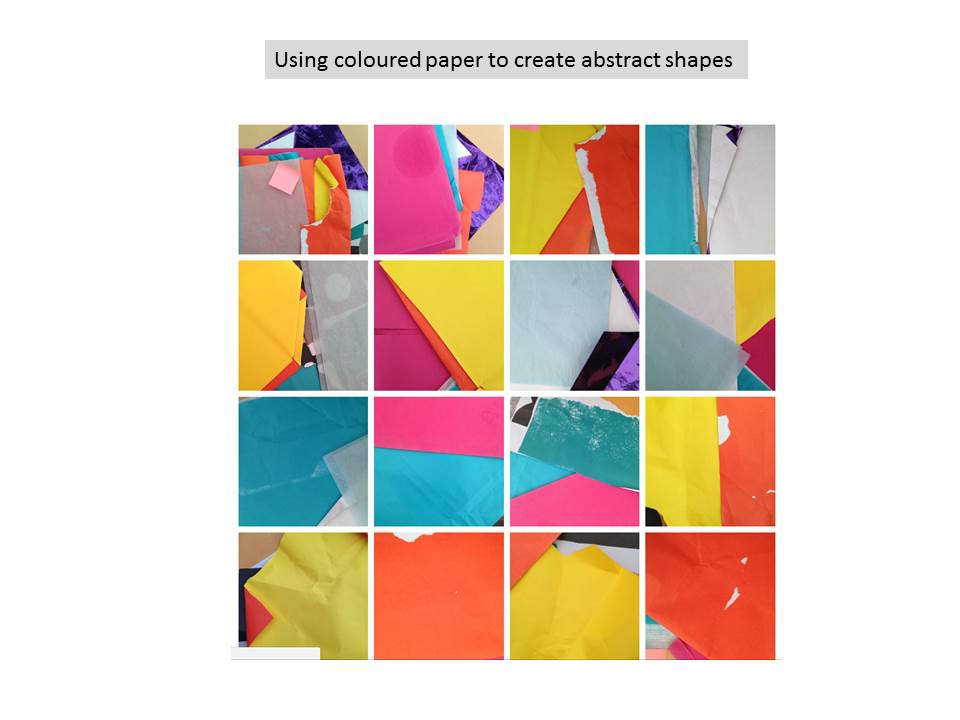
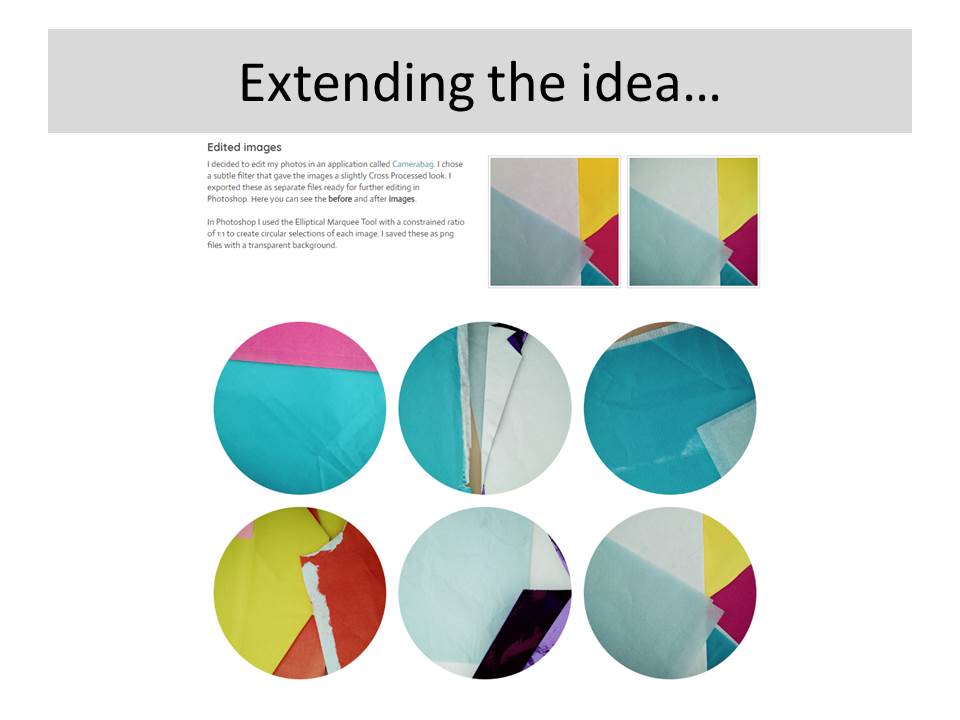
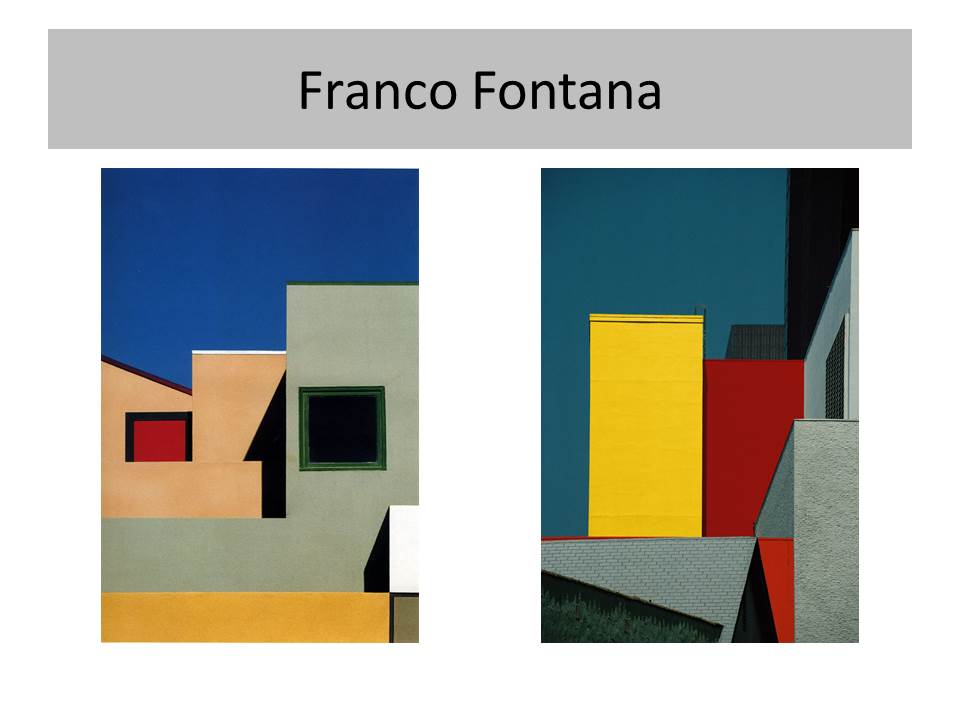
Exploring colour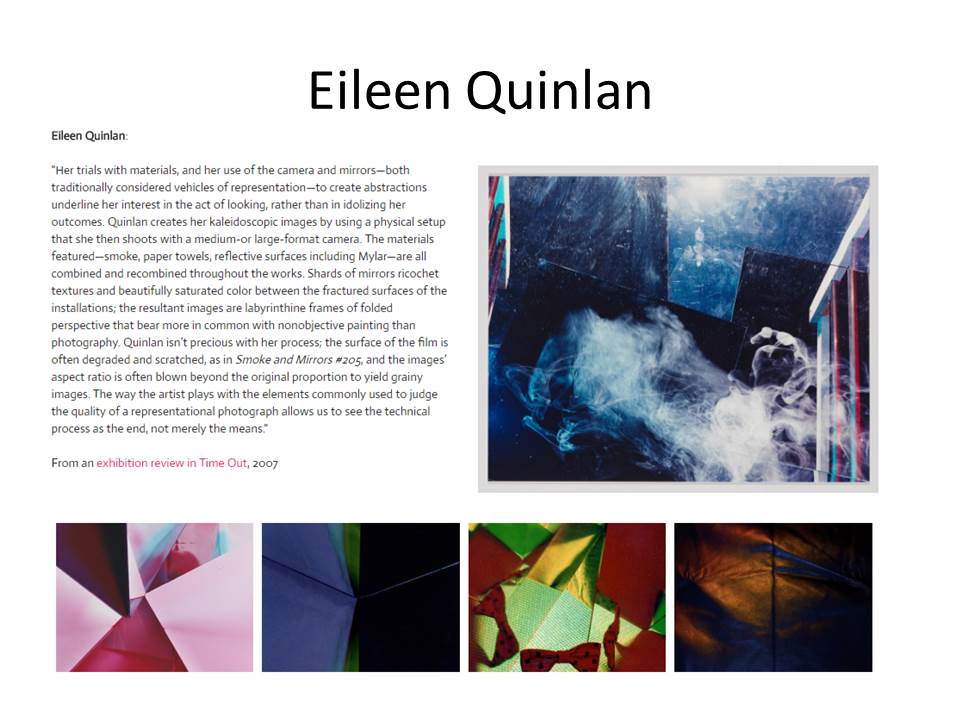





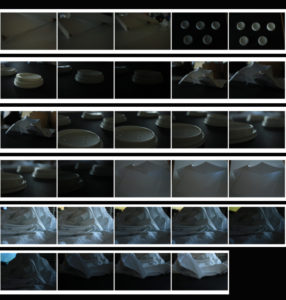
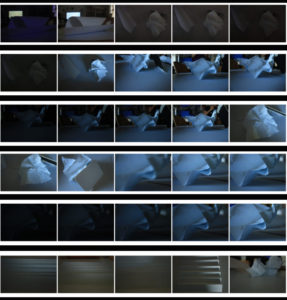




 The defining characteristic of a contact print is that the resulting print is the same size as the original, rather than having been projected through an enlarger.A contact sheet is not to differ your image or create an illusion of the image,but display and emphasis the original images and similar.You are usually able to see a distinct choice in the paper within circles and marks of significance.
Highly respected and influential photographers are called magnum photographers who produce beautiful contact sheets.
Magnum Contact Sheets reveals how Magnum photographers have captured and edited their best shots from the 1930s to the present. The contact sheet, a direct print of a roll or sequence of negatives, is the photographer's first look and understanding around the scenario at what he or she has captured on film, and provides a uniquely intimate glimpse into their working process.It is more detailed and emphasise journalism within the development of a shoot and a conservation of the persons emotive reflection. It records each step on the route to arriving at an imageproviding a rare behind-the-scenes sense of walking alongside the photographer and seeing through their eyes.
 Contact sheets are part of the "decisive moment”it captures a specific moment within their shutter and then furthers to the oversize best capture and desire within their possible one in a million photo.
