Category Archives: Recording

Filters

Author:
Category:

Water

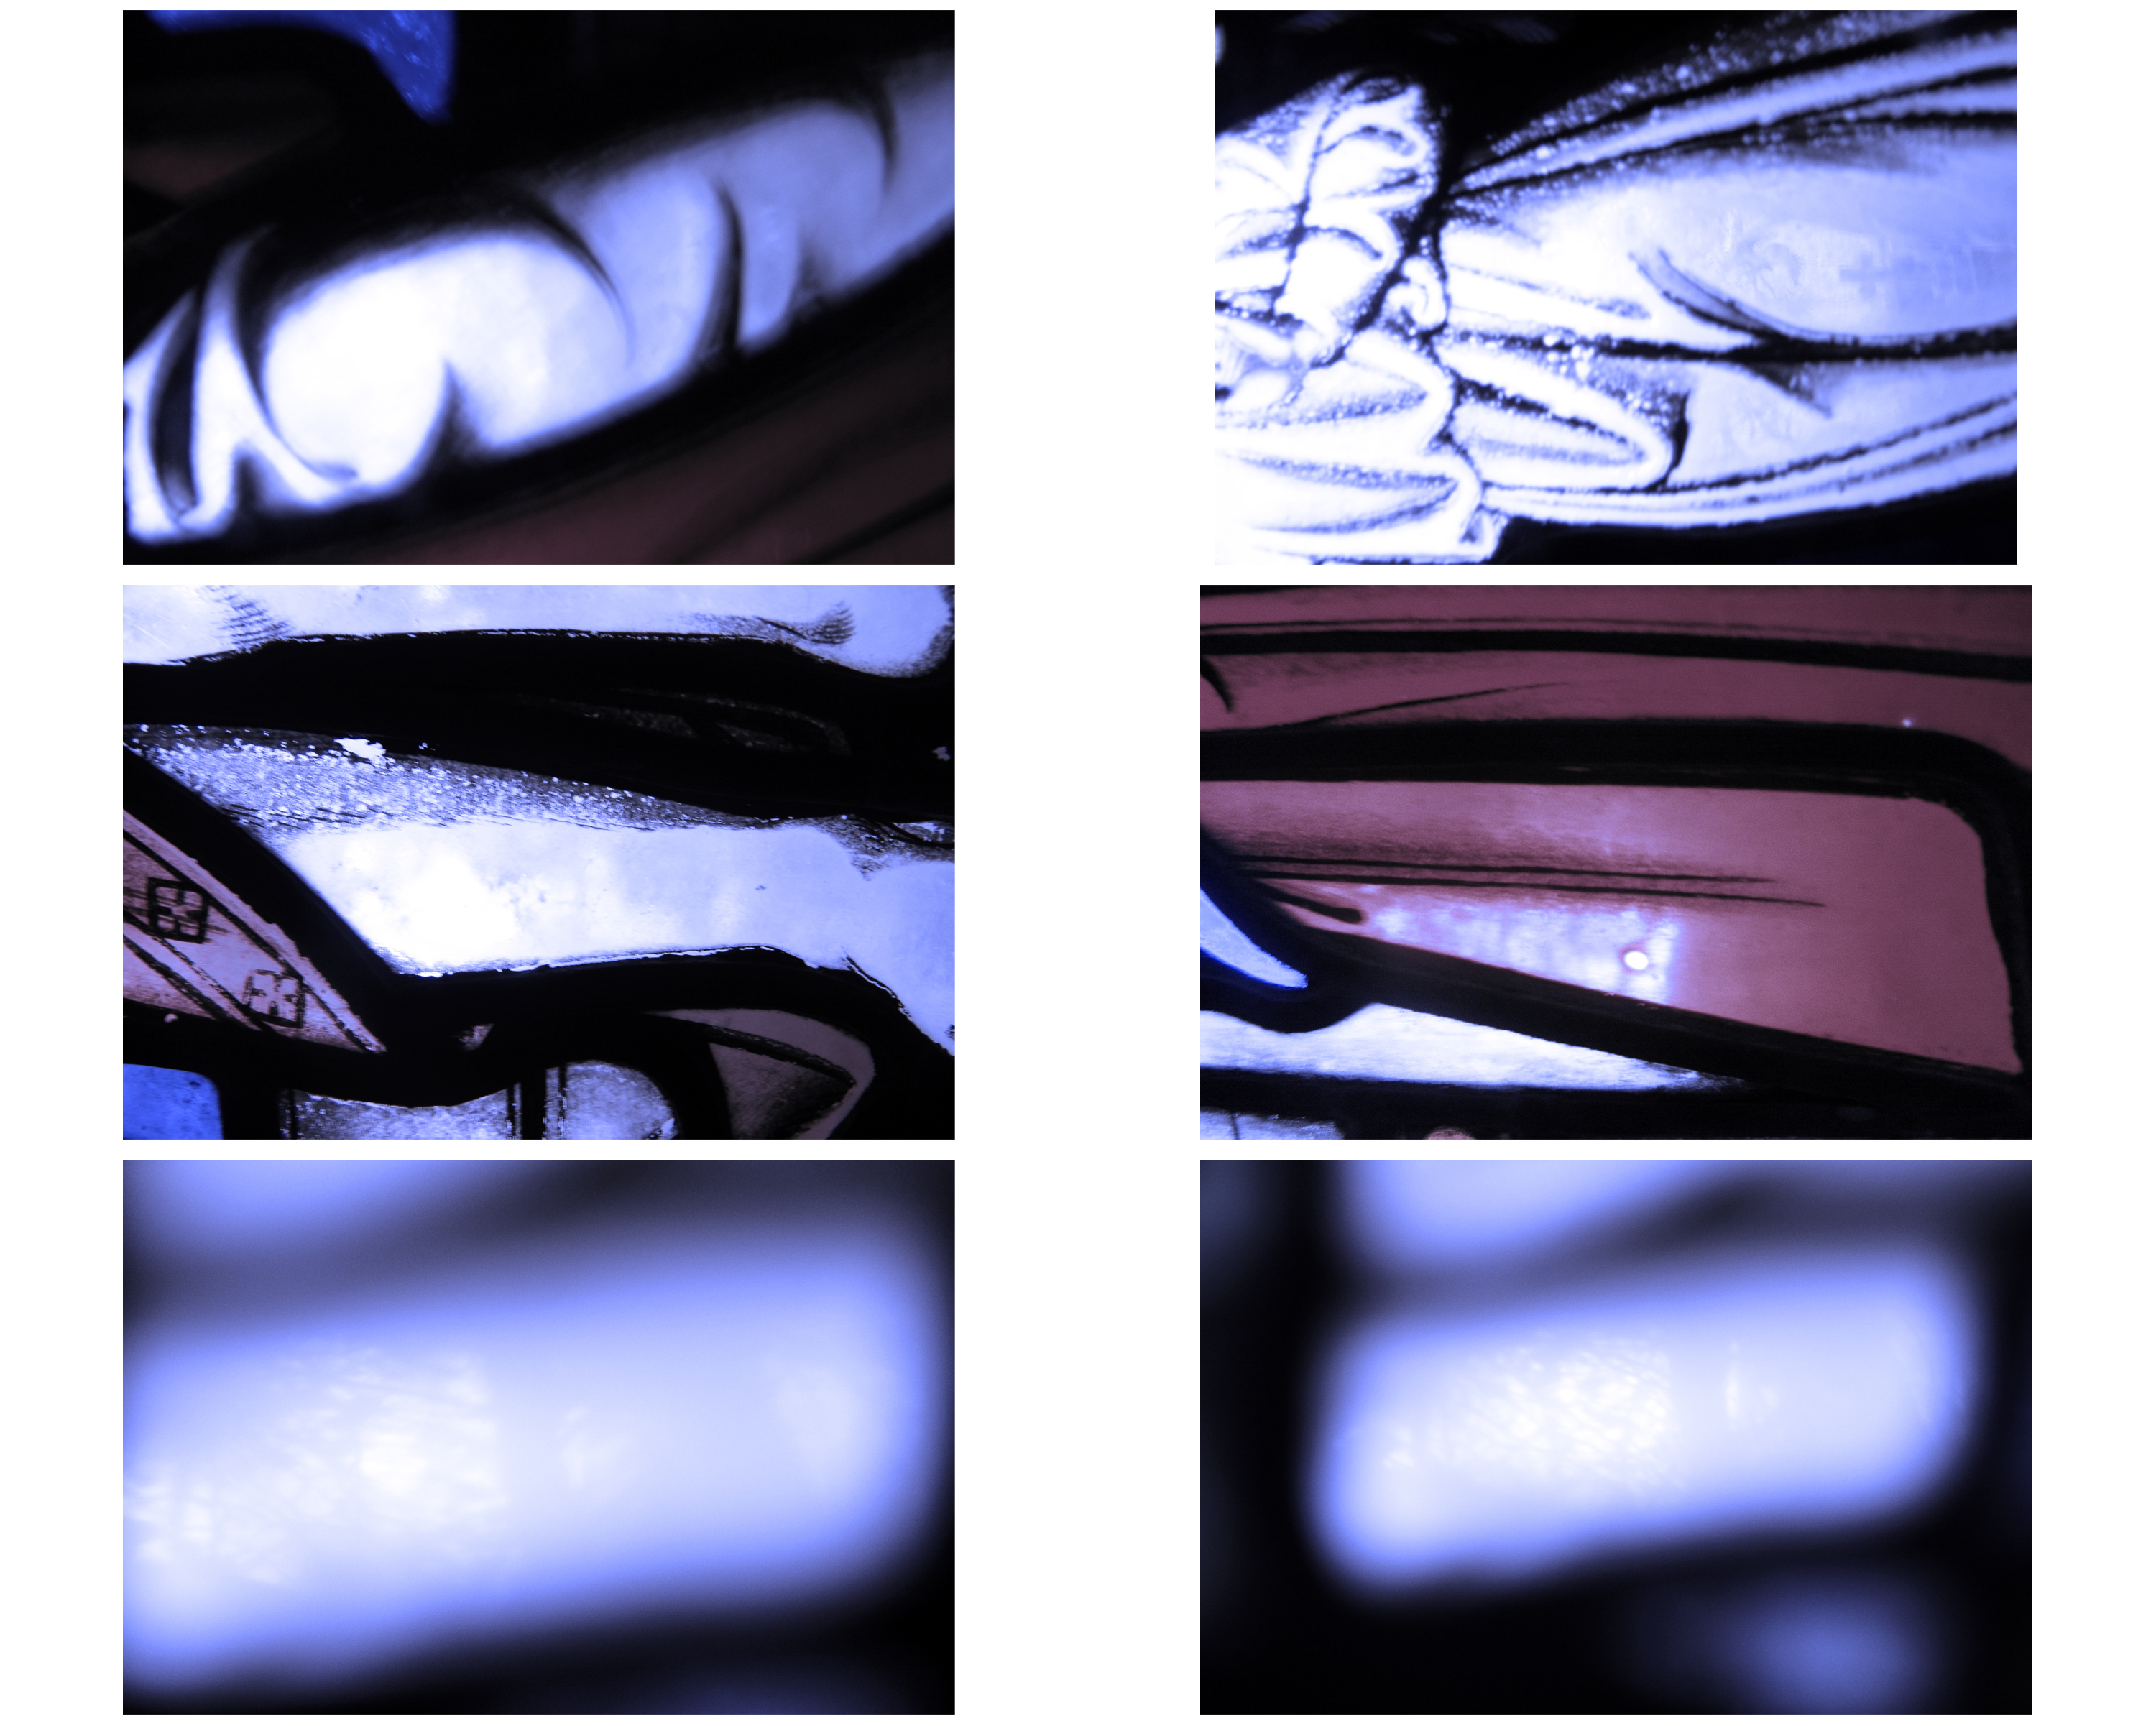
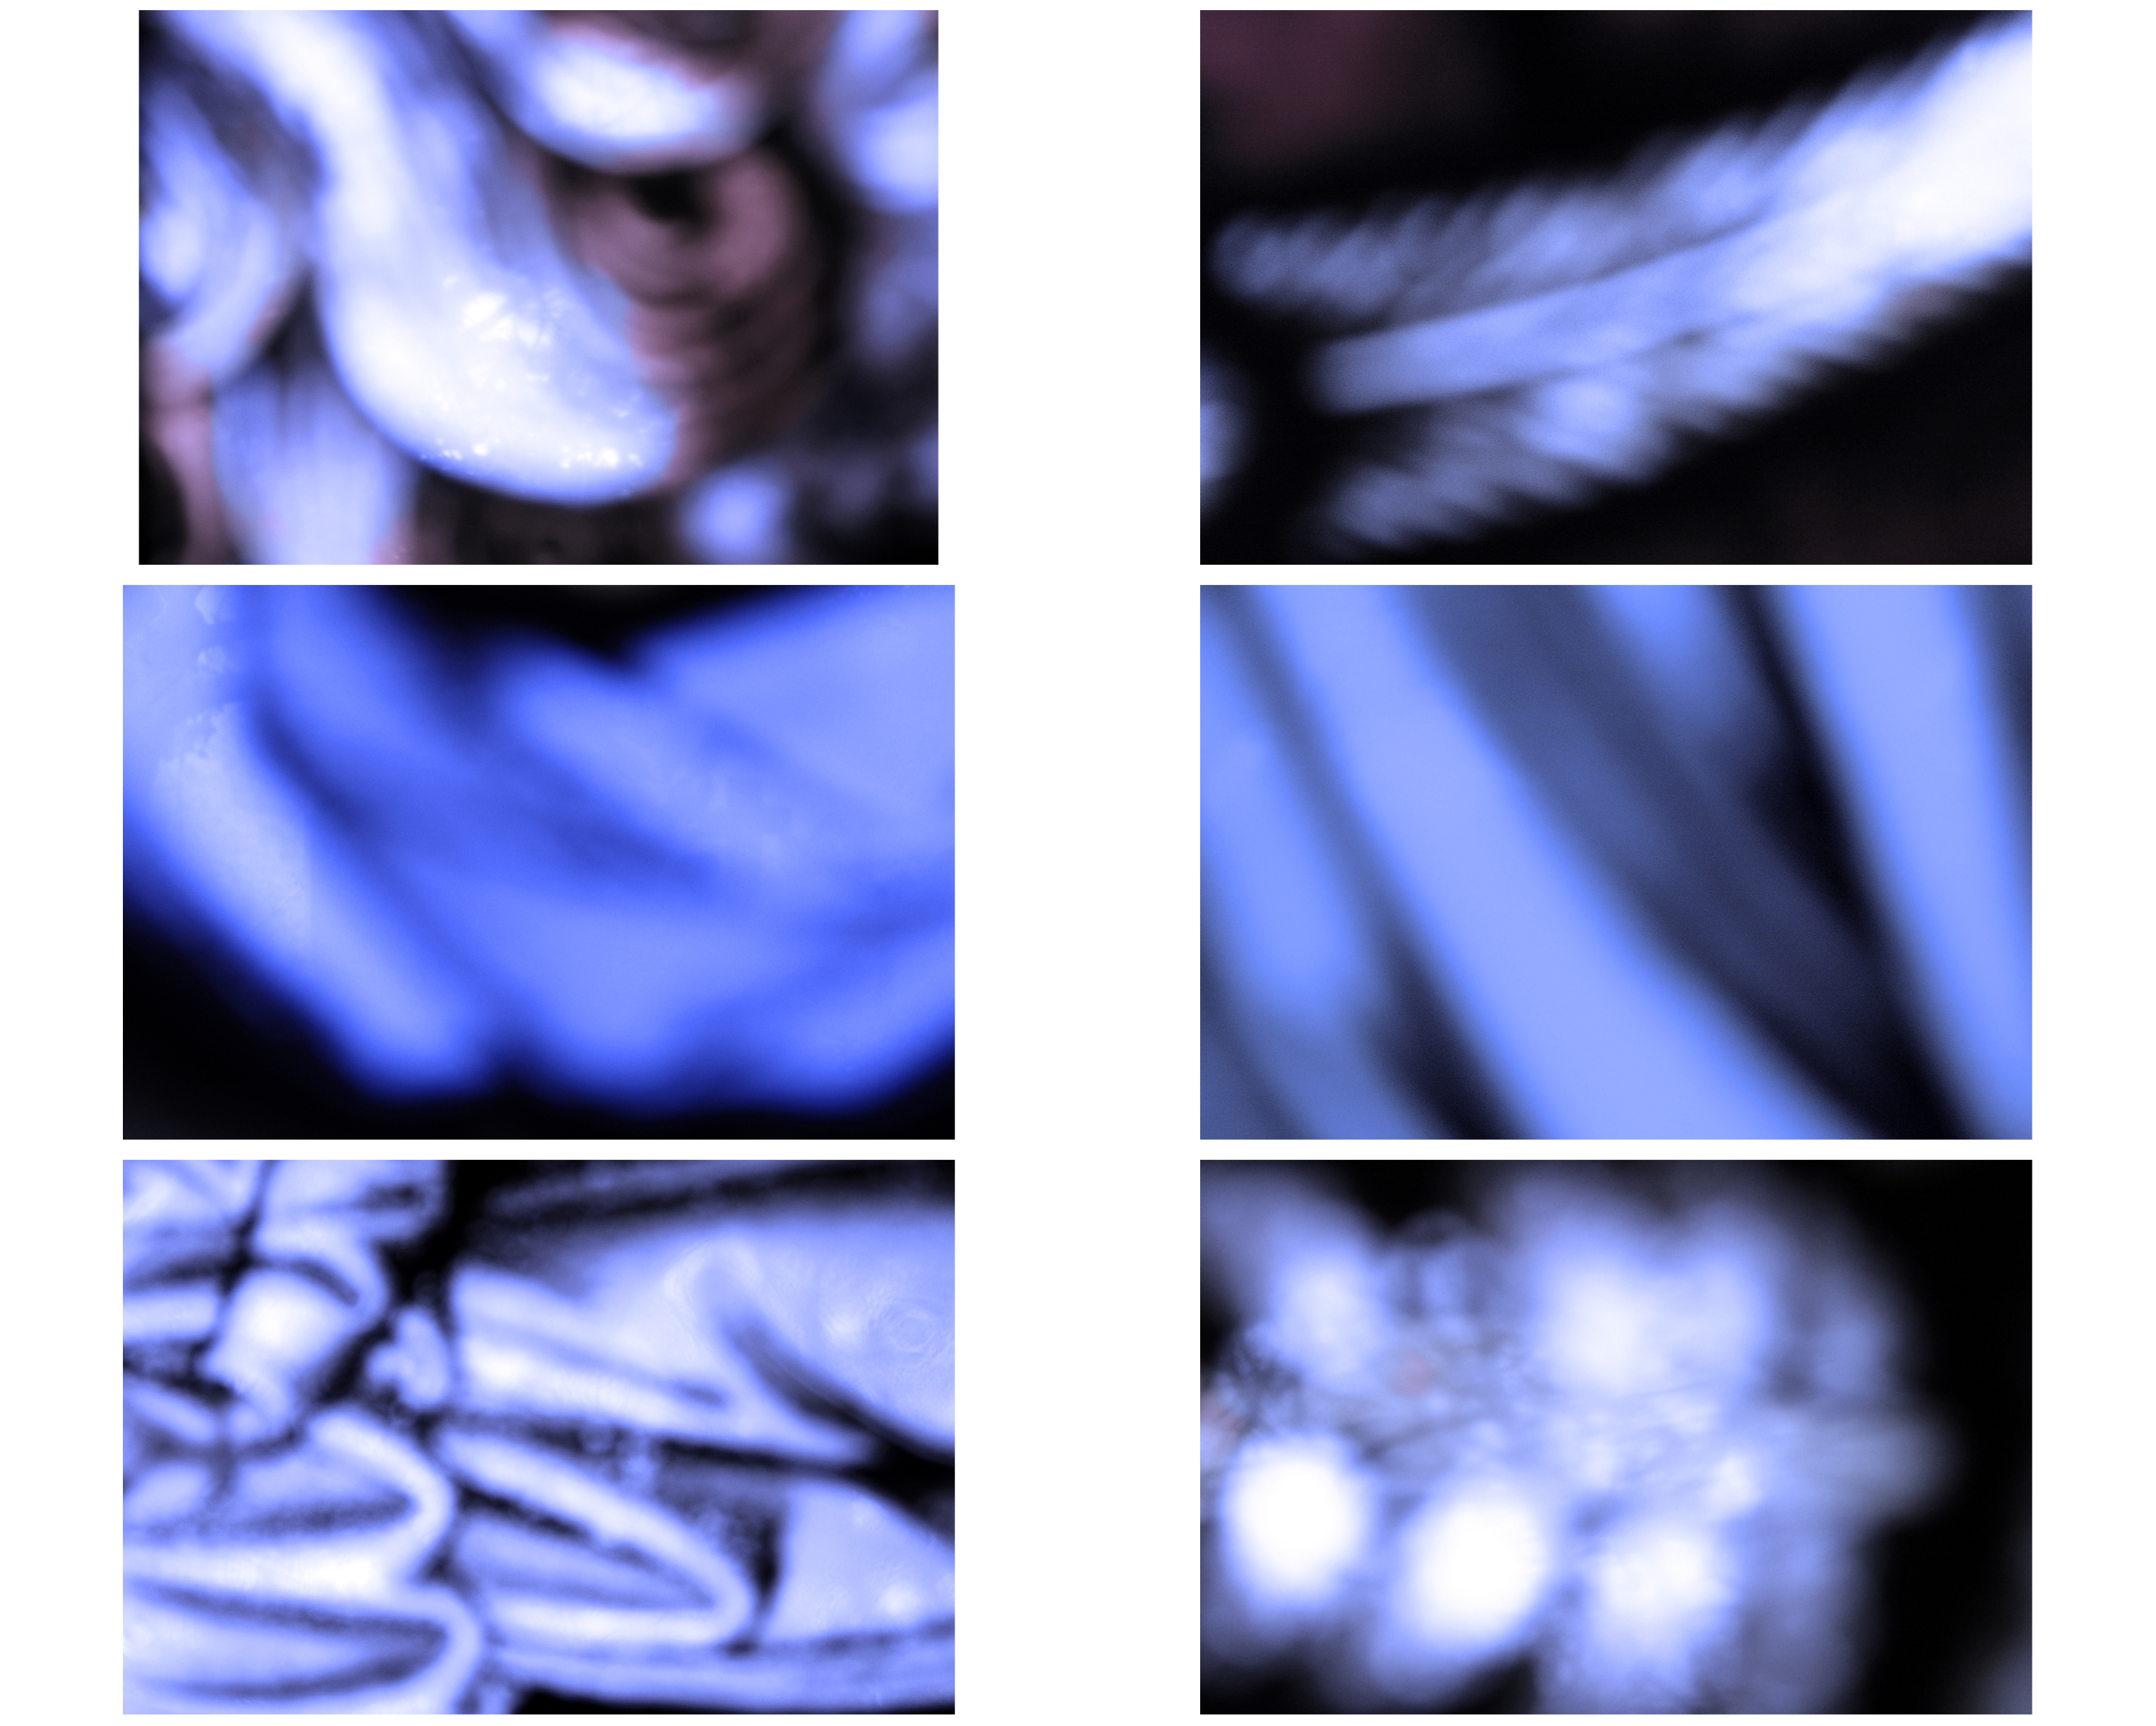
This blog post is comprising of a number of images that I have taken in the last couple of months which that I haven’t specifically gone out and taken for a shoot for this project.  I wanted to include these past images as because I am starting to look at and explore the element of water and therefore as I am starting to explore the freedoms represented in water, through looking at it’s motions, textures and colors.  I shall be doing future shoots using and experimenting with water however I believe these images are a starting point for my future shots I am planning on taking over Easter.   In my future shots I want to try and take photographs that show a strong contrast between the physical and the metaphysical by portraying he elements in a variety of ways such as close ups vs macro or usingn light vs dark conditions.  Therefore in these images I believe I have captured the two contrasting portrayals of nature through water being presented as more of a scientific view but also including various spiritual elements in it as well.  Essentially therefore my process is to take photographs of elements that are found everyday but photograph them in a manner that invokes and reflects their spiritual connections in order to also highlight how humanity itself can reconnect with nature – referencing the story of Adam and Eve told in Genesis in the Bible.

This is an image of a sky line.  I took it from a cliff looking outwards towards the horizon.  I wanted to include a large outward looking landscape over a large distance of water.  This is because it shows not only the scale of creationism in itself but also how furthermore the scale of continuous evolution and continuous change in nature.  Creationists and Evolutionists both agree that change occurs, however it is the principles governing this process is disputed.  Therefore I believe this image is inclusive of both theories in the sense that this image includes quite a potent sense of awe and wonder to it through the sea and sky formations that in itself appears spiritual as because of the similar colors and light – appearing somewhat connected.  Also because of how I have shot the element of water in its naturalist form, how this is a still image of change occurring in nature and also how their are darker tones appearing somewhat earth like and less “heavenly”, this could appear to appeal to the evolutionist theory.  However, personally for me, what particularly strikes me is how the tones and hues of light reflected from the sea in the distance is symbolic to the spiritual cause of the idea that the Earth was created for a purpose by God.  This is because looking on over the horizon, the idea that the sea is somewhat connected to another realm is expressed therefore I believe in this image.

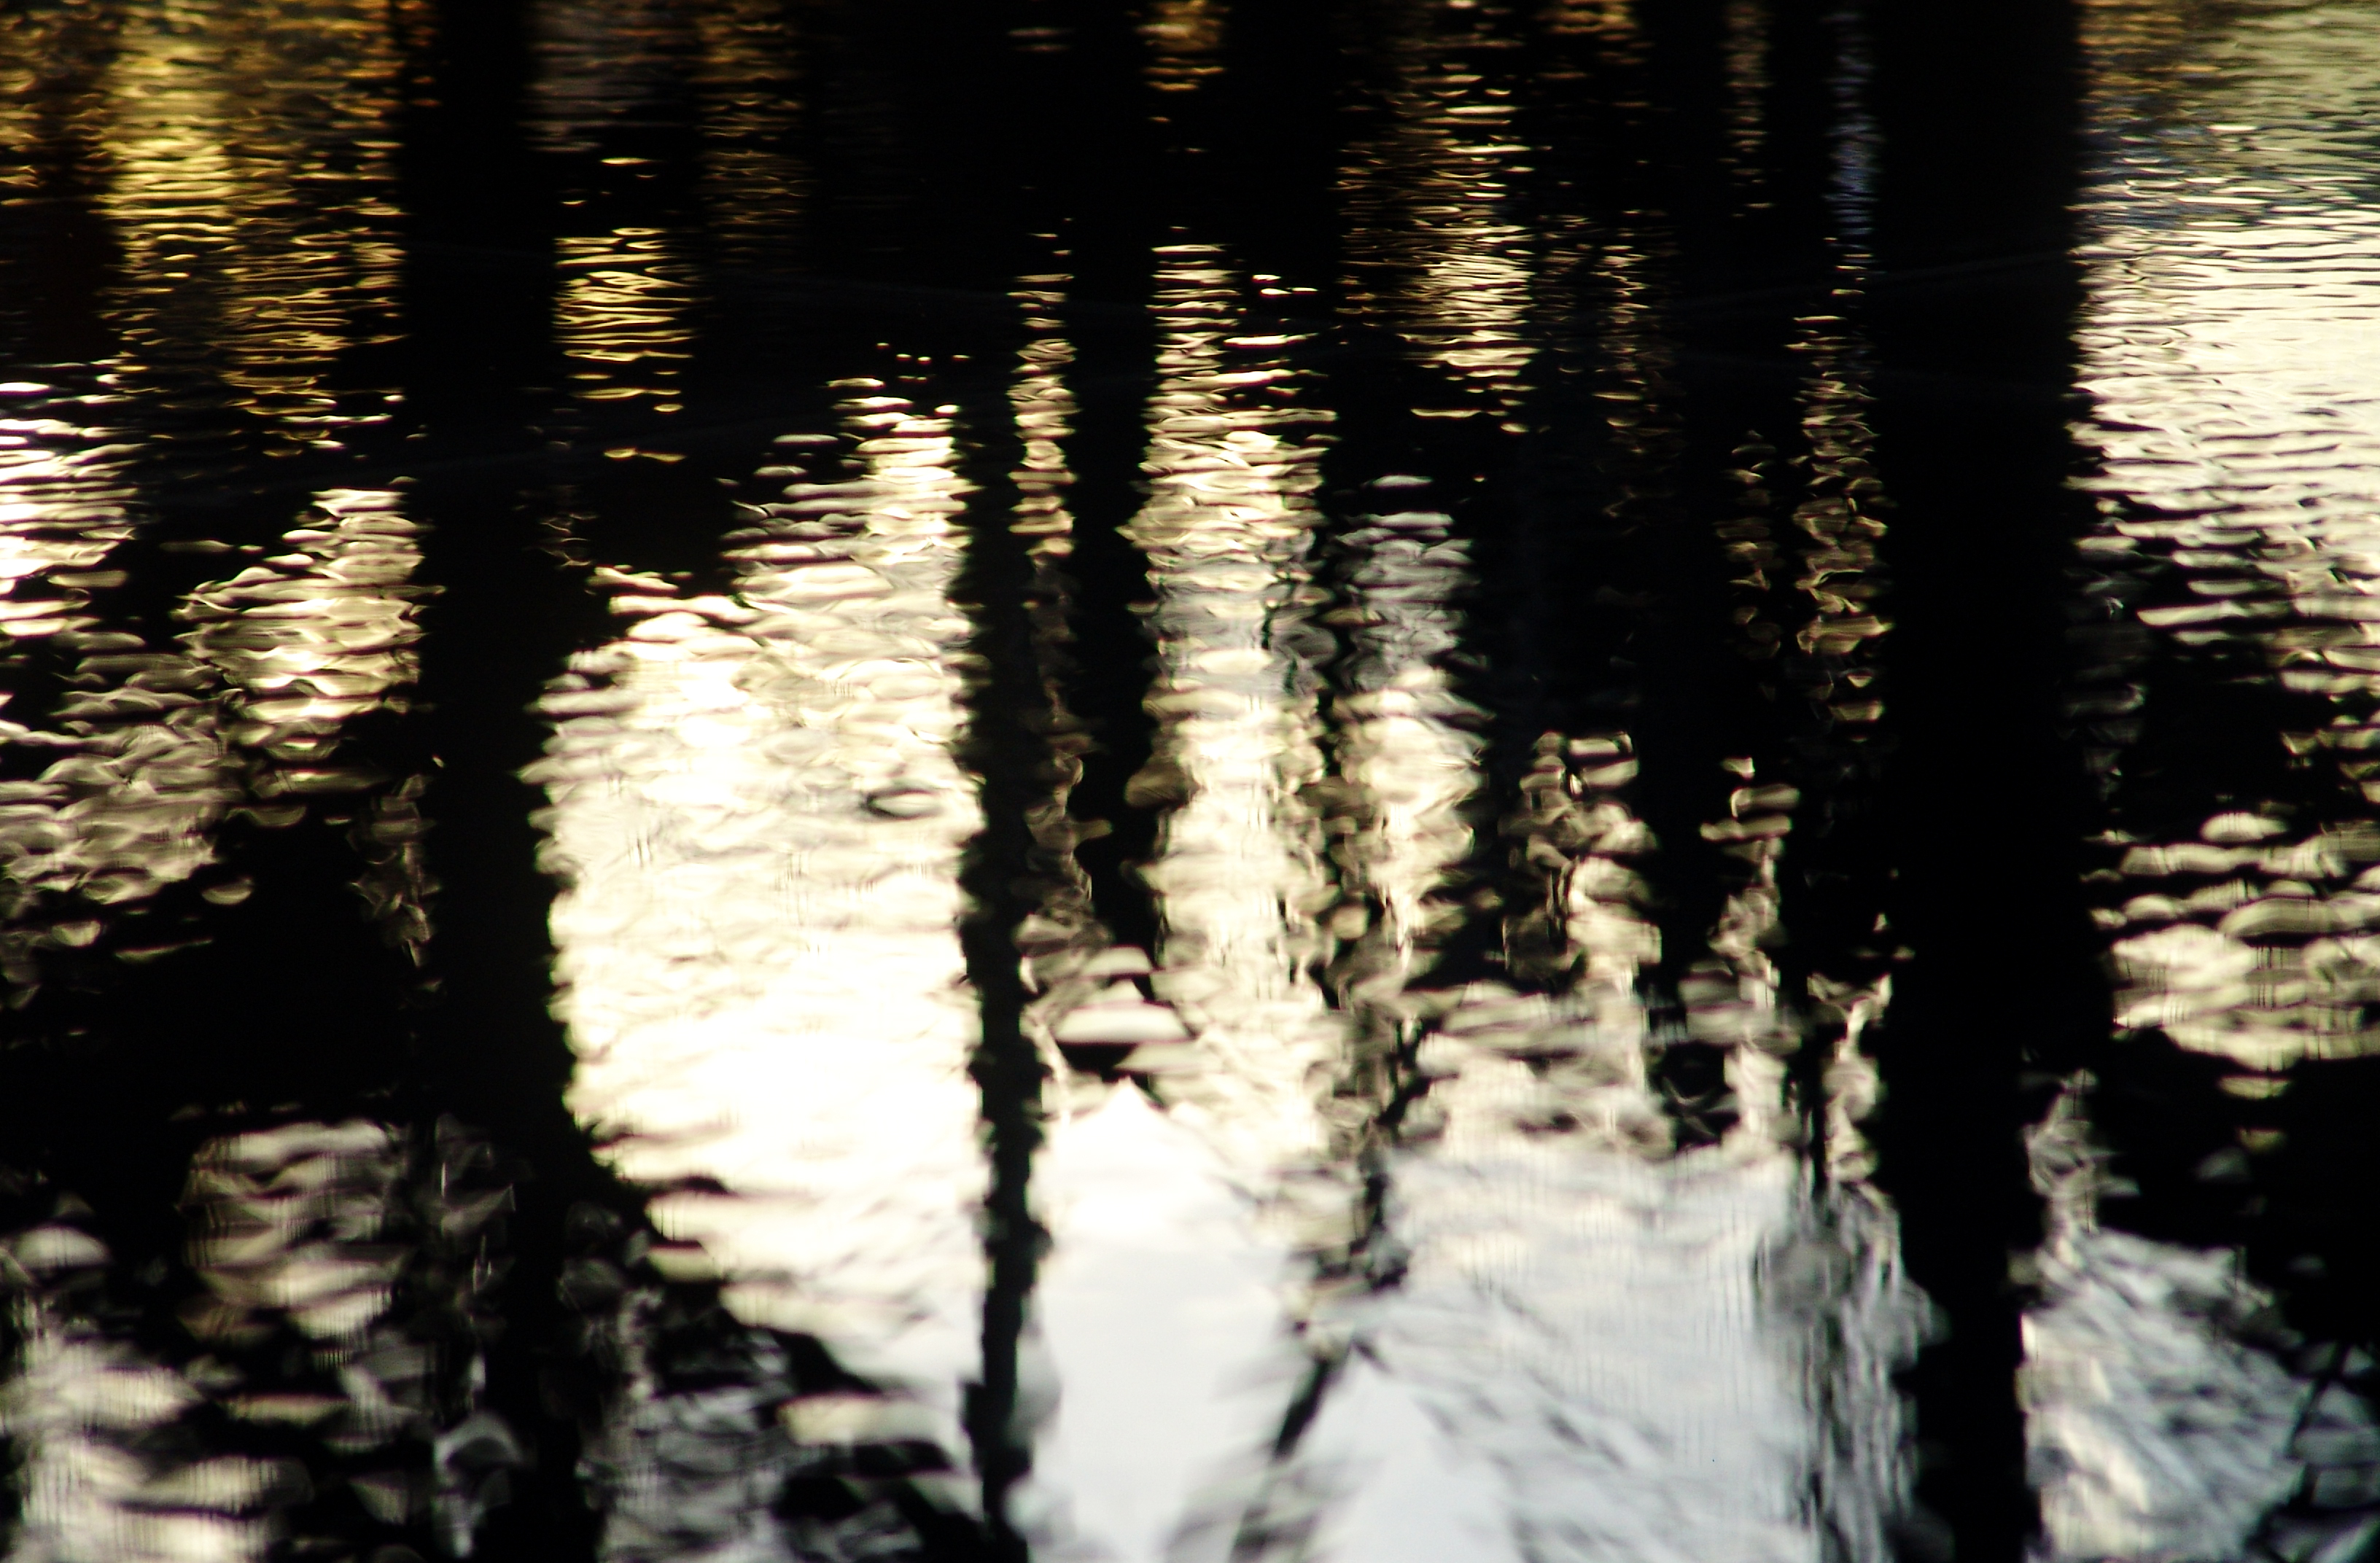
These next set of images I have included as I believe they successfully and effectively emphasize the idea in which spirituality governs the continuous evolution that occurs in nature.  I believe this triplet of images communicate and express the realms of spirituality within water but also most importantly the freedoms found i nature.  Arguably the freedoms given to us in nature could be given to us from a designer, allowing evolution in nature to occur freely.  This therefore links back to the theory of creationism because as God first created the world, it says in the first verse of Genesis “Now the earth was formless and empty, darkness was over the surface of the deep, and the Spirit of God was hovering over the waters”.  Interestingly, I have utilized the elements of water and light as a strong feature of these images which I believe re-enforce this verse.  This is symbolic because by expressing this relationship between light and water, it is representational not only just to the theory of creationism, but also  how the freedom that is found in nature is one of beauty and is in a way, appears almost alive and lifelike.  In doing this I believe that I am not only translating my own experience of spiritual encounters into this triplet of images, but also this links back to how as everything was created by God, just as they exist, they are worshiping God as these element have no known comprehension of intellect, understanding or morals.  “Everyone who is called by My name, whom I have created for My glory; I have formed him; yes, I have made him” (Isaiah 43:7)
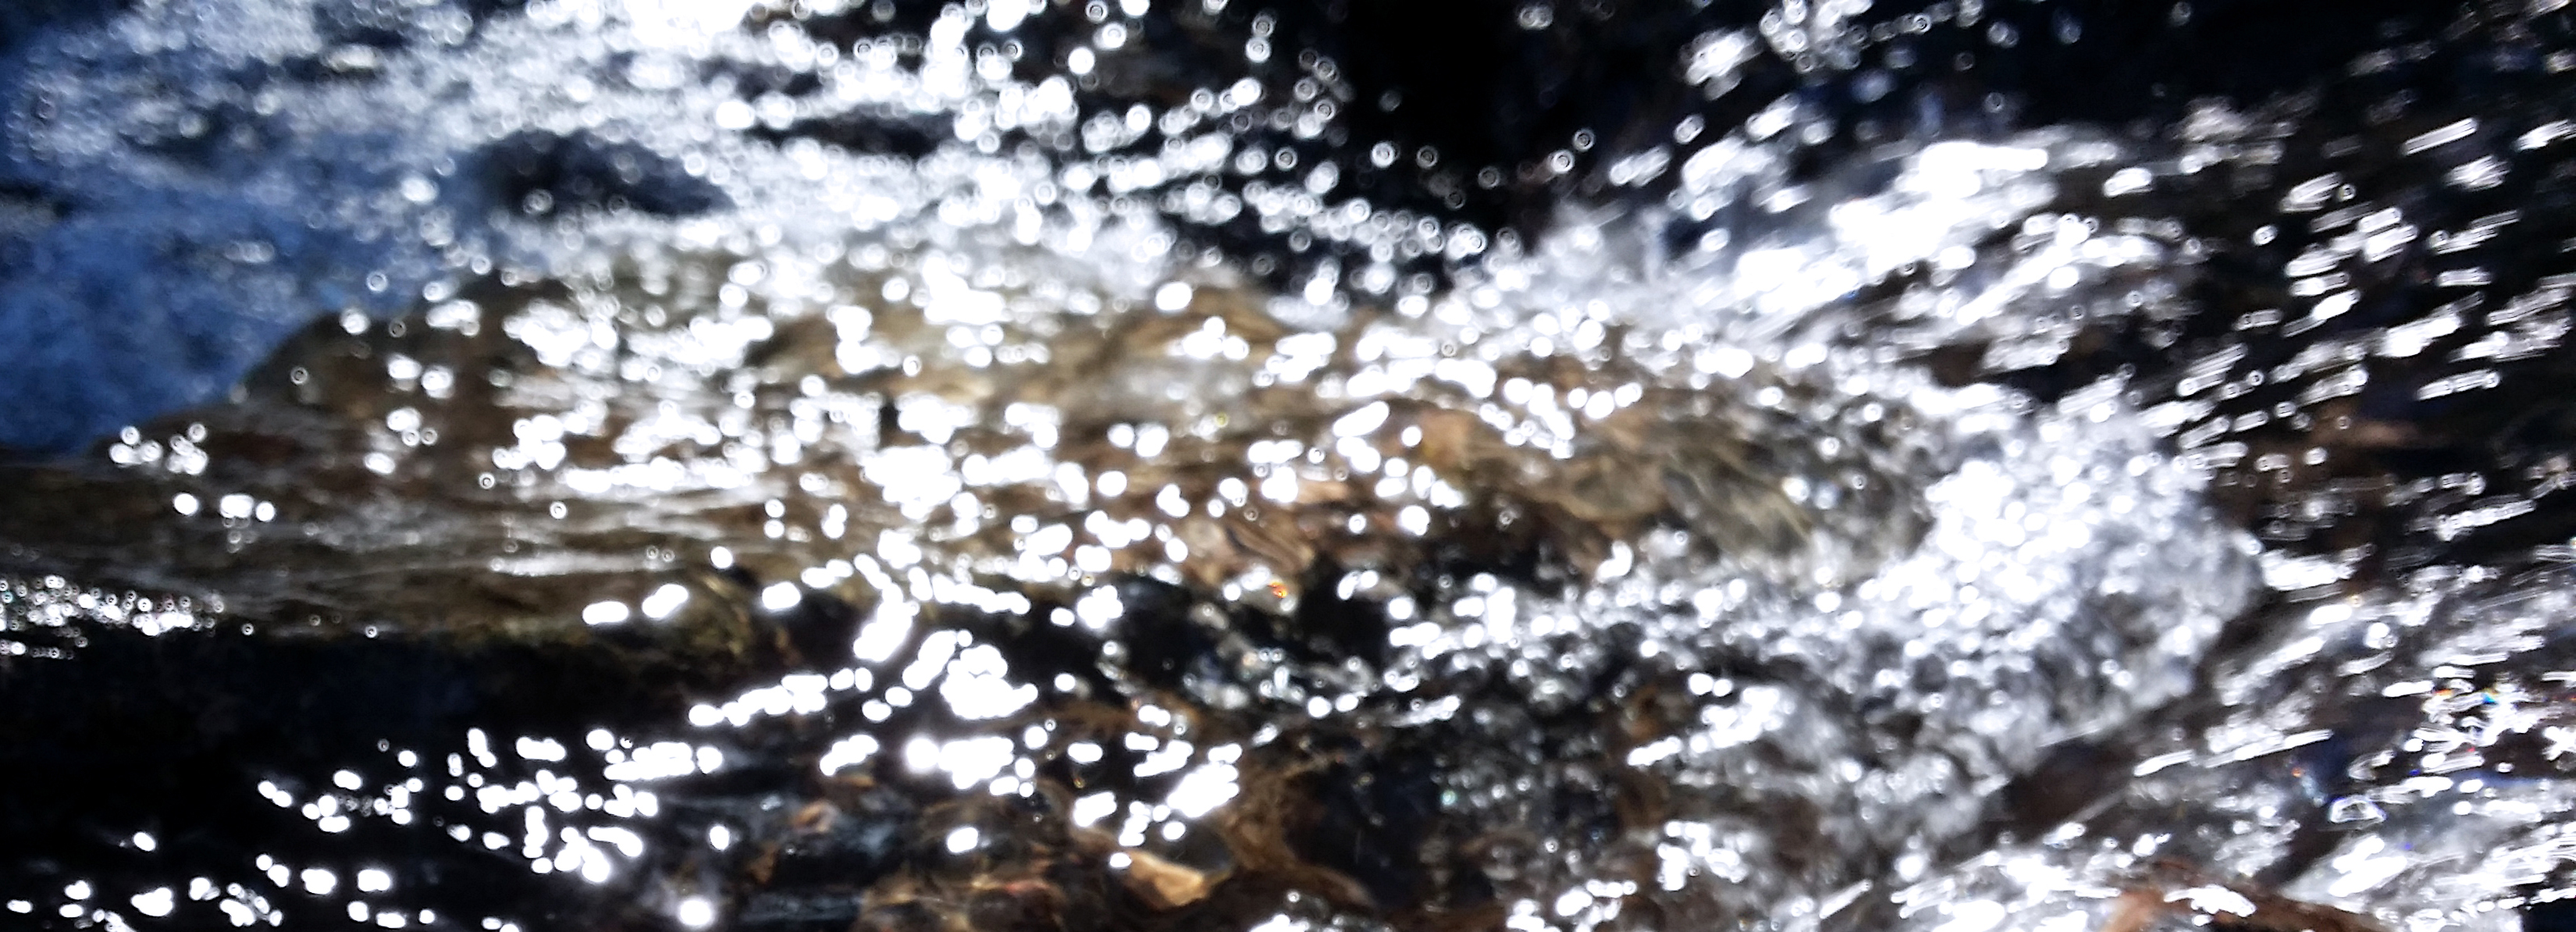
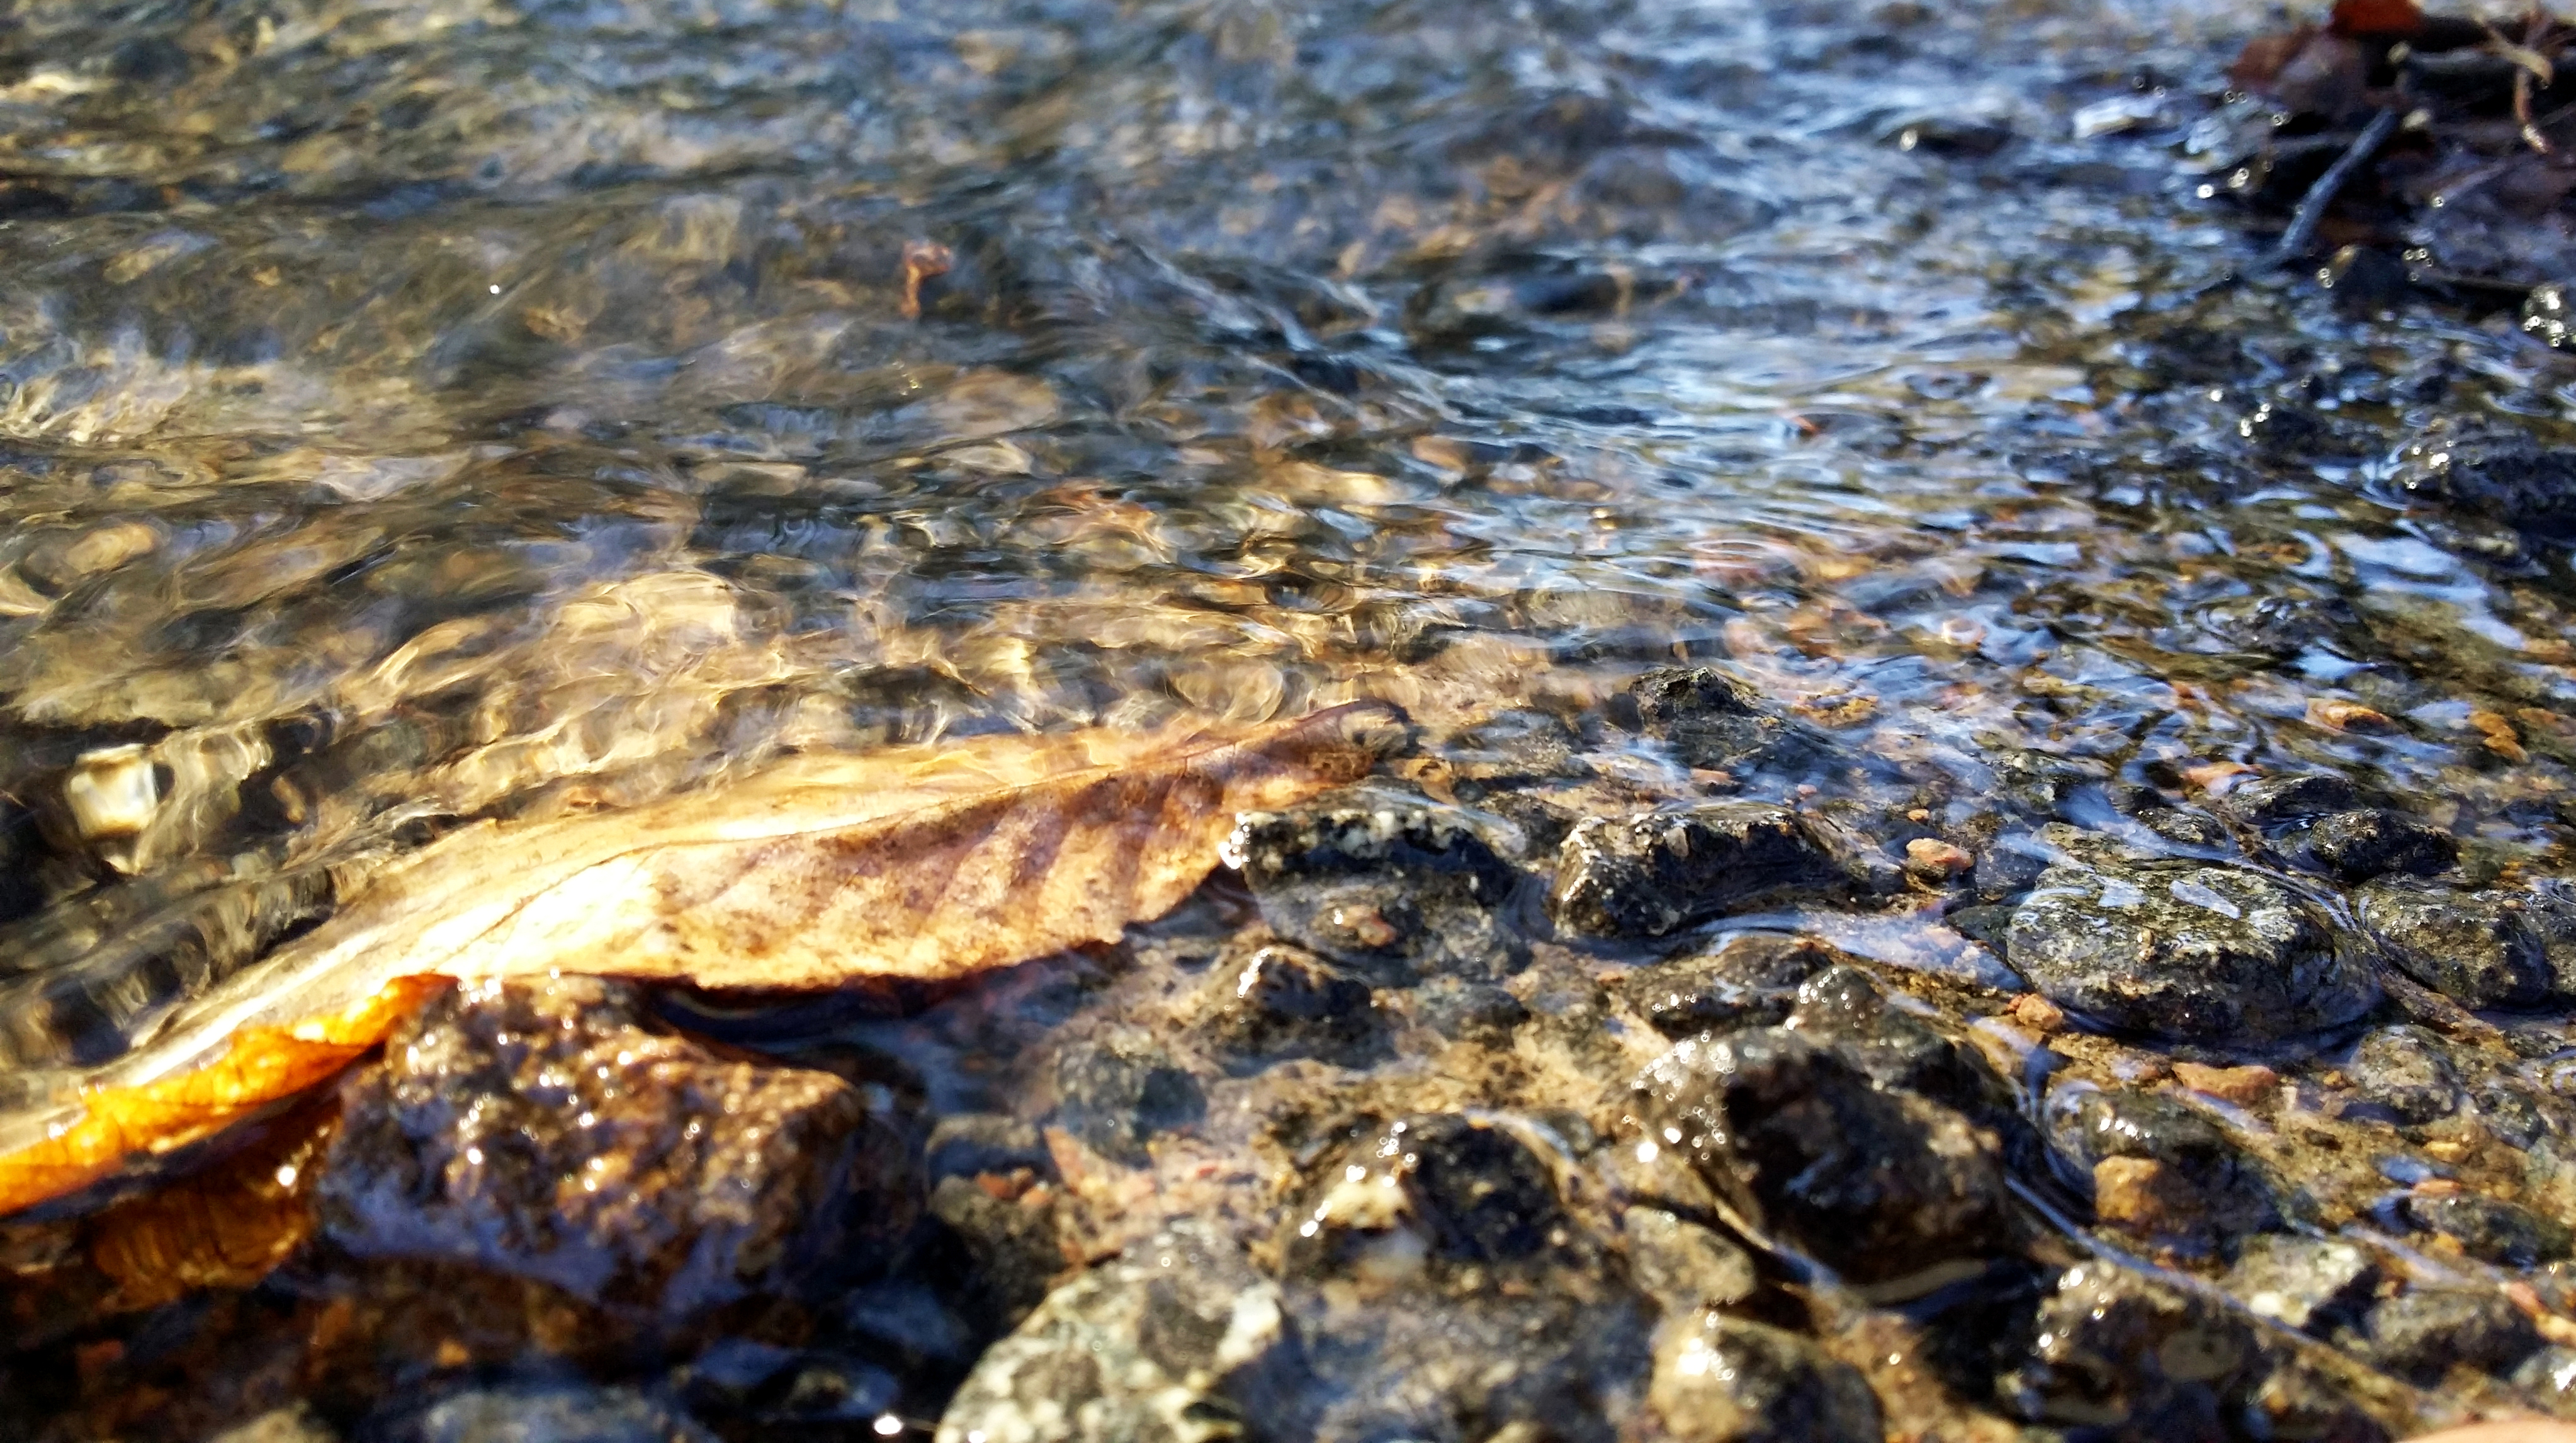
These last two images are very similar to the triplet beforehand, in that they are quite surreal and abstract, not of the objects of the physical within the image.  Te physical is very much just a normal stream, however the strong and powerful light tones add a metaphysical presence within the image which represents that water isn’t something ordinary but exists as a gift from God to nurture and support our existence.  In the top image, there is a lot of light, reflecting the idea that white light in the water is something pure and is a gift from our creator to allow us to exist and in doing that exercise and overseer change.  The bottom image includes a stronger use of colors and rough textures that are more delicate.  This is effective because it represents a sense of peace to it, and therefore relates to the idea of creationsim as we are created to be at one with nature and because we aren’t, we/humanity don’t necessarily feel as peaceful as the processes of change in nature occurs.

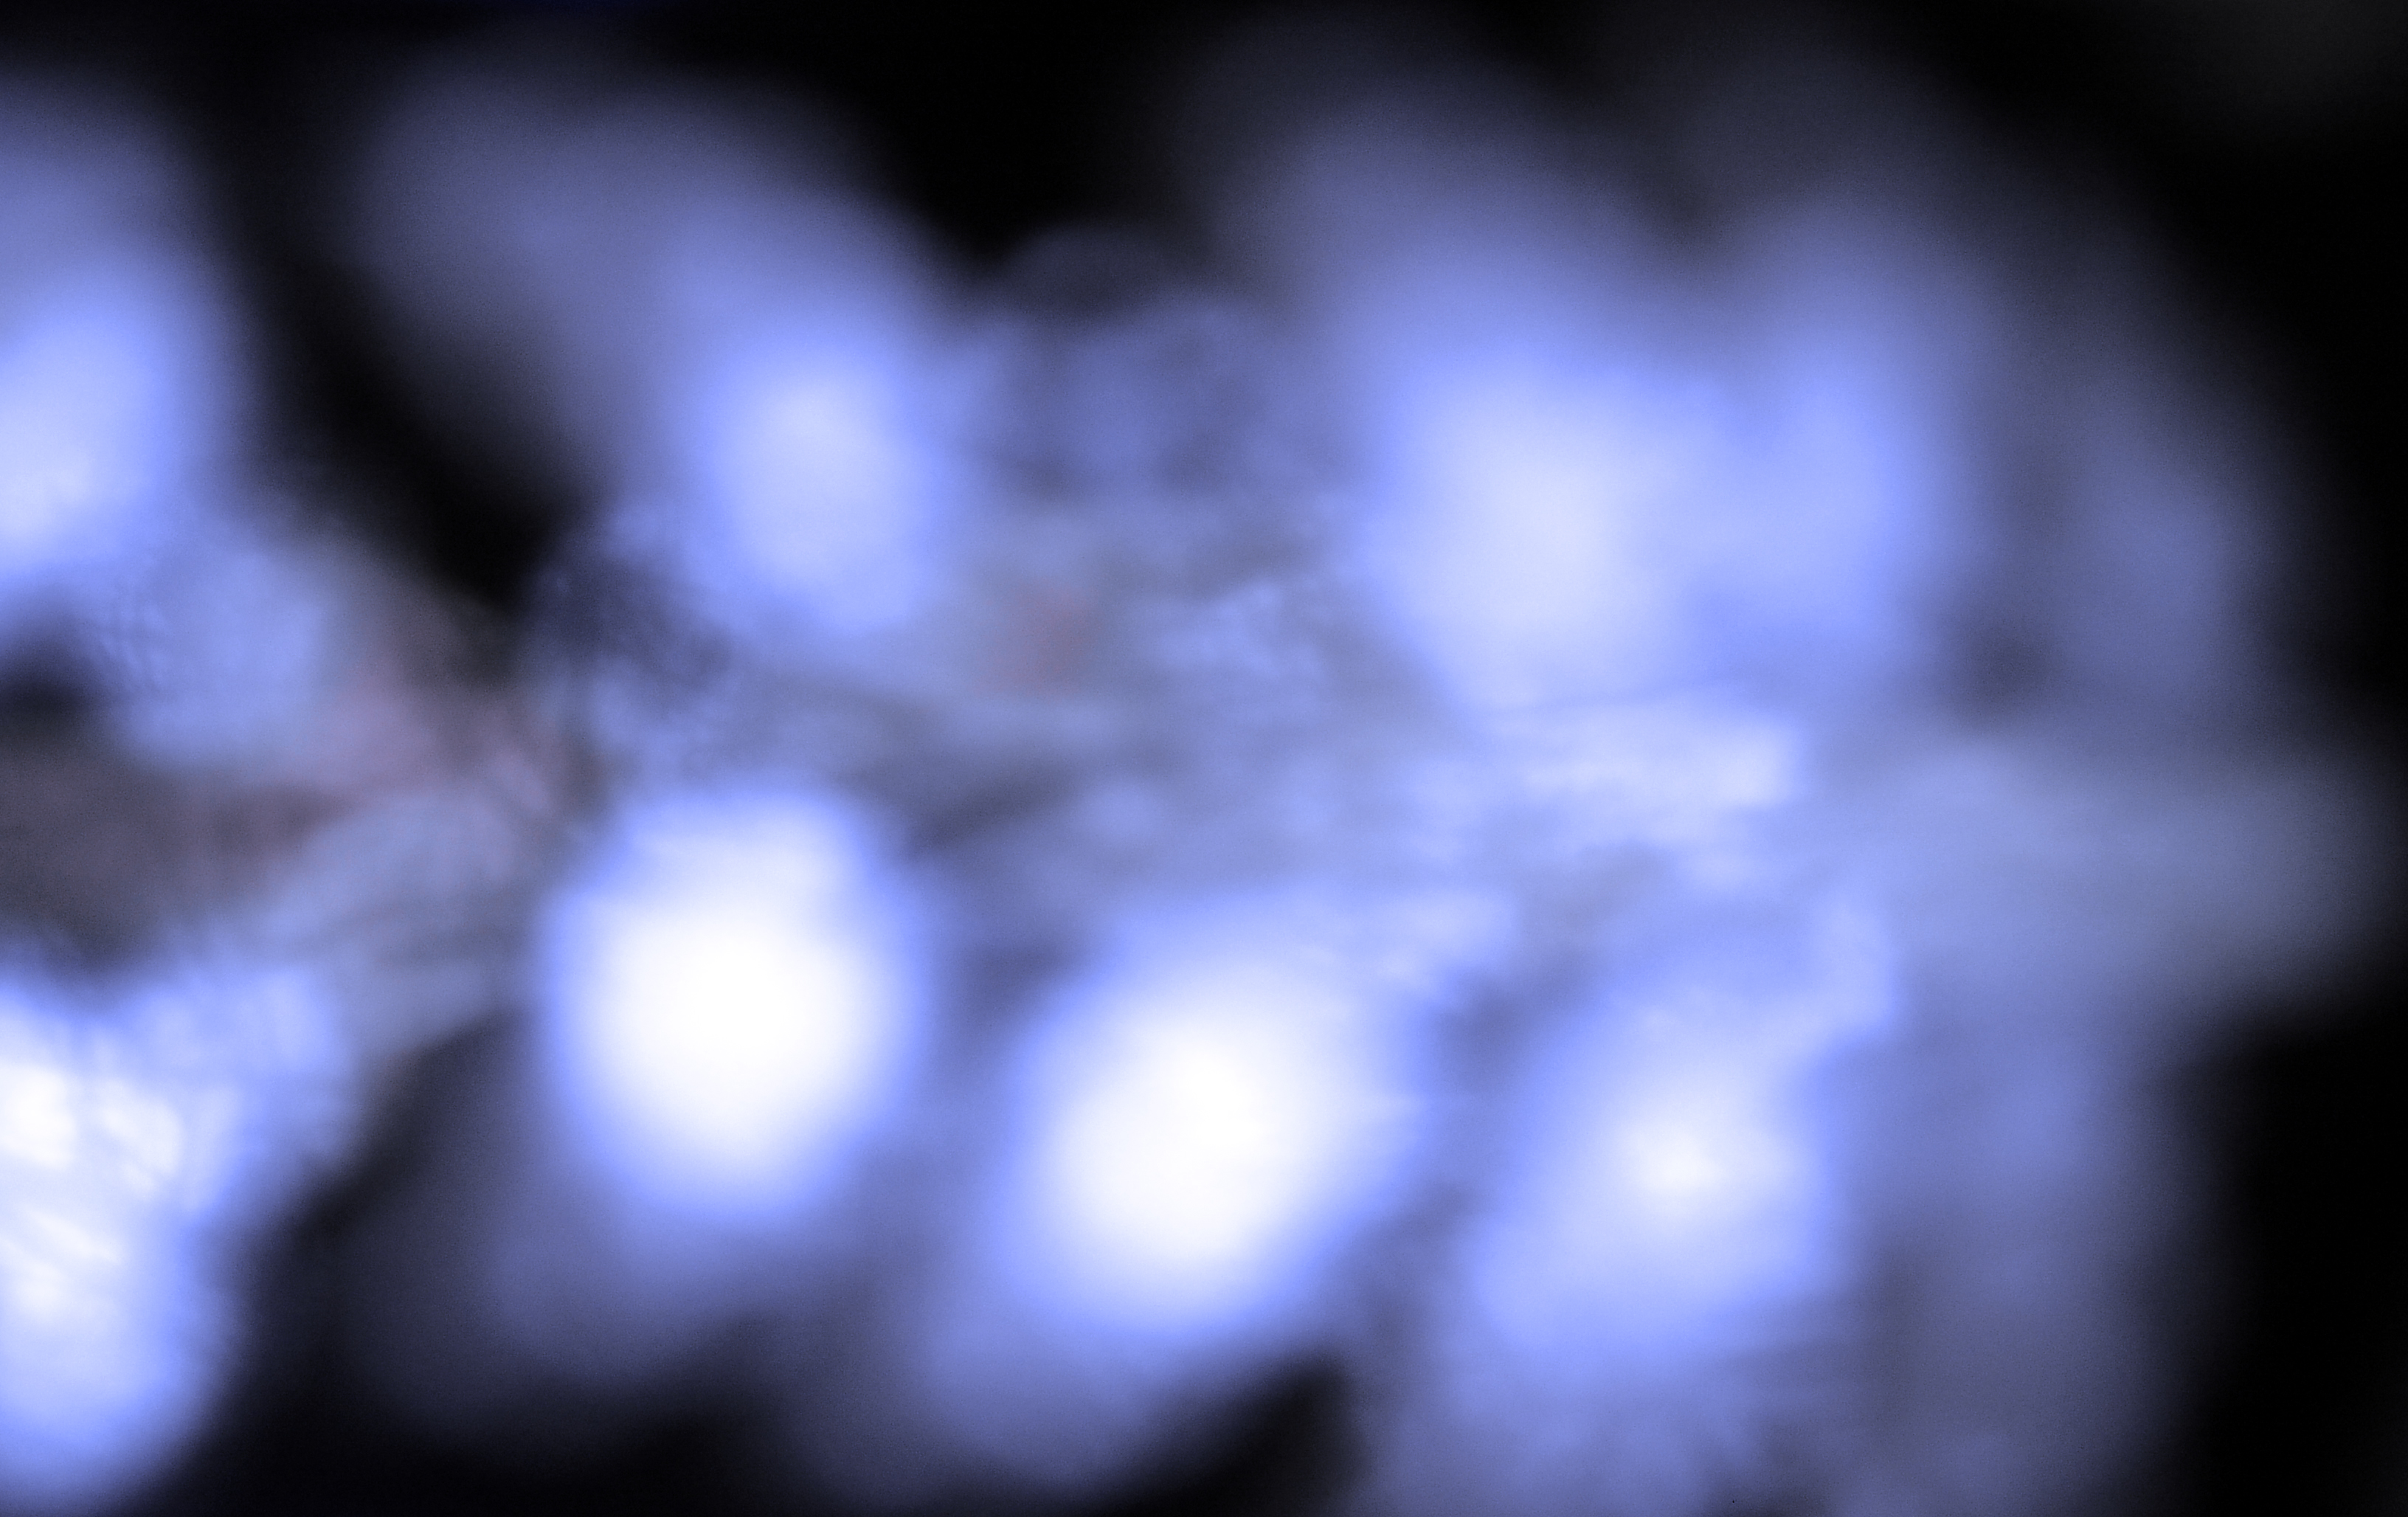
I like these double images and have included them as they represent the real vs the fiction.  For example, the beads of bubbles very much appear particle-like, however the motion and direction they are travelling in appears also reminiscent of the theory that change in nature occur for a purpose and in doing this is a celebration of the intricate and complex structure of the environment in which we live in.  Beforehand, my water images weren’t so much about capturing change but rather more so about beauty and individual design.  Contrastingly, here this image shows similar particles all moving in a similar direction, capturing the very process of change itself in nature.  The how in these images are about capturing how change occurs in nature and how we have got from one place to another.  The why in this image is why are the particles all together and why rare they moving in a particular direction – weakening the idea of individual freedom and strengthening the idea of nature’s change as being a collective freedom, one that serves all of the planet as one creation.


wabi sabi // sea shoot

After school in the evening when the light was fading, I drove too St Aubins bay to do a photo shoot focusing on the movement of the sea.  The light was good for the shoot because it was cool and bright which enabled me to easily capture the details of the sea. The light was also reflecting off the water which created a really nice effect. I used a canon camera for the shoot and focused in on the shapes and movement of the current. I used a medium focal point to capture the images because it was easier to get all the detail I wanted because of the constant movement of the tide. I had to use a very fast shutter speed to be able to capture the images in a good quality.

When editing the images I choose the best quality and range of scenes and objects. I edited the images using Photoshop because I wanted to do simple edits to each image rather then do them all as one block edit. When editing the image I simply changed the contrast, brightness and added more vibrancy to the images to make them more visually interesting.

As well as abstract close ups of the sea and the movement of the waves, I also captured different things that I noticed during the shoot. I captured these because I wanted to contain a variation within the series. I also edited these images in Photo shop to changed the brightness and contrast, and also to add more vibrancy to the images. I wanted the images to be bright and pure because this was the type of effect I was trying to create throughout my whole series.

wabi sabi // sky shoot inspired by William Eggleston

After researching about William Eggleston and learning about why he took his sky images, I decided to do a shoot of my own of the sky and clouds during the sunset. I choose this time of day because the sun effects the sky by creating different colours which is a beautiful thing to capture on a camera. There are many  different abstract shapes and textures that are created.

I edited the images using photoshop because I wanted to bring out the natural colours that were created. I am very happy with my result and believe it goes very well with my project because I am capturing something that happens everyday, but we tend to ignore or not notice. I have managed to capture something insignificant in a beautiful way.

COMPARISON

The image below is one of the edits from my photo shoot of the sky during evening time. Its an image of a cluster of clouds captured in front of the dark blue sky behind. There is little going on in the image which is what makes it beautiful because its simple yet powerful at the same time. I really like the colours in the image because they have a subtle warmth within them created by the sun setting. This is the main difference between mine and Egglestons. My image is darker and more atmospheric because of the time of day the image was taken. The clouds contain a yellow and pink tinge which makes the image more visually interesting for the viewer. Eggleston’s image has less contrast of tones between dark and light. It also has contains less of a range of colours.

MINE
EGGLESTON

Deadlines, Opening times and work over Easter

EXTRA SUPPORT BEFORE EXAM IN CLASSROOM
Tue 17 April: 3:30-5:00pm – MR T
Wed 18 April: 3:30-5:00pm – MR T
Thurs 19 April: 3:30-5:00pm – MR C
Fri 20 April: 3:30-5:00pm – MR C

FINAL PRINTS DATES:
Select your final images for both EXAM and COURSEWORK (if you haven’t completed this already)

Wed 18 April 15:00
prints ready Tue 24 April
Tue 24 April 15:00
prints ready Mon 30 April
Wed 25 April 15:00
prints ready Wed 2 May

EXAMINATION DATES:
Groups 13A and Group 13E 24 April, 30 April & 1 May.
Group 13D 25 April , 2 mAY and 3 May
15 hrs controlled test over 3 days

CLASS LIST + EXTRA TIME
For those of you who have extra time – check when this has been allocated.

A2 Photography Exam 2018

MAKE SURE YOU HAVE COMPLETED THE FOLLOWING WORK BEFORE EXAM BEGINS

PLANNER for A2 EXAMINATIONS 2018

PHOTO-SHOOTS: Record and explore your final 3 planned photohoots.
It is essential that you complete your principal shooting over Easter and return on Tue 17 April with a few hundred images ready for further post-production and editing. Remember first final print run is Wed 18 April

EDITING: Make a rough edit of shoots (you can come into school and work on classroom computers or alternatively download a 30 day free trial of Lightroom/ Photoshop from Adobe. Click here for more details.

EVALUATE: What went well? how can you improve/ develop work from here? Describe visual/contextual links with research, artists references, exam theme. Analyse your best two images following method: FORM, MEANING, JUDGEMENT, THEORY/CONTEXT.

FINAL OUTCOMES: Consider what your final outcomes will be and how to present them ie. single images or a series of images, diptych, or triptychs, grids etc.

PHOTOBOOKS: For those who wants to make a photobook – begin to make a selection of images – think about narrative and sequencing (what is the story you want to communicate and how you are going to do it in a series of images).

RESEARCH: Support book design with research and analysis of at least one other photobook by other photographers. Follow these steps here in your understanding of design, concept and narrative.

BLOG POSTS: Go through all your blog posts and make sure that you have completed them all to your best ability, e.g. good use of images/ illustrations, annotation of processes/ techniques used, analysis/ evaluation of images and experimentation. Remember to MAKE YOUR BLOG POST VISUAL and include relevant, links, podcasts, videos where possible.

To achieve a top marks we need to see a coherent progression of quality work from start to finish following these steps:

RESEARCH > ANALYSIS > PLANNING > RECORDING > DEVELOPING > EXPERIMENTING > PRESENTING > EVALUATING


wabi sabi // 26.3.18 shoot

After school I went out with my camera to take some images of different things I found. Since my project is about insignificant things and imperfect beauty I mainly tried to look for the tiny details that we usually ignore. My project is also about growth and decay so I tried to find things to link to this such as the beginning of a growing flower or a decaying leaf. My project is about life in general so I also took images of tiny insects such as ants. However I wanted my images to by visually interesting so I looked for certain angles and frames and different ways I could use the subject such as holding the ant in my hand rather then just capturing it on the floor. I images are taken in my garden, house and also in green Island beach. They were all taken after school. Most of them have a small f stop because I wanted to highlight only the smaller details that I wanted the viewer to take in.

I used Photoshop to edit the images because I wanted to create the same atmosphere as I did for my previous shoots. It was the brightness that I wanted to replicate but I didn’t have to edit the image that much because I used the camera settings to create the aesthetic I wanted. Some images suited a black and white filter better then colour because it revealed the finer detail much more. When editing the images into black and white I used a much larger contrast because this made more of a difference between the dark and light areas which makes the image more visually interesting.


shoot // body 1

This shoot was the first of the body shoots. I planned to use myself as the subject because I just wanted to get simple images of different parts of the body but it was a lot harder then I anticipated. I asked my mum if I could use her as the subject instead. The shoot turned out very well because I was able to capture the image that I wanted. I aimed to get the details of the skin and the form which is what I managed to do. The shoot was done in the bathroom because I needed a white plain background. The shoot was done in the evening so the lighting wasn’t the best. I decided to use the flash to help capture the details.   I wanted a pure, cool colour to the images so I used white fluorescent as the white balance setting. When I used the flash it was making the images too over exposed so I used my hand to cover the flash slightly. This created a really nice effect of a pinkish colour to the images. Overall I am very happy with the results of the shoot.

I made sure I got all the different angles I wanted to get such as the feet, hands and the face. I also wanted to get some of the bone structure because its an unusual part of the body. When I was photographing the hands and feet I wanted to get the unusual angles that nobody really captures, such as the soul and the ball of the feet. When photographing the hands I wanted to capture the insignificant details such as the wrinkles and folds. For the face, I wanted to fragment the individual details such as the eyes and ears.

Since my project Is about growth and decay and capturing the insignificant details this is what I wanted to try and represent within this shoot. I made sure I captured the growth of the body and the way its changing through time. I captured this by photographing the feet and hands, and the wrinkles which show the decaying of the body. Also by focusing on the hair and it changing to grey shows how its changing over time.

I selected the best images from the shoot and edited them using Photoshop. I wanted a variation of angles and details and I am happy with the amount and variation I have. The editing was very simple because I was happy with the colour and exposure of the images all ready. I made the images slightly brighter and lessened the contrast to create this pure bright atmosphere. I didn’t crop any of the images because I was happy with the framing.

Exam Progress Log 21.03.18

Early last week, I uploaded a blog post outlining my intentions for my first two photoshoots and mentioned that I would be carrying out both of these shoots of that week (beginning Monday 12th). As well as this, I produced a blog post covering my plans for both of the shoots.

On Wednesday 14th, I did manage to carry out my first shoot of the project (excluding my practise shoot) and this was with Peter Le Gal. I have collated contact sheets from this shoot and have completed my edits of my best images also. Looking back on the photoshoot, it was very successful but it was the first stage at which I realised that my intentions may be more difficult to follow through than I first forecasted because doing this shoot made me realise that working with people I wasn’t very close with would be more difficult that I first anticipated because of the difficulties in communication we may have but I will become more comfortable and use to shooting and directing my models as I progress through the shoot. Apart from this, the shoot was successful and I retrieved many positive outcomes from it which I will present soon in another blog post.

However, I was also supposed to do another shoot on Thursday 15th – the day after but because of the weather, I had to cancel the shoot for that day that I was supposed to do with Max Feighan, as planned and postpone it until the week after (thus week beginning Monday 19th). The weather was looking very rainy and grey and this was not what I wanted to shoot in as it would make it very difficult to get a goof handful of successful outcomes from it and as it will be my first time shooting with Max, I wanted it to be the right conditions in all aspects. I have contacted Max again and ask ed if he is available to shoot on Saturday 24th instead which he said he was and is our shoot that was supposed to go ahead last week is now going ahead this Saturday. However, I have told him that this may change again depending on the weather. We will be basing the photoshoot in Les Quennevais Precinct as I feel this will be a very effective location for an urban look and feel  Therefore, the post outlining this second shoot will not be published as soon as I thought and I have had ot re-arrange how I structure my work because of this unforeseen and external circumstance that cannot be controlled. However, this will still be my second shoot if it goes ahead for the 24th and I have also arranged my third shoot on Monday 26th with another confirmed model, Emanuel Nobrega and I will be uploading my planning process for this in the latter of this week.

My plan for the remainder of this week is to upload all relevant evidence of my shoot with Peter form last week including any contact sheets, edits and evaluation/analysis of the photoshoot as well as showing evidence of my recce report of the location we shot in which I carried out before the shoot on Wednesday. As well,m I will still be carrying out any relevant planning/research I need to in the background and this will be uploaded when a piece is completed thoroughly. I will also be staying in contact with models in the background as I have been so far to maintain a relationship and keep them in the loop of what is going on.

experimental shoot // night branches with flash

This shoot was an experimental shoot that I hadn’t planned. It was done at night time in my garden. I wanted to capture nature at time time. I used the flash for the shoot because I liked the way it revealed the details with the dark background. I found that simply using the flash was too boring of an effect so I used my hand to cover the flash to what would happen. I really liked the effects it created because it made interesting shapes and shadows that made the image a lot better. By using my hand to cover the flash it also created a reddish tone over the scene which I really liked.

I edited the images using Photoshop. I didn’t change the original image dramatically, I simply added more colour and more contrast. I selected my favorite images and for each one I edited a colored and black and white version. This was because I wanted to the contrast and I really like the shadow and shadings of the black and white version.

Light vs Darkness

In these images I am trying to explore the relationship between light and darkness, that very much relates to the idea of creationism in that both these elements were  key features in the early days of the world according to the Bible and other similer sources. This strongly links to the idea of freedom and limitations because it not only represents the freedom in light and spiritual experience against the dark forces, but also in doing this, this concept explored and expresses the freedom in the constant change in nature and as to why it occurs.  This is as I am capturing light in a way that is represented to be overlapping the dark tones in these images.  In a sense this bears slight resemblance to the theory of evolution as I am depicting my images as not only as a direct reference to the continual spiritual development that occurs in nature to this day, but also this I believe references also to evolution.  This is because in order for evolution to take place, elements need to exist to support this growth.  In my opinion, by taking images of the elements I am conveying the idea that evolution takes place, but there is more to it than that as spiritual evolution that dictates the laws of nature is also taking place which reinforces the idea of evolution depicts the how where continuous spiritual creationism is the why.  However the slight issue which occurs is that although we don’t necessarily know why we creationism occurs likewise with evolution, religiously it is for us to draw closer to God.  Therefore in common religious belief it is that everything was created by and for God to act as a celebration of his creationism and that every element such as plants that exists, by existing is worshippig God.  ““Praise him, sun and moon; praise him, all you shining stars” (Psalm 148:3).  Therefore it is suggested that man also was created to worship God and be connected to him: “Everyone who is called by My name, whom I have created for My glory; I have formed him; yes, I have made him” (Isaiah 43:7).  ALthough this previous quote includes direct reference to man and nature, because in religious belief God gave man intelligence for stewardship over the Earth and the elements, I believe my images, I am trying to photograph and document the lost relationship and connection we previously had.  This is apparent in Genesis within the Bible:

“Then God said, ‘Let Us make man in Our image, according to Our likeness; let them have dominion over the fish of the sea, over the birds of the air, and over the cattle, over all the earth and over every creeping thing that creeps on the earth.’ So God created man in His own image; in the image of God He created him; male and female He created them. Then God blessed them, and God said to them, ‘Be fruitful and multiply; fill the earth and subdue it; have dominion over the fish of the sea, over the birds of the air, and over every living thing that moves on the earth.’ And God said, ‘See, I have given you every herb that yields seed which is on the face of all the earth, and every tree whose fruit yields seed; to you it shall be for food. Also, to every beast of the earth, to every bird of the air, and to everything that creeps on the earth, in which there is life, I have given every green herb for food;’ and it was so” (Genesis 1:26-30, NKJV). “The LORD God took the man and put him in the Garden of Eden to tend and keep it” (Genesis 2:15,


How to Explore and Record

There are two weeks until Easter it is paramount that you explore photoshoots as per your manifesto/ specification and make your principal images now so you have a critical body of work to edit and produce final outcomes from.

When you are photographing and responding to ideas and inspirations from artist references you are both exploring and recording. The two go hand in hand. If yo do it well and often (on a weekly basis) you should be able to achieve 50% of your overall marks!

In the PLANNER for A2 EXAMINATIONS 2018 I have highlighted the importance of a sustained investigation.

Each week you are required to make a photographic response (still-images and/or moving image) that relates to the research and work that you explored in that week. Sustained investigations means taking a lot of time and effort to produce the best you can possibly do – reviewing, modifying and refining your idea and taking more pictures to build up a strong body of work with a clear sense of purpose and direction

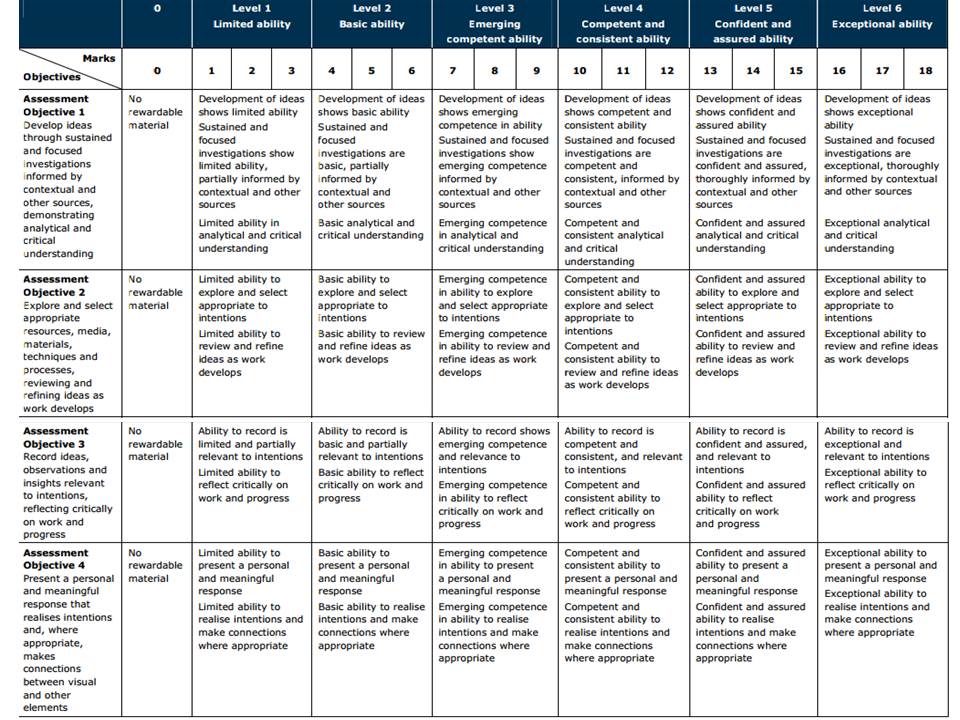
Get yourself familiar with the assessment grid here:

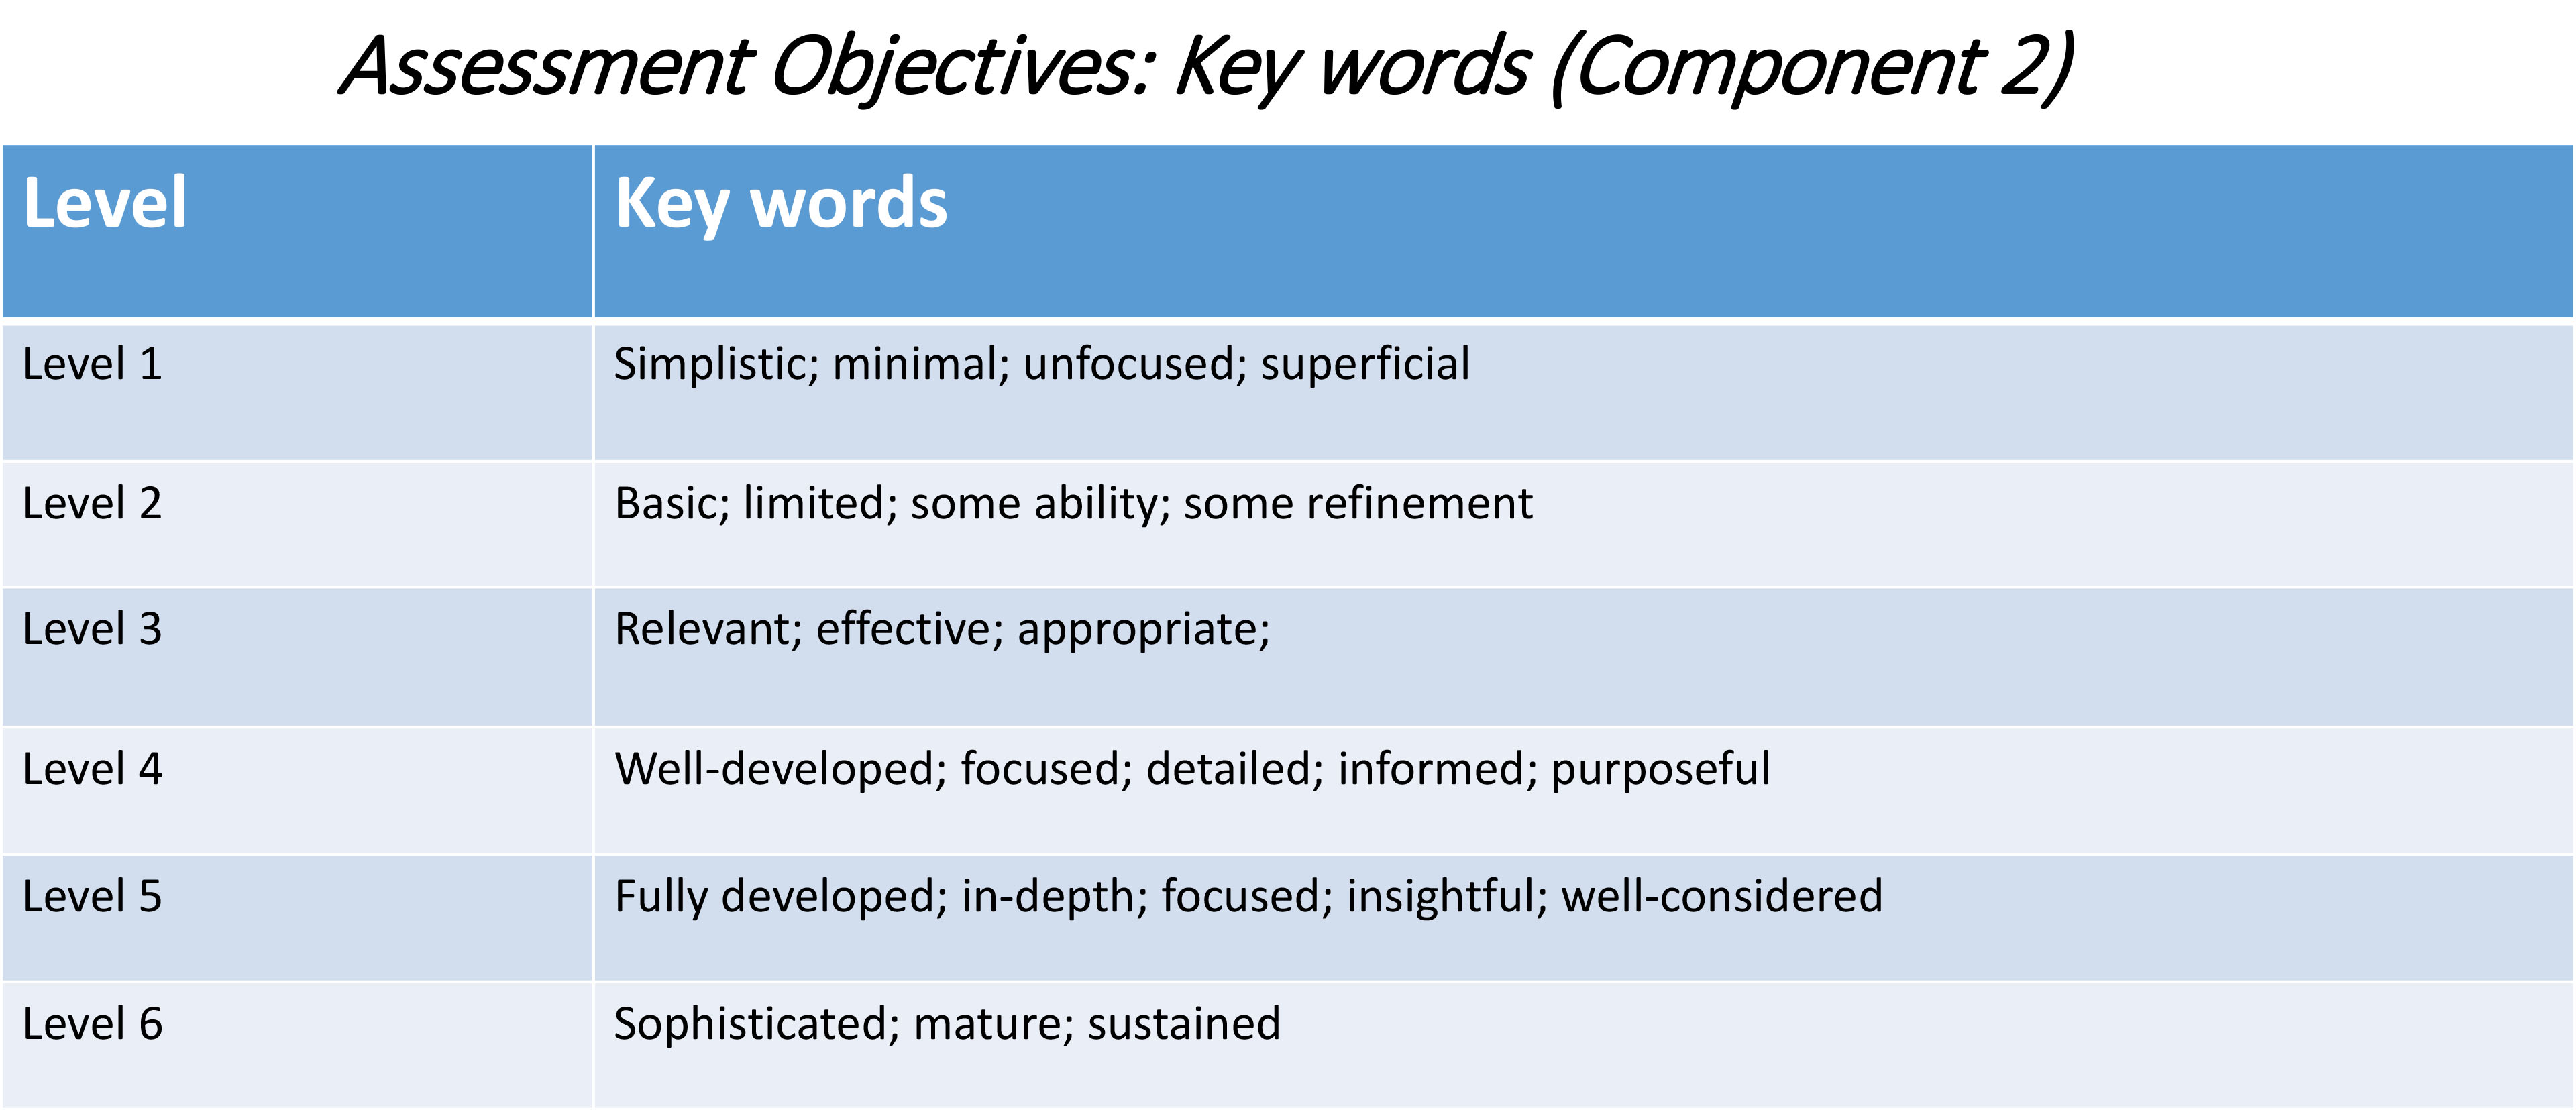
AO2 – Explore and select appropriate resources, media, materials, techniques and processes, reviewing and refining their ideas as work develops.

AO3 – Record ideas, observations and insights relevant to intentions, reflecting critically on work and progress.

To achieve an A or A*-grade you must demonstrate an Exceptional ability (Level 6) through sustained and focused investigations achieving 16-18 marks out of 18 in each assessment objective

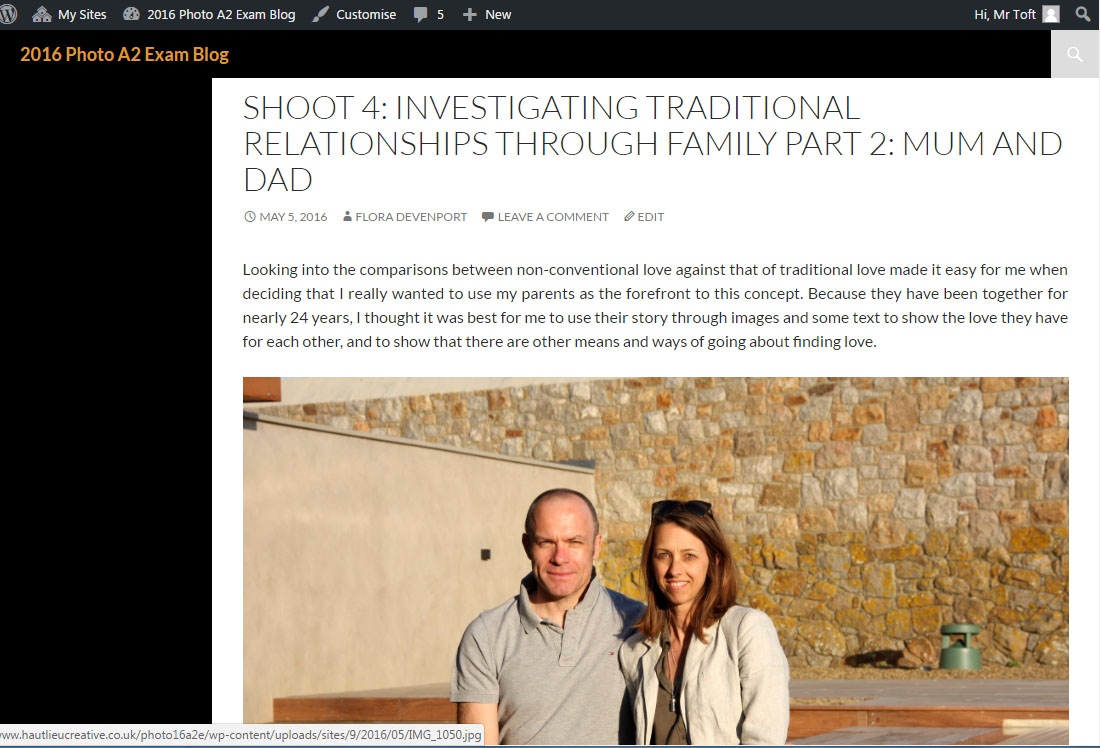
Have a look at previous student, Flora Devenport and her exam work from 2016 and assess it according to the Assessment Objectives A2 Photography: (Edexcel.) Think about what level the student is working at.

Have a look at previous student, Jasmin Ross and her exam work from 2017 and assess it according to the Assessment Objectives A2 Photography: (Edexcel.) Think about what level the student is working at.

What you are looking for when assessing A02 (Explore) and A03 (Record):

How well have ideas developed?
Are ideas explored and selective appropriate to intentions?
Are they sustained and focused?
Are they reviewed and refined?
How many responses/ shoots?

Command of camera skills/ photographic techniques and processes
Understanding of composition/ considering quality of light
What are the overall quality of the images?
How do they respond to research?
How do they relate to artists references?
How do the interpret exam theme of Environment?

Homework: Based on the evidence of your blog, what level are you working at? Produce a blog post where you reflect on your own progress. Provide targets that you can achieve over Easter and that can improve your work. Upload by Wed 21 March

Classwork: To develop your ideas further from research and analysis of artists references and other inspirations  on the theme s og FREEDOM and/or LIMITATAIONS you now must be planning a number of photographic responses (at least 3 shoots per idea.)

Follow these steps to success!

  1. Produce a detailed plan of 3 shoots for each idea in your specification that you are intending to do;  how, who, when, where and why in the next 3 weeks?
  2. Think about lighting, are you going to shoot outside in natural light or inside using studio lights? Maybe shoot both inside and outside to make informed choices and experimentation. Remember to try out a variety of shot sizes and angles, pay attention to composition, focussing, scale, perspective, rule of 1/3rds, foreground/ background and creative control of aperture (depth of field) and shutter speed (movement). If appropriate, think about how to convey an emotion, expression or attitude and the colour palette, tone, mood and texture of your pictures. Consider mise-en-scène (everything in the frame) – e.g. in portraiture deliberate use of clothing, posture, choice of subject objects, props, accessories, settings. Make a selection of the best 15- 20 images for further experimentation. Produce 2-3 blog posts from each shoot and analyse and evaluate your photos through annotation showing understanding of basic visual language using specialist terminology.
  3. It is essential that you complete your principal shooting over Easter and return on Tue 17 April with a few hundred images ready for further post-production and editing. Remember first final print run is Wed 18 April
  4. Upload blog post with above planning by Fri 23 March