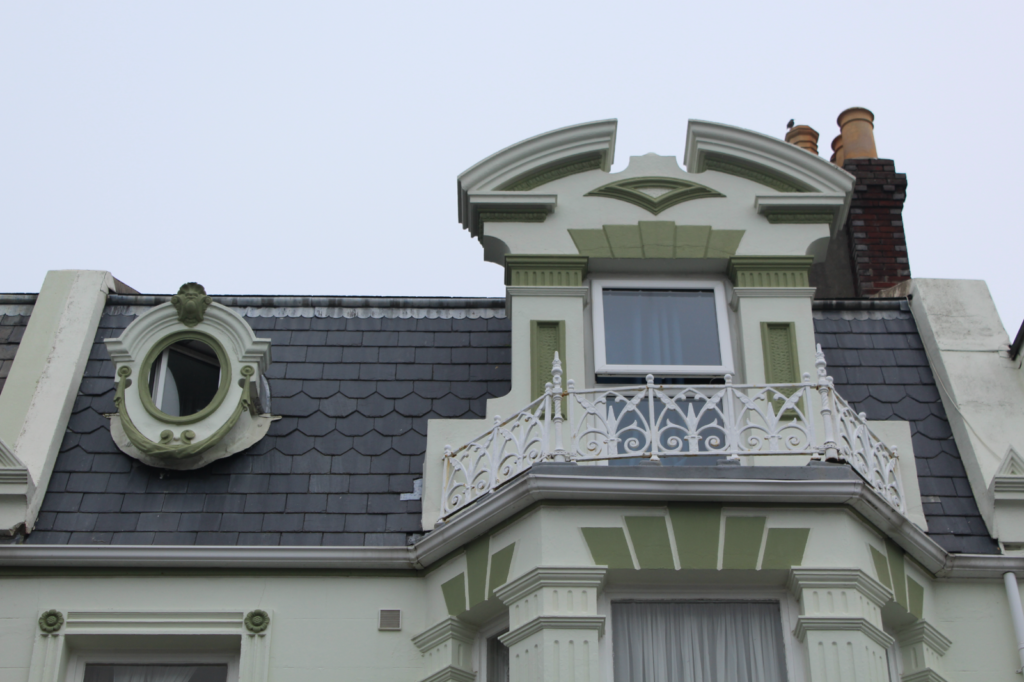
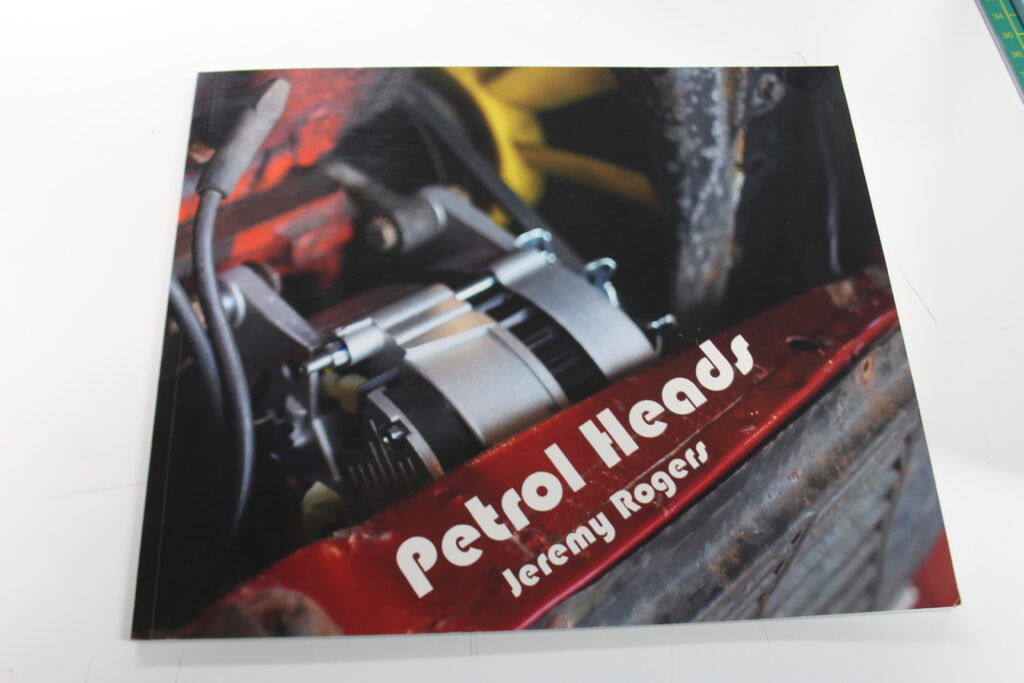
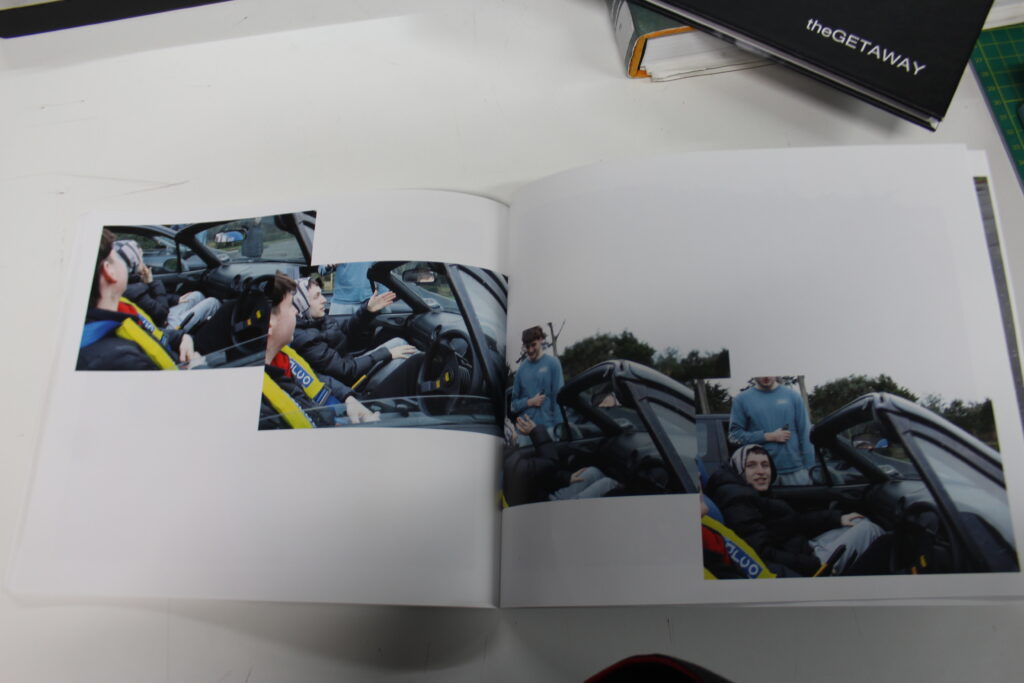
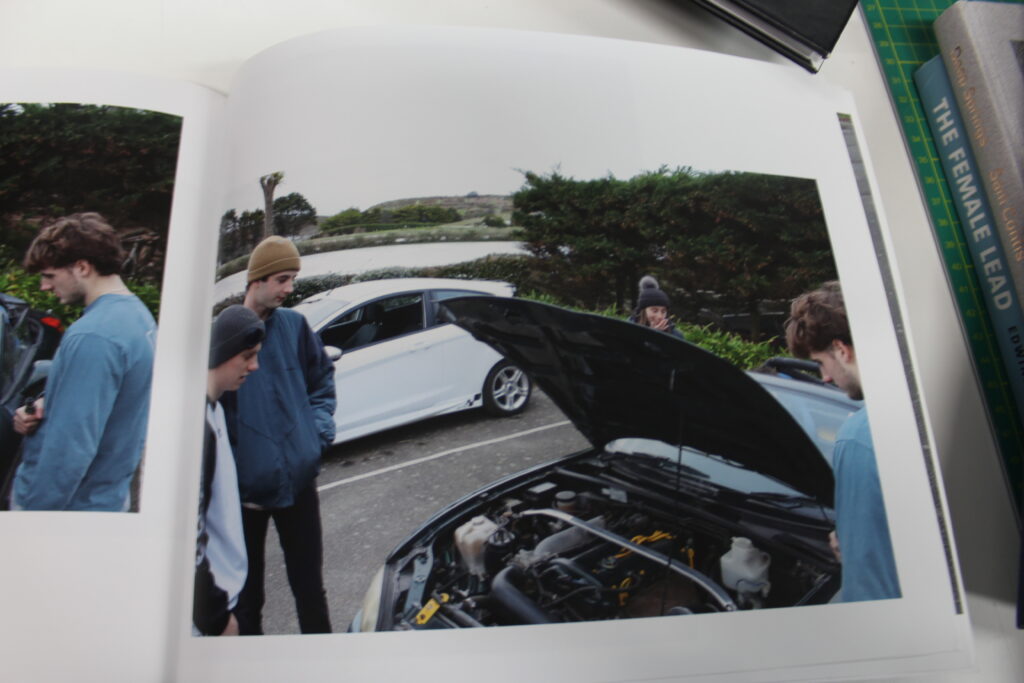
The photobook I have decided to research is A Mini Story. This book is about the photographers life with grandad who died when he was 7 but the story is about the life his grandad lived and the influence he had in his life, like his interest in cars and how his grandad was in a mini club. The genre of this book would be about family, grief and inspiration. This is because of the images of his grandparents, then losing his grandad to cancer, and then finally taking inspiration from him and also getting a mini like his grandads and restoring it. The approach to image making is taking pictures of different areas in his life, like his grandparents house and garage, then older pictures of when he was younger with his grandad and then pictures of his dad, his mini and garage, then finally a picture of his grandads mini and his mini that he bought.
The photographer was a former student called M De Gruchy. He made it to show the life that his grandad lived and how it inspired him to have the same passion of Minis. He dedicated the book to his nan.
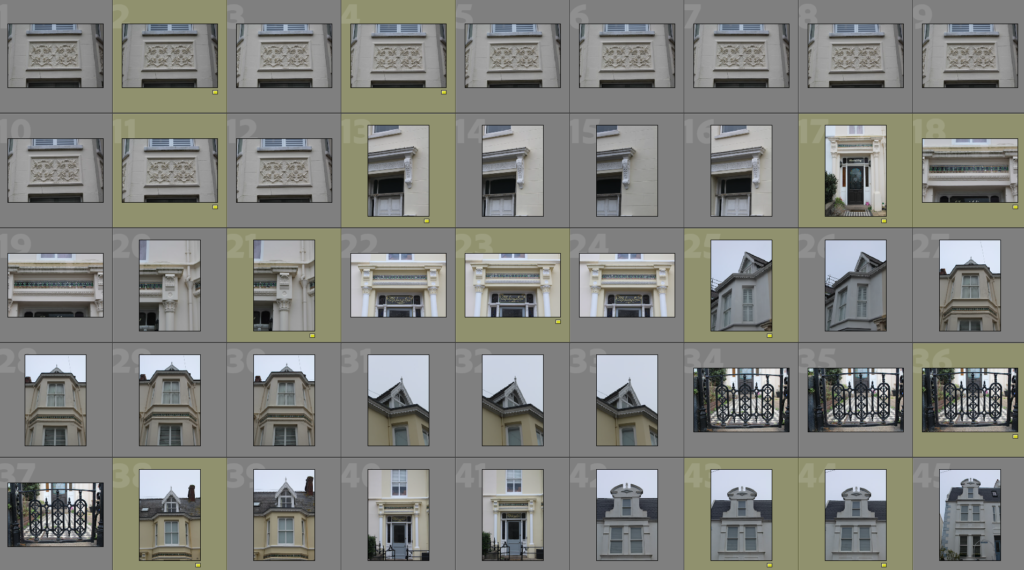
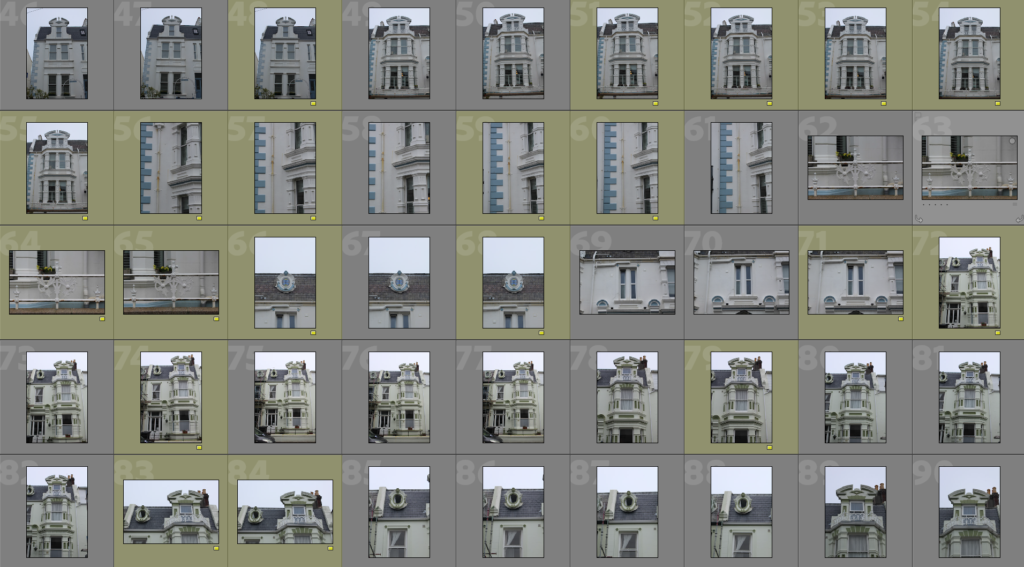
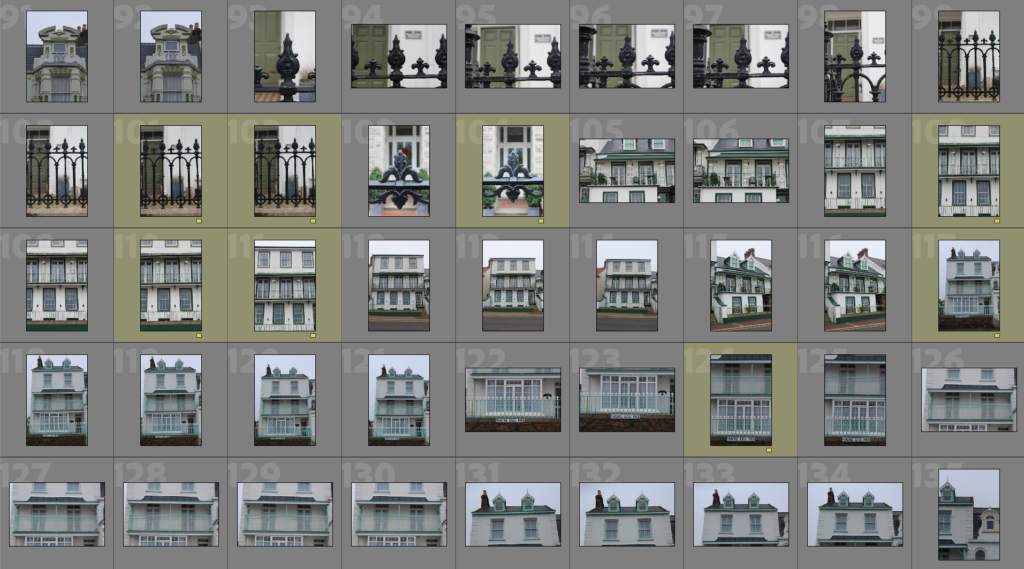
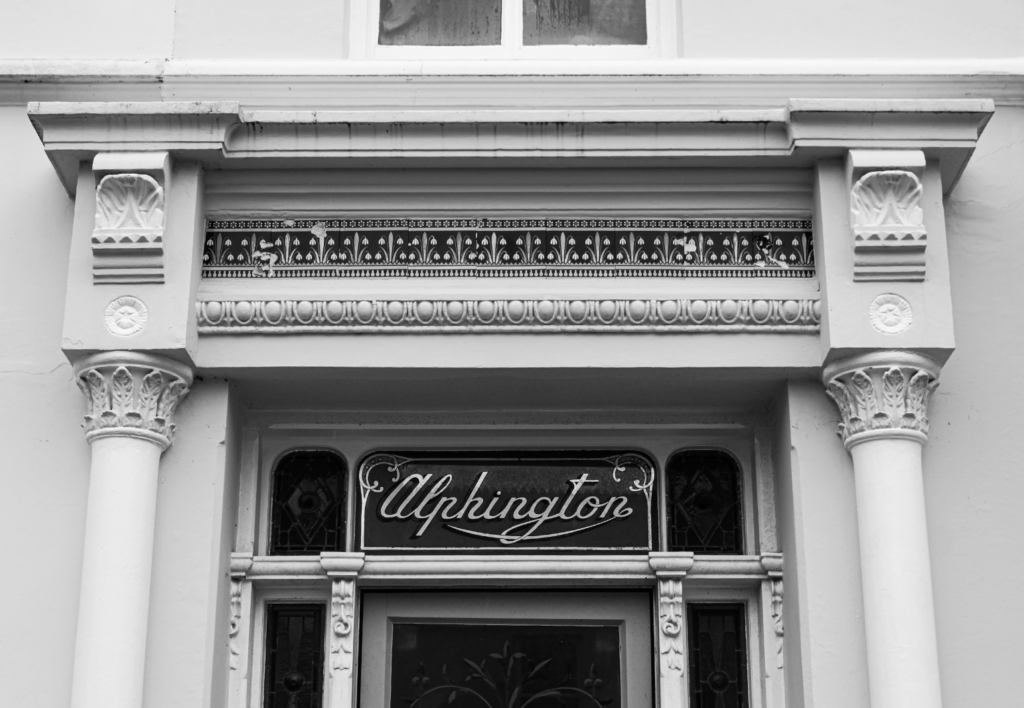
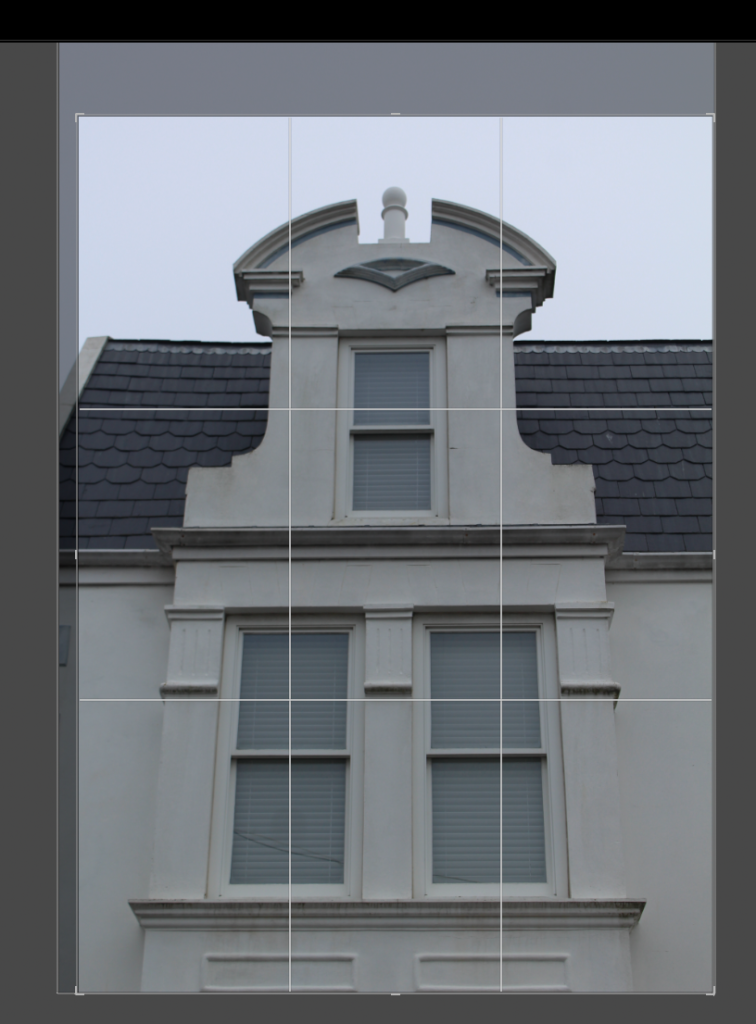
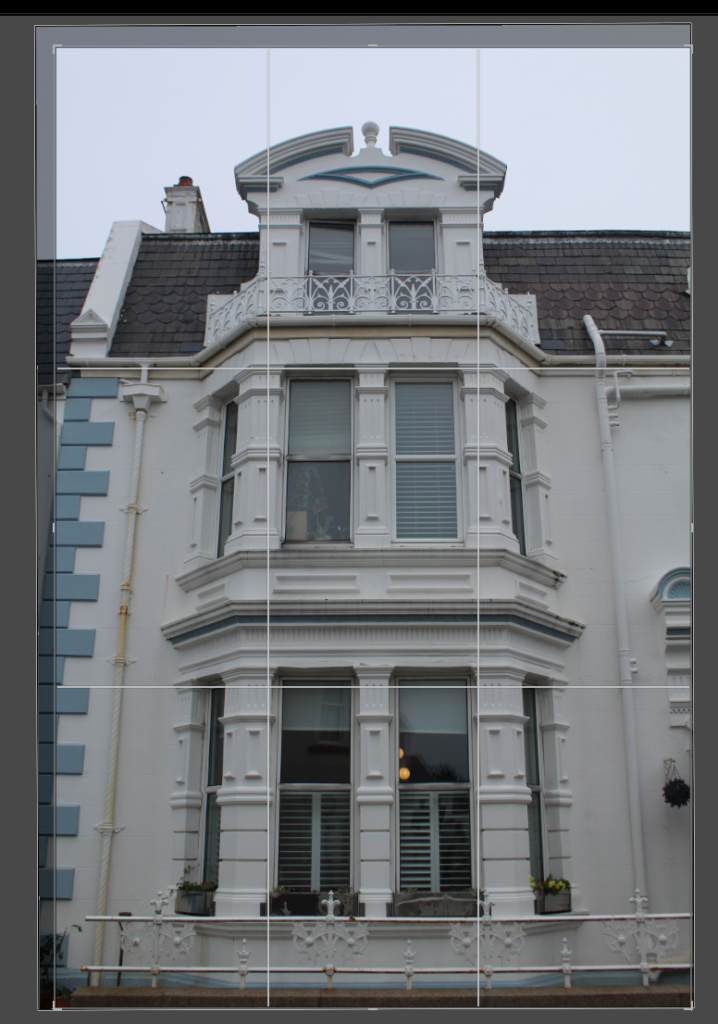
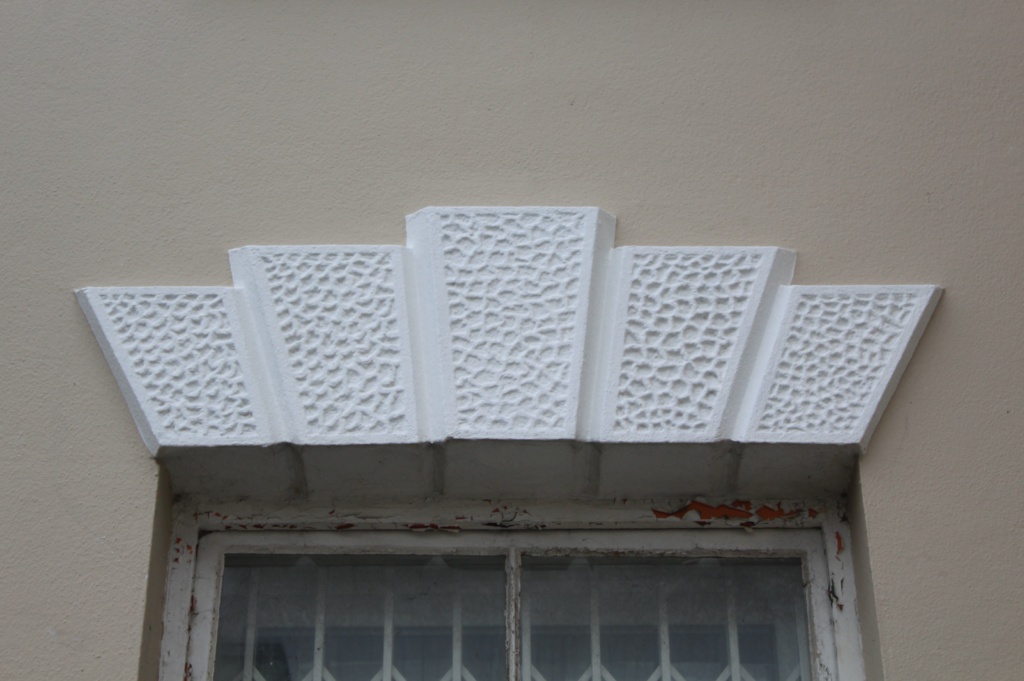
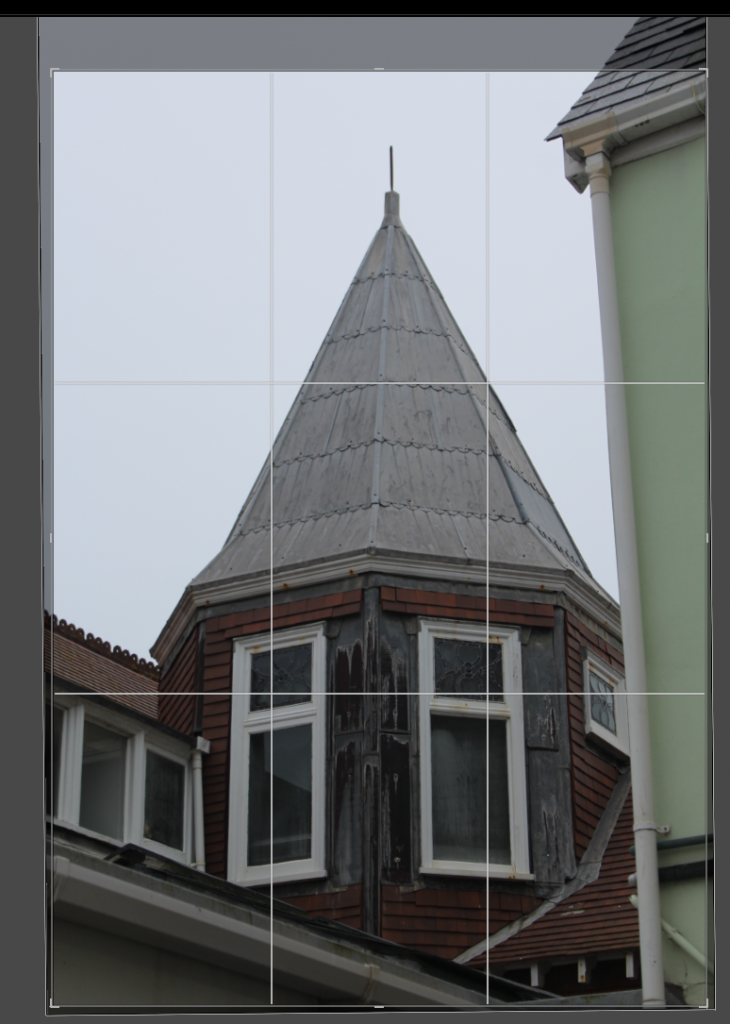
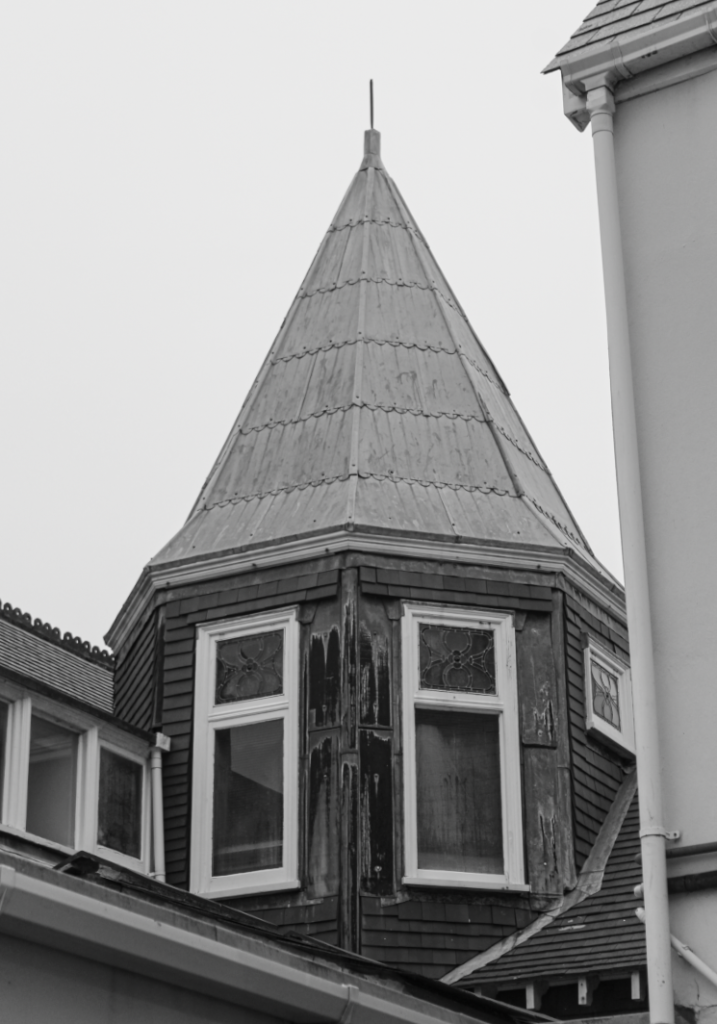
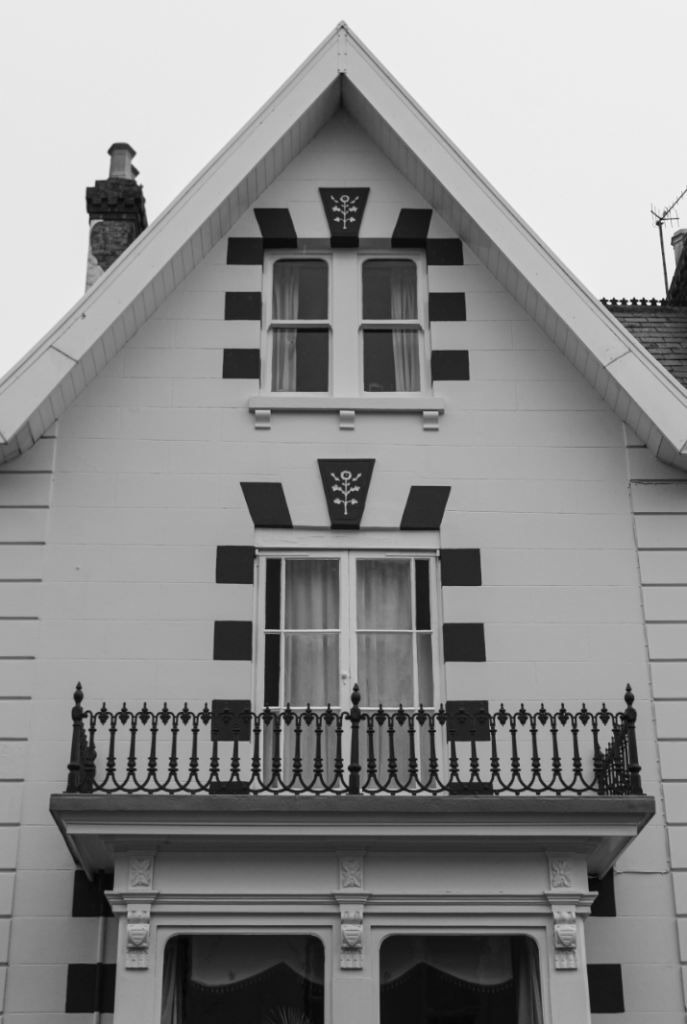
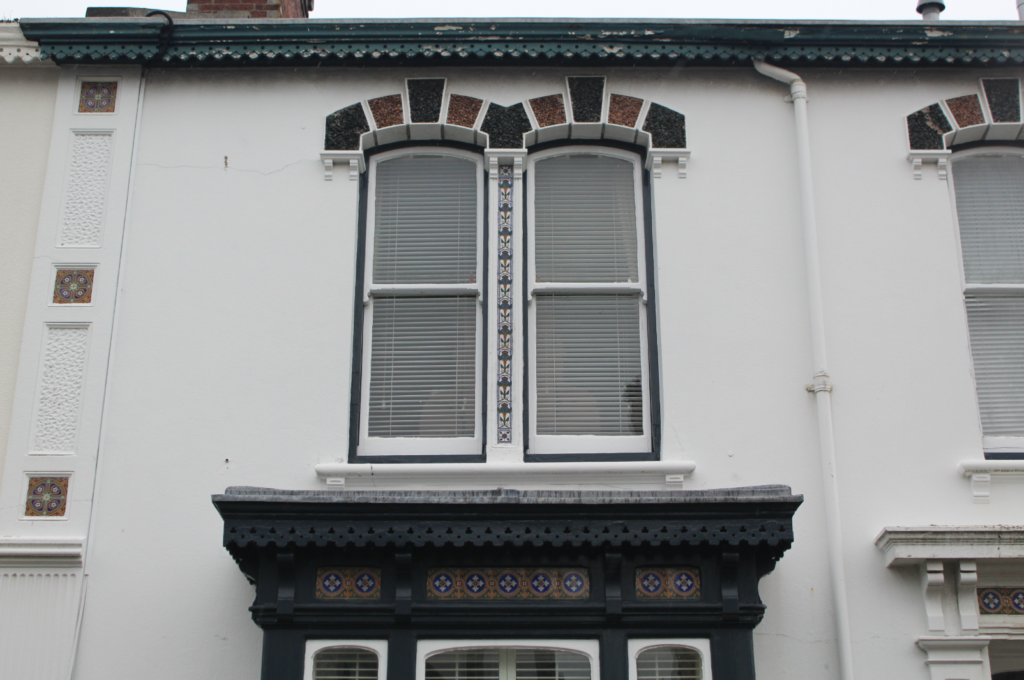
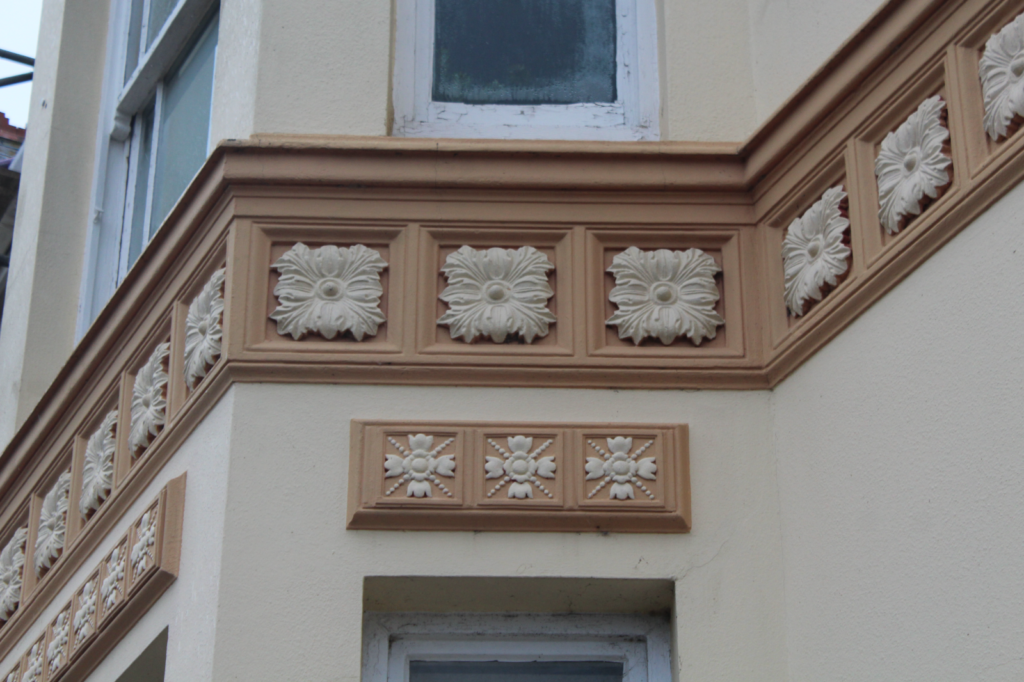
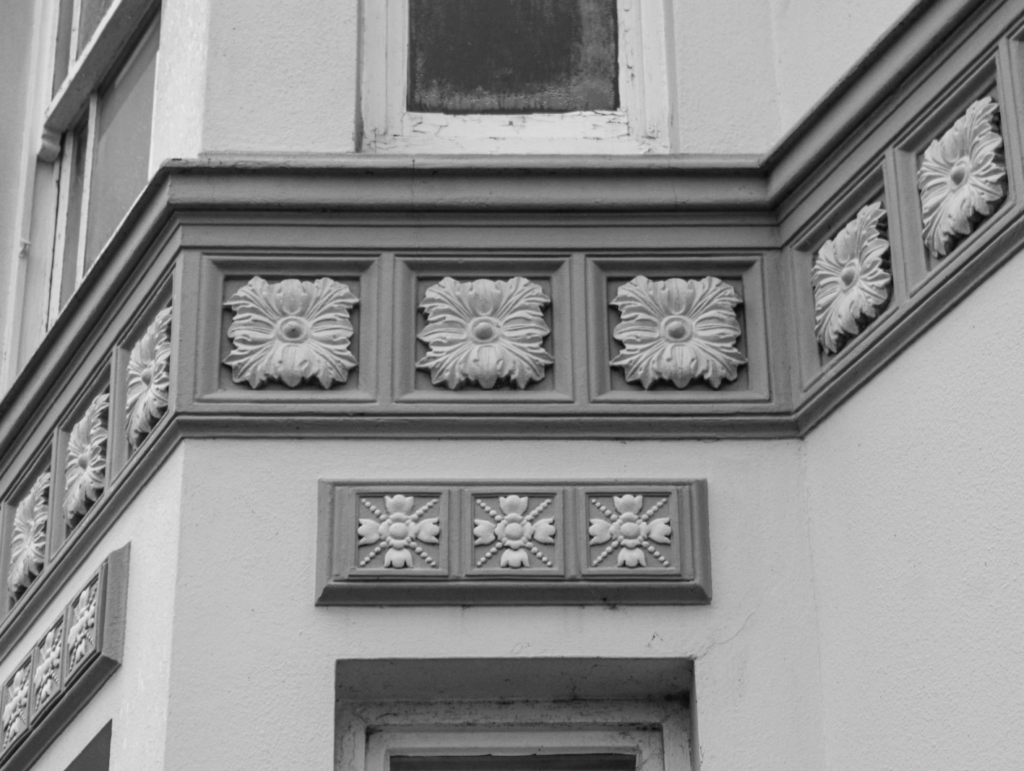
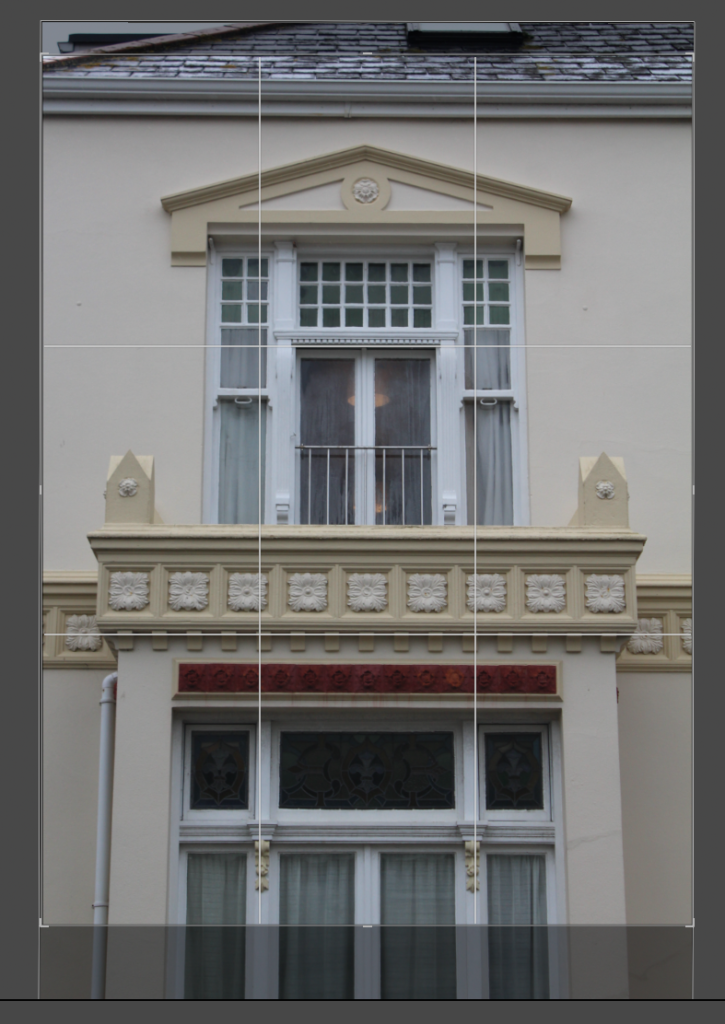
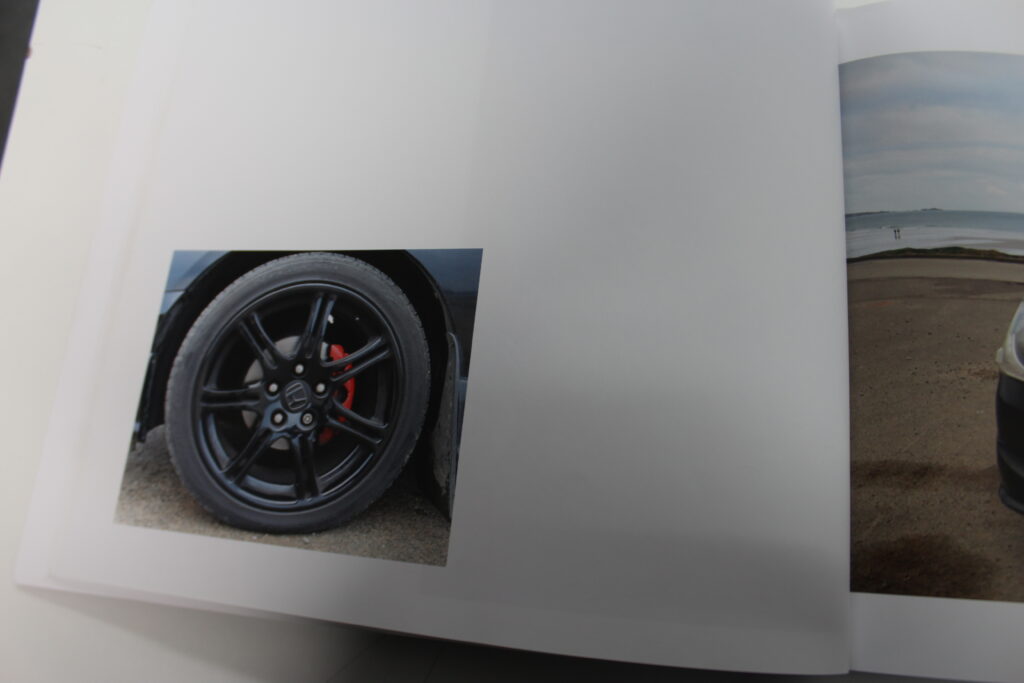
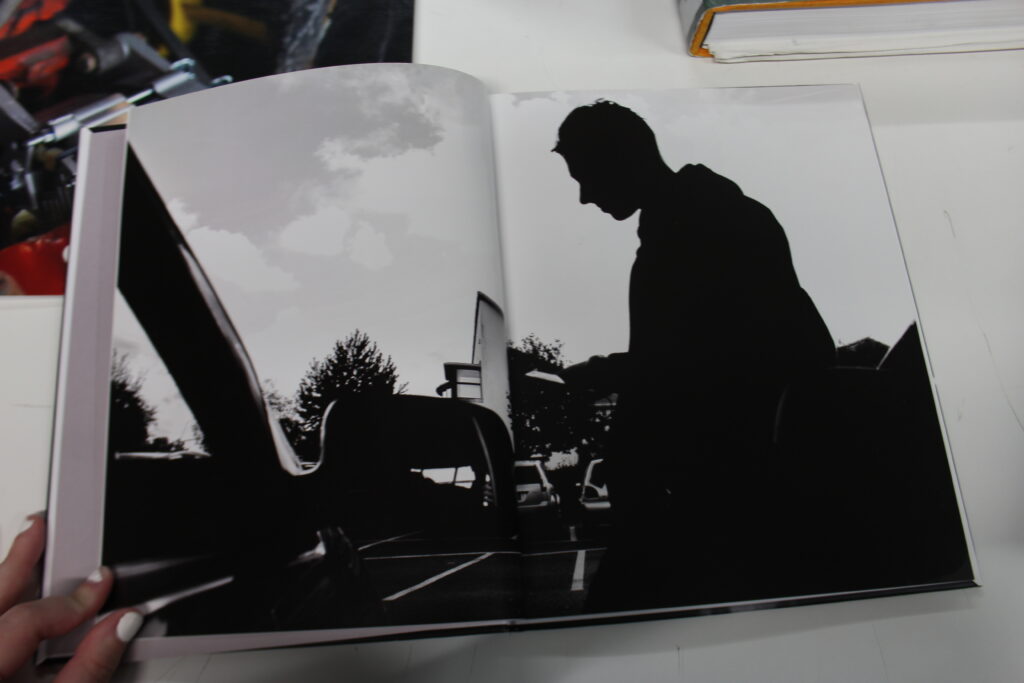
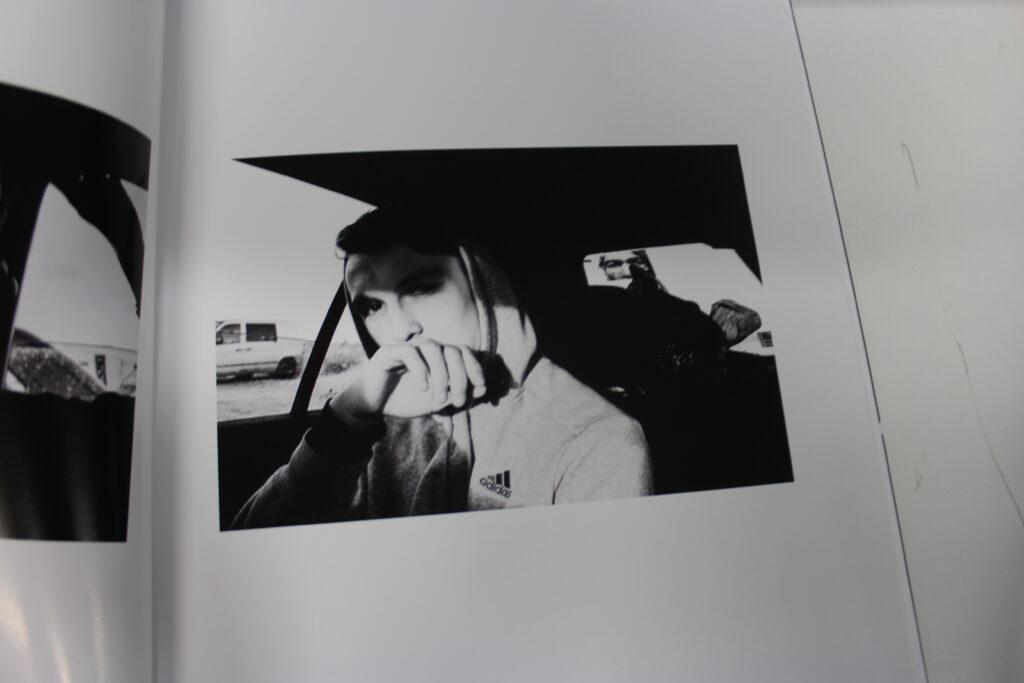
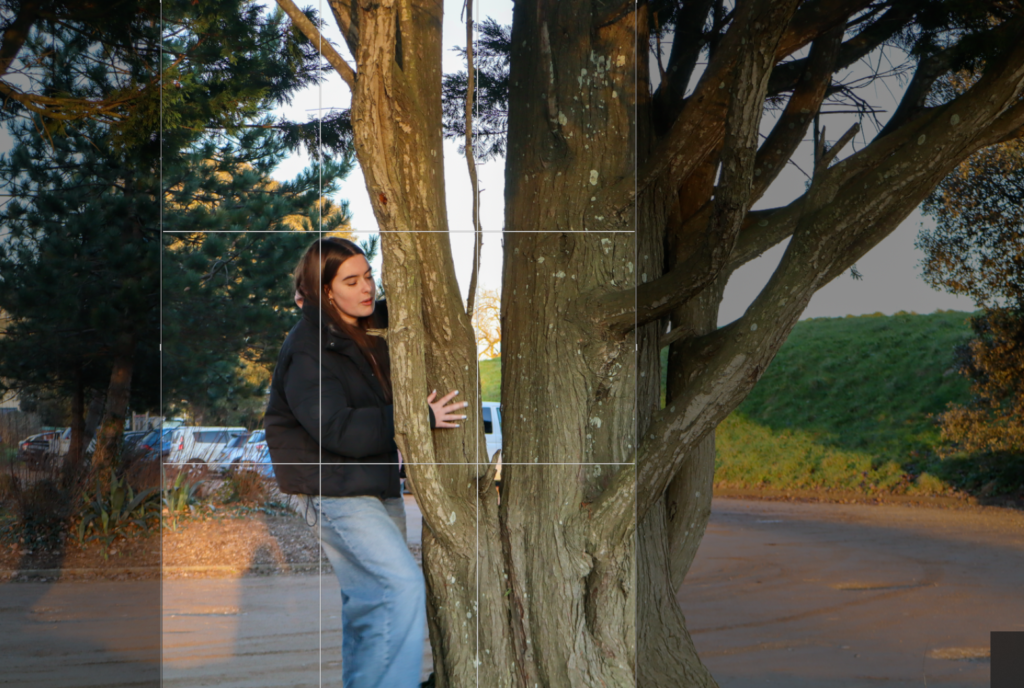
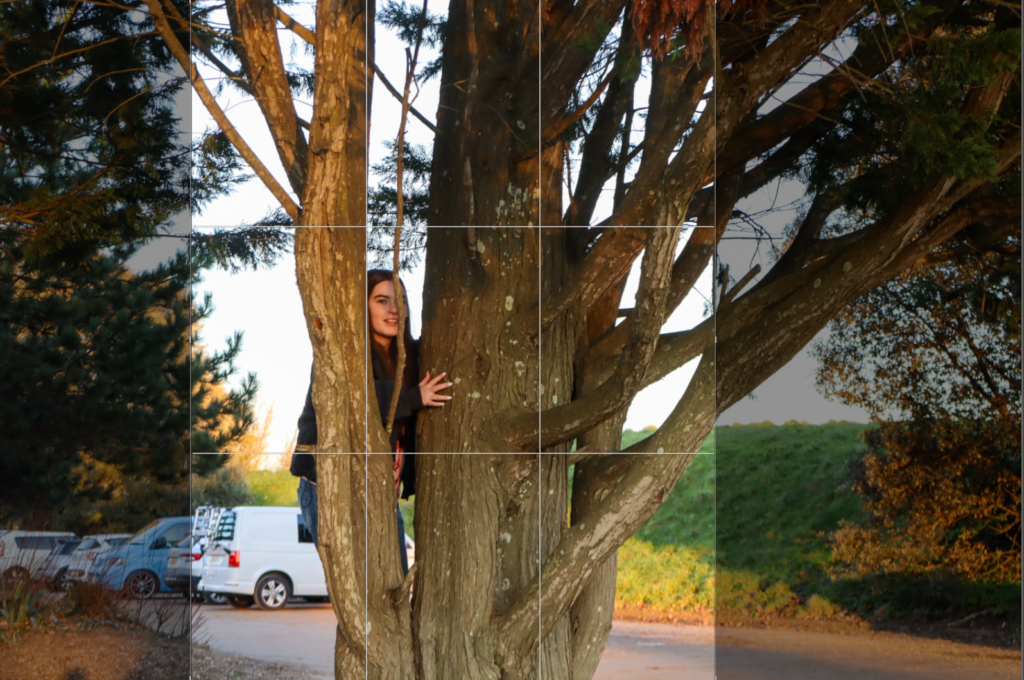
The book is hard cover made of cardboard, it uses the same paper throughout and all the pictures are in colour apart from three, his grandparents wedding picture, and two of his grandads old mini. This can symbolise the age of the images, where his grandparents got married in 1969 which was 56 years ago and then also showing the age of the old mini. The images are different sizes, some are single page, some are double page spread and there are multiple small images on one page. There is also text throughout the book linked to the images that give a description of the image and clarifies what the images are or what is happening in the image. it is a portrait book but the images vary between portrait and landscape on the double page spreads. The editing looks natural, some images have been edited to look old and vintage but the images look like they have not been edited much. The binding is saddle stitch the cover is cardboard and a printed image. The title is literal and relevant within the book. The story is about his grandad and his passion for Minis. It is told like a story of his grandad and growing up with him, then later losing him and following after his passion for minis. The structure is told as a consecutive story happening in order of what happened with his grandad and then after he died.