Walker Evans
About him
Walker Evans was an American photographer as well as a photojournalist born in 1903 in St. Louis, Missouri. Walker grew up with a carefree childhood and developed interest in the works of the American writer, Mark Twain, and artists intrigued by traveling into the unknown. He studied French literature and Paris before discovering the works of the French photographer, Eugene Atget and became interested in photography. Evans wrote for numerous various magazines and worked for the Farm Security Administration to document the effect of the Great Depression on rural America. Evans instructed photography at Yale University and died in 1975 at the age of 72. Today, he is considered to be one of America’s most significant photographers.
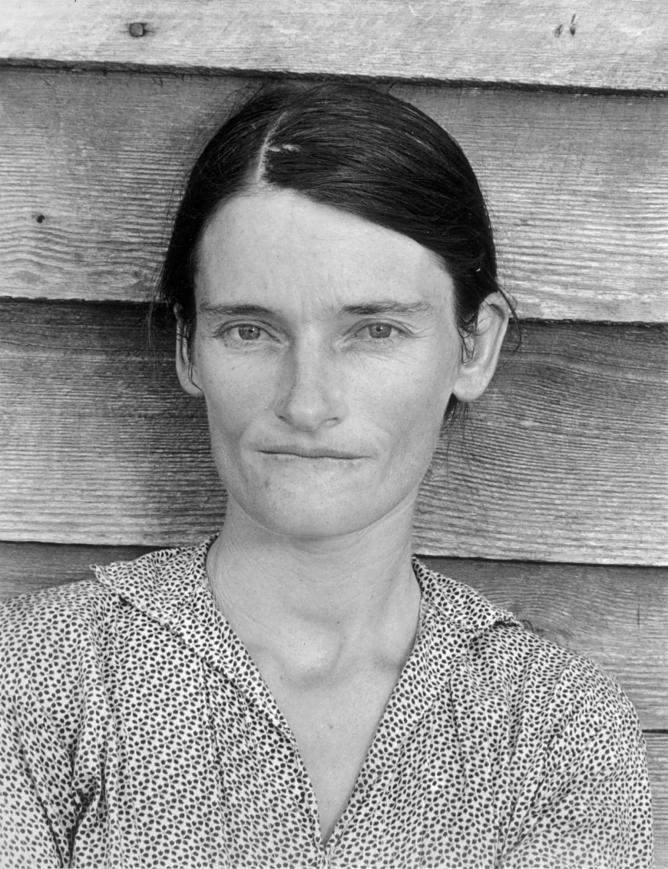
His most famous piece
His iconic portrait of Allie Mae Burroughs – a farmer’s wife, and mother of four – whose unforgettable eyes seem to stare right through us
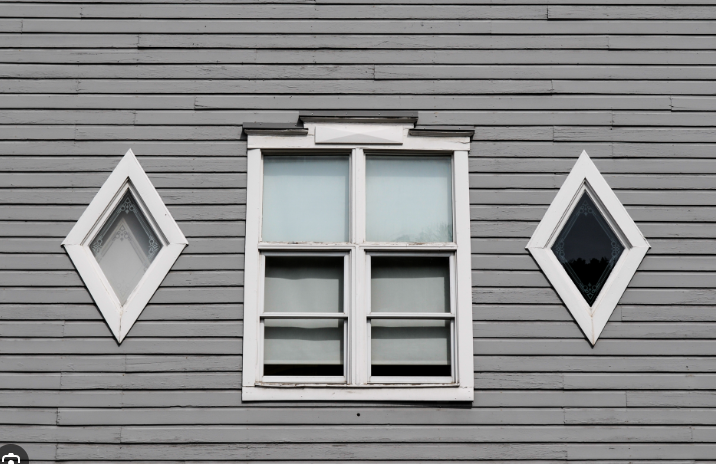
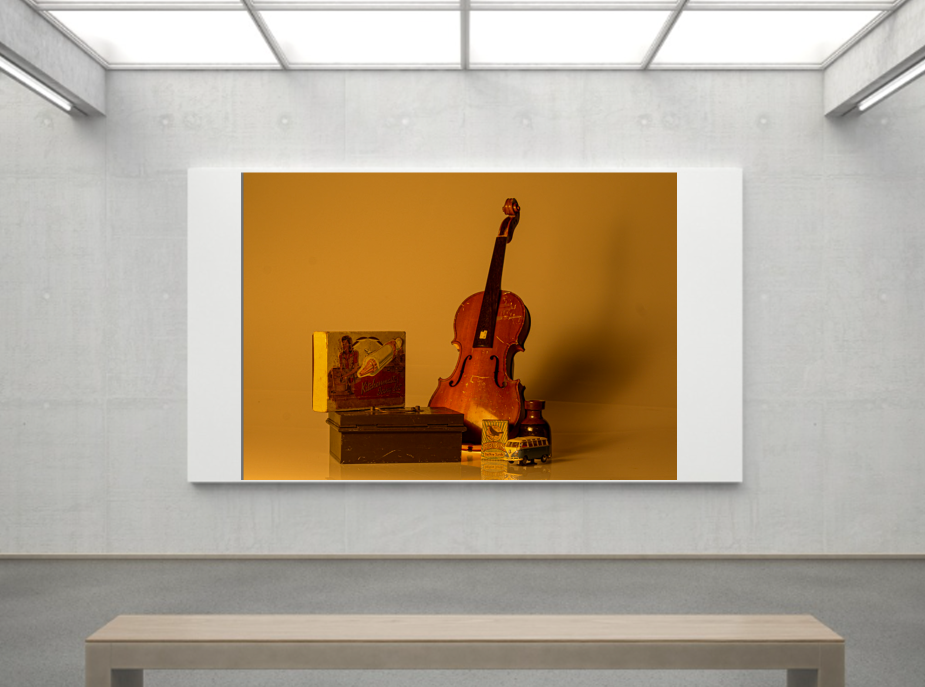
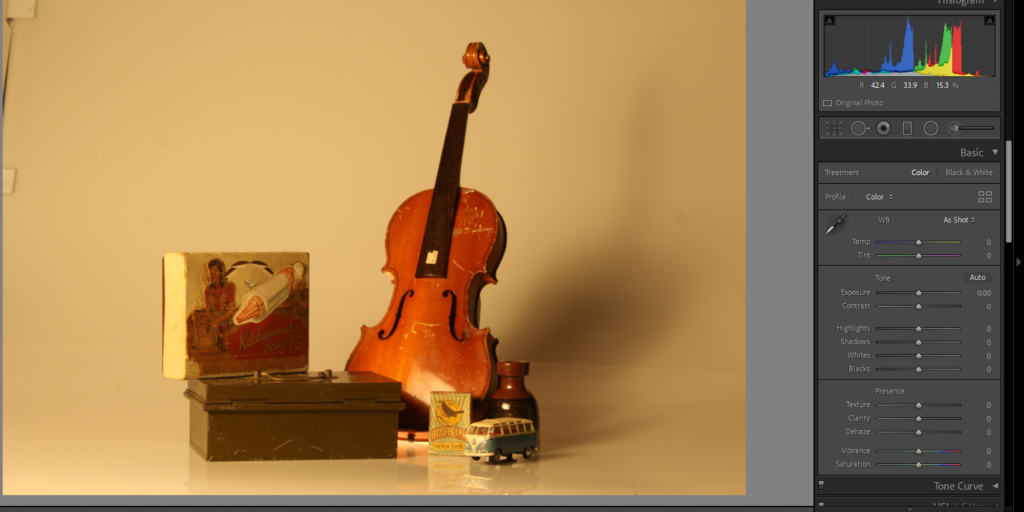
Other pieces of his
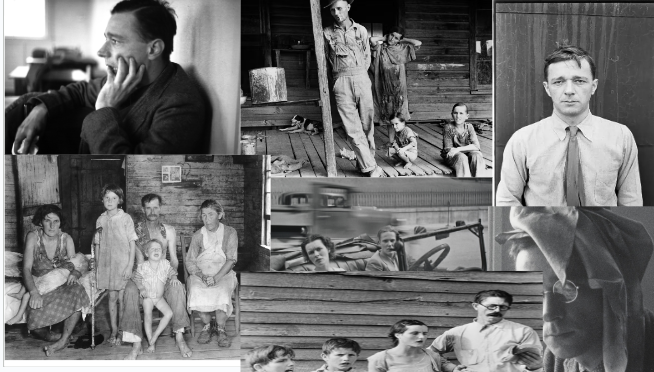
Why did he take photos like this?
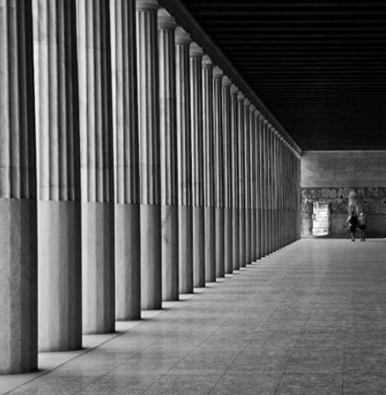
Walker Evans took these photos because he wanted to document American society and culture, and especially the plight of the Great Depression. The camera was for him the best means to capture and represent the spirit of a people and a place. Evans considered very important the photography of common people and their everyday dealing, especially in cases of poverty and hardship. In showing the social and economic inequalities in America, Evans hoped to express, through his artwork, the existence of and plight of those who were all but ignored and excluded from society..
Daren Harvey-Regan
About him
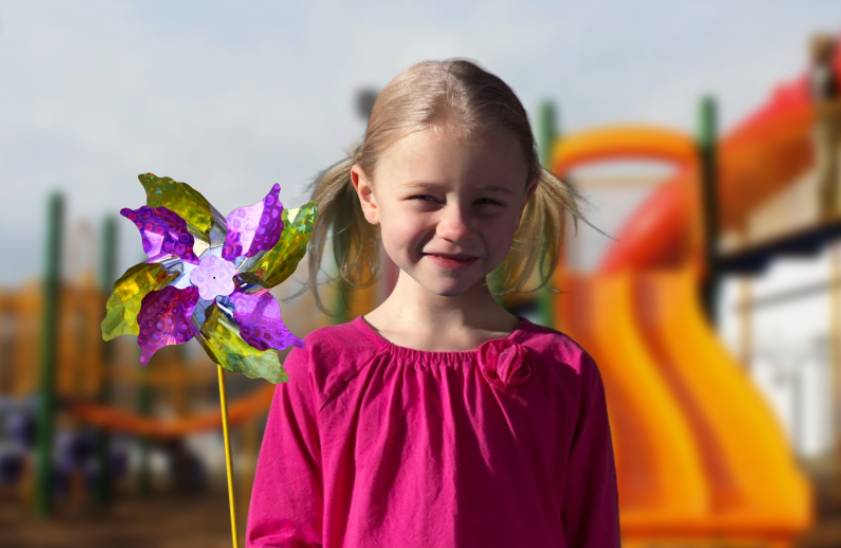
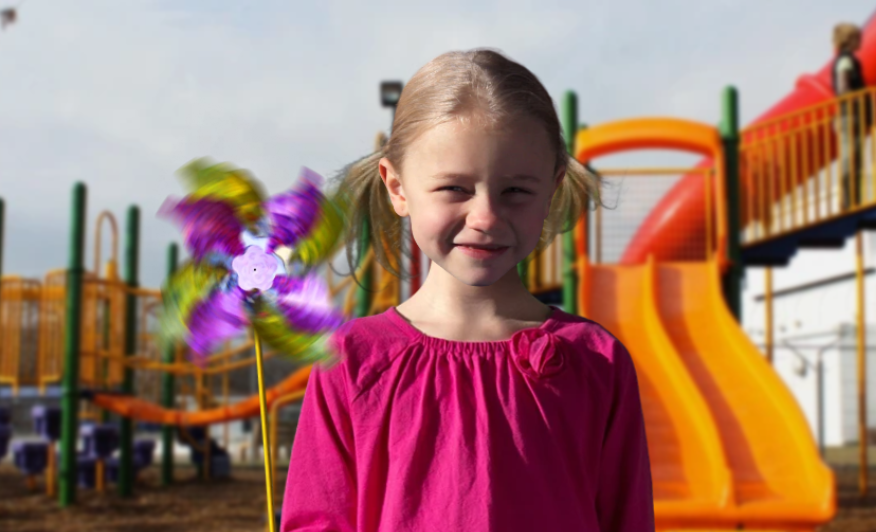
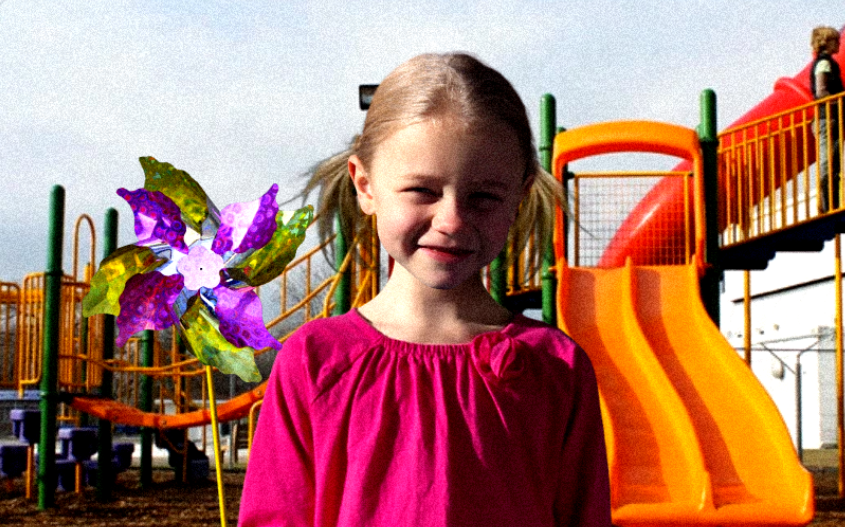
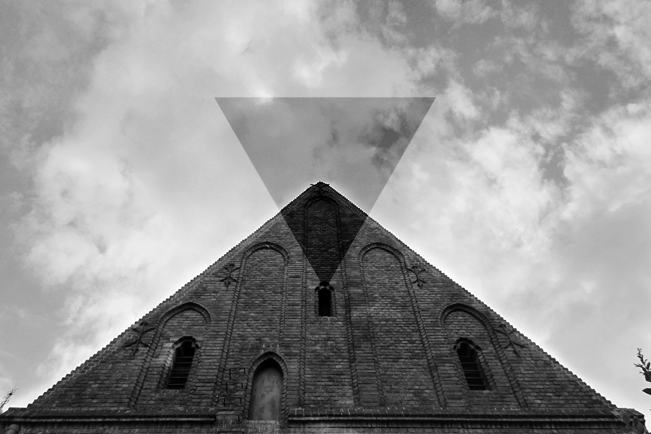
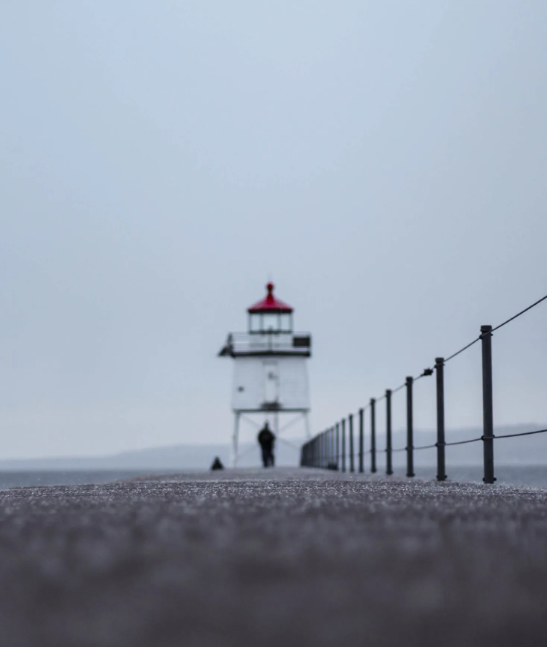
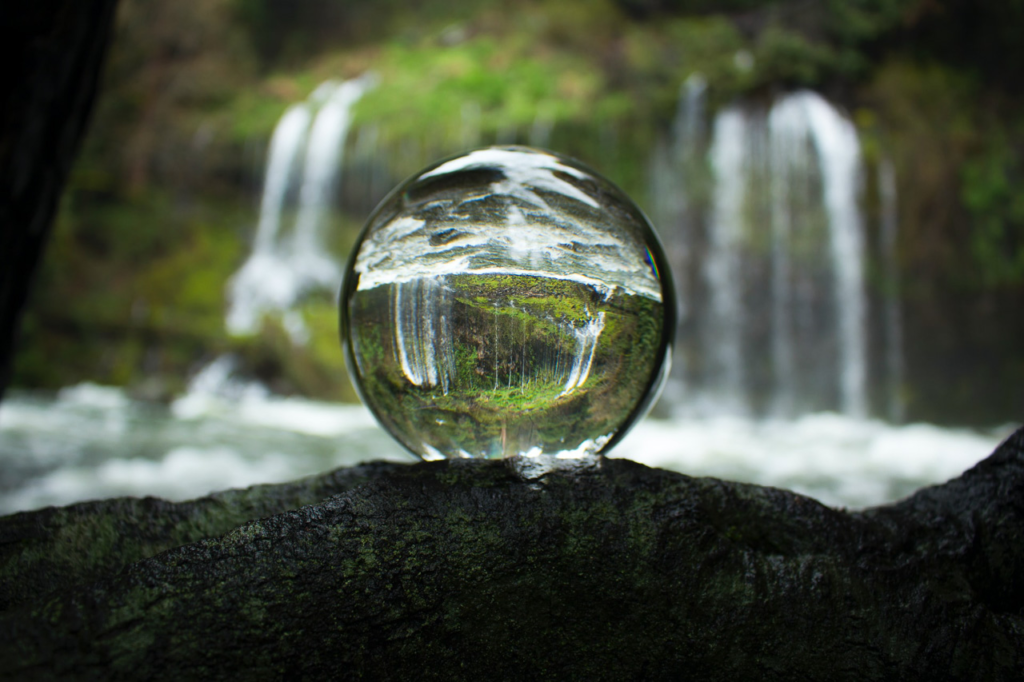
Daren Harvey-Regan, the British photographer, was born in 1972. His work is recognized for a blend of fashion and beauty photography with fine art and portraiture. A graphic designer by trade, Harvey-Regan switched to photography for a full-time occupation. Magazines including Vogue, Vanity Fair, and Harper’s Bazaar have carried his photographic work, while clients include Givenchy, YSL, and Dior. Meanwhile, his fine-art photographic works have been exhibited internationally in galleries located in New York, Paris, and London. Harvey-Regan often tries to blur the line between reality and fantasy in his work, ushering surreal and dreamlike imagery. He considers photography as a way to study emotion and the human condition.
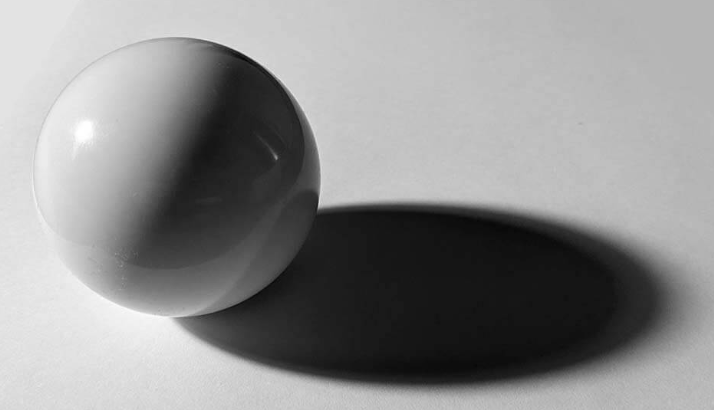
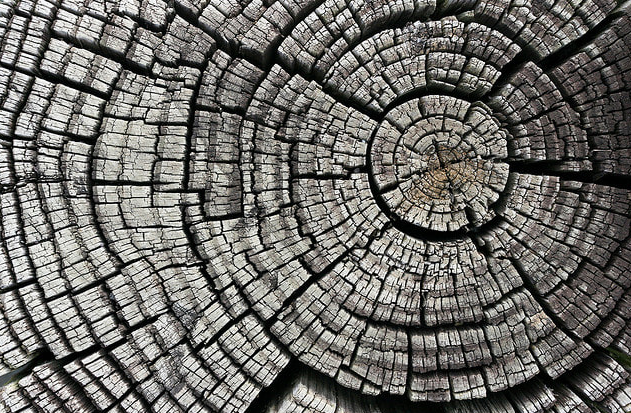
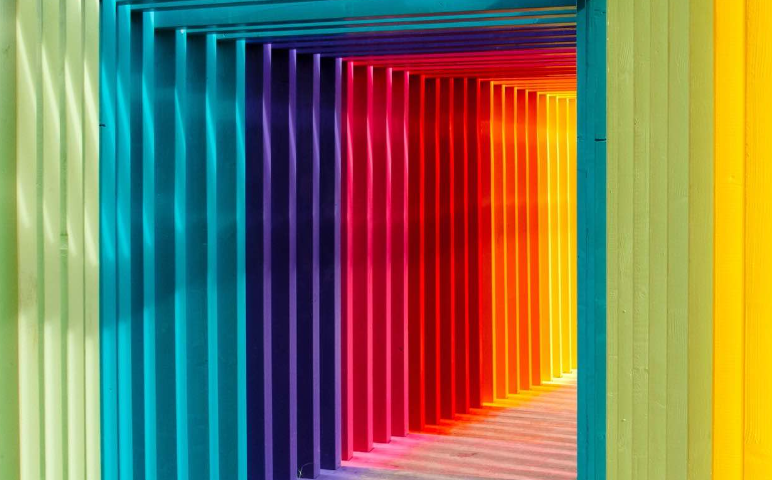
His work
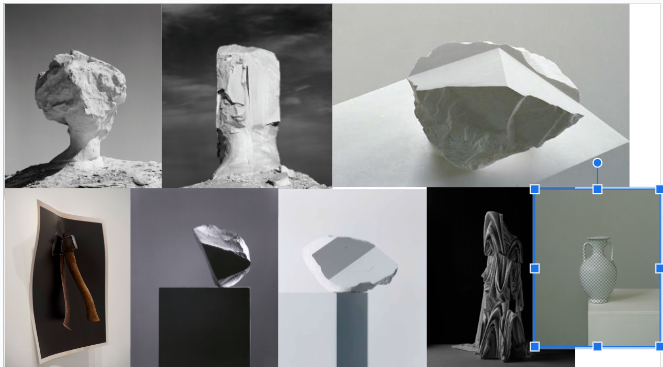
Why did he take photos like this?
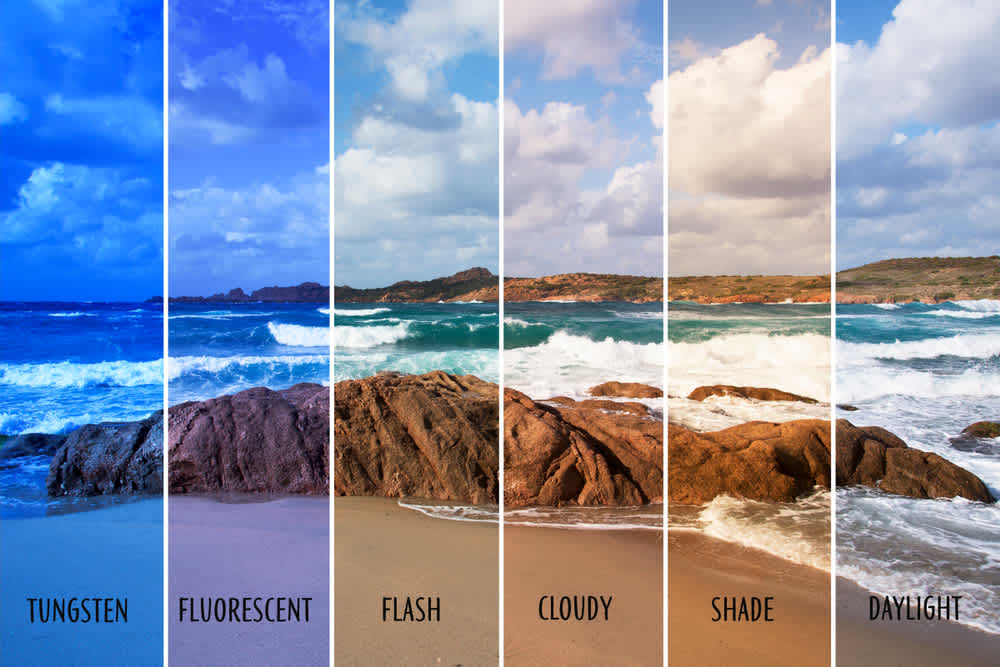
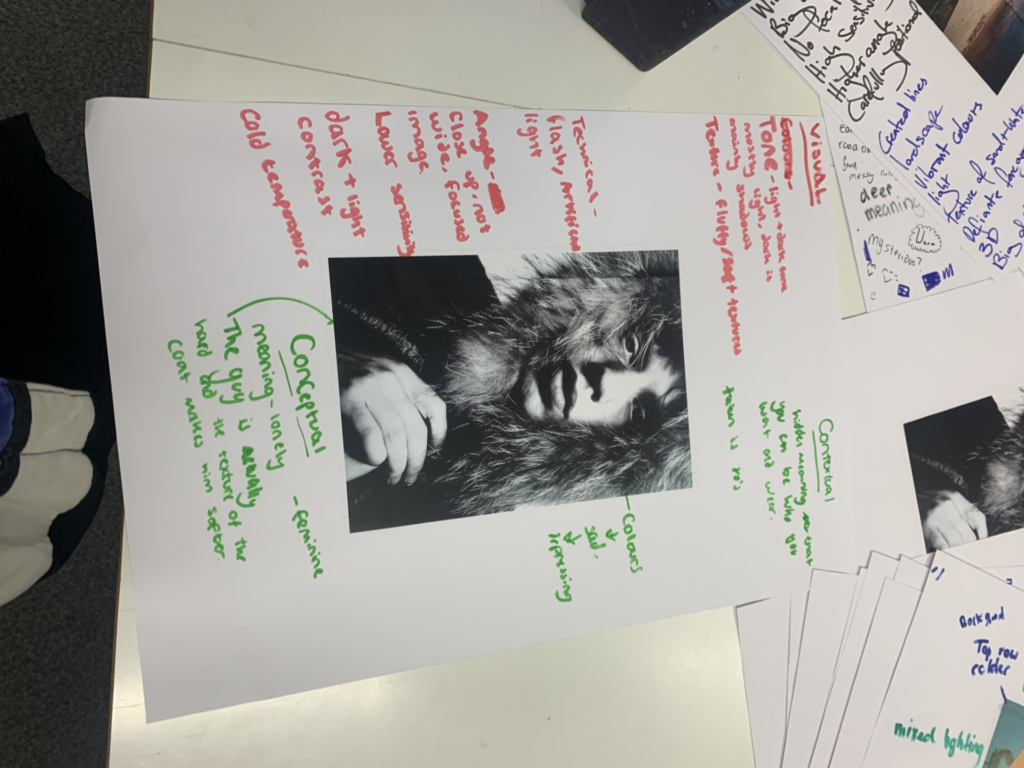
Daren Harvey-Regan’s photographic style is influenced by his interest in emotions and the human body. He works to capture unique and dreamlike images that embody human experiences. His works often straddle that divide between reality and fantasy by incorporating surreal elements and exaggerating the natural form to forge an almost other-worldly feel. With his graphic design background, he feels his photographic style has some roots in graphic design and art. He enjoys playing around with composition, color, and lighting within his images to evoke a sense of mood or effect.
How do Darren Harvey-Regan and Walker Evans compare?
Both Walker Evans and Daren Harvey-Regan are very skilled photographers, but both have a strongly different approach and style of working. Walker Evans was a documentary photographer with a specialty in the vivid recording of American life in the Great Depression. He photographed ordinary people and places, often in black and white, with a focus on realism and social commentary. On the other hand, Daren Harvey-Regan is a professional fine art photographer who specializes in fashion and portrait photography. His images have an otherworldly feel, with most of them showcasing elaborate utilization of color, distortion, and surrealism. Rather than documenting reality, Harvey-Regan’s photographs are about revealing the human condition and emotion. While their subject matter and approaches differ significantly, both Harvey-Regan and Evans share a common passion for photography and the desire to attempt to document the world they observe around them on their own terms.
How do Darren Harvey-Regan and Walker Evans Contrast?
Daren Harvey-Regan and Walker Evans are different in a number of ways:
1. Period: Walker Evans was a mid-20th-century photographer working during the Great Depression, while Darren Harvey-Regan is a contemporary photographer producing work primarily in the 21st century.
2. Subject matter: Walker Evans primarily worked on documentary photography and recorded the life and culture of America during the Great Depression and the post-World War II era. Harvey-Regan’s photography, however, is fashion- and portrait-oriented and aims to evoke feelings and a mood of otherness.
3. Style: Walker Evans’ style was realistic, using black and white photography to capture everyday people and landscapes and then used social commentary. Harvey-Regan’s style was however dramatic with the use of color, lighting, and a touch of surrealism in order to create ethereal, dream-like images.
4. Techniques: Evans’ and Harvey-Regan’s techniques are also vastly different. Evans used traditional photography techniques of the era such as black and white film, while Harvey-Regan uses digital image manipulation and lighting effects in order to highlight ethereal qualities in his subject.
Overall, Harvey-Regan and Evans are both renowned photographers, but their style, subject, and techniques all differ significantly, highlighting their individual approaches to the genre.

