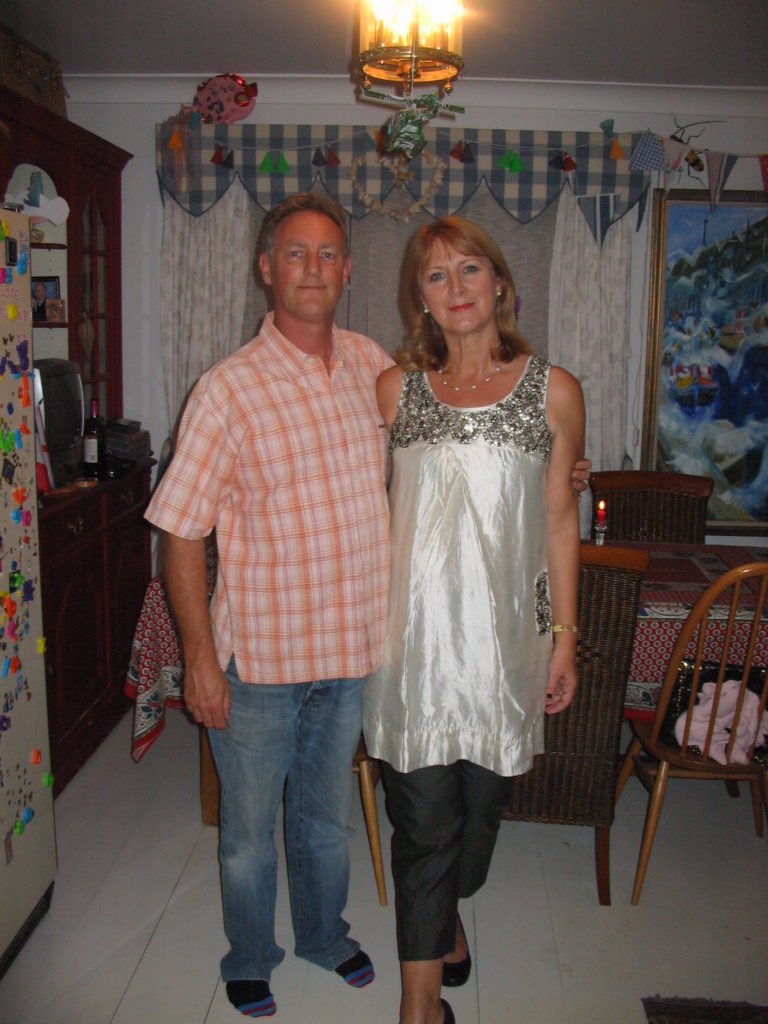
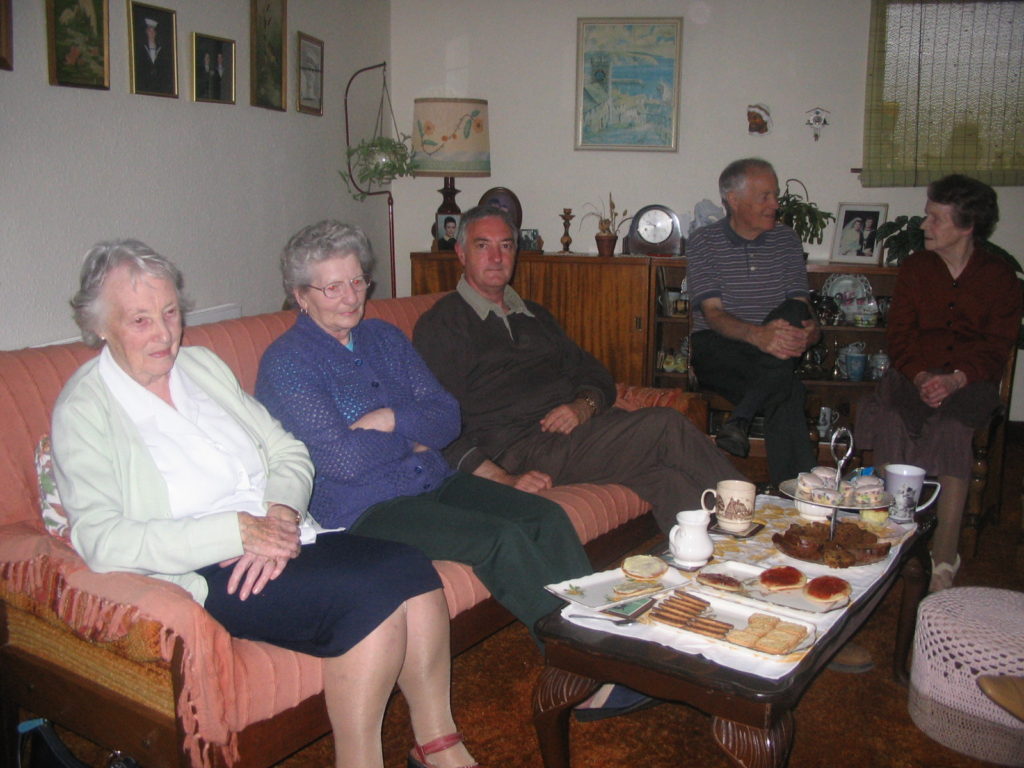
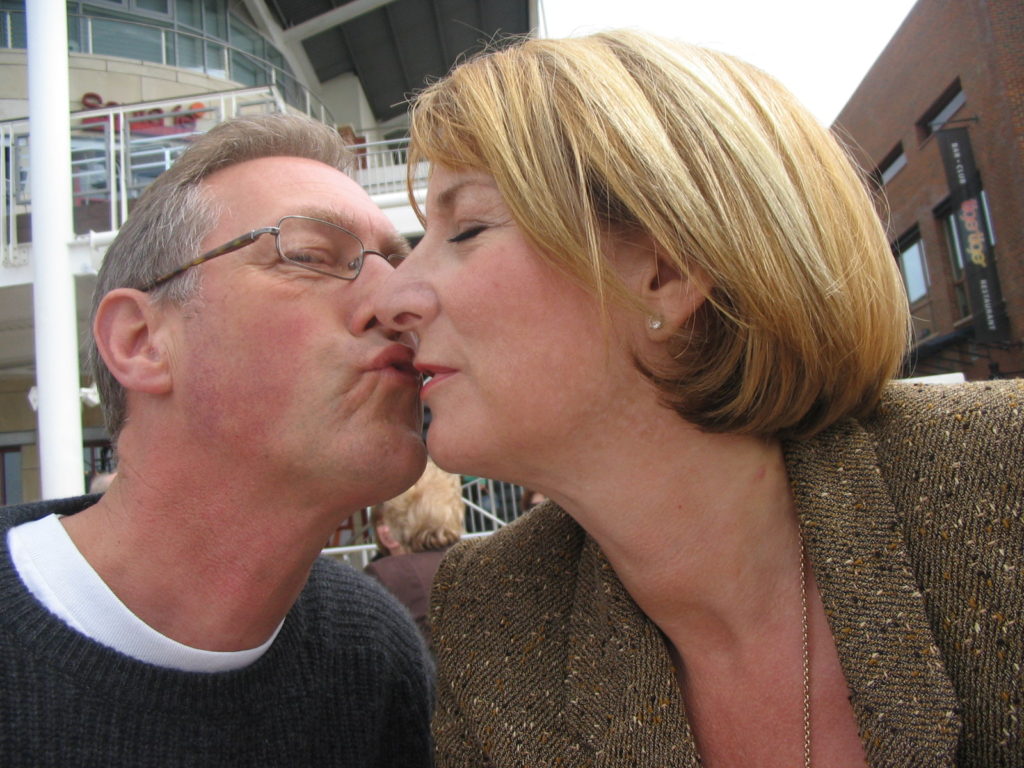
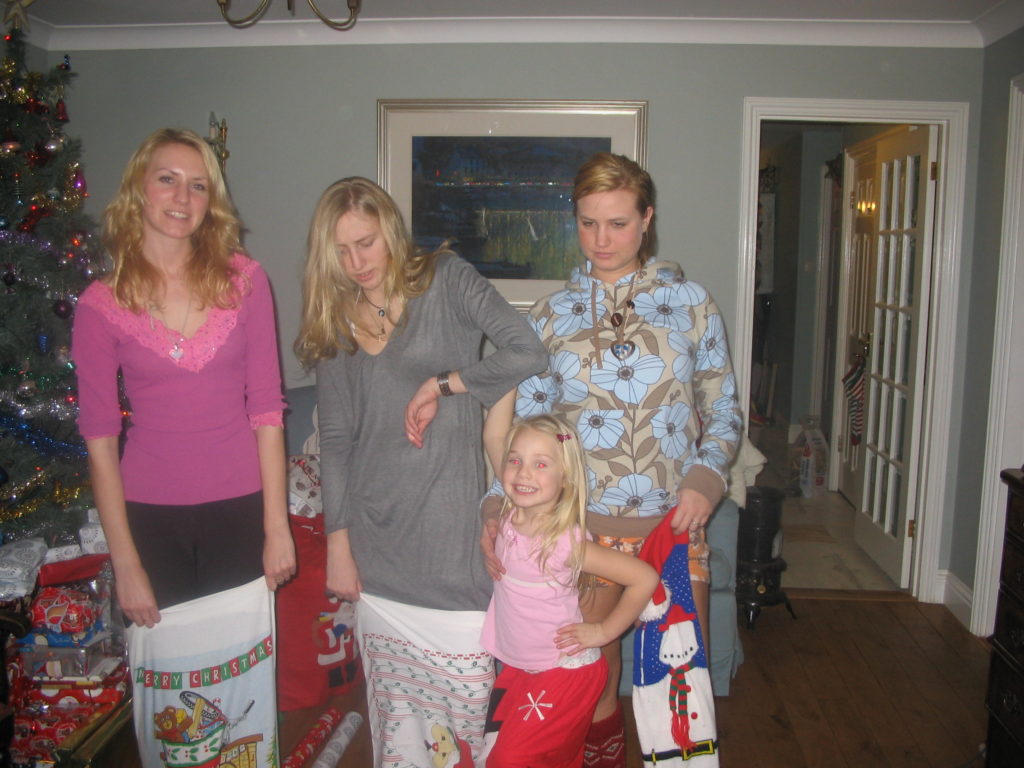
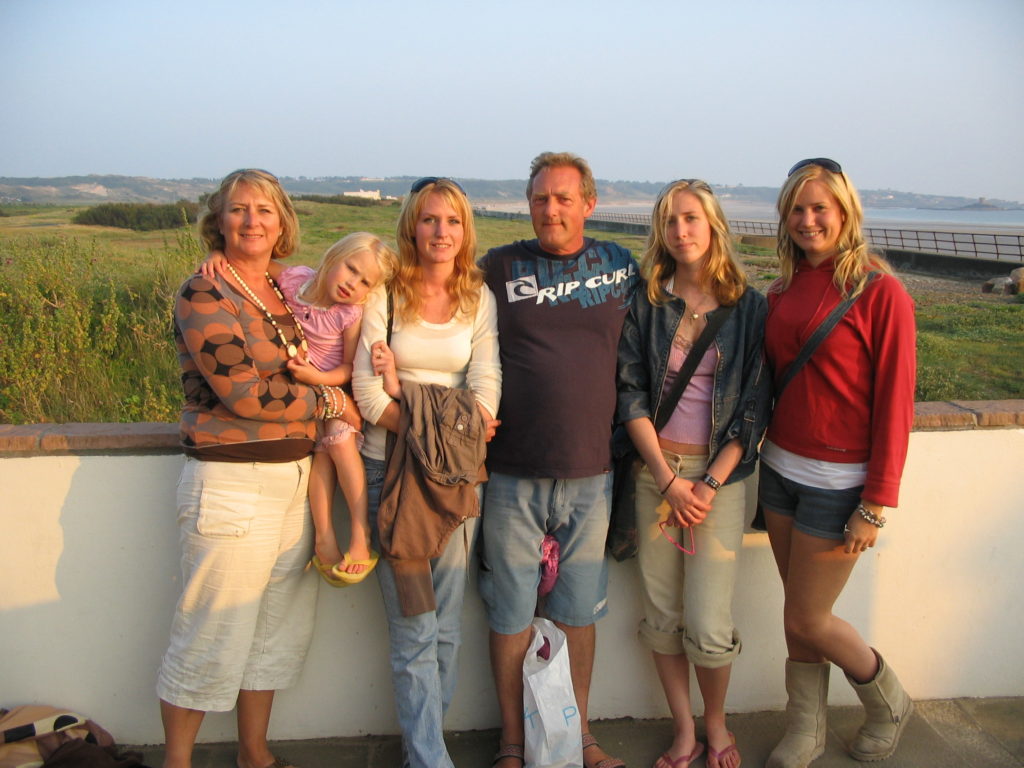
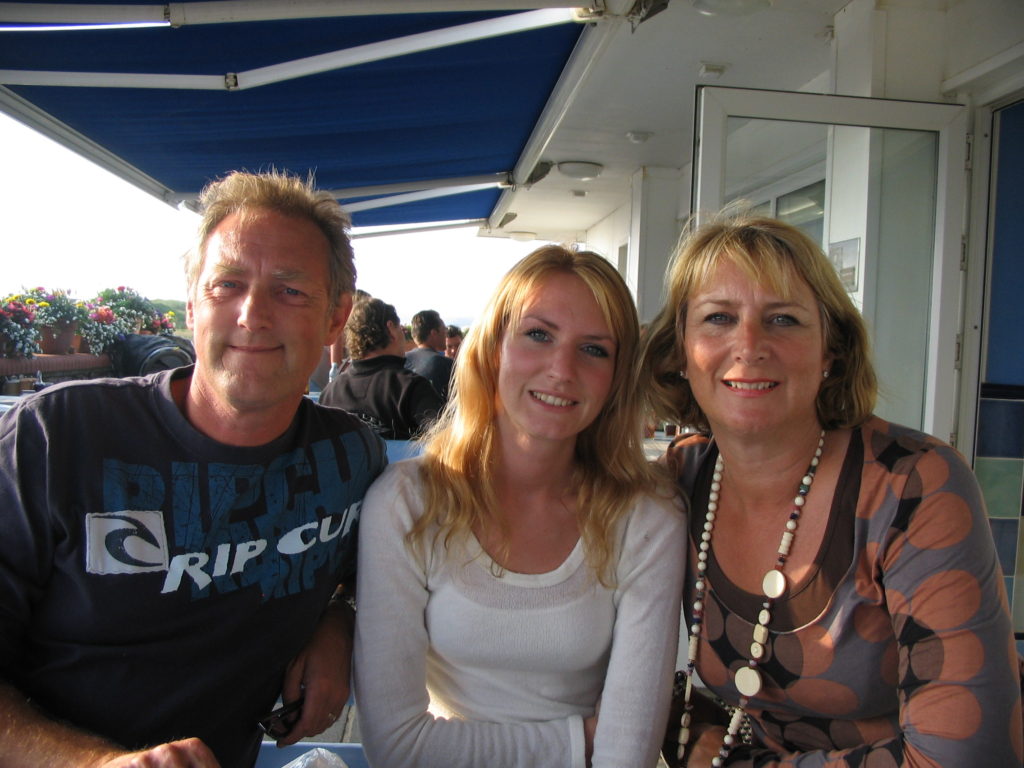
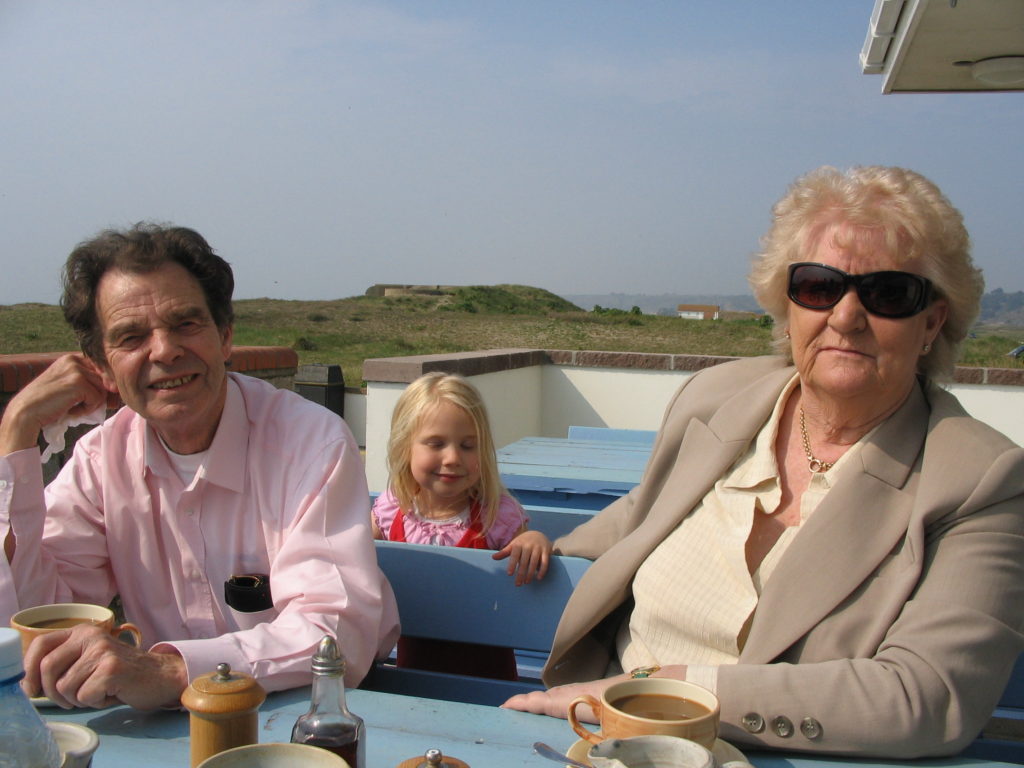
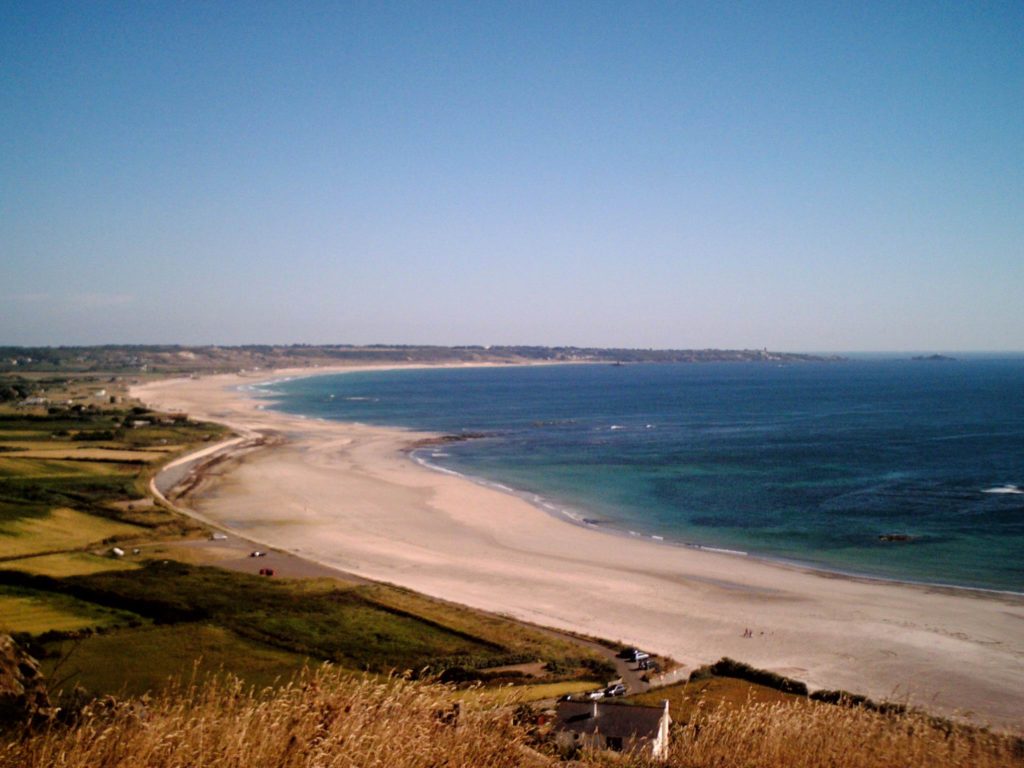
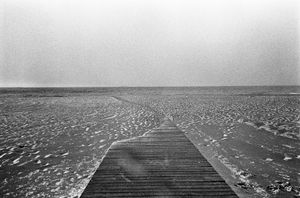
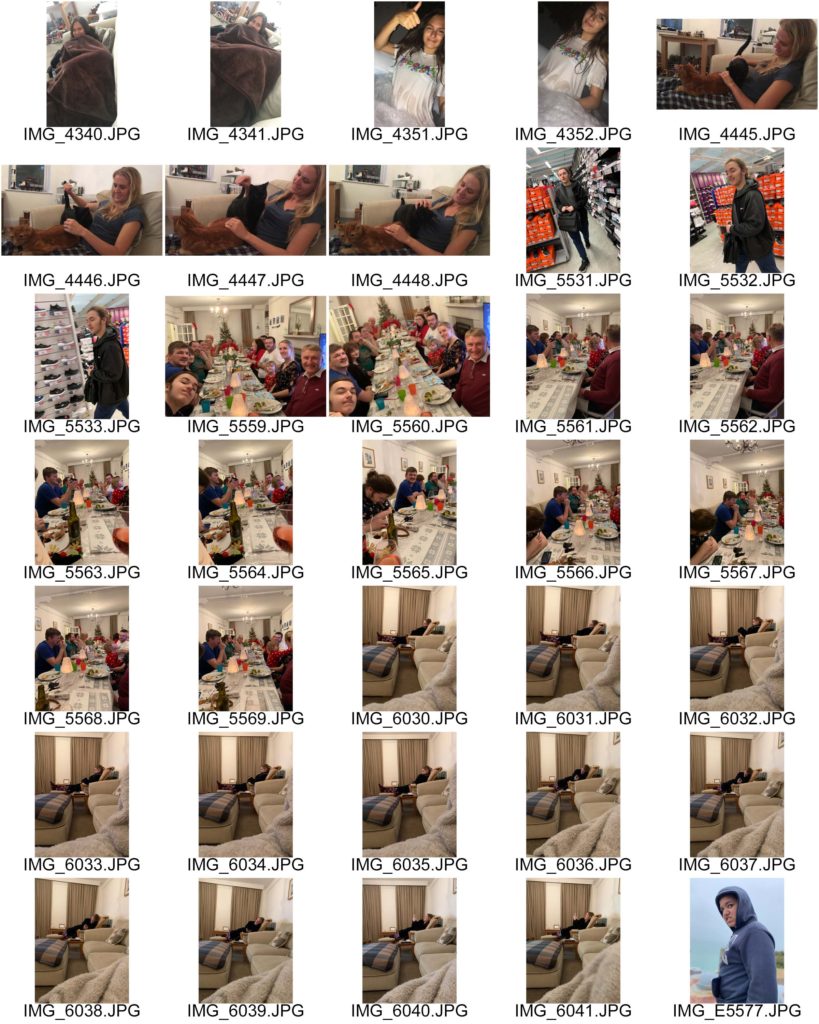
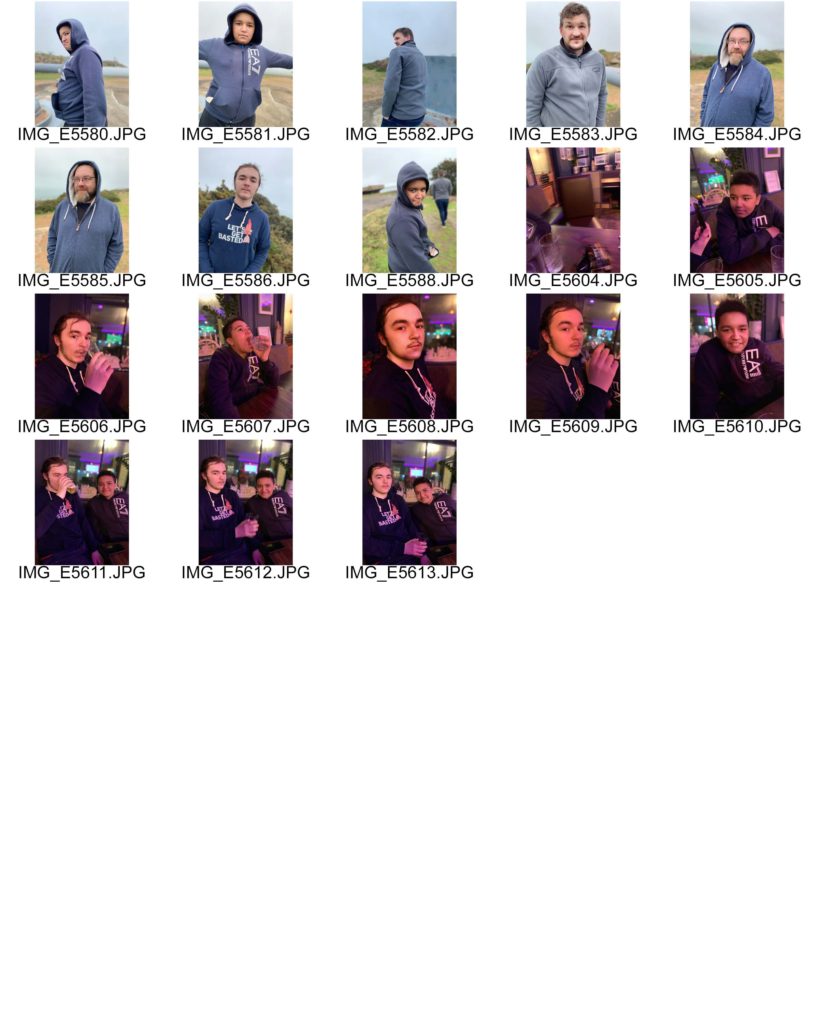
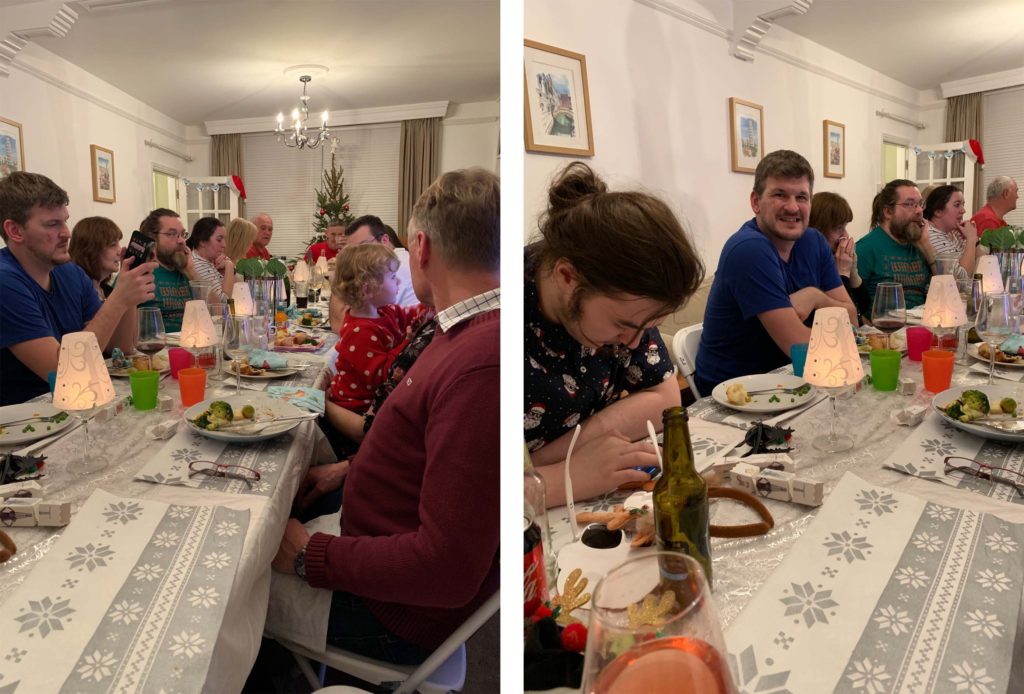
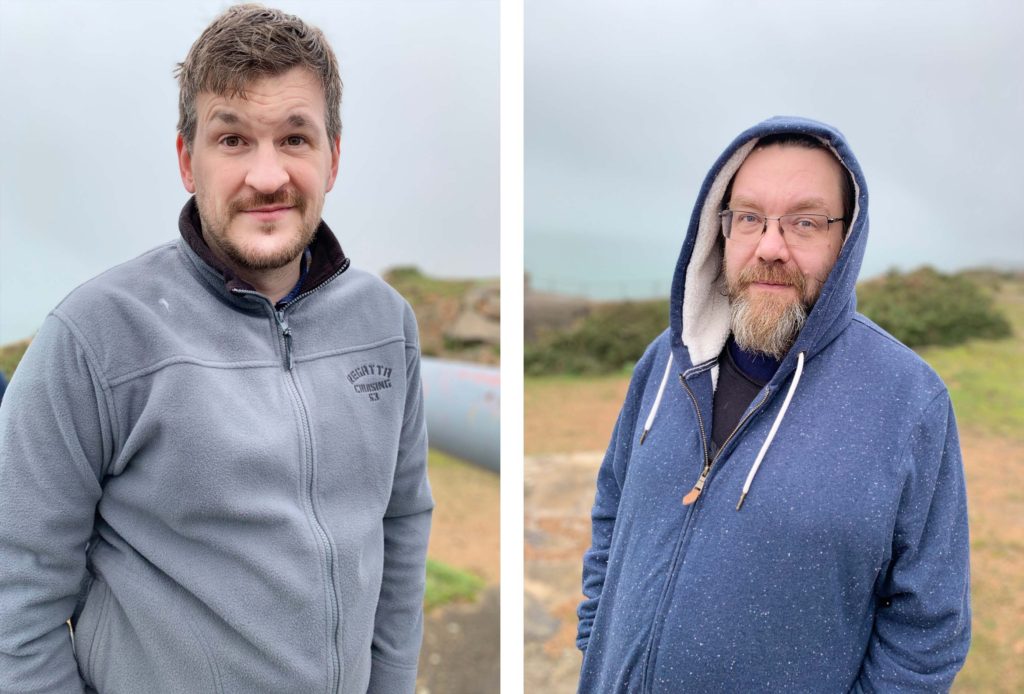
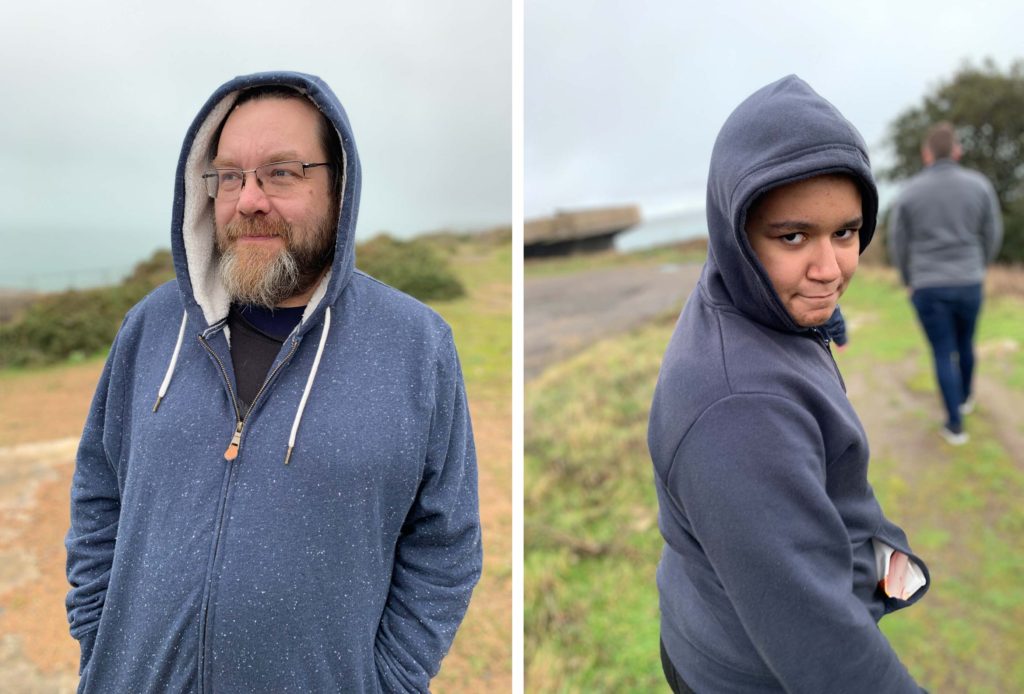
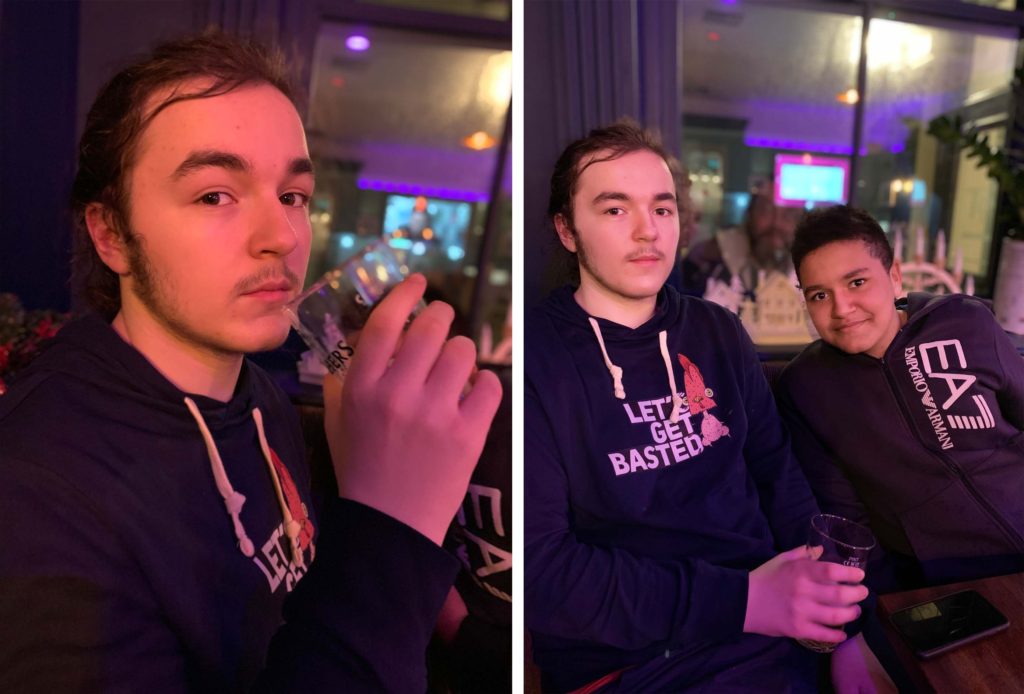
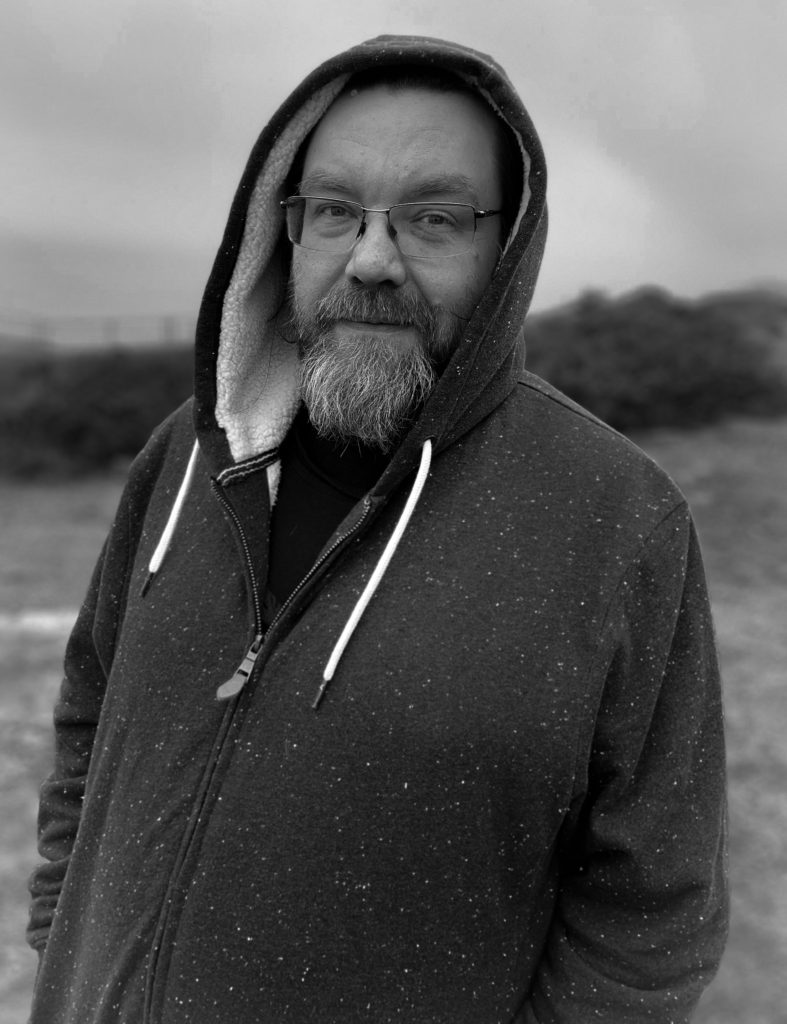
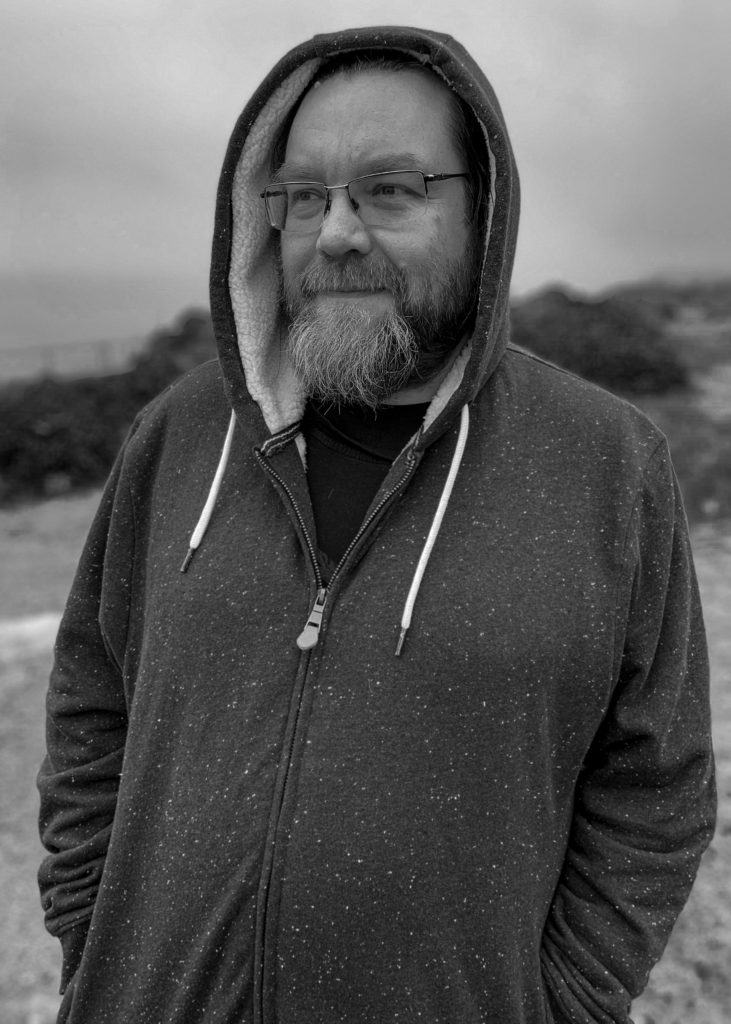
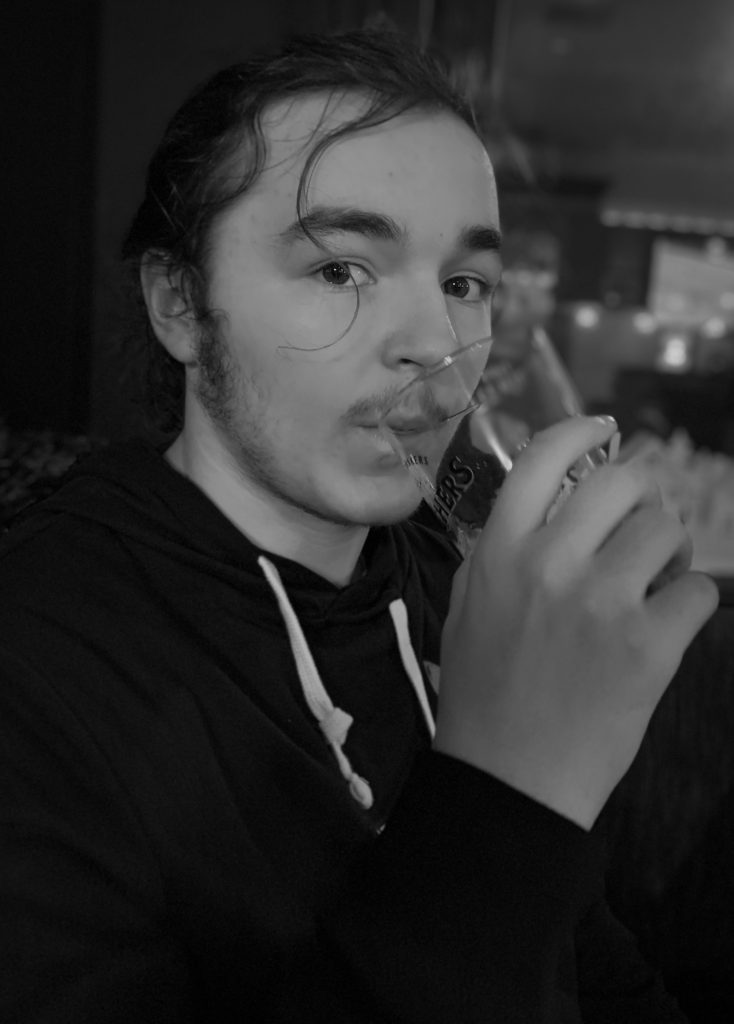
My uncle recently gave me a pen drive full of old family photos and videos. As part of my project, I thought I would go through this pen drive and pick out some photos I thought would be effective in conveying the feeling I wanted from my project. Not only did I try to find as many photos of my parents together, but I thought I’d also include old ones of my whole family, as my sisters have moved out which also affects our family dynamic.
Monthly Archives: January 2020
Filters
Statement of intent
I plan to explore what life is like living with separated parents, one of which does not live in jersey, and document it. I will be looking at Mateusz Sarello with his project ‘swell’ and Yoshikatsu Fujii and ‘red string’ and responding to their images and creating my own concepts as these projects both are based around the theme I wish to study. I plan to use minimal editing and make the subject in my photos take the main focus. I will also be using old family photos to interweave into my project and be using them to inspire some of the photos I will take.
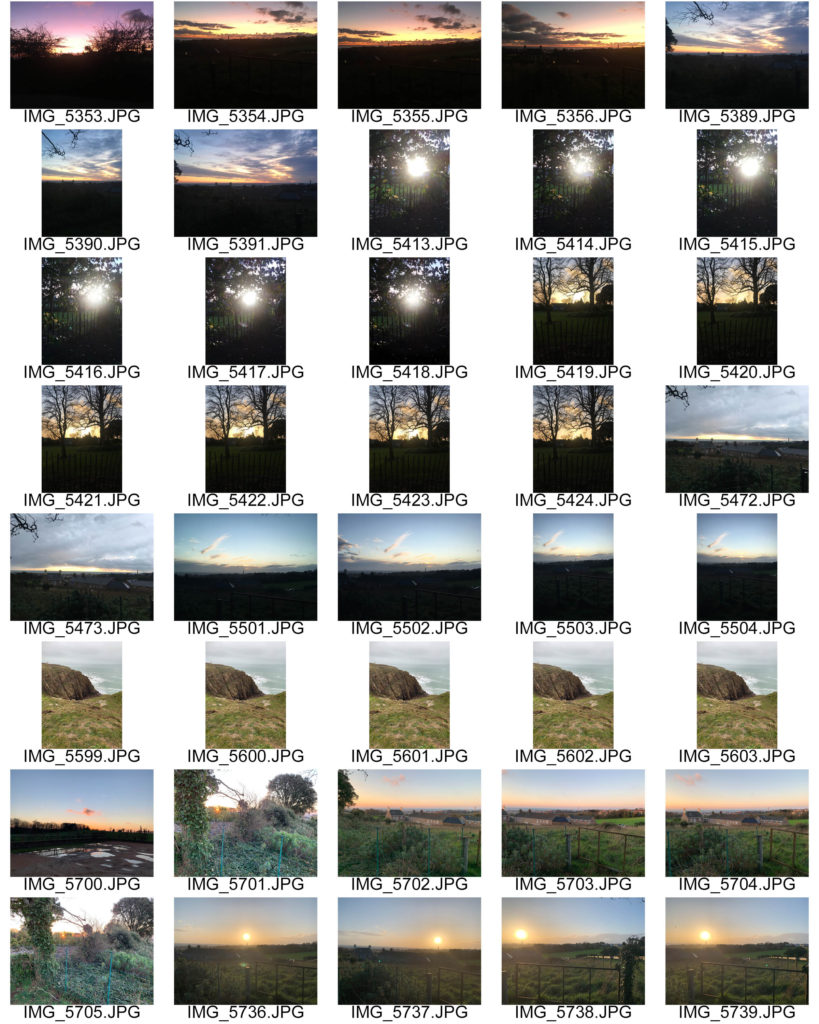
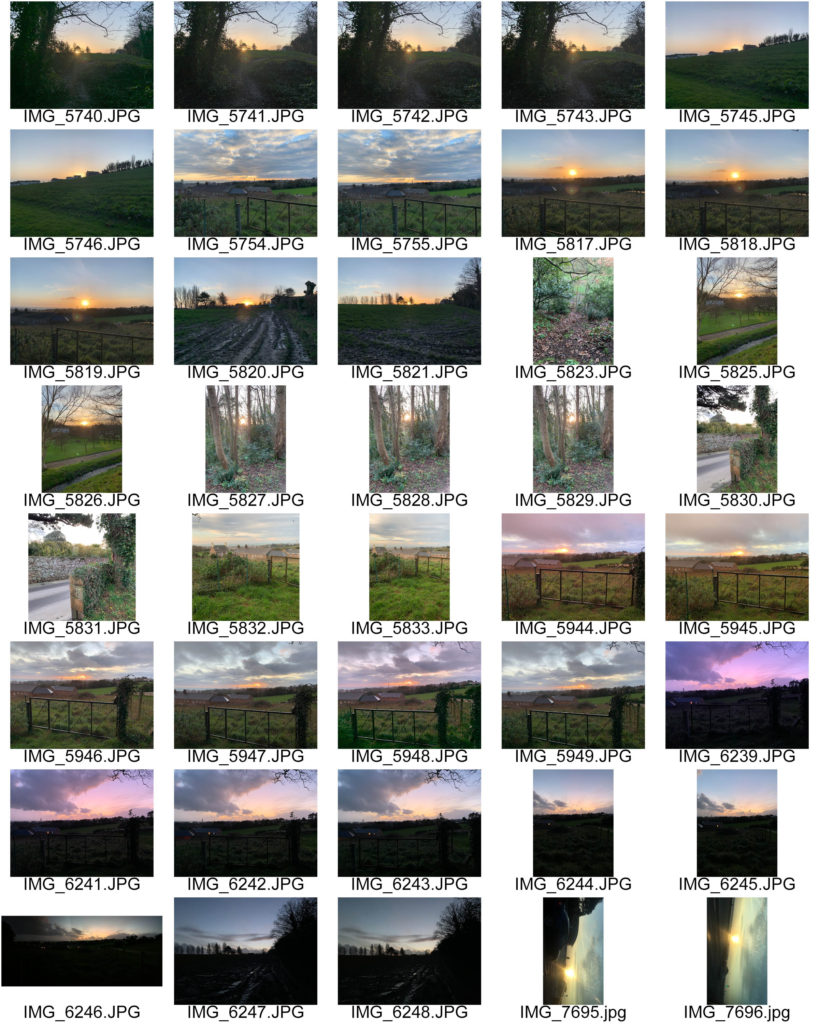
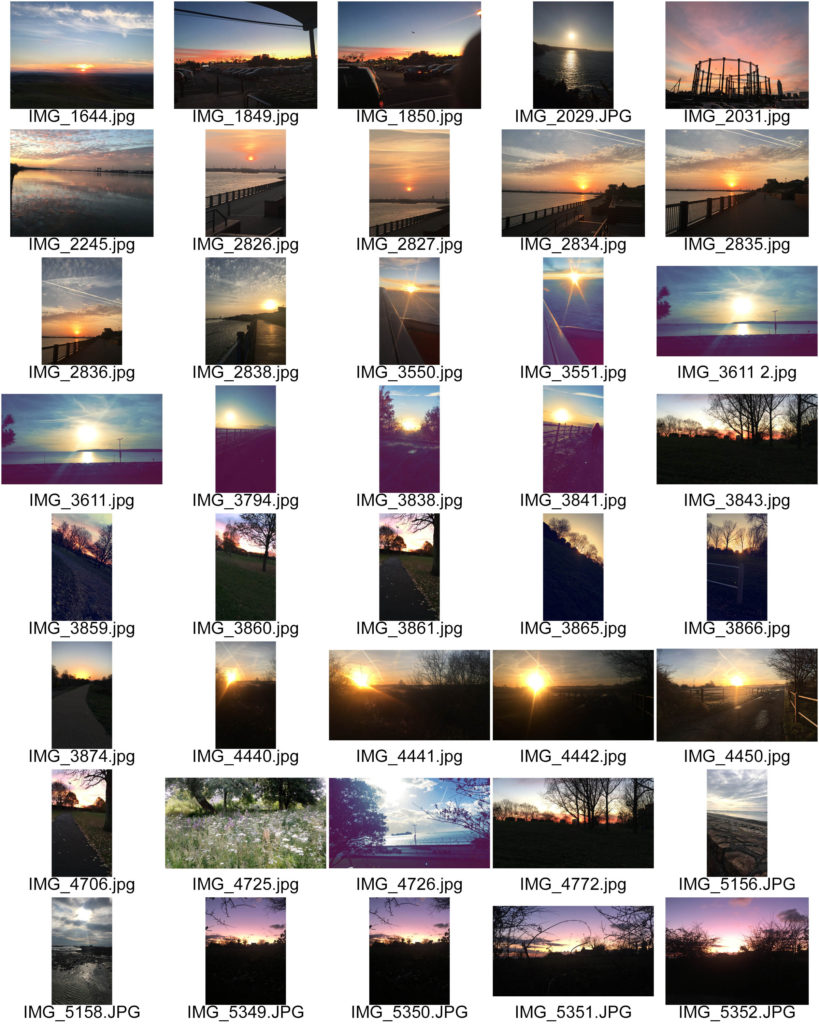
Photoshoot 2 – places
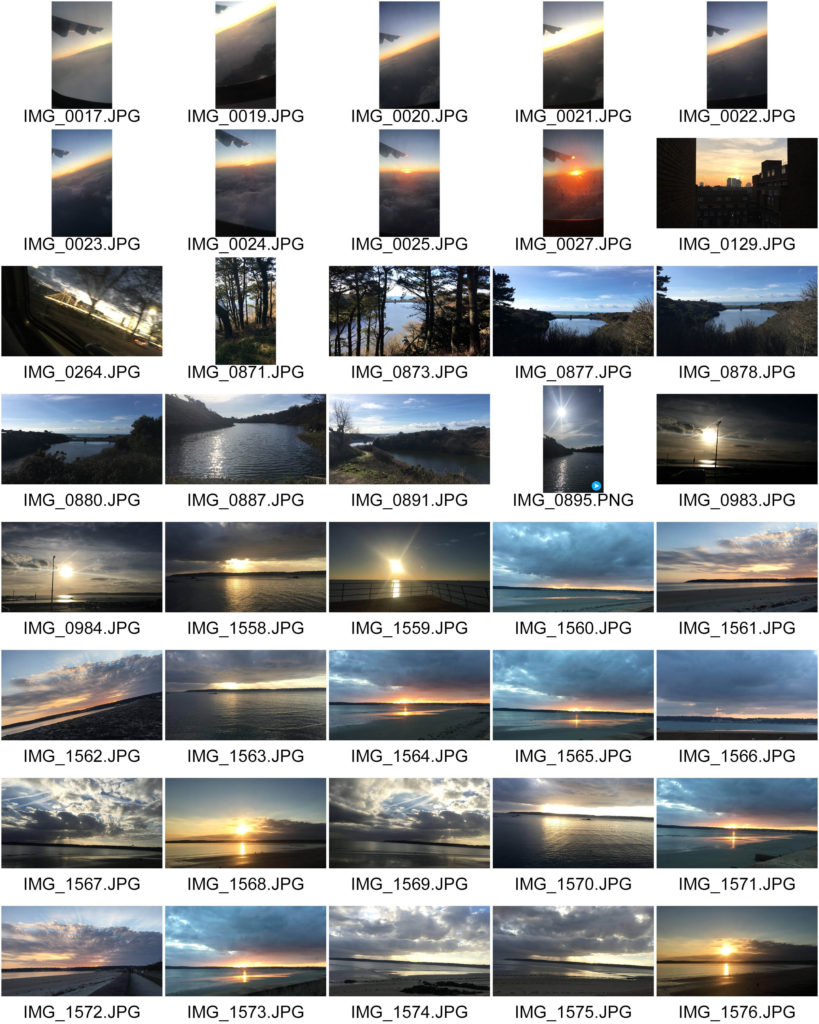
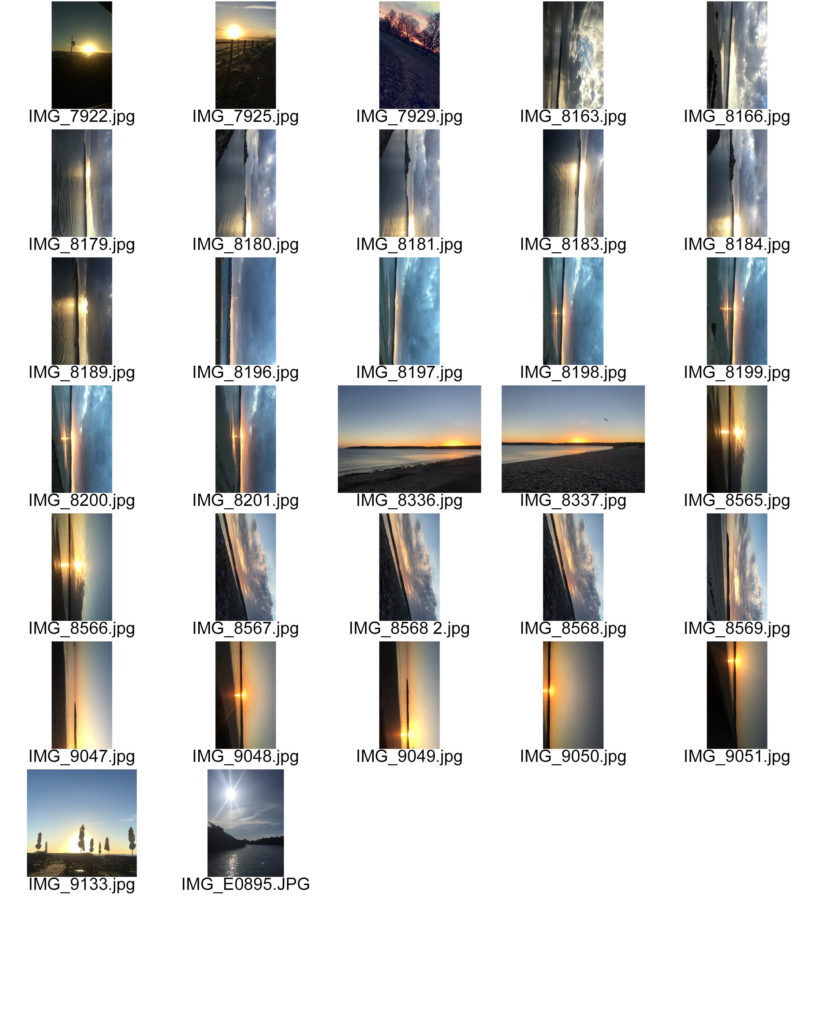
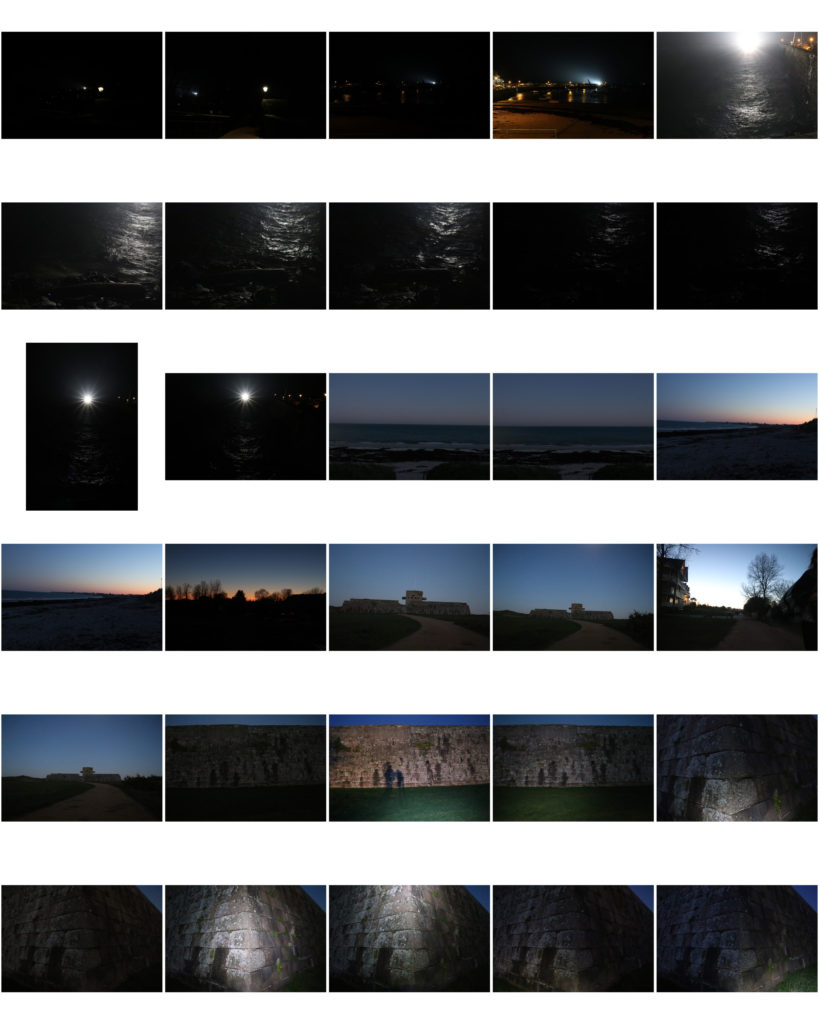
As a side photo shoot which doesn’t relate to my essay I took images of places which remind me of home or my family, mainly sunsets since that is what I liked the most about my life in London.
Contact sheets :
ESSAY WRITING
DEADLINE: DRAFT ESSAY 31 JAN 2020. Week 16 – 17 – 18 – 19
WE ONLY HAVE 4 WEEKS LEFT TO COMPLETE A DRAFT of your ESSAY
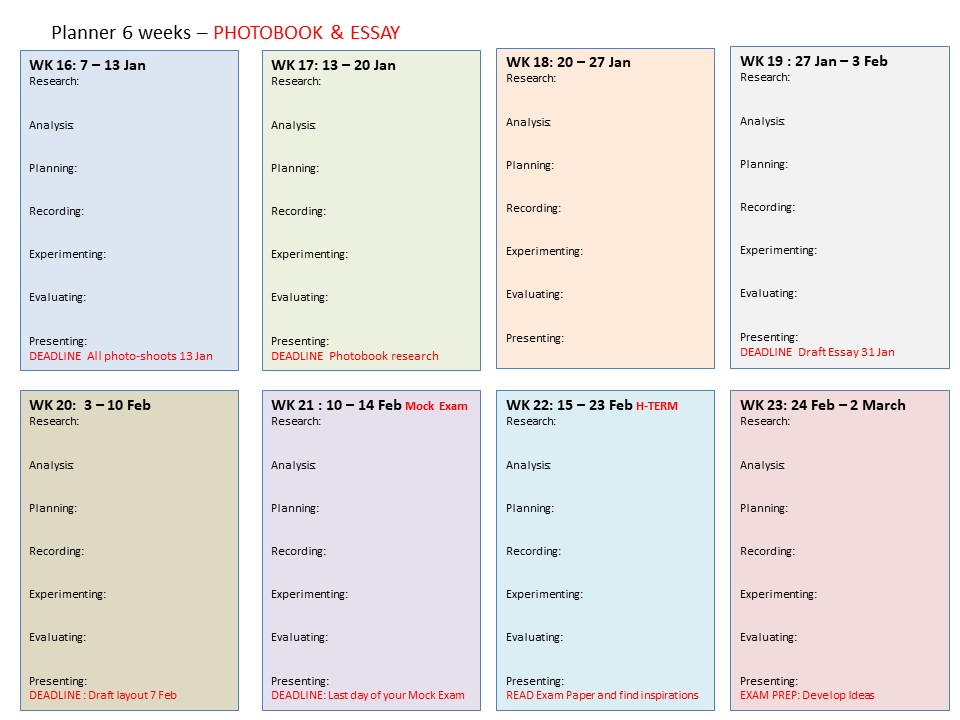
PLANNER – Download and save in your folder. Make sure you monitor and track your progress
6 weeks remaining – including MOCK EXAM!
ESSAY: We will be spending 1 lesson a week every Wednesday on writing and developing your essay. However, you will need to be working on it independently outside of lesson time.
Objective: Criteria from the Syllabus
- Be aware of some of the methods employed by critics and historians within the history of art and photography.
- Demonstrate a sound understanding of your chosen area of study with appropriate use of critical vocabulary. – use for image analysis
- Investigate a wide range of work and sources
- Develop a personal and critical inquiry.
Academic Sources:
- Research and identify 3-5 literary sources from a variety of media such as books, journal/magazines, internet, Youtube/video .
- Begin to read essay, texts and interviews with your chosen artists as well as commentary from critics, historians and others.
- It’s important that you show evidence of reading and draw upon different pints of view – not only your own.
- Take notes when you’re reading…key words, concepts, passages
- Write down page number, author, year, title, publisher, place of publication so you can list source in a bibliography
Quotation and Referencing:
- Use quotes to support or disprove your argument
- Use quotes to show evidence of reading
- Use Harvard System of Referencing…see Powerpoint: harvard system of referencing for further details on how to use it.
Essay Plan:
Make a plan that lists what you are going to write about in each paragraph – essay structure.
- Essay question:
- Opening quote
- Introduction (250-500 words): What is your area study? Which artists will you be analysing and why? How will you be responding to their work and essay question?
- Pg 1 (500 words): Historical/ theoretical context within art, photography and visual culture relevant to your area of study. Make links to art movements/ isms and some of the methods employed by critics and historian. Link to powerpoints about isms andmovements M:\Departments\Photography\Students\Resources\Personal Study
- Pg 2 (500 words): Analyse first artist/photographer in relation to your essay question. Present and evaluate your own images and responses.
- Pg 3 (500 words): Analyse second artist/photographer in relation to your essay question. Present and evaluate your own images and responses.
- Conclusion (250-500 words): Draw parallels, explore differences/ similarities between artists/photographers and that of your own work that you have produced
- Bibliography: List all relevant sources used
Essay question: Hypothesis
Think of a hypothesis and list possible essay questions
Here is a list of possible questions to investigate that may help you.
Opening quote: Choose a quote from either one of your photographers or critics. It has to be something that relates to your investigation
ESSAY STRUCTURE
See below for a possible essay structure. Further help can be found here essay structure or see link here The Royal Literay Fund
Introduction (250-500 words). Think about an opening that will draw your reader in e.g. you can use an opening quote that sets the scene. You should include in your introduction an outline of your intention of your study e.g. what and who are you going to investigate. How does this area/ work interest you? What are you trying to prove/challenge, argument/ counter-argument? What historical or theoretical context is the work situated within. Include 1 or 2 quotes for or against. What links are there with your previous studies? What have you explored so far in your Coursework or what are you going to photograph? How did or will your work develop. What camera skills, techniques or digital processes in Photoshop have or are you going to experiment with?
Paragraph 1 Structure (500 words) : Use subheading. This paragraph covers the first thing you said in your introduction that you would address. The first sentence introduces the main idea of the paragraph. Other sentences develop the subject of the paragraph.
Content: you could look at the following…exemplify your hypothesis within a historical and theoretical context. Write about how your area of study and own work is linked to a specific art movement/ ism. Research and read key text and articles from critics, historians and artists associated with the movement/ism. Use quotes from sources to make a point, back it up with evidence or an example (a photograph), explain how the image supports the point made or how your interpretation of the work may disapprove. How does the photograph compare or contrast with others made by the same photographer, or to other images made in the same period or of the same genre by other artists. How does the photograph relate to visual representation in general, and in particularly to the history and theory of photography, arts and culture.
Include relevant examples, illustrations, details, quotations, and references showing evidence of reading, knowledge and understanding of history, theory and context!
See link to powerpoints: Pictorialism vs Realism and Modernism vs Postmodernism here: M:\Departments\Photography\Students\Occupation vs Liberation\Presentations
Paragraph 2 Structure (500 words) : Use subheading. In the first sentence or opening sentences, link the paragraph to the previous paragraph, then introduce the main idea of the new paragraph. Other sentences develop the paragraphs subject (use relevant examples, quotations, visuals to illustrate your analysis, thoughts etc)
Content: you could look at the following...Introduce your first photographer. Select key images, ideas or concepts and analyse in-depth using specific model of analysis (describe, interpret and evaluate) – refer to your hypothesis. Contextualise…what was going on in the world at the time; artistically, politically, socially, culturally. Other influences…artists, teachers, mentors etc. Personal situations or circumstances…describe key events in the artist’s life that may have influenced the work. Include examples of your own photographs, experiments or early responses and analyse, relate and link to the above. Set the scene for next paragraph.
Include relevant examples, illustrations, details, quotations, and references showing evidence of reading, knowledge and understanding of history, theory and context!
Paragraph 3 Structure (500 words) : Use subheading. In the first sentence or opening sentences, link the paragraph to the previous paragraph, then introduce the main idea of the new paragraph. Other sentences develop the paragraphs subject (use relevant examples, quotations, visuals to illustrate your analysis, thoughts etc)
Content: you could look at the following…Introduce key works, ideas or concepts from your second photographer and analyse in-depth – refer to your hypothesis…Use questions in Pg 2 or add…What information has been selected by the photographer and what do you find interesting in the photograph? What do we know about the photograph’s subject? Does the photograph have an emotional or physical impact? What did the photographer intend? How has the image been used? What are the links or connections to the other photographer in Pg 2? Include examples of your own photographs and experiments as your work develop in response to the above and analyse, compare, contrast etc. Set the scene for next paragraph.
Include relevant examples, illustrations, details, quotations, and references showing evidence of reading, knowledge and understanding of history, theory and context!
Conclusion (500 words) : Write a conclusion of your essay that also includes an evaluation of your final photographic responses and experiments.
List the key points from your investigation and analysis of the photographer(s) work – refer to your hypothesis. Can you prove or Disprove your theory – include final quote(s). Has anything been left unanswered? Do not make it a tribute! Do not introduce new material! Summarise what you have learned. How have you been influenced? Show how you have selected your final outcomes including an evaluation and how your work changed and developed alongside your investigation.
Bibliography: List all the sources that you used and only those that you have cited in your text. Where there are two or more works by one author in the same year distinguish them as 1988a, 1988b etc. Arrange literature in alphabetical order by author, or where no author is named, by the name of the museum or other organisation which produced the text. Apart from listing literature you must also list all other sources in alphabetical order e.g. websites, exhibitions, Youtube/TV/ Videos / DVD/ Music etc.
UNDERSTANDING PHOTOBOOK DESIGN
PLANNER – Download and save in your folder. Make sure you monitor and track your progress
5 weeks remaining – including MOCK EXAM!
UNDERSTANDING PHOTO BOOK:
DESIGN, FORM, FUNCTION, SEQUENCING, NARRATIVE, CONCEPT
READ these texts to better understand how to identify a narrative and understand the design process of photobook making.
Colin Pantall: Identifying the Story: Sequencing isn’t narrative
Francis Hodgson: On Photography and Storytelling
For the die-hards here are a serious blog post by Photobook critic, Joerg Colberg which consider the many aspects of photobook making: Understanding Photobooks: The Forms an Functions of Photobooks
This article is the first in a series of five. You can find the other parts here: part 1, part 2, part 3, part 4, part 5
Here are a few lists of Best Photobooks 2018
Photographic Museum of Humanity
Week 17: 13 – 20 Jan
Deconstructing photobook
Blog: Produce a number of posts that show evidence of the following:
1. Research a photo-book (select one you have looked at previously in your project) and describe what story/ narrative the book is telling – its subject-matter, genre, style, approach etc.
2. Who is the photographer? Why did he/she make it? (intentions/ reasons) Who is it for? (audience) How was it received? (any press, awards, legacy etc.)
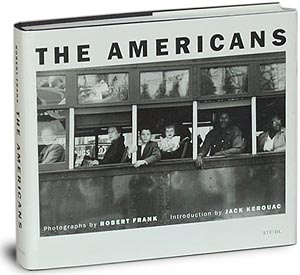
E.g Robert Frank’s “The Americans” was conceived with the help of a scholarship that allowed Frank to go on road trips across America during a two year period. He wanted to portray American society in the post-war period and his book has influenced (and still influence) many photographers since and also contributed to a new poetic style and subjective approach to documentary photography. Why?
Read an article in The Guardian by Sean O’Hagan, Photography Critic
3. Deconstruct the narrative, concept and design of the book such as:
- Book in hand: how does it feel? Smell, sniff the paper.
- Paper and ink: use of different paper/ textures/ colour or B&W or both.
- Format, size and orientation: portraiture/ landscape/ square/ A5, A4, A3 / number of pages.
- Binding, soft/hard cover. image wrap/dust jacket. saddle stitch/swiss binding/ Japanese stab-binding/ leperello
- Cover: linen/ card. graphic/ printed image. embossed/ debossed. letterpress/ silkscreen/hot-stamping.
- Title: literal or poetic / relevant or intriguing.
- Narrative: what is the story/ subject-matter. How is it told?
- Structure and architecture: how design/ repeating motifs/ or specific features develops a concept or construct a narrative.
- Design and layout: image size on pages/ single page, double-spread/ images/ grid, fold- outs/ inserts.
- Editing and sequencing: selection of images/ juxtaposition of photographs/ editing process.
- Images and text: are they linked? Introduction/ essay/ statement by artists or others. Use of captions (if any.)
Here a few examples from previous students
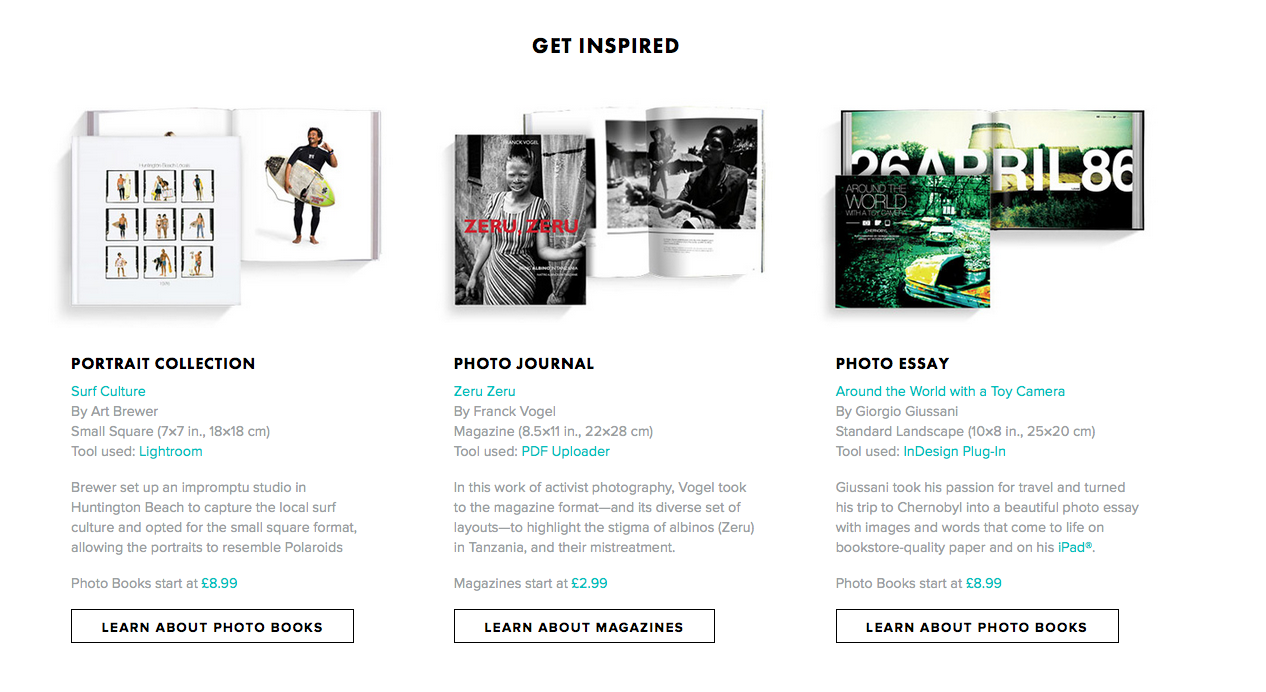
4. Look at BLURB online book making website, photo books from photographers or see previous books produced by Hautlieu students on the table in class.
5. Write a book specification and describe in detail what your book will be about in terms of narrative, concept and design. Produce a mood-board of design ideas and consider the following:
Narrative: What is your story?
Describe in:
- 3 words
- A sentence
- A paragraphs
Design: Consider the following
- How you want your book to look and feel
- Paper and ink
- Format, size and orientation
- Binding and cover
- Title
- Structure and architecture
- Design and layout
- Editing and sequencing
- Images and text
Create a BLURB account using your school email address. With Blurb you have different options on how you design your book:
a) Using Lightroom to design your book which is integrated with BLURB. Only for use on school computers, unless you have LR at home on your own laptop.
b) Download Bookwright via Blurb onto your own laptop and work offline at home and you can work indecently of school. Here you have full control of layout/ design features. Once completed, you upload photo book design to Blurb
c) Choose online option if you want to work directly online. Very limited layout/design options (not recommended!)
planner: photobook and essay
Welcome back!
SPRING TERM – DEADLINES
DEADLINE: DRAFT ESSAY 31 JAN 2020.
FINAL DEADLINE: Completion of photobook with final essay MOCK EXAM 15 HRS CONTROLLED CONDITIONS MON 10 – FRI 14 Feb.
EXAM (ESA): Exam Paper handed out on last day of Mock Exam. Preparation begins after H-TERM 24 FEB.
EXAM (ESA): Controlled Conditions
MON 27 April – FRI 1 MAY.
PLANNER – Download and save in your folder. Make sure you monitor and track your progress
6 weeks remaining – including MOCK EXAM!
Week 16: 6 – 13 Jan
Editing images and write Essay paragraph 1
PHOTOBOOK: Lesson time (Mon, Tue, Thurs & Fri)
Bring images from new photo-shoots to lessons and follow these instructions
- Save shoots in folder and import into Lightroom
- Organisation: Create a new Collection from each new shoot inside Collection Set: PHOTOBOOK
- Editing: select 8-12 images from each shoot.
- Experimenting: Adjust images in Develop, both as Colour and B&W images appropriate to your intentions
- Export images as JPGS (1000 pixels) and save in a folder: BLOG
- Create a Blogpost with edited images and an evaluation; explaining what you focused on in each shoot and how you intend to develop your next photoshoot.
- Make references to artists references, previous work, experiments, inspiration etc.
- Prep for photobook design: Make a rough selection of your 40-50 best pictures from all shoots. Make sure you have adjusted and standardised all the pictures in terms of exposure, colour balance.
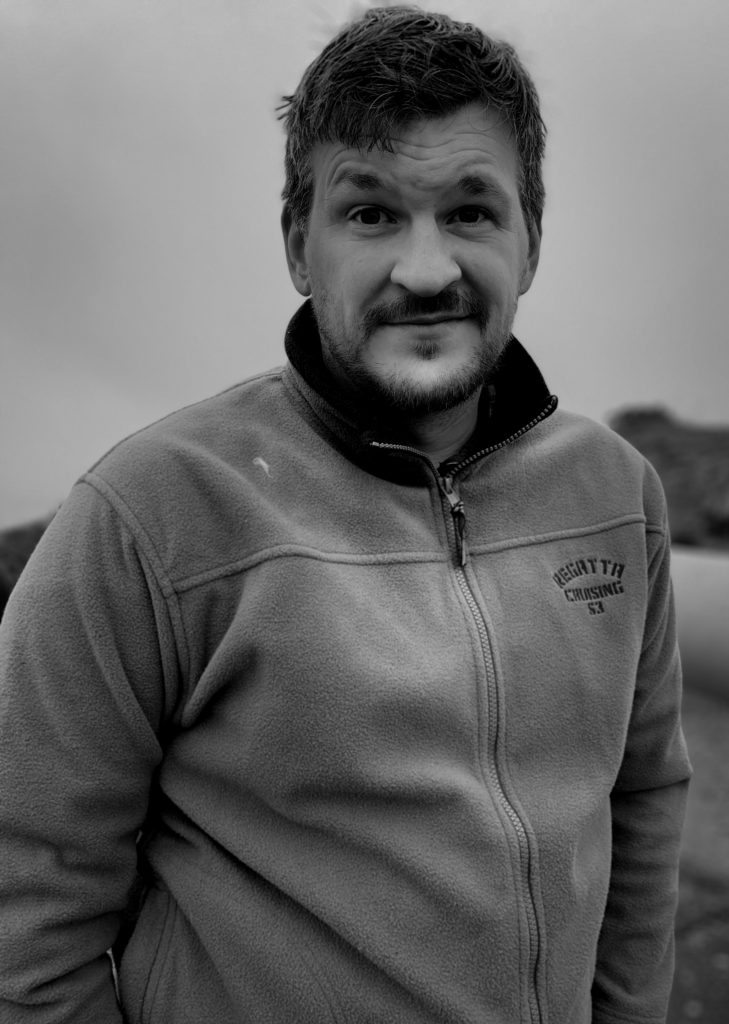
Further experimentation:
- Export same set of images from Lightroom as TIFF (4000 pixels)
- Experimentation: demonstrate further creativity using Photoshop to make composite/ montage/ typology/ grids/ diptych/triptych, text/ typology etc appropriate to your intentions
- Design: Begin to explore different layout options using Indesign and make a new zine/book. Set up new document as A5 page sizes. This is trying out ideas before you begin designing photobook.
- Make sure you annotate process and techniques used and evaluate each experiment
Essay: Lesson time (Wed)
- Complete Paragraph 1 and upload to the blog no later than WED 15 Jan.
Paragraph 1 Structure (500 words) : Use subheading. This paragraph covers the first thing you said in your introduction that you would address. The first sentence introduces the main idea of the paragraph. Other sentences develop the subject of the paragraph.
Content: you could look at the following…exemplify your hypothesis within a historical and theoretical context. Write about how your area of study and own work is linked to a specific art movement/ ism. Research and read key text and articles from critics, historians and artists associated with the movement/ism. Use quotes from sources to make a point, back it up with evidence or an example (a photograph), explain how the image supports the point made or how your interpretation of the work may disapprove. How does the photograph compare or contrast with others made by the same photographer, or to other images made in the same period or of the same genre by other artists. How does the photograph relate to visual representation in general, and in particularly to the history and theory of photography, arts and culture.
Include relevant examples, illustrations, details, quotations, and references showing evidence of reading, knowledge and understanding of history, theory and context!
See link to powerpoints: Pictorialism vs Realism and Modernism vs Postmodernism here: M:\Departments\Photography\Students\Occupation vs Liberation\Presentations
Link to Blogpost on Essay writing
personal project PHOTO SHOOTS planner
Introduction
For my personal project i will need some photographs to include but in order to achieve that i will need to plan my photo shoots first, but unfortunately the idea of my personal project restricts me from being able to get many photographs as my personal project is about something that is past and not present so there’s not much i can photograph as its all gone now but i will be able to take photographs of objects or archival photographs that where already taken by someone else who was there in the past and past it on to me or my family.
First photo shoot
I will be going back to Jordan in Christmas but unfortunately i’m only going there for 3 days because my reason of visit limits me from staying there for longer, and i will be very occupied all day for the three days so i don’t have much opportunity to go out and do a photo shoot so i will be taking photographs of objects related to the project in my own home, the only thing i’m sure of is my knife that was given to me by Abu Ali who inherited it from the guy my project is about.i will be taking the photo shoot using my phone as i have no access to a camera, i will lay the knife down on a white paper and adjust the light to get a florescent white light.
Interviews
My secondary data will be collecting information and stories about Mashhoor Al Jazi to add up to my personal project and to do that i am going to be interviewing people that are related to him and ask the questions. down below is a list of the people that i’m going to interview and what i’m going to ask them:
- Hamzah Al Jazi (grandson): How many years do you remember with him? How did his death affect you? Is there any personal stories you want to share about him? How would you describe Mashhoor in one sentence? Are you proud of your family history because of Mashhoor’s accomplishments?
- Wael Mattar (old friend): For how long did you know Mashhooor? Did you have any accomplishments with him? Does knowing the fact that Mashhoor was your friend make you proud? How often did you used to see him? What did you do when you where with him? How would you describe Mashhoor in one phrase?
- Eman Mattar (daughter in law):How close where you to Mashhoor? since your the closest one to Abu Ali how would you describe Abu Ali’s condition was when Mashhoor died?
Conclusion:
After collecting all my data which include the photo shoots and my interviews i will arrange it all on different blog post for all of them to create one whole project and in the end i will create a summery blog post to make it as a final piece.
Photoshoot 1 – people
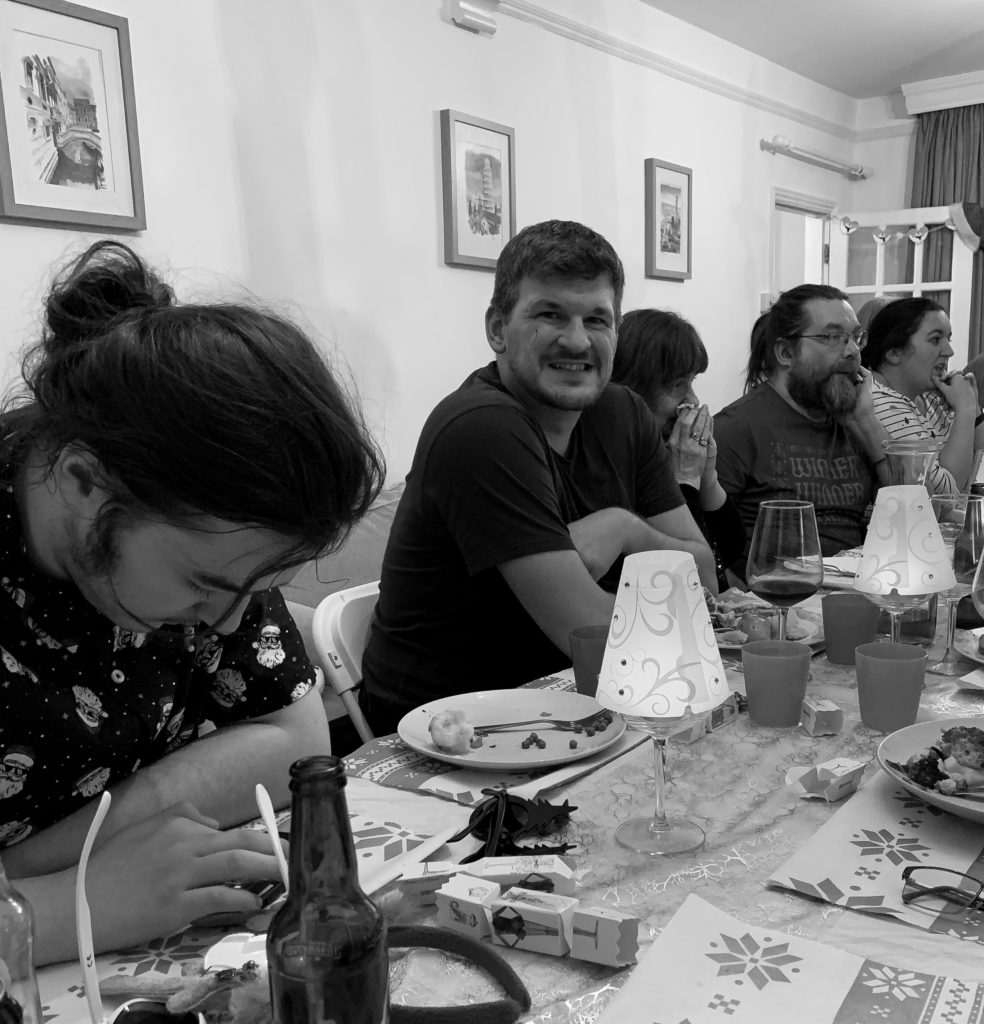
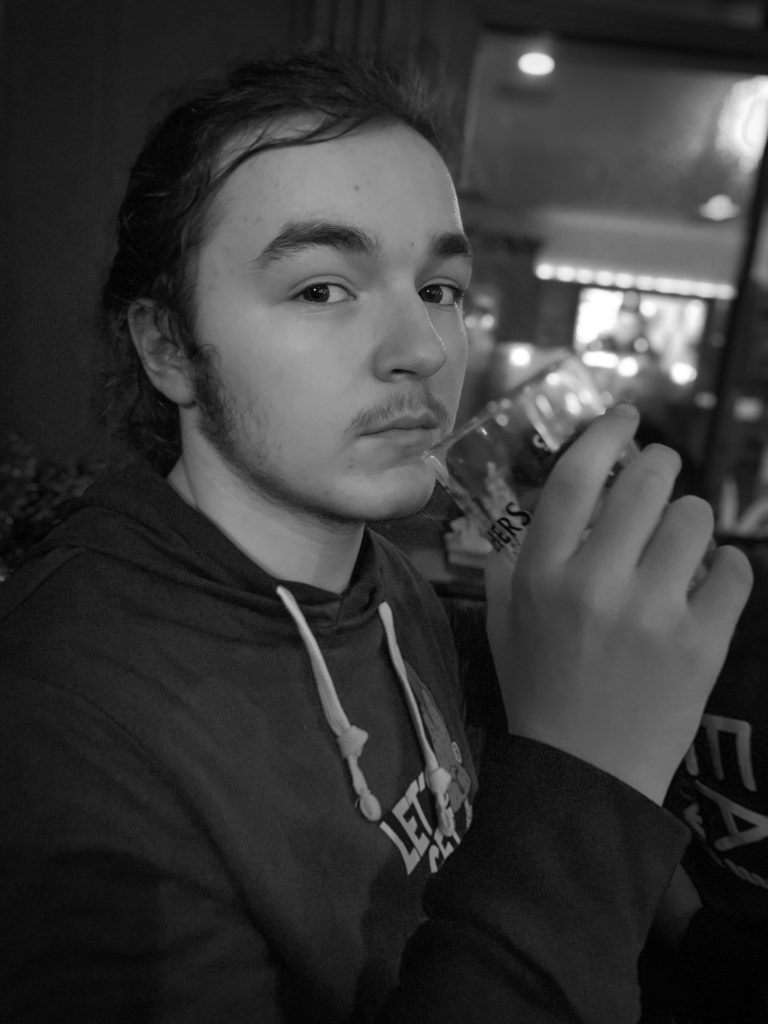
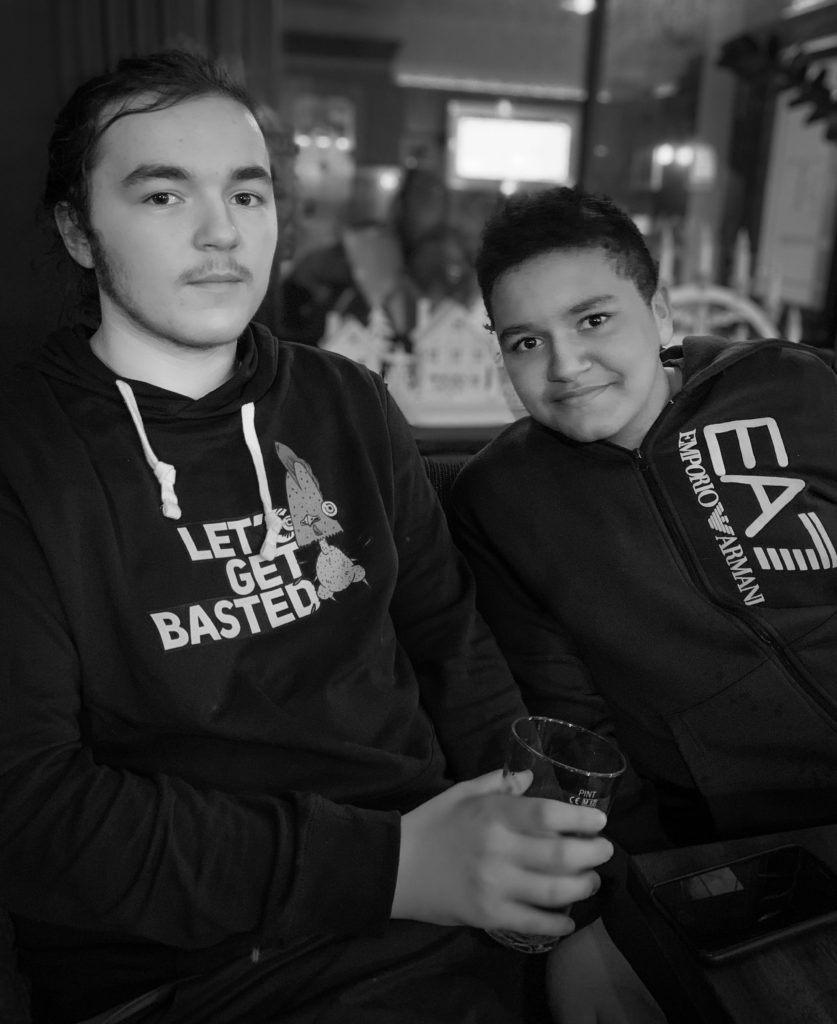
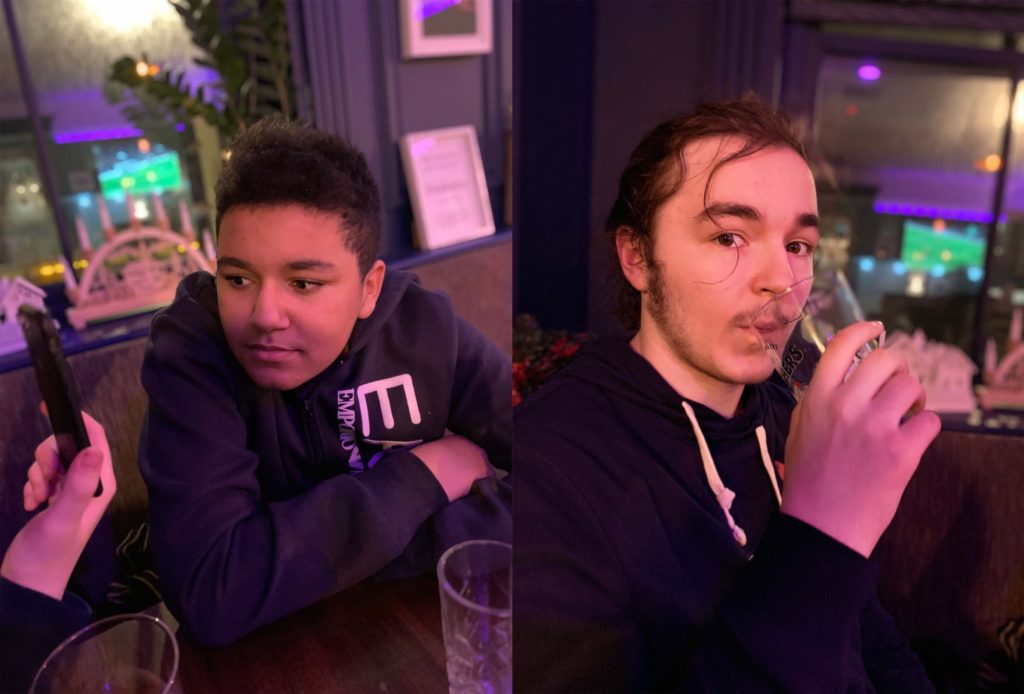
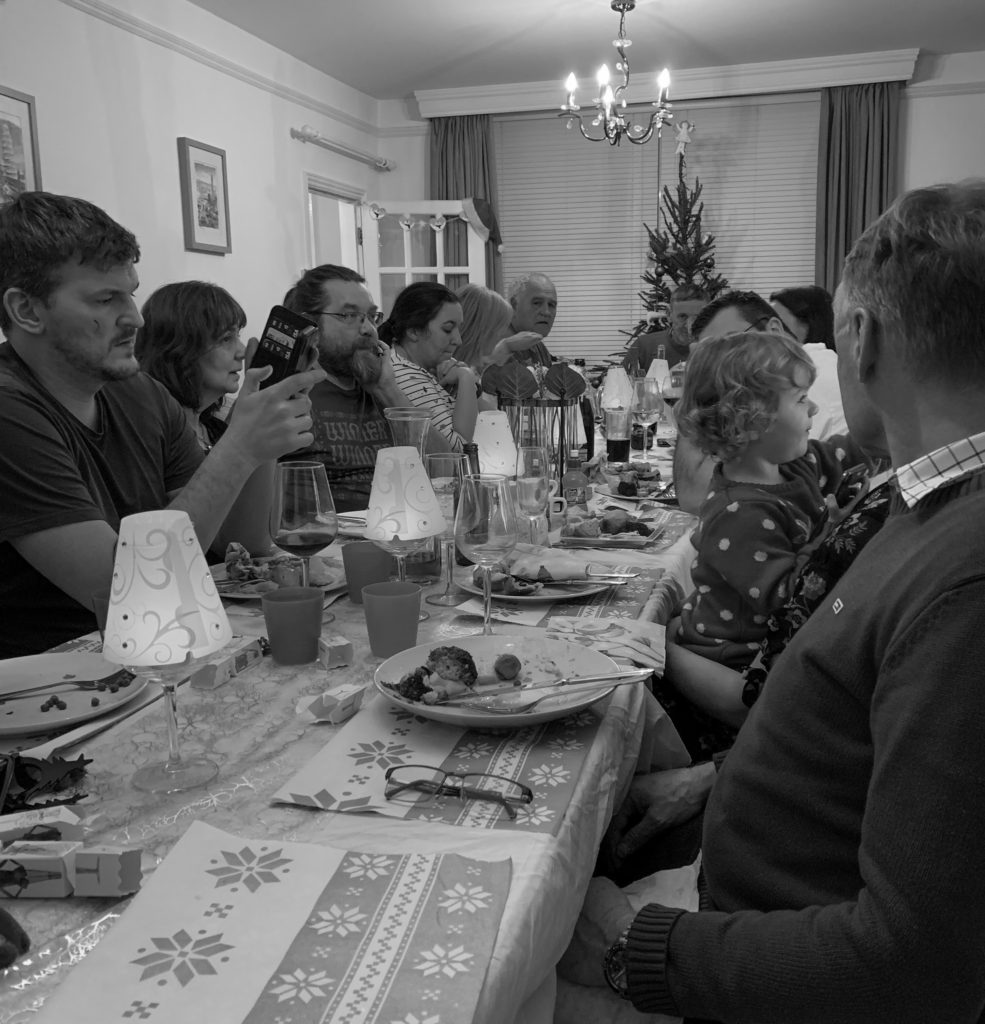
For one of my photo shoots I took images of my family members and friends, from both London and Jersey, over the course of a few days. It was conducted over the Christmas holiday in Jersey while my family gathered to celebrate Christmas. These photo shoots were based off of the photographers Walker Evans and Latoya Ruby Frazier, who both took images of families for their series. For my photos I aimed to take images of as many of my family members as possible when they visited Jersey for the Christmas holidays.
A few images from my photoshoots :
Chosen images :
Final edits :
Analysis image :
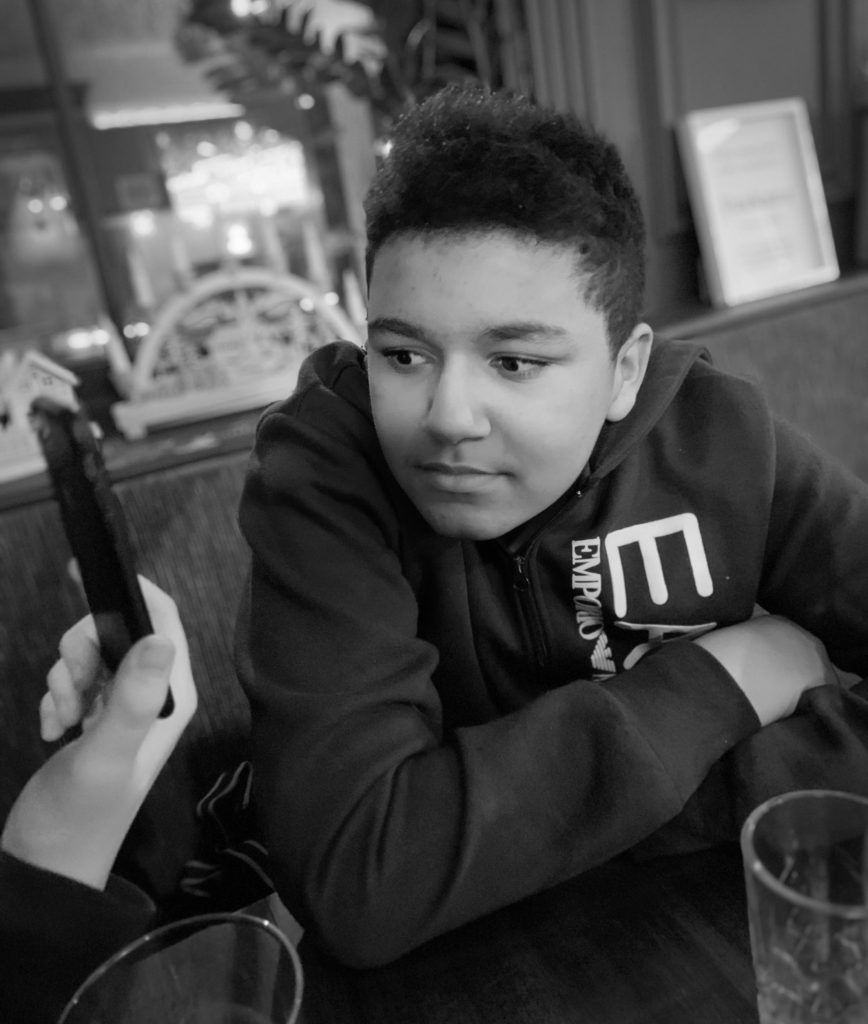
In this black and white image you can see a boy, my brother, being shown something on a phone by someone out of the picture. Since the background around him has been blurred slightly, you are able to easily focus on his face without being distracted by the environment around him.
This image was taken when my family from London came over to Jersey for the Christmas holiday. The boy in the image is my brother and this was when my family and I went out for dinner the night before they left to go back to London. This image is a response to one of the photographers I will be looking at in my essay, Latoya Ruby Frazier, who is a photographer who took images of her family within their home when there was an economic crisis happening in their town of Braddock, Pennsylvania.
Francesca research
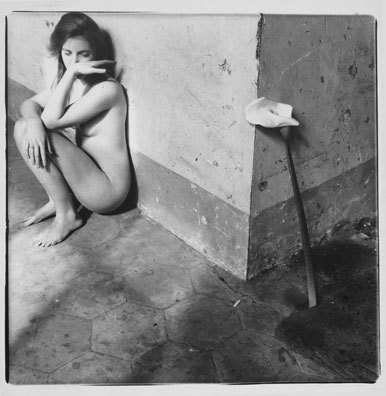
Francesca Woodman was an American photographer known for her black-and-white self-portraits. Despite her short career, which ended with her suicide at the age of 22, Woodman produced over 800 untitled prints. Influenced by Surrealism and Conceptual Art, her work often featured recurring symbolic motifs such as birds, mirrors, and skulls. The artist’s exploration of sexuality and the body is often compared to both Hans Bellmer and Man Ray. Woodman’s work is also characterized by her use of long shutter speed and double exposure, the blurred image creating a sense of movement and urgency, “Am I in the picture? Am I getting in or out of it? I could be a ghost, an animal or a dead body, not just this girl standing on the corner …?” Woodman once stated. Born on April 3, 1958 in Boulder, CO to the artists George and Betty Woodman, she went on to attend the Rhode Island School of Design and traveled to Rome as part of its honors program in 1977. While in Rome, she made some of her most poetic and provocative works. Moving to New York in 1979 to pursue a career in photography, the next two years proved to be troubled for the artist. A lackluster response to her photography and a failed relationship pushed her into a deep depression. The artist jumped to her death from a loft window on January 19, 1981 in New York, NY.
Photoshoot 3
Planning
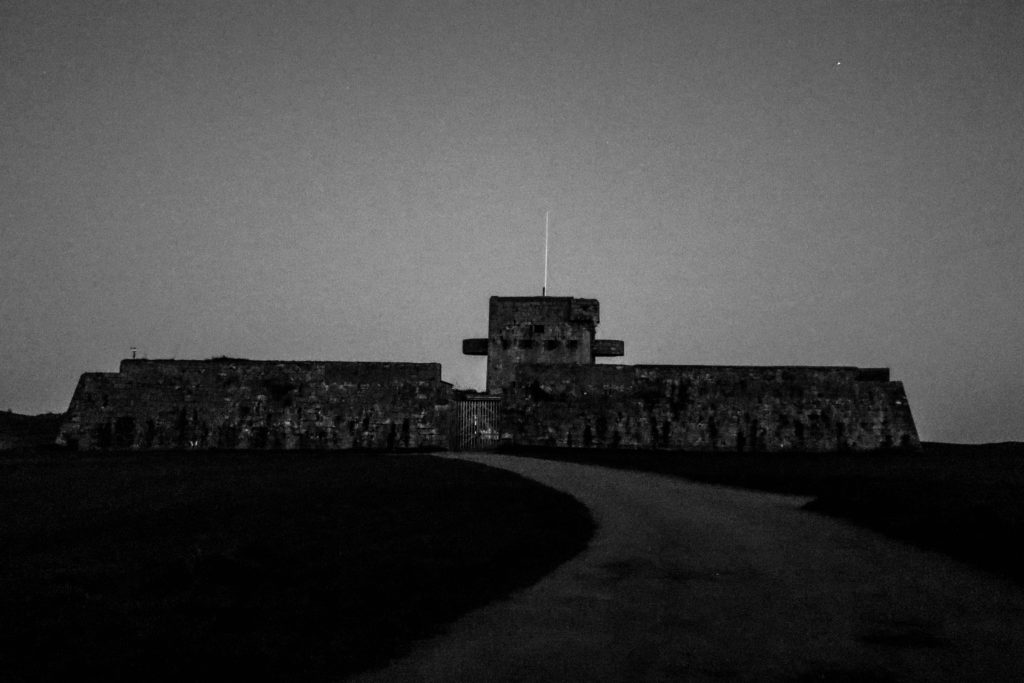
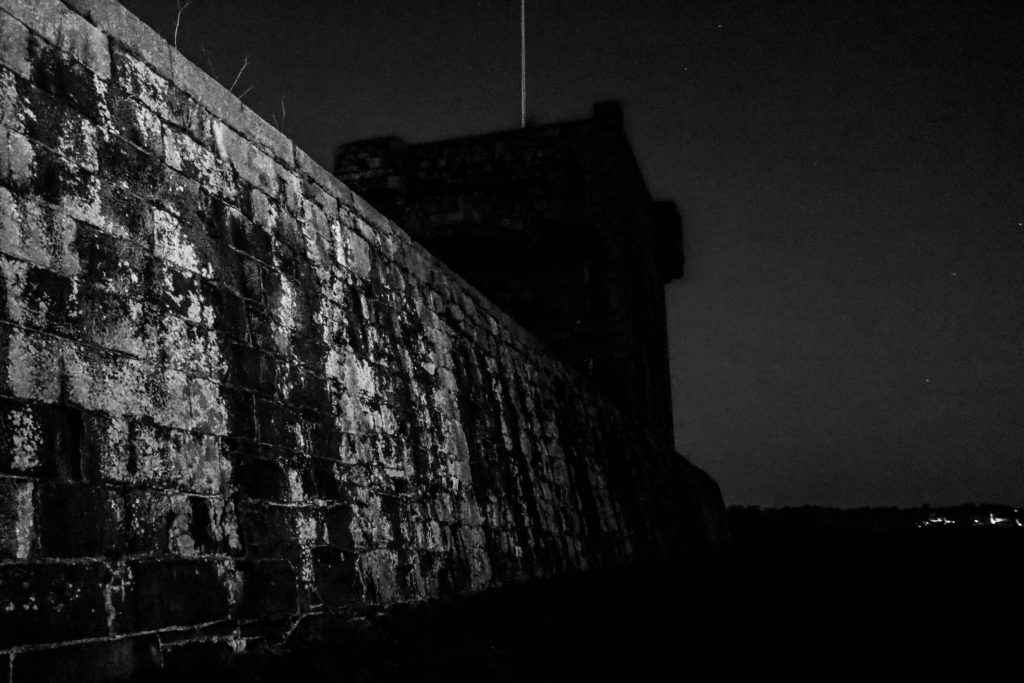
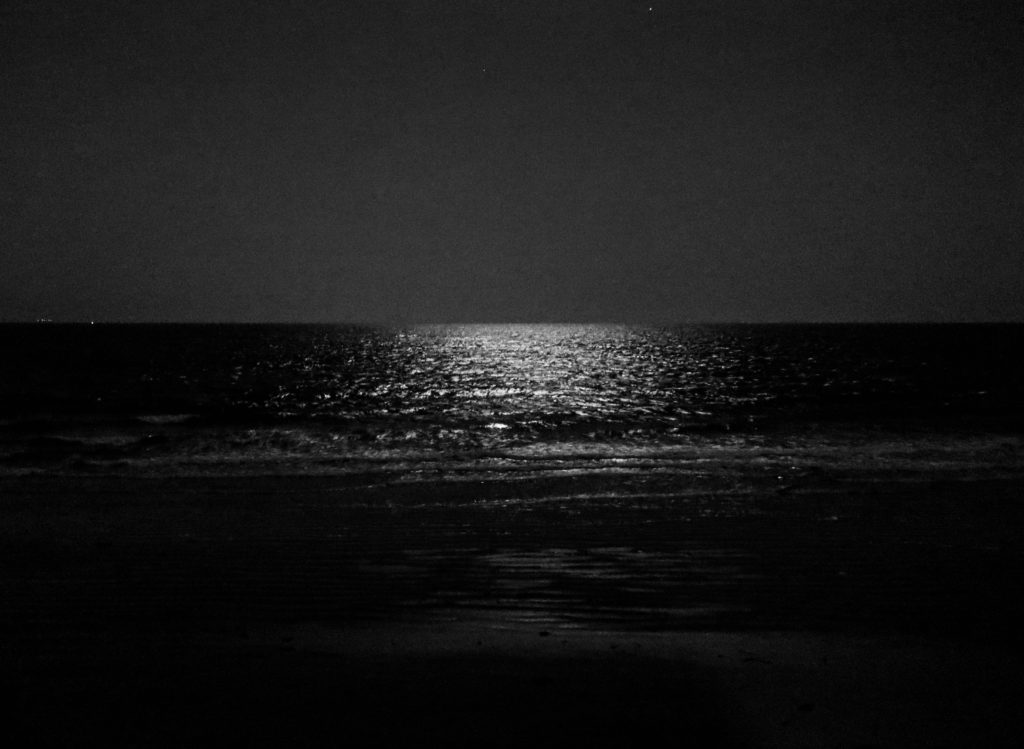
For my third photoshoot I intend on experimenting with nighttime photography by taking images of Fort Henry and the observation bunkers. For the photo shoot to succeed, I will need a tripod to reduce image shakiness and blurring as the camera aperture will be lower resulting in a longer exposure time. I intend to edit some of my images to use as a response to Eva Nielsen to portray the bunkers as ghostly and dramatic by changing the colour of the images to black and white.
Shoot
Selection & Edits
Evaluation
I believe the outcomes from the photoshoot are successful as the images do not look blurry. I also believe the edited images are successful in portraying the German defences in a ghostly manner. Overall, I will be using most of the edited outcomes from the photoshoot in my photobook.