Homework 1 / Formalist
Week 3, 4, 5, 6, 7 Schedule and tasks
 Remember…each task requires a new blog post! Keep your blog posts visual!
Week 3
Lesson 1
Homework check in, upload and explanation of homework 2Camera Skills : Looking at the exposure triangleCamera Skills :Exploring exposure
Lesson 2
Theory, concept and history : TypologiesPhotoshop Skills : looking at tone / contrast :what is it? Why is essential to photography? How do we create tone and contrast on Photoshop? What is high key vs low key?Ansel Adams Zone system : include a diagram, examples and compare your original image to your edit.
Lesson 3
Camera Skills : shutter speeds > creating a sense of movement and capturing actionPhotoshop skills : cropping and making a selection, free transform, colour overlays and blending
Lesson 4
Camera Skills : Depth of field and focus points / focal length + exposure compensationPhotoshop skills : double exposures and blurring to create depth
Week 4
Lesson 1, 2, 3, 4
Camera Skills : Depth of field and focus points / focal length + exposure compensationPhotoshop skills : double exposures and blurring to create depthhttp://www.nikonusa.com/en/learn-and-explore/a/tips-and-techniques/understanding-focal-length.htmlAnalysis techniques
Week 5
Lesson 1 and 2
- think about : making image selections…working towards a final presentation
- think about : blog layout and design features + action plans
- Check : homework progress…looking at texture and surface
- Create blog post : analysis and interpretation / Robert Frank…use of key vocab
- Create blog post : Keld Helmer Peterson analysis and response : include your original 4 x images : Use Threshold Adjustment : Add screen shots : Square Format : Grid of 4 : Upload to your blog post and print out ! remember to add CATEGORIES
- Click on this link for more…
- https://www.creativereview.co.uk/black-noise-by-keld-helmer-petersen/
Lesson 3 and 4
Mr Cole will be on residential with D of E students on Wednesday and Thursday…so you will be expected to complete current / outstanding blog posts and publish for tracking and assessment. Miss Hearn will be available on Thursday and Friday. Mr Cole will be available on Friday too.
We expect you to use this time wisely and upload all incomplete blog posts…remember, the homework tasks are NOT optional and form the spine of your coursework ie your photo-shoots!
Week 6 + 7
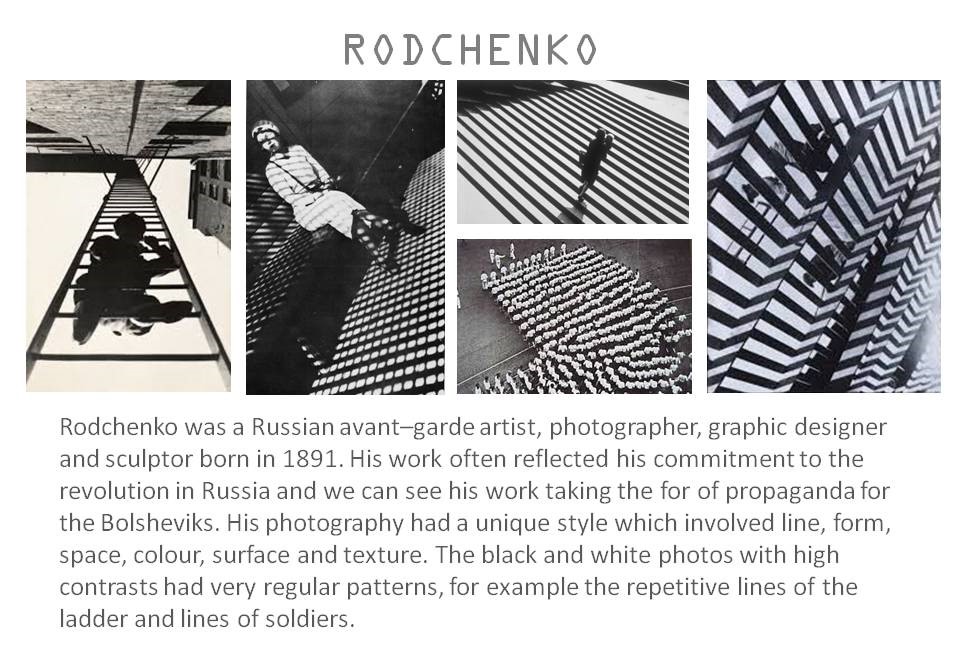
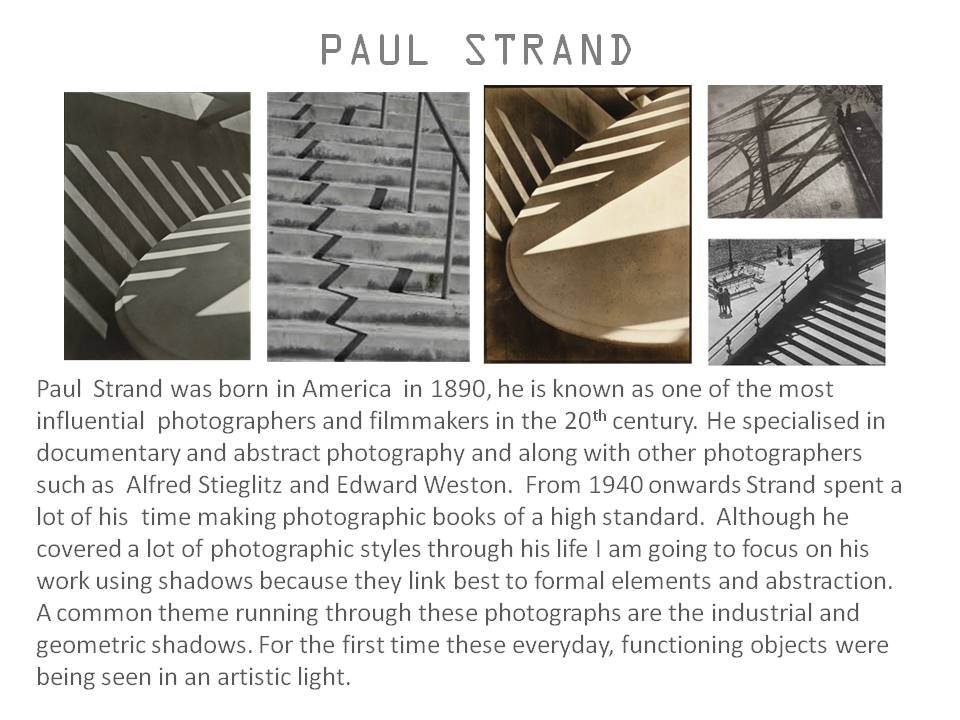
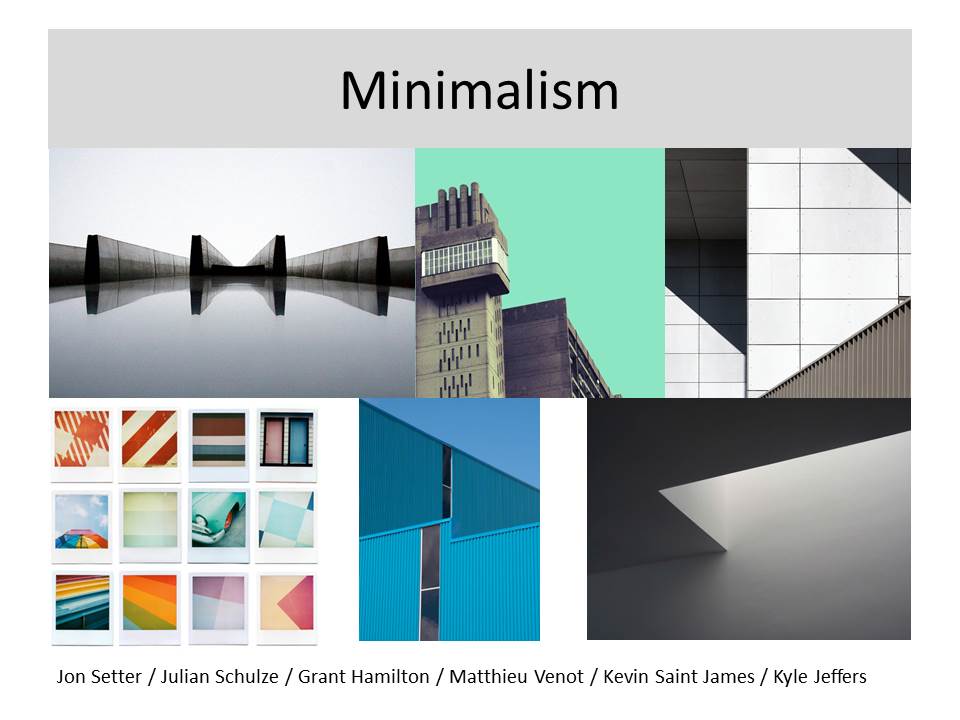
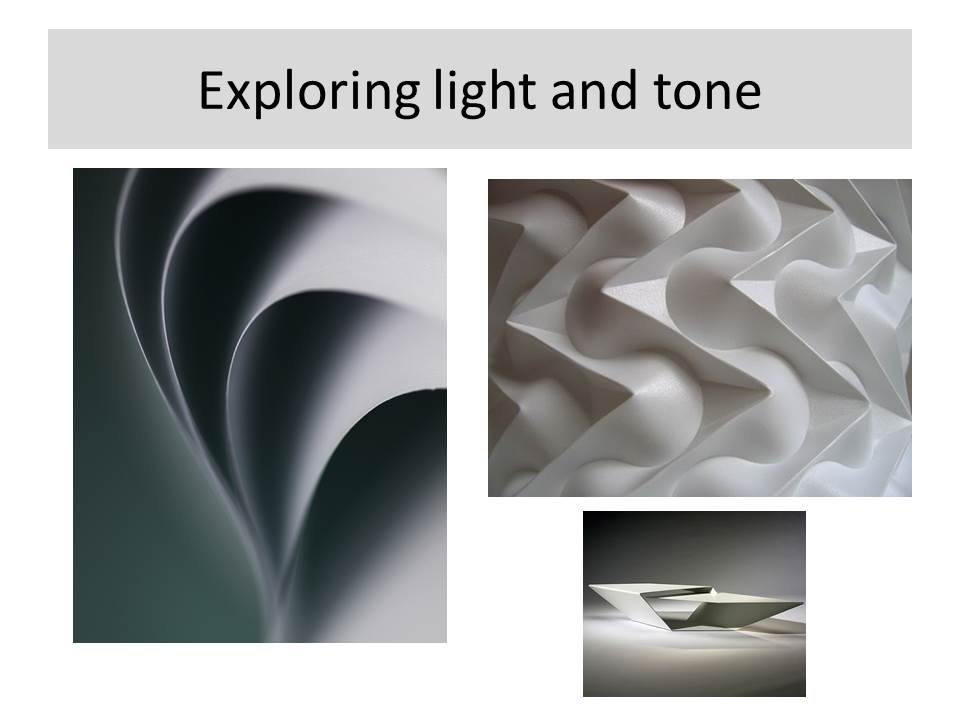
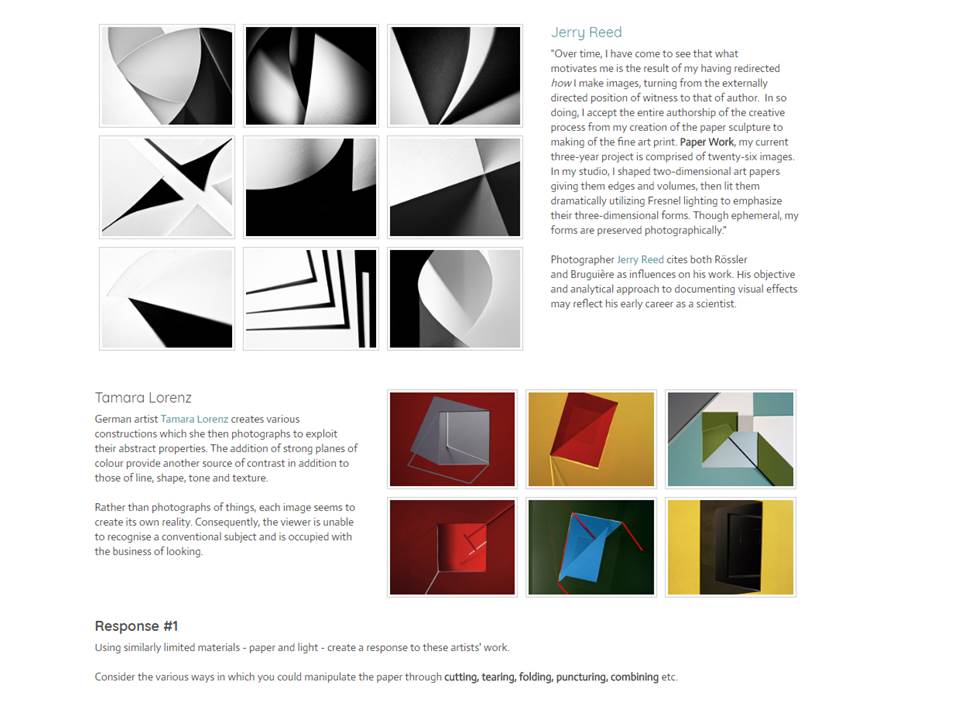
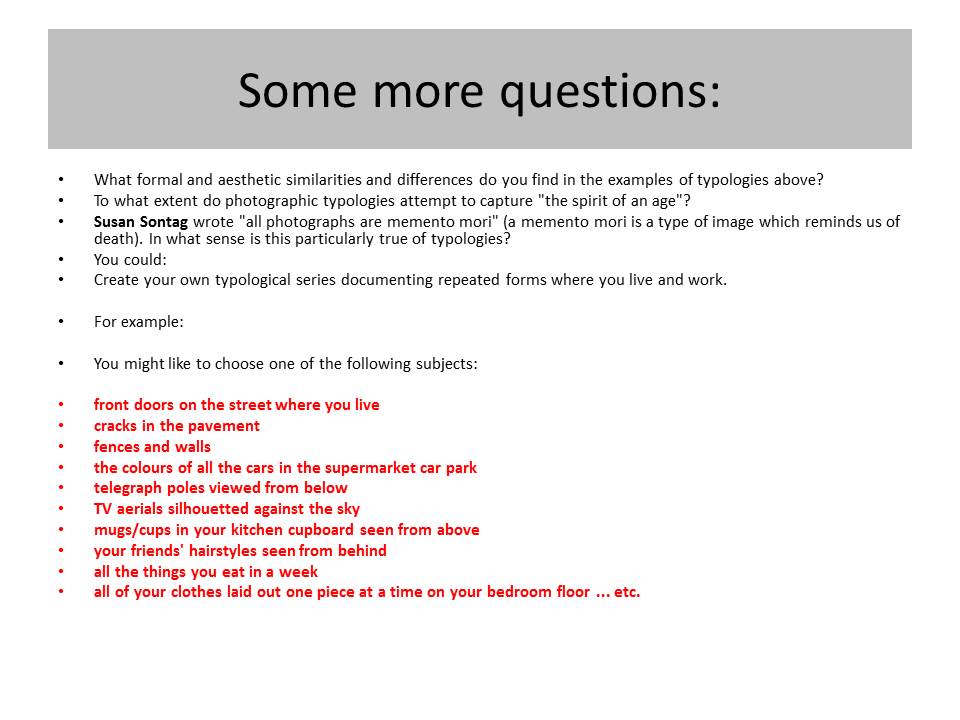
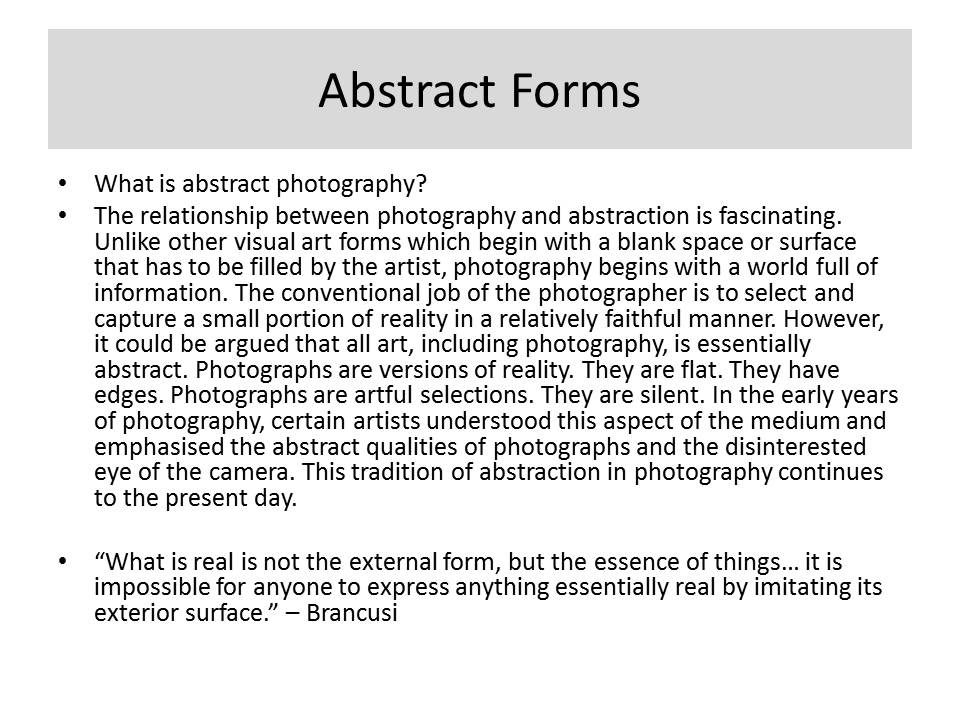
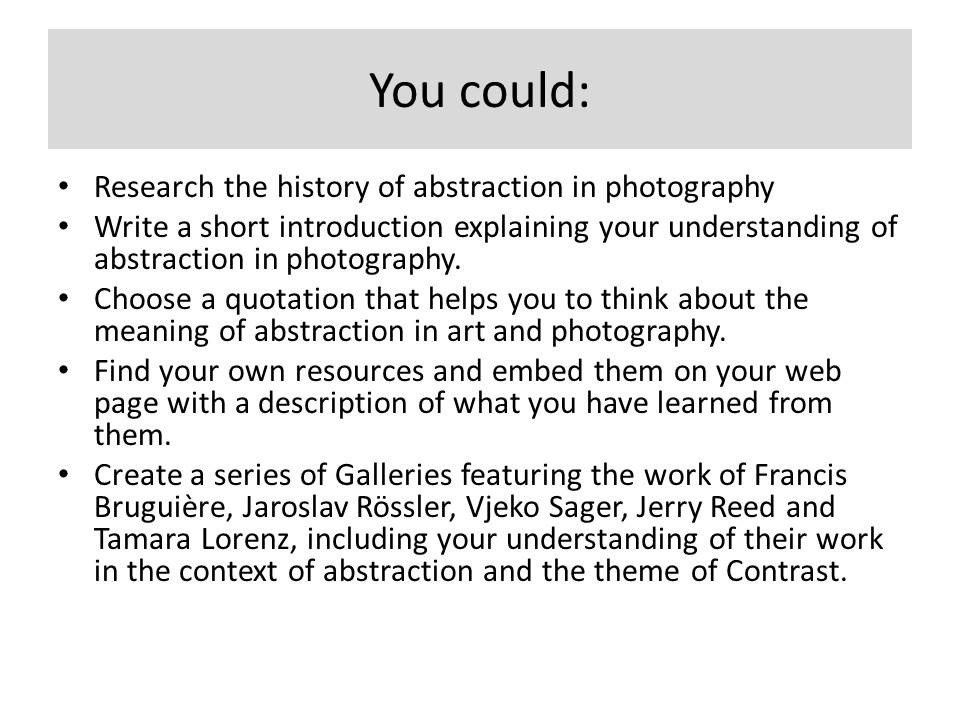
- this week your focus is on colour and is linked to your homework task. Look at the stimulus material below to help you develop your ideas and incorporate colour.
- you should be in a position now to make your final selections : choose a range of your best images that you would like to present and evaluate / critique
- REMEMBER…WE HAVE BEEN LOOKING AT THE FORMAL ELEMENTS AND ABSTRACT PHOTOGRAPHY…THIS SHOULD BE CLEAR IN YOUR WORK
- your choices may be in the form of a single image, a two-frame image, a triptych, a grid or another idea…
- you must include edits and original images…always show your process including screenshots
- aim to narrow down your selection to 3, 4 or 5 choices…
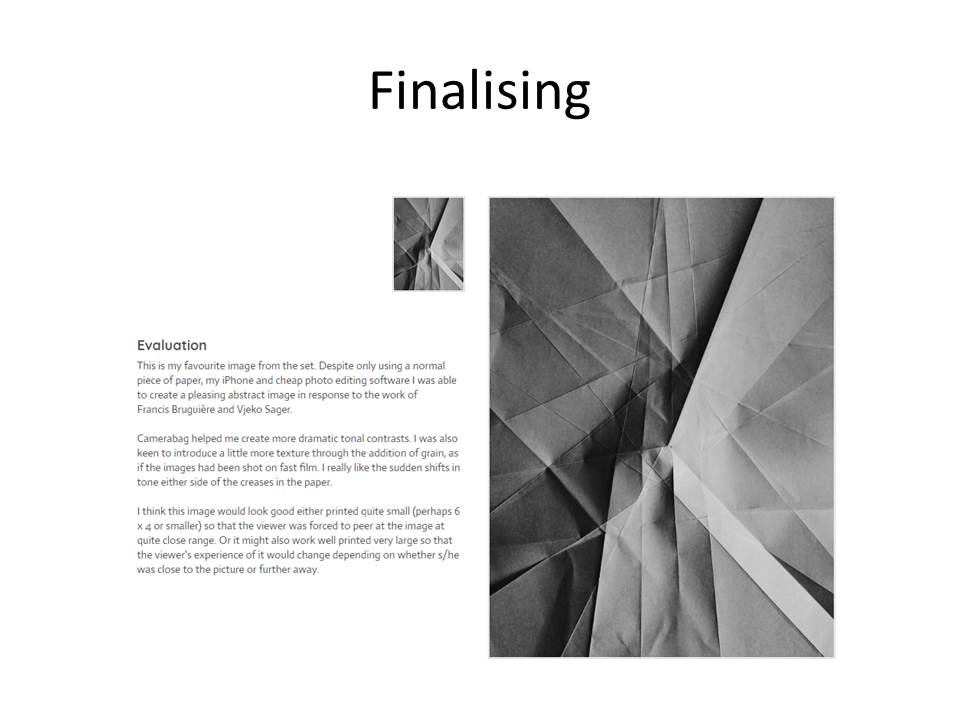
- Then finally…choose 1 image
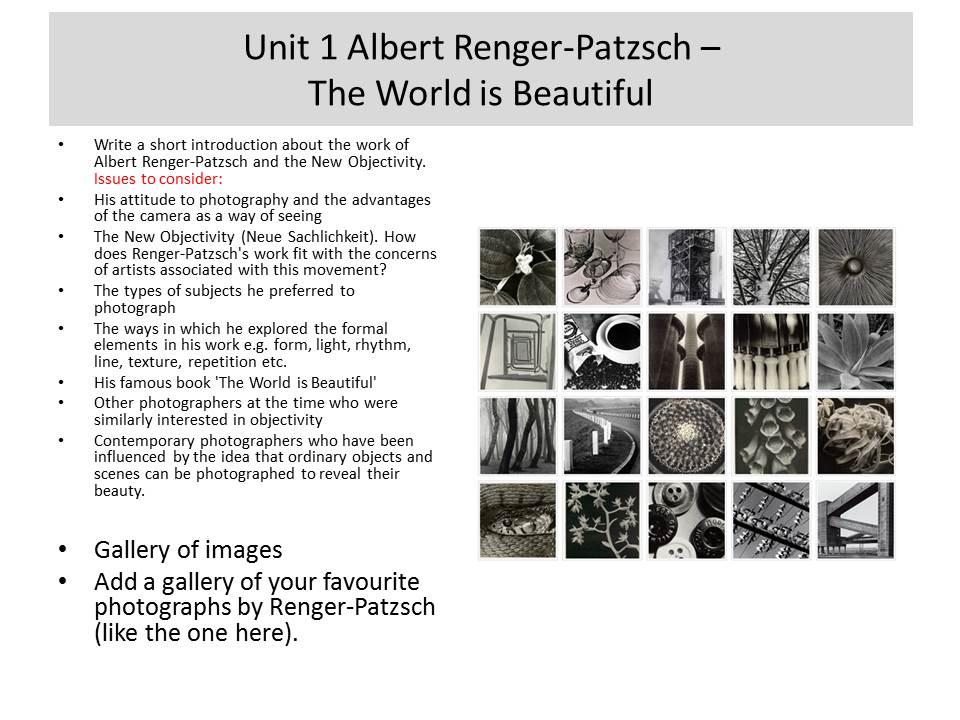
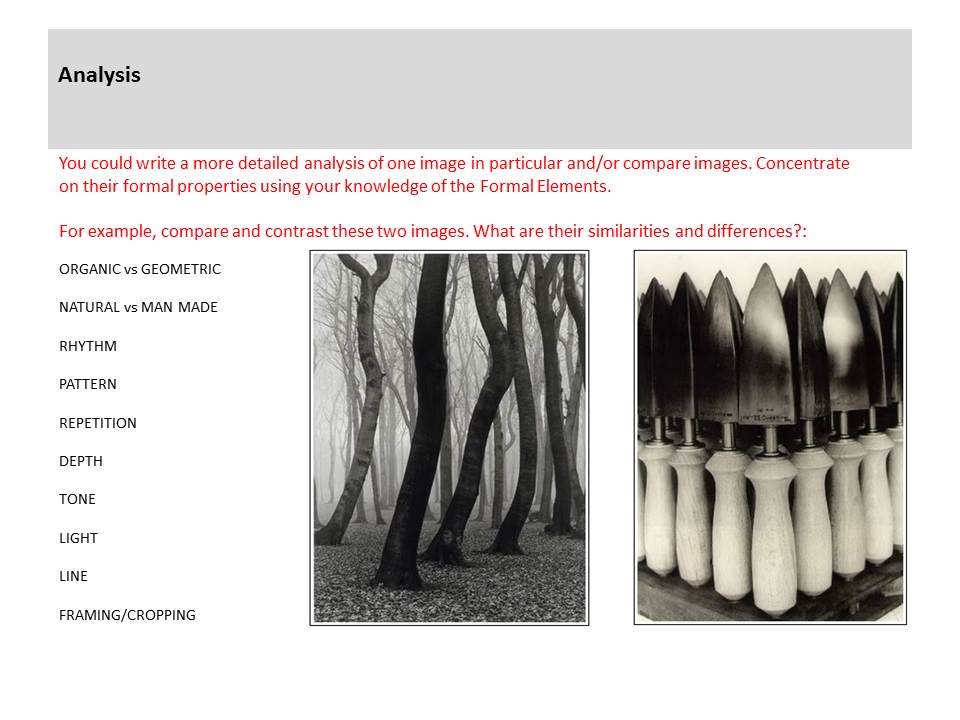
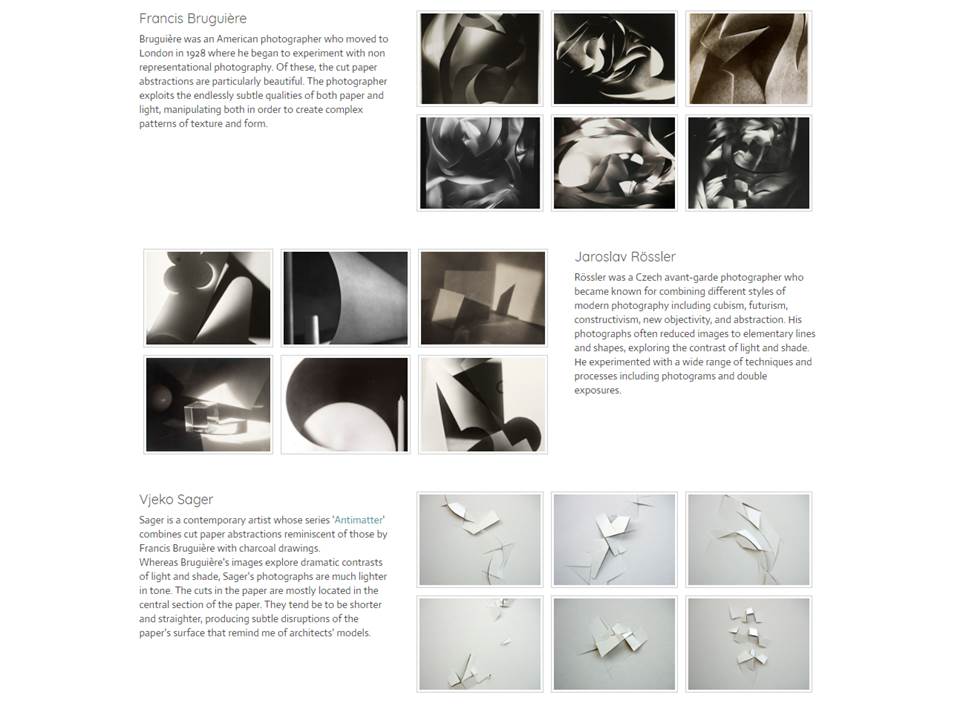
- Compare and contrast your final choice of image to a photographer (s) and create a case study including analysis of a key image by your choice of photographer
- BLOG POSTS : take care with your presentation and include hyperlinks to helpful artciles / websites and embed relevant videos too…
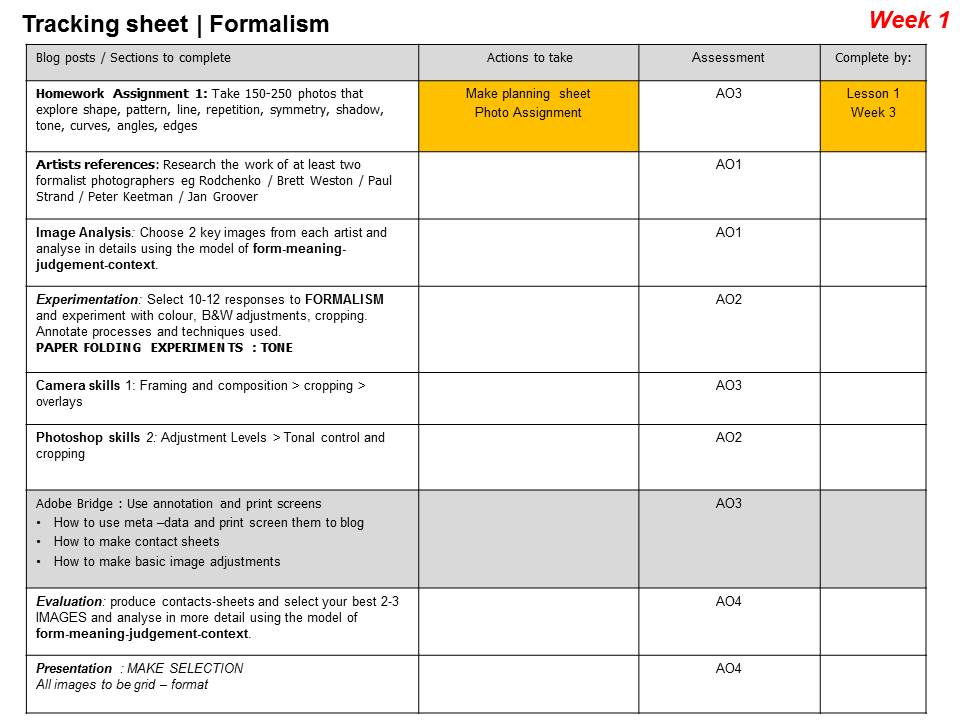
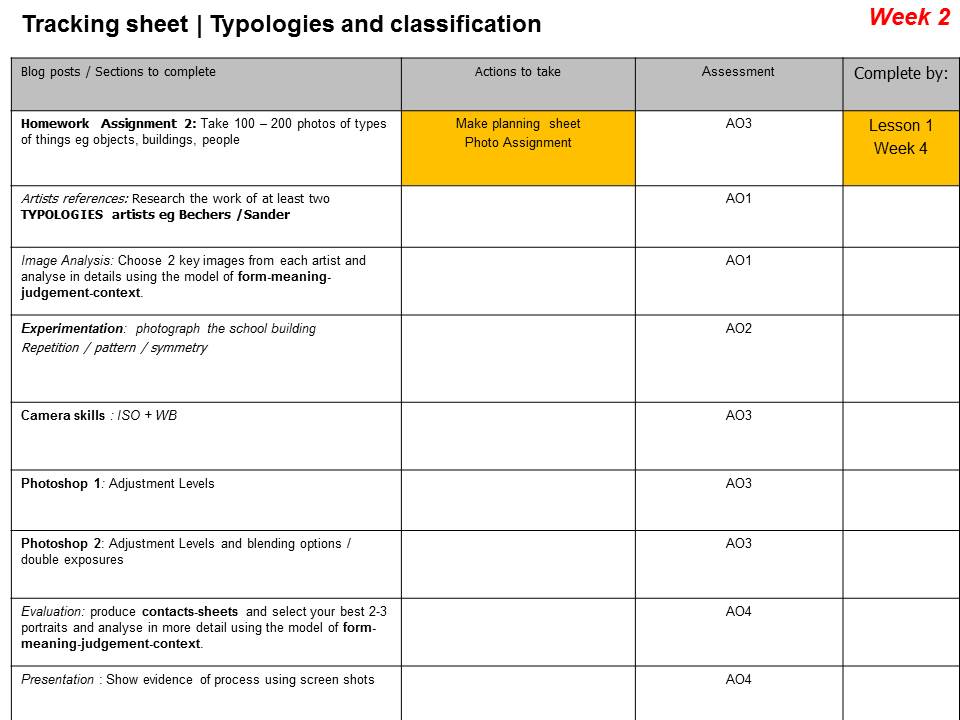
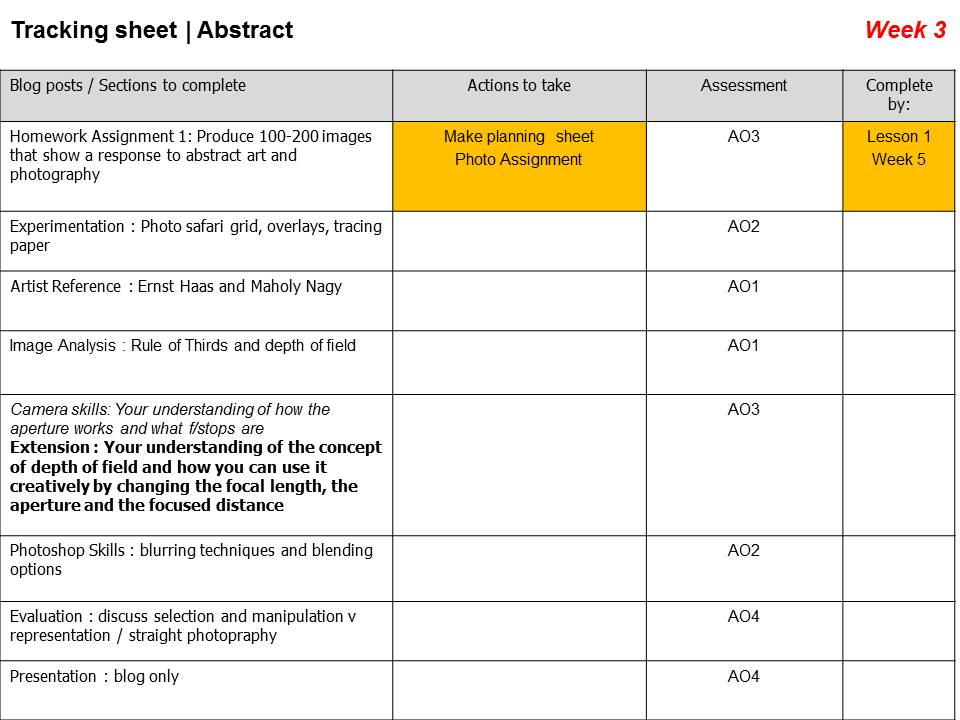
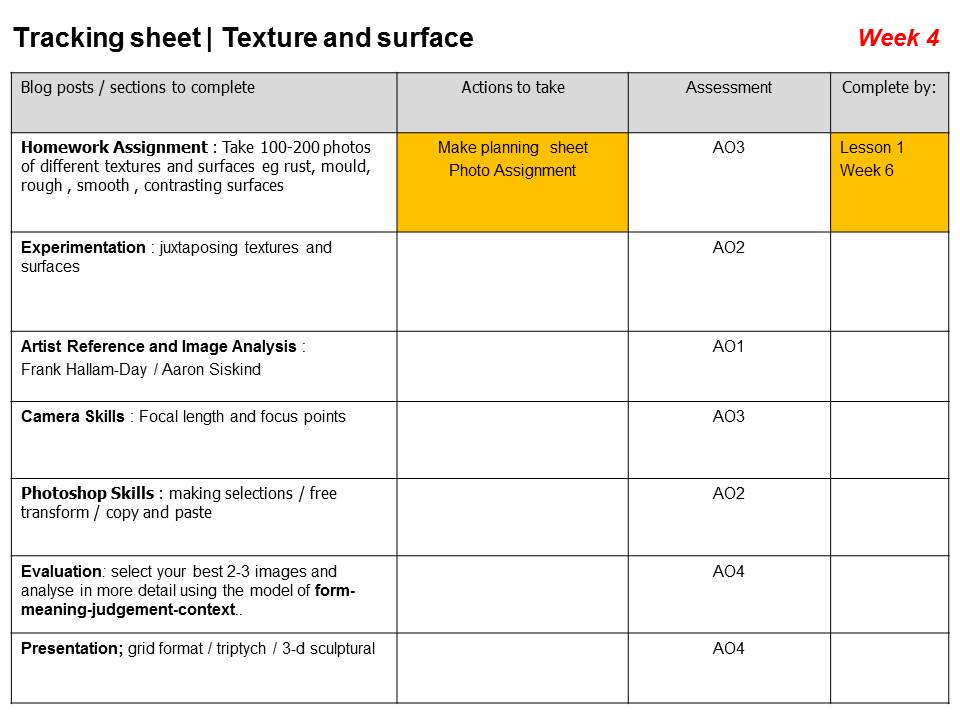
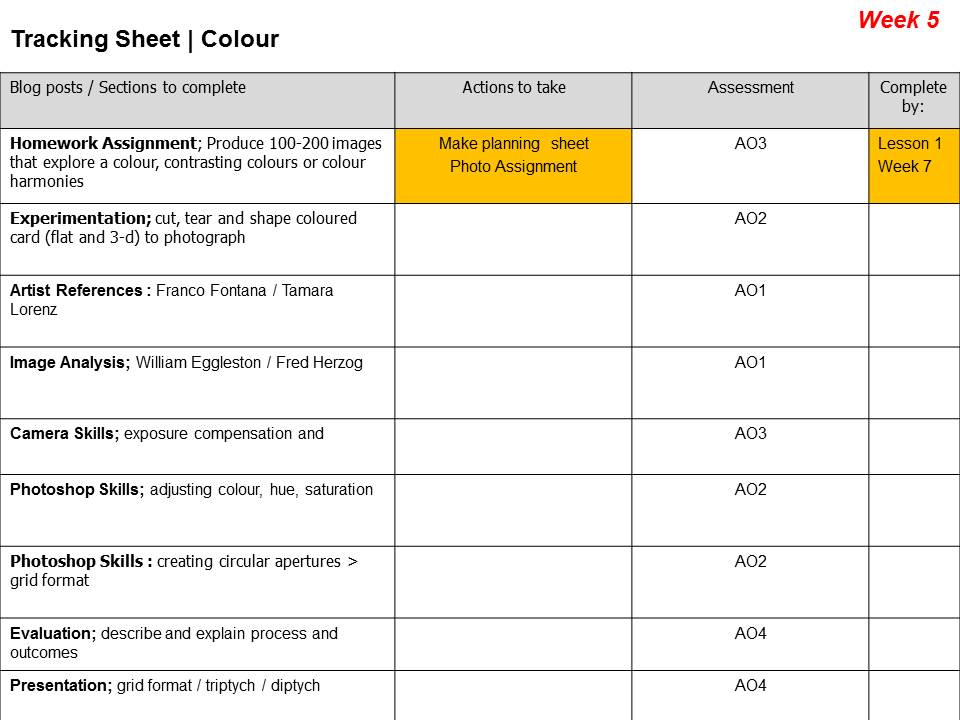
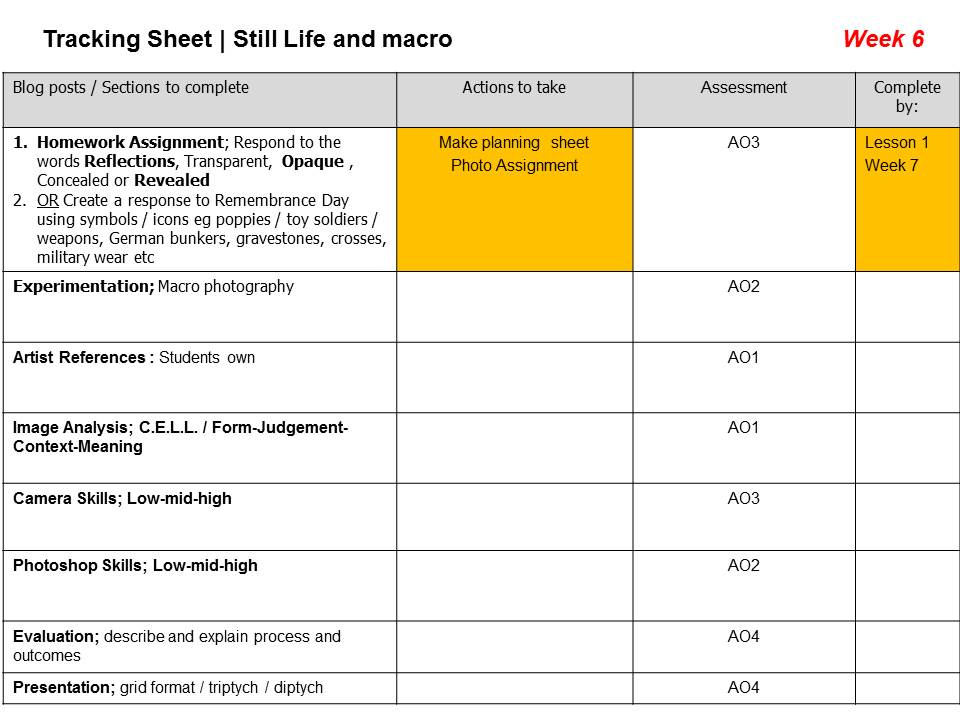
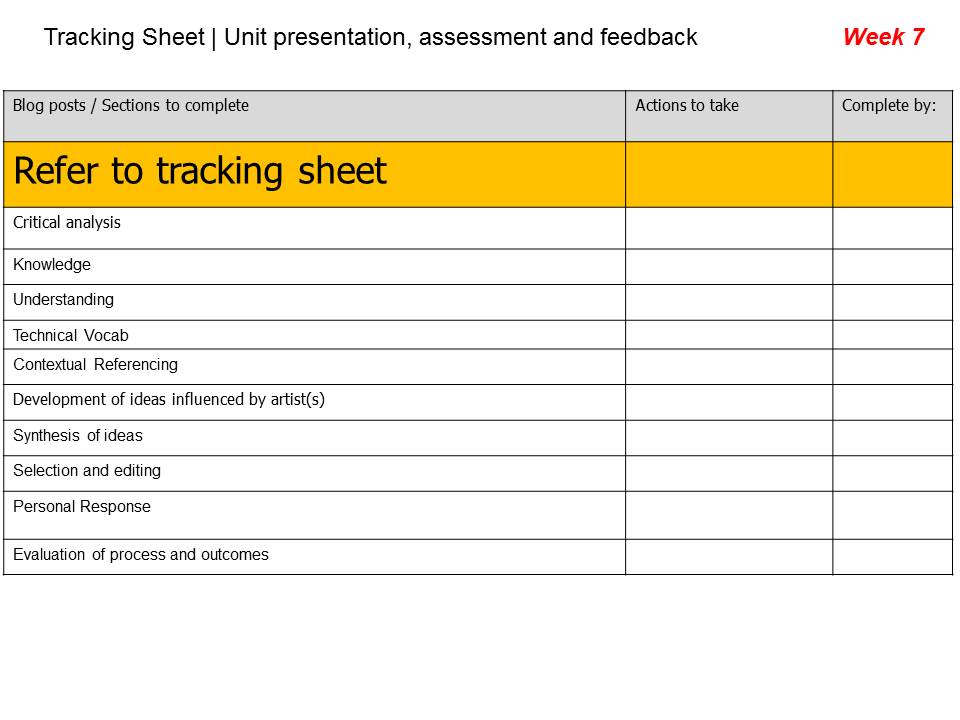
- Extension : see tracking sheet below
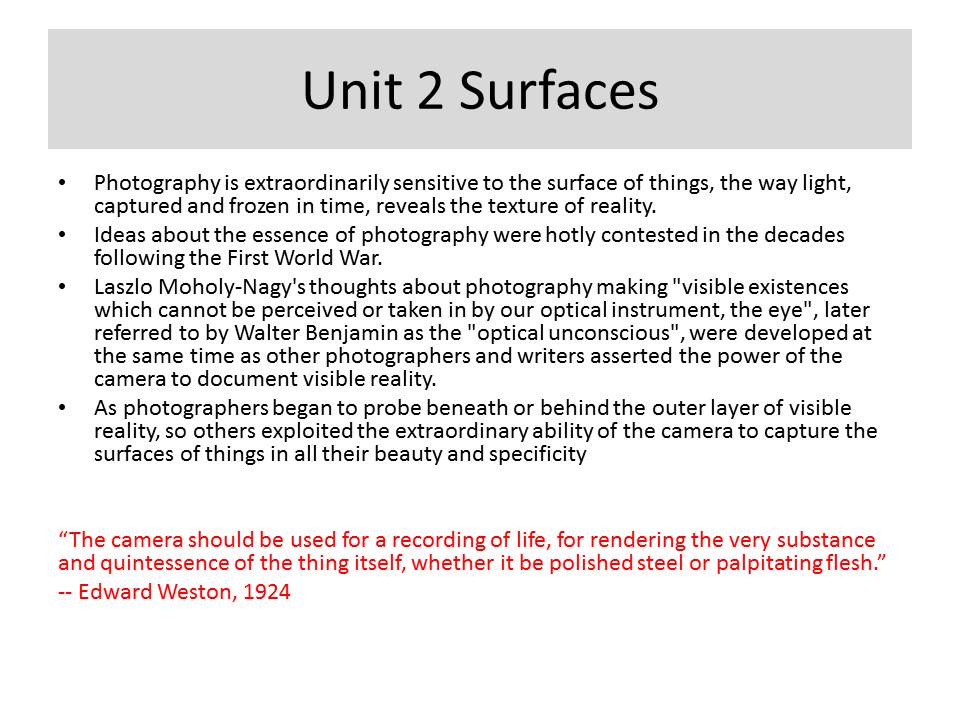
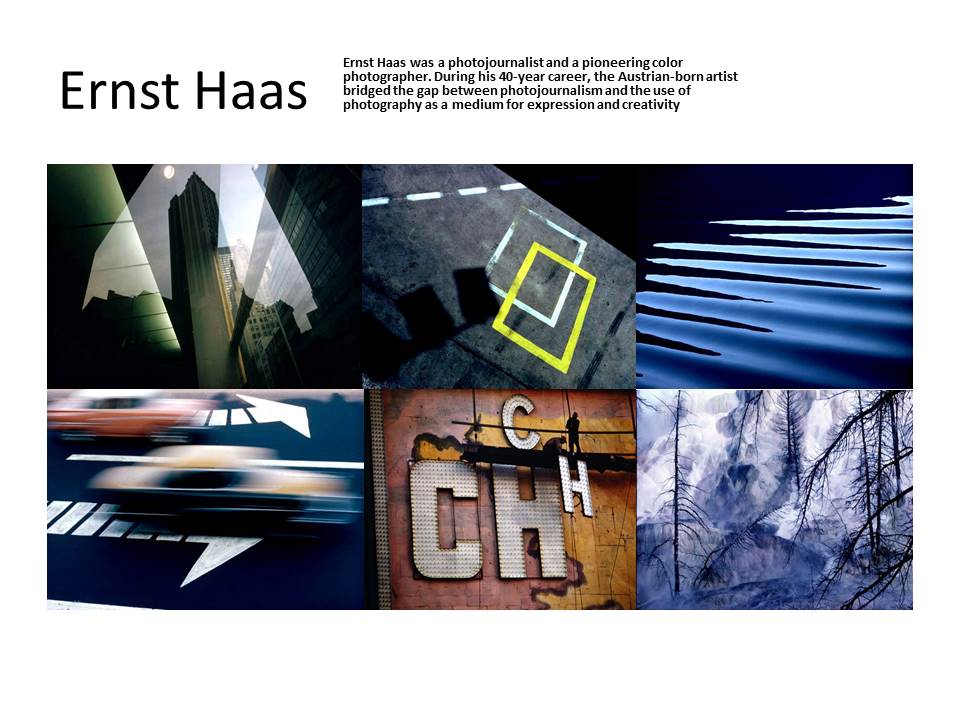
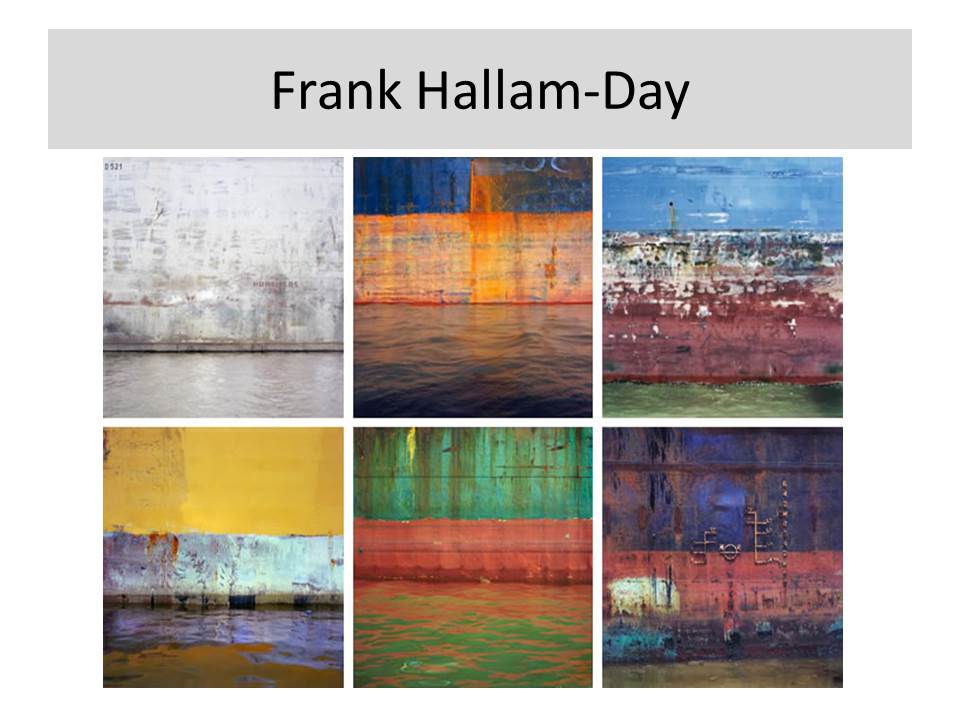
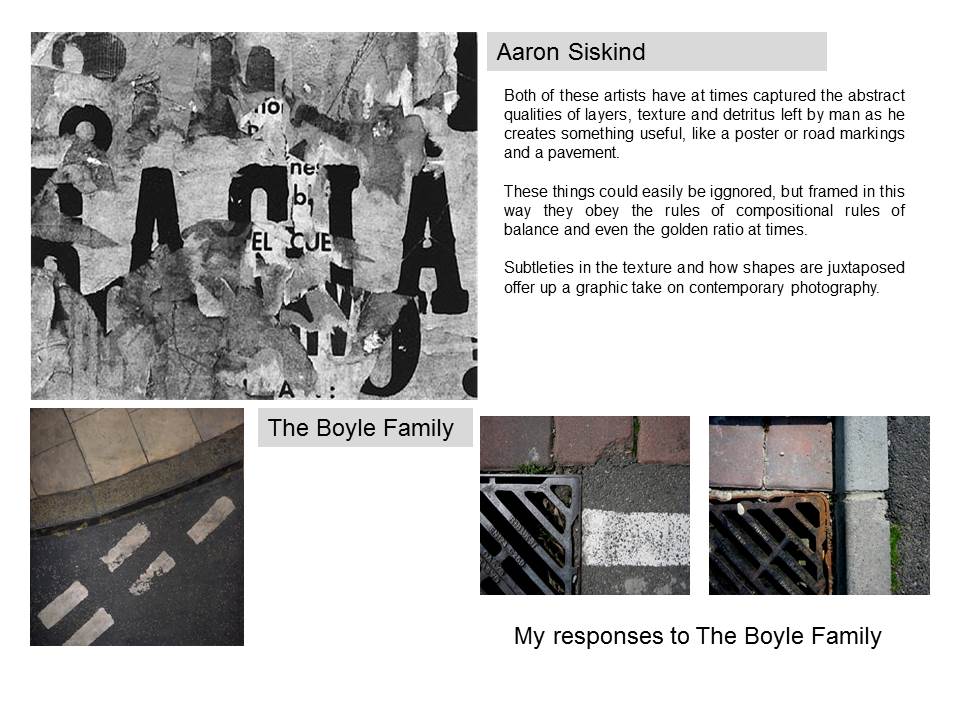
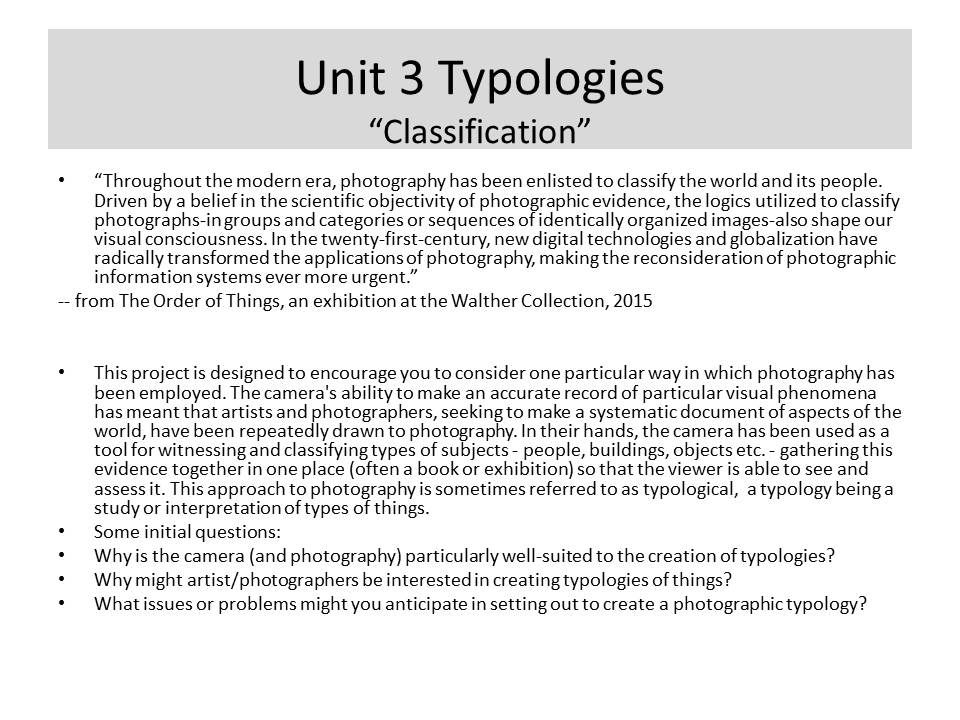
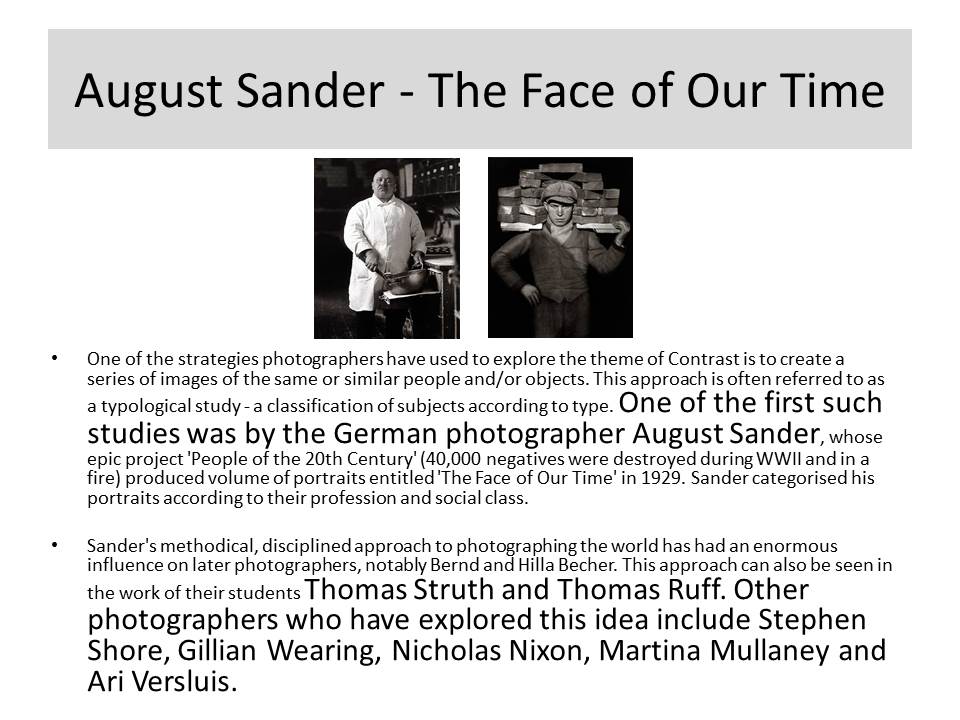

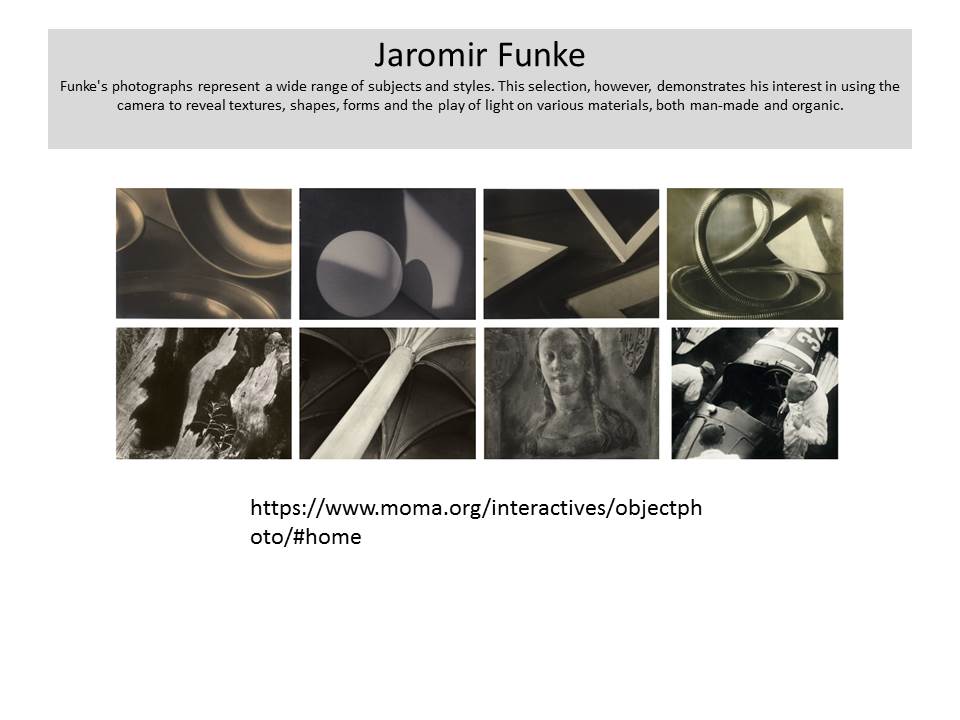
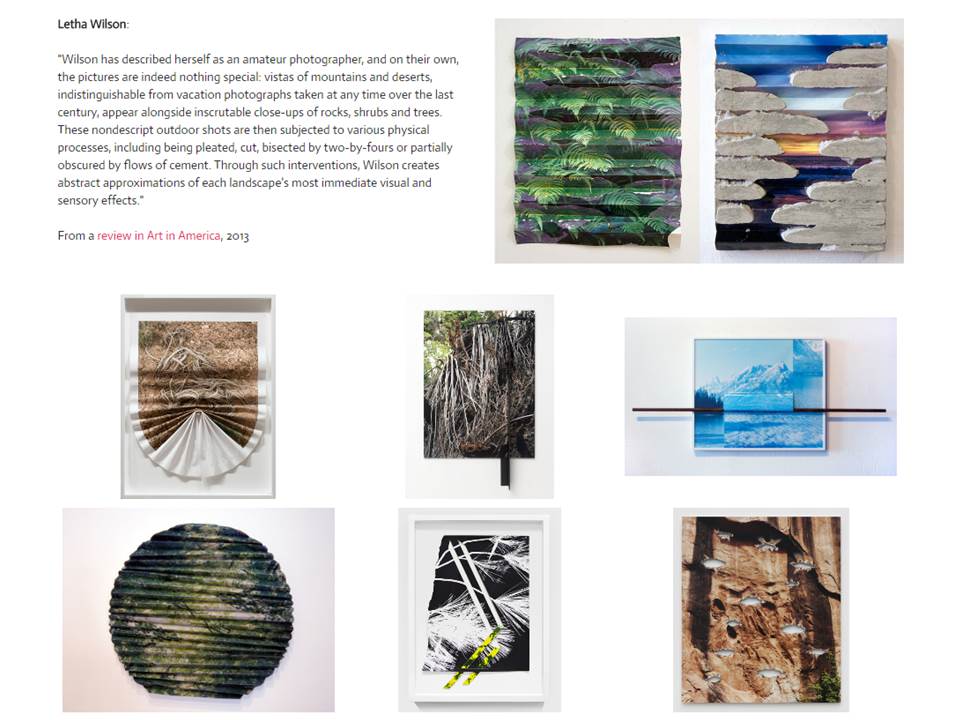
Exploring colour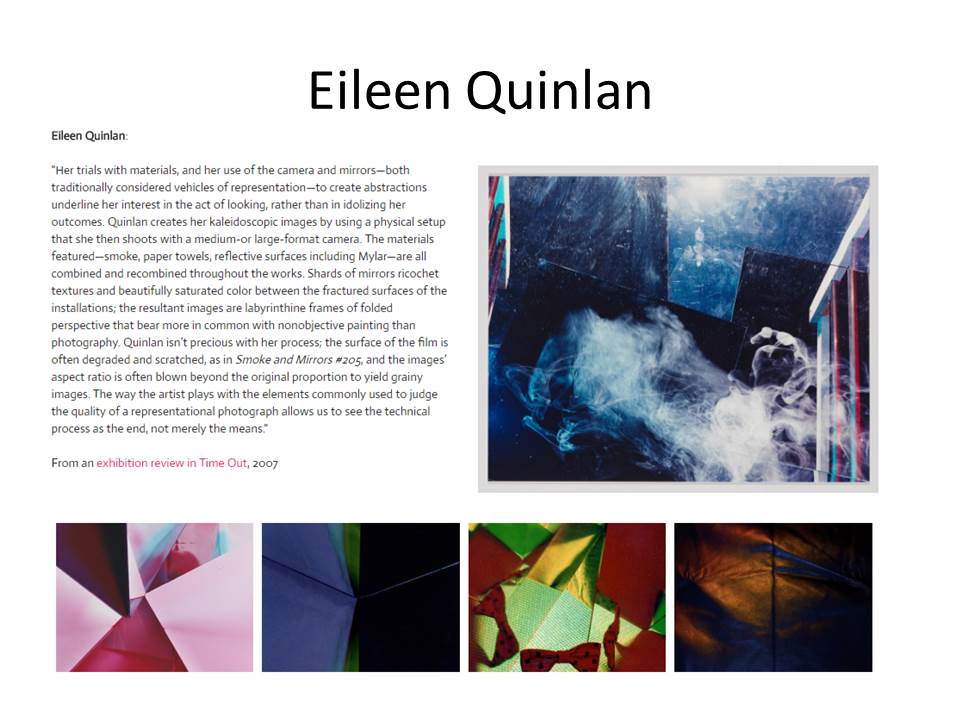
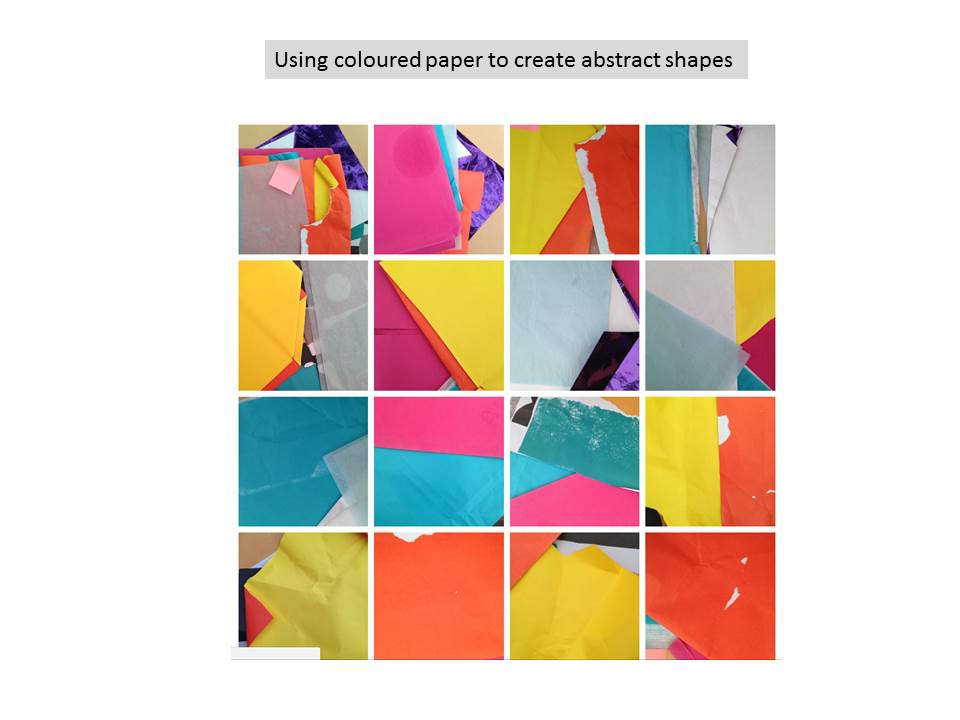
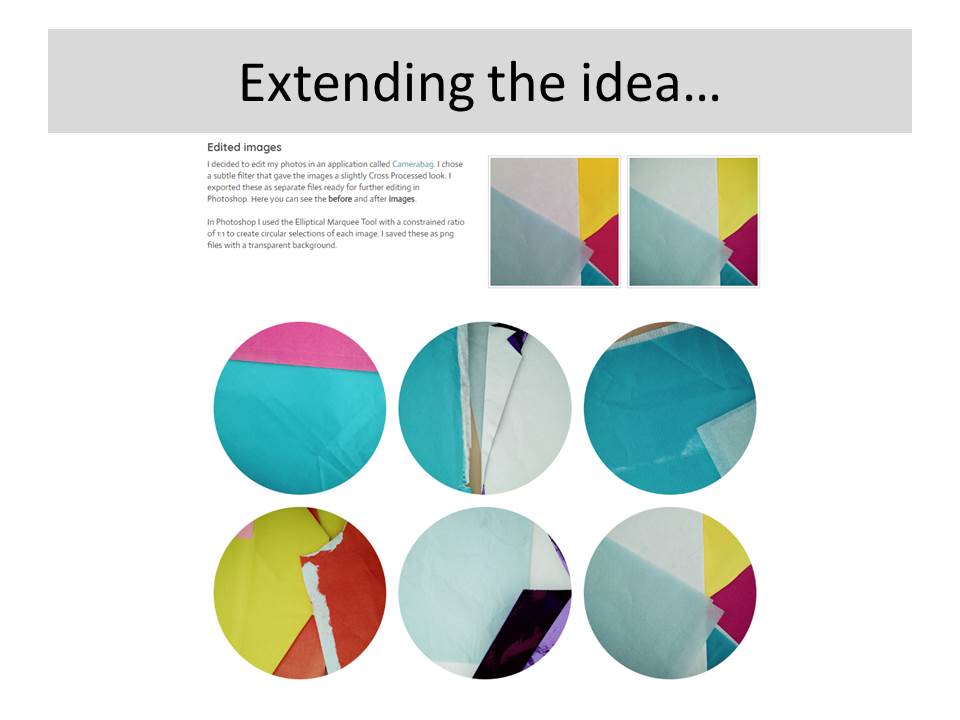

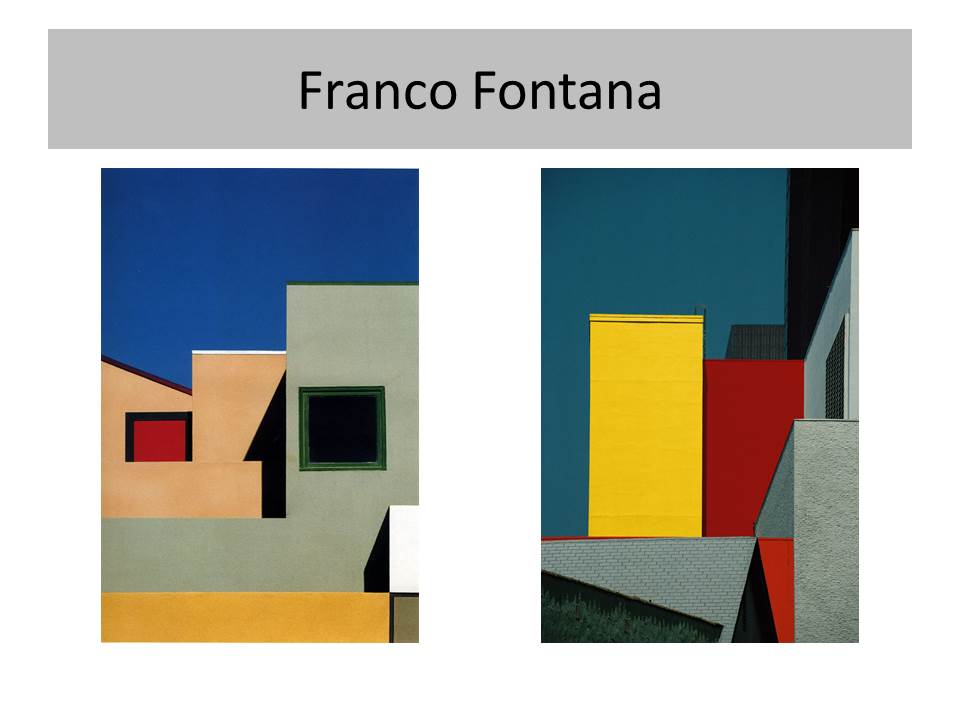
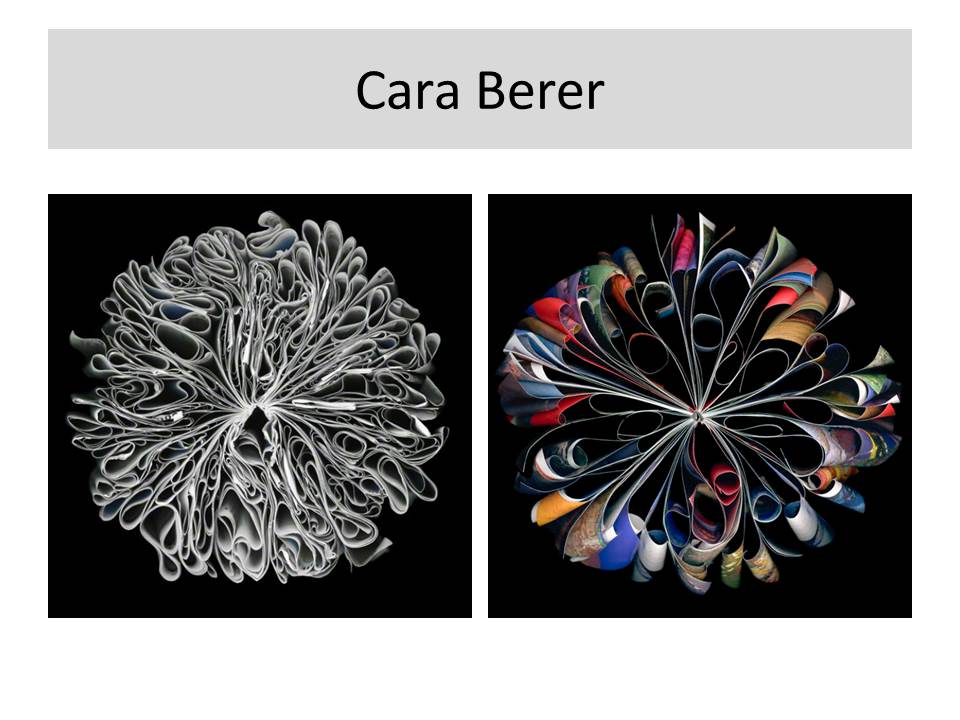


Jan Groover – Artist Study
Jan Groover
Jan Groover was born on April 24, 1943 and was an American photographer who spent the last part of her life in France, with her husband, a painter and critic named Bruce Groover. Groover was a still life photographer. Her work has been exhibited and included in the collections of most major museums worldwide, and continues to influence a new generation of artists. Groover moved to France in 1991.


Photo analysis

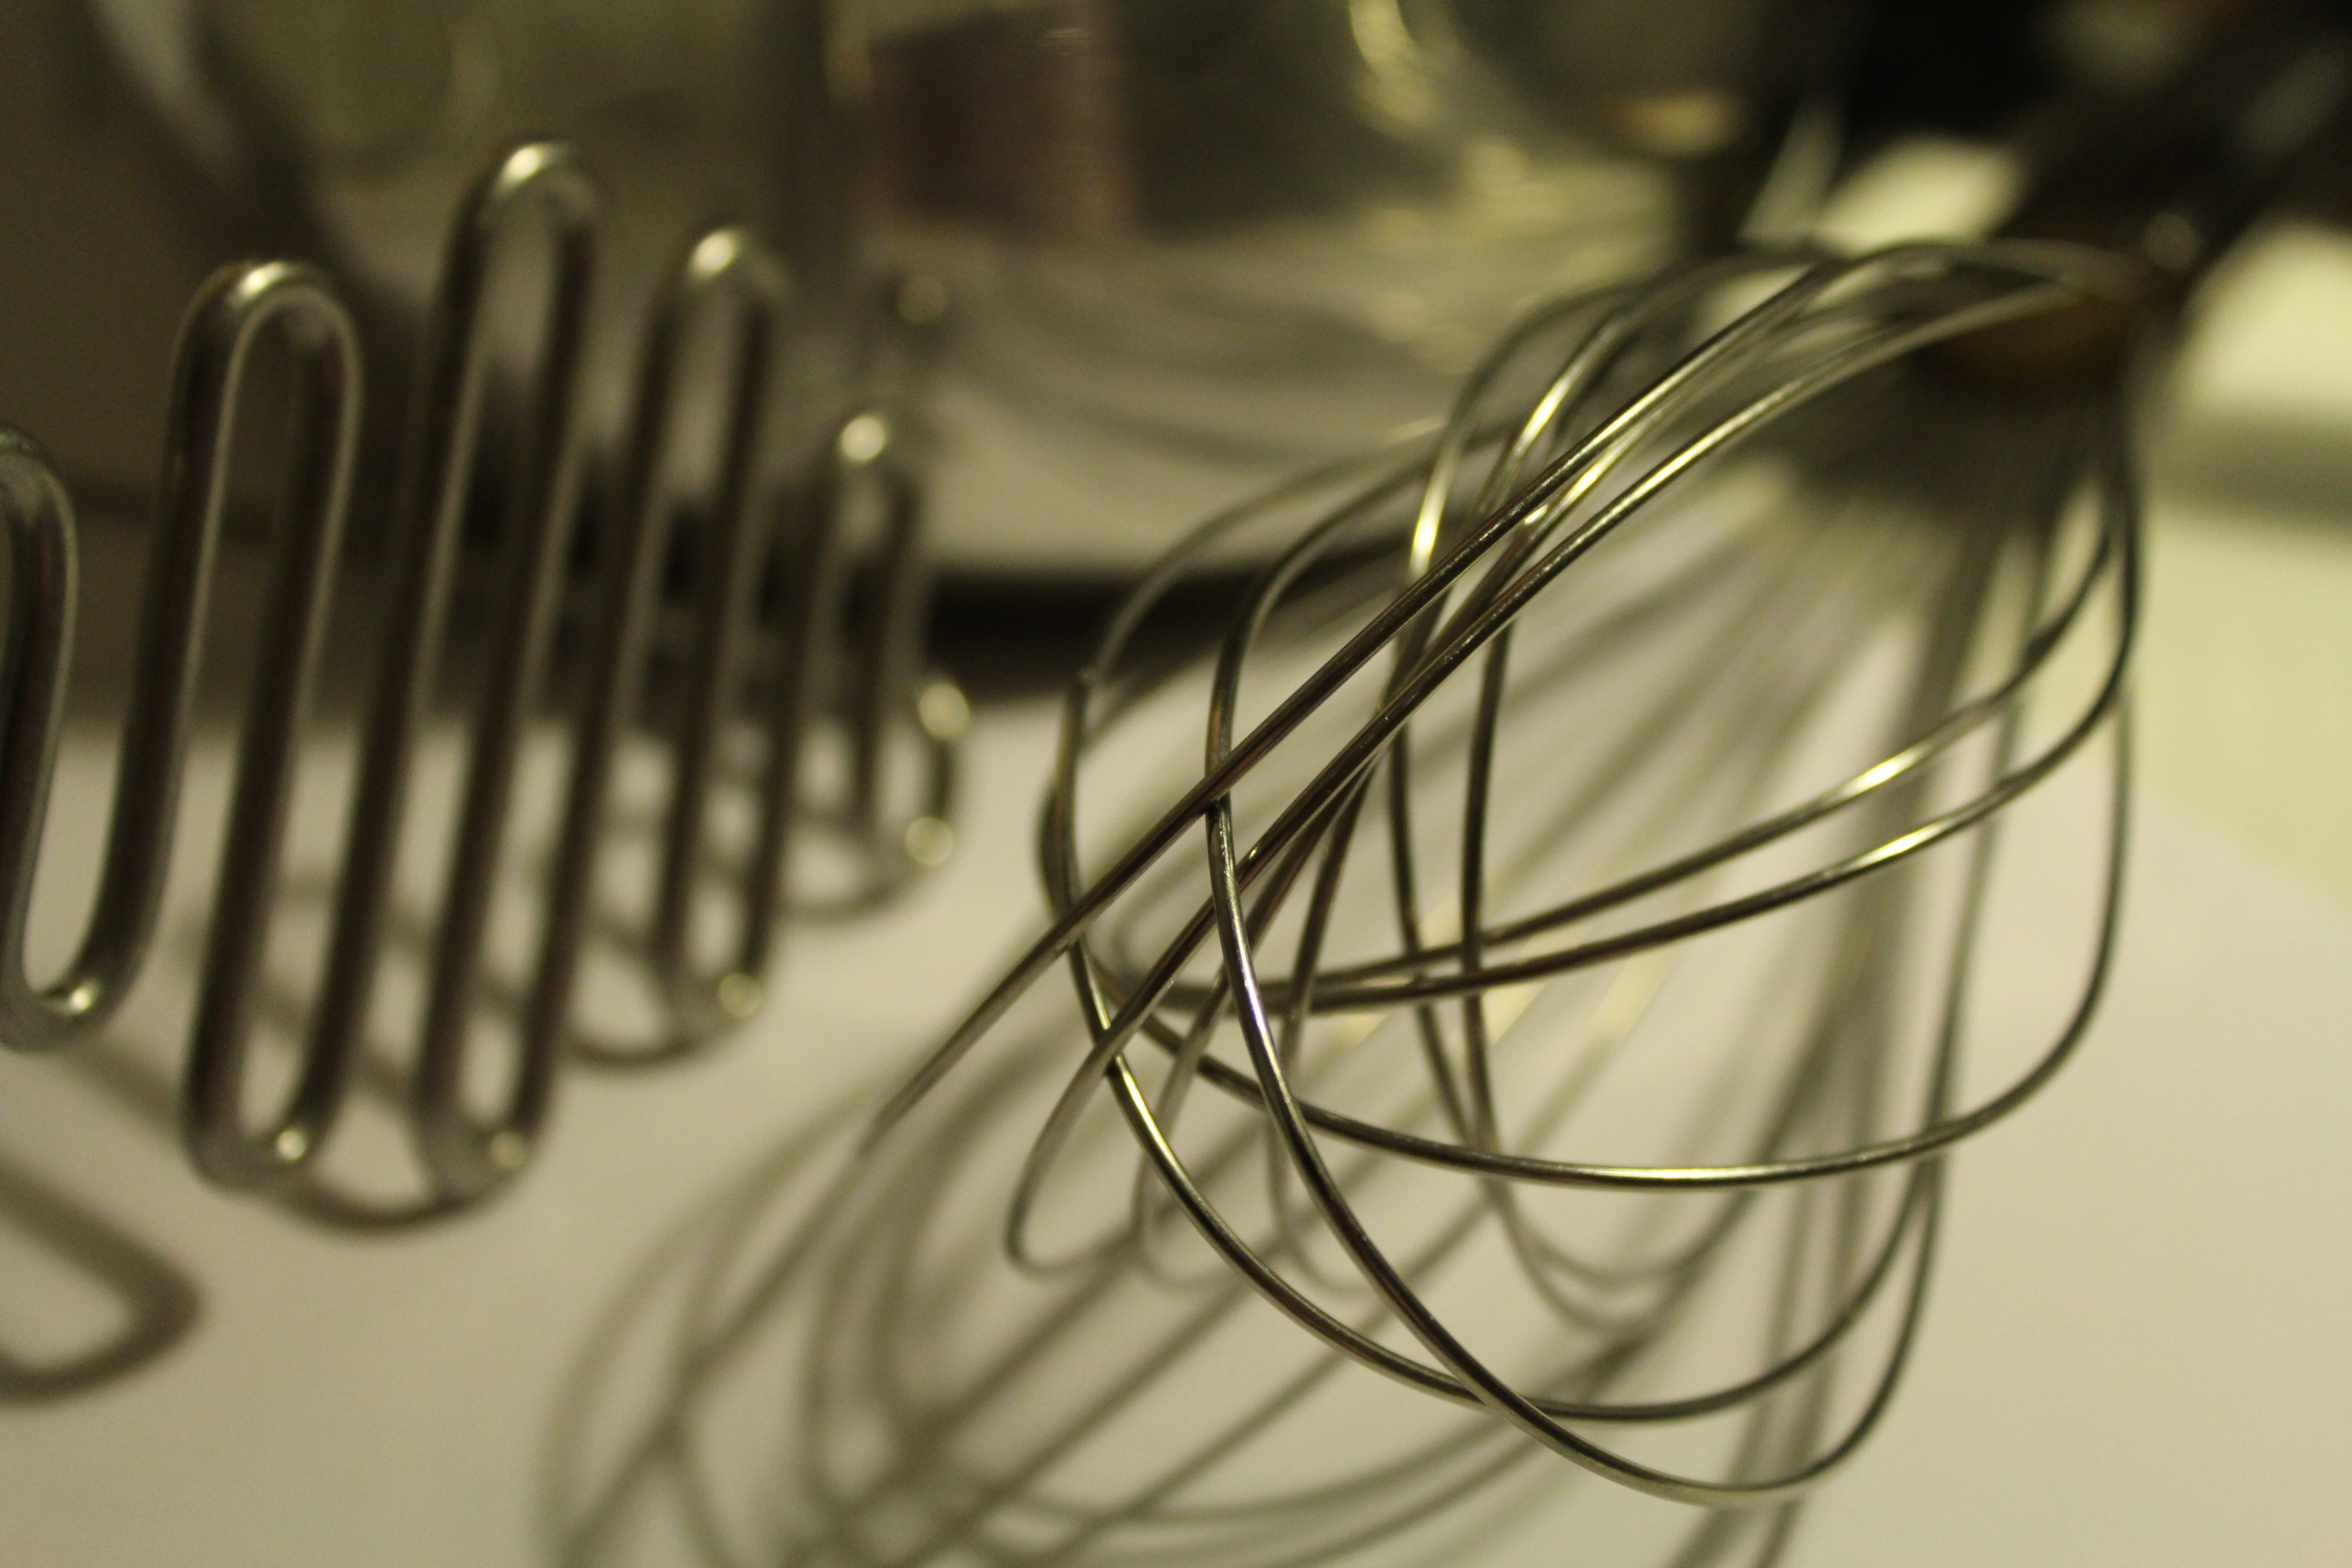
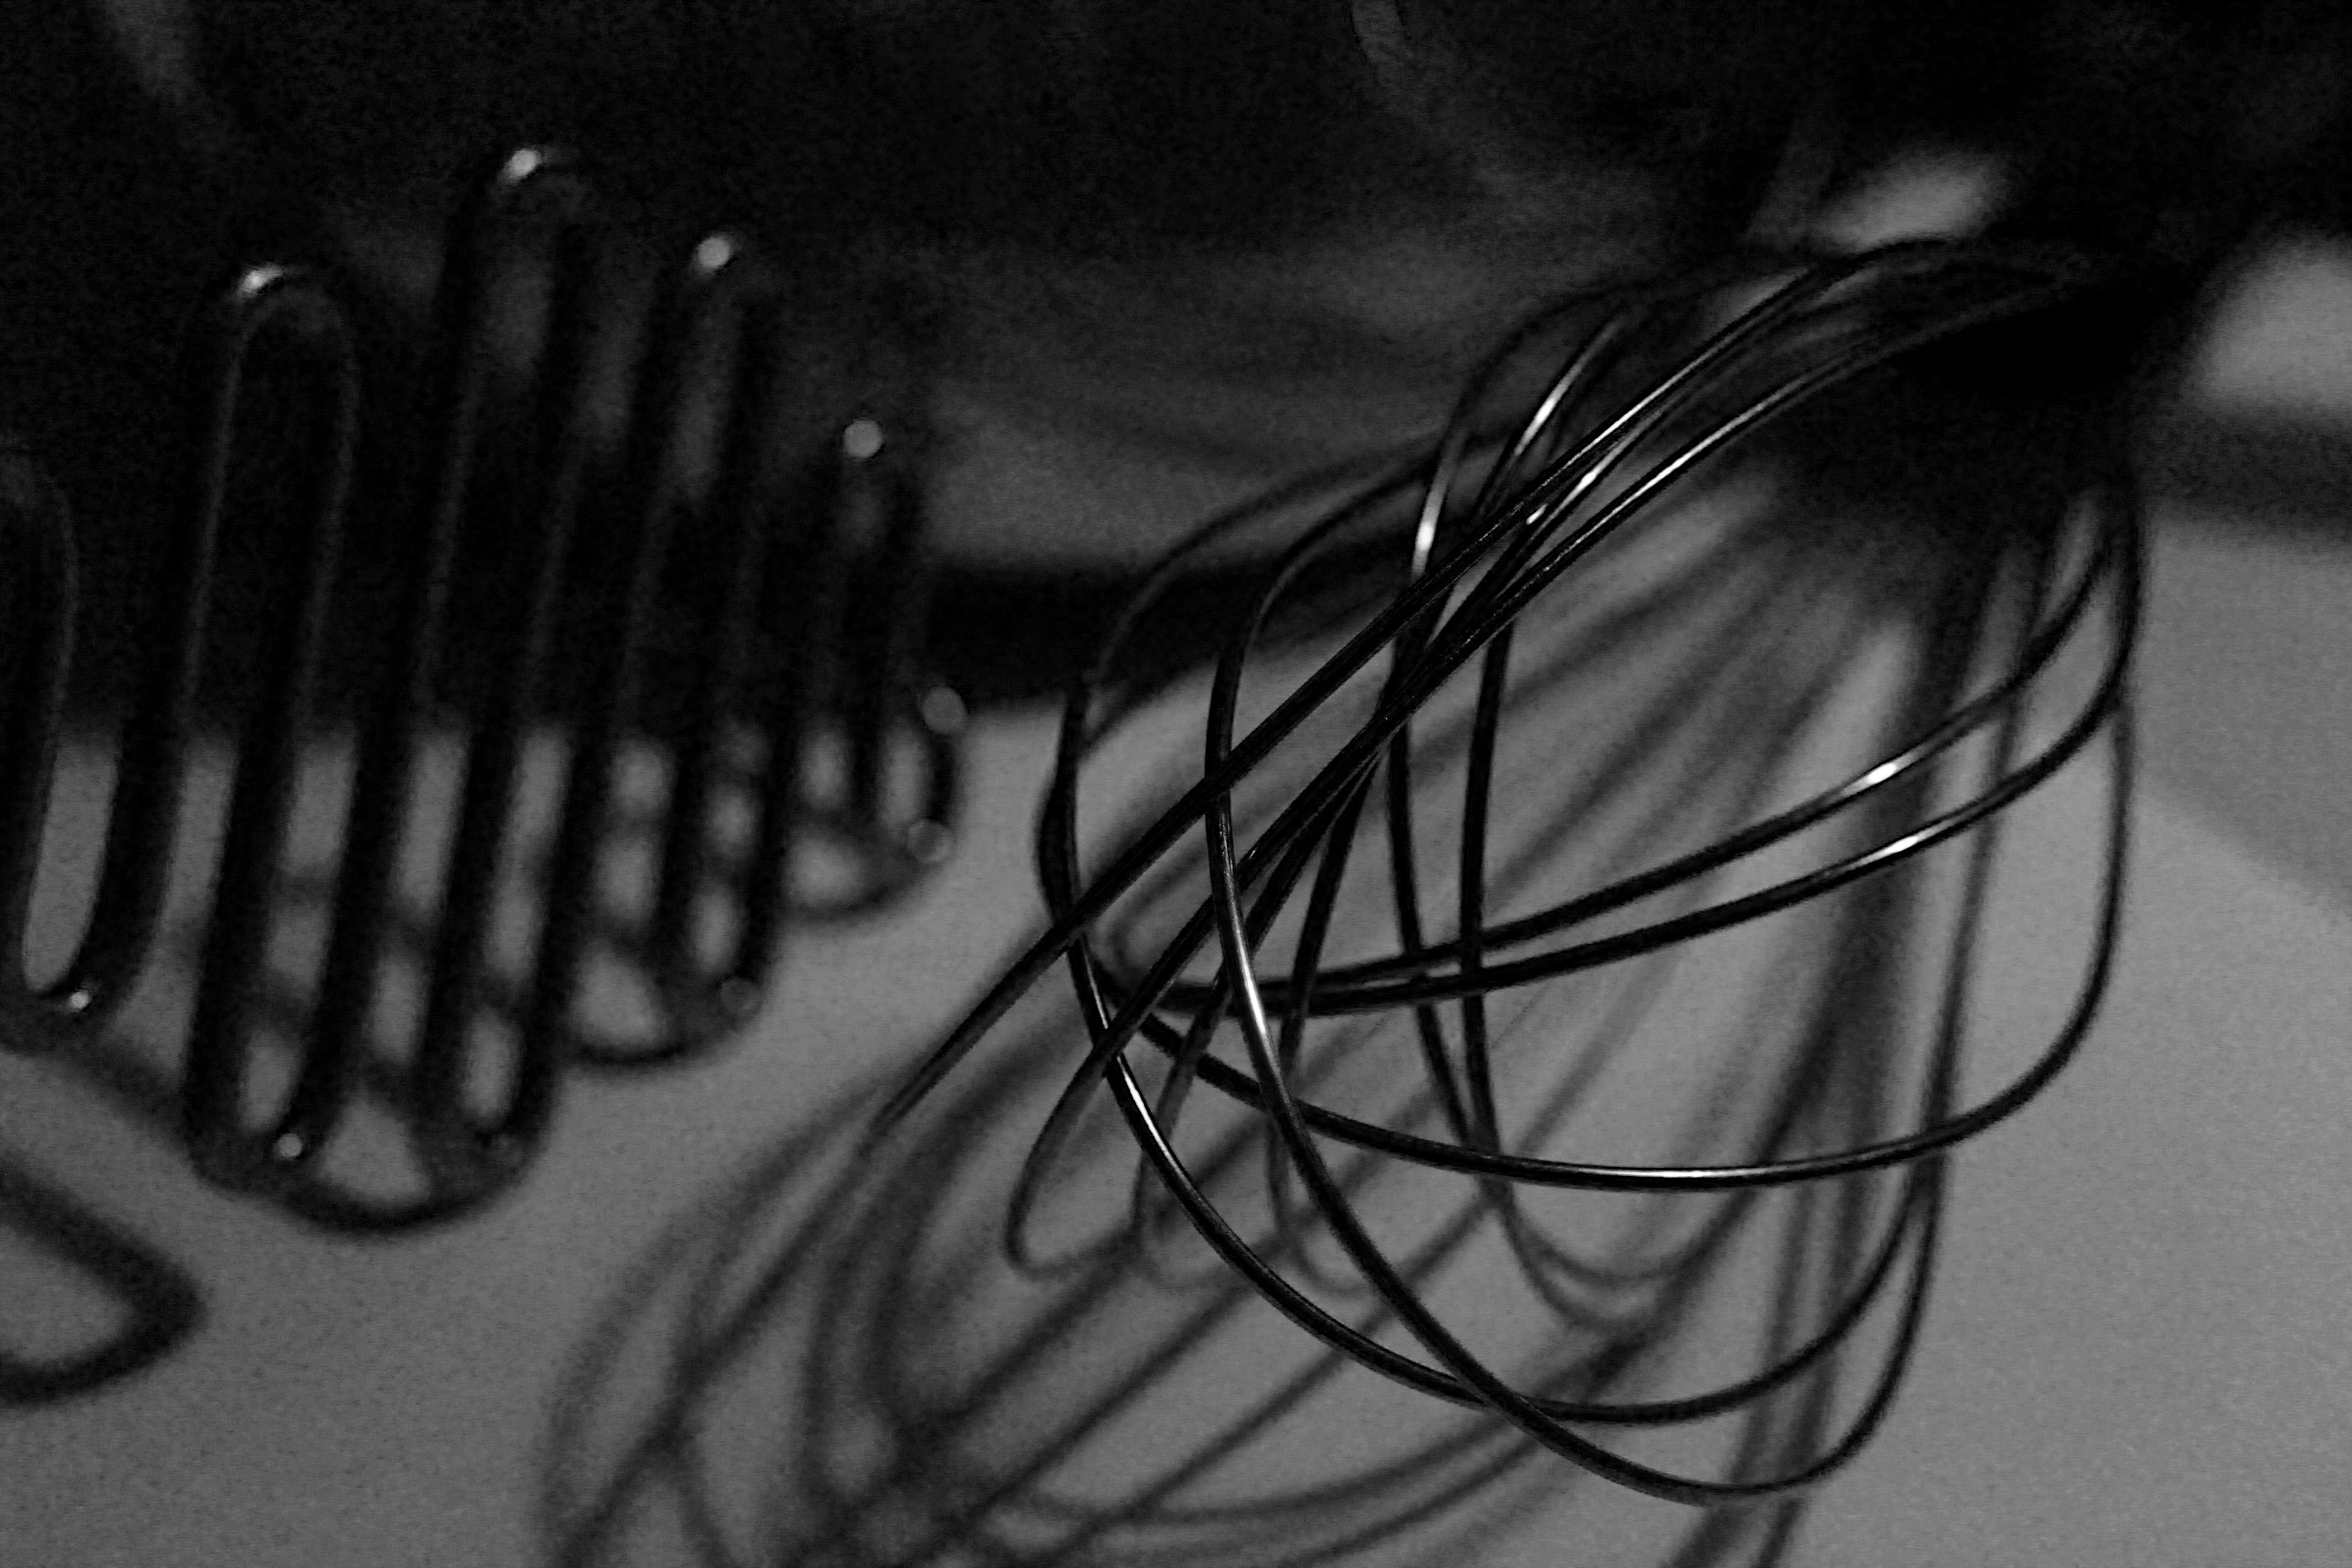
This black and white Image is of silver cutlery in a pan. This image has a strong contrast as of the white background and the dark shadows behind the pan and the black inside the pan. This image also includes the rule of thirds as the right side of the picture where the cutlery is is the main focal point of the image as that is that area where the view looks at first and is the most interesting part of the picture. I really like this idea and also Groover’s style of photography as in this sense it is such a simple idea but once edited looks really effective and aesthetically pleasing.
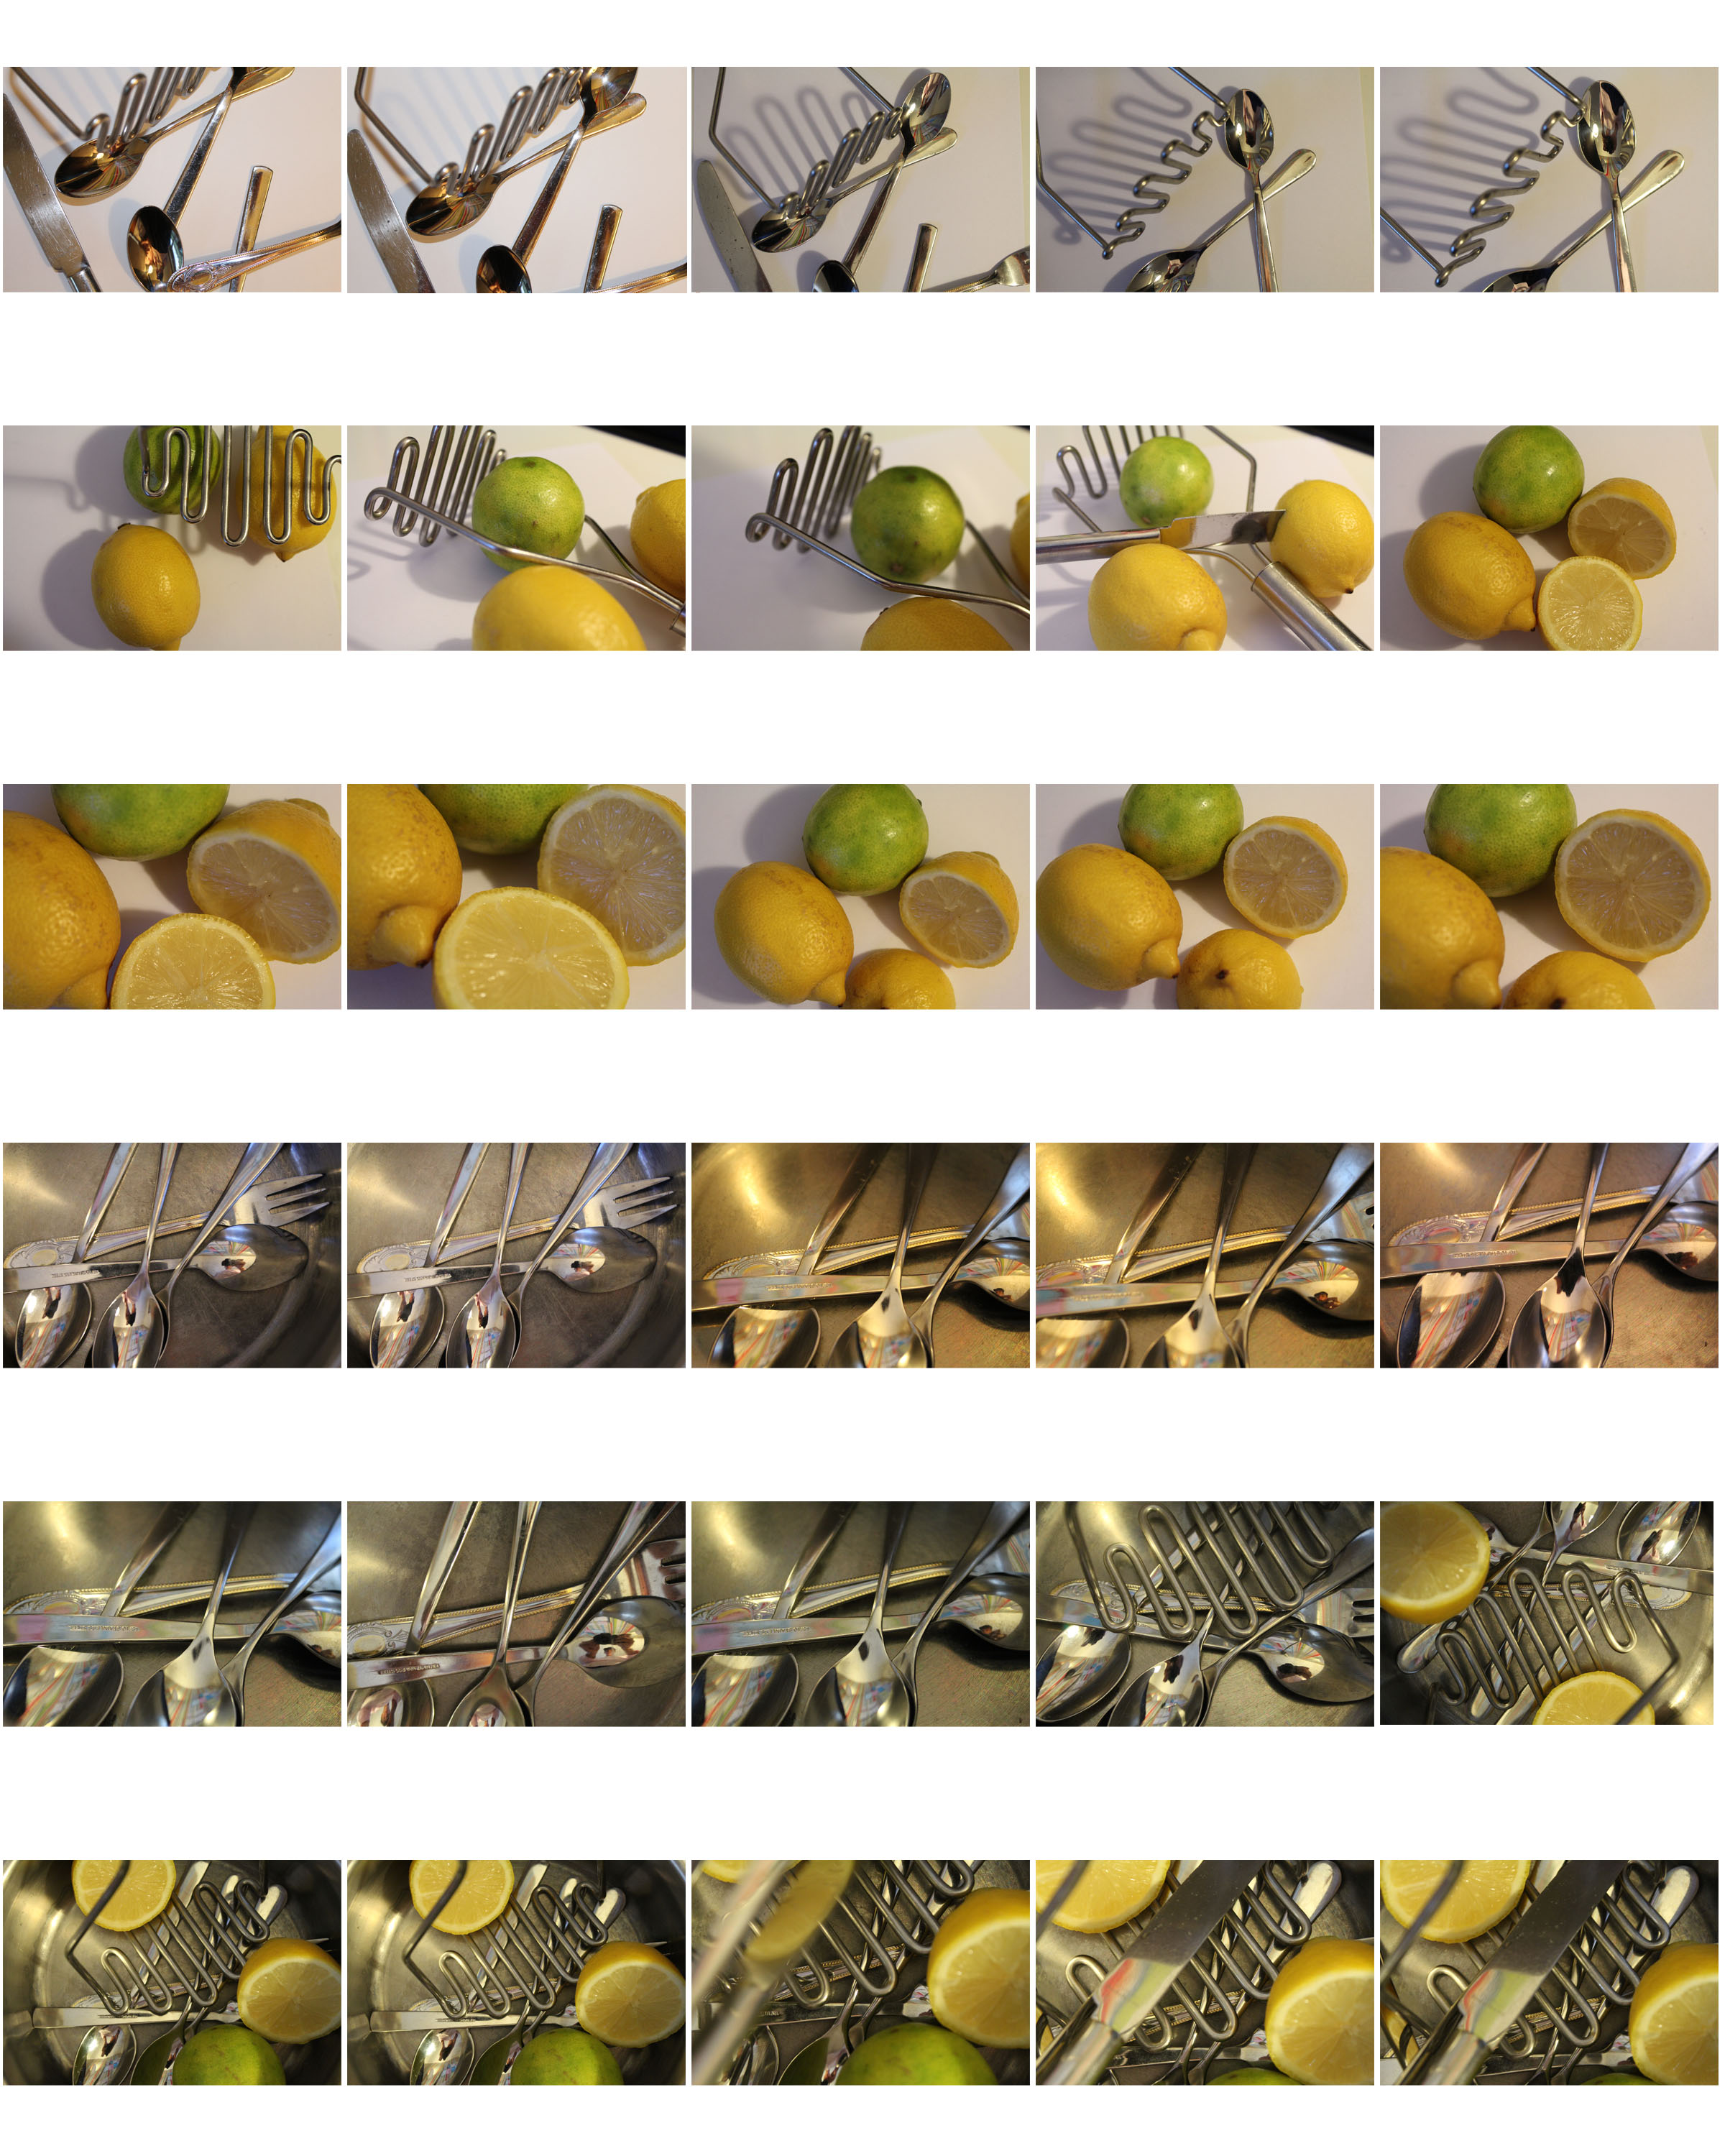
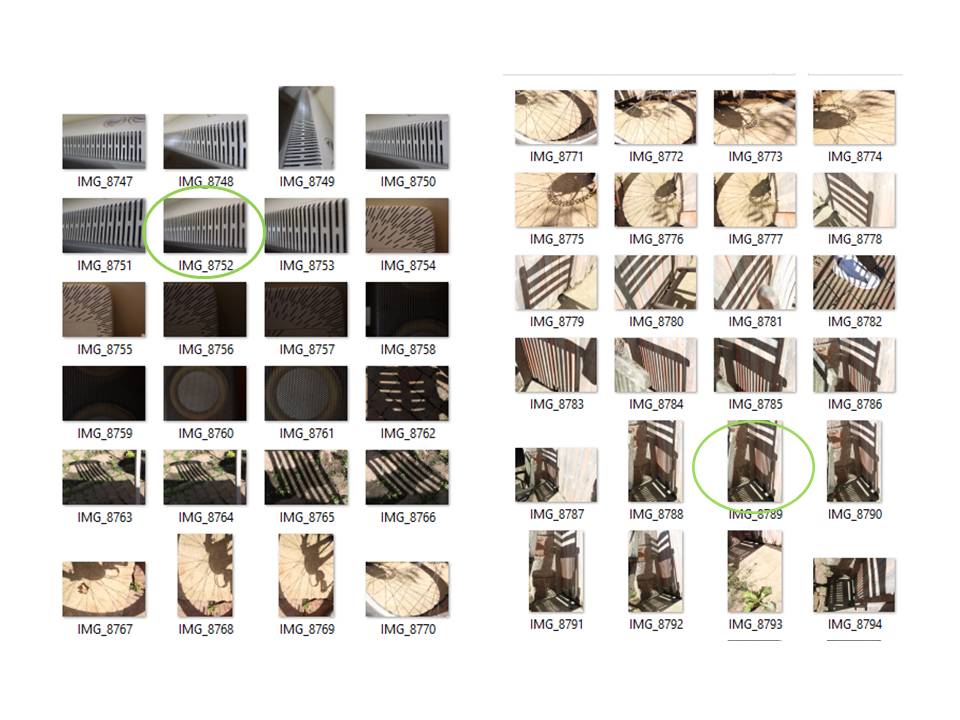
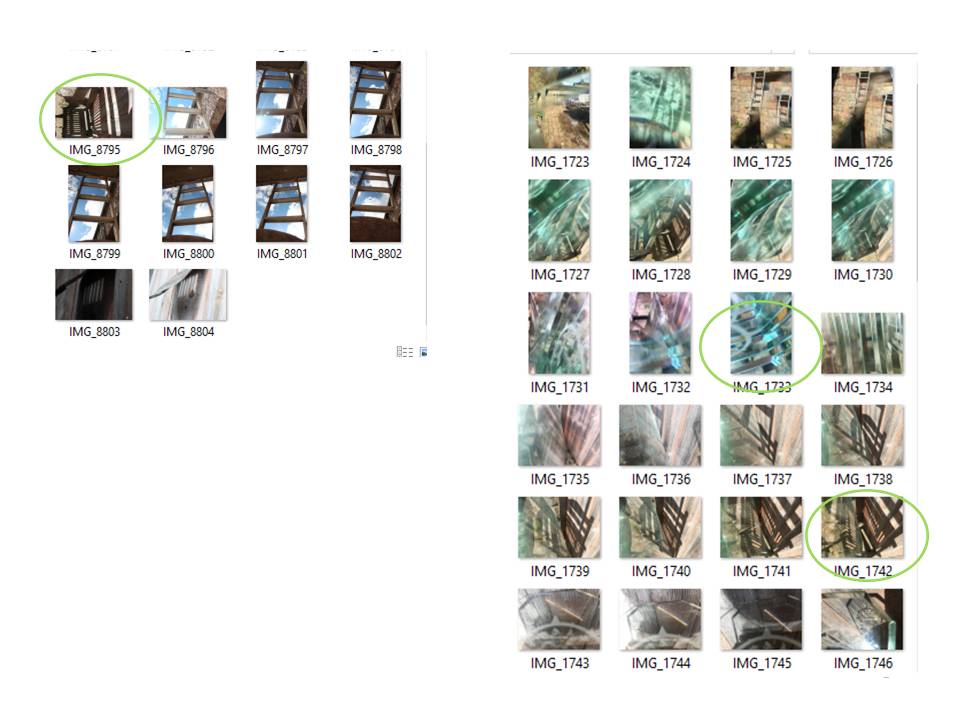
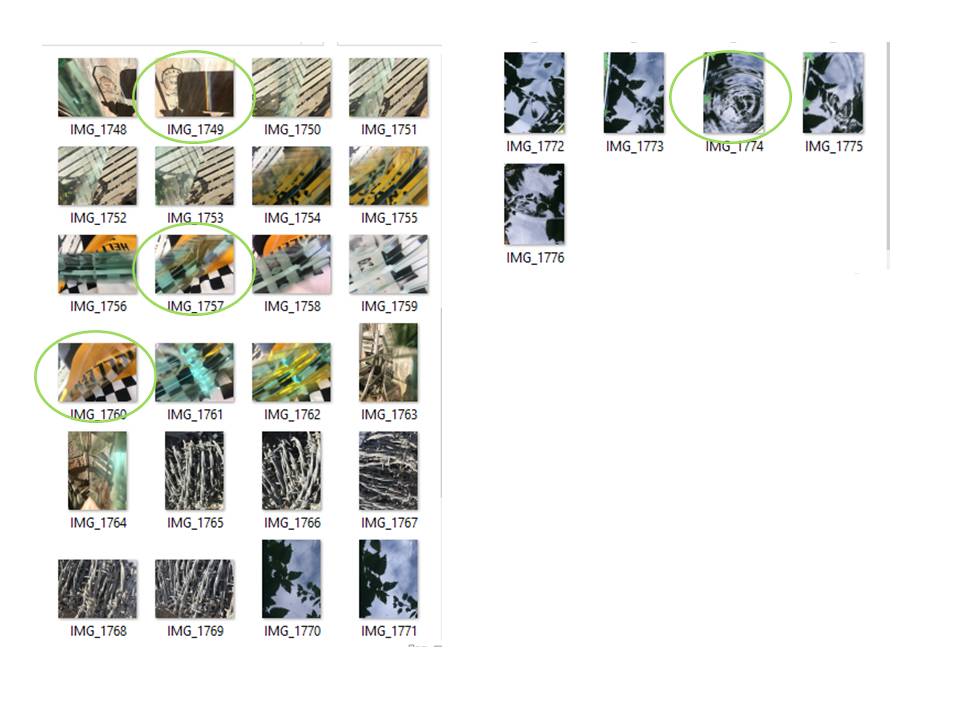
Contact sheet
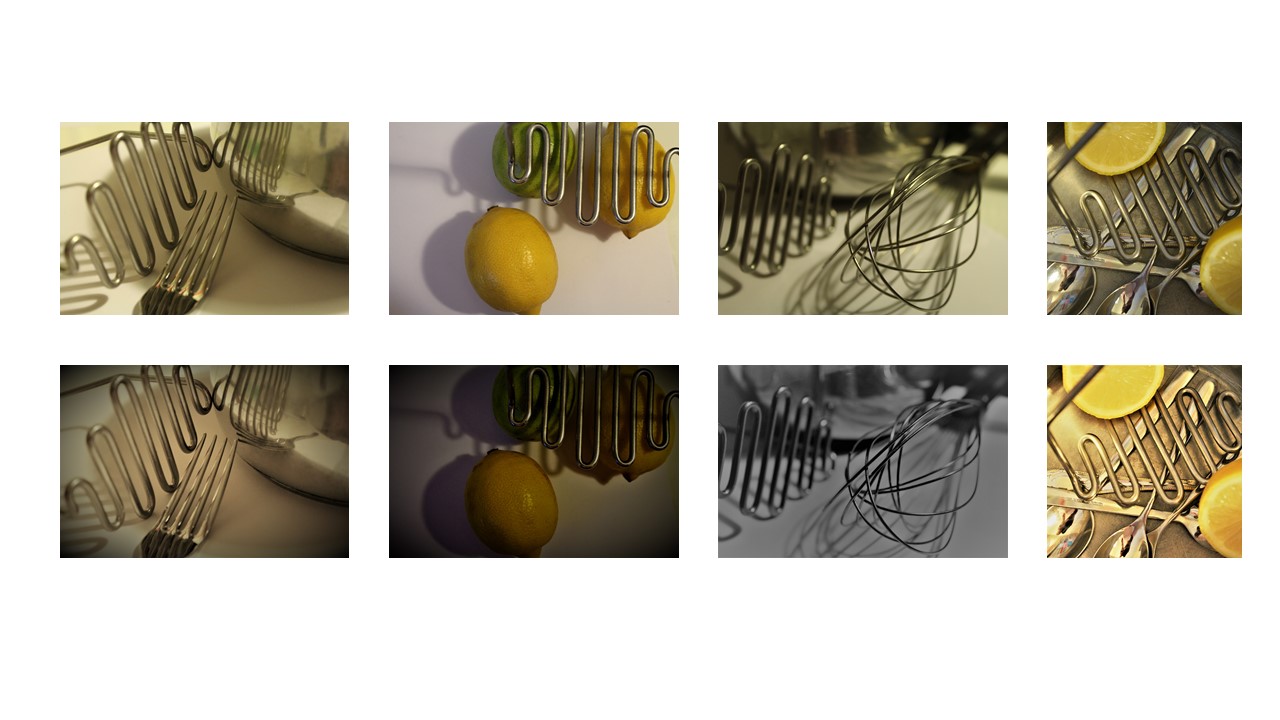
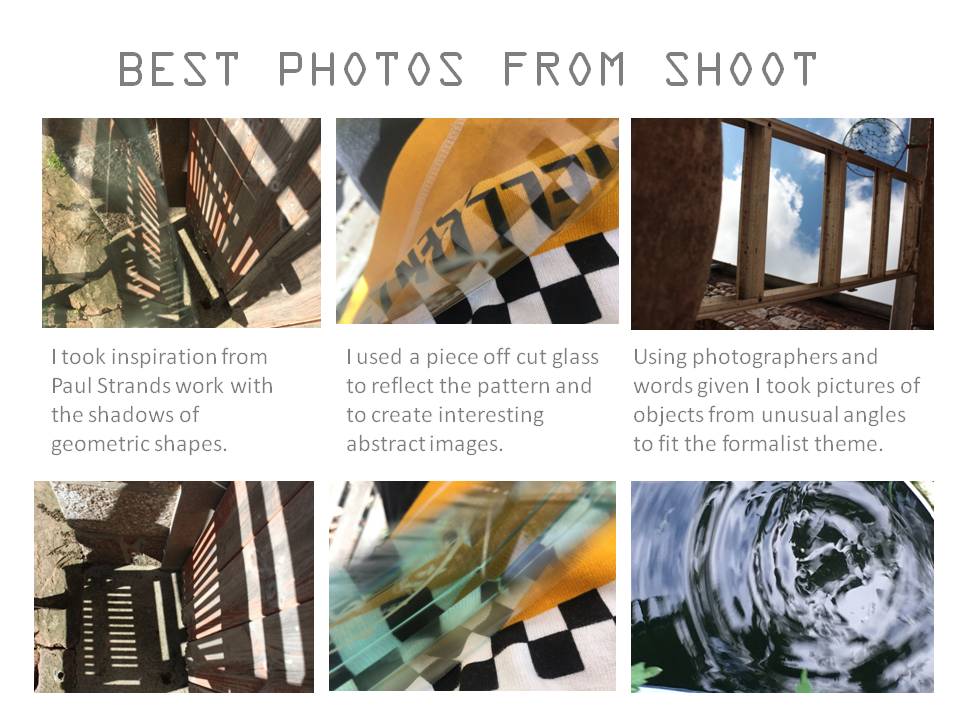
Best Photos from the shoot/ Best Edits
How I edited my images
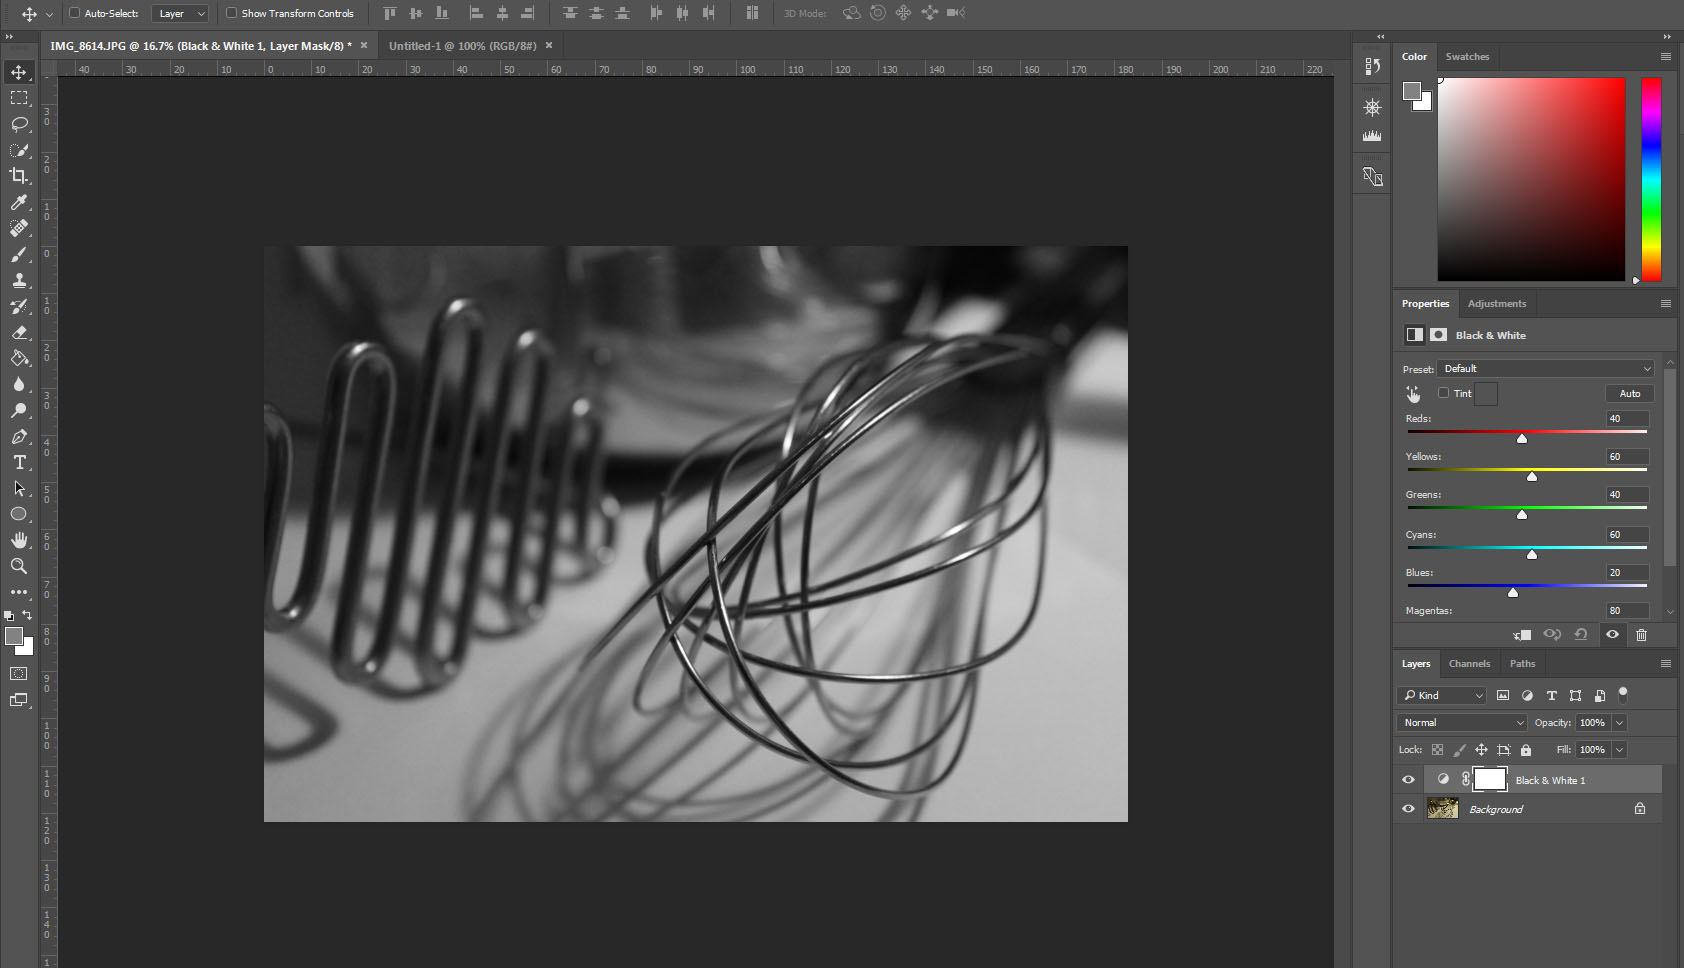
This was my original image.
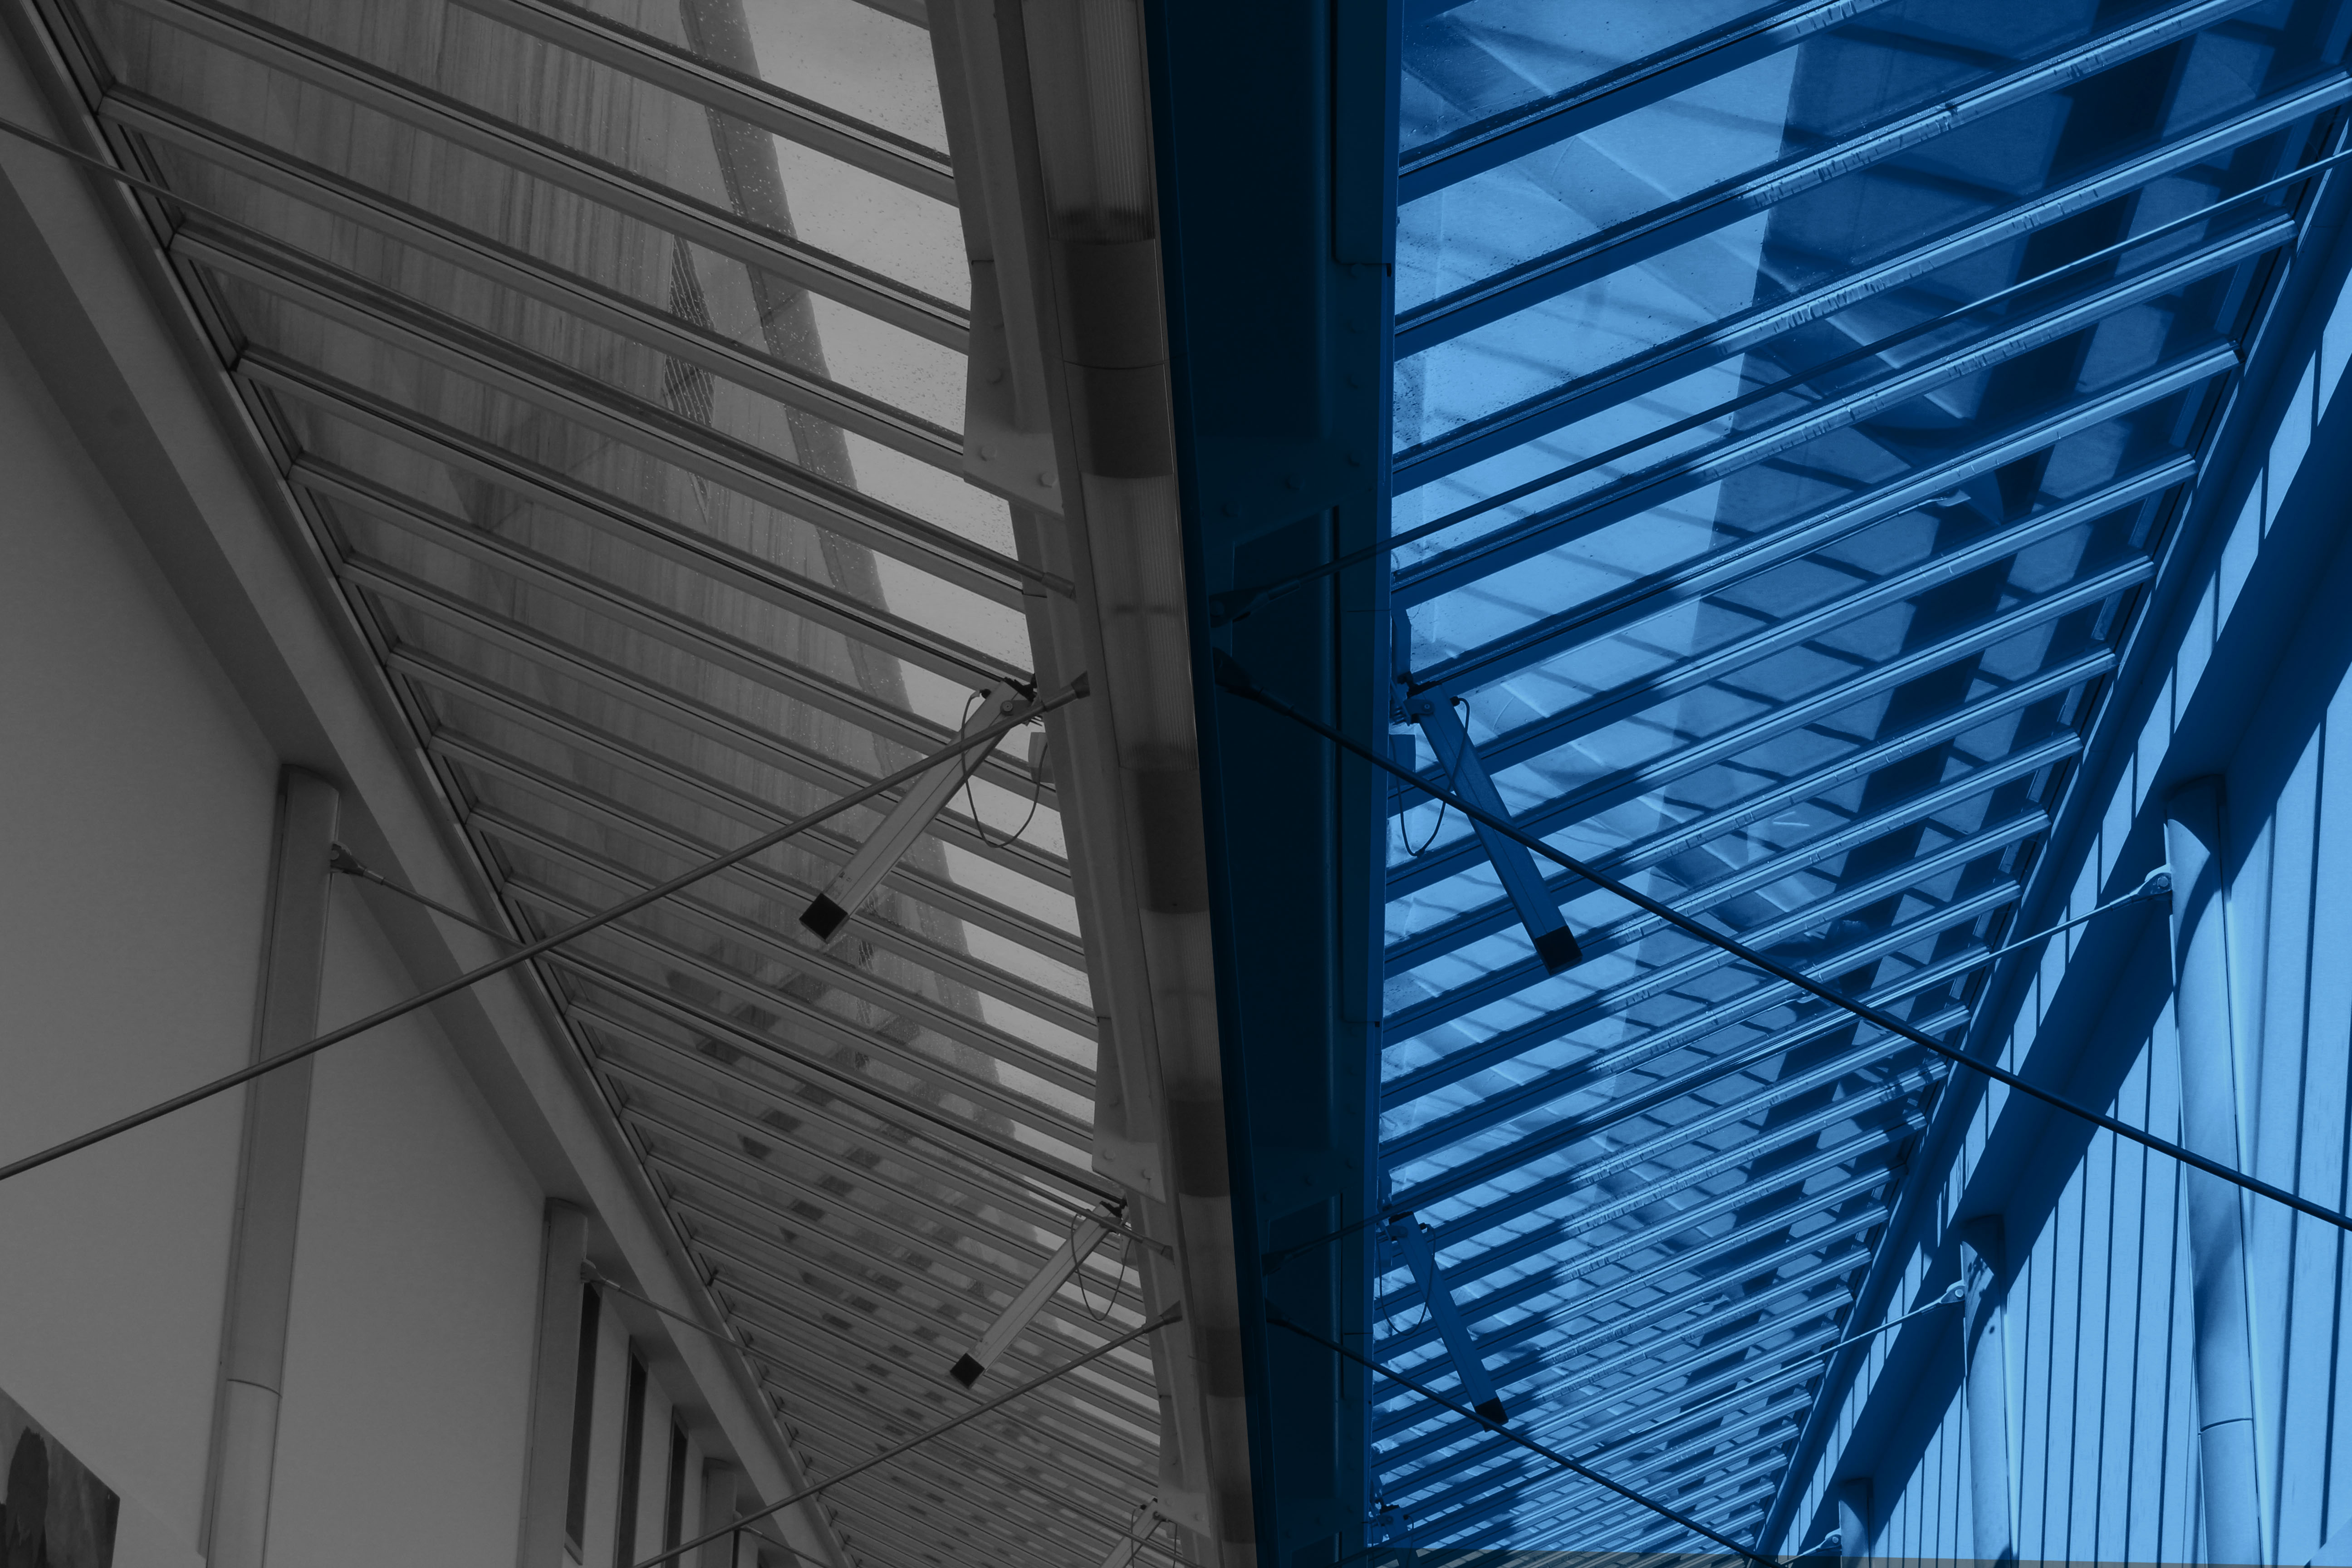
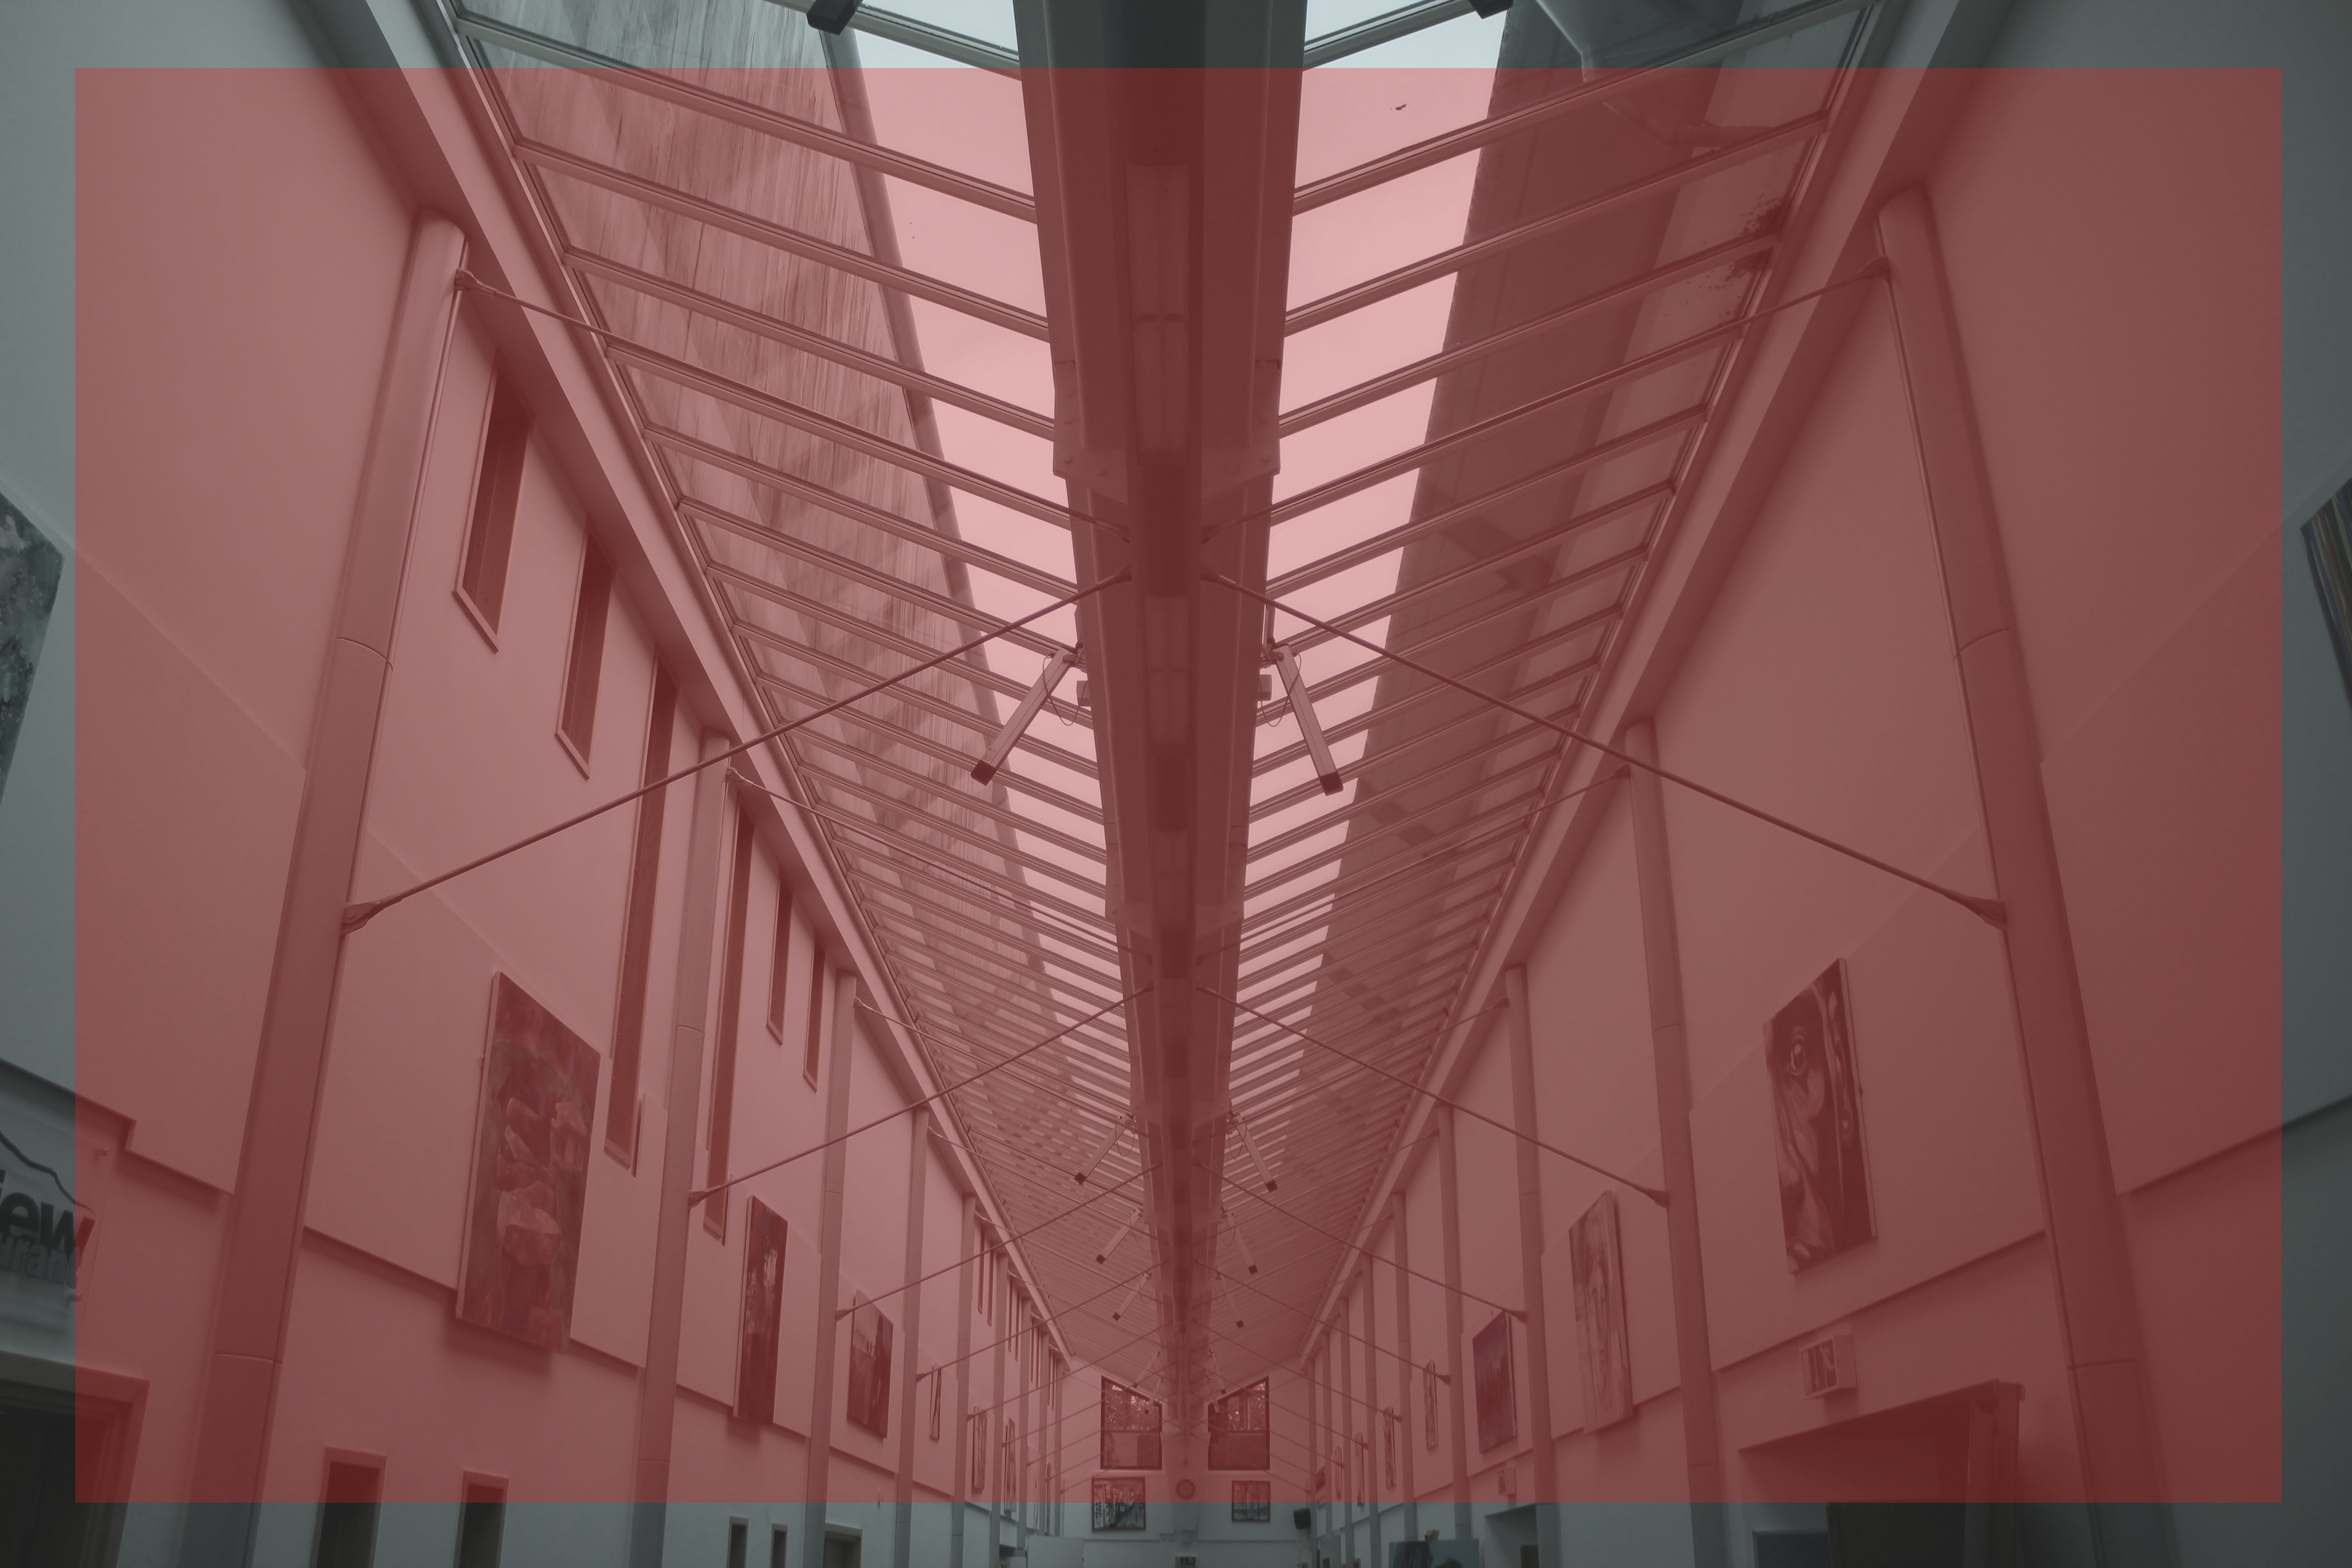
Colour Overlay
Examples of Colour Overlay


My attempts at using colour overlay
ISO / Lighting
What is ISO?
Generally, the ISO is the indication of how sensitive a camera is to the light around it.
It’s measured in numbers that are: 100, 200, 400.800 and 1600 (100 being the darkest outcome with the lowest amount of noise and 1600 being the brightest with larger amounts of noise/grain).
The lower the ISO number, the lower the sensitivity of the digital sensor to light (which means that more light needs to hit the digital sensor to get proper exposure). So, ISO 400 is twice as sensitive to light as ISO 200.
There are situations where the amount of lighting you are dealt with is not quite enough for your image. This is an indicator that you need to increase your ISO setting. Typical examples include:
- Low light conditions (indoors). In this case, the amount of natural light is not enough for your camera to get the correct exposure even with using the longest shutter speed and widest aperture without using a flash.
- Your subject is too far away for your camera’s flash to have any effect. To properly expose your photograph, you need to increase your ISO.
- Low light conditions (night). If you want to take photos at night, you will need to increase your ISO.
Experimenting With Different ISO:
White Balance
What is WB?
The White Balance (WB) determines how accurately the colors in your photos come out, specifically, it determines how ‘hot’ or ‘cold’ an image feels.
When do we need to adjust white balance?
Whenever you encounter a scenario where you wish to bring out certain colours or experiment with different hues and tones. Sometimes this process is automatic but not always satisfactory or pleasing to the eye.
Different types of White Balance:
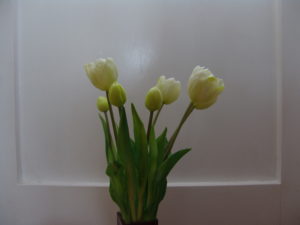
Daylight
The camera adds warm tones to the sunlit subjects, it’s best for outdoor shots in normal sunlight.
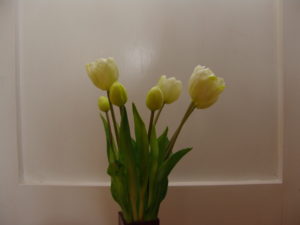
Cloudy
As the name suggests, it is best used on a cloudy day, as you usually get more cool tones in the photos. This mode helps you achieve warmer tones in your photos.
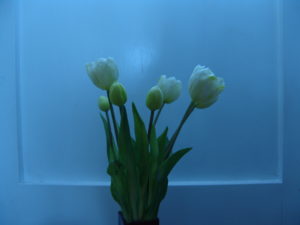
Tungsten
This mode is used for light under a little bulb like tungsten, and it is often used while shooting indoors. The tungsten setting of the digital camera cools down the color temperature in photos.
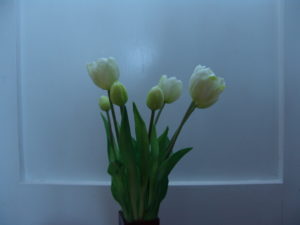
Fluorescent
This mode is used for getting brighter and warmer shots while compensating for the cool shade of fluorescent light.
Shade
A shaded location generally produces cooler or bluer pictures, hence you need to warm up the surroundings while shooting shaded objects.
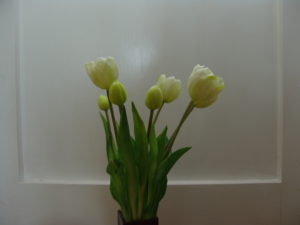
Auto
The Auto setting helps in adjusting the white balance automatically according to the different lighting conditions, but you can try other modes to get better results.
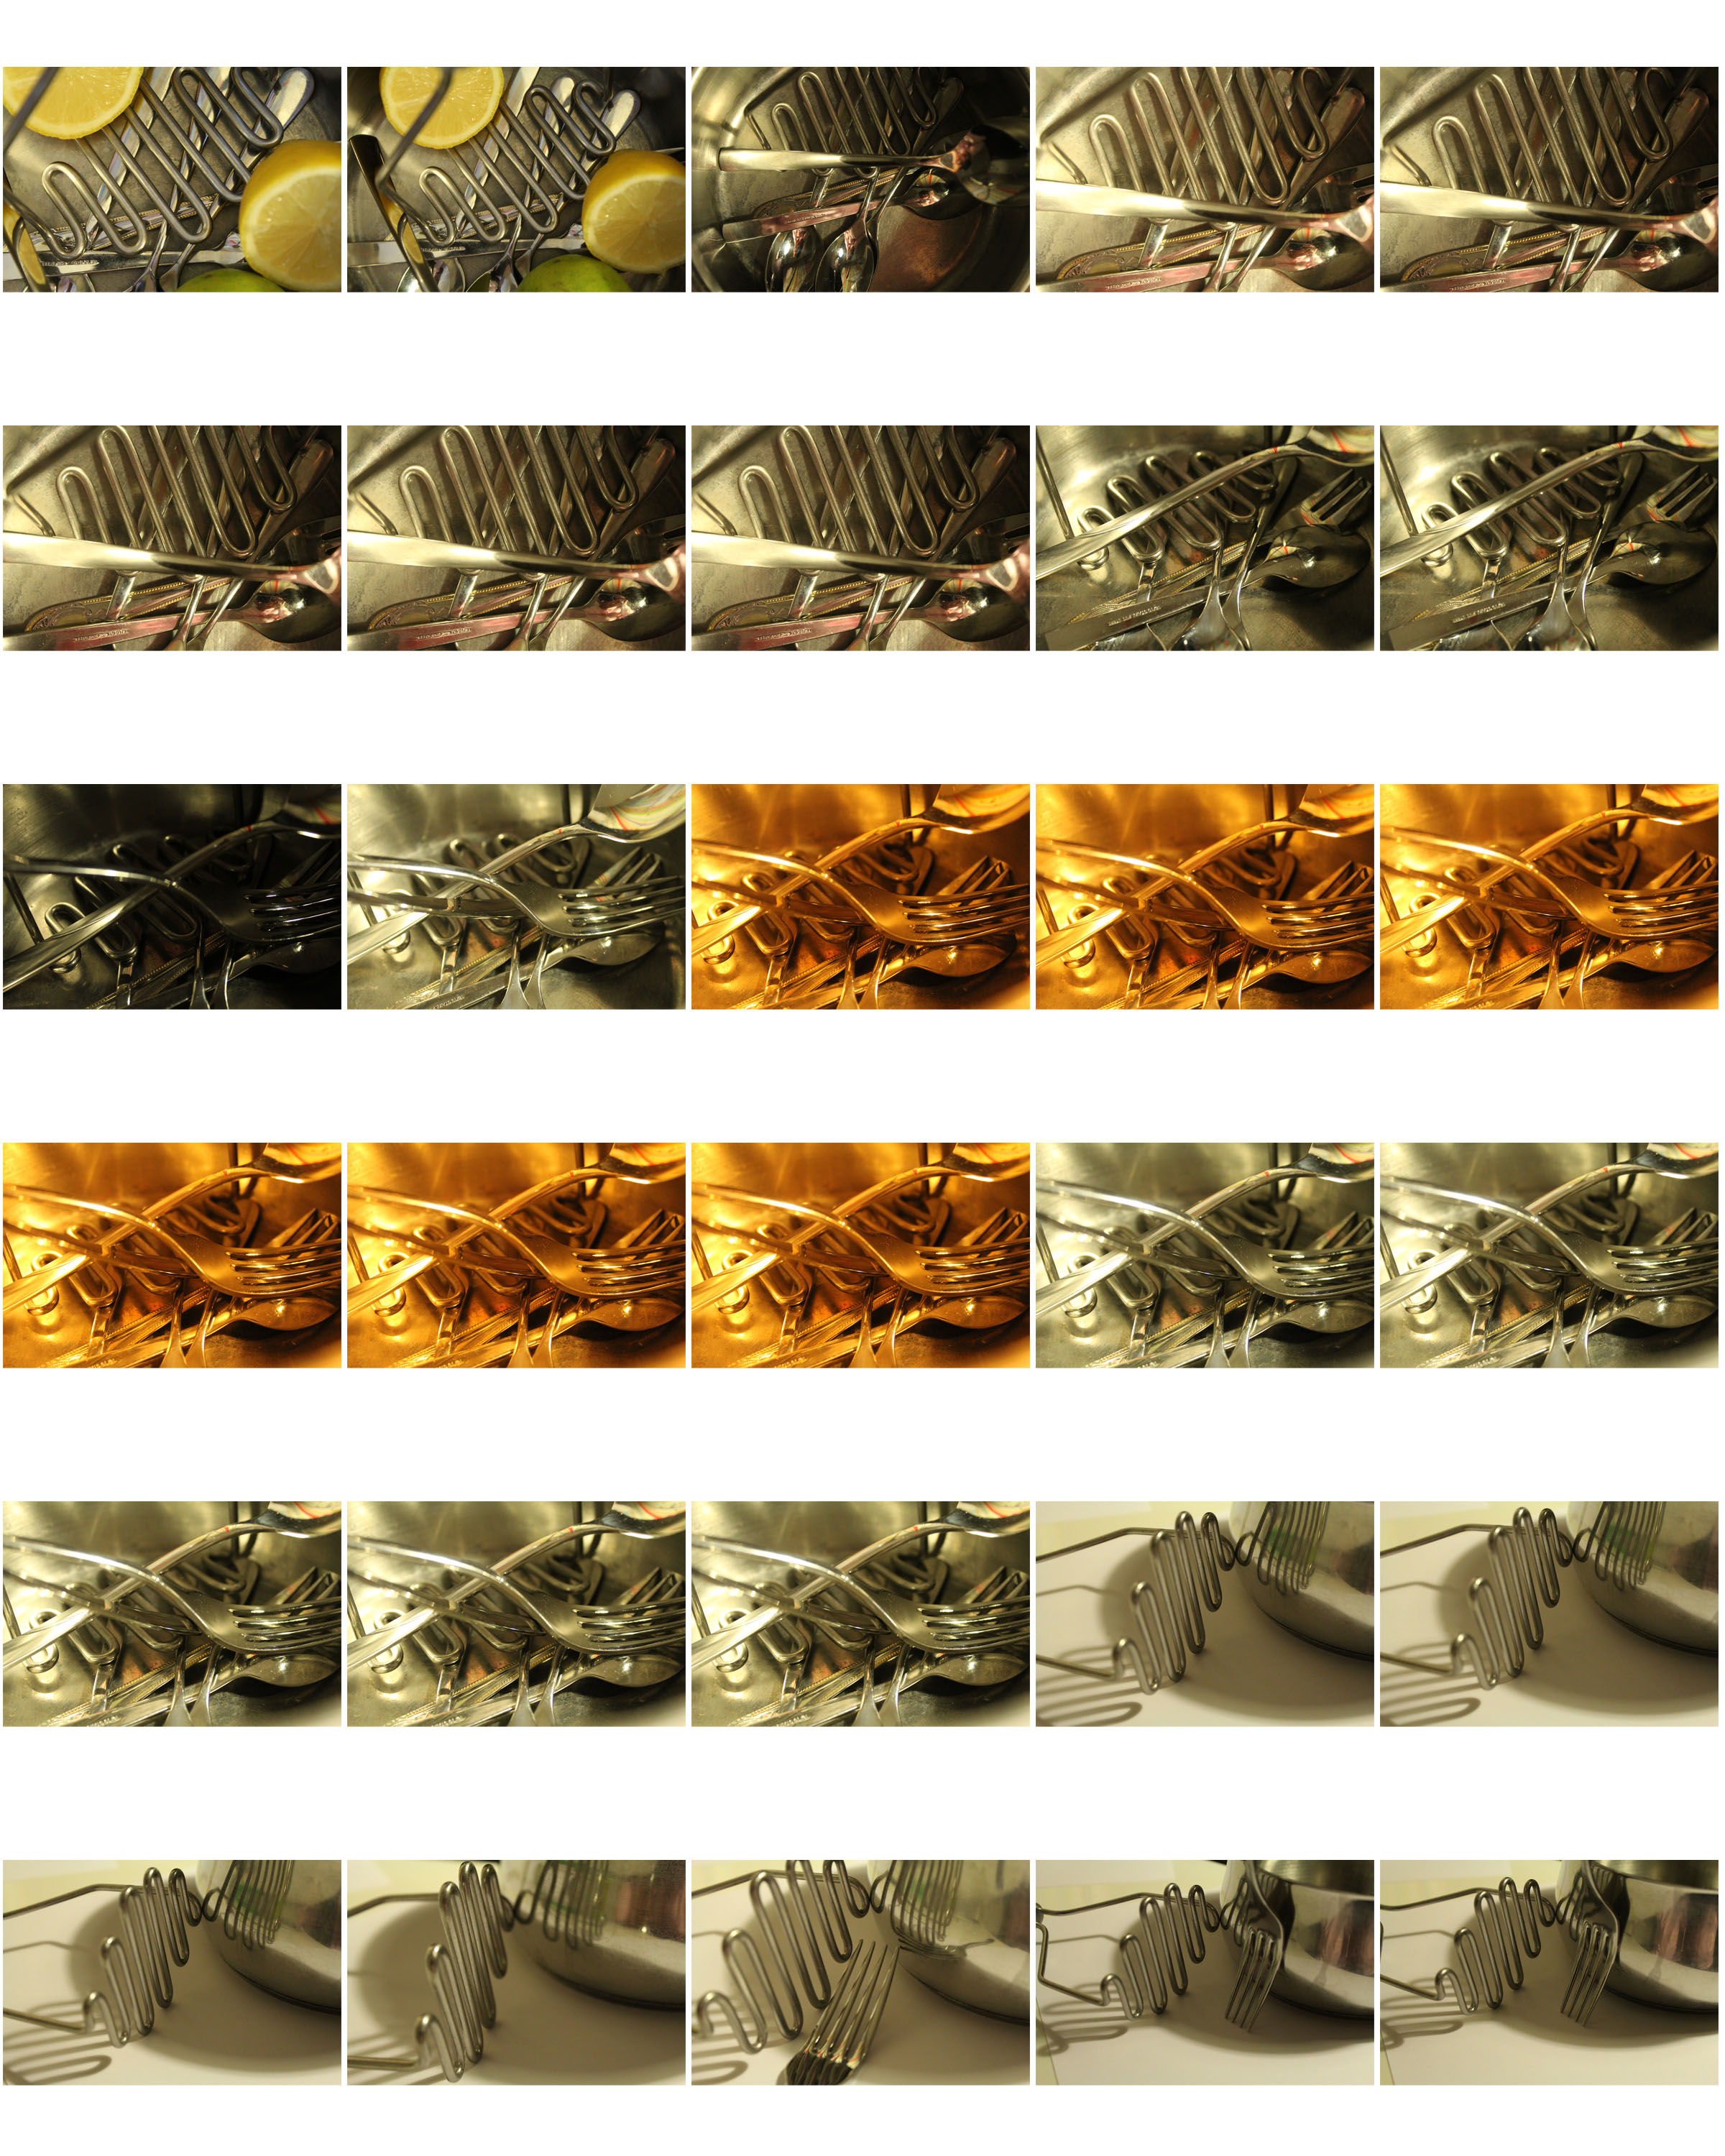
White Balance contact sheets:
ISO contact sheet
ISO measures the sensitivity that your camera has to light. It is useful to manually change the exposure on your camera when natural light levels are low or high. If there is not enough accessible light the ISO can be changed to let more light in however this can result in grainy pictures. We can use ISO to our advantage for example if we want our photos to be darker we can change it to suit the style. in this photo bellow we can see the effect that the ISO is having on the colors in the photo. the number of pixels does not change however they are just more viable, we call this noise.

ISO Experimentation
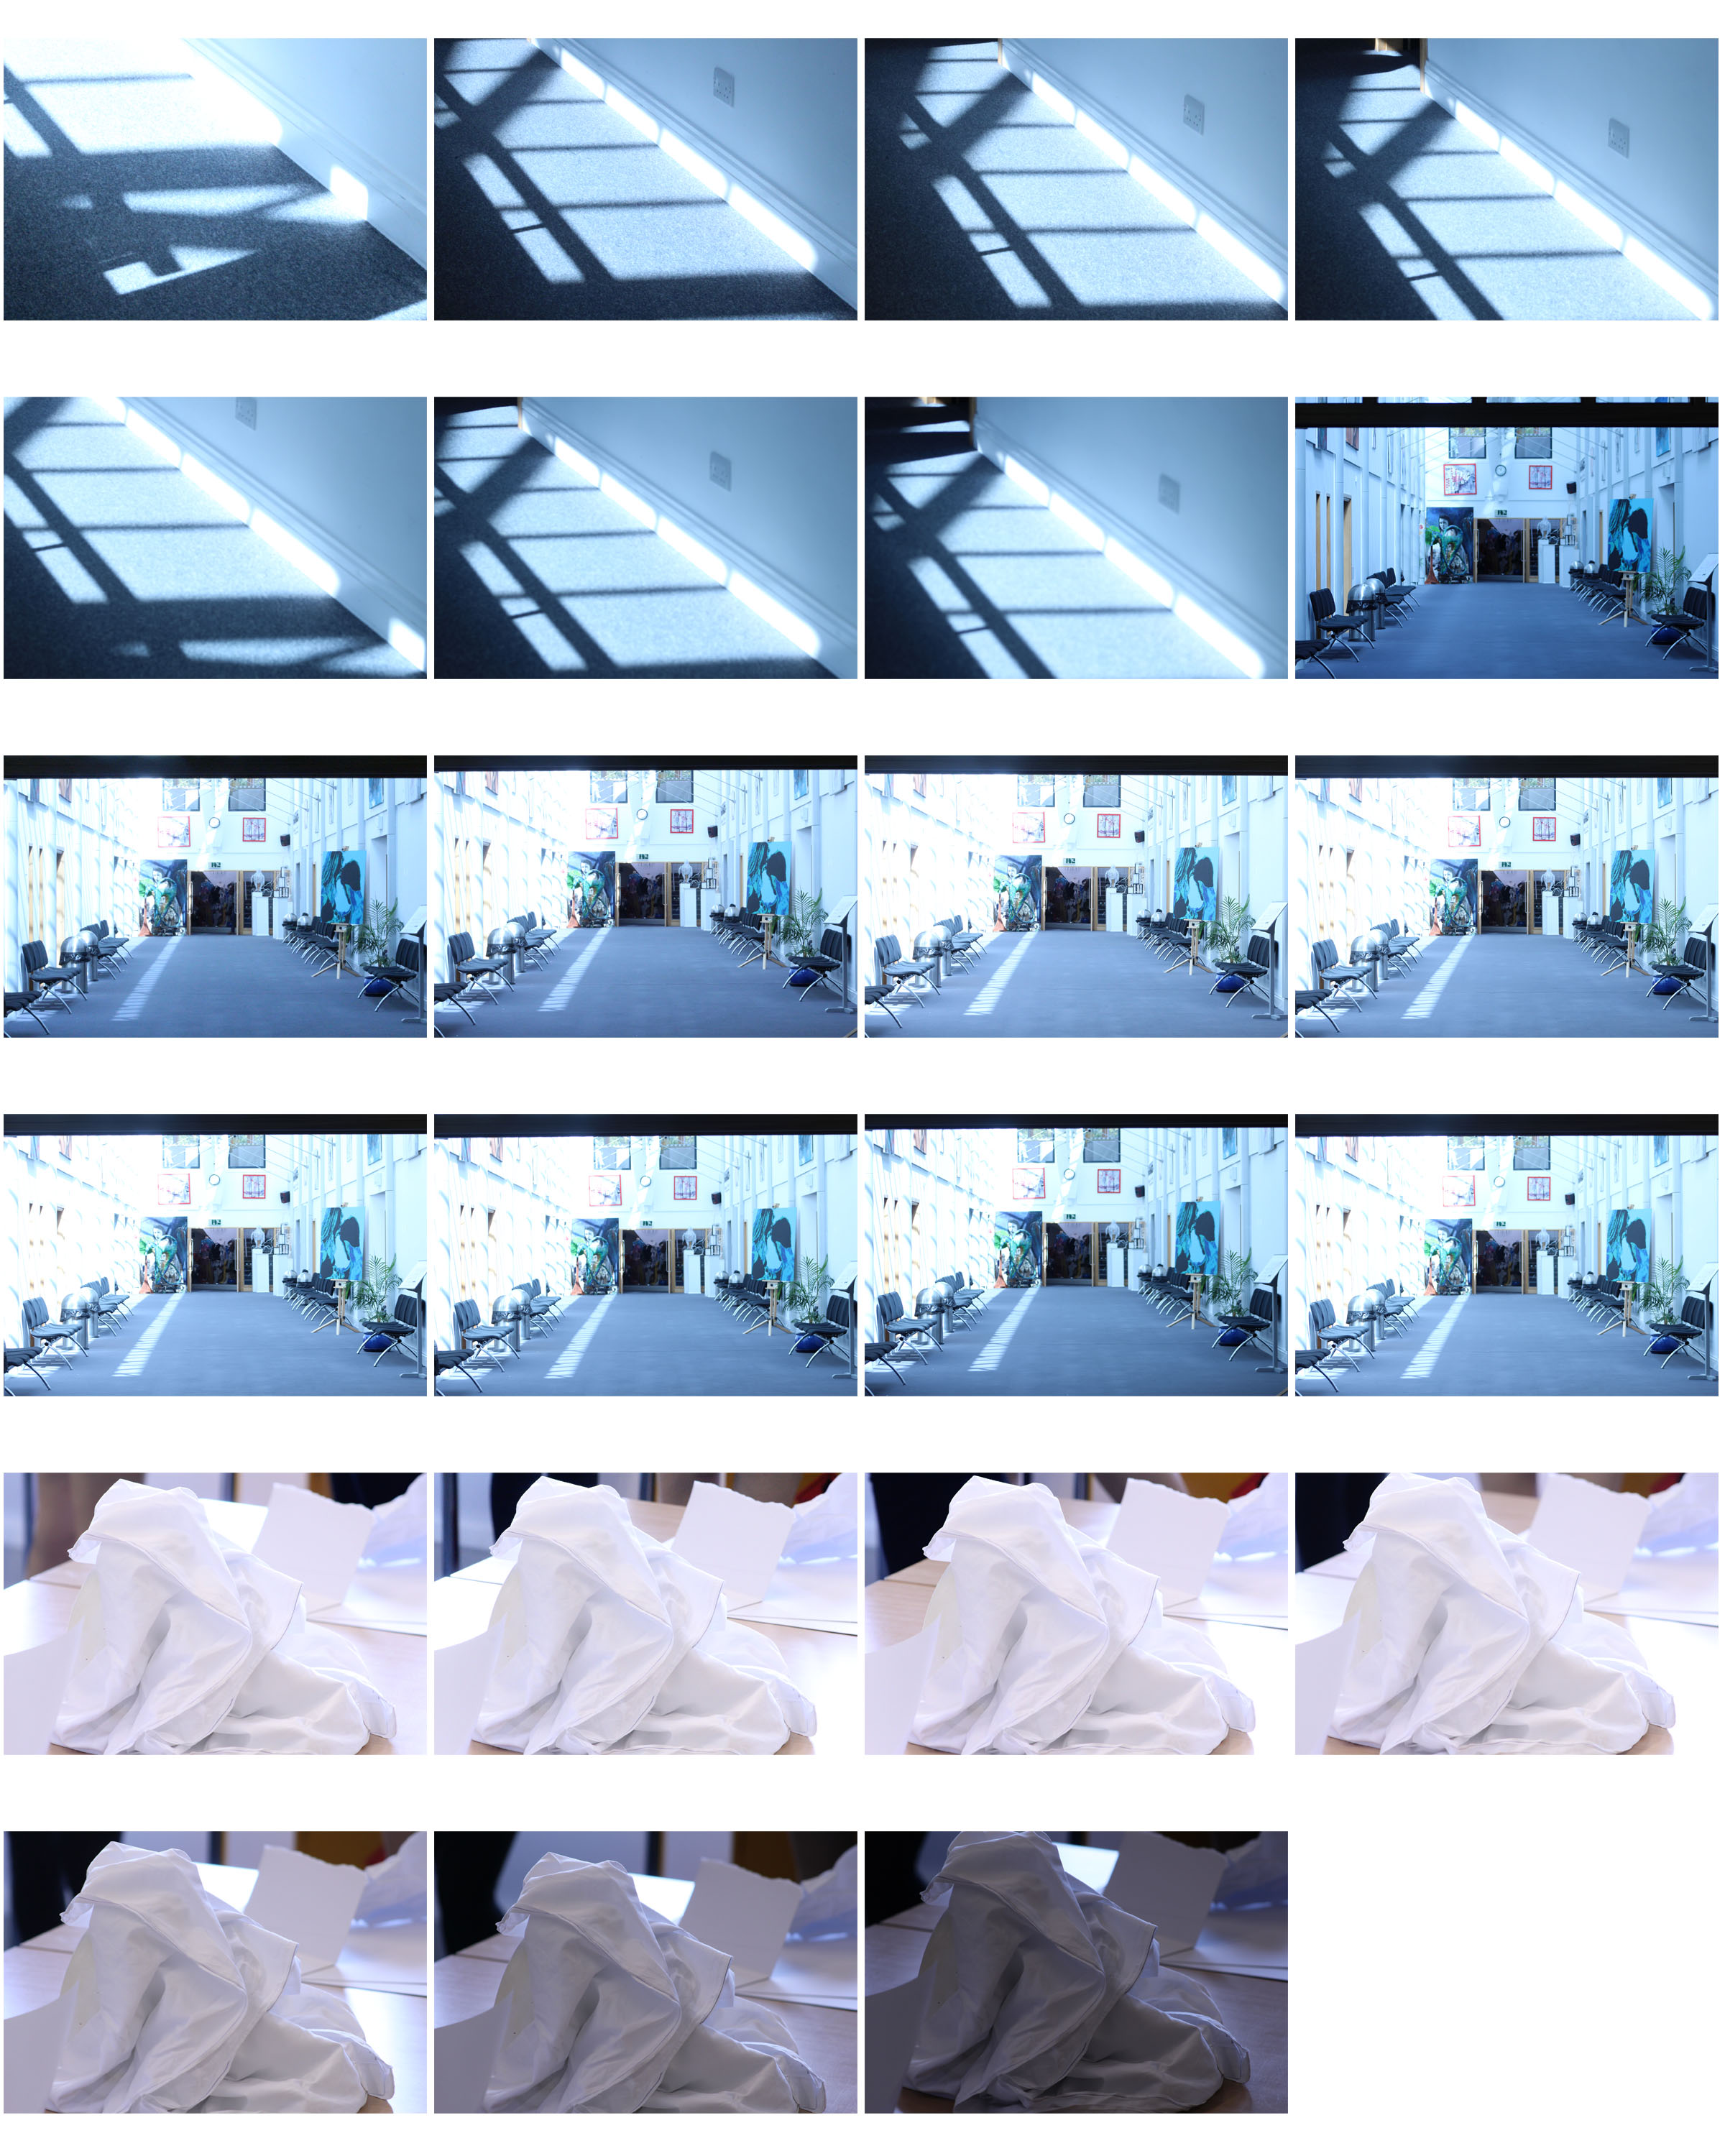
In Digital Photography, ISO measures the sensitivity of the image sensor. The lower the number the less sensitive your camera is to light and the finer the grain. Higher ISO settings are generally used in darker situations to get faster shutter speeds.
Exploring Light And Tone
- The term ‘ISO’ stands for ‘International Organisation for Standardization.
- ISO can be adjusted to change how sensitive the camera is to light.
- If the ISO number is low, for example 100, it is less sensitive to the light.
- A low ISO number would be used in an area with lots of light.
- If the ISO number is high, for example 1600 then it is more sensitive to the light.
- This would be used in an area with not much light.
- A higher ISO number causes more noise in the photograph and so reduces the quality of it.
- If the ISO number is low, for example 100, it is less sensitive to the light.

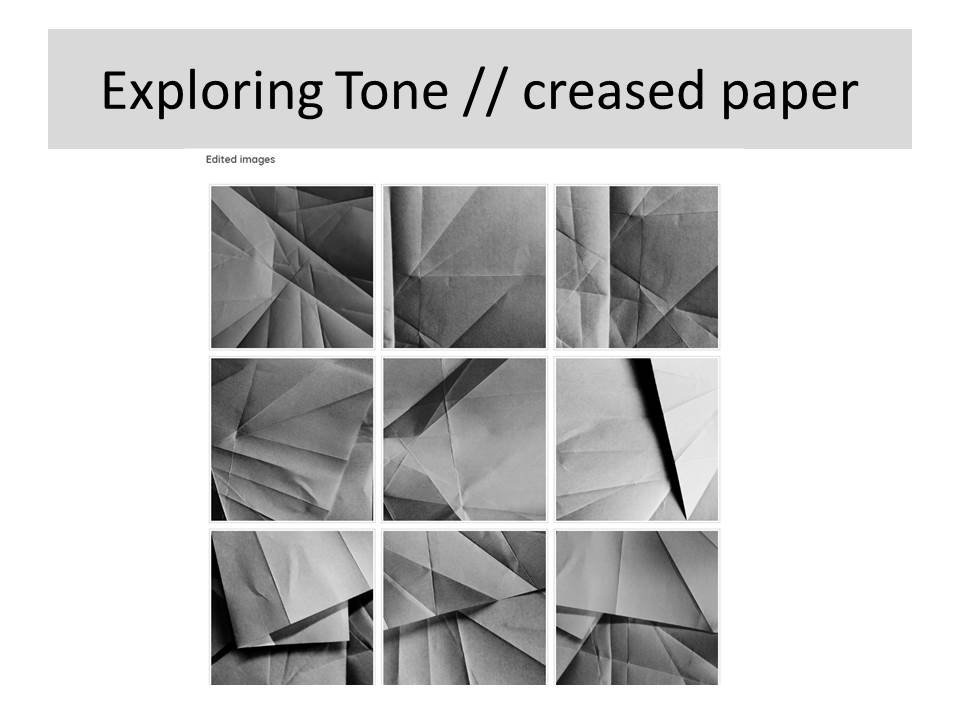
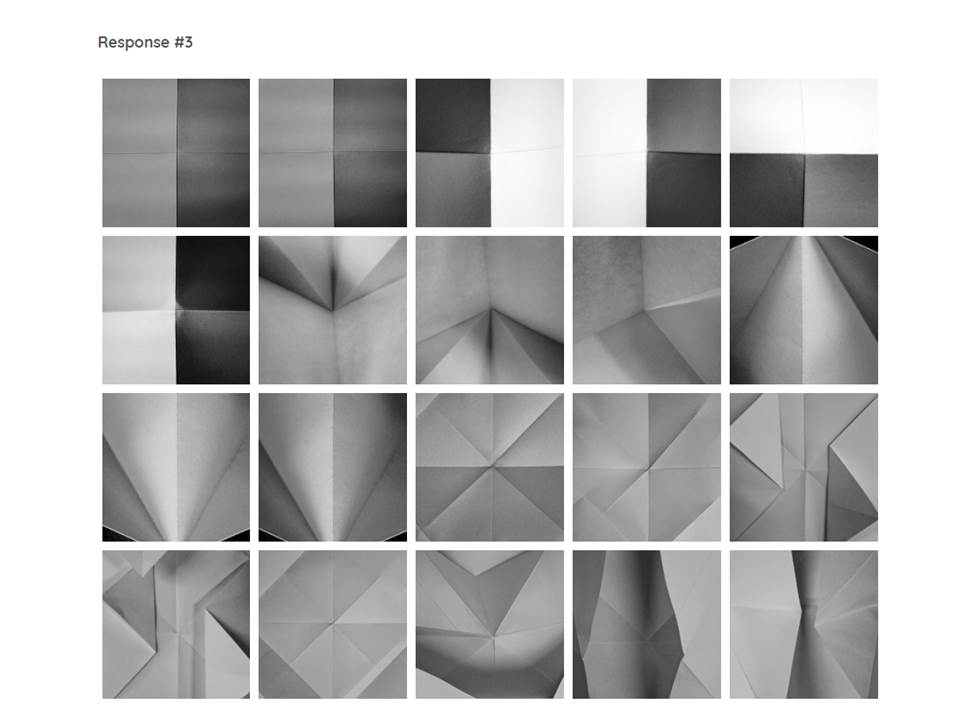
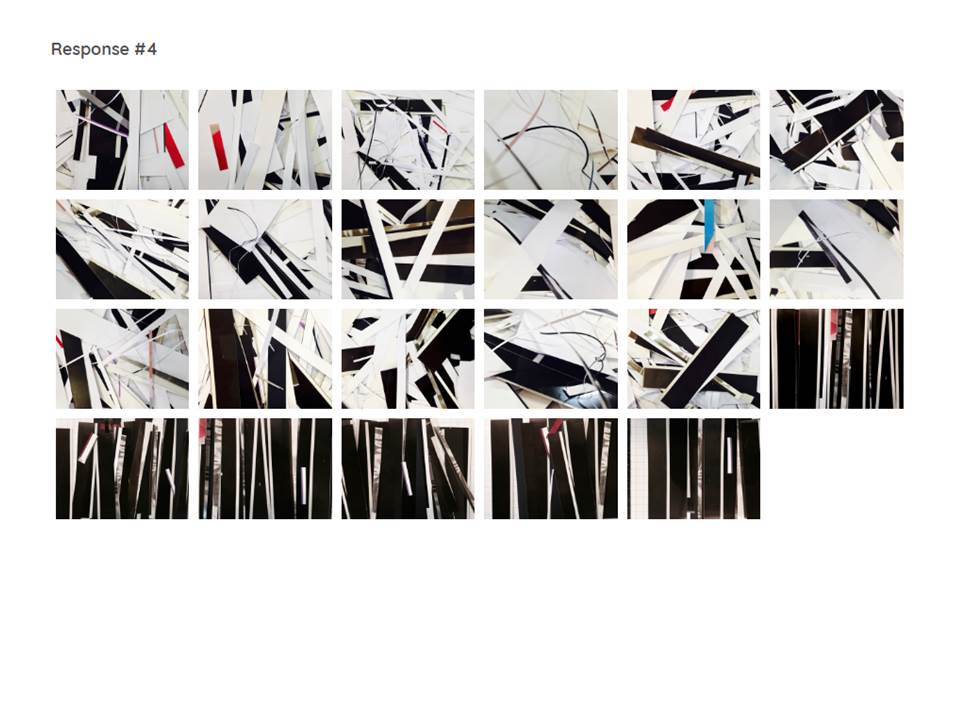
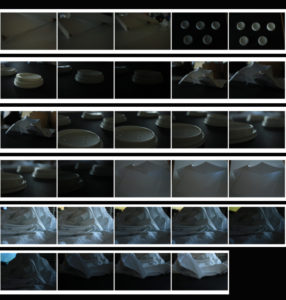
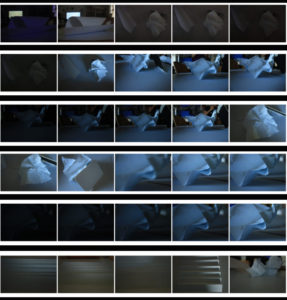
- Below is my contact sheet of pictures taken of paper and other objects that can be easily shaped and manipulated.
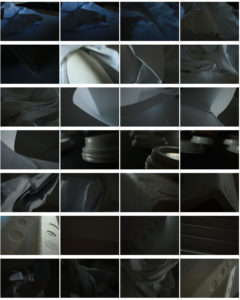
- A ISO number of 800 was used on the darker images to create a more dramatic photograph and an ISO number of 1600 was used on the brighter images to balance out the shoo
t and show the difference that the ISO number makes.
- A ISO number of 800 was used on the darker images to create a more dramatic photograph and an ISO number of 1600 was used on the brighter images to balance out the shoo

