Shutter Speed

When the shutter opens, it exposes light from the exterior allowing a picture to be taken. The length of time that the shutter remains open is termed the shutter speed.

If you look at modern digital cameras, shutter speed is measured in seconds – or in most cases fractions of seconds. The bigger the denominator the faster the speed (e.g 1/1000 is much faster than 1/30).

How do you select the correct shutter speed when taking photos?

  1. Simply set the camera to automatic mode and take the picture. The cameras in-built auto exposure settings will take care of the shutter speed settings for you.
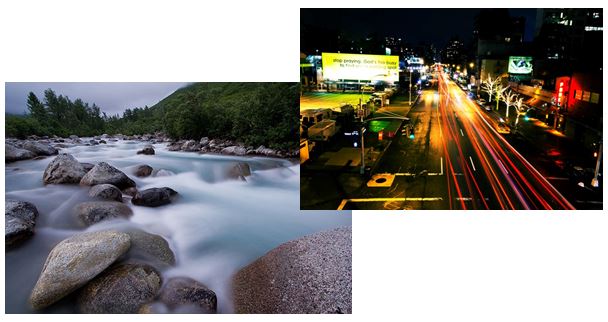
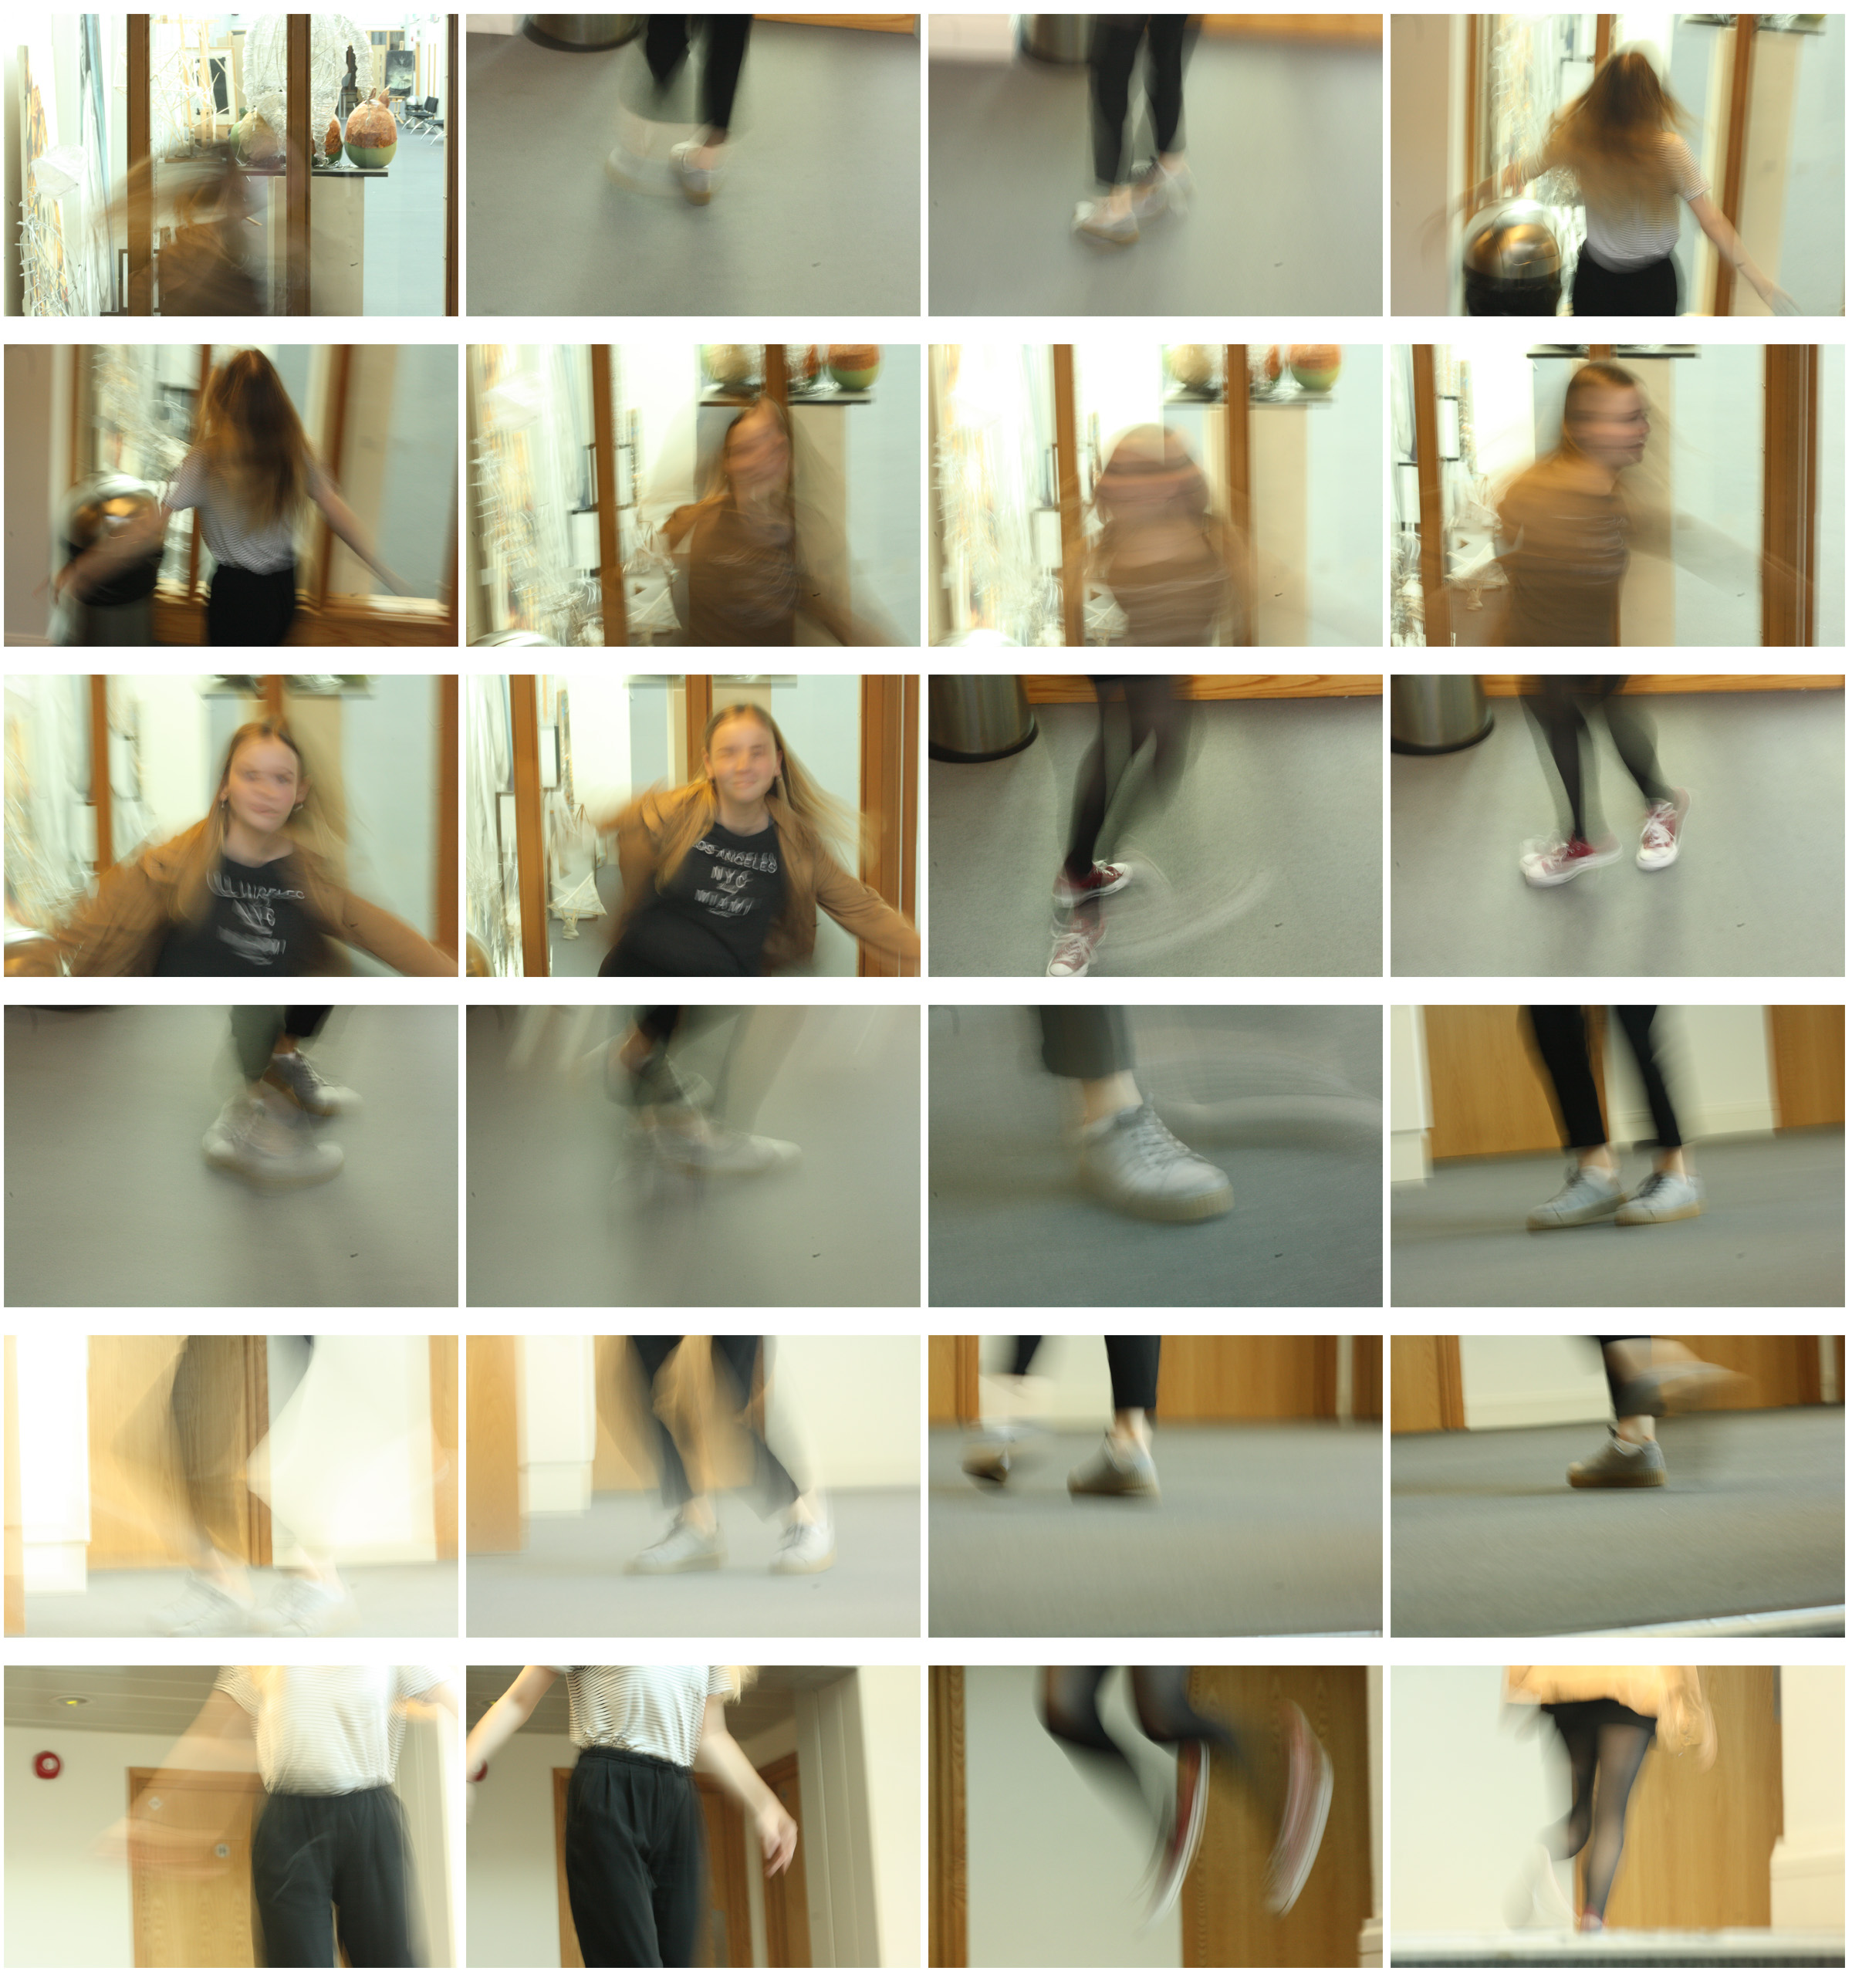
  2. Set the camera to manual settings. Use a slow shutter speed (1/60 or lower) if wanting to show some blur in the picture to display speed in the subject.
3.Use a fast shutter speed (1/125 or higher) if you need to capture a fast moving subject
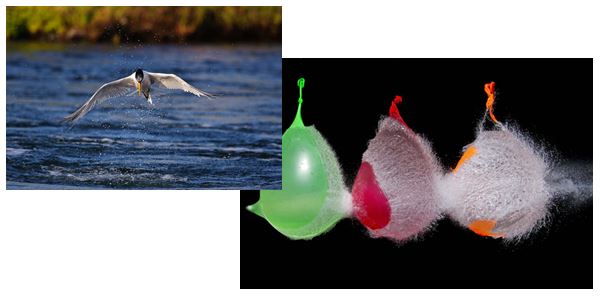
My own examples:
Depth of Field/Focal Length

Related image

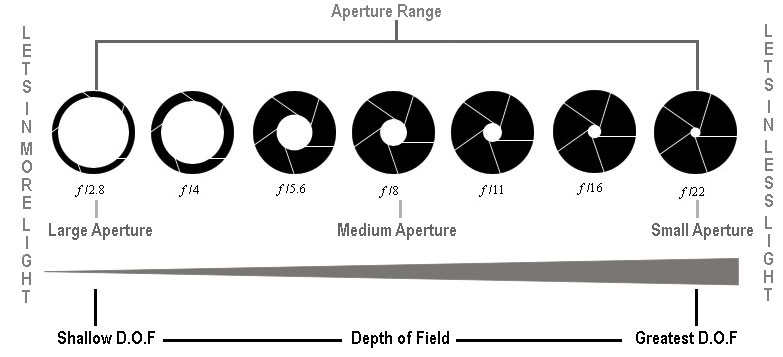
Focal length/Depth of field is the cameras capability of a lens to magnify the image of a distant subject. If the photographer has used a small depth of field the main focus of the image will be in focus and the rest of the image will be getting more and more out of focus, this style is normally used in portrait photography.

However if the photographer is shooting a landscape image they would normally use a small aperture so that the whole of the image will be in focus.

Large aperture = Small f-number = Shallow (small) depth of field

Small aperture = Larger f-number = Deeper (larger) depth of field

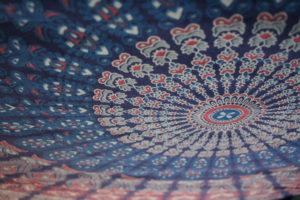
So for example this image was taken with a  large aperture setting so that the camera would be able to focus on one particular part of the mandala sheet,
Focal Length

Focal Length

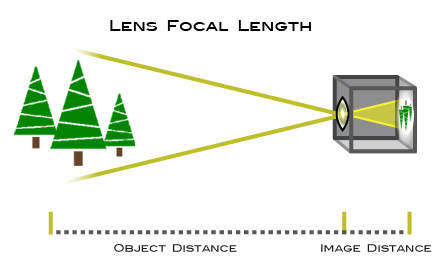
The focal length of the lens is the distance between the lens and the image sensor when the subject is in focus.

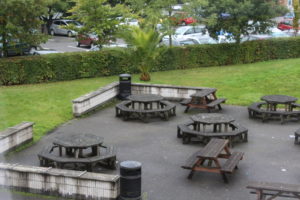
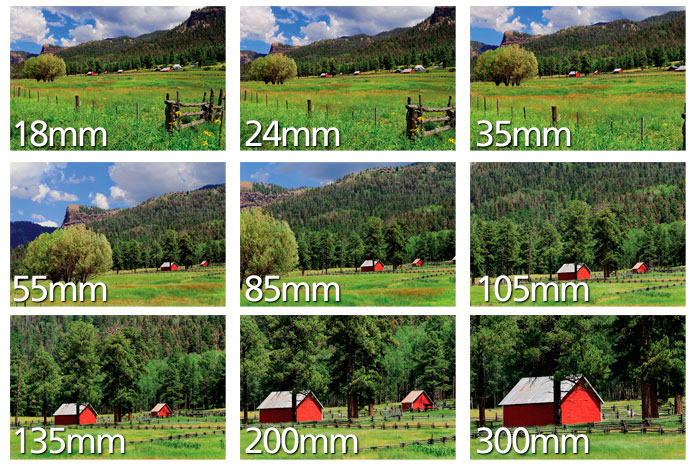
We use focal length to zoom in and out to create a photograph containing selected subjects. We change focal length by using the lens. It can change what is in the image as shown below.

Image result for focal length

Below are some examples of how changing the focal length of the lens can change an image.

Color Overlay/Editing

What is color overlay?

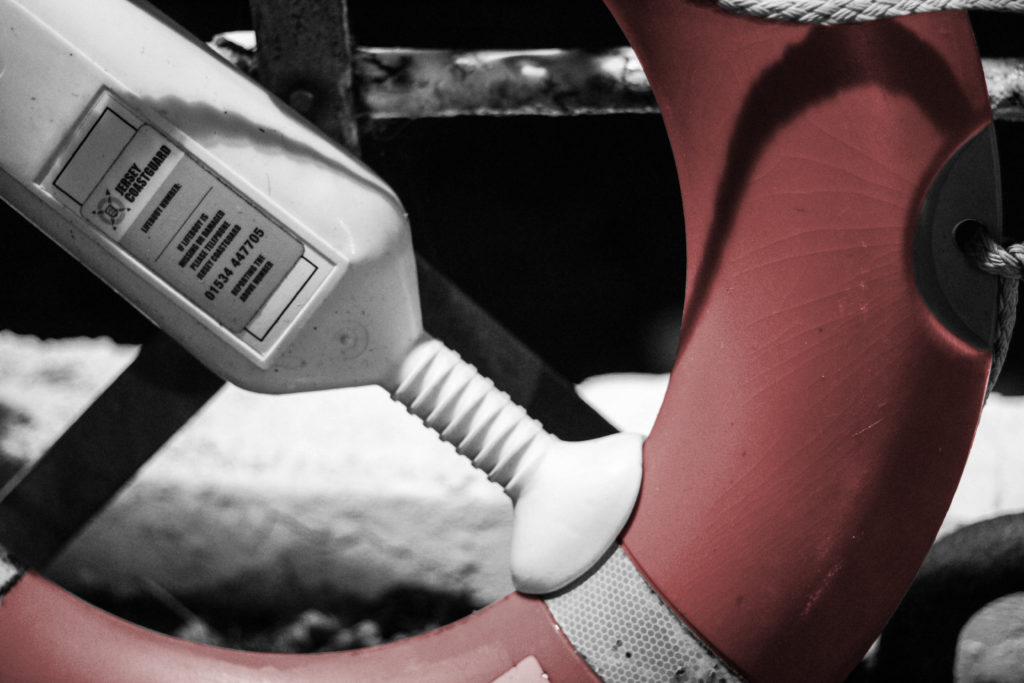
Color overlay in this case is adding an extra layer of color on top of the black and white image taken within an editing software, such as Adobe Photoshop, and adding an effect to that picture by messing with opacity etc. For instance adding color to a single specific object in a black and white photo, to make the viewer's attention draw to that singular thing as seen below, it would allow you to draw a viewers attention to a specific object.

Image result for color overlay photoshop
From this idea I decided to implement this method into my own photos taken from home, with these being the results from it:
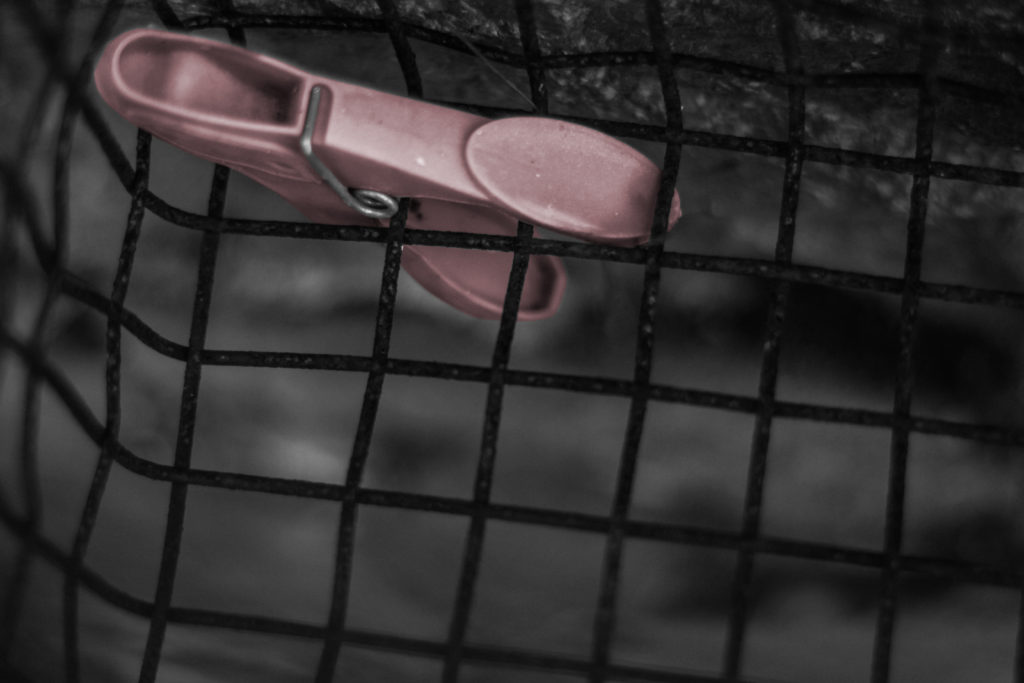
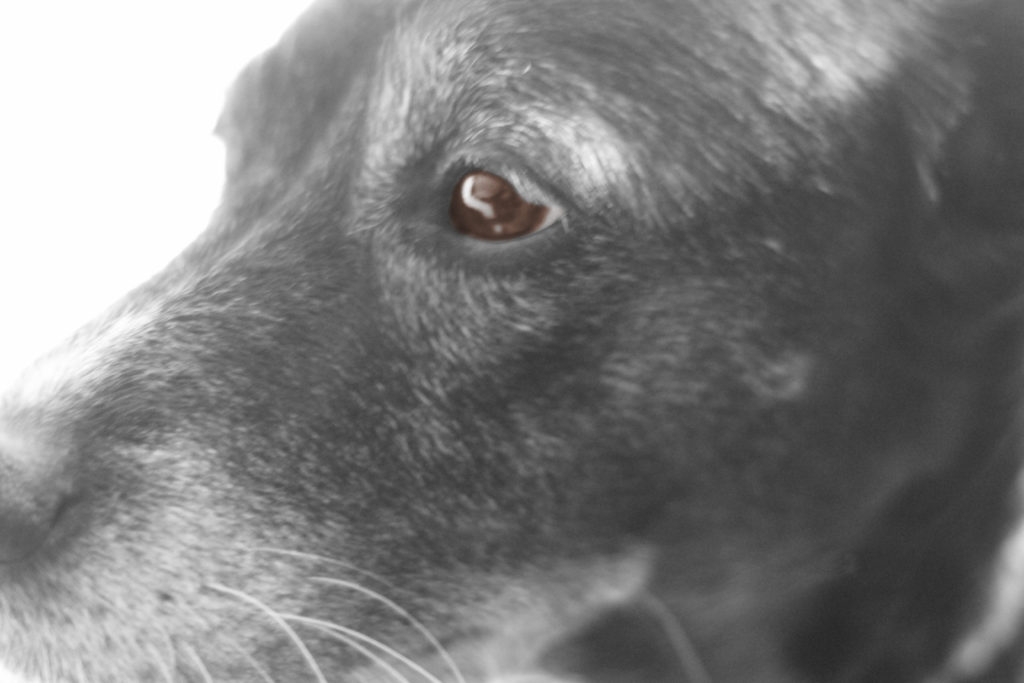
 My aim whilst doing this was to only re-color the parts of the image that I believed stood out from the rest of the picture itself, for example the peg, eye and tubing. From this it would allow the viewers point of interest to drift towards what I want them to mainly focus on, allowing for a greater effect.
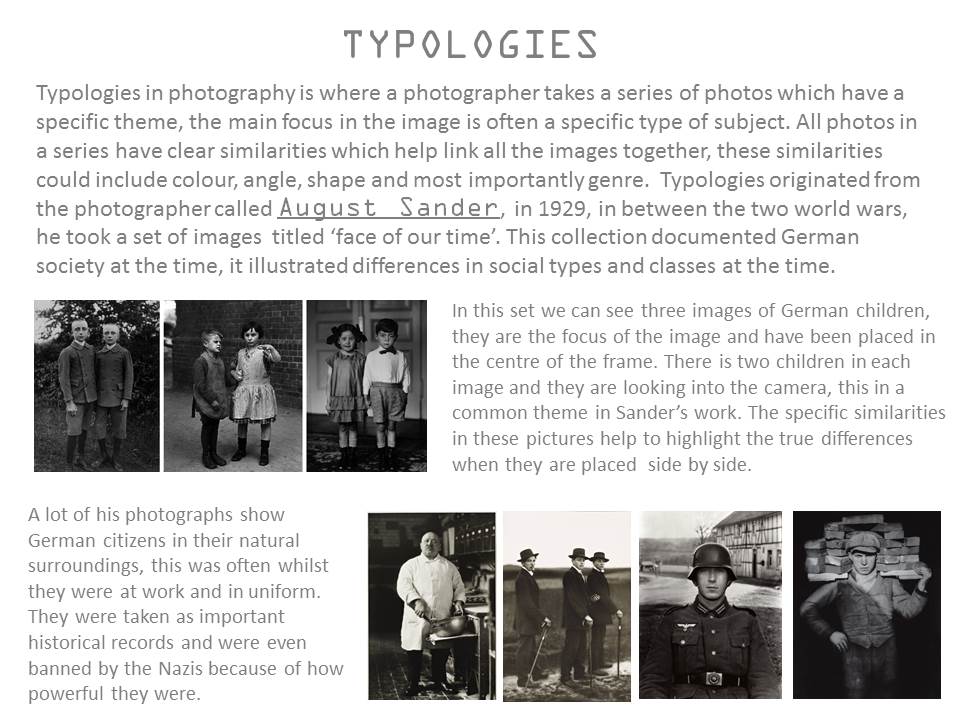
Homework assignment 2

Planning

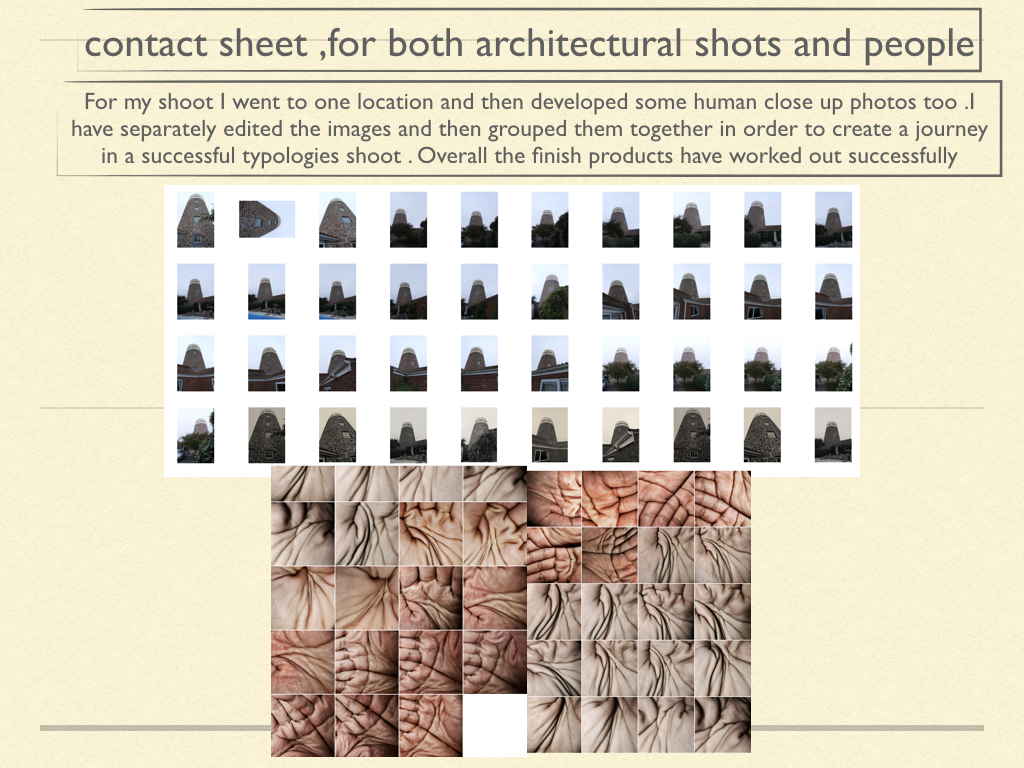
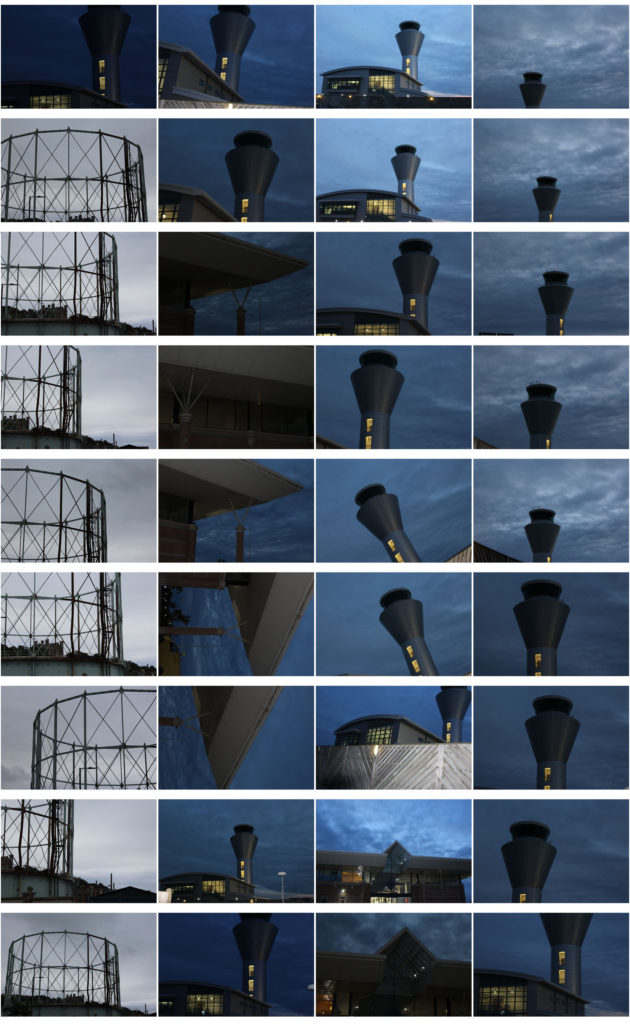
Task – take 100-200 photos of things e.g. objects, buildings, people.

Locations – airport, my house, jersey gas

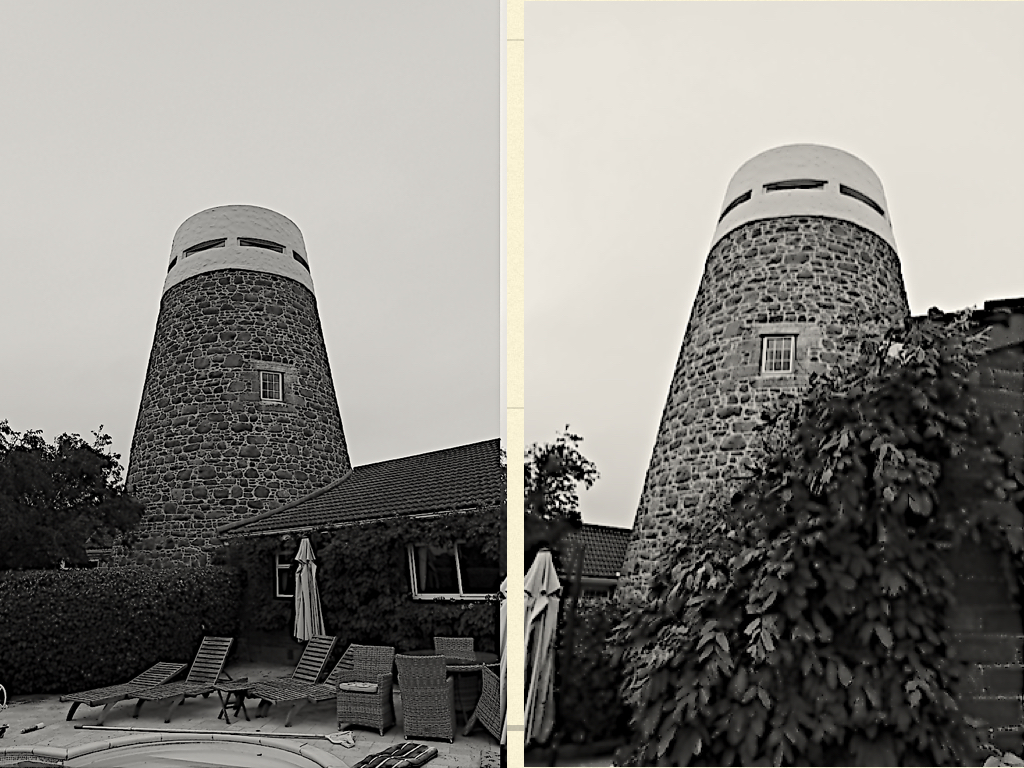
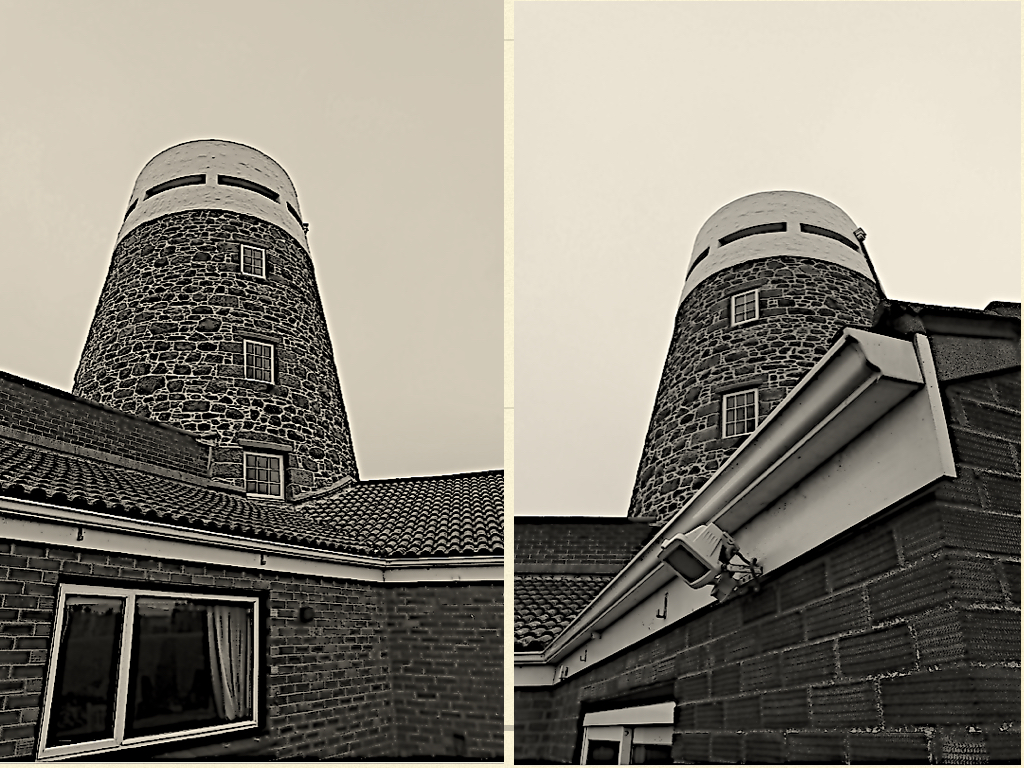
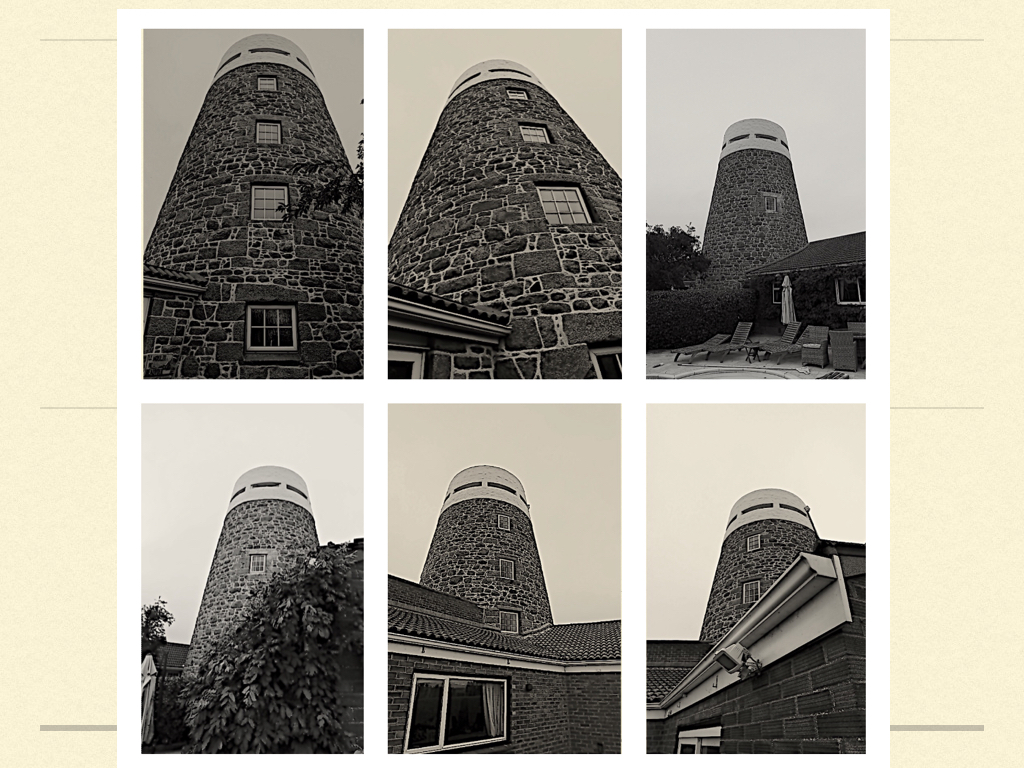
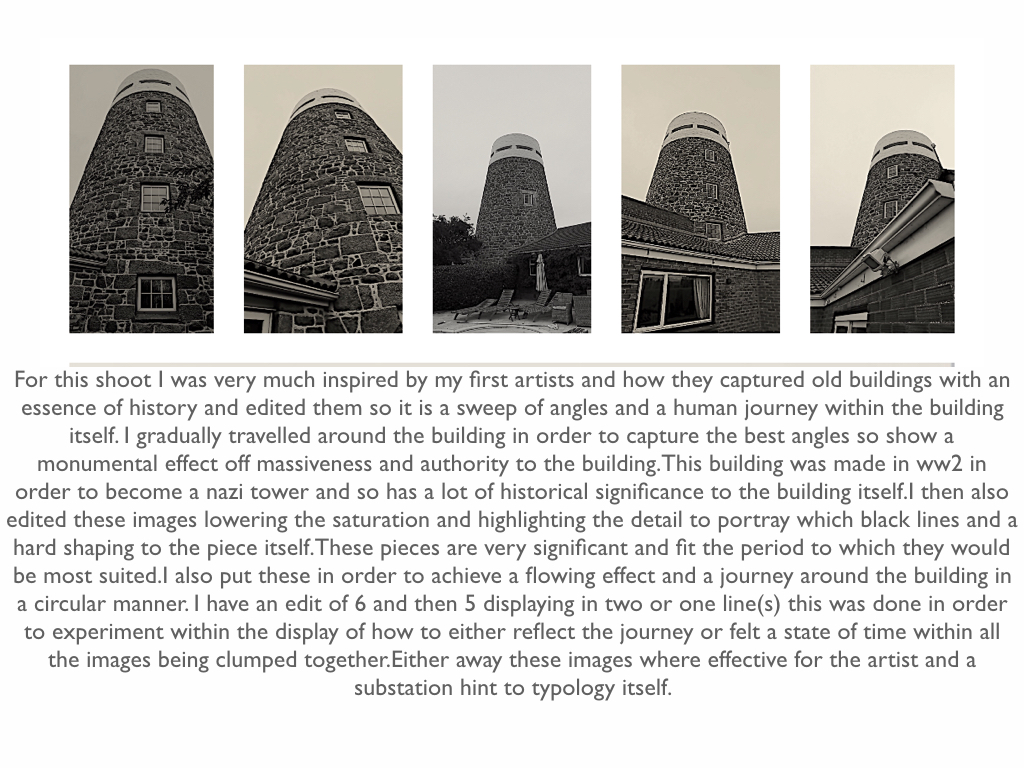
Subjects: the gas tower, control tower, Josh

Camera settings: Handheld, ISO 800 due to dark setting, shutter speed 1/60, aperture high.

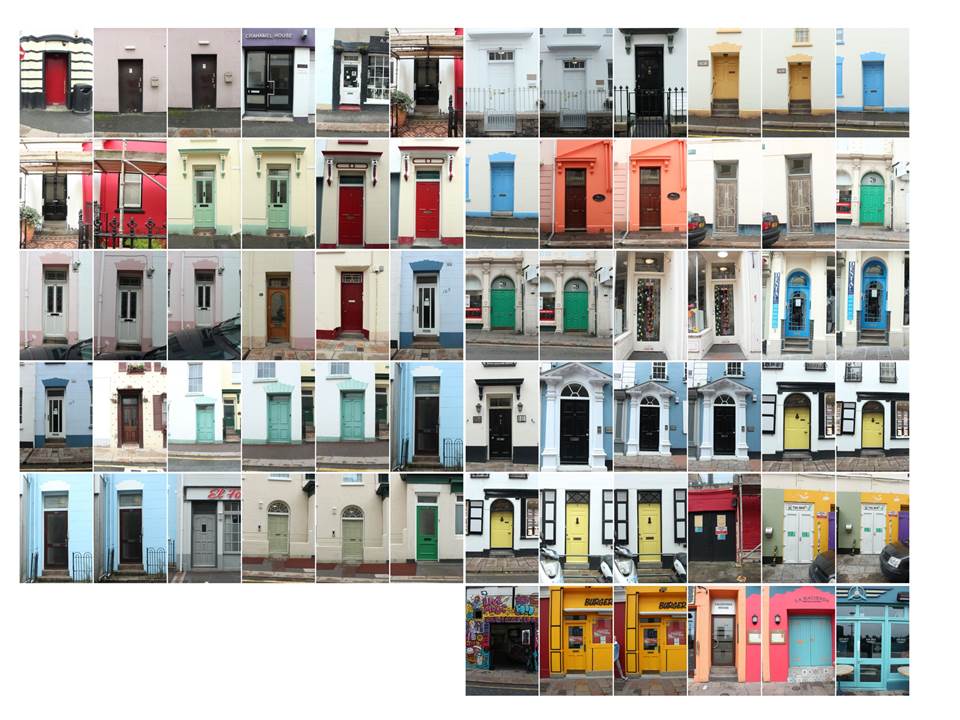
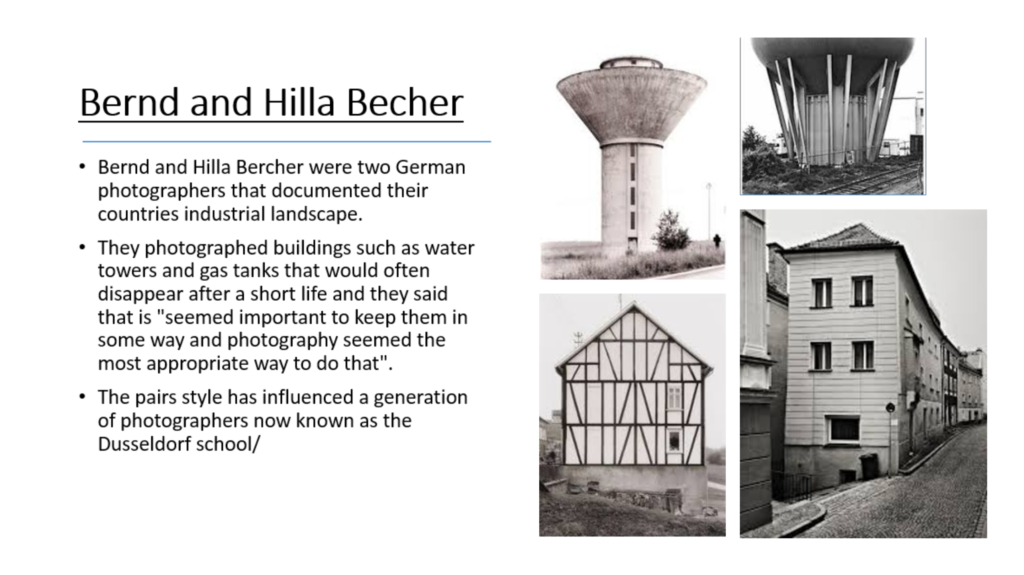
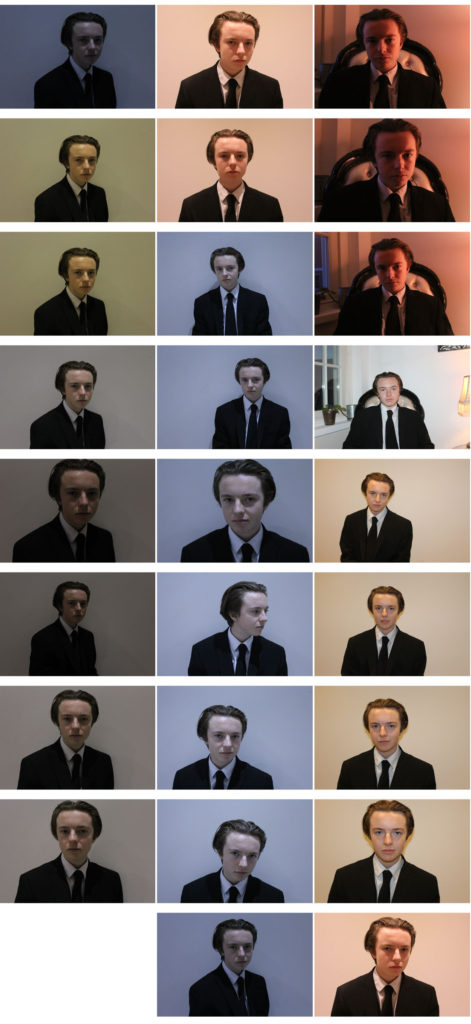
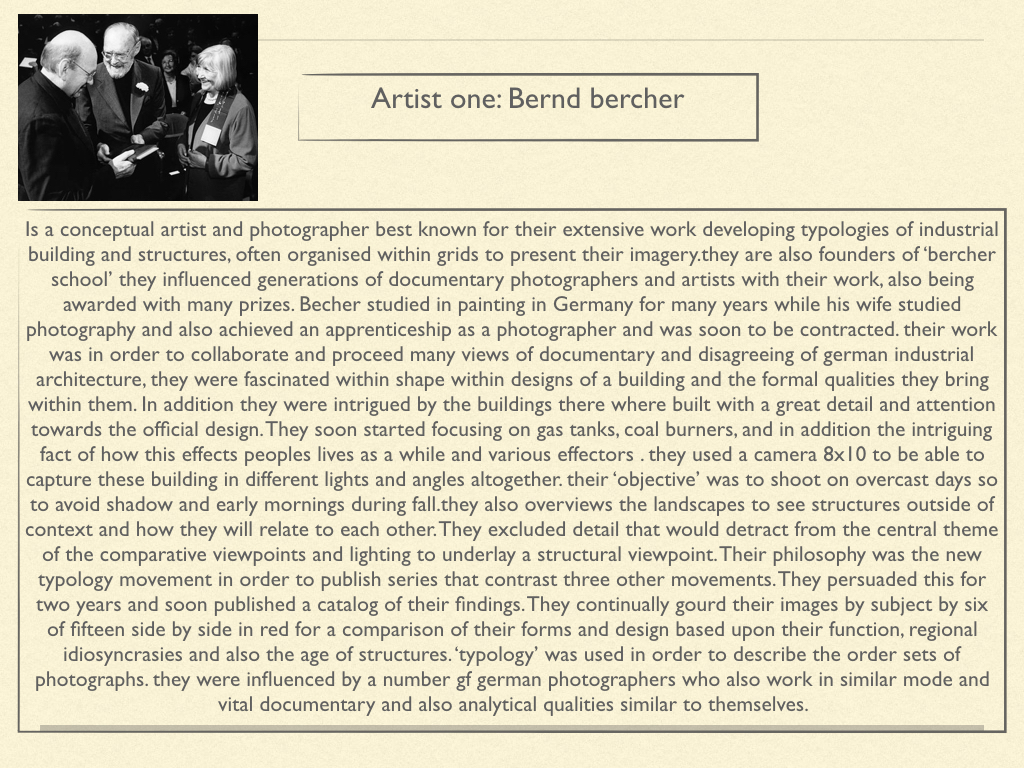
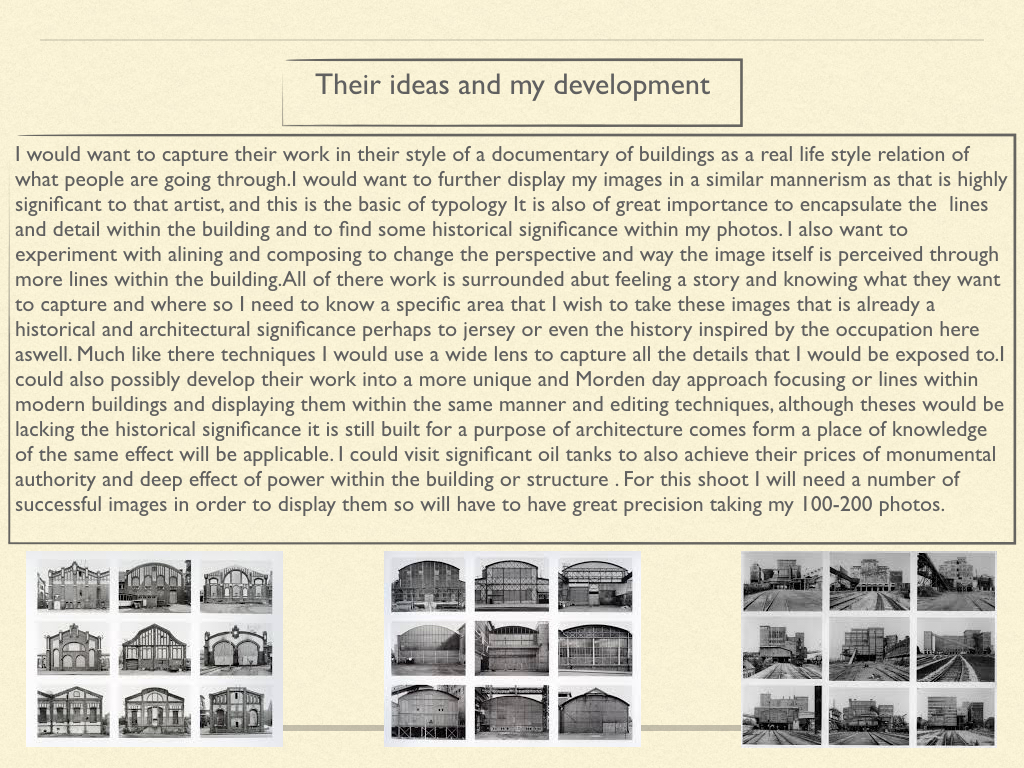
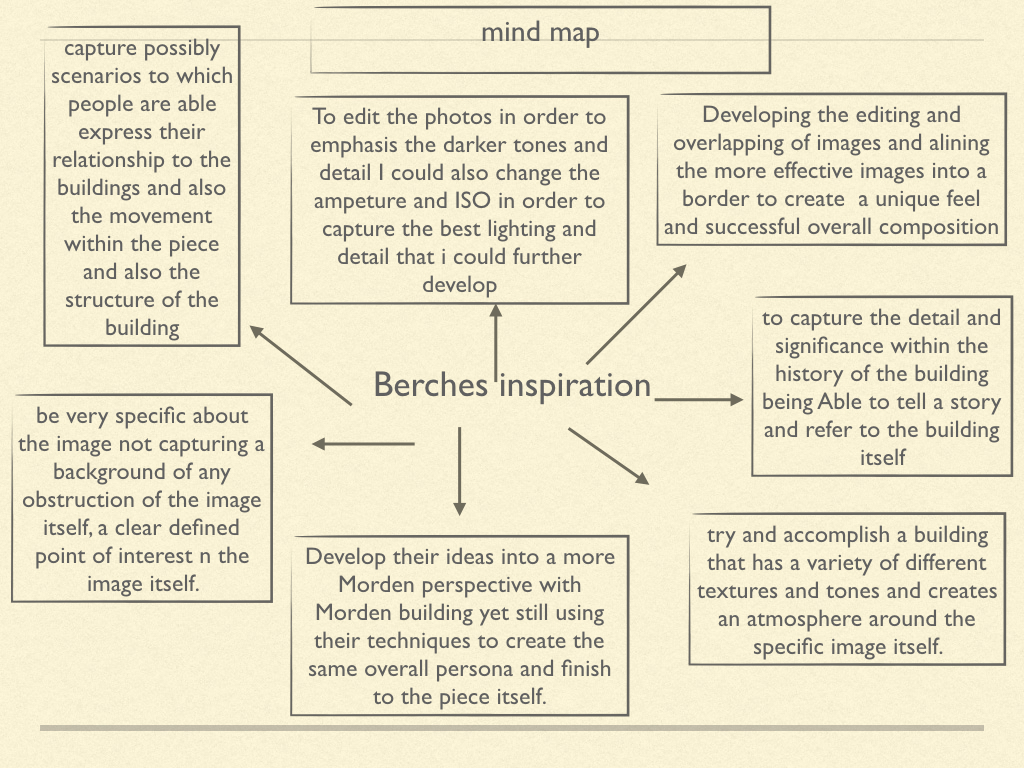
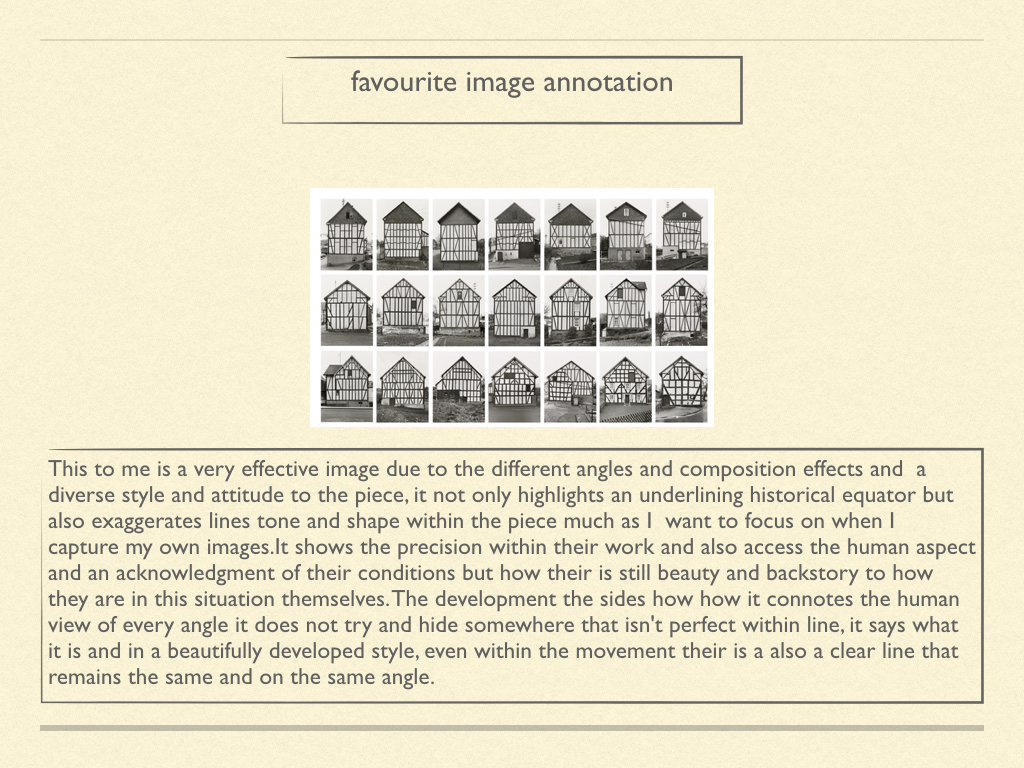
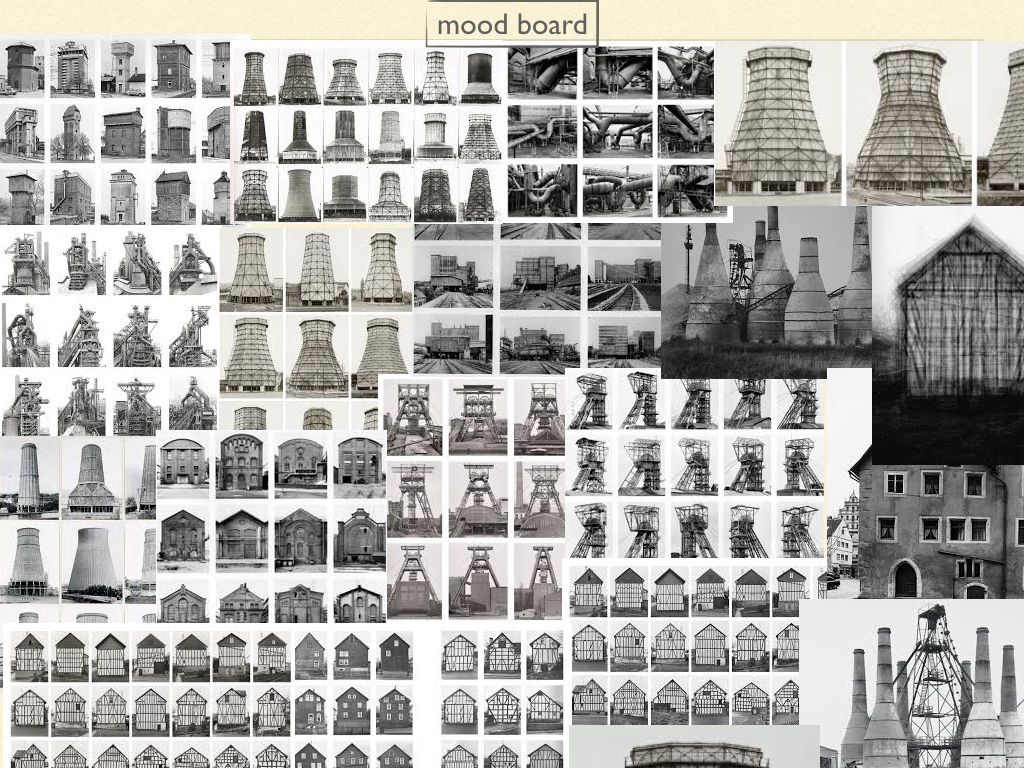
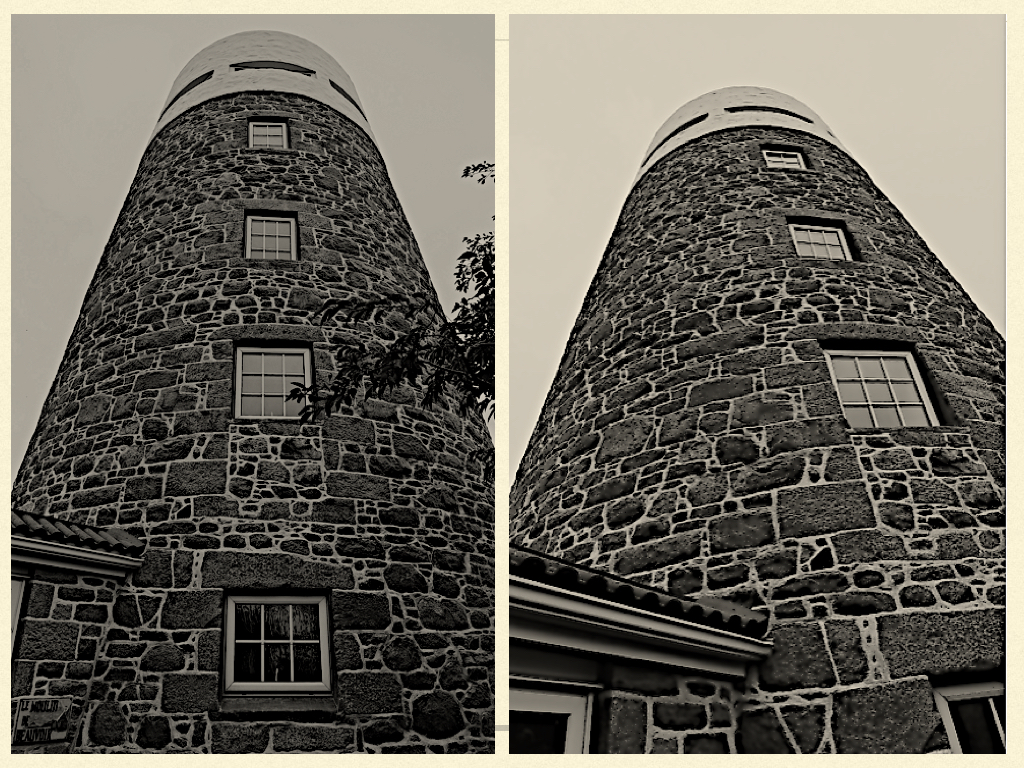
Concept: Capture images in the style of Sander and Bechers.

My Response to the Bechers and Sanders:
My Favourite Five Photos:

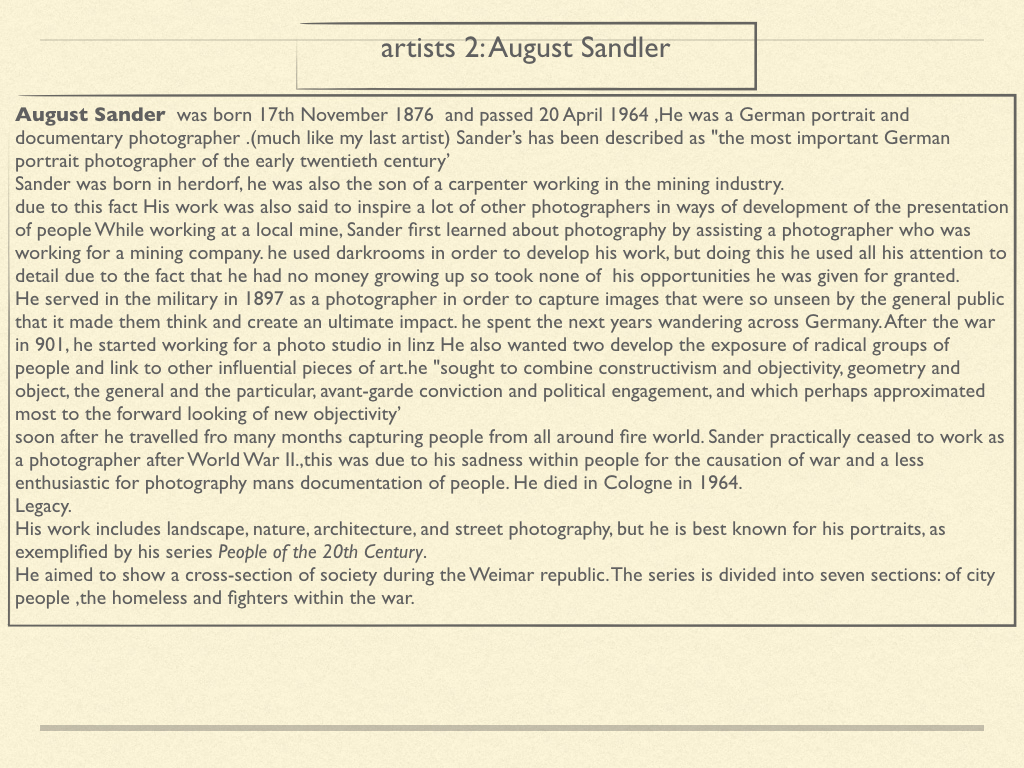
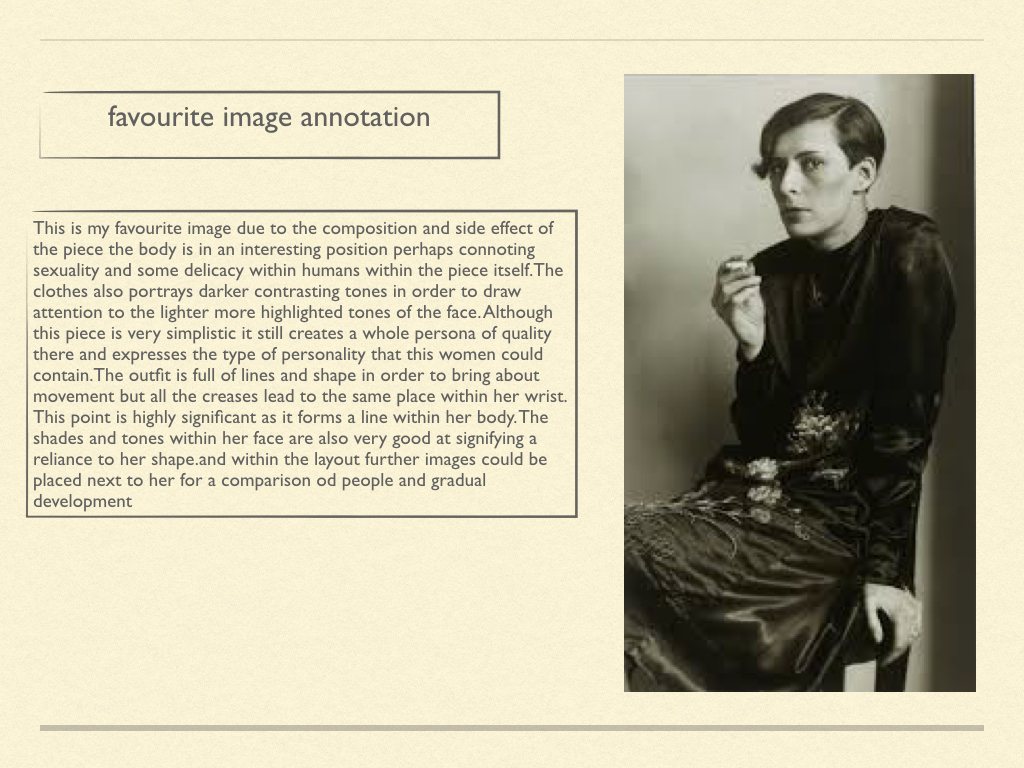
This photo is one of my favourites due to the fading of the black suit into the background. This blackness contrasts with the window frame and the subjects face causing a dramatic image.These images are some of my favourites due to the different tones throughout the picture. The darkness of the image creates an old-fashioned and serious image.
I chose this image out of all of the structural photographs because of the balance in it and the fact that it is more zoomed in – making it  a more mysterious image.

Experimenting With Photoshop – Black And White Photography

“You don’t take a photograph, you make it”

-Ansel Adams

  • Born on February 21st 1902, Ansel Adams was one of the greatest landscape photographers of all time.
  • While other photographers concentrated on photojournalism, Adams was the first person to truly pioneer photography as an art form.
  • Shooting almost exclusively in black and white, he worked primarily with large-format cameras to produce stunning high-resolution landscapes and pin-sharp textures.

The Zone System is a technique that was formulated by Ansel Adams and Fred Archer back in the 1930’s. It is an approach to a standardized way of working that guarantees a correct exposure in every situation. Tones in scenes and prints are divided into nine zones, numbered 1 through 9 from dark to light. Zone 5 is by definition middle gray. 

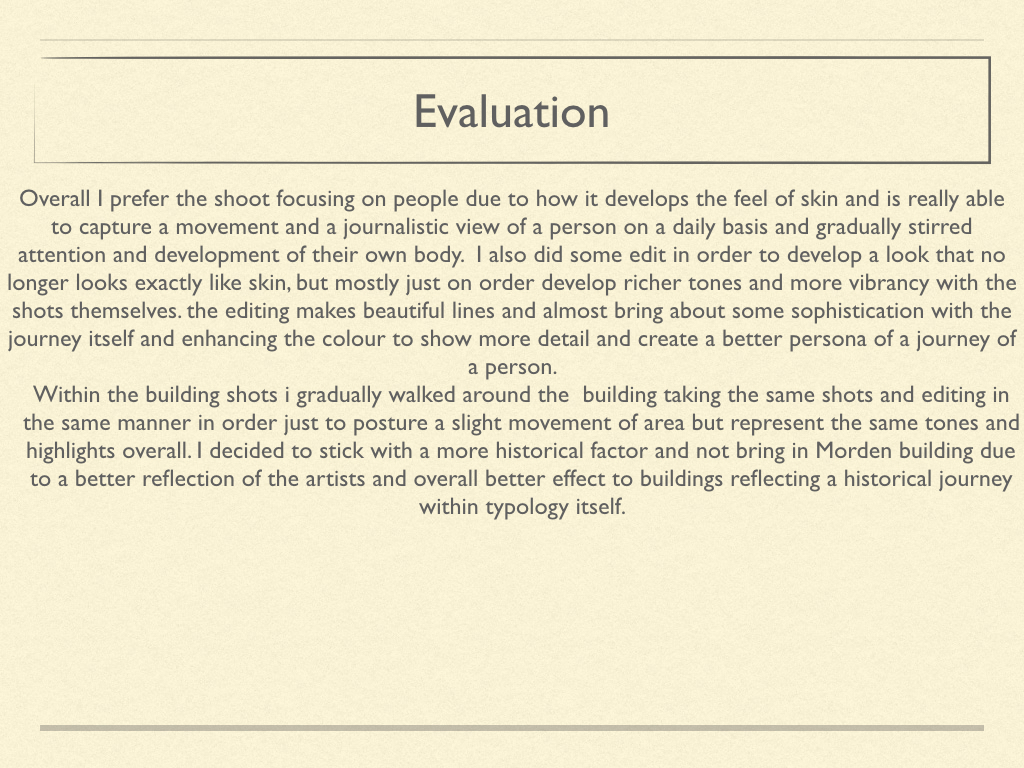
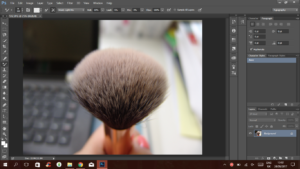
Open up your image in photoshop.
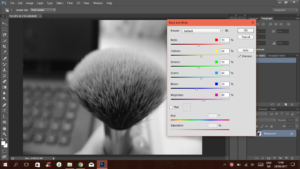
Go to Image > Adjustment > Black&White and alter the scrolls until you’re satisfied.


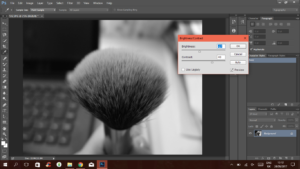
Then, go to Image < Adjustment < Brightness/Contrast and adjust again.

Side By Side Before vs After Image 


The Exposure Triangle

The exposure triangle is a common way of associating the three variables that determine the exposure of a photograph: aperture, shutter speed, and ISO.

Aperture: the size of the opening in the lens when a photo is taken. The opening controls how much light can enter your camera at once.

Shutter speed: the amount of time that the shutter is open. This amount of time controls the amount of time that light is allowed to hit the sensor.

ISO: the sensitivity of the photographic medium to light. In film cameras, this refers to how sensitive the film is to light and in digital cameras, it refers to how sensitive your camera’s digital sensor is to light. More sensitivity to light means less light is needed for a good expose of a photograph.

These 3 elements are tightly related. A change in one of the elements will impact the other two.

This means that each of the 3 elements is dependent on one another in order to come up with the correct exposure. Your camera has a light sensitivity level that is set by the ISO setting. To get the correct exposure, the lens opening needs to be adjusted to control the volume of light entering the camera. Then the shutter is opened for a certain period of time to allow the light to hit the sensor and record the image. Coming up with the correct exposure means combining the right blend of aperture, shutter speed and ISO settings.

Just another Hautlieu Creative site