Category Archives: Photobook

Filters

Author:
Category:

Complete all CW for MOCK EXAM

DEADLINE: MOCK EXAM!
Mon 11 Feb Class 13C
Tue 12 Feb Class 13D
Wed 13 Feb Class 13A

Interim deadline: Essay Draft Tue 5 Feb

IN PREPARATION FOR MOCK EXAM NEXT WEEK MAKE SURE THE FOLLOWING IS READY BY THE END OF THIS WEEK:

  1. You want to aim for a draft layout of your photobook before your Mock Exam day and use that day to fine tune design with teacher
  2. Complete and proof read essay by end of week so it is ready to be incorporated into book design. 
  3. Make sure you monitor and track your progress by Fri 2 Feb here  Personal-Study-Planner-Tracker-2018-19

Publish tracking sheet on the blog

AT THE END OF YOUR MOCK EXAM DAY – ALL COURSEWORK MUST BE COMPLETE
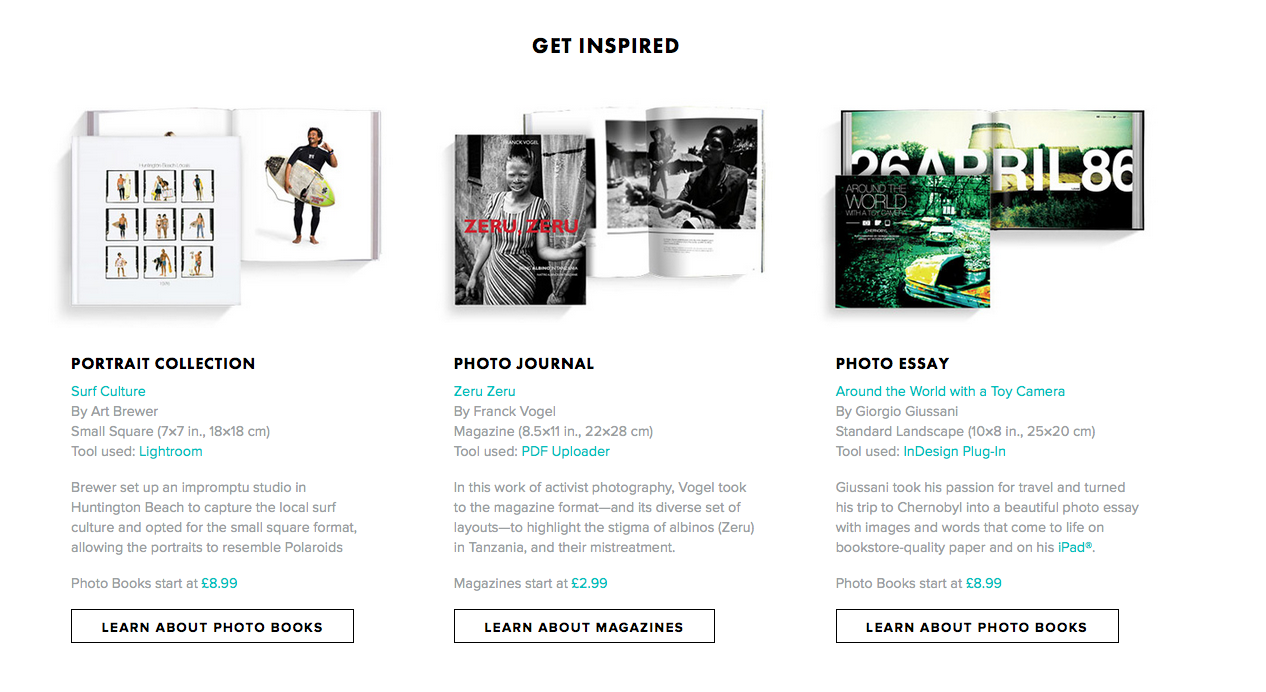
PHOTOBOOK
Final book design checked and signed off by teacher.

ESSAY
Include essay in the back of your book. Work in text columns and make sure to include illustrations of your own images and that of artists, as well as a bibliography
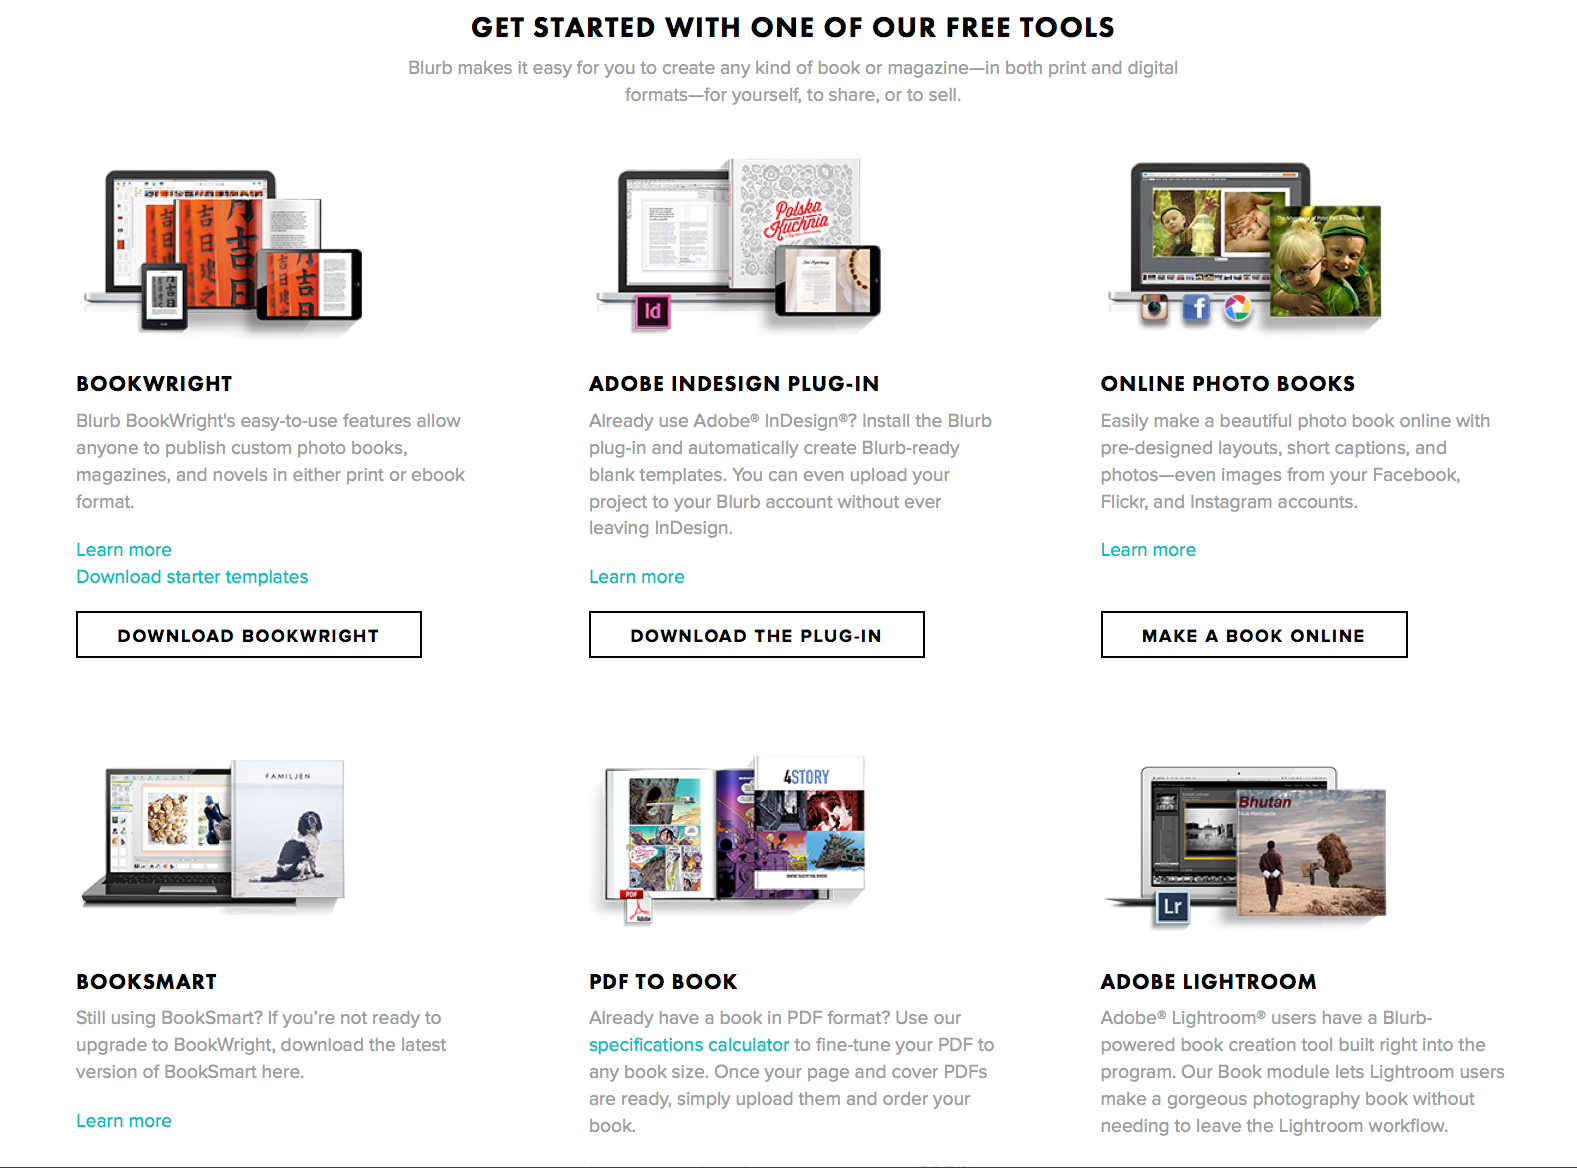
BLURB – ORDER BOOK
Upload book design to BLURB, log onto your account on their website, pay and order the book.

Consider spending a few extra pounds on choosing better paper, such as Premium Lustre in check-out, change colour on end paper or choose different cloth/ linen

BLOGPOST
All blog posts in relation to the above must be published, including any other posts missing from previous work modules since the beginning of A2 academic year.

FINAL PRINTS
Select your final prints from book project. They may need to be added to prints from exhibition.

Save each image in your name as a high-res image (4000 pixels) into shared PRINTING folder here M:\Departments\Photography\Students\Image Transfer\PRINTING

MOUNTING
If you complete all the above and has extra time in Mock exam begin to mount and present final prints from Zine project.

Collect AS folder from Mr Cole’s room and add mounted images to your CW folder. Make sure each print is labelled with your name and candidate number.


DESIGN YOUR PHOTO BOOK

Week 18 – 19 – 20: Design your Photobook & Complete Essay

Make sure you monitor and track your progress here Personal-Study-Planner-Tracker-2018-19

WE GOT THREE WEEKS LEFT IN CLASS TO COMPLETE PERSONAL STUDY and ONE MOCK EXAM DAY

In the next three week focus on beginning to edit and collect all your images, archival material and texts, including your essay needed to complete your photobook.

You want to aim for a draft layout and hand in draft version of your essay before your Mock Exam day, then use that day to fine tune design and complete essay.

DEADLINE: MOCK EXAM!
Mon 11 Feb Class 13A & 13D
Tue 12 Feb Class 13C

Wed 13 Feb: Hand-out Exam paper

1. Write a book specification and describe in detail what your book will be about in terms of narrative, concept and design.  Produce a mood-board of design ideas and consider the following:

Narrative: What is your story?
Describe in:

  • 3 words
  • A sentence
  • A paragraphs

Design: Consider the following

  • How you want your book to look and feel
  • Paper and ink
  • Format, size and orientation
  • Binding and cover
  • Title 
  • Structure and architecture
  • Design and layout
  • Editing and sequencing
  • Images and text

2. Create a BLURB account using your school email address. With Blurb you have different options on how you design your book:

a) Using Lightroom to design your book which is integrated with BLURB. Only for use on school computers, unless you have LR at home on your own laptop.

b) Download Bookwright via Blurb onto your own laptop and work offline at home and you can work indecently of school. Here you have full control of layout/ design features. Once completed, you upload photo book design to Blurb

c) Choose online option if you want to work directly online. Very limited layout/design options (not recommended!)

For those who wish to make their own hand-made photobook using Indesign follow the same steps as below in terms of documenting and annotating your design process.  or if you want to customize your Blurb book see me for more details on how to do it.

3. Using Lightroom make a rough selection of your 40-50 best pictures from all shoots. Make sure you have adjusted and standardised all the pictures in terms of exposure, colour balance/ B&W, contrast/brightness etc.

4. Print them out as smaller images (4 to one A4 page) on the Laserjet, cut them up in guillotine and lay them out on the big white table for editing.

5. Decide on format (landscape, portrait) size and style of your photo-book. Begin to design your photo book, considering carefully, narrative, editing, sequencing, page spreads, juxtaposition, image size, text pages, empty pages, use of archival material etc.

6. At the end of your photo book, add your illustrated essay including title, any captions (if needed), bibliography, illustrations of artists work (incl data) and images of your own responses. Think carefully about font type, size and weighting.

7. Produce screen prints of layout ideas as you progress and add to Blog for further annotation, commenting on page layout/ narrative/ sequencing/ juxtaposition of pictures.

Film/ Podcast; produce screen prints as work progress that show your editing skills/ decisions.

8. Select a set of 5-6 photographs as final outcomes and evaluate – explaining in some detail how well you realised your intentions and reflect on what you learned in your Political Landscape project.

9. Save final outcomes in our shared PRINT folder (no later than 15:00 end of your Mock exam day) in a high-resolution (4000 pixels on the long edge.) Save each images in your name i.e. first name_surname_title_1, and 2, 3 and so on.

10. Make sure all blog posts are finished including, research, analysis, experimentation, annotation and an evaluation of final outcomes.

UNDERSTANDING PHOTO BOOK

UNDERSTANDING PHOTO BOOK:
DESIGN, FORM, FUNCTION, SEQUENCING,  NARRATIVE, CONCEPT

Here is a link to the Personal-Study-Planner-Tracker-2018-19 for the remaining 5 weeks of this module.

READ these texts to better understand how to identify a narrative and understand the design process of photobook making.

Colin Pantall: Identifying the Story: Sequencing isn’t narrative

Francis Hodgson: On Photography and Storytelling

For the die-hards here are a serious blog post by Photobook critic, Joerg Colberg which consider the many aspects of photobook making:  Understanding Photobooks: The Forms an Functions of Photobooks

This article is the first in a series of five. You can find the other parts here: part 1part 2part 3part 4, part 5

Here are  a few lists of Best Photobooks 2018

Photobookstore

Lensculture

Photographic Museum of Humanity

Blog: Produce a number of posts that show evidence of the following:

1. Research a photo-book (select one you have looked at previously in your project) and describe what story/ narrative the book is telling – its subject-matter, genre, style, approach etc.

2. Who is the photographer? Why did he/she make it? (intentions/ reasons) Who is it for? (audience) How was it received? (any press, awards, legacy etc.)

E.g Robert Frank’s “The Americans” was conceived with the help of a scholarship that allowed Frank to go on road trips across America during a two year period. He wanted to portray American society in the post-war period and his book has influenced (and still influence) many photographers since and also contributed to a new poetic style and subjective approach to documentary photography. Why?

Read an article in The Guardian by Sean O’Hagan, Photography Critic

3. Deconstruct the narrative, concept and design of the book such as:

  • Book in hand: how does it feel? Smell, sniff the paper.
  • Paper and ink: use of different paper/ textures/ colour or B&W or both.
  • Format, size and orientation: portraiture/ landscape/ square/ A5, A4, A3 / number of pages.
  • Binding, soft/hard cover. image wrap/dust jacket. saddle stitch/swiss binding/ Japanese stab-binding/ leperello
  • Cover: linen/ card. graphic/ printed image. embossed/ debossed. letterpress/ silkscreen/hot-stamping.
  • Title: literal or poetic / relevant or intriguing.
  • Narrative: what is the story/ subject-matter. How is it told?
  • Structure and architecture: how design/ repeating motifs/ or specific features develops a concept or construct a narrative.
  • Design and layout: image size on pages/ single page, double-spread/ images/ grid, fold- outs/ inserts.
  • Editing and sequencing: selection of images/ juxtaposition of photographs/ editing process.
  • Images and text: are they linked? Introduction/ essay/ statement by artists or others.  Use of captions (if any.)

Here a few examples from previous students

Photo Book Investigation (Matt Eich – I Love You I’m Leaving) – Deconstructing the Book

Viviane sassen’s photobook // Roxane

Understanding photo books- analysing a photobook

Photobook Investigation – Lobismuller

Photobook Investigation – Sugar Paper Theories

Final Result – Photo Book Research

4. Look at BLURB online book making website, photo books from photographers or see previous books produced by Hautlieu students on the table in class.

5. Write a book specification and describe in detail what your book will be about in terms of narrative, concept and design.  Produce a mood-board of design ideas and consider the following:

Narrative: What is your story?
Describe in:

  • 3 words
  • A sentence
  • A paragraphs

Design: Consider the following

  • How you want your book to look and feel
  • Paper and ink
  • Format, size and orientation
  • Binding and cover
  • Title 
  • Structure and architecture
  • Design and layout
  • Editing and sequencing
  • Images and text

Create a BLURB account using your school email address. With Blurb you have different options on how you design your book:

a) Using Lightroom to design your book which is integrated with BLURB. Only for use on school computers, unless you have LR at home on your own laptop.

b) Download Bookwright via Blurb onto your own laptop and work offline at home and you can work indecently of school. Here you have full control of layout/ design features. Once completed, you upload photo book design to Blurb

c) Choose online option if you want to work directly online. Very limited layout/design options (not recommended!)