Category Archives: AO2 Explore Ideas

Filters

Author:
Category:

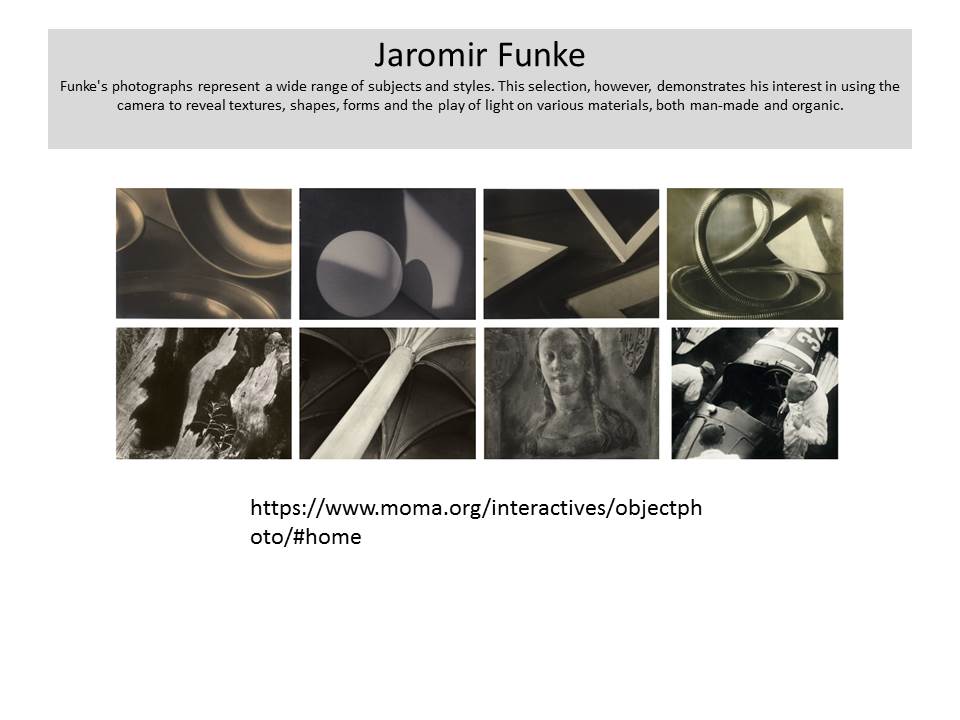
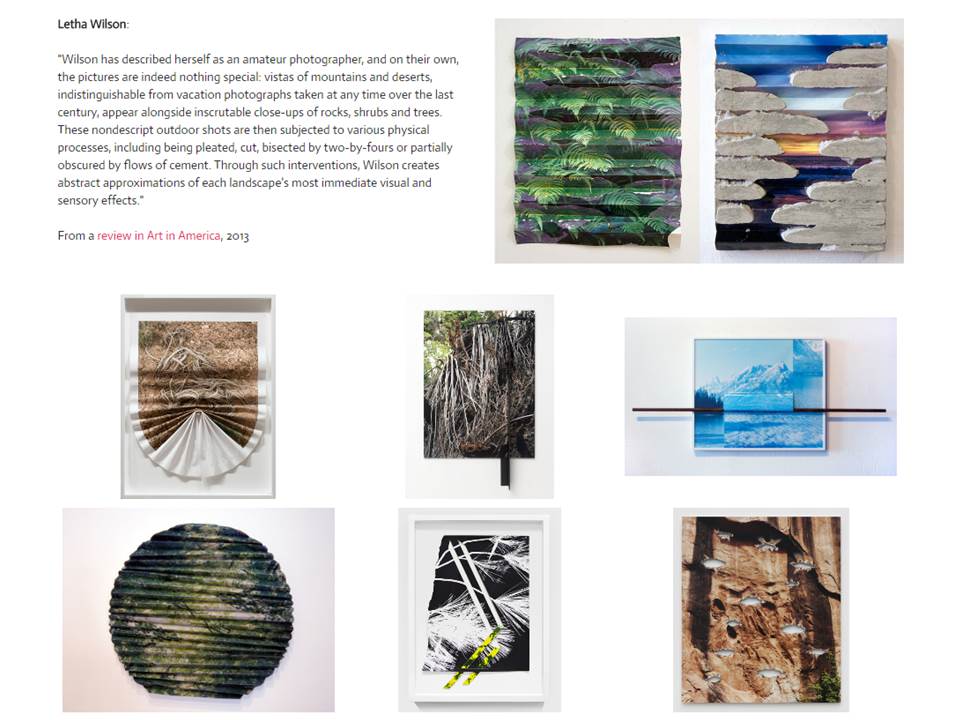
Exploring Tone and Contrast

Ansel Adams, an American photographer who took landscape photographs in order to capture the beauty of nature. He enjoyed taking pictures of National Parks and mountains. His photography includes  a range of tones in which he believed brings his photos to life., creating a more memorizing picture. His use of tone and contrast brings out the detail in all areas of the picture whether it is over or under exposed.

Related image

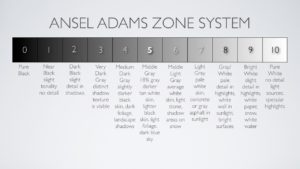
Within Ansel Adams photographs he ensures he that he displays all and reflects all the shades within the zonal system. This is split into 10 different shades varying from sark grey to white.

Image result for Ansel Adams zone system

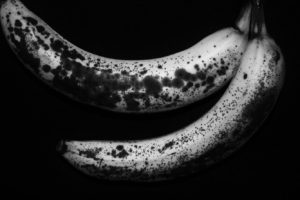
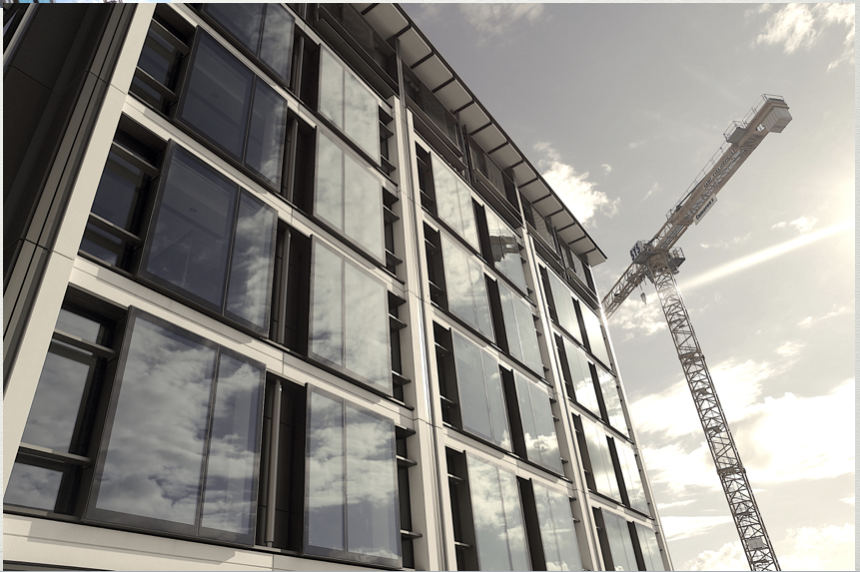
Following from Adams work i used Photoshop to increase and improve the tone and contrast trying to ensure i displayed all shades from the zone system.

What Is Tone?

Tone is the lightness/brightness  of a patch in a photograph, dark tones correspond to shadows, light tones correspond to bright or highlight areas.

What Is Contrast?

Contrast is a tool that photographers use to direct viewers’ attention to their subject. There are two types: Tonal Contrast and Color Contrast. Contrast more or less refers to the difference in tones from the lightest tone to the darkest tone.


Experimenting with shutter-speed

SHUTTER-SPEED

Faster camera shutter speeds are used in order to capture fast moving objects/elements of an image such as Athletes or the motion of water. However slow shutter speeds are used for capturing detail especially in dark environments as it allows a lot of light to enter the camera. But slow shutter speeds can be used to create visual blurred effects on single elements of an image while allowing the rest of the image to remain still.

Most cameras range from a 30 sec shutter speed 1/4000 sec.

Here is an example of how the use shutter speed can be executed…

Image result for SHUTTERSPEED

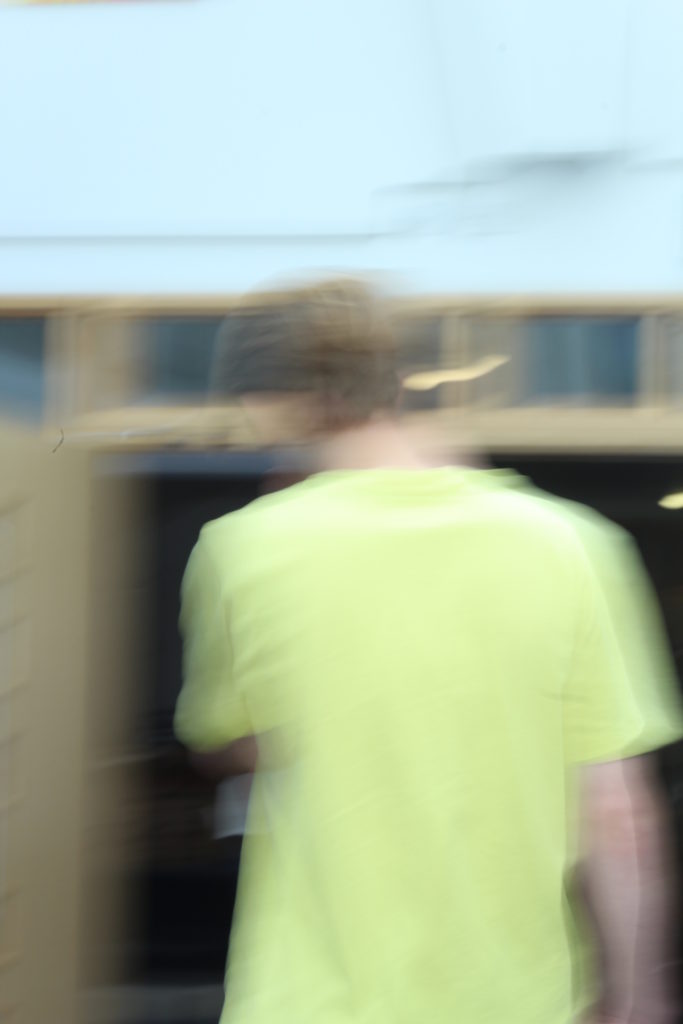
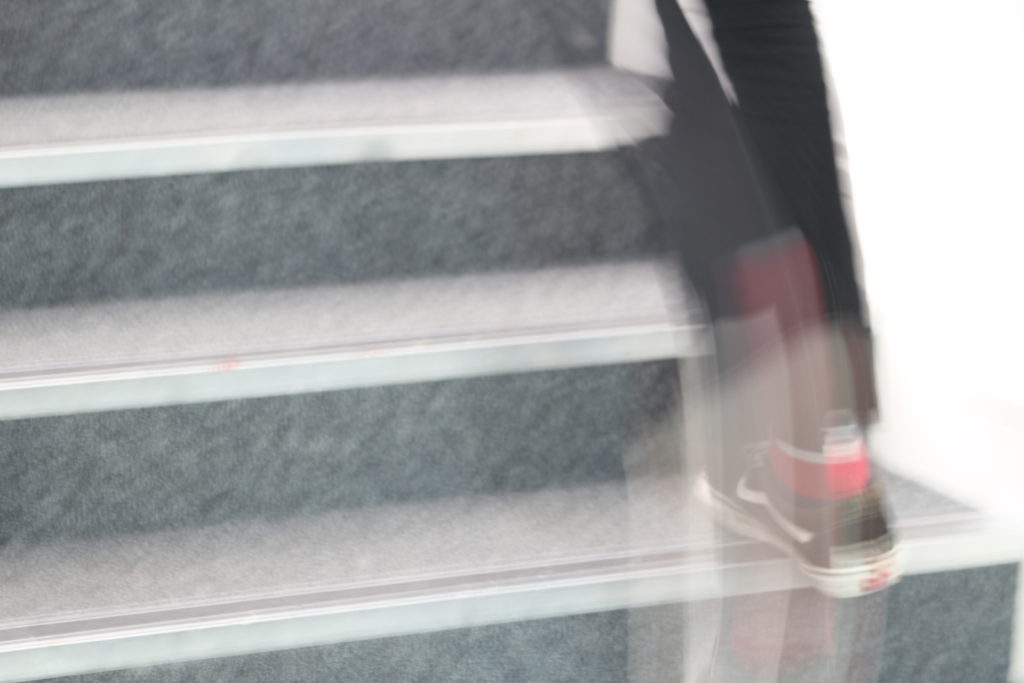
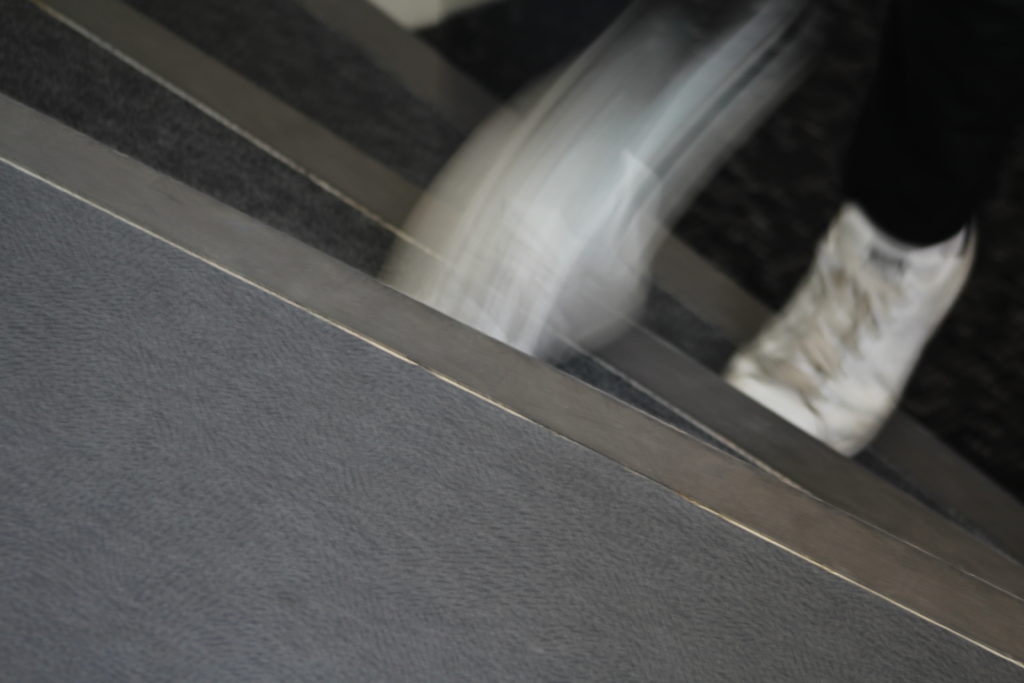
Myself and Jonny Phillips went out into the Hautlieu Street In order to experiment with different camera shutter-speeds. The majority of the photos that we took used movement of the camera itself, meaning that the whole image was blurred. In future using a tripod or a still surface to support the camera would be useful as it would mean that moving elements of the image will appear blurred however fixed/stationary elements would remain appearing still.

Exploring Exposure

Within this photo shoot, I messed around with the exposure settings on my camera to see which number displayed the piece of paper most effectively. 

Within Photographs, exposure determines how light or dark an image will appear when it had been captured by the camera and viewed. This can be determined through aperture, ISO and shutter speed, which can be located on your camera and seen in the exposure triangle below. However you need a combination of all three to make the perfect exposure. If too little light is let into the picture, it will become too dark and underexposed, and the same with letting too much light into it as the image will become too bright and overexposed.

Image result for exposure triangleImage result for exposure

Ansel Adams Zone System


Ansel Adams created the Zone system, a process of capturing a series of dark to light tones in an image. This would maximize the effect of an image giving it more drama and allowing each aspect in a photo to stand out for itself.

We edited our own photos with same outcome by removing saturation, altering contrast and brightness and balancing the levels of black, white and grey tones.

Week 3, 4, 5, 6, 7 Schedule and tasks

Remember…each task requires a new blog post! Keep your blog posts visual!
Week 3

Lesson 1

  • Homework check in, upload and explanation of homework 2
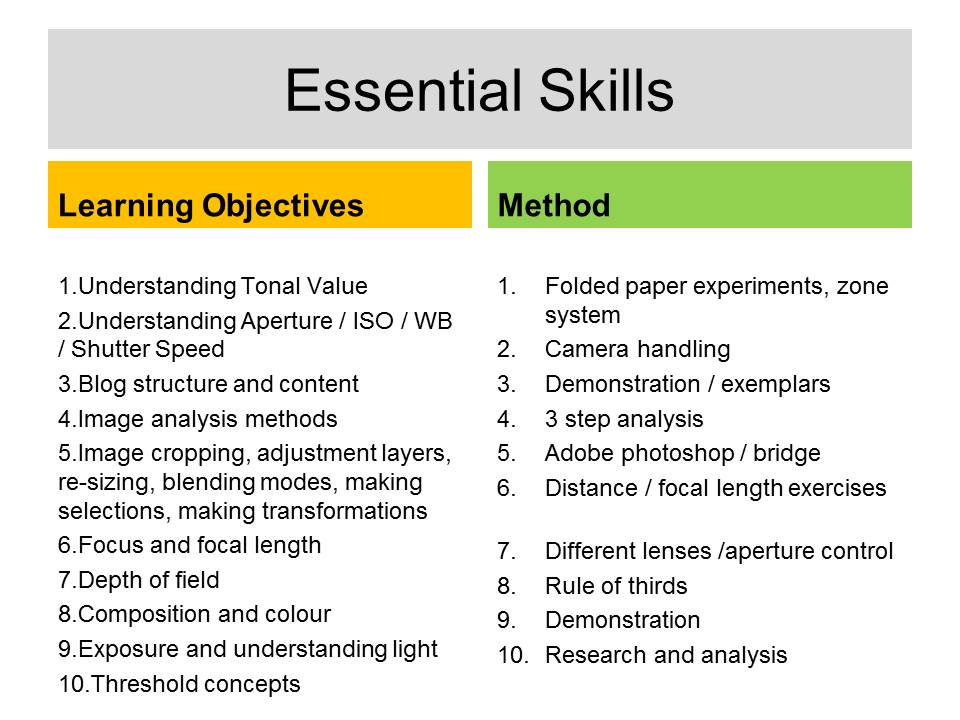
  • Camera Skills : Looking at the exposure triangle
  • Camera Skills :Exploring exposure

Lesson 2

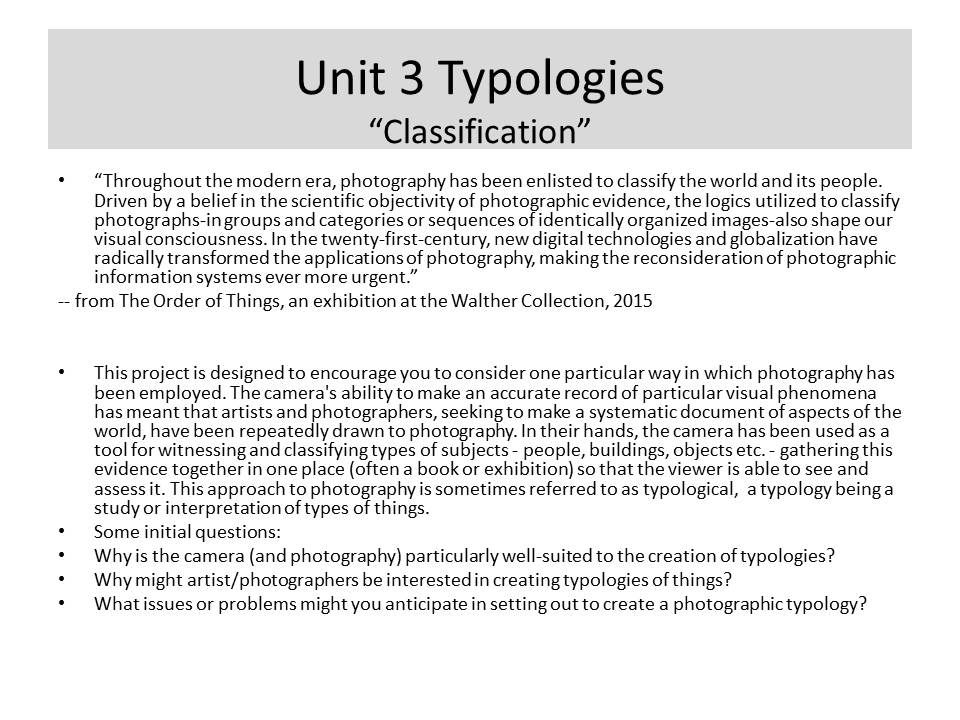
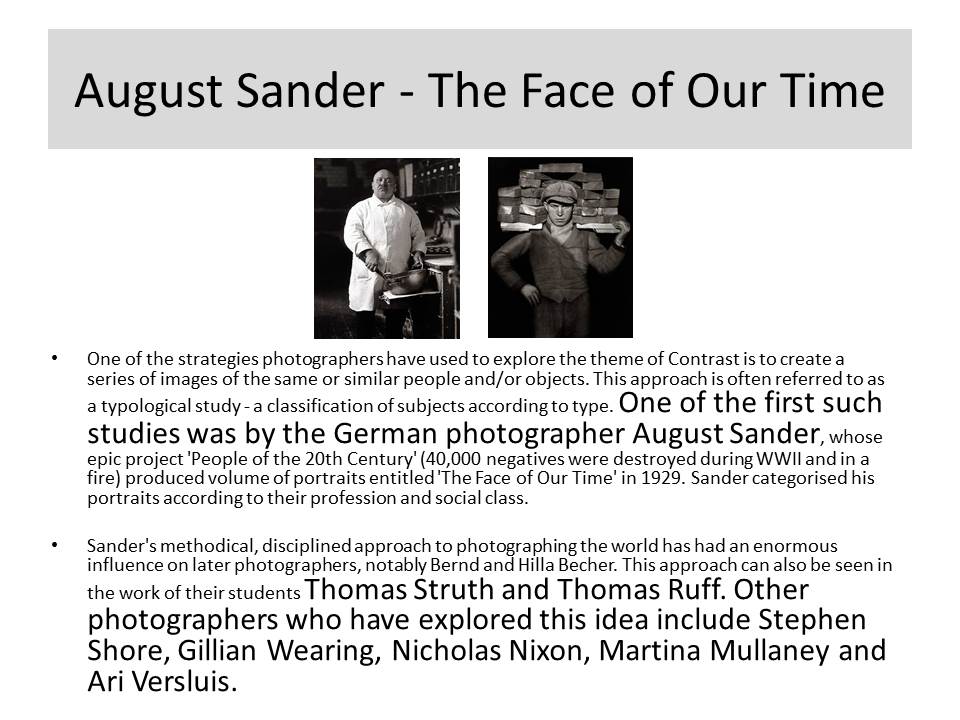
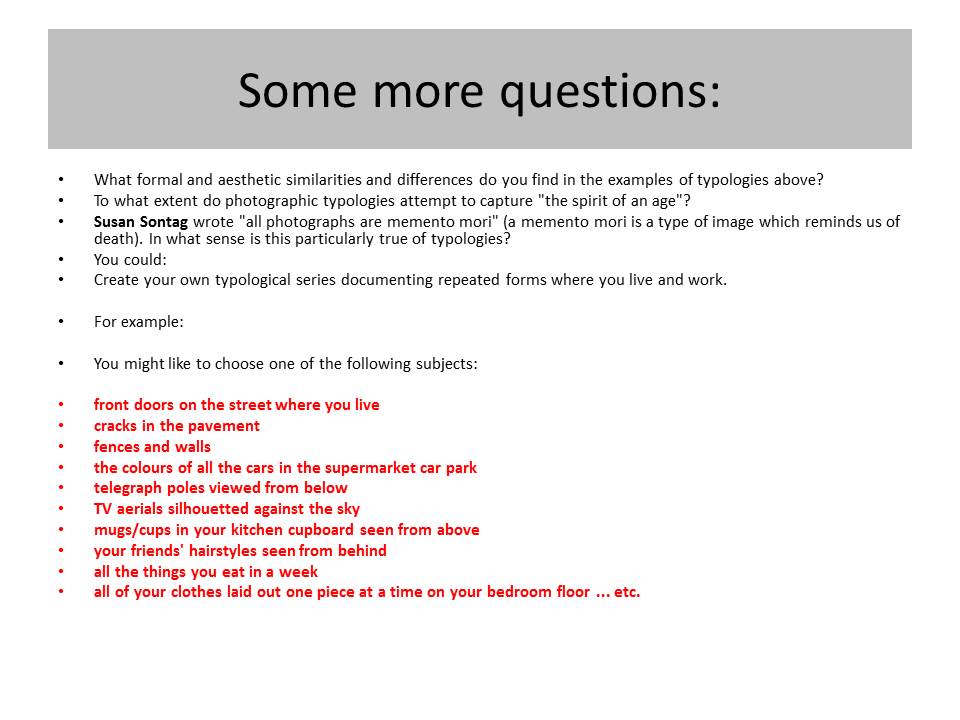
  • Theory, concept and history : Typologies
  • Photoshop Skills : looking at tone / contrast :what is it? Why is essential to photography? How do we create tone and contrast on Photoshop? What is high key vs low key?
  • Ansel Adams Zone system : include a diagram, examples and compare your original image to your edit.

Lesson 3

  • Camera Skills : shutter speeds > creating a sense of movement and capturing action
  • Photoshop skills : cropping and making a selection, free transform, colour overlays and blending

Lesson 4

  • Camera Skills : Depth of field and focus points / focal length + exposure compensation
  • Photoshop skills : double exposures and blurring to create depth

Week 4 

Lesson 1, 2, 3, 4

Week 5

Lesson 1 and 2

  • think about : making image selections…working towards a final presentation
  • think about : blog layout and design features + action plans
  • Check : homework progress…looking at texture and surface
  • Create blog post : analysis and interpretation / Robert Frank…use of key vocab
  • Create blog post : Keld Helmer Peterson analysis and response : include your original 4 x images : Use Threshold Adjustment : Add screen shots : Square Format : Grid of 4 : Upload to your blog post and print out ! remember to add CATEGORIES
  • Click on this link for more…
  • https://www.creativereview.co.uk/black-noise-by-keld-helmer-petersen/

Lesson 3 and 4

Mr Cole will be on residential with D of E students on Wednesday and Thursday…so you will be expected to complete current / outstanding blog posts and publish for tracking and assessment. Miss Hearn will be available on Thursday and Friday. Mr Cole will be available on Friday too.

We expect you to use this time wisely and upload all incomplete blog posts…remember, the homework tasks are NOT optional and form the spine of your coursework ie your photo-shoots!

Week 6 + 7

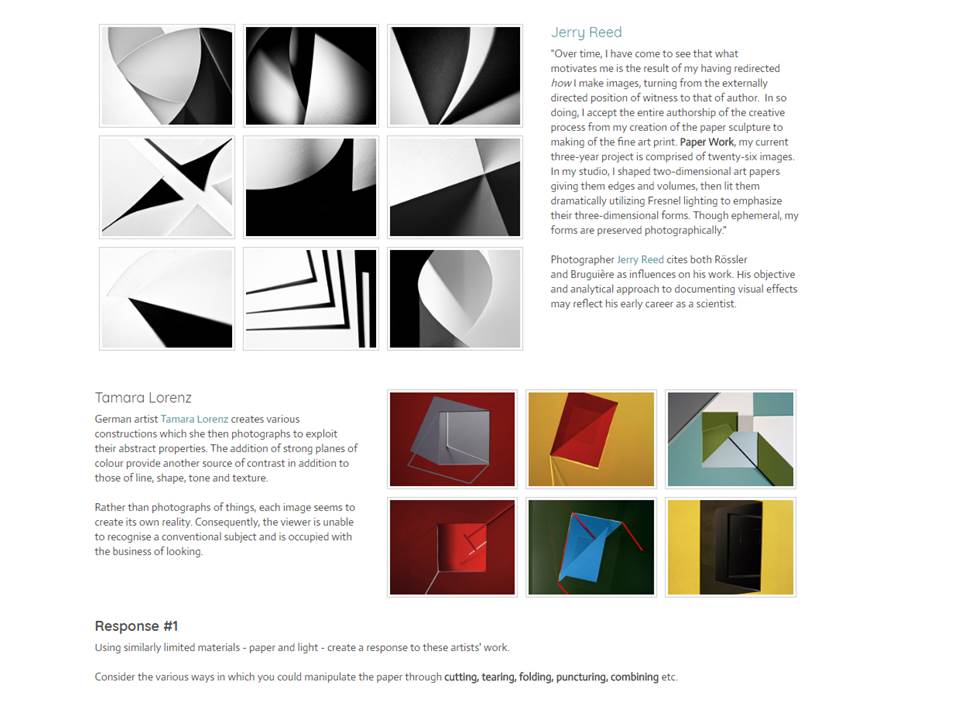
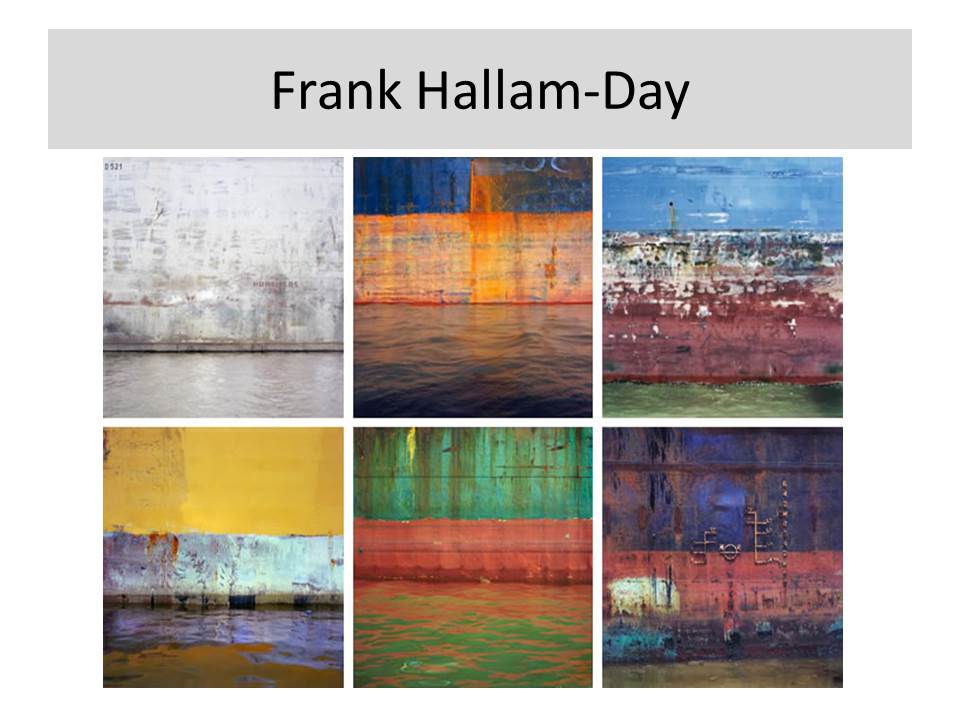
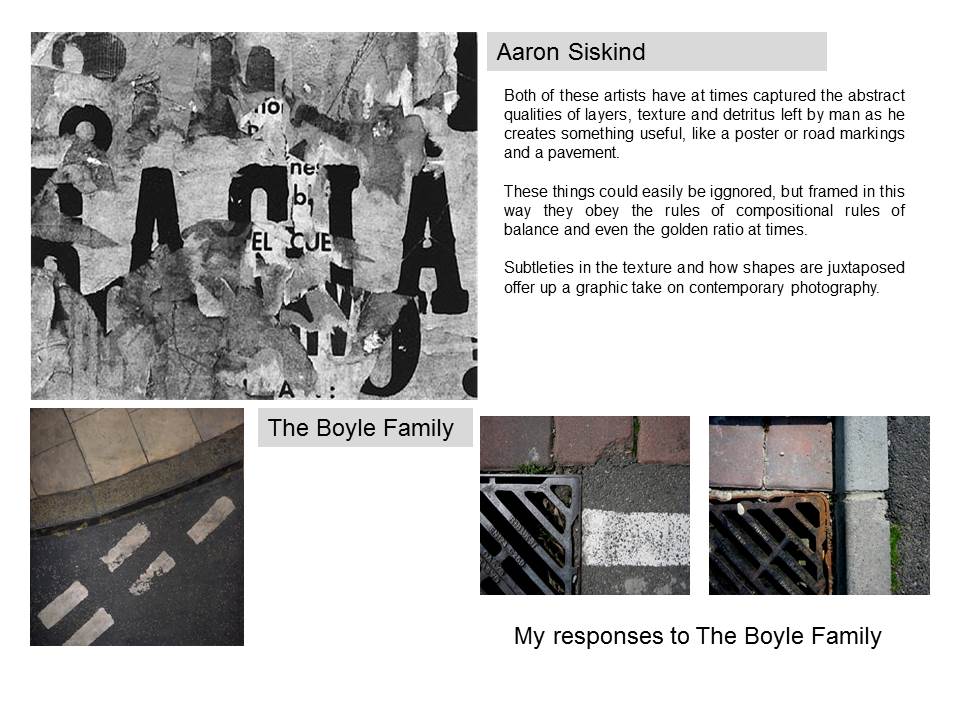
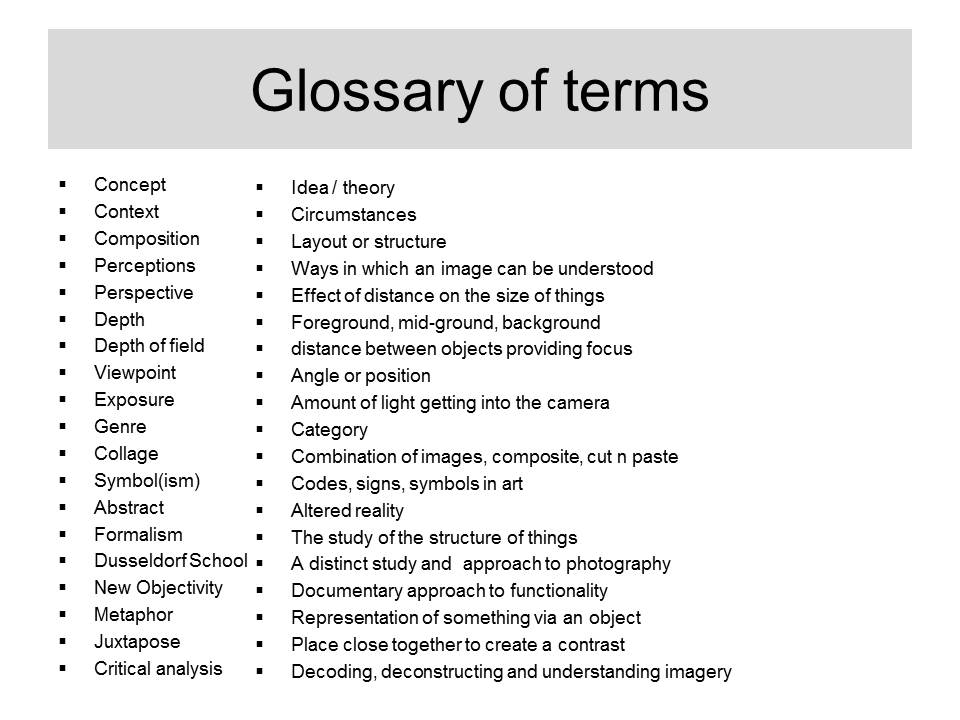
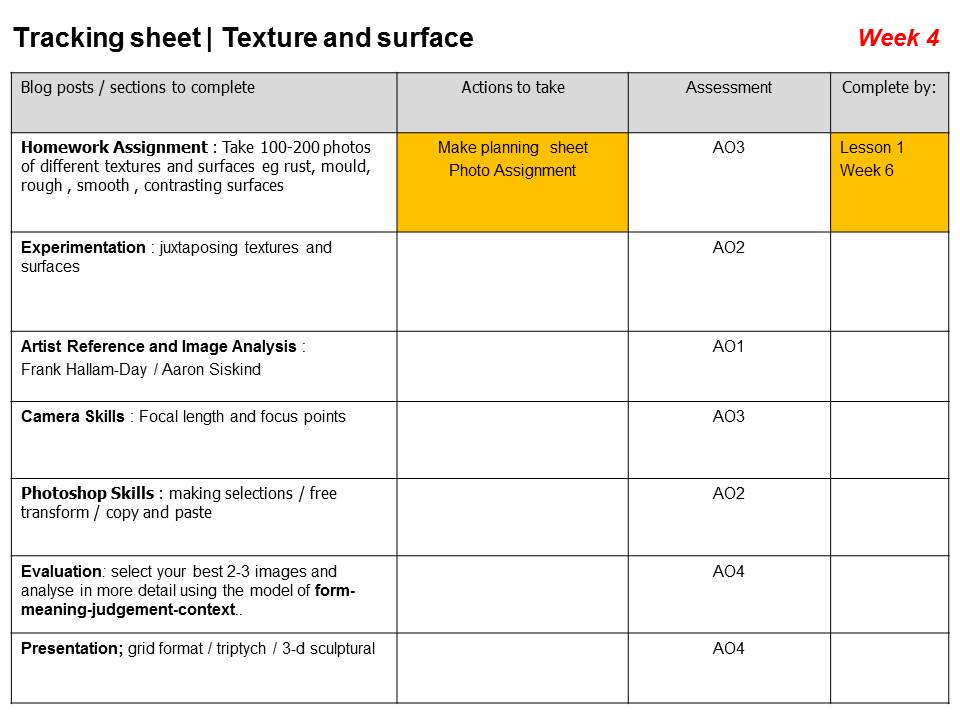
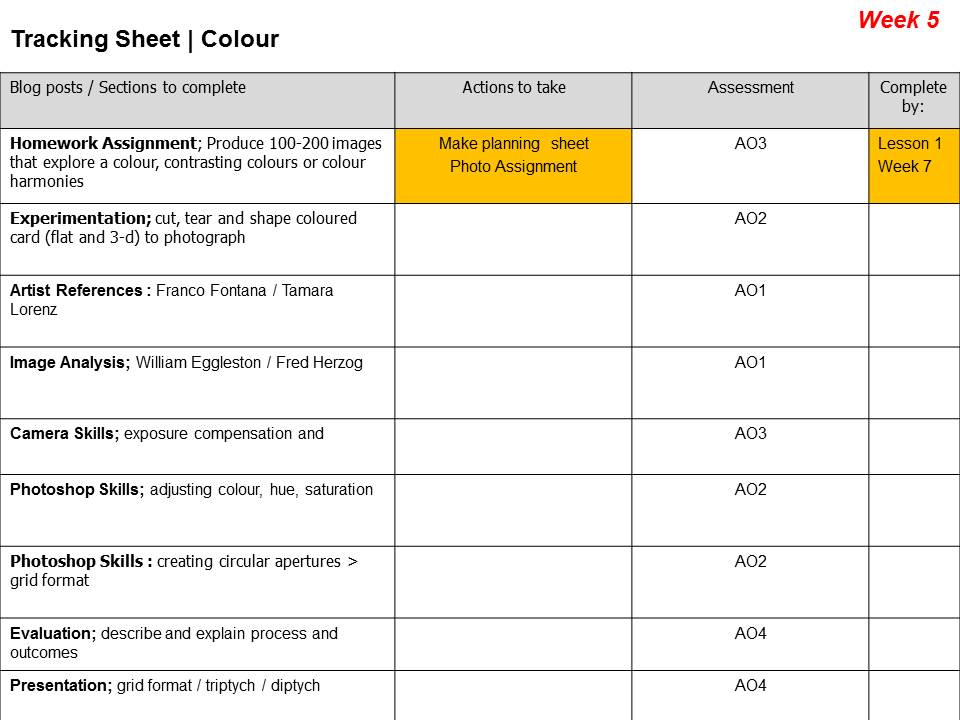
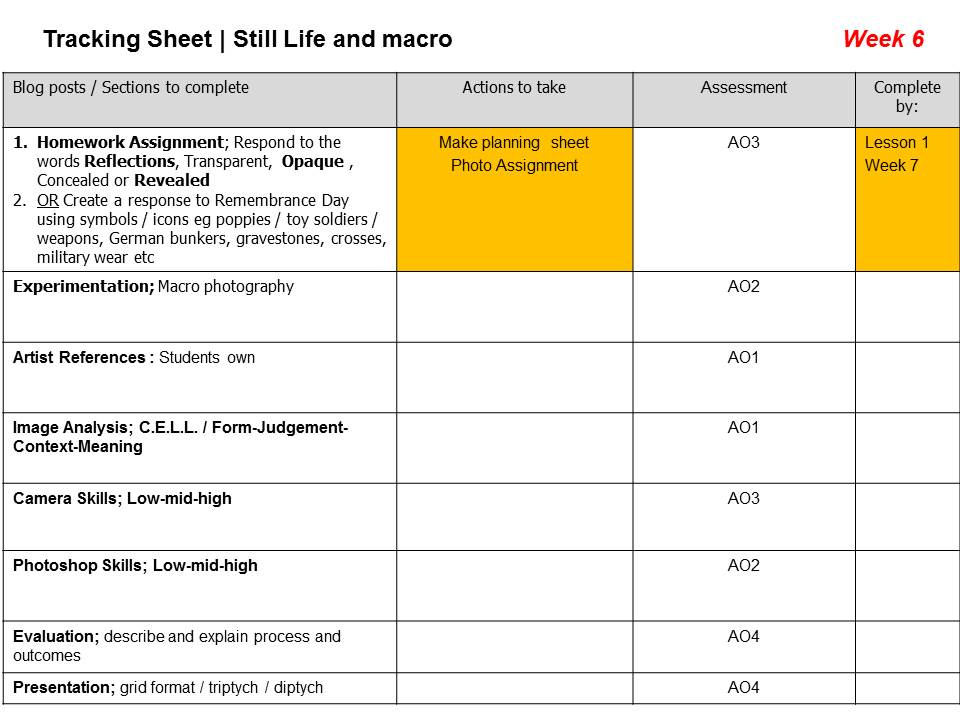
  • this week your focus is on colour and is linked to your homework task. Look at the stimulus material below to help you develop your ideas and incorporate colour.
  • you should be in a position now to make your final selections : choose a range of your best images  that you would like to present and evaluate / critique
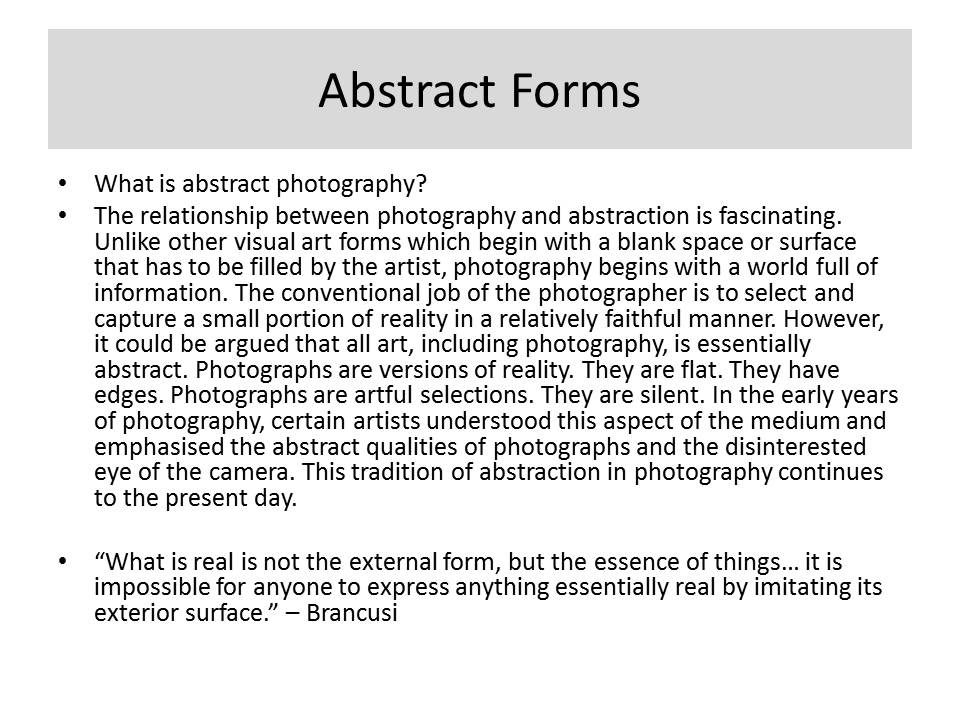
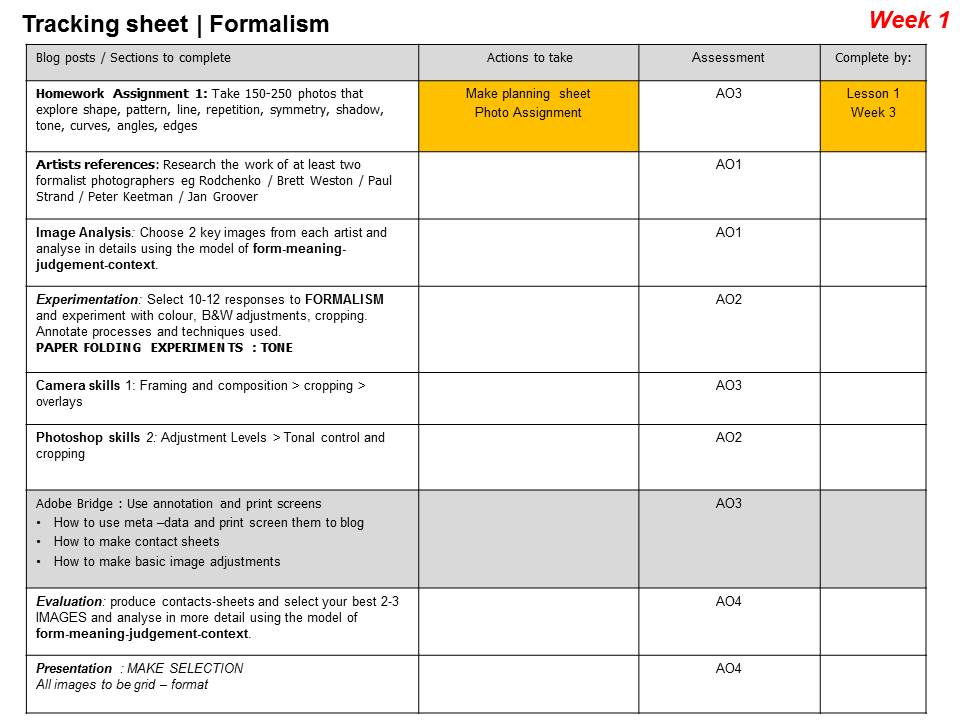
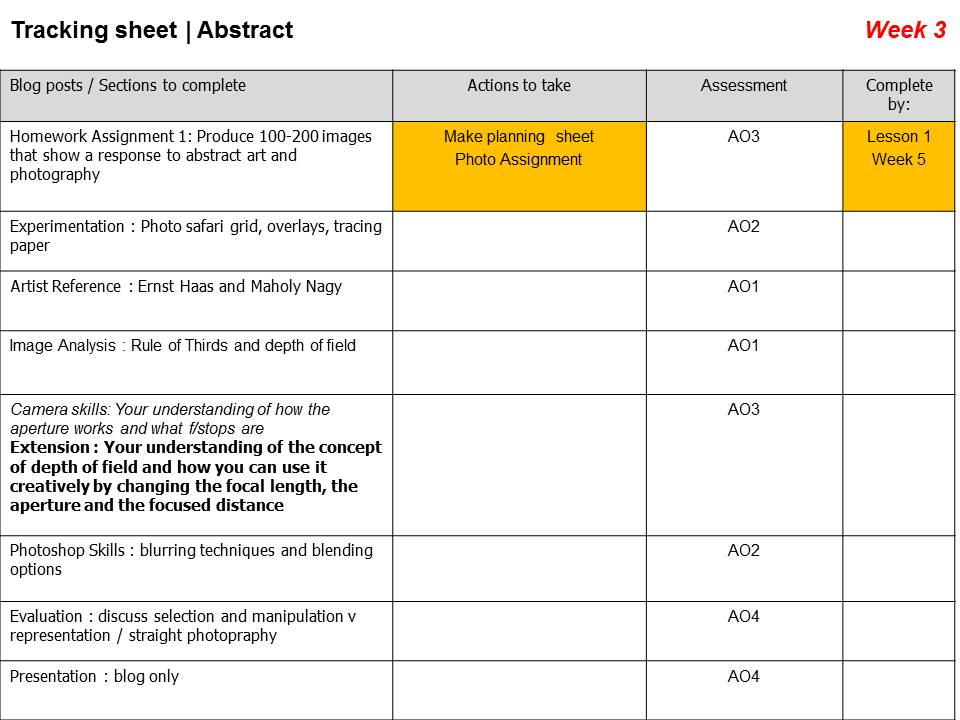
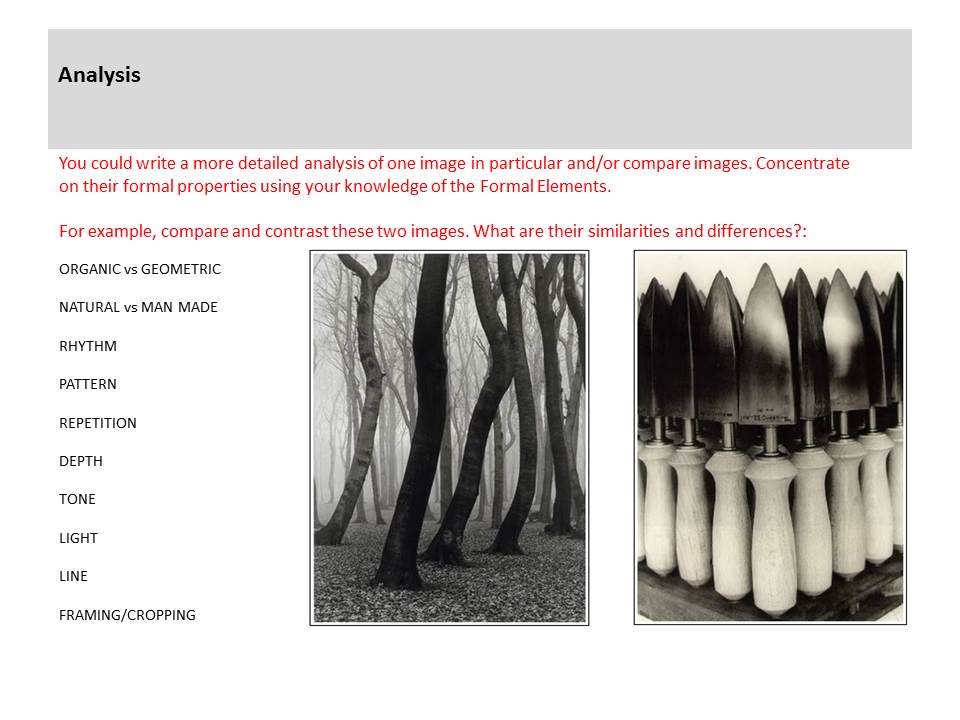
  • REMEMBER…WE HAVE BEEN LOOKING AT THE FORMAL ELEMENTS AND ABSTRACT PHOTOGRAPHY…THIS SHOULD BE CLEAR IN YOUR WORK
  • your choices may be in the form of a single image, a two-frame image, a triptych, a grid or another idea…
  • you must include edits and original images…always show your process including screenshots
  • aim to narrow down your selection to 3, 4 or 5 choices…
  • Then finally…choose 1 image
  • Compare and contrast your final choice of image to a photographer (s) and create a case study including analysis of a key image by your choice of photographer
  • BLOG POSTS : take care with your presentation and include hyperlinks to helpful artciles / websites and embed relevant videos too…
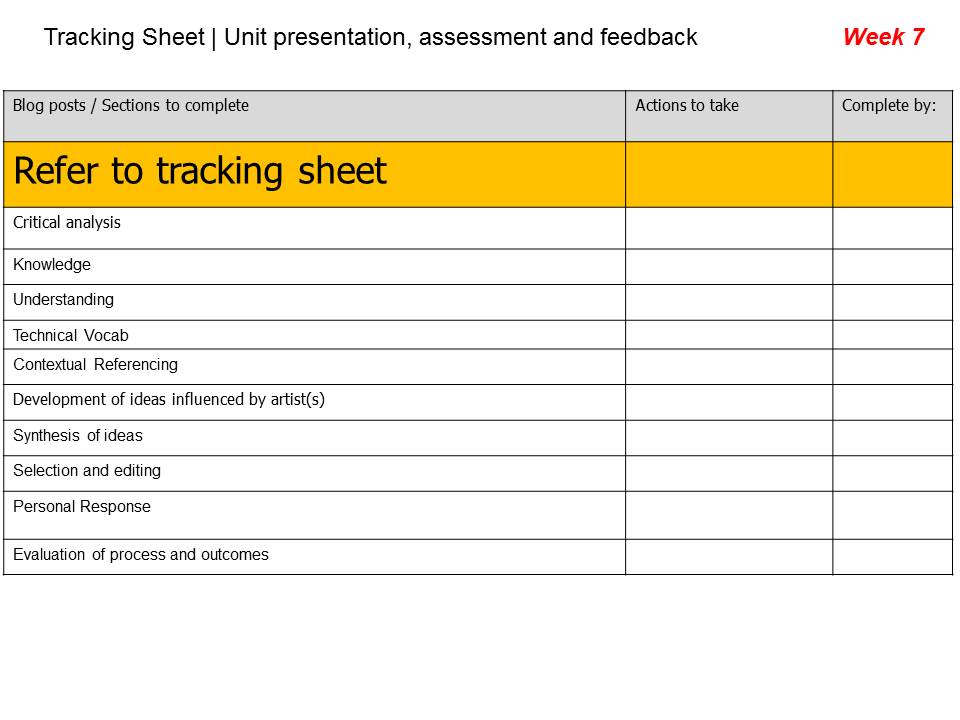
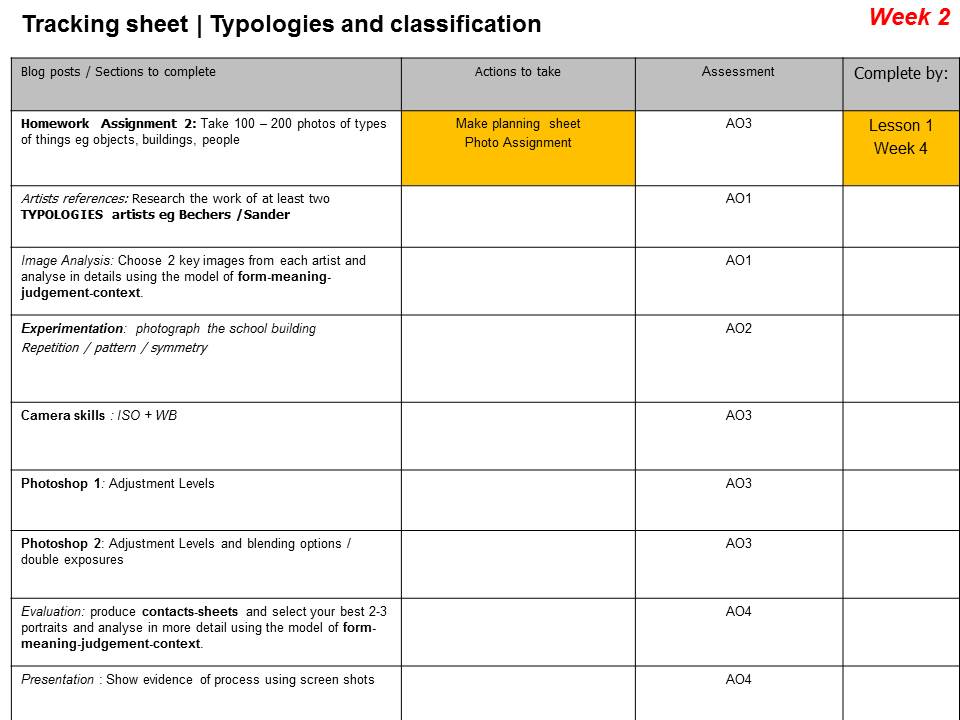
  • Extension : see tracking sheet below

Exploring colour

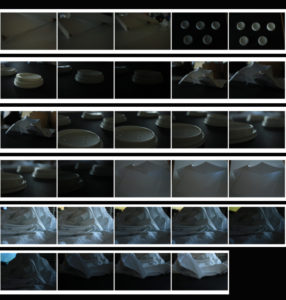
ISO / Lighting

What is ISO?

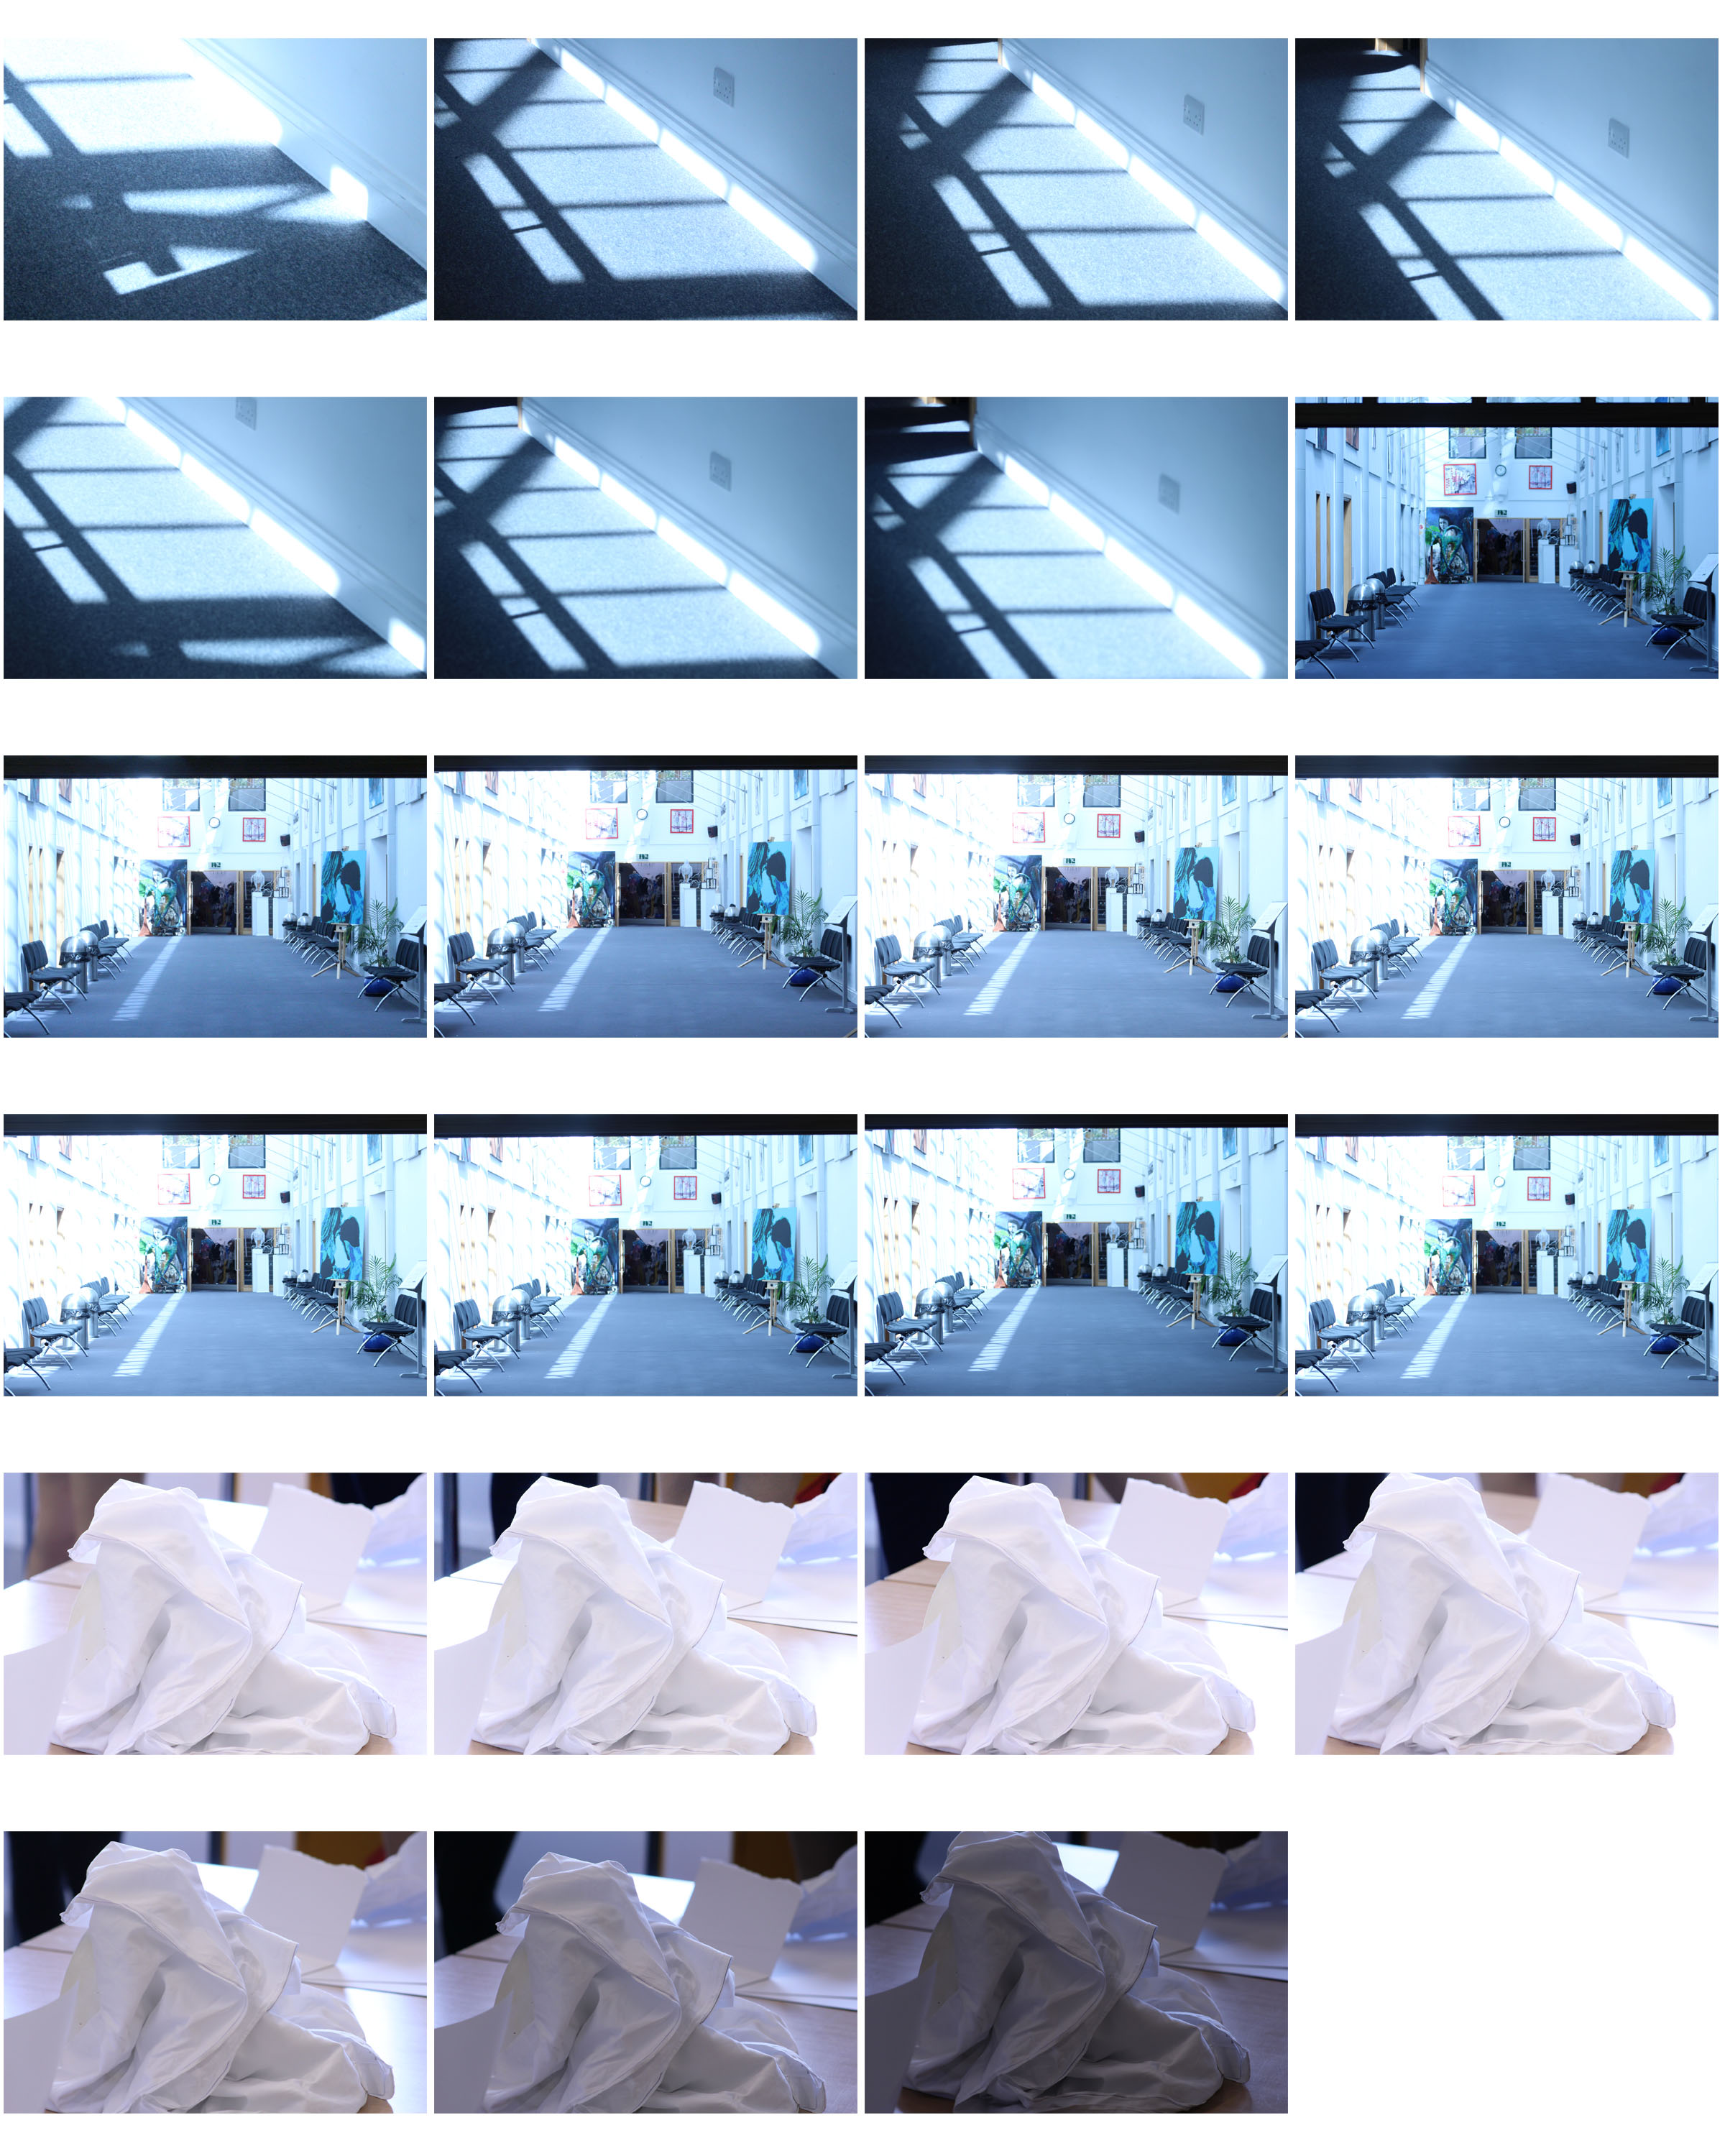
Generally, the ISO is the indication of how sensitive a camera is to the light around it.

It’s measured in numbers that are: 100, 200, 400.800 and 1600  (100 being the darkest outcome with the lowest amount of noise and 1600 being the brightest with larger amounts of noise/grain).

The lower the ISO number, the lower the sensitivity of the digital sensor to light (which means that more light needs to hit the digital sensor to get proper exposure). So, ISO 400 is twice as sensitive to light as ISO 200.

There are situations where the amount of lighting you are dealt with is not quite enough for your image. This is an indicator that you need to increase your ISO setting. Typical examples include:

  1. Low light conditions (indoors). In this case, the amount of natural light is not enough for your camera to get the correct exposure even with using the longest shutter speed and widest aperture without using a flash.
  2. Your subject is too far away for your camera’s flash to have any effect. To properly expose your photograph, you need to increase your ISO.
  3. Low light conditions (night). If you want to take photos at night, you will need to increase your ISO.

Experimenting With Different ISO:

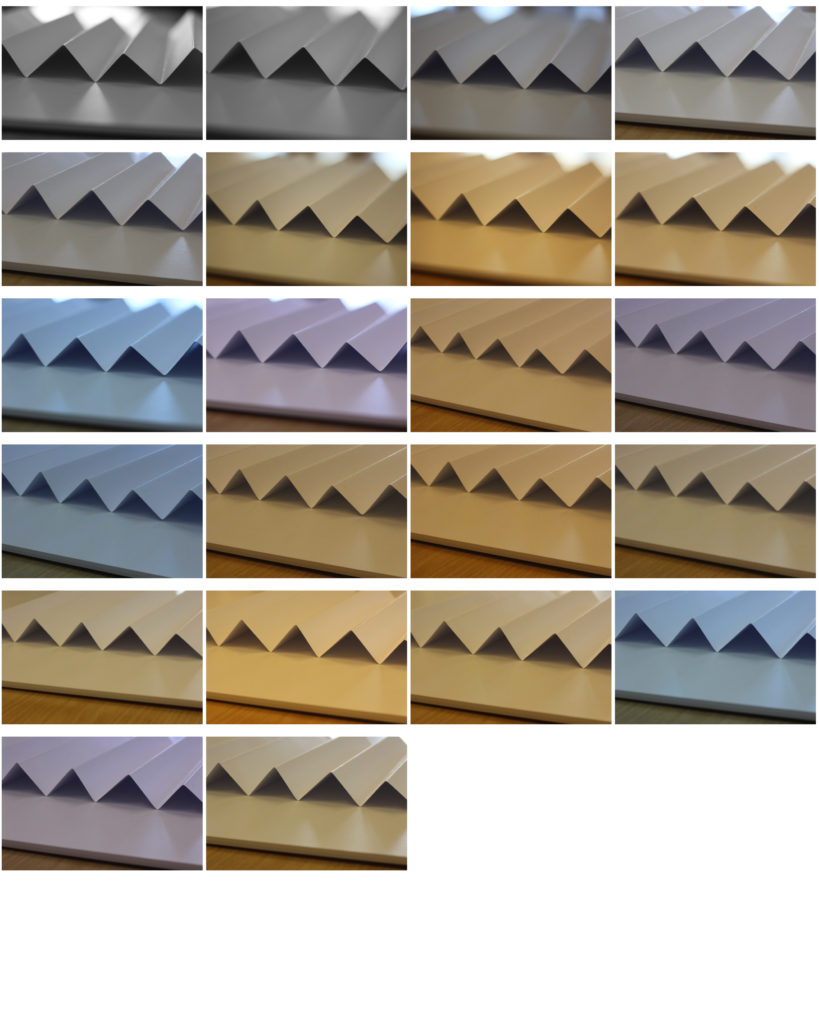
White Balance

What is WB?

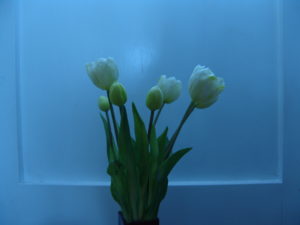
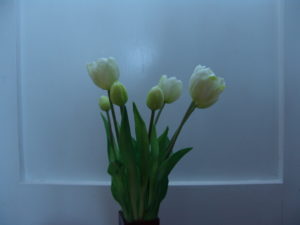
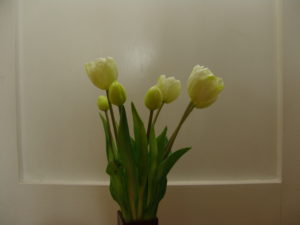
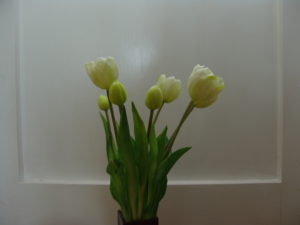
The White Balance (WB) determines how accurately the colors in your photos come out, specifically, it determines how ‘hot’ or ‘cold’ an image feels.

When do we need to adjust white balance?

Whenever you encounter a scenario where you wish to bring out certain colours or experiment with different hues and tones. Sometimes this process is automatic but not always satisfactory or pleasing to the eye.

Different types of White Balance:

Daylight

The camera adds warm tones to the sunlit subjects, it’s best for outdoor shots in normal sunlight.

Cloudy

As the name suggests, it is best used on a cloudy day, as you usually get more cool tones in the photos. This mode helps you achieve warmer tones in your photos.

Tungsten

This mode is used for light under a little bulb like tungsten, and it is often used while shooting indoors. The tungsten setting of the digital camera cools down the color temperature in photos.

Fluorescent

This mode is used for getting brighter and warmer shots while compensating for the cool shade of fluorescent light.

Shade

A shaded location generally produces cooler or bluer pictures, hence you need to warm up the surroundings while shooting shaded objects.


Auto

The Auto setting helps in adjusting the white balance automatically according to the different lighting conditions, but you can try other modes to get better results.


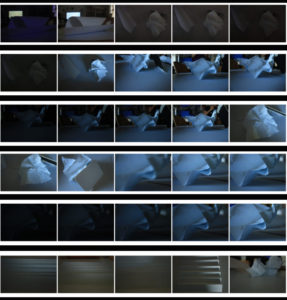
White Balance contact sheets:


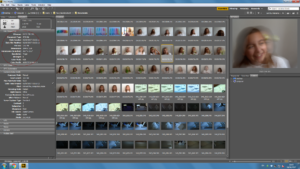
Adobe Bridge – Metadata

Metadata is a set of standardized information about a file, such as author name, resolution, color space, copyright, and keywords applied to it. For example, most digital cameras attach some basic information to an image file, such as height, width, file format, and time the image was taken. You can use metadata to streamline your workflow and organize your files.


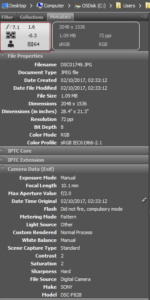
Firstly the smaller white box refers to a quick overview of the selected photo; giving the user only the most important information about the selected photo, however, the panel below goes into more detail.

‘File Properties’ describes the characteristics of the file, including the size, creation date, and modification date.

IPTC Core displays editable metadata about the file.

  • The dimension of a digital photo  is expressed in terms of its pixels.
  • The resolution  of a digital photo is expressed in terms of “megapixels” which is total number of pixels in the photo.
  • We use the term ppi when referring to pixels on a digital camera or display device and dpi when referring to dots in printed output.
  • The focal length of the lens is the measure of how “zoomed in” your lens is.