FINAL PRINTS, PRESENTATION AND EVALUATION

PLANNER for A2 EXAMINATIONS 2019

FINAL PRINTS DATES:
Select your final images for both EXAM and COURSEWORK (if you haven’t completed this already)

Tue 30 April 15:00
prints ready for Day 1 of Exam 7 / 8 May
Tue 7 & 8 May 15:00
prints ready for Day 2 of Exam 13 / 14 May
Mon 13 & Tue 14 May 15:00
prints ready Tue 21 May

EXAMINATION DATES:
15 hrs controlled test over 3 days
Groups 13A / 13C – 7, 13 & 21 May
Group 13D – 8, 14 & 22 May

CLASS LIST + EXTRA TIME
For those of you who have extra time – check when this has been allocated.

BLOG: End your blog with evidence of the following:

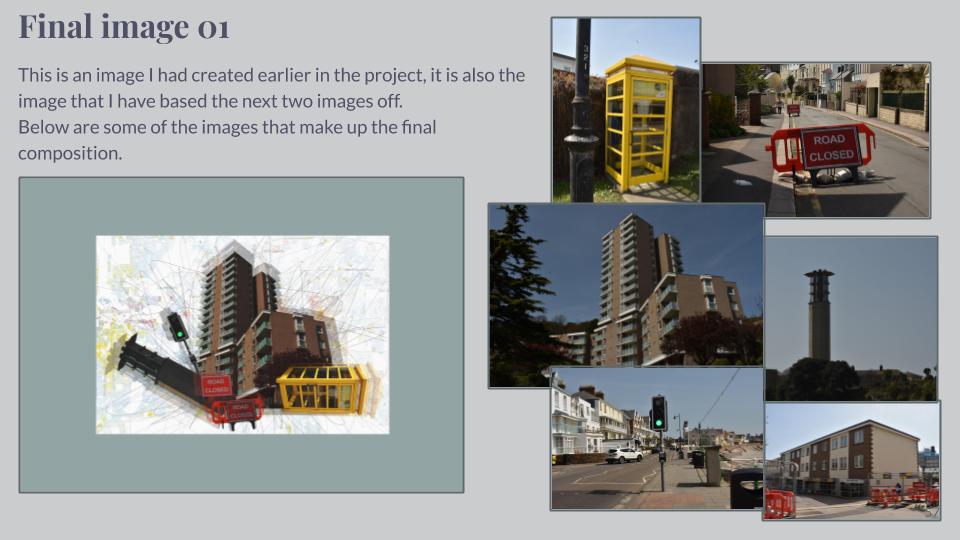
1. Show evidence of how you intend to present and display your final prints – make mock up in Photoshop – for example. a single image or diptych, triptych, predella, size A5, A4 or A3, typology-style grid, collage etc

2. If you have made a photobook – write a book specification and describe in detail what your book is about in terms of narrative, concept and design.  Produce a mood-board of design ideas and consider the following:

  • How you want your book to look and feel
  • Paper and ink: use of different paper/ textures/ colour or B&W or both.
  • Format, size and orientation: portraiture/ landscape/ square/ A5, A4, A3 / number of pages.
  • Binding: soft/hard cover. Image wrap/dust jacket. Saddle stitch/swiss binding/ Japanese stab-binding/ leperello
  • Cover: linen/ card. graphic/ printed image. embossed/ debossed. letterpress/ silkscreen/hot-stamping.
  • Title: literal or poetic / relevant or intriguing.
  • Narrative: what is the story/ subject-matter. How is it told?
  • Structure and architecture: how design/ repeating motifs/ or specific features develops a concept or construct a narrative.
  • Design and layout: image size on pages/ single page, double-spread/ images/ grid, fold- outs/ inserts.
  • Editing and sequencing: selection of images/ juxtaposition of photographs/ editing process
  • Images and text: are they linked? Introduction/ statement / use of captions (if any.)

3. Write an overall final evaluation (250-500 words) that explain in some detail the following:

  • how successfully you fulfilled the EXAM brief and realised your intentions.
  • links and inspiration between your final images and exam theme including artists references
  • analysis of final prints/presentation in terms of composition, lighting, meaning, concept, symbolism etc.

see example here: https://hautlieucreative.co.uk/photo16a2e/author/sodonnell05/

4. Go through all your blog posts and make sure that you have completed them all to your best ability, e.g. good use of images/ illustrations, annotation of processes/ techniques used, analysis/ evaluation of images and experimentation

5. Present your final outcomes in window mounts or on foam board, label with name, candidate number, attach velcro and put in a BROWN/BEIGE/YELLOW folder.

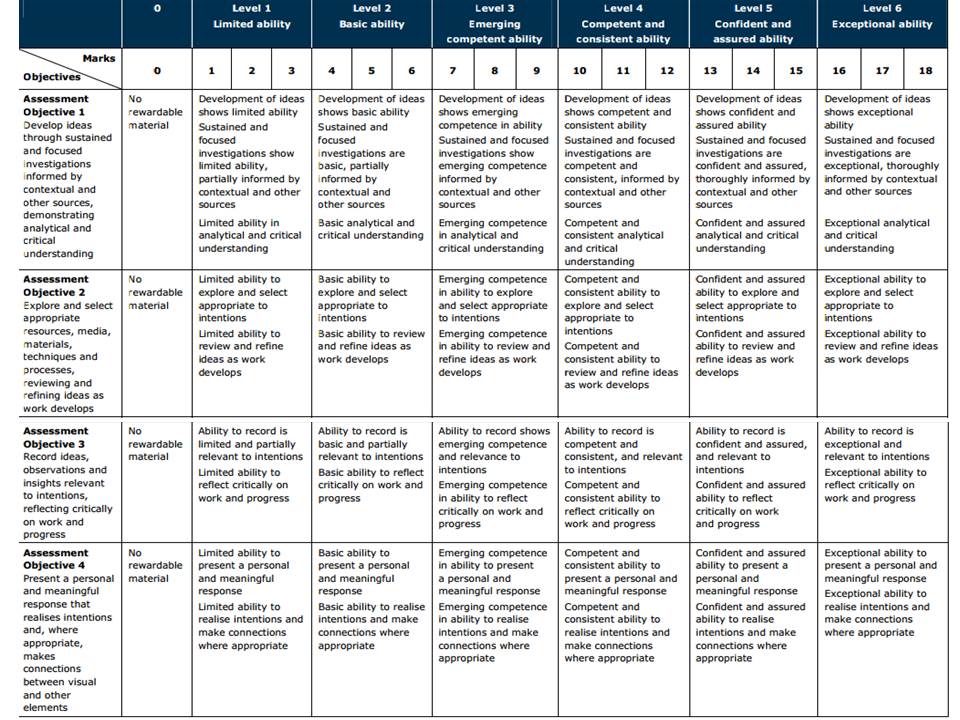
To achieve a top marks we need to see a coherent progression of quality work from start to finish following these steps:

RESEARCH > ANALYSIS > PLANNING > RECORDING > DEVELOPING > EXPERIMENTING > PRESENTING > EVALUATING
The following students have been selected for moderation:

Coursework:
Shanesia Da Silva
Jordan Fenn
Ben Grindheim
Charlton Hoy
Alice Kent
Kobi Le Cornu
Erin Luis
Declan O’Grady
Hayden Runacres
Anya Waigh
Stanley Lucas

Externally Set Assignment:
Shanesia Da Silva
Jordan Fenn
Ben Grindheim
Charlton Hoy
Alice Kent
Kobi Le Cornu
Erin Luis
Declan O’Grady
Hayden Runacres
Anya Waigh
Stanley Lucas (H)
Georgine Lutkin Clarke (L)

IMAGE ANALYSIS x 4

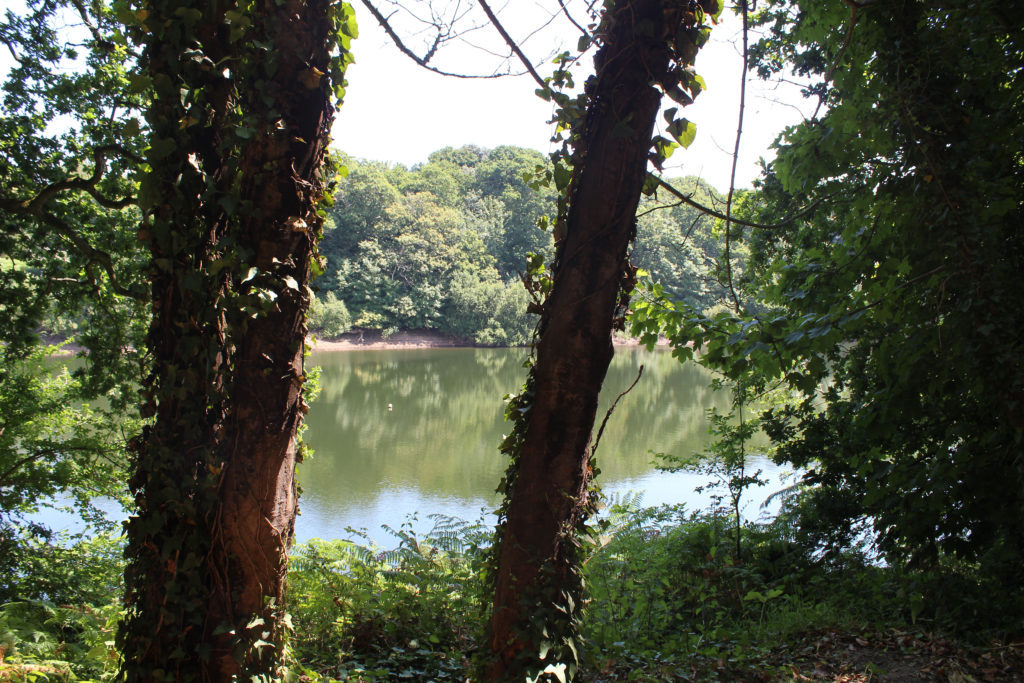
Image 1:

I really like my image below, taken in Shoot 7. There is a lot going on in this image, split up by the tree structures in the foreground. From subtle, pale shades of green to darker, prominent shades, my image captures the wide spectrum of colour contrasts in nature and how this presents the most sublime landscapes. Due to high camera quality and prime time of light exposure, I was able to photograph the intricate detail of the landscape; from the reflection in the water to the outline of each individual tree in the background and leaf in the foreground. This image was taken at Queen’s Valley Reservoir. The reservoir has a natural wealth of flora and fauna and is home to many species of birds and wildlife.

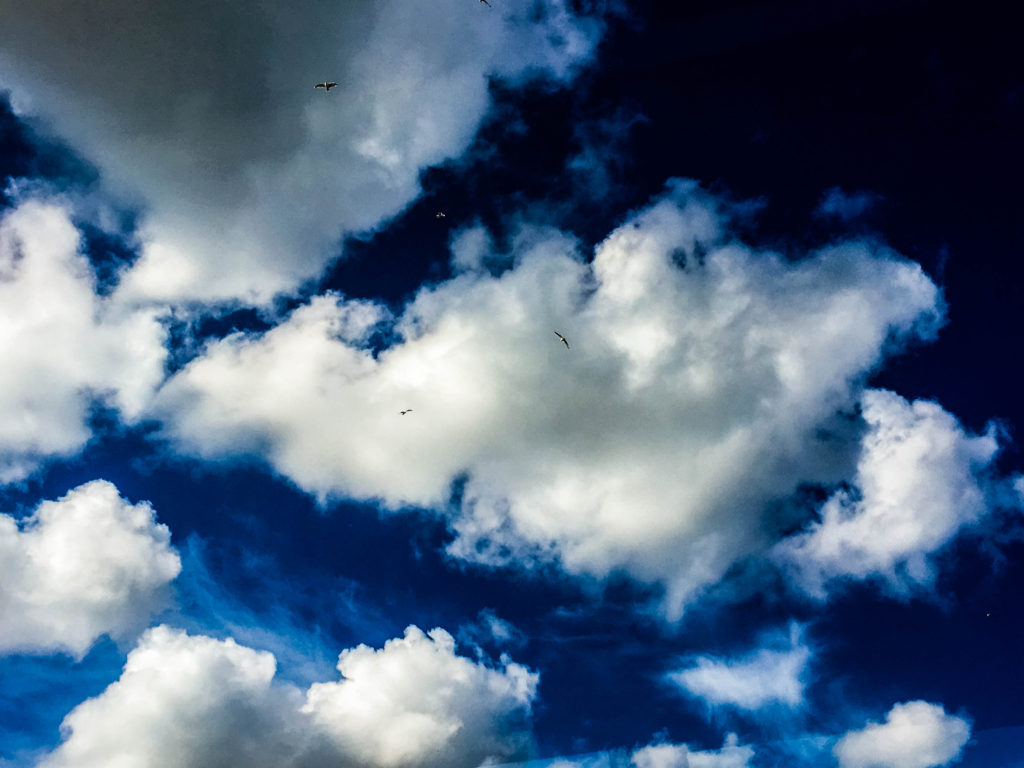
Image 2:

This image was taken in Shoot 3, based around cloudscapes. This particular photograph was edited in response to the photographer John Day. Day heavily edits his photographs of cloudscapes to emphasize the cloud outlines and bold colours of the sky behind. In order to respond effectively, I edited my photograph in Lightroom, increasing the clarity, contrast and vibrance to get an unusual capture of the sky above. The small-scale seagulls scattered in the photograph emphasize the immense size of the clouds.

Image 3:

The composition of this image differs from my other large-scale format photographs. I thought a panoramic picture would be an interesting response to cloudscapes. This image was edited in response to Alfred Stieglitz, a photographer who created a famous series of cloudscapes called Equivalents. I firstly edited it into black and white but thought this wasn’t enough to portray the stormy sky visual I was hoping for. I consequently increased the clarity and shadows of the photograph, which created a more distinct horizon line and contrast within the separate clouds.

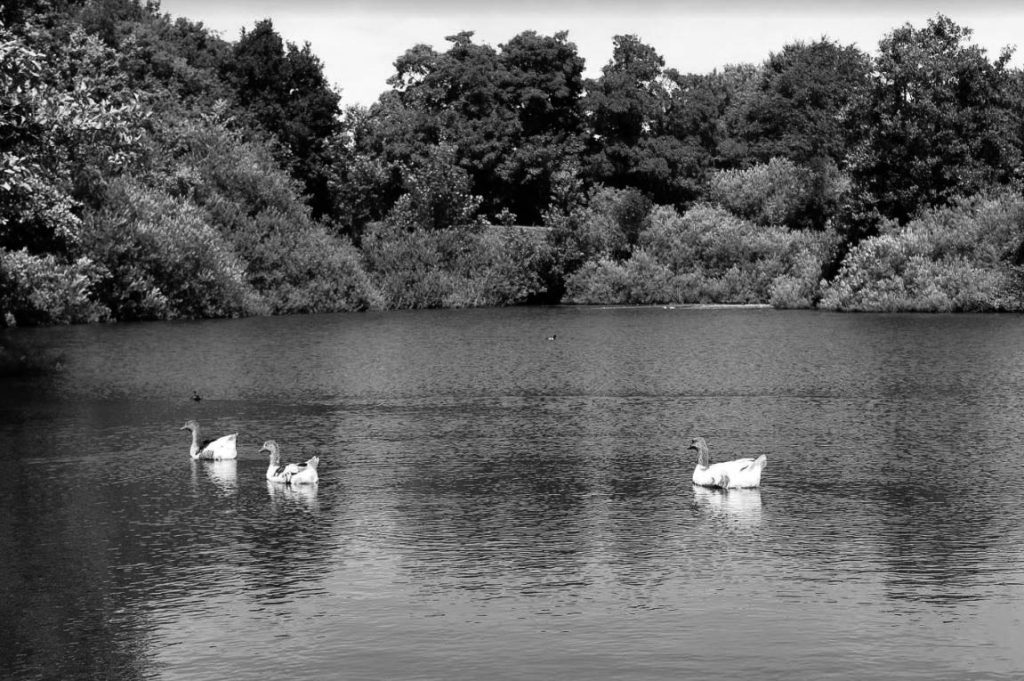
Image 4:

Another black and white edit taken at Queen’s Valley Reservoir, I have captured the water and 3 geese int the foreground, and vegetation in the background. The black and white edit has created clear tonal contrasts of white, black and grey, following Ansel Adam’s zone system. The water is calm, with little visual movement and almost looks like a dry surface with the geese on the surface. This image is much more tranquil and serene compared to image 3, an element of nature I wanted to capture.

IMAGE ANALYSIS X 5

In order to further develop my photographic investigation into diverse nature, I have decided to analyze 5 of my primary source images. I have chosen one image from shoot 8, one from shoot 7, one from shoot 5 and another two from shoot 6.

Image 1:

This image was taken in my response to the colour ‘green’, shoot 7. Although it incorporates clear evidence of vibrant shades of green, it also exhibits a range of other colours and tonal contrasts. As this project I am focusing in on the beauty of nature and zooming in on how nature can produce such unique and wonderful structures and forms, I thought this was a perfect capture. This product of nature represents how zooming in on seemingly simple and everyday things can be surprisingly interesting. Each leaf of this plant is different, from pattern and shape, to size and colour. The striking pinks, greens, yellows and reds all come together to portray a energetic and dynamic picture of nature close-up.

Image 2:

I like this image as it is fairly abstract and unique to my other primary source. I took this from a birds-view point at the top of a fish bowl, for a different perspective. The combination of the water and movement of the fish, has created a blurred effect. This photograph is unedited and original, despite it looking altered. The flamboyant orange colour of the fish contrasts with the paler background, and the three-dimensional bubbles above, on the surface of the water.

Image 3:

This photograph was taken in shoot 5, responding to the works of Rinko Kawauchi, a sublime photographer who uses light to her advantage to capture the basic beauty of the world, au naturel. I really enjoyed this shoot as I came out with a large collection of successful images resembling hers. This particular photograph was captured at St Ouen’s Bay, towards the end of the sunsetting. It is a relatively basic image, but has clear composition and a split horizon. The top of the horizon has a subtle orange glow, fading into the blue of the sky and ocean below. At the bottom of the horizon, the waves fan out into the sand in opposing directions. Due to the time of capture, this image is fairly underexposed, giving the photograph an alternative feel than nature’s usual colourful and bright visual.

Image 4:

Taken in response to natural patterns, this photograph is clearly evident of natural texture and shape as a result of natural processes. Taken along a coastline, my image shows the layering of rock and the interesting form it has created. The sand has been eroded through wind, waves and erosional processes like abrasion, furthermore allowing me to witness the end product of nature’s ways. The sand fades into the dark, murky water, becoming less intricate and distinguishable towards the top of the photograph. The light was prime at the time I captured this, the sunlight giving me full exposure of the detail of the sand and rock, displaying each individual line and curve in all its beauty.

Image 5:

In this image from shoot 8, I have focused in on the element of light and how it interacts with nature. I’ve captured the sunlight hitting the water, creating a beam of light on the sea surface. The pale yellow light glows on the dull water, radiating the waves and movement of the water.