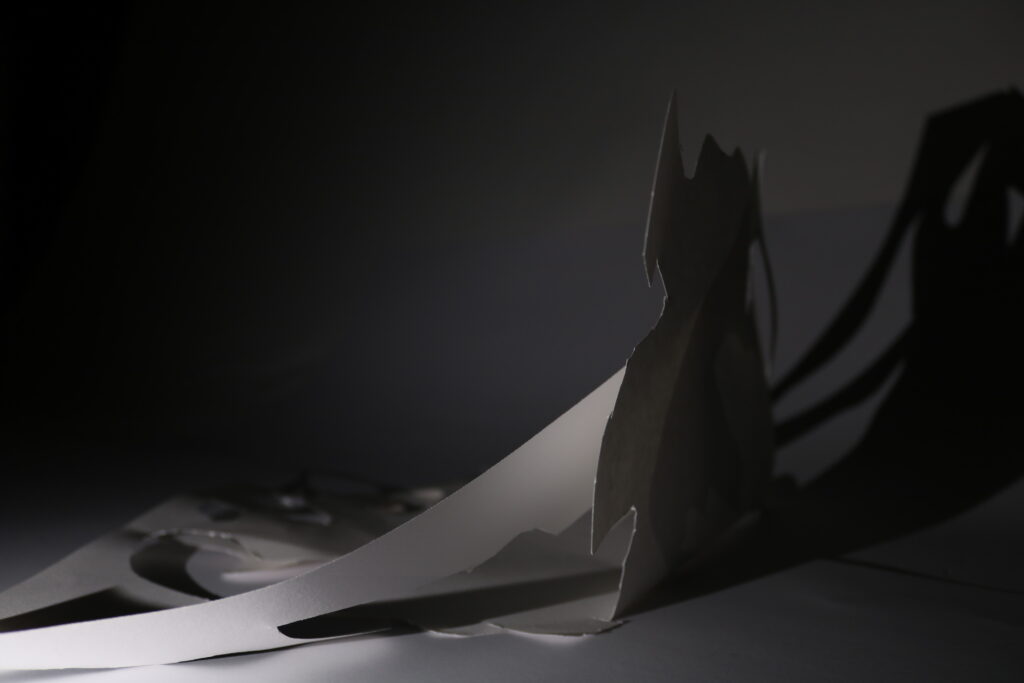
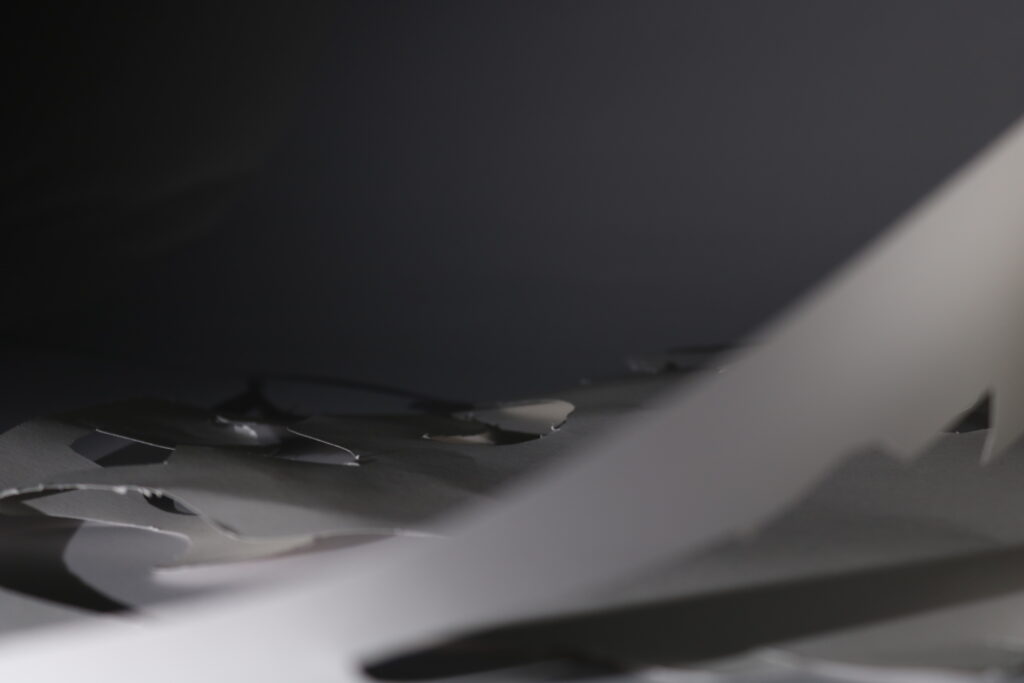
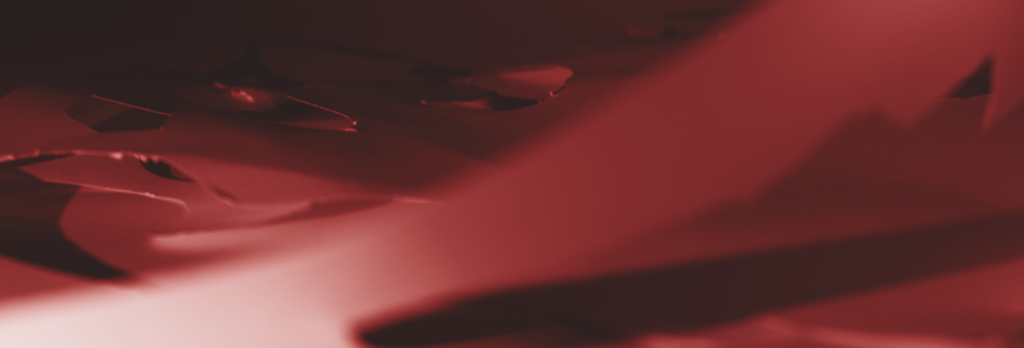
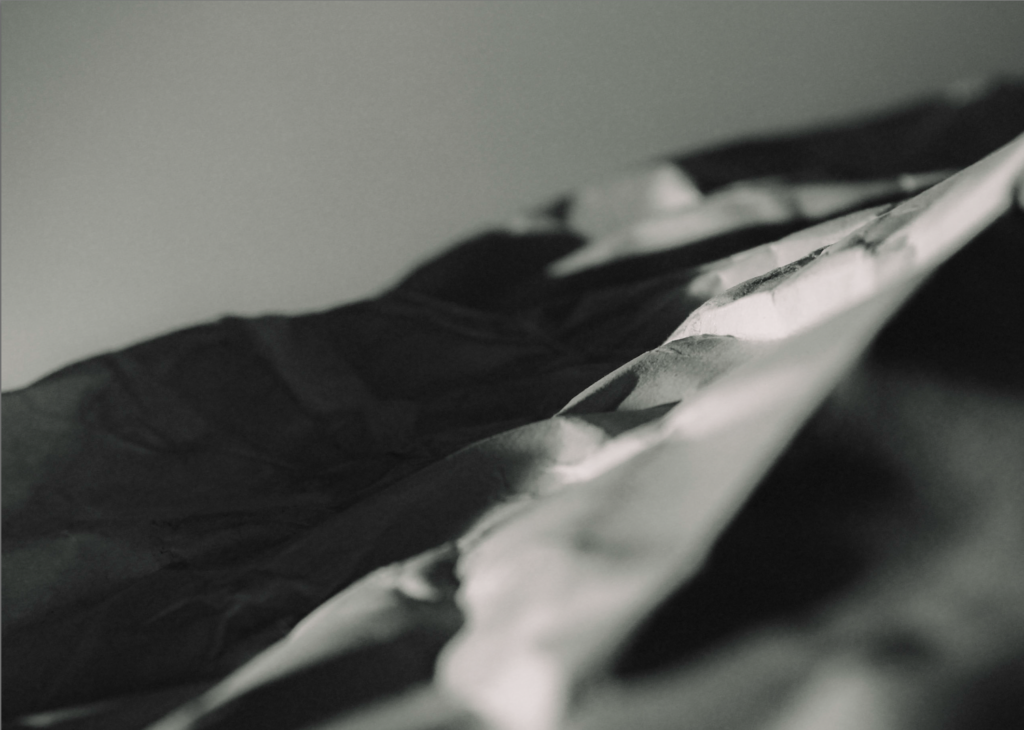
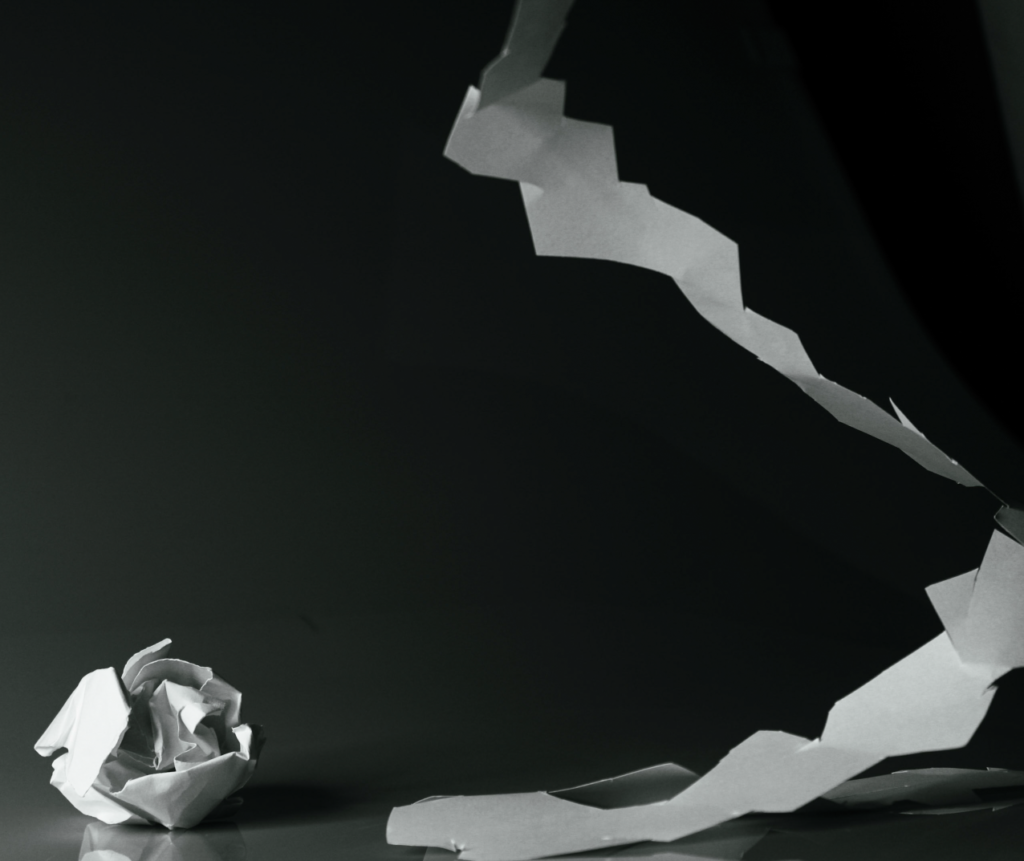
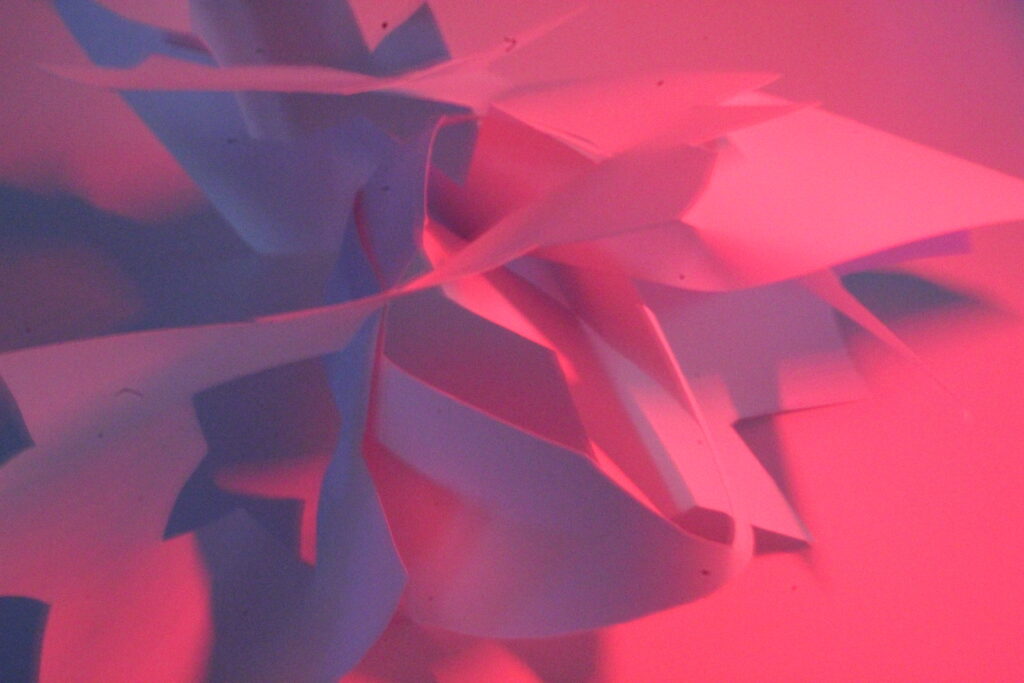
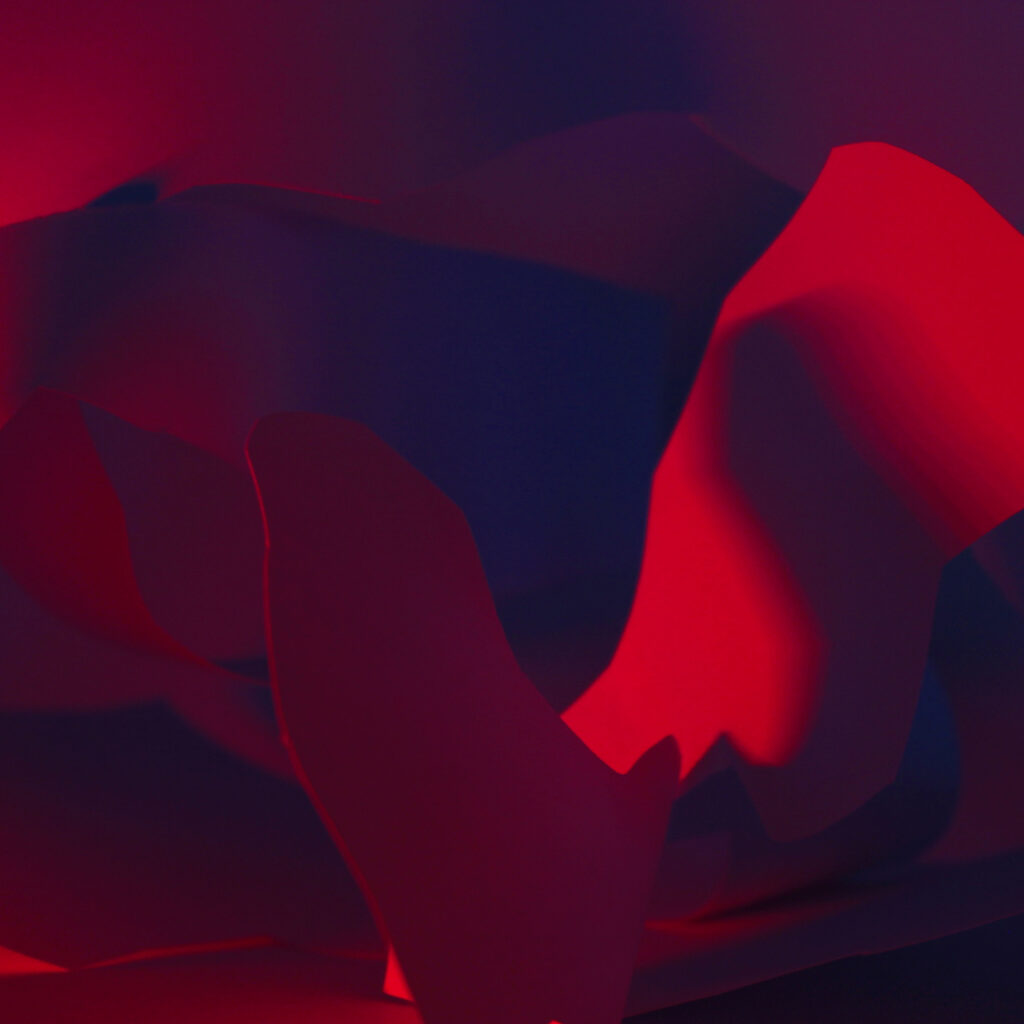
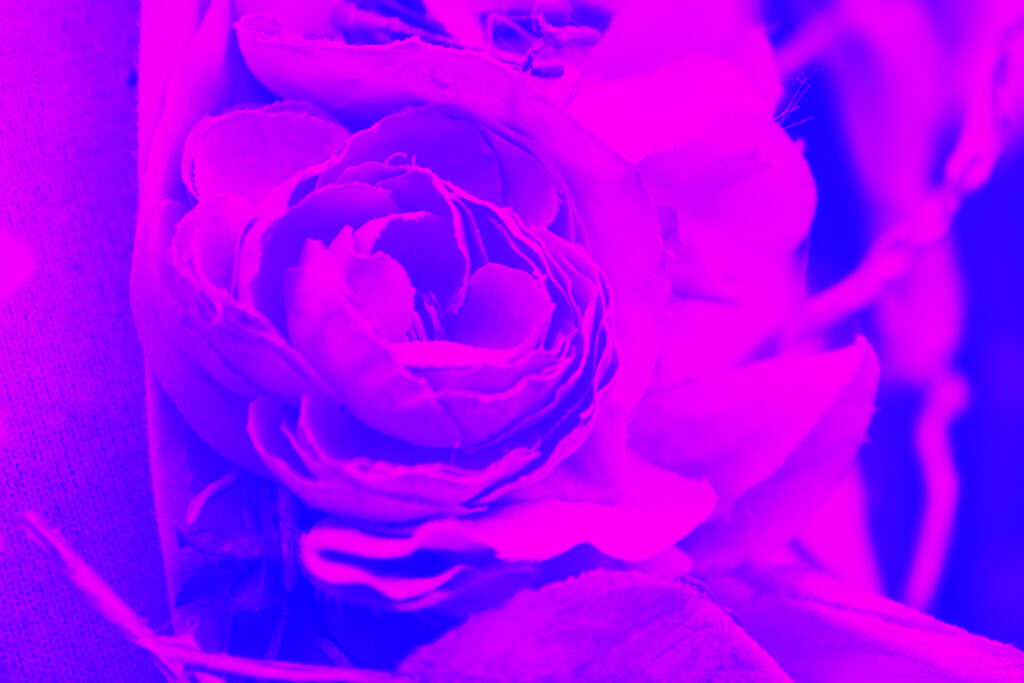
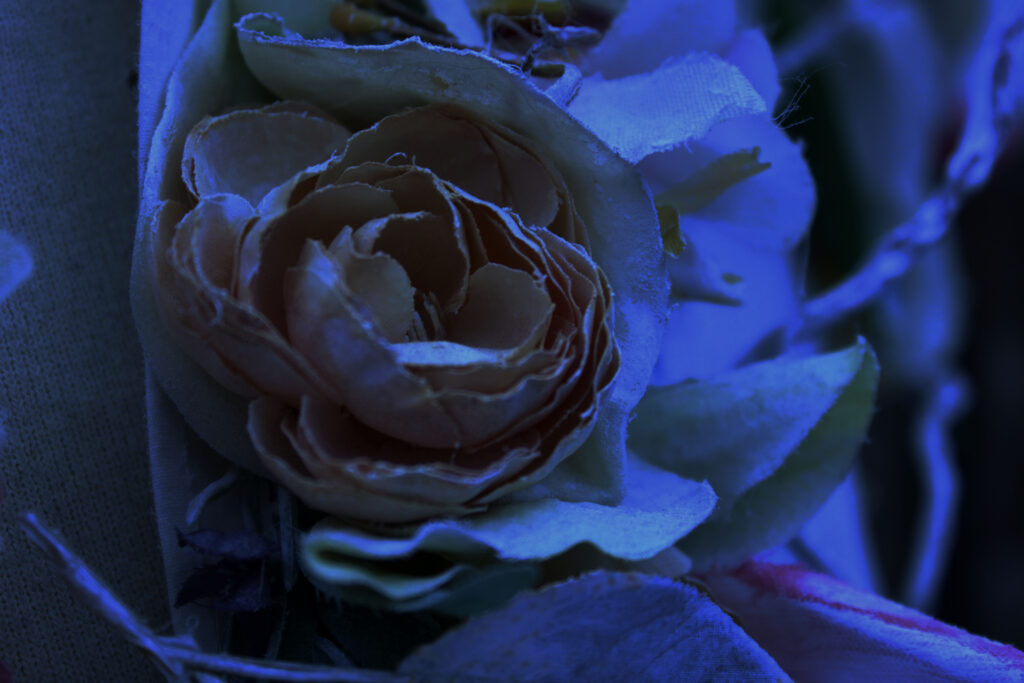
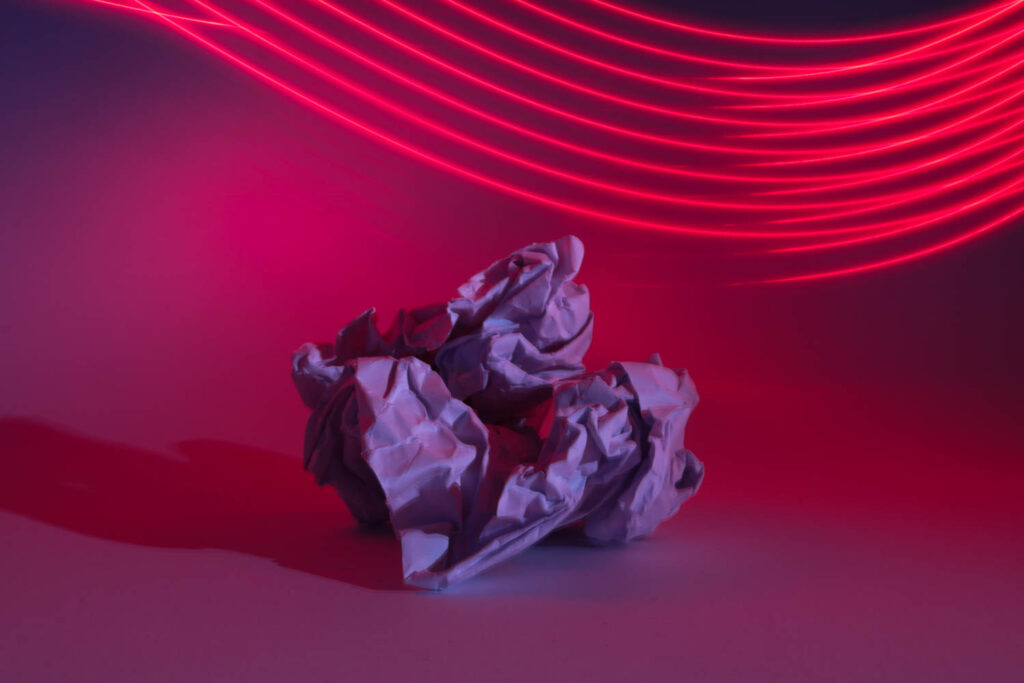
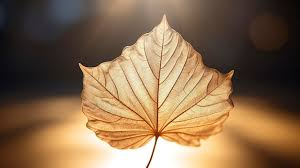
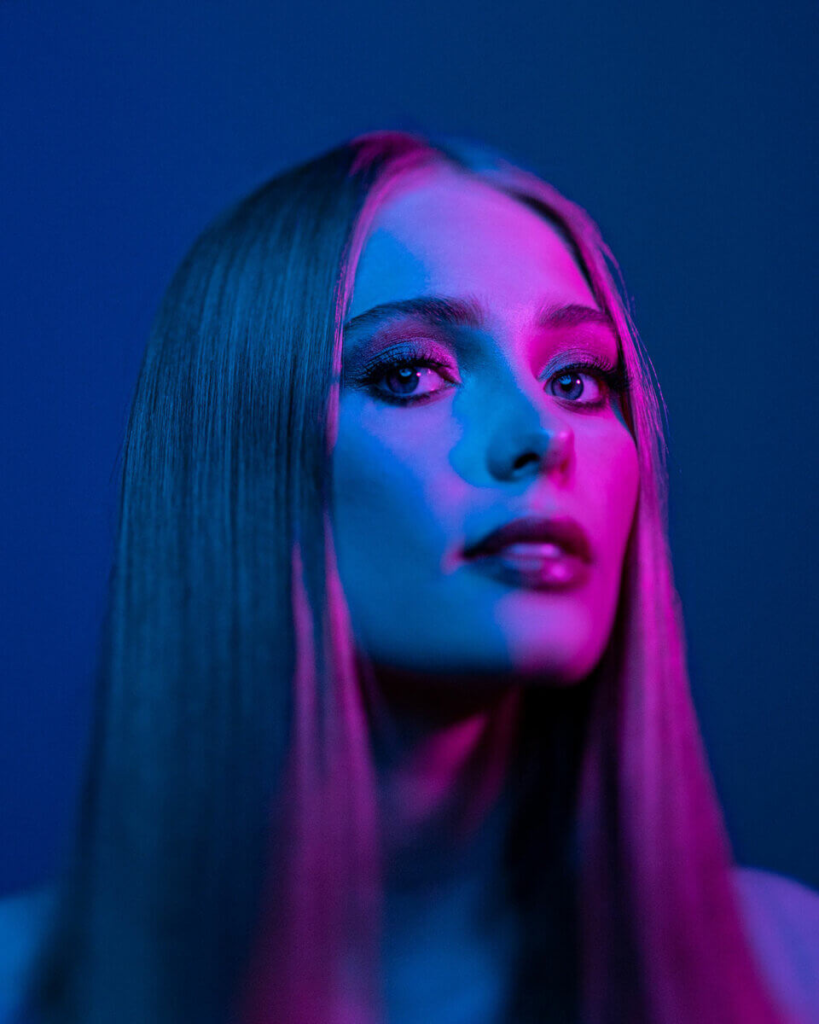
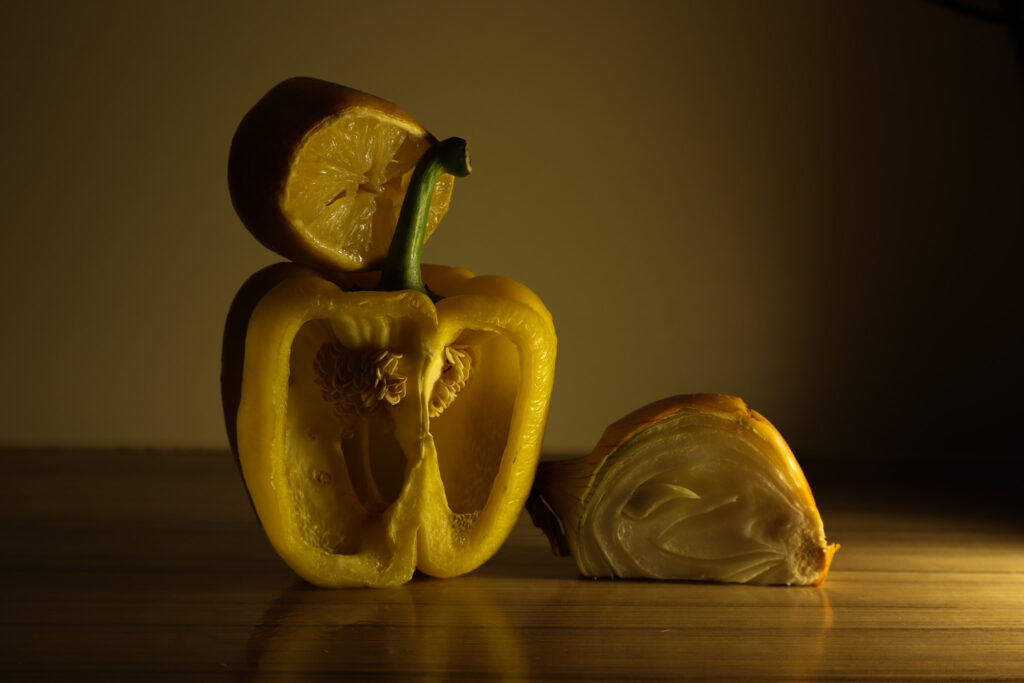
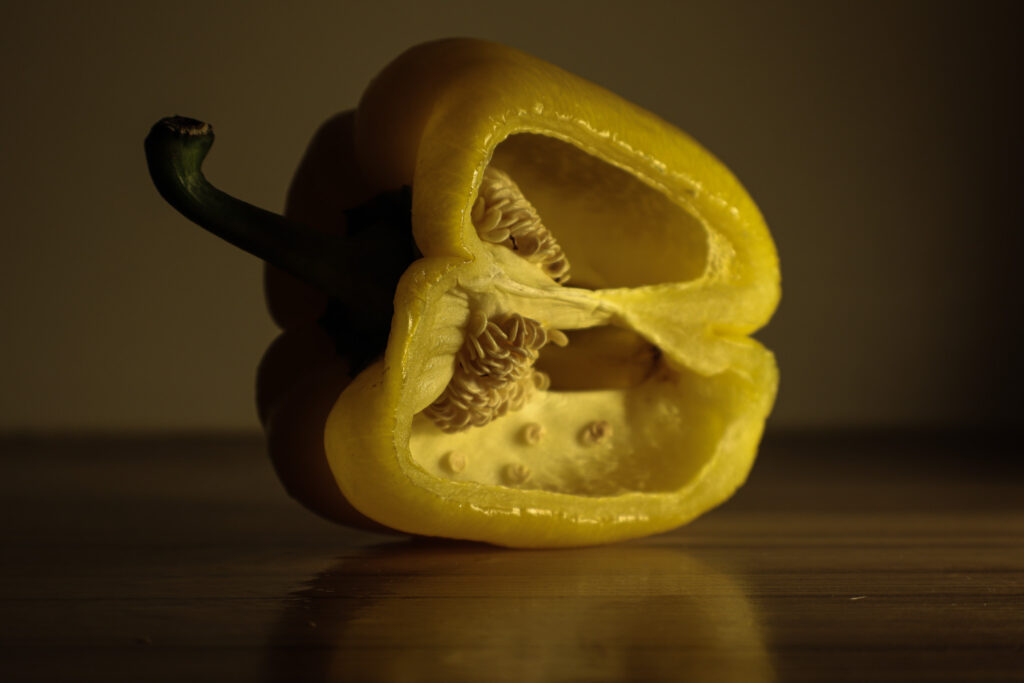
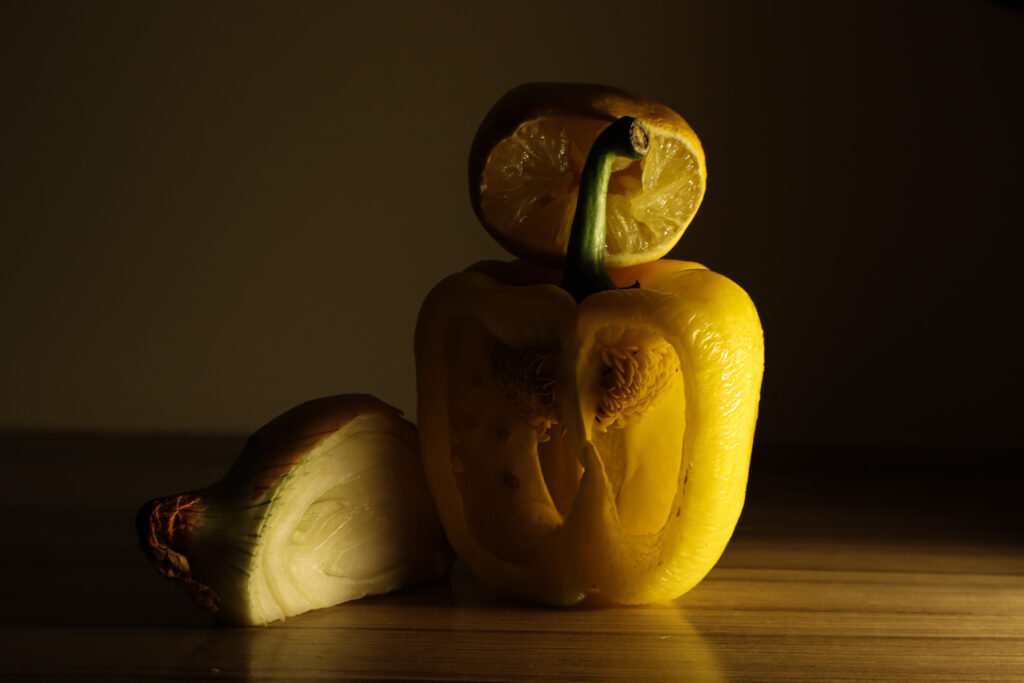
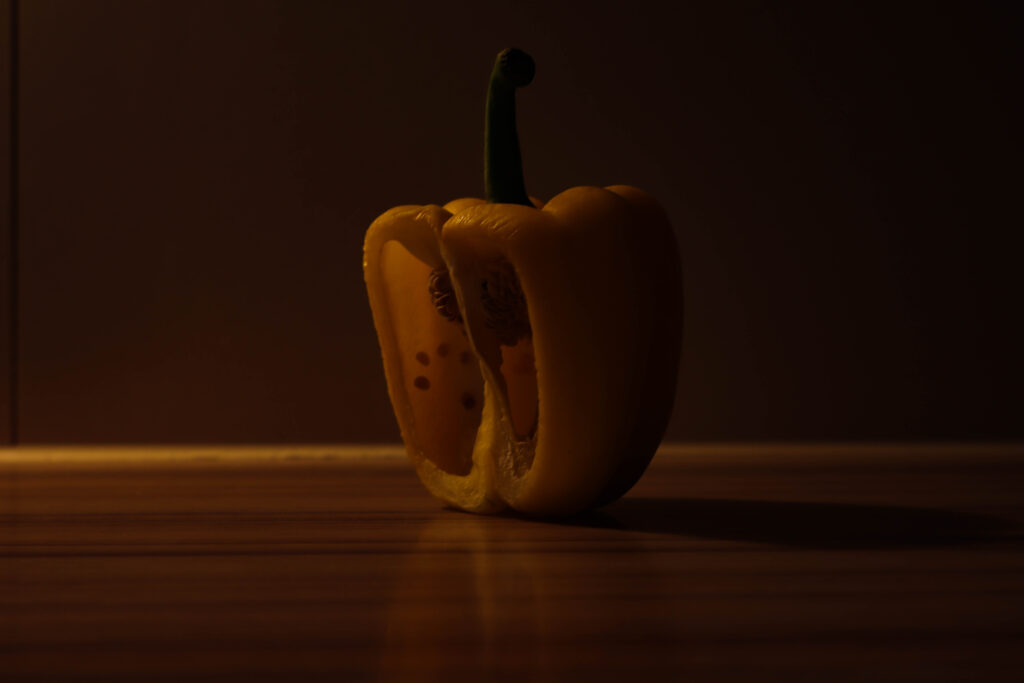
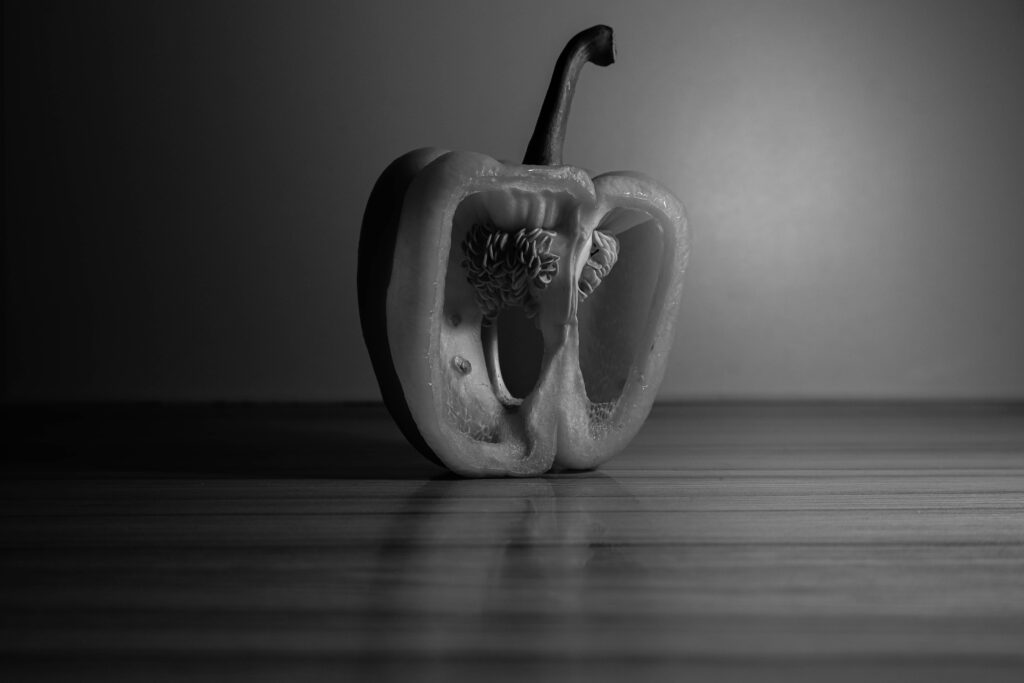
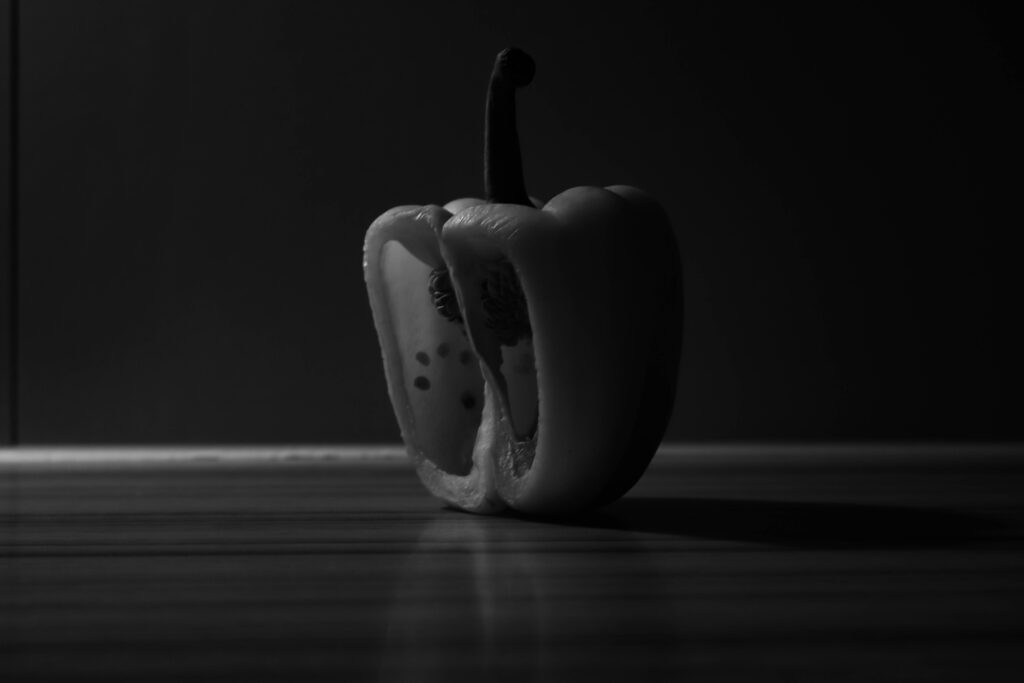
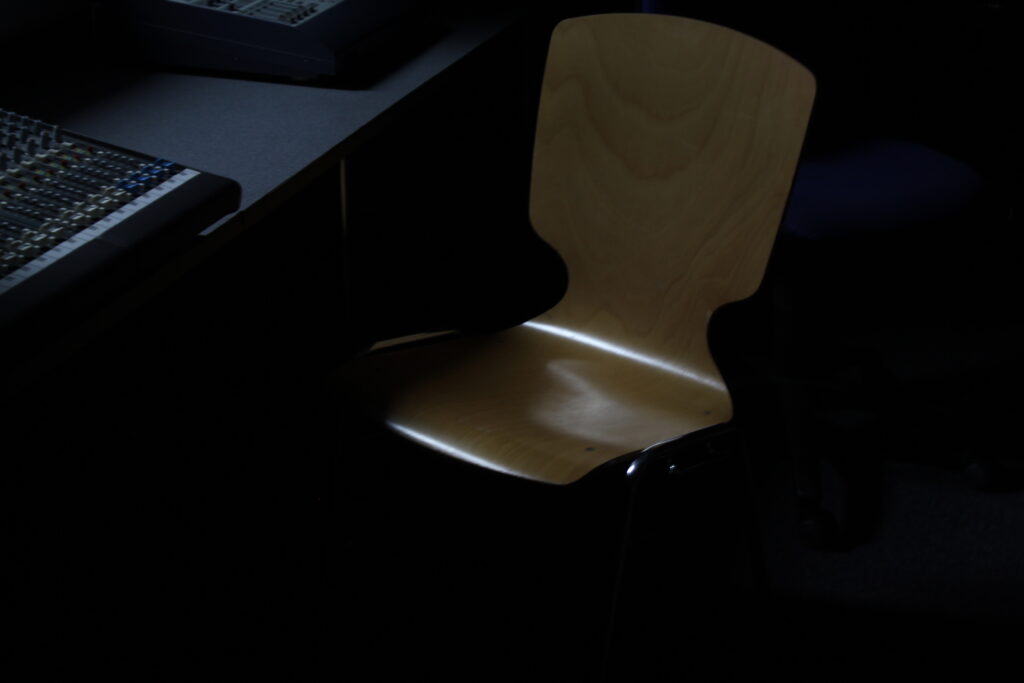
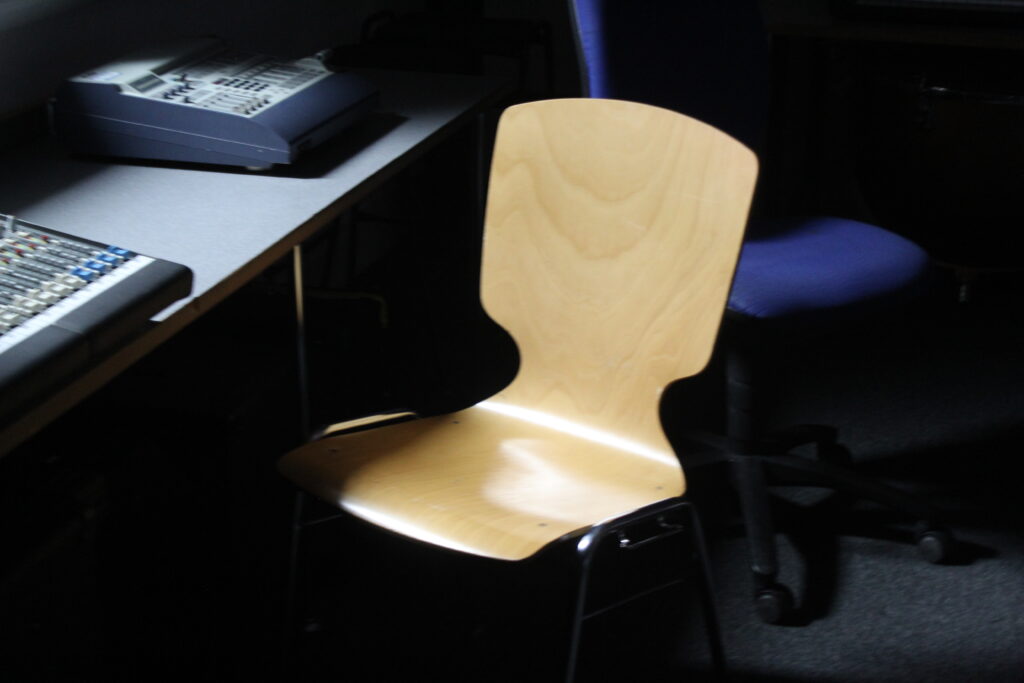
For this paper photoshoot, I tried multiple techniques to add dimension and dark contrasts by using a torch, a bright light, and multiple different coloured lights like blue and red. This all helped to link my work to my artist research as their photos also have that contrast to make the light brighter.
Artist Research
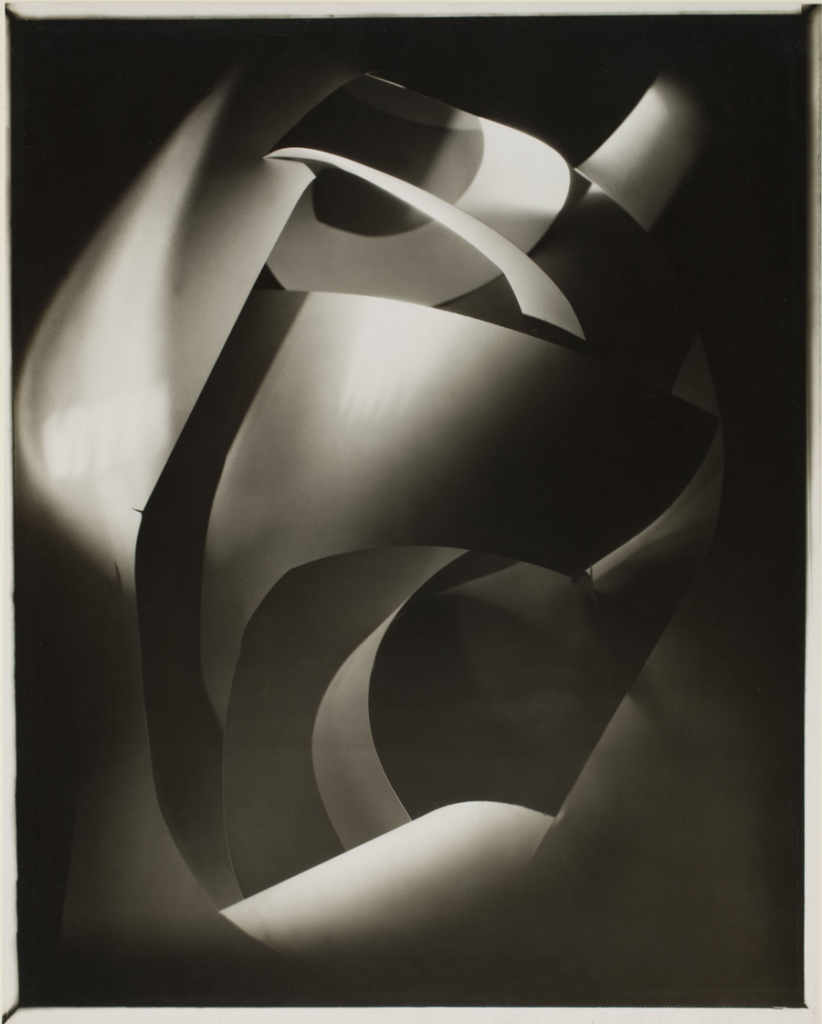
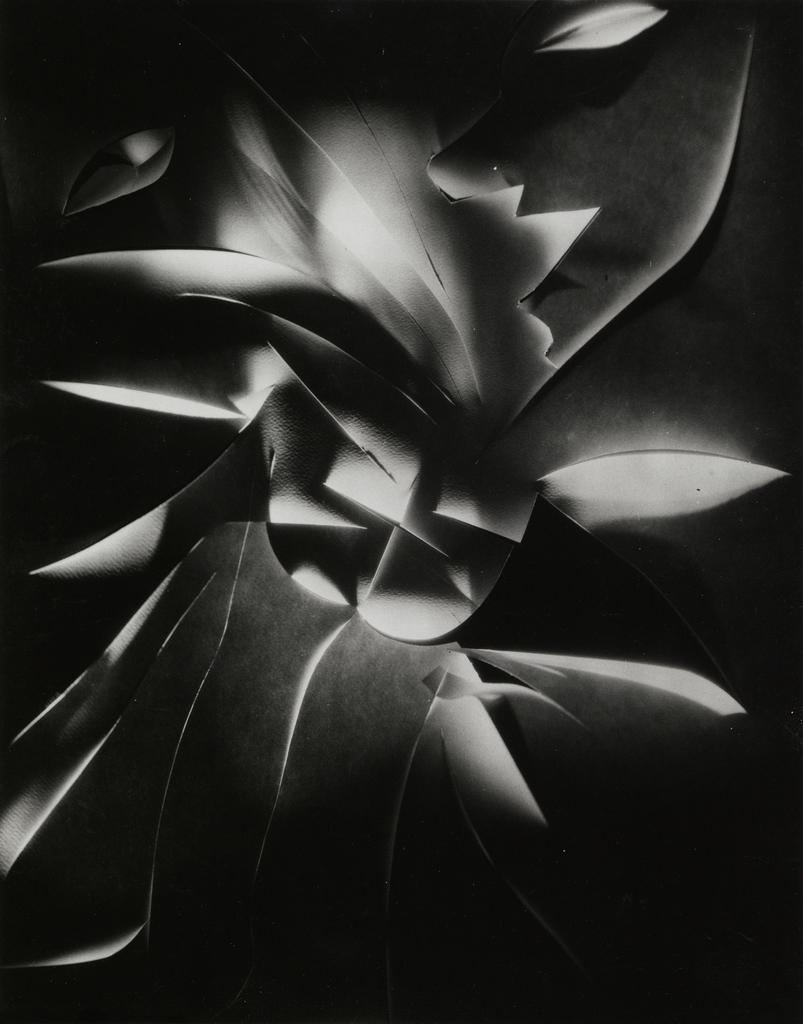
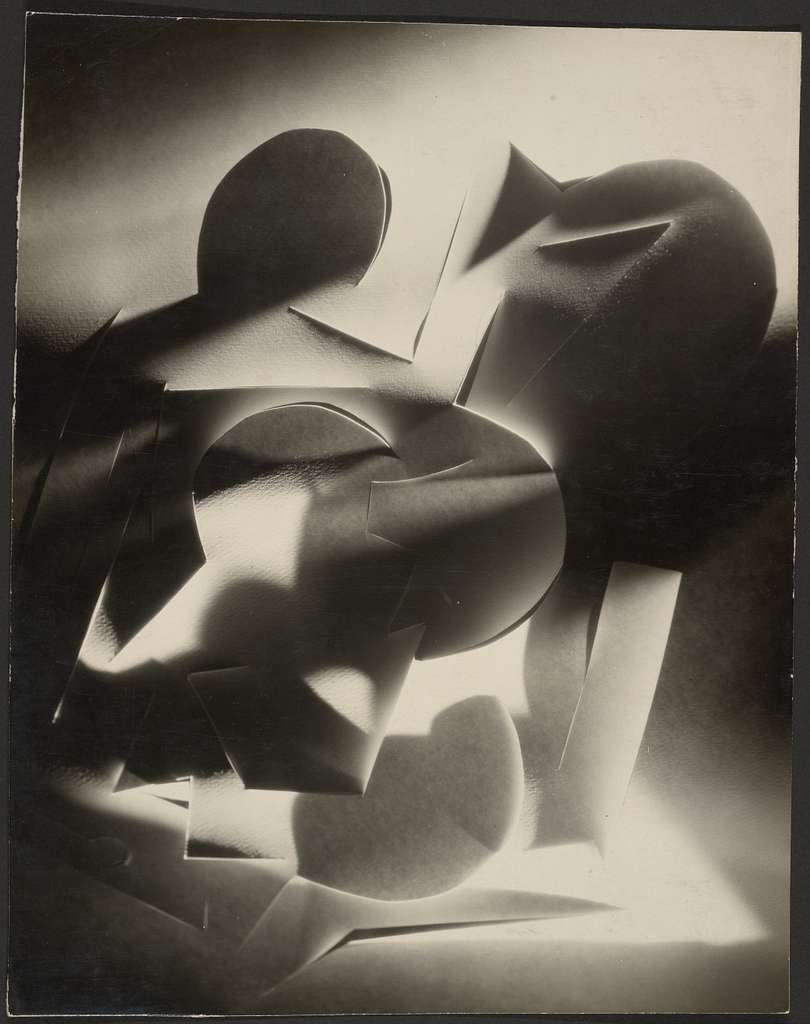
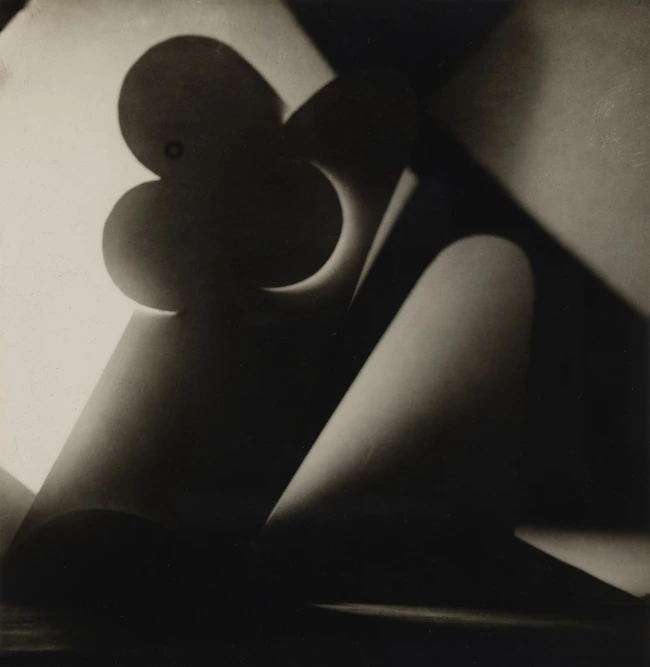
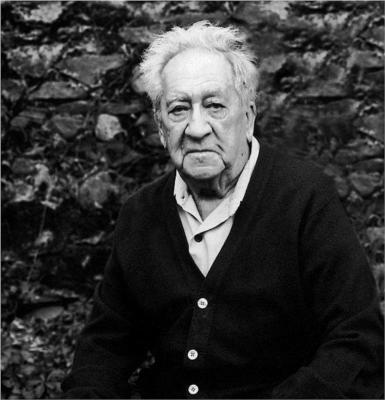
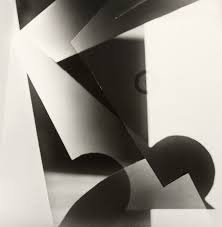
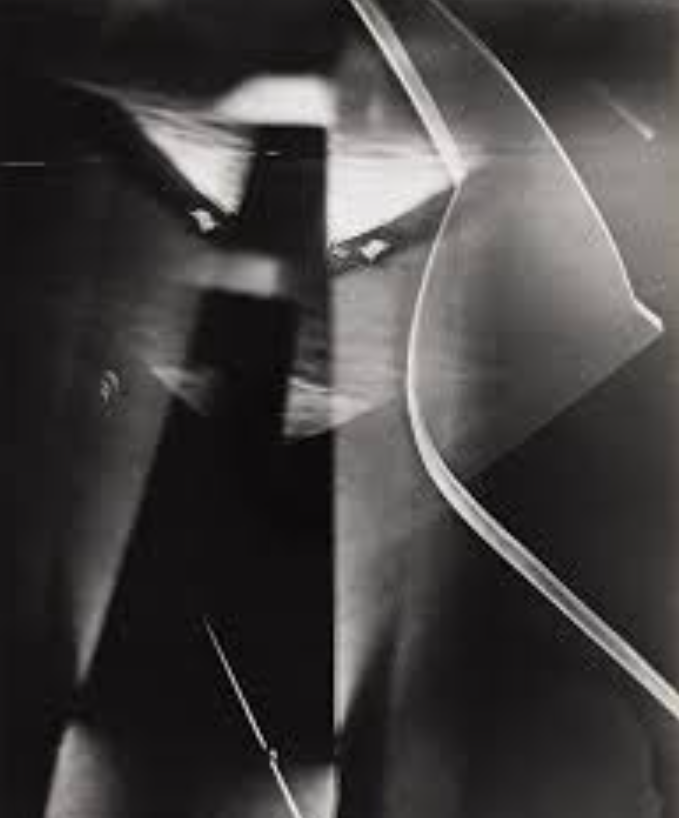
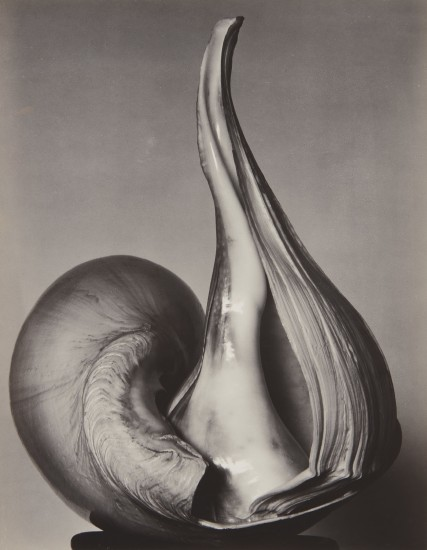
Francis Brugiére
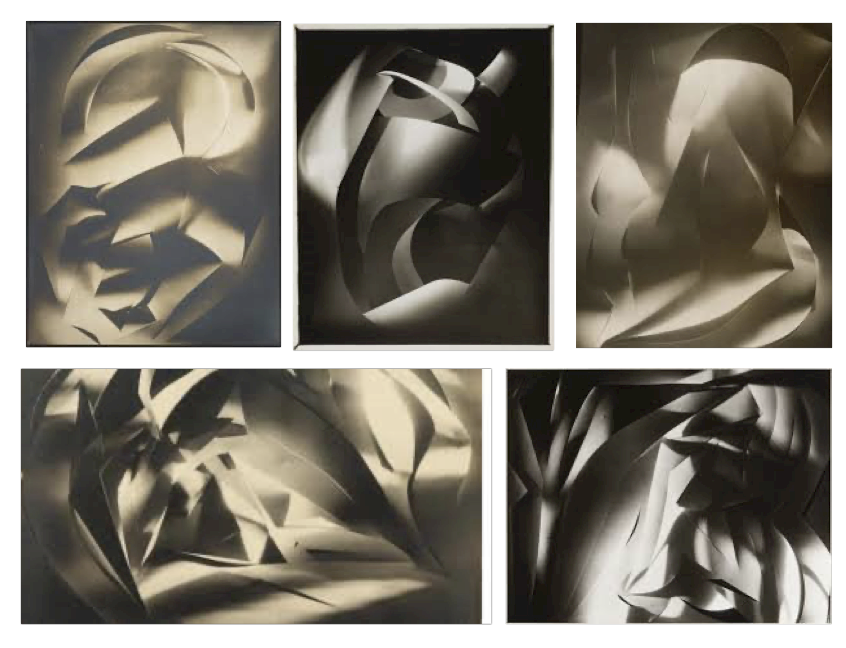
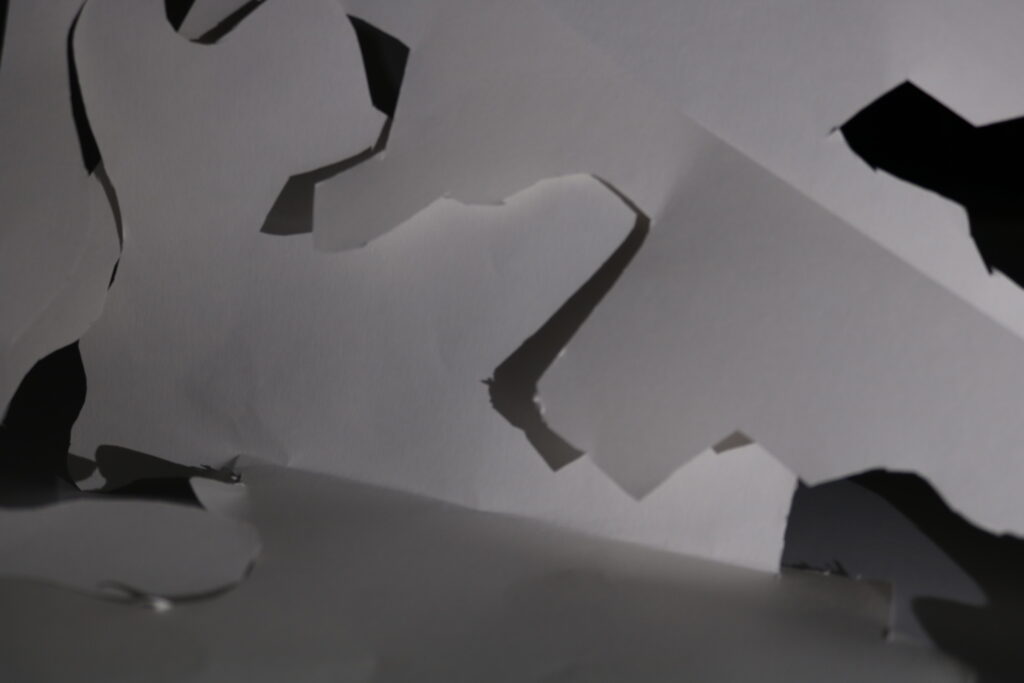
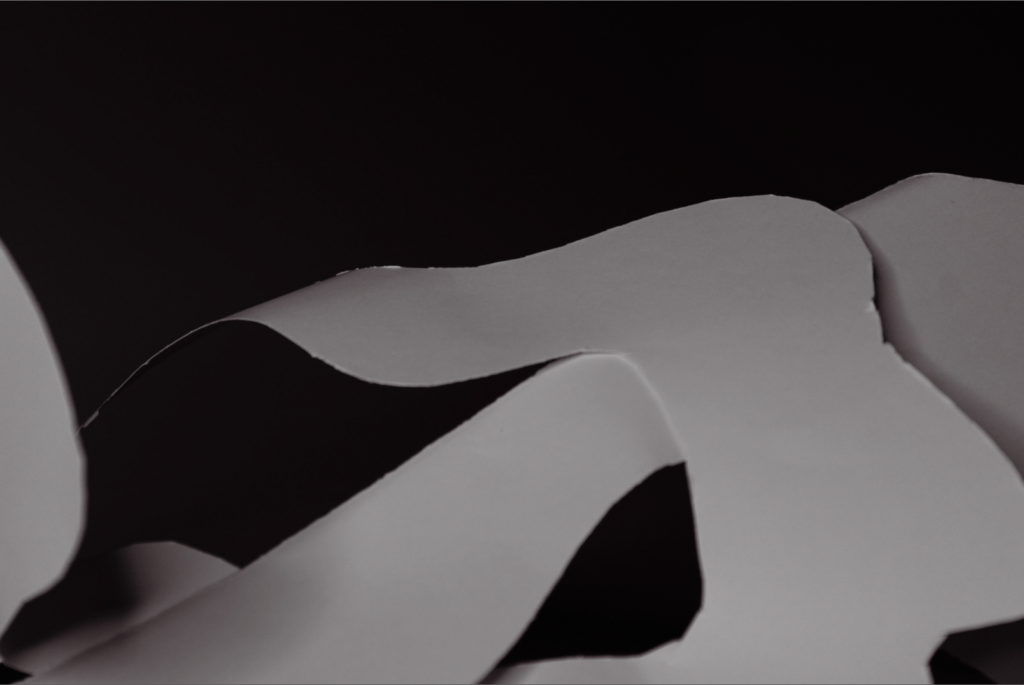
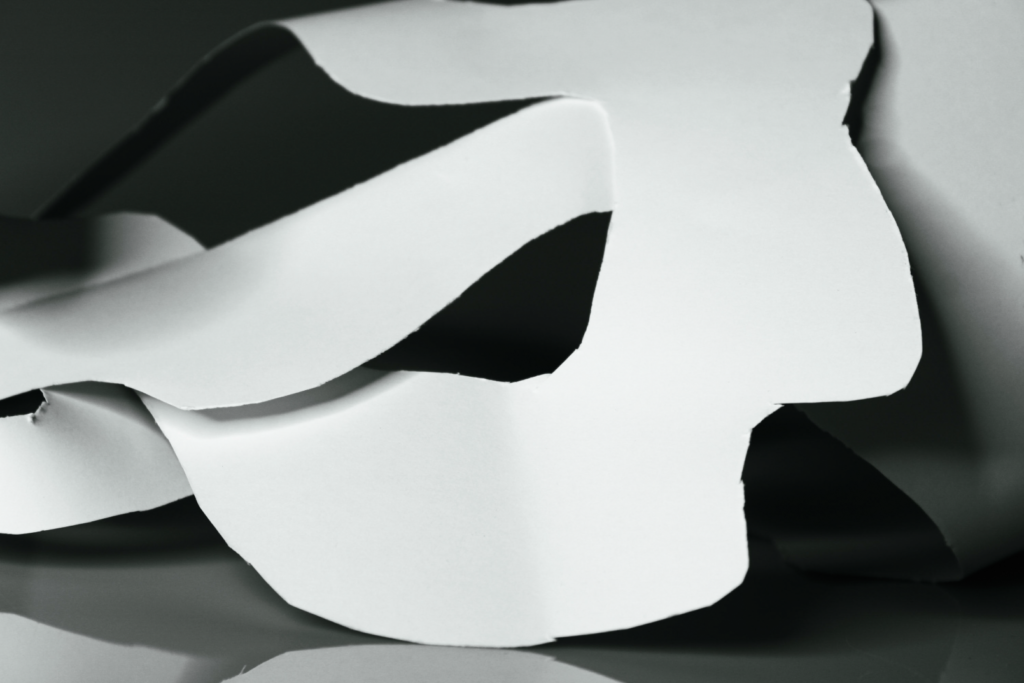
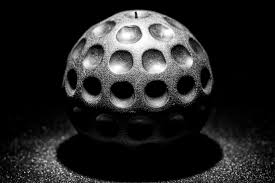
Francis was an American photographer, born in 1879, and died on the 8th of may 1945. He was born in San Francisco, and became a photographer along side also being a painter and a musician. Later in life, Brugiére moved to London to start a new film. His work can be summarised as a plain piece of paper folded and cut to create a unique pattern of interesting shapes and forms. With the use of light, his work is seen to have a contrast of both light and dark pieces featured. The colour is edited to be a monochrome tone, to make the main focus on the contrast and to take away any of the other distractions. The use of line is highlighted in his images as the paper creates various lines heading in all sorts of directions, which creates a detailed effect. Lastly, Francis uses a zoomed in camera technique to capture the curves of the paper without including the background of the images. By not including this, it helps present the work as a sole focus on the paper design and no other distractions.
Photoshoot plan
In order to do this, I will use a dim-lit room where I will be able to take images using a bright torch to show the contrast of light. I will also need to cut up some paper to create the same effect Brugiére does as his paper is full of various shapes and patterns to create a unique look. I will also make sure to have a backdrop so nothing in the background will be seen when taking these images.
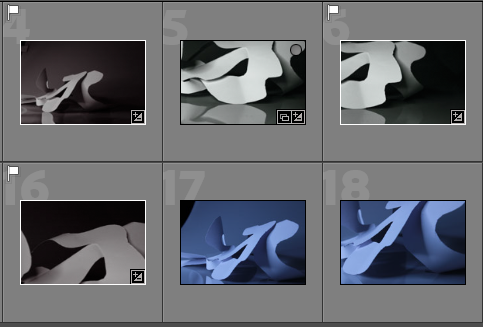
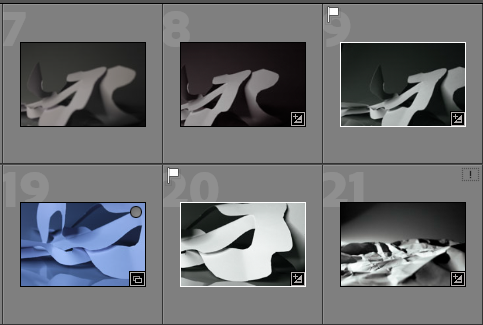
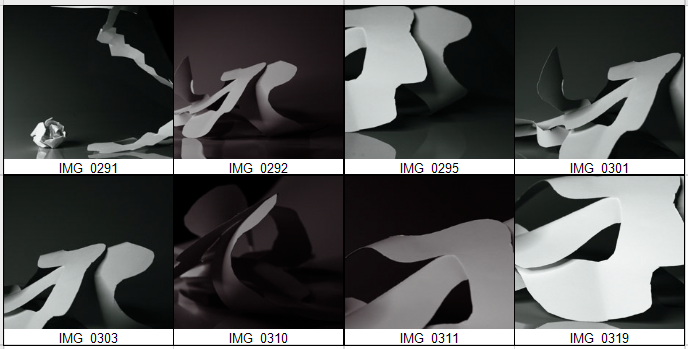
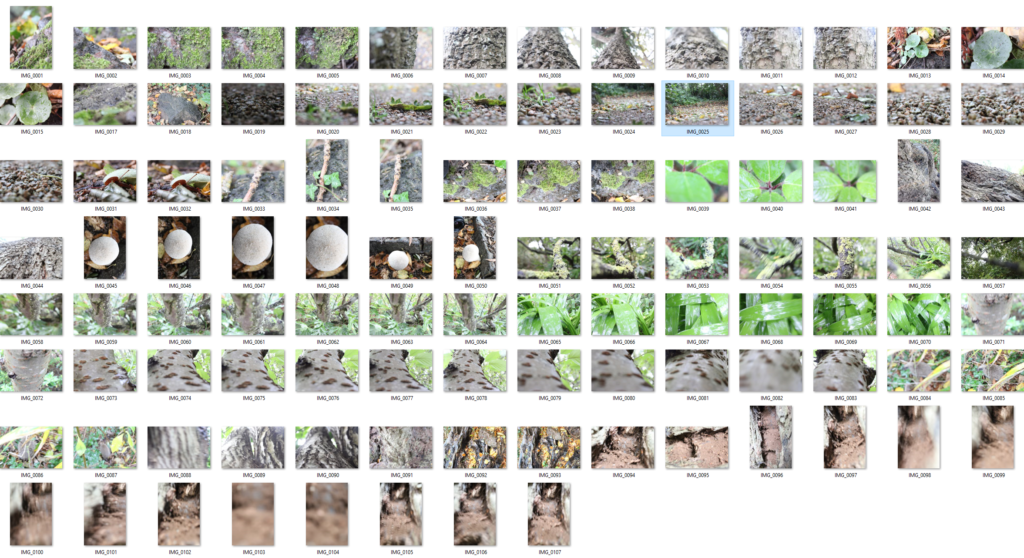
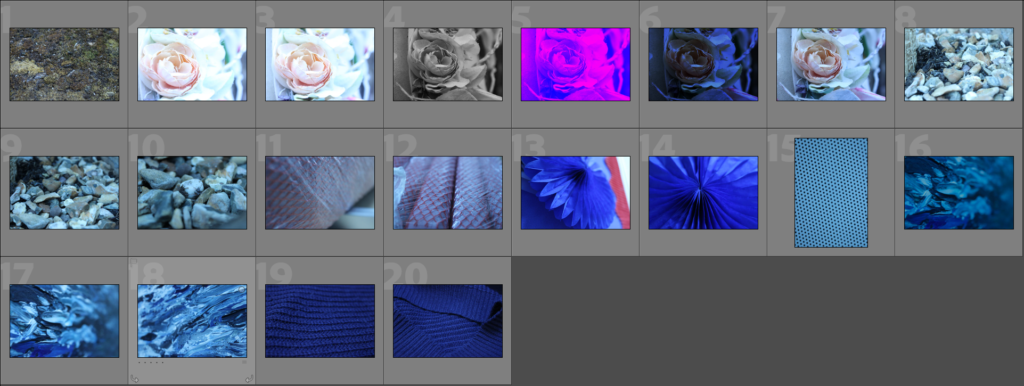
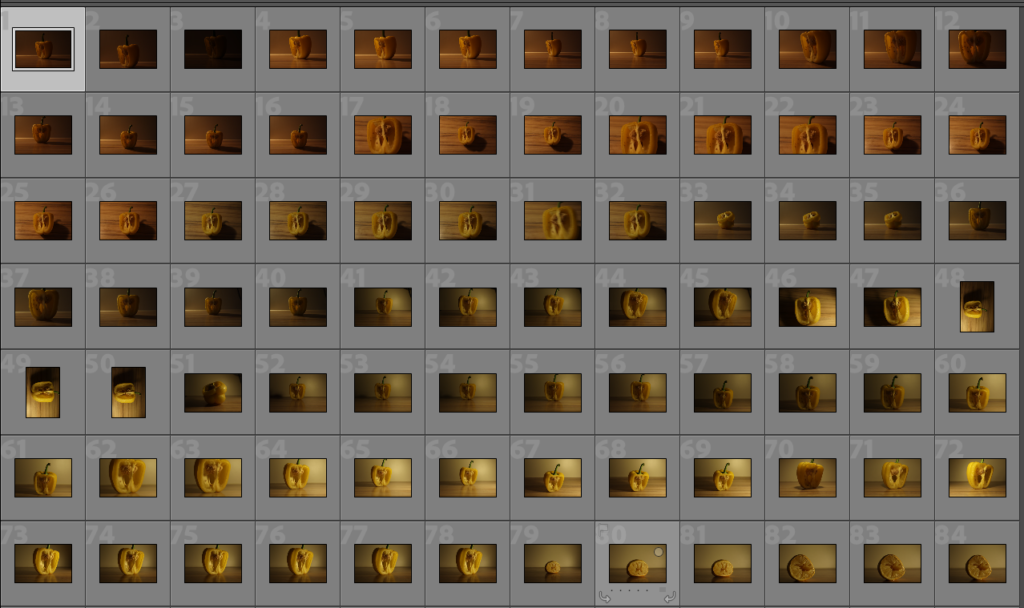
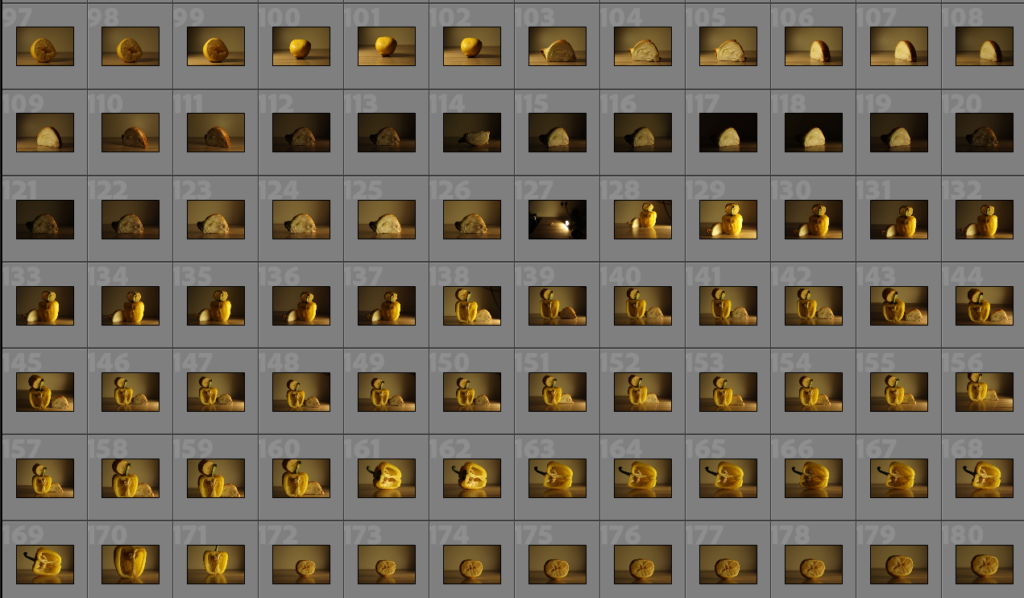
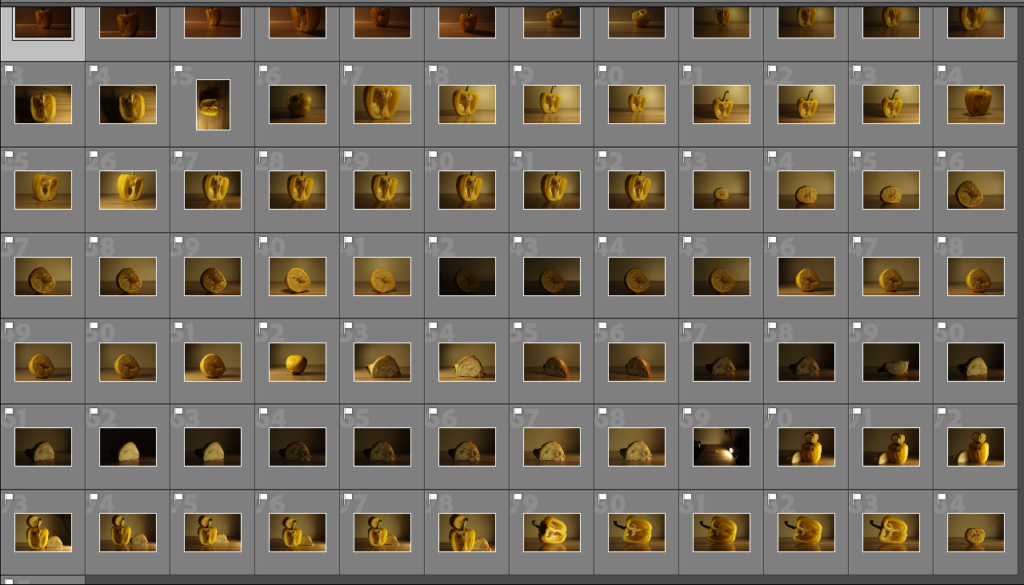
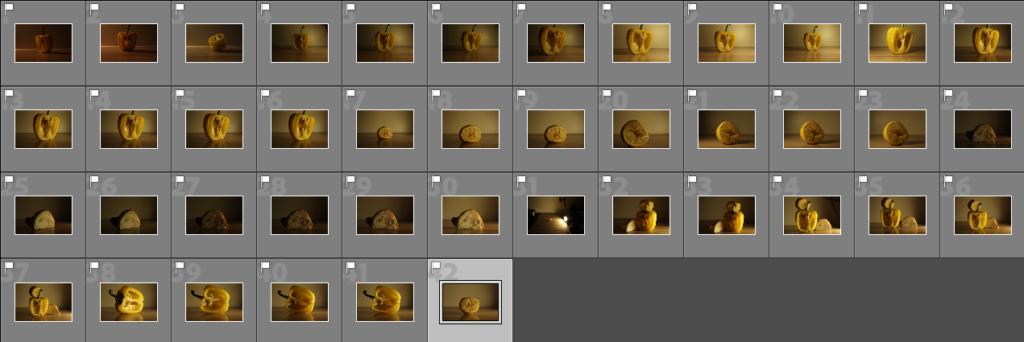
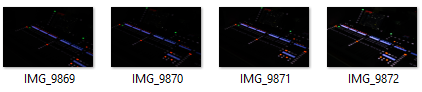
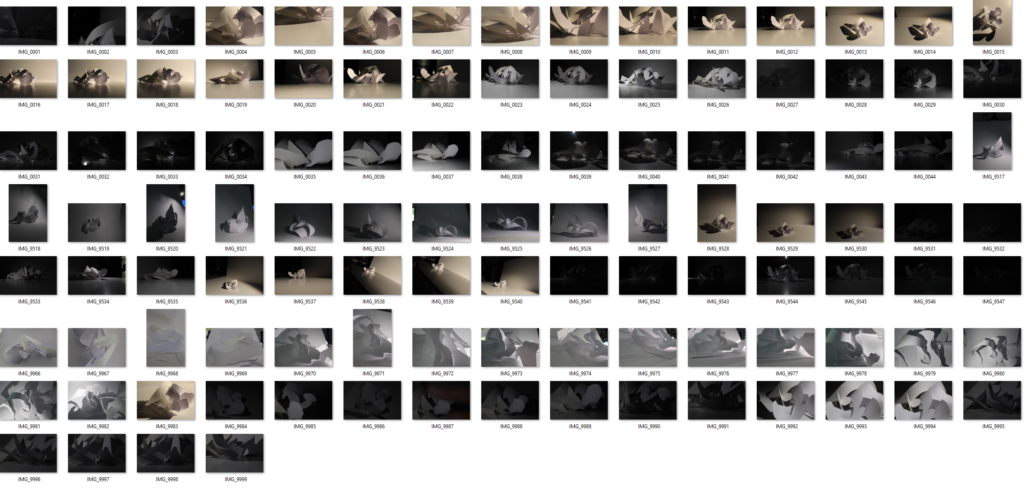
Contact Sheet
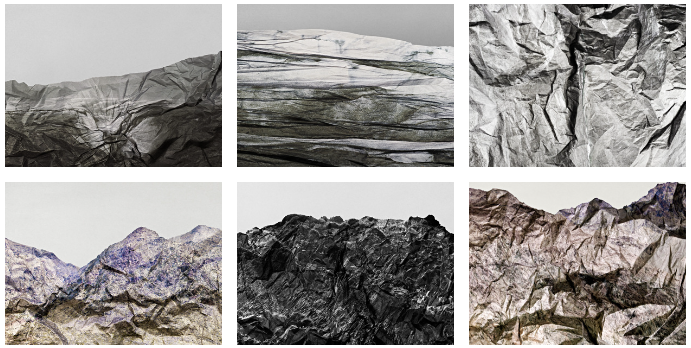
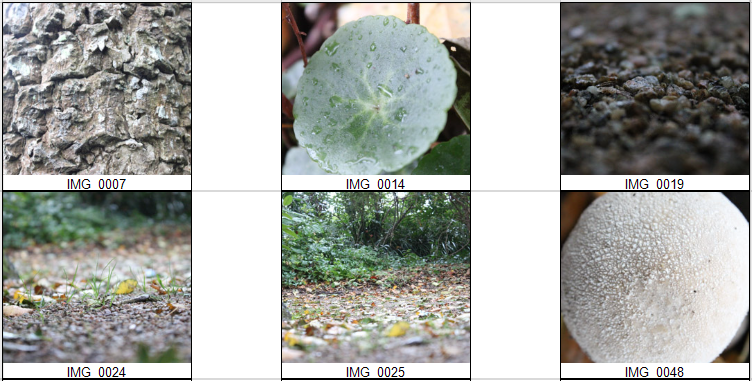
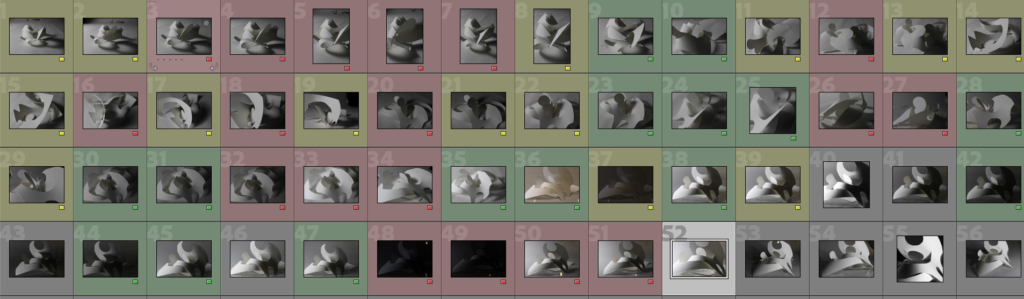
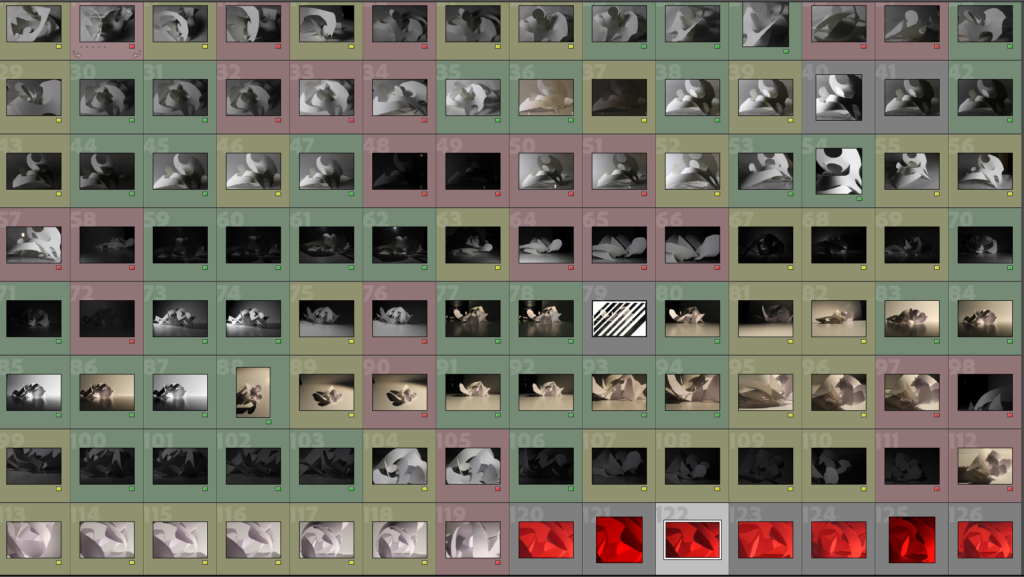
My Best Photos
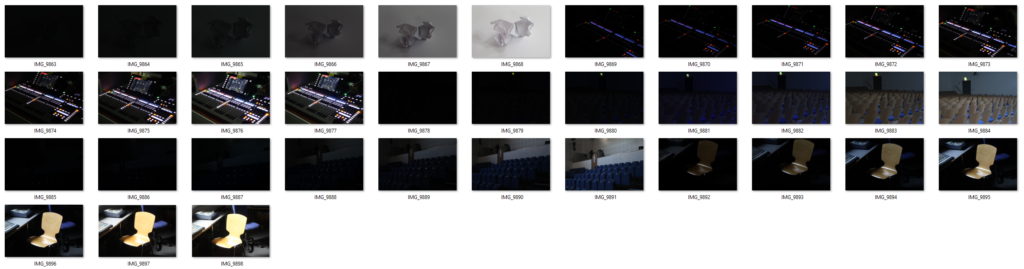
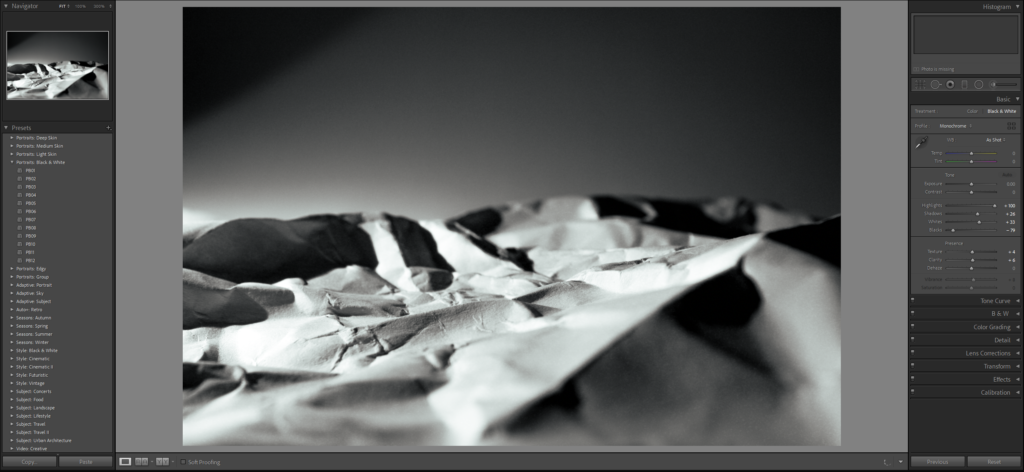
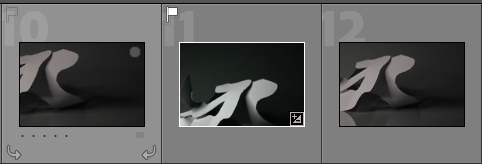
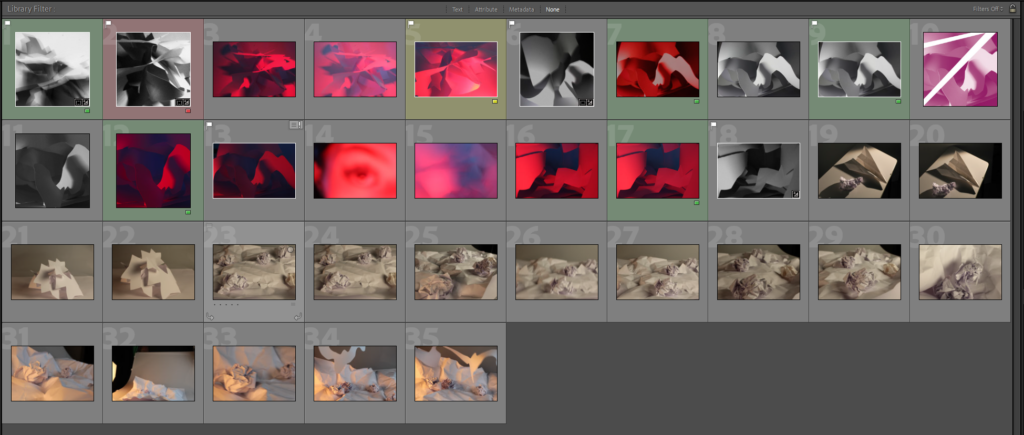
For my best photos, I uploaded my images onto Lightroom and colour coded the ones I thought were the best (green), the ones that were okay (yellow) and the ones I wouldn’t use (red). As you can see, there ended up being a wide variety of images with different colour codes. This makes it easier to figure out which ones I like, and which ones I don’t so I can edit the good ones on photoshop.
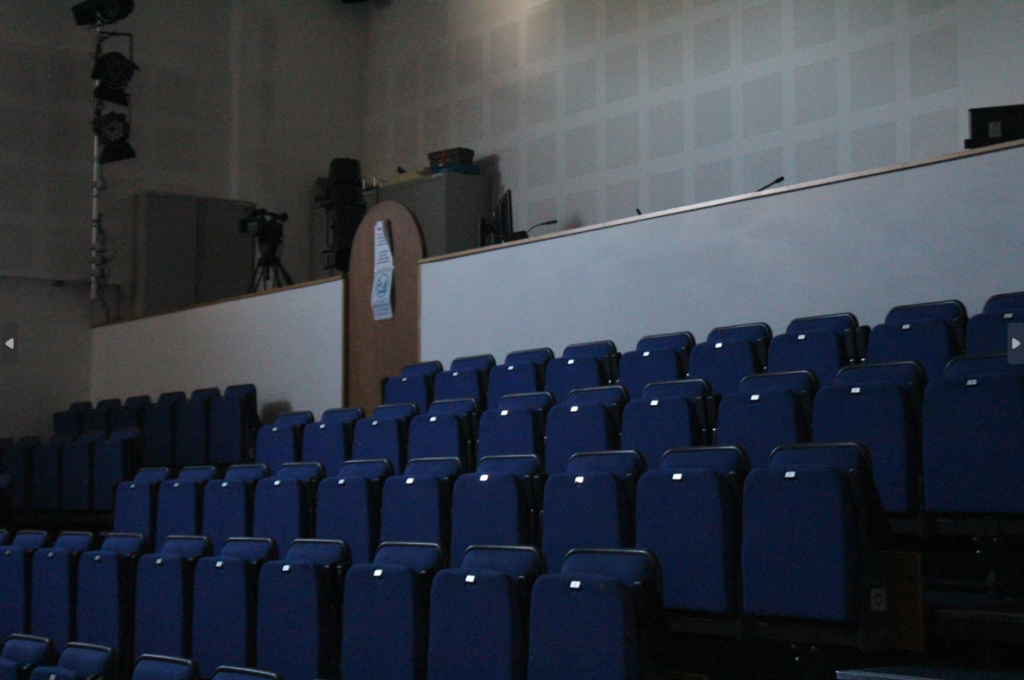
Reflection on the photoshoots:
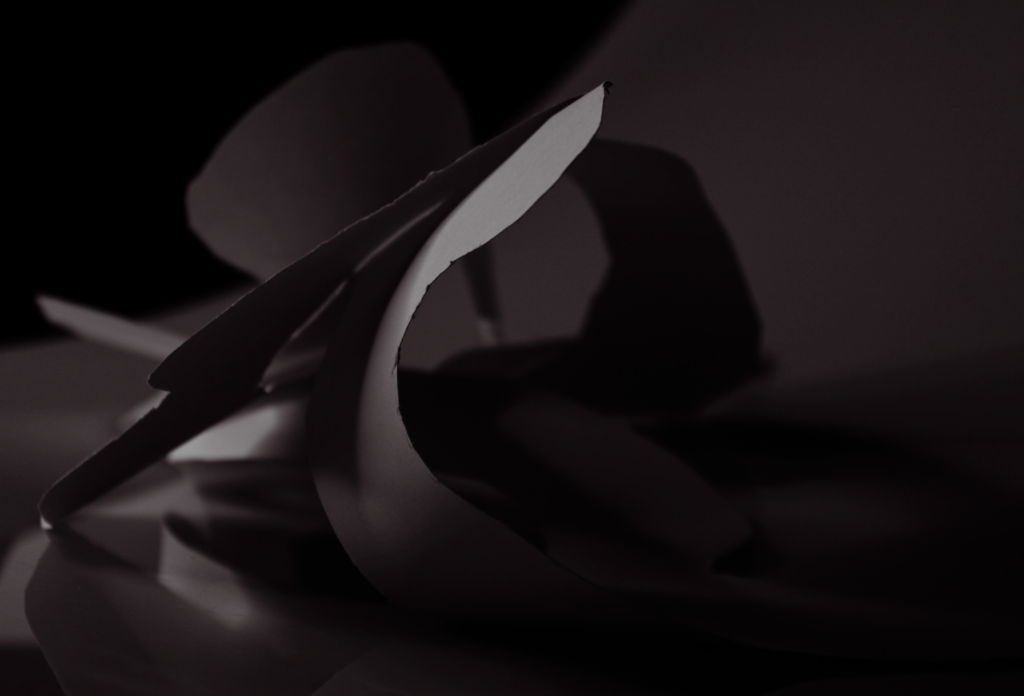
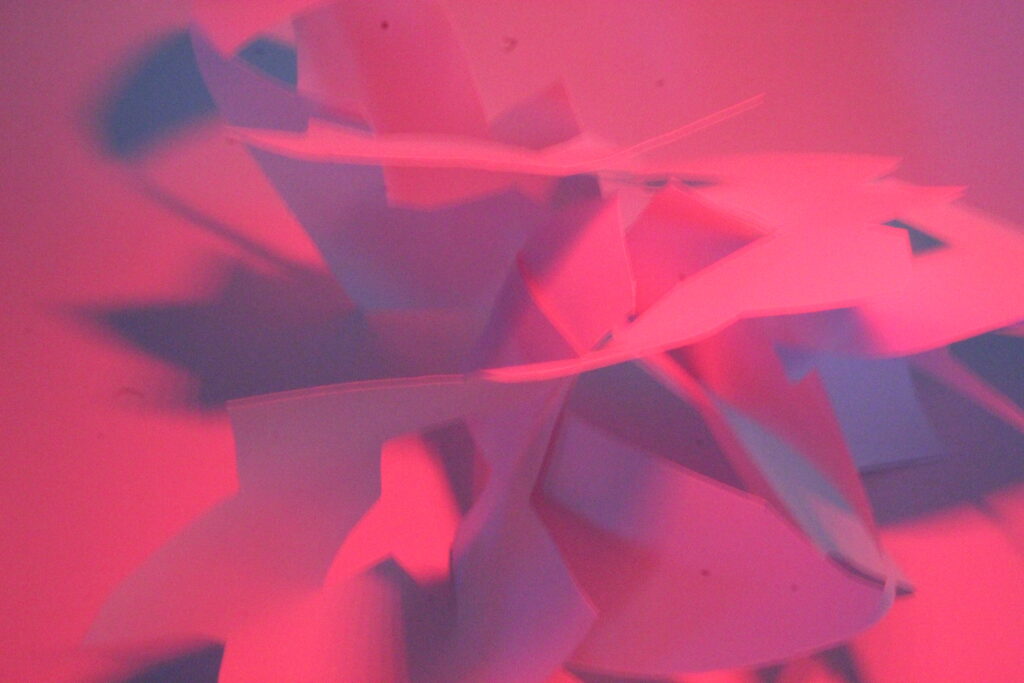
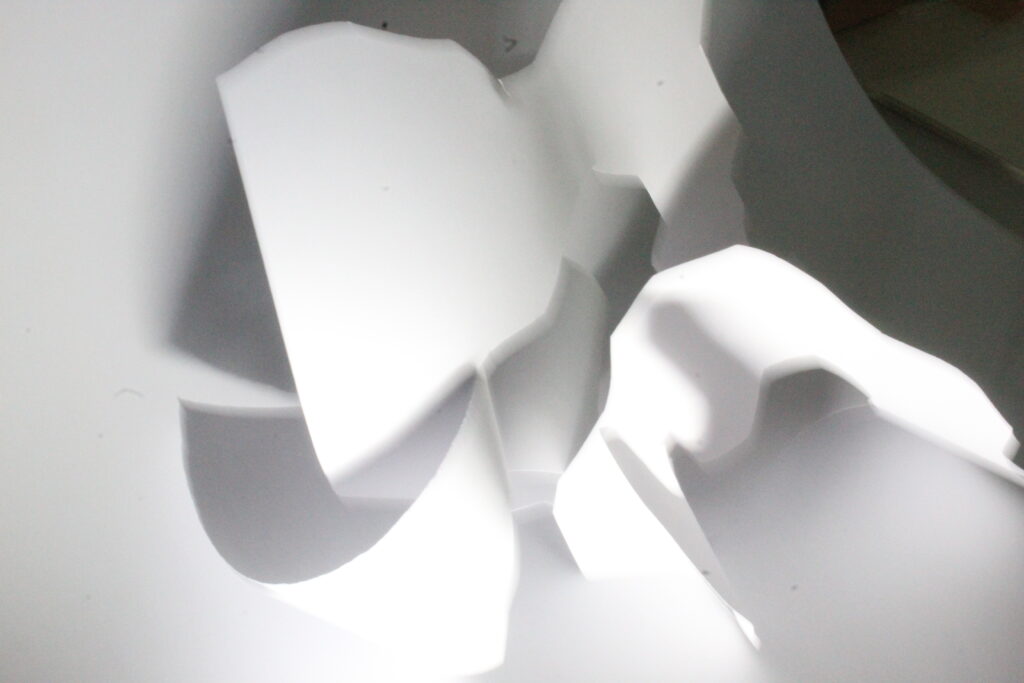
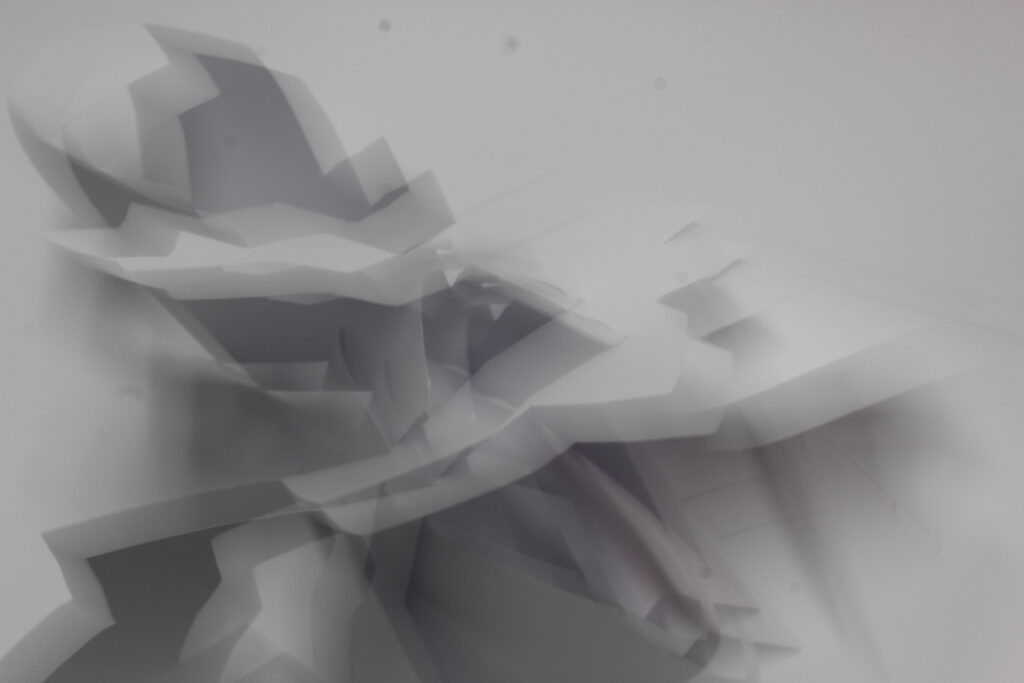
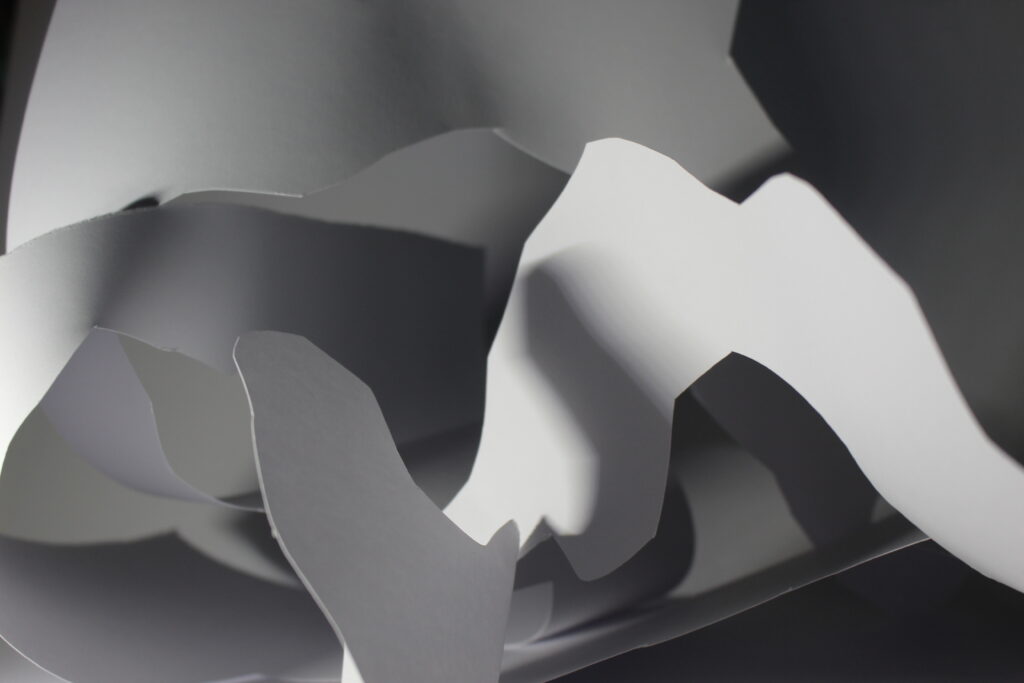
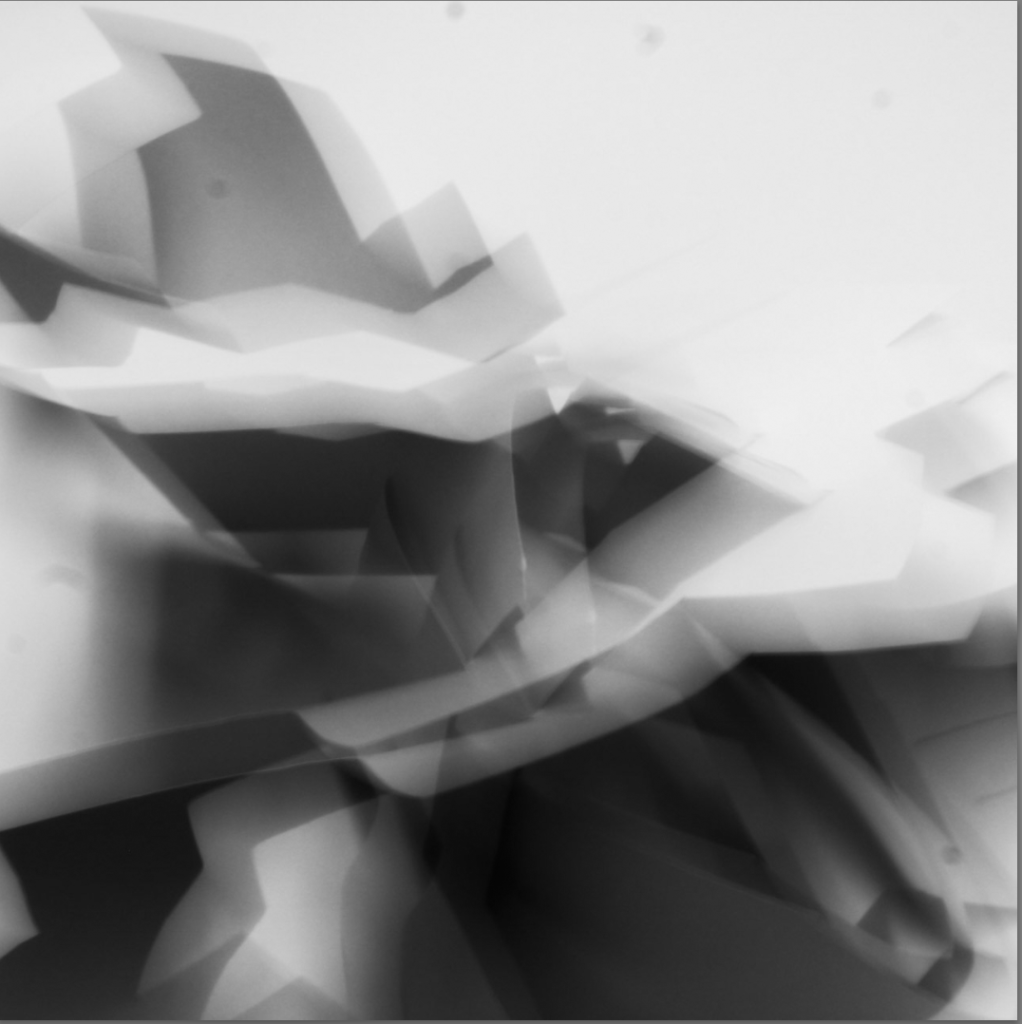
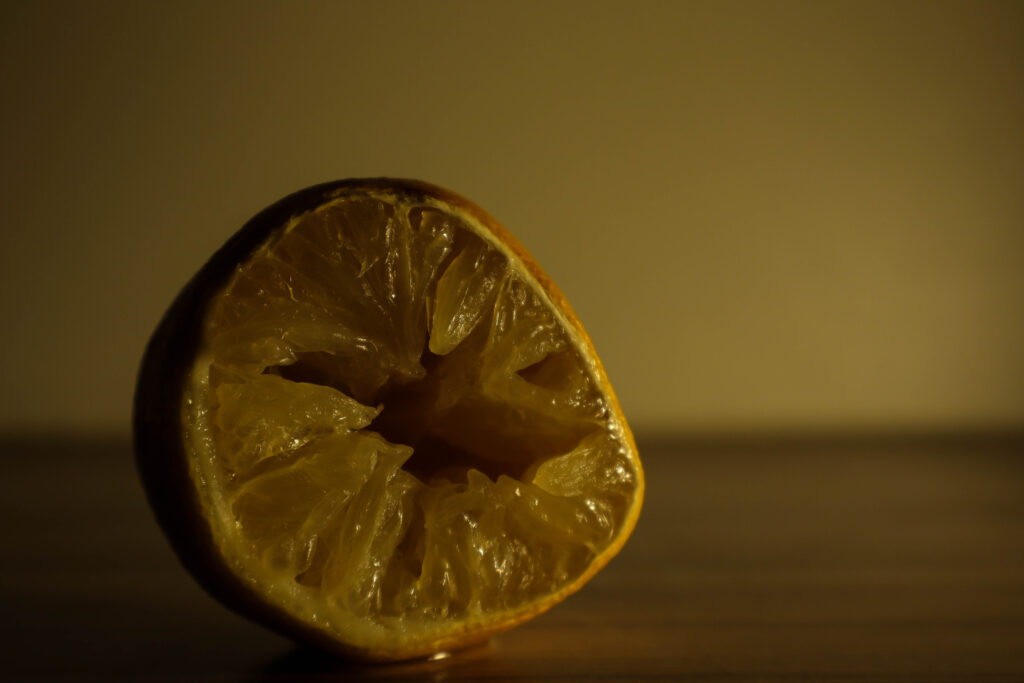
Overall, I think these photoshoots were a great way to experiment and discover which lightings were the best, and which images accurately matched the artist research’s work. Although, I took multiple photoshoots as some of the images turned out blurry the first time since the camera movement was shaky, making the image also look shaky. The use of the different coloured lighting made the vibe of the image completely different, as the bright white light made the images look neat, whereas the red lighting made the images look dark.
Editing
I demonstrated 3 different ways to edit these images, as there are various ways to upgrade your images to enable them to look the best they can be. My first edit is black and white, my second edit is different ways of cropping, and my third way is slicing the image.
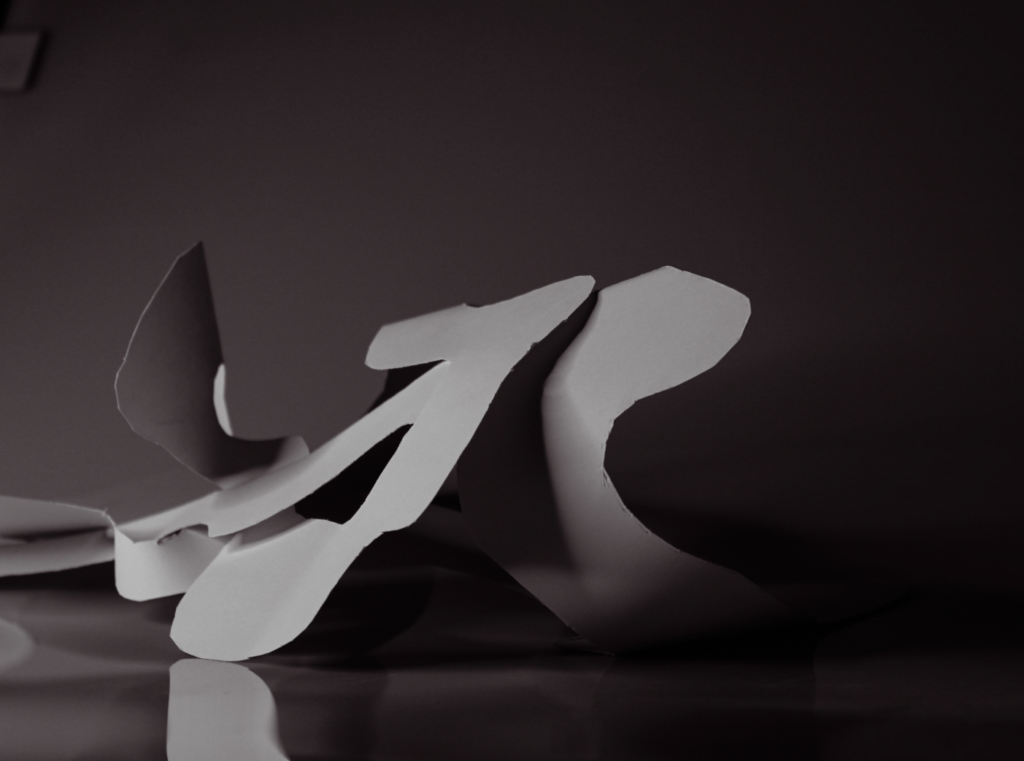
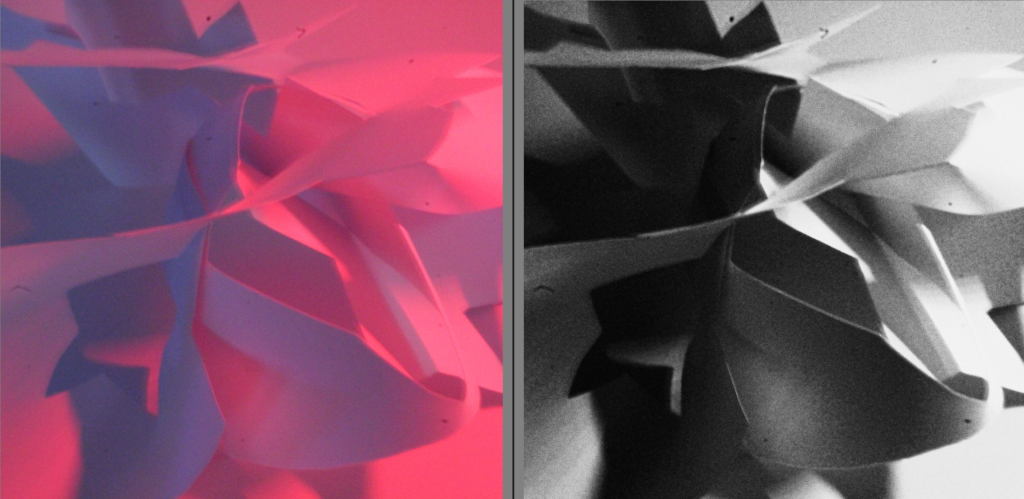
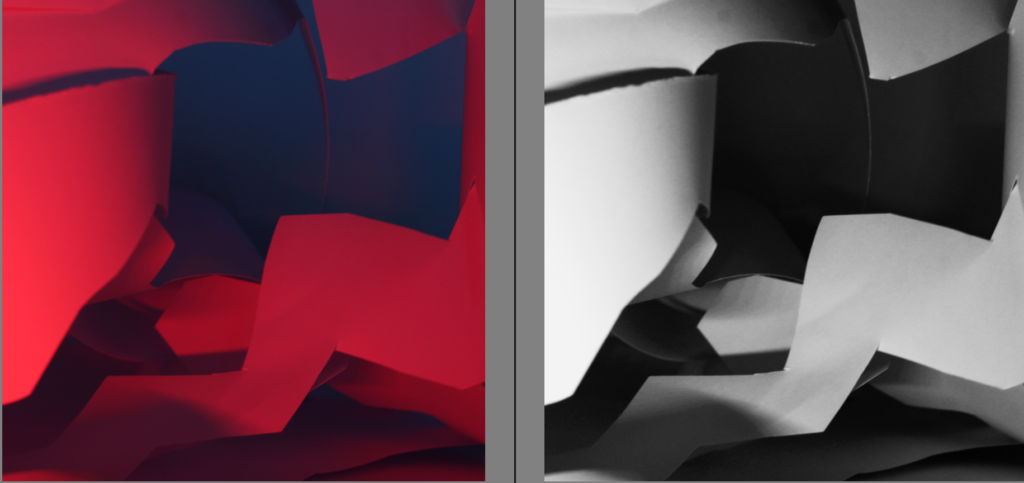
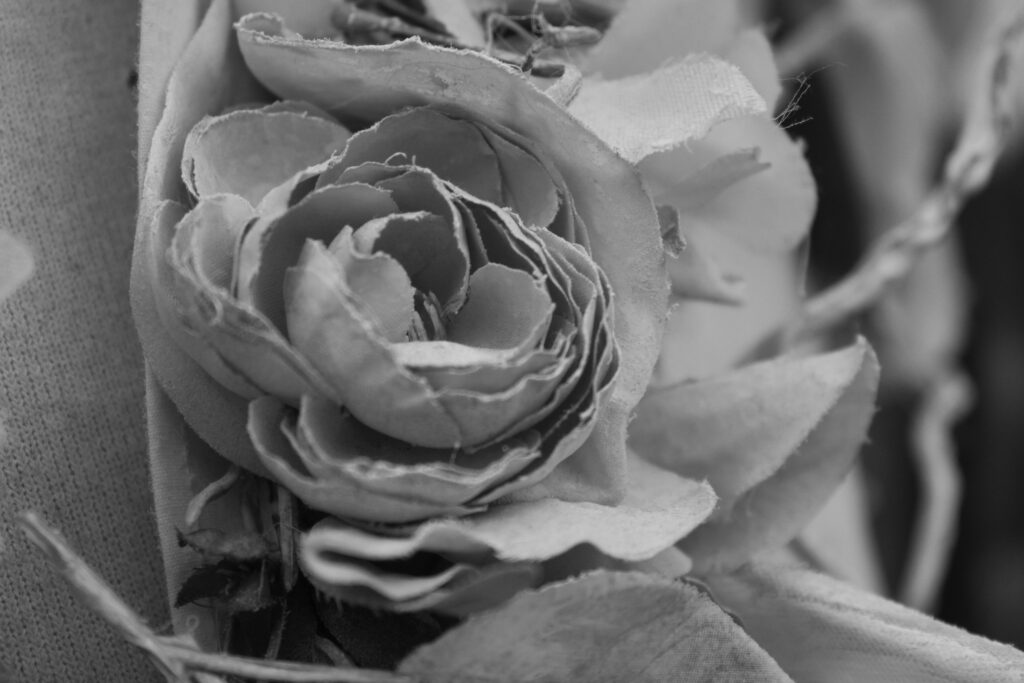
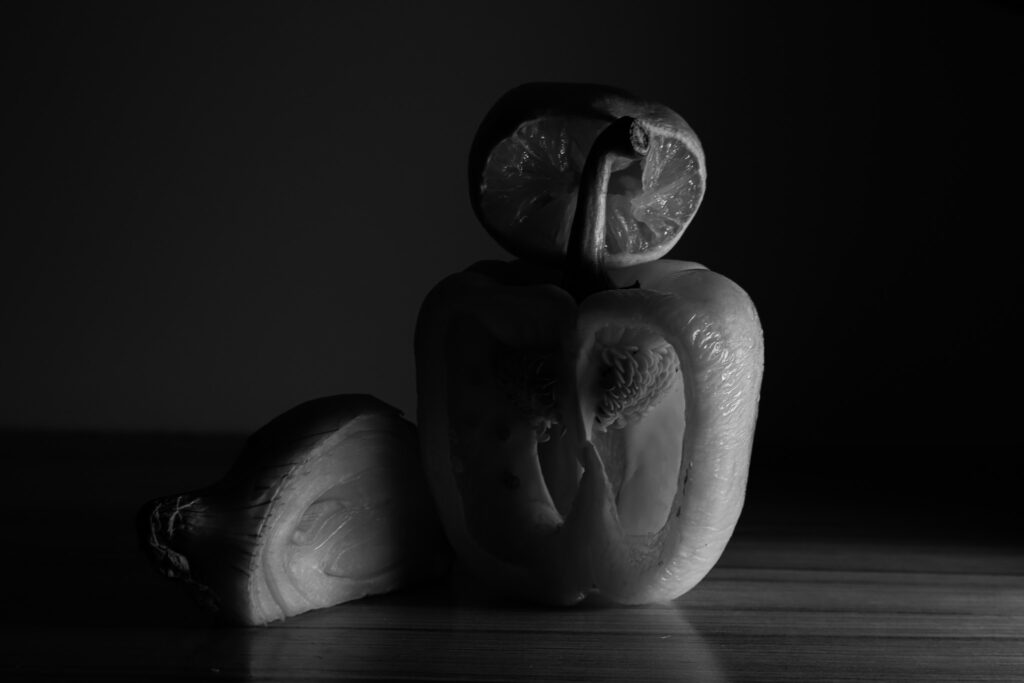
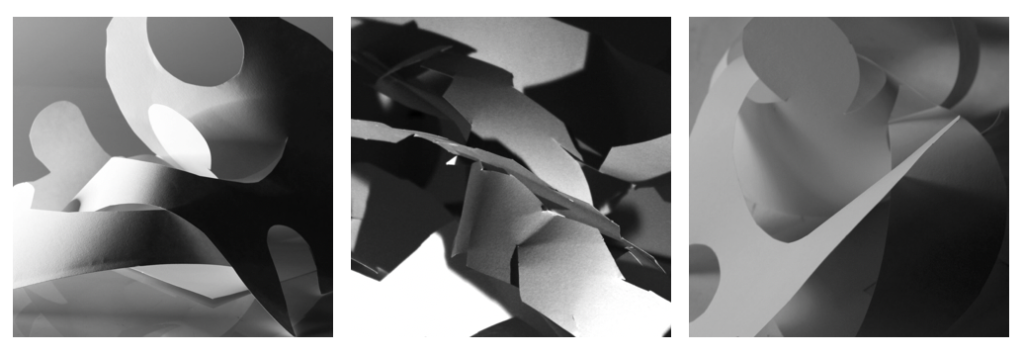
Edit 1 – Black and white
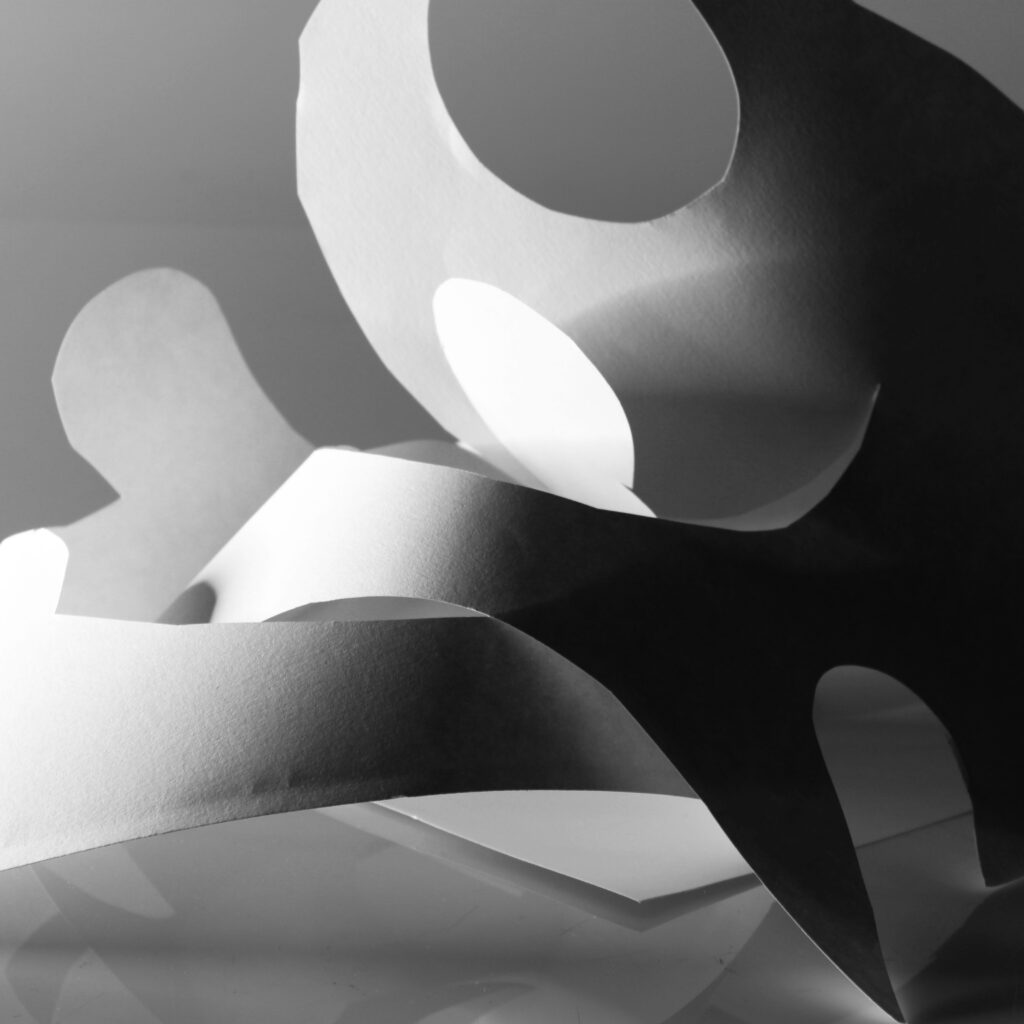
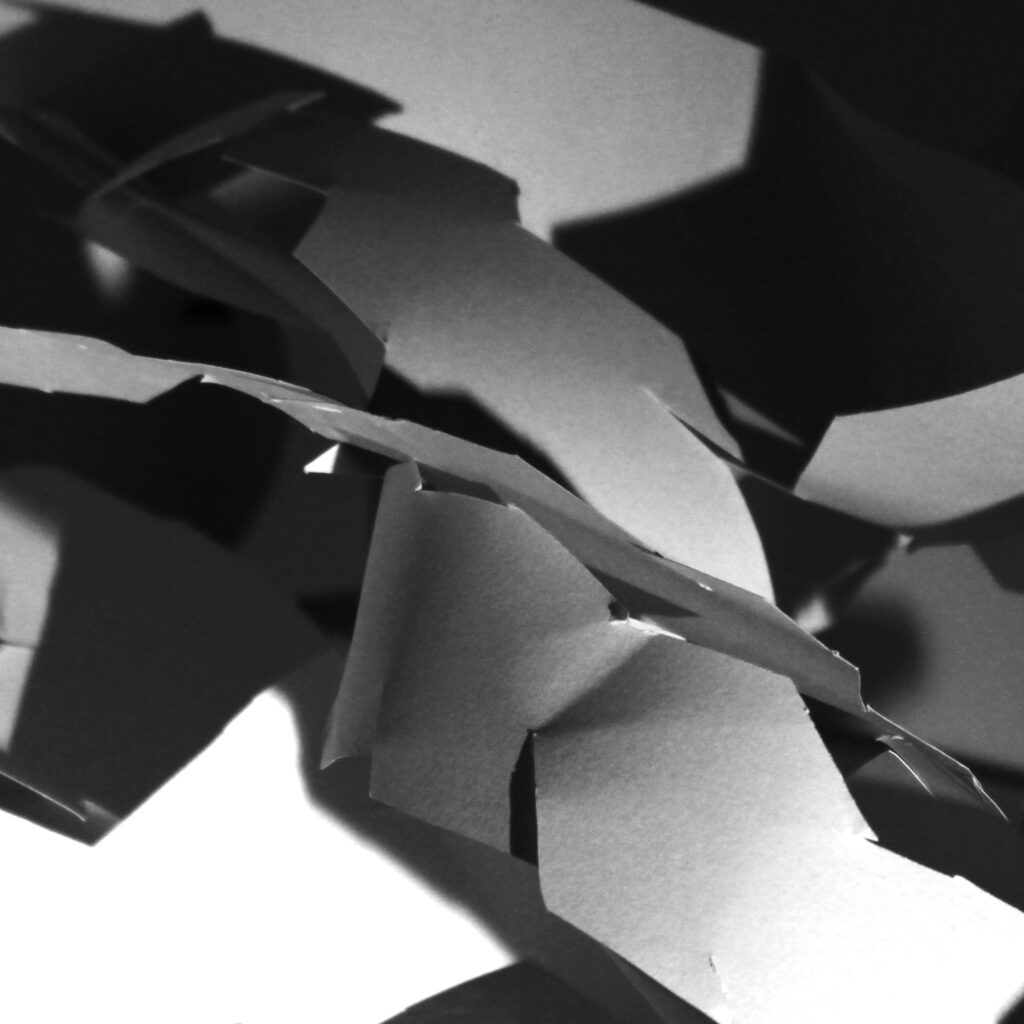

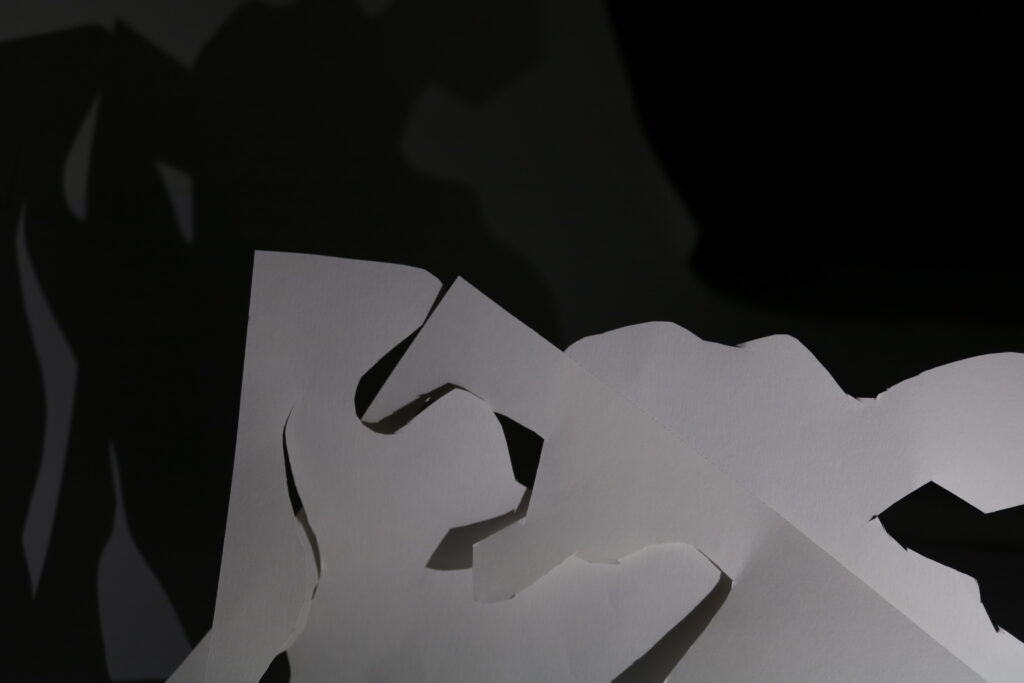
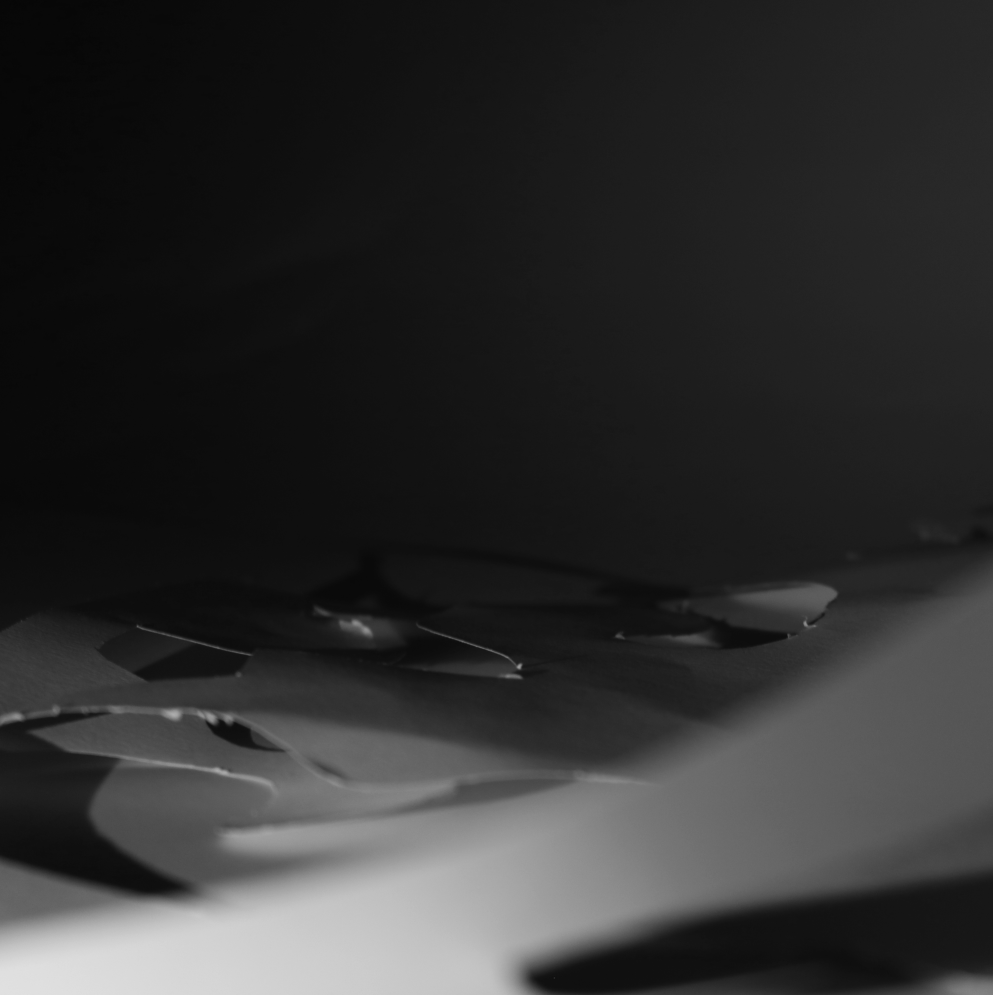
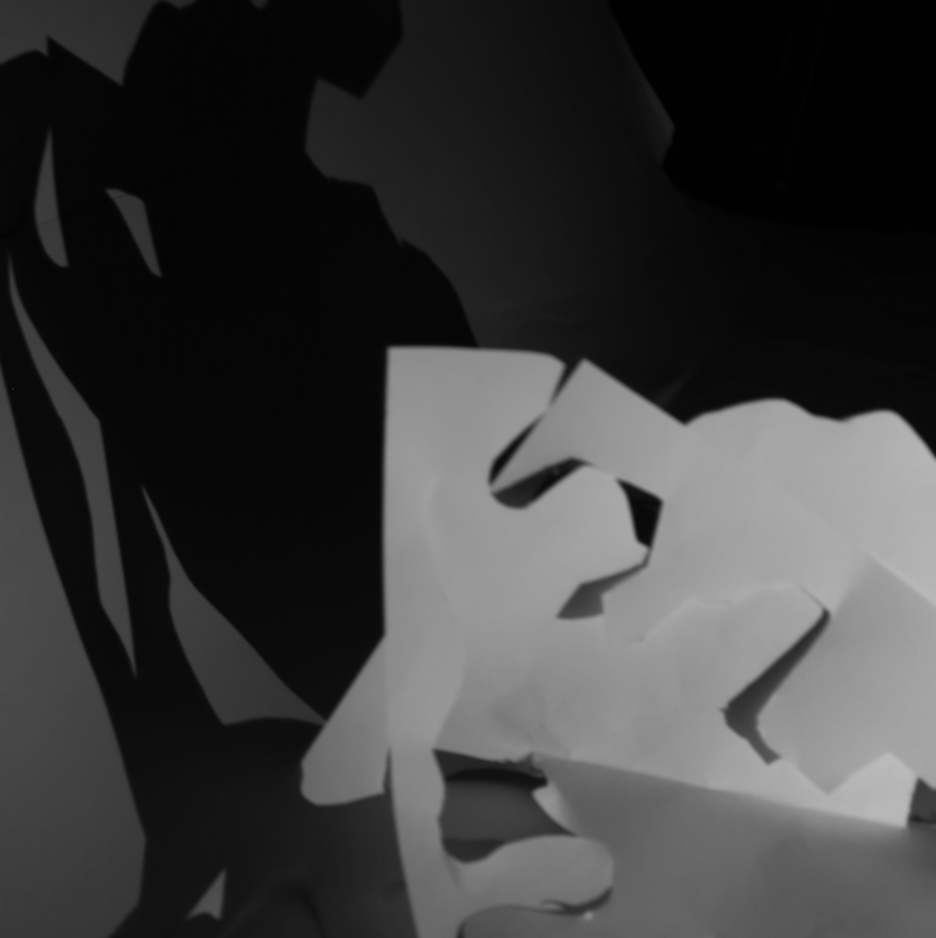
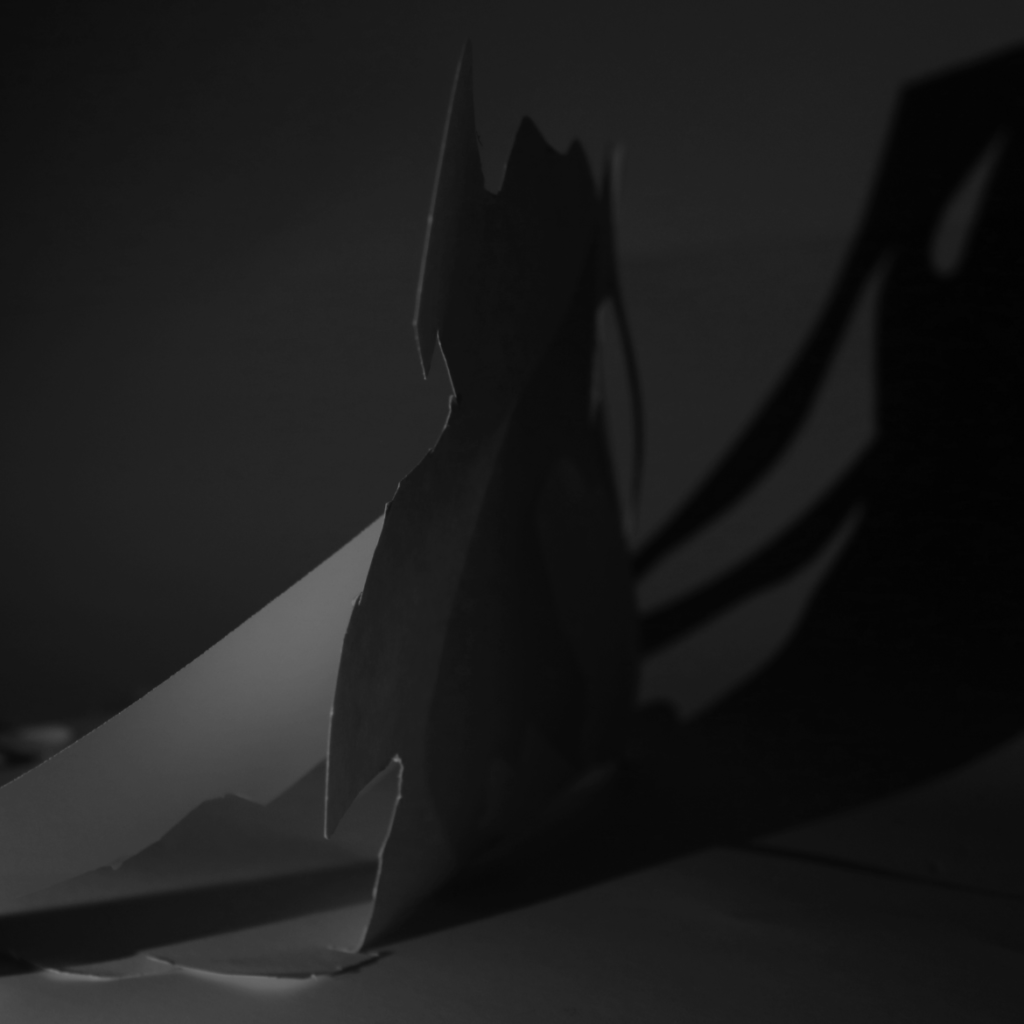
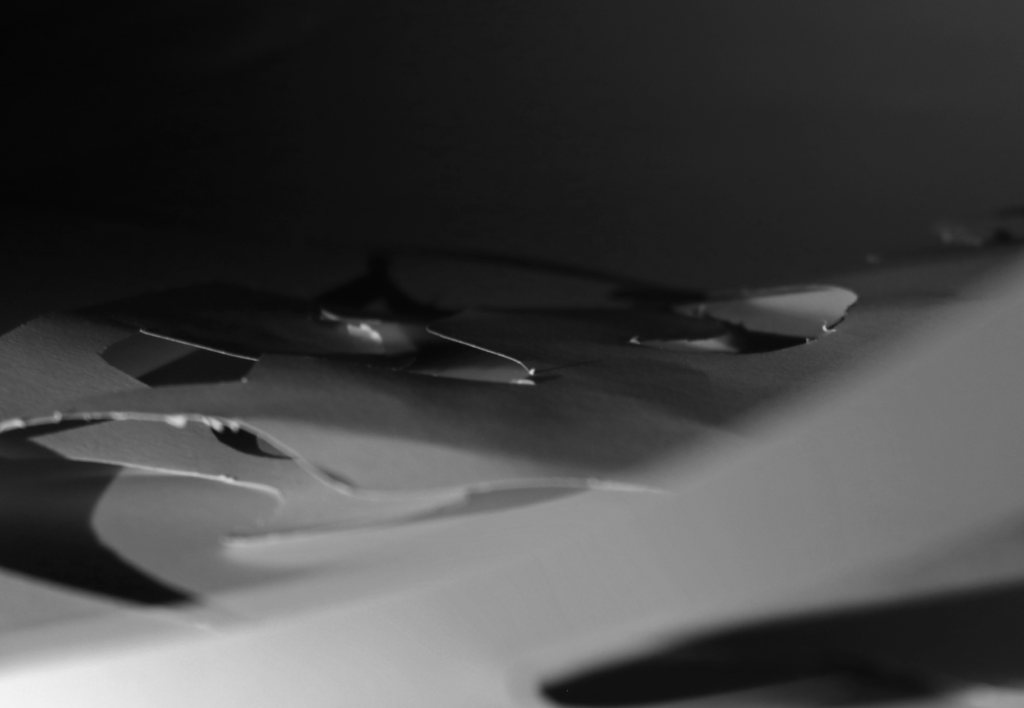
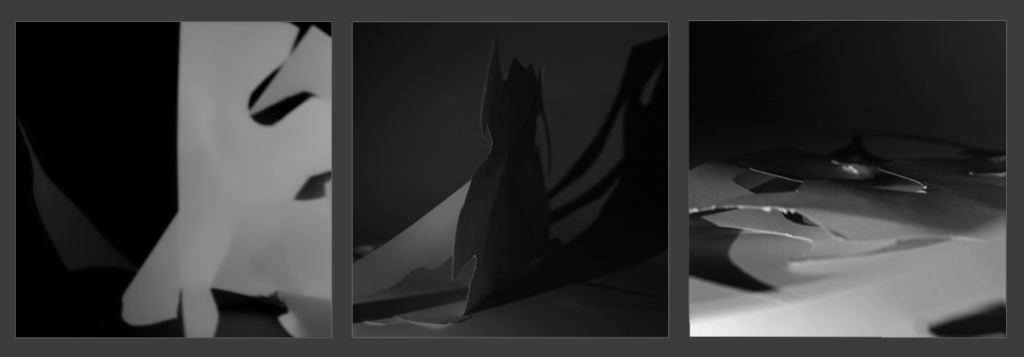
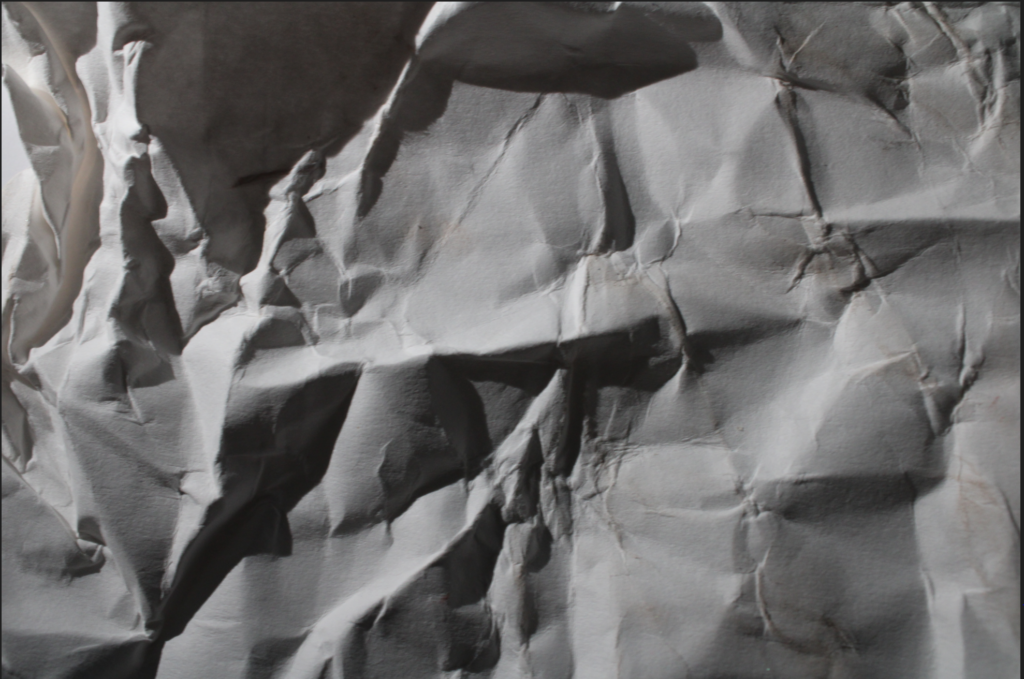
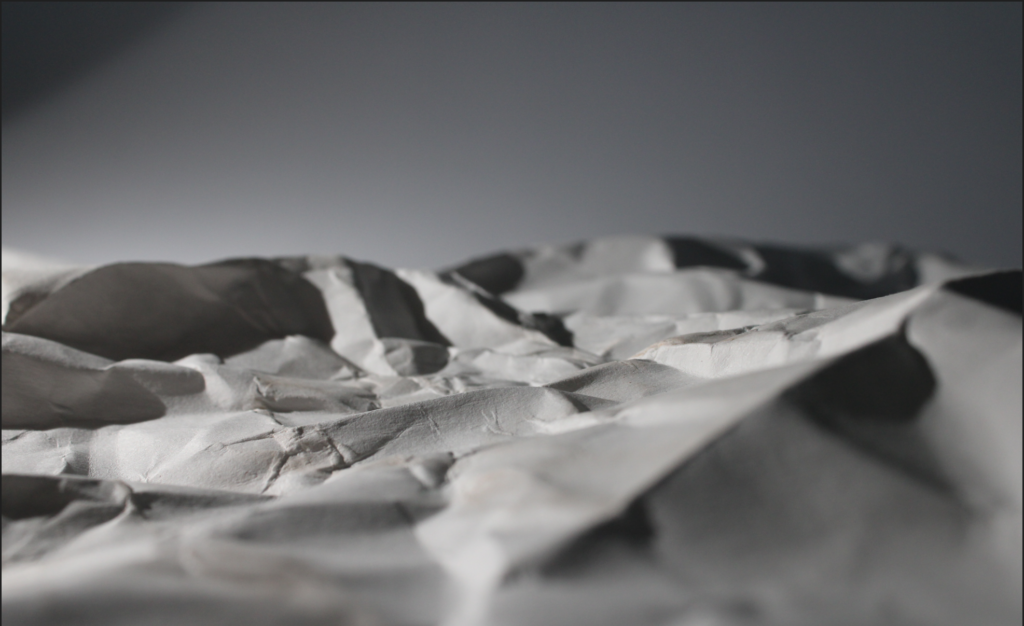
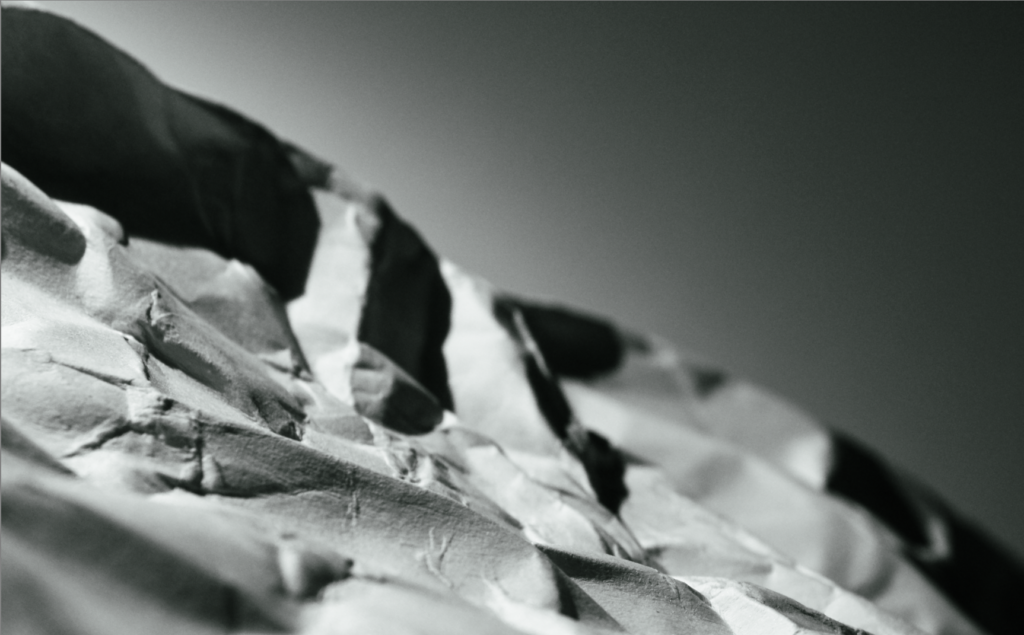
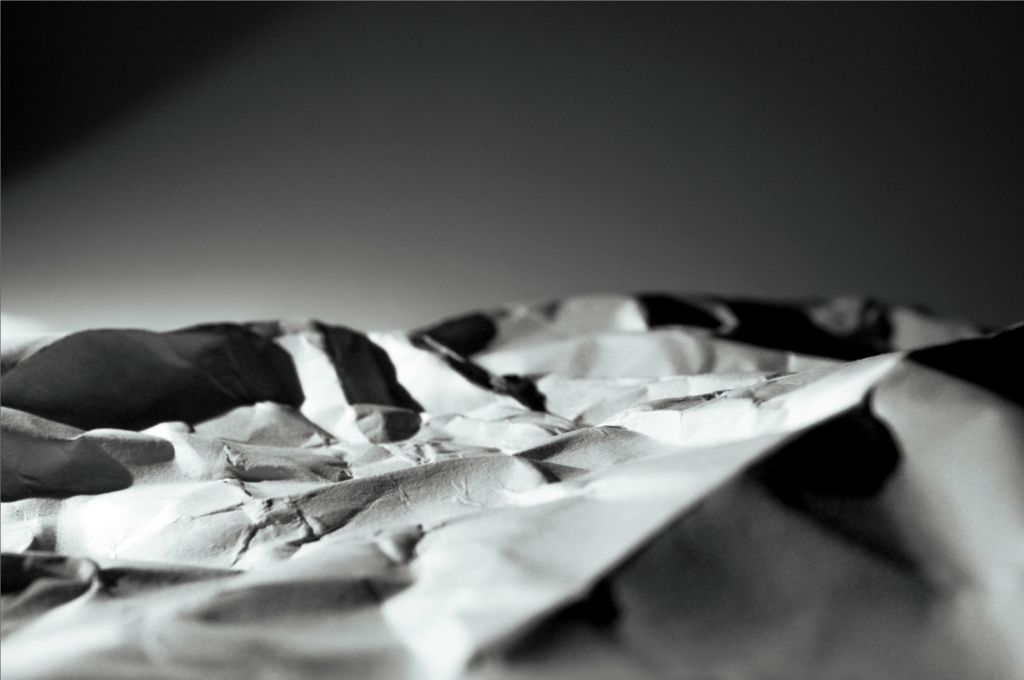
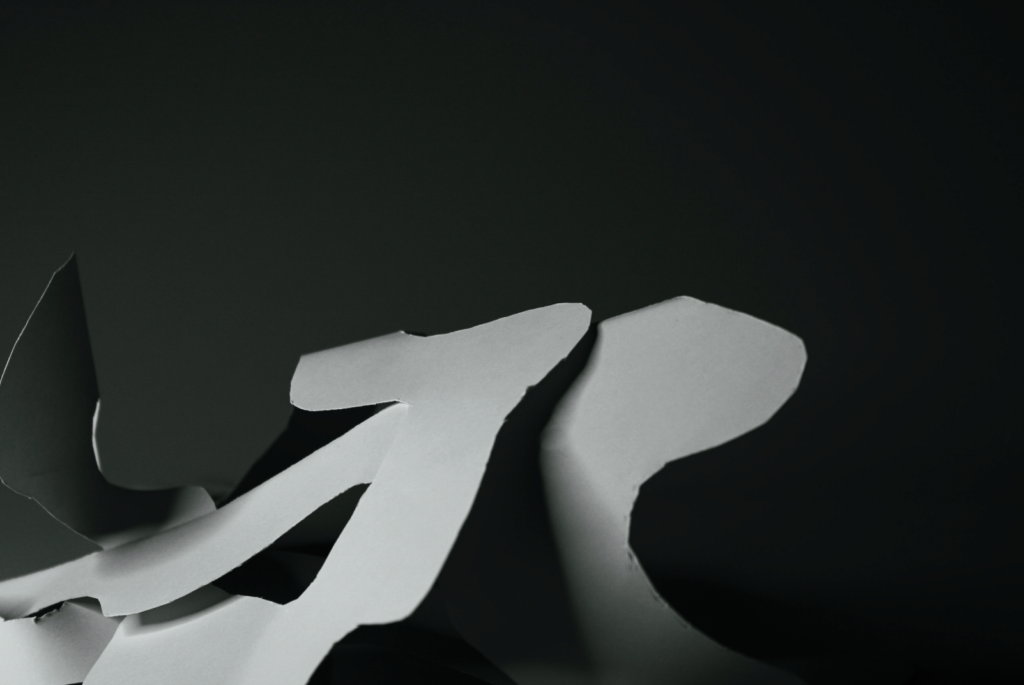
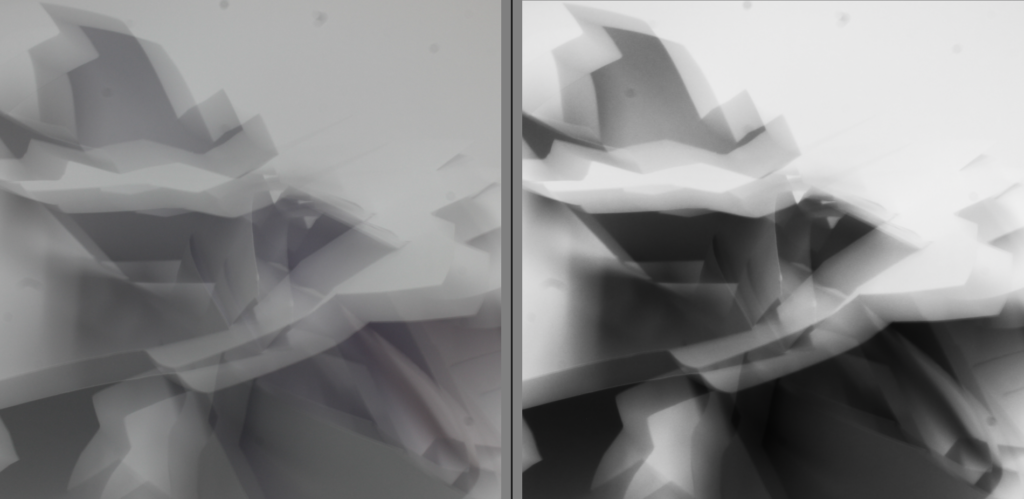
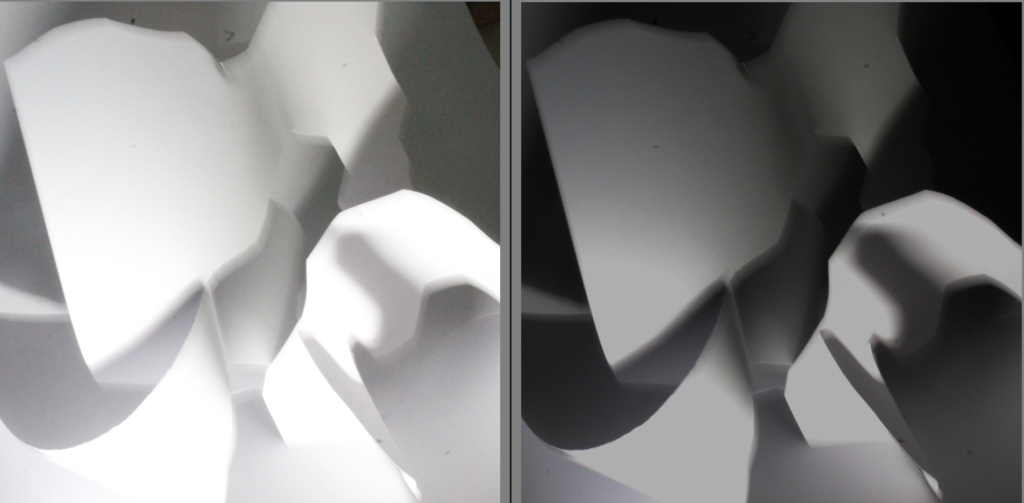
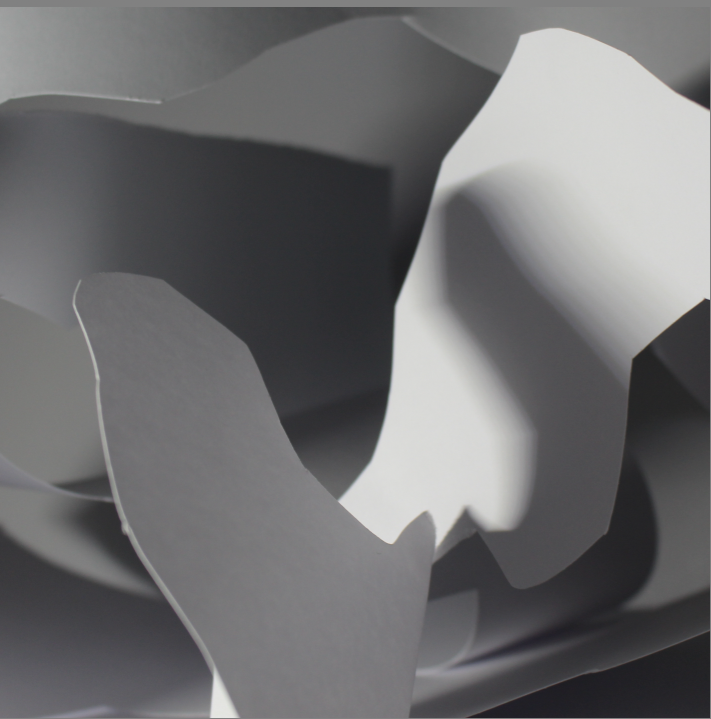
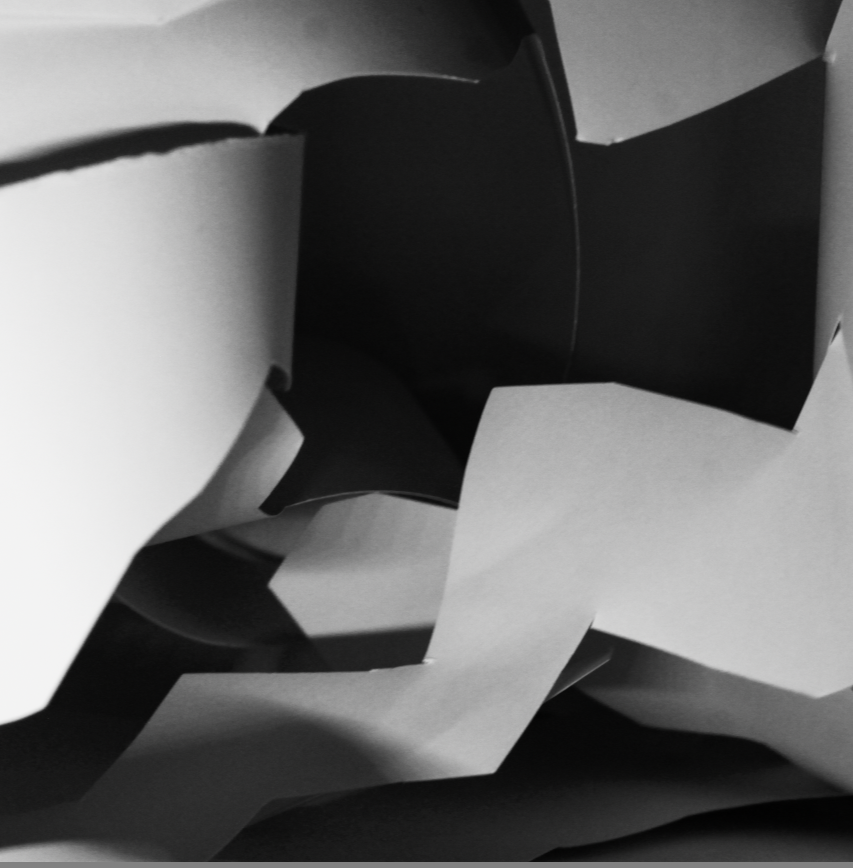
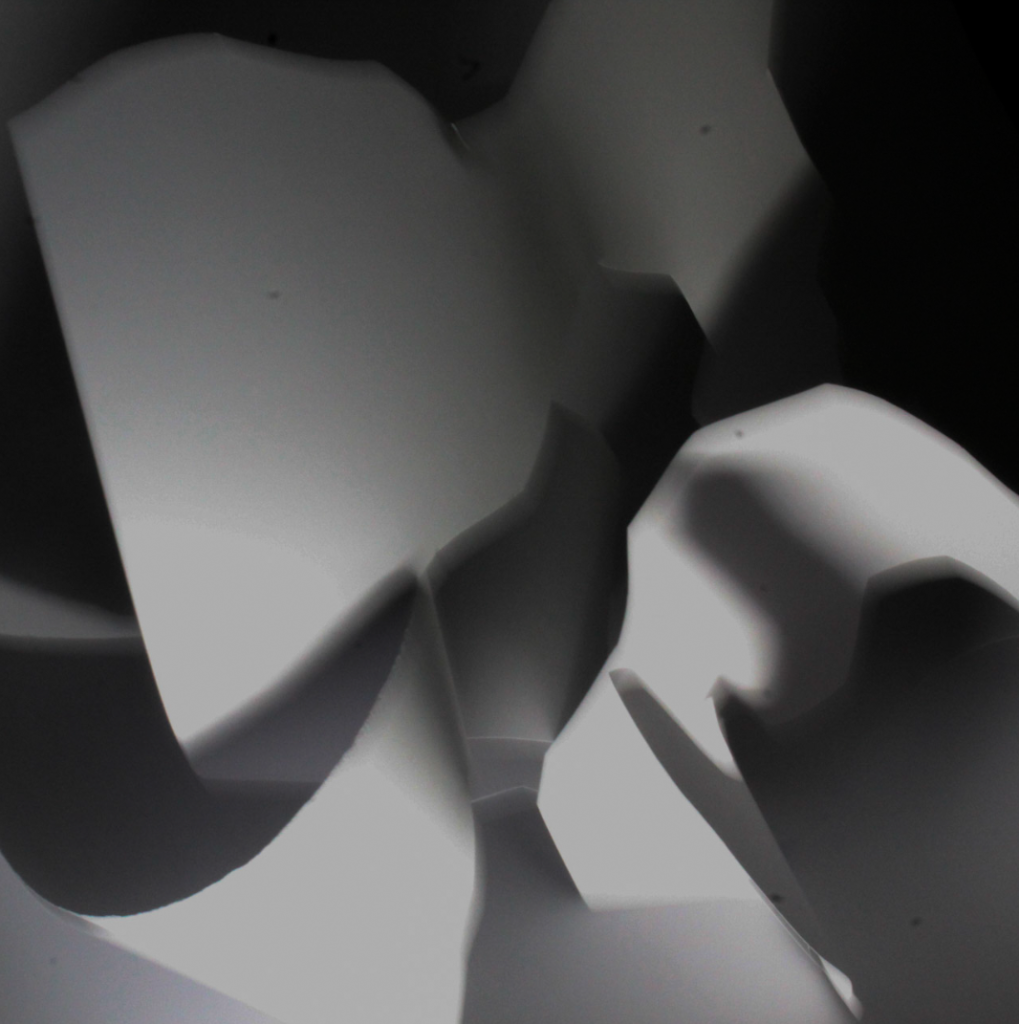
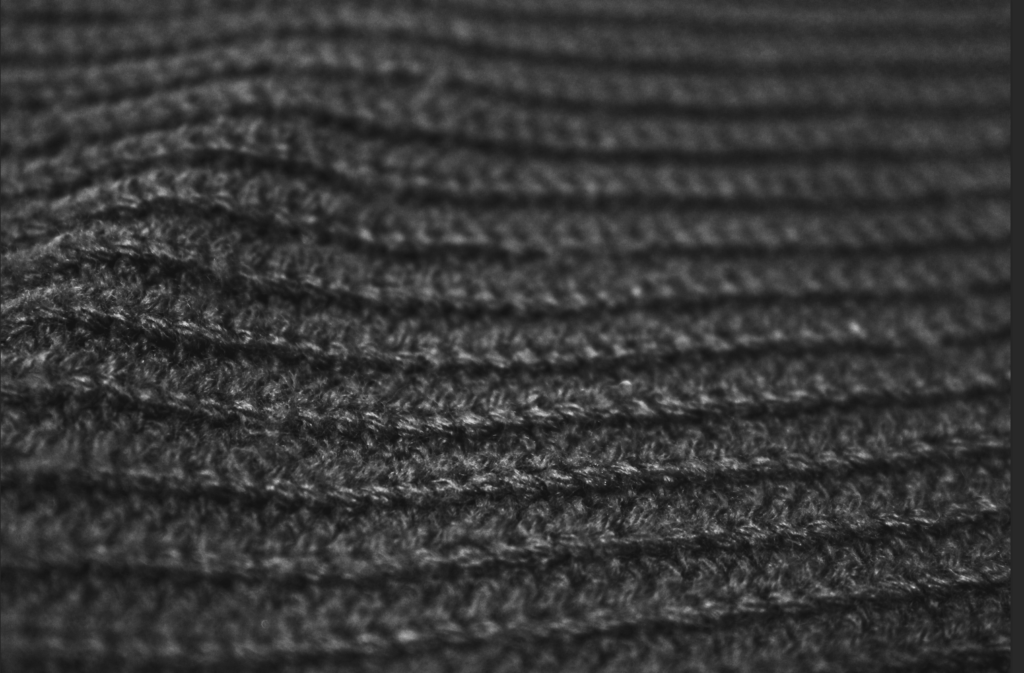
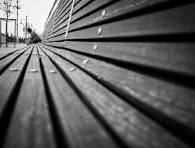
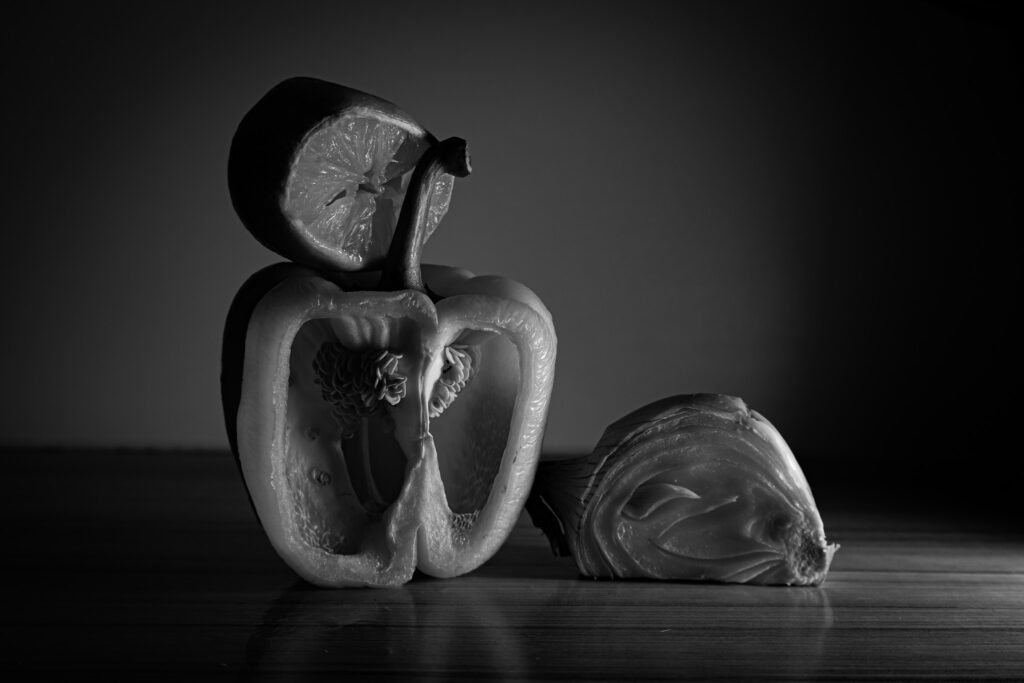
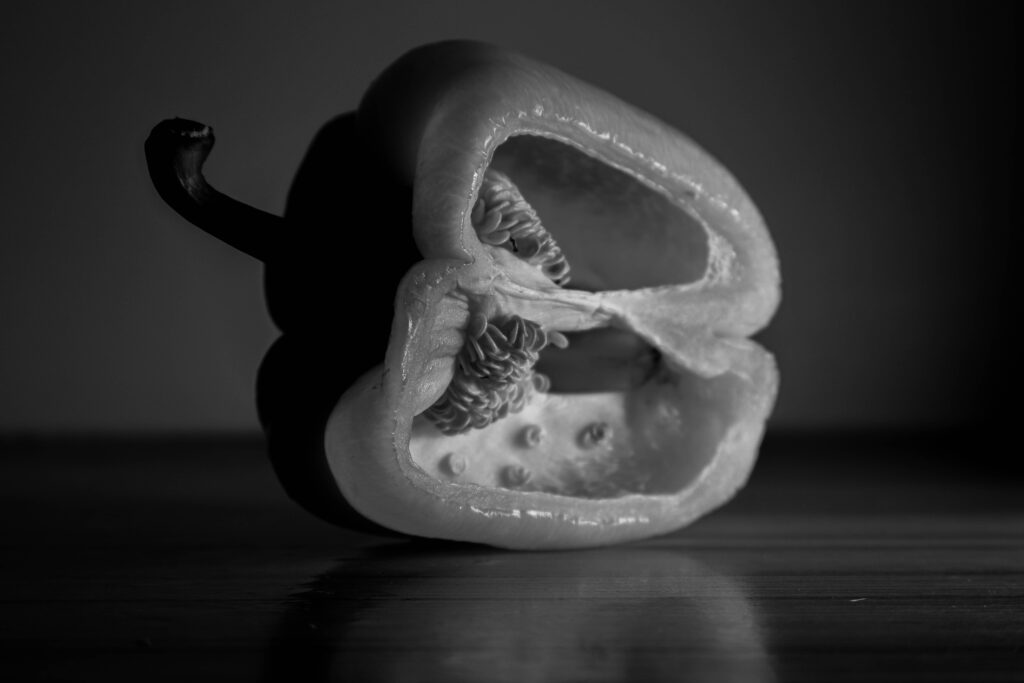
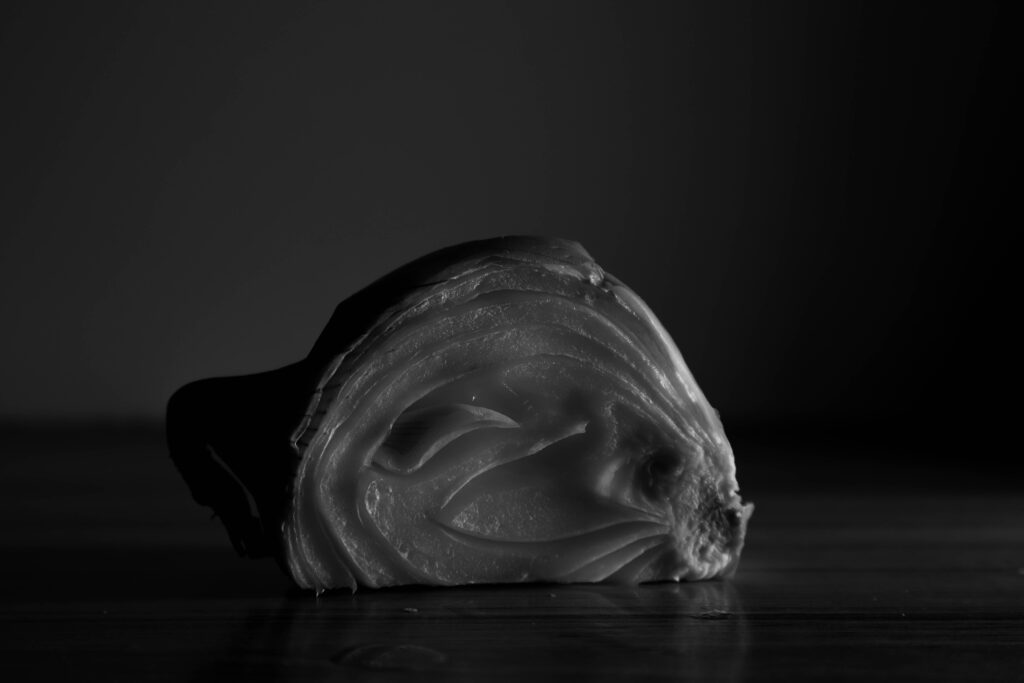
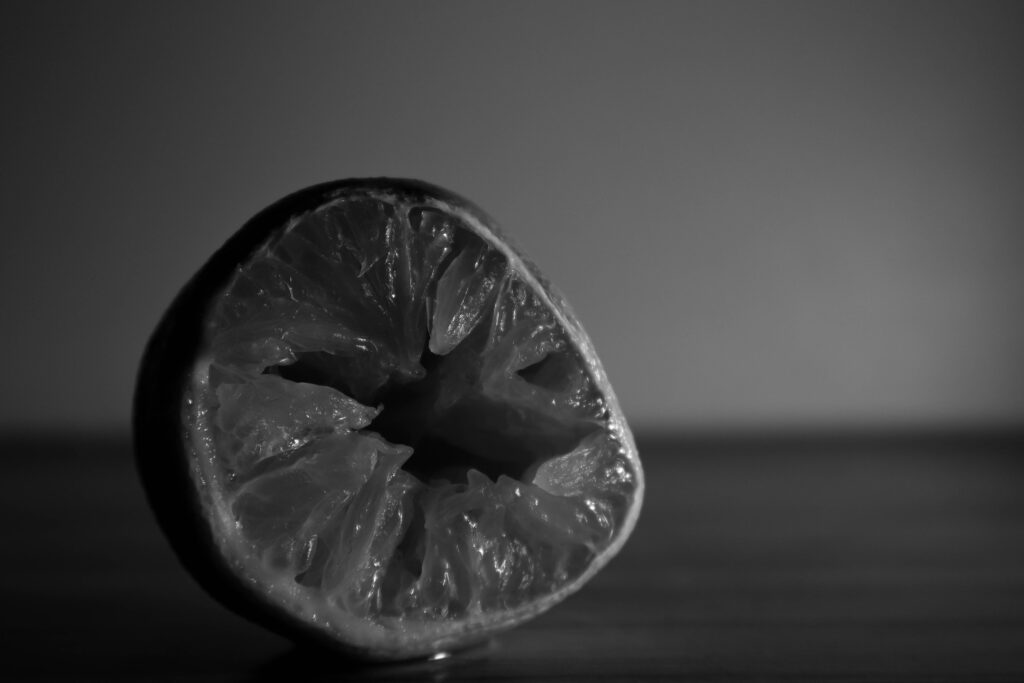
The first technique I decided to try was making all the images monochrome, to match the artist research. Like the artist, I ensured the white areas were bright when I adjusted the levels of the image, and I made sure the dark areas were pitch black. I like this editing style as it showcases the contrast very well, and it creates a neat overall look to the three images.
Edit 2 – Cropping
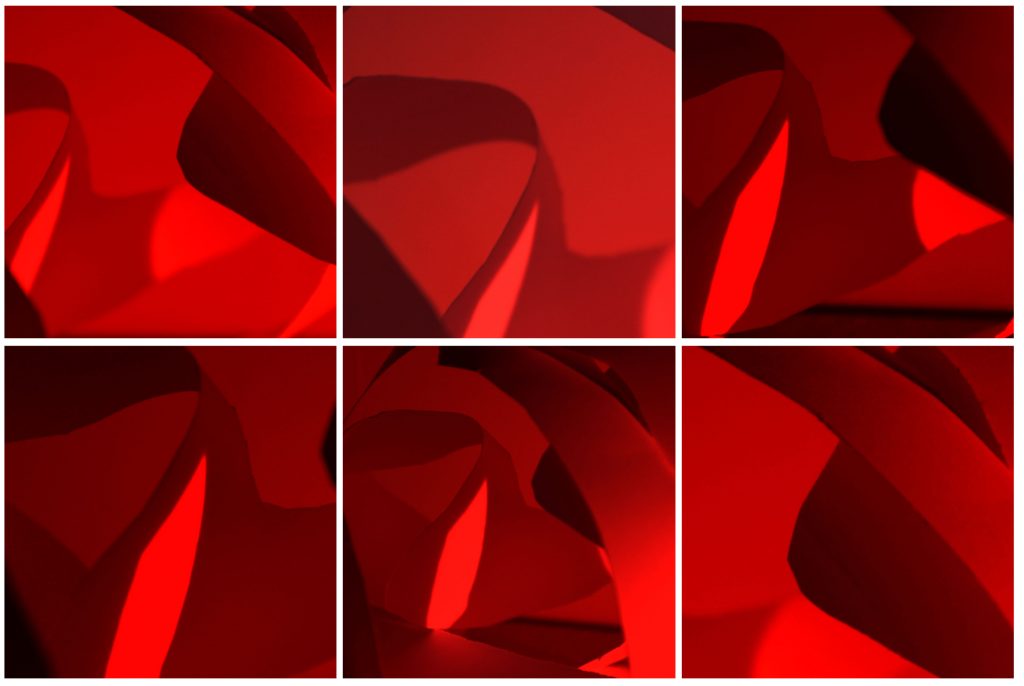
For my second edit, I decided to make a collection of different ways of cropping my images to present the most interesting section of them. I like this edit as it presents different forms of the images I took, to capture the different textures of the paper. The element of leading lines is strongly shown in these images as they guide your eyes from one side of the image to the other side.
Edit 3 – Slice
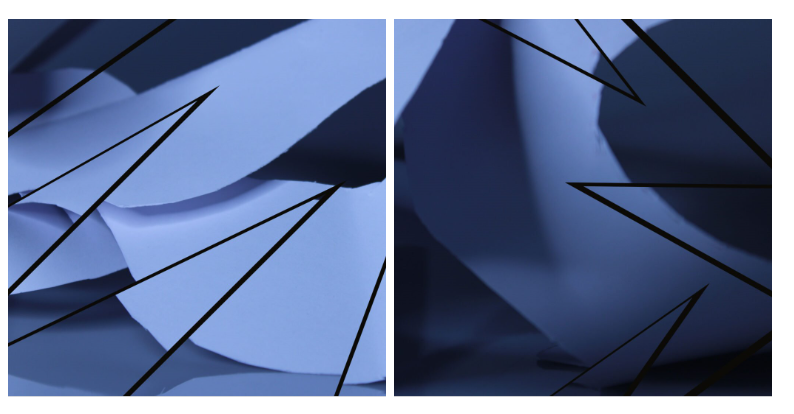
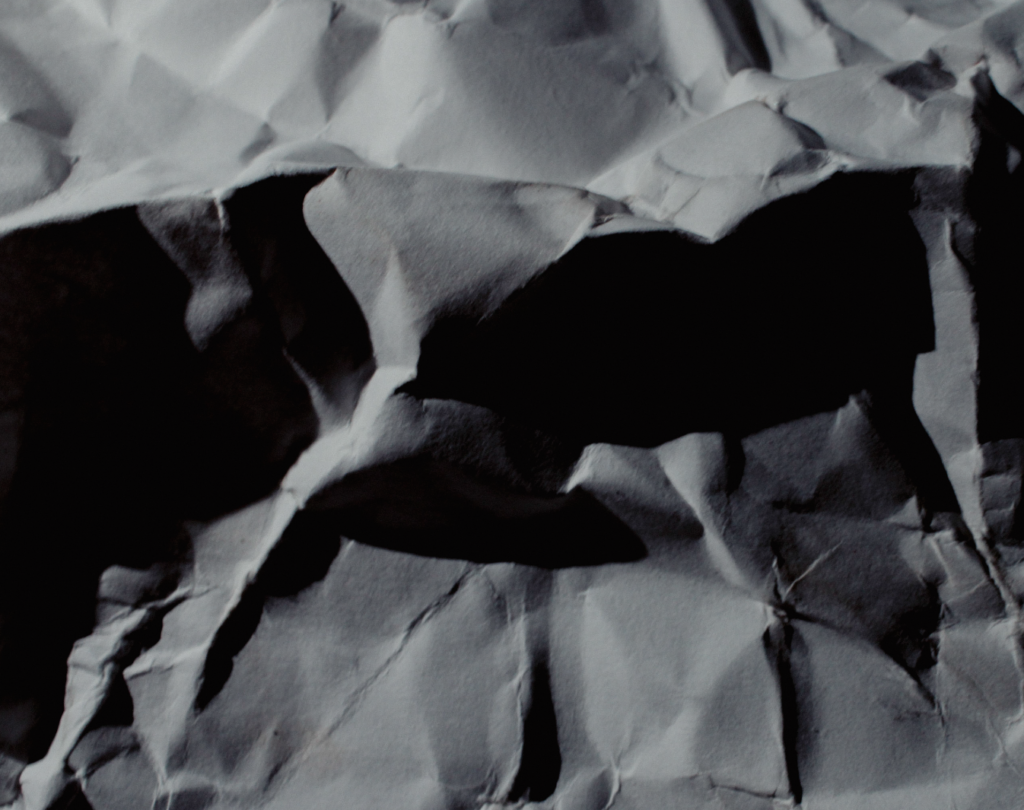
My last edit is slicing the image. I like these two examples of this technique, as they add a distraction to the image and they make the focal point based around the slices. Additionally, it adds an element of negative space as the focus is on the black lines, making the other sides of the image more toned down and muted.
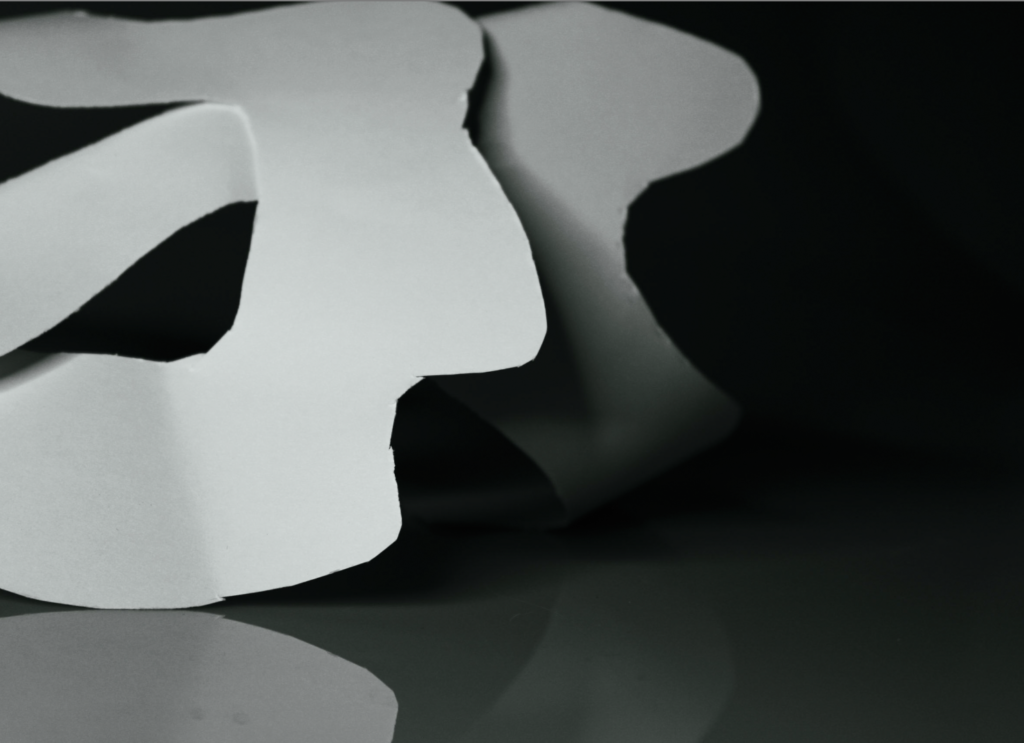
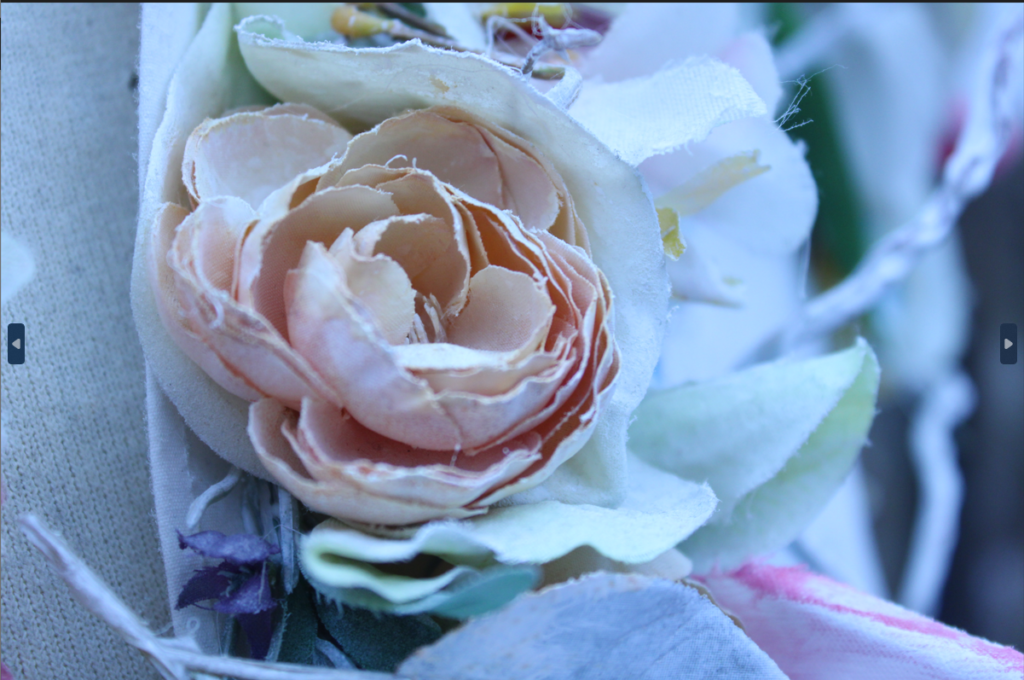
Final Images
My final image is the first edit I created, as I feel as though it aligned with Brugiére’s work the best. On top of this, I also chose it as I feel like simple is better, as it doesn’t look crowded and chaotic.
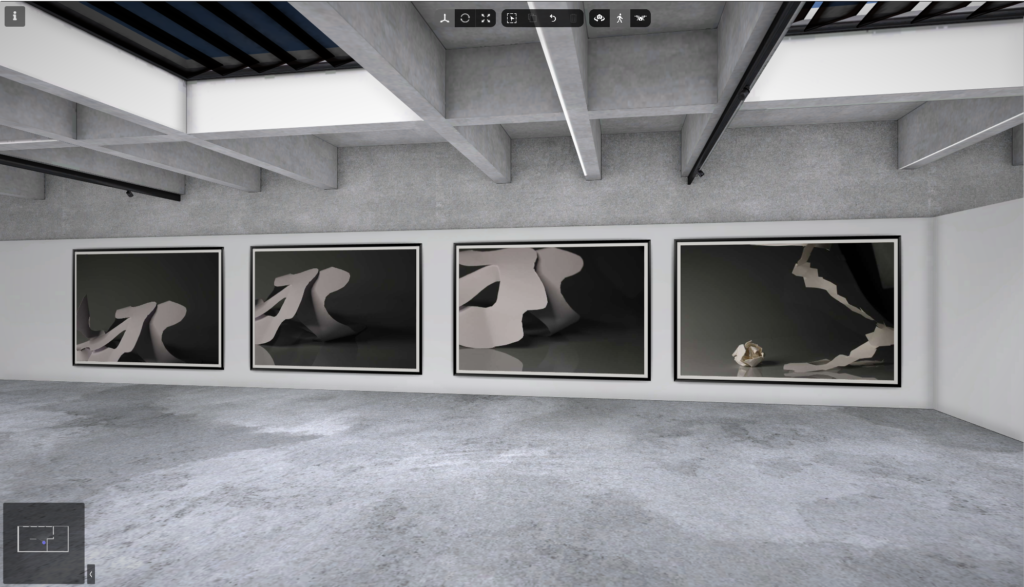
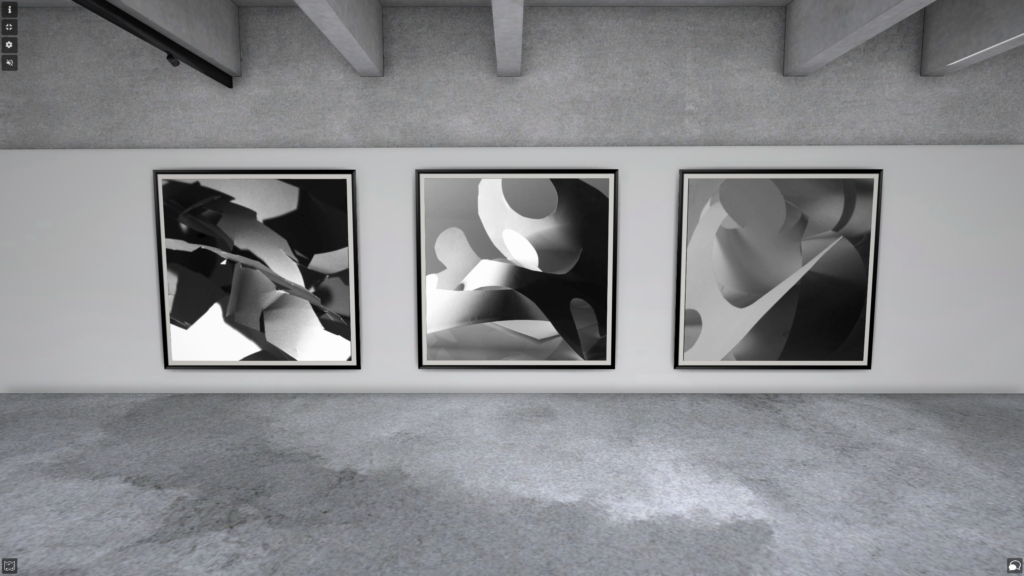
Art Gallery
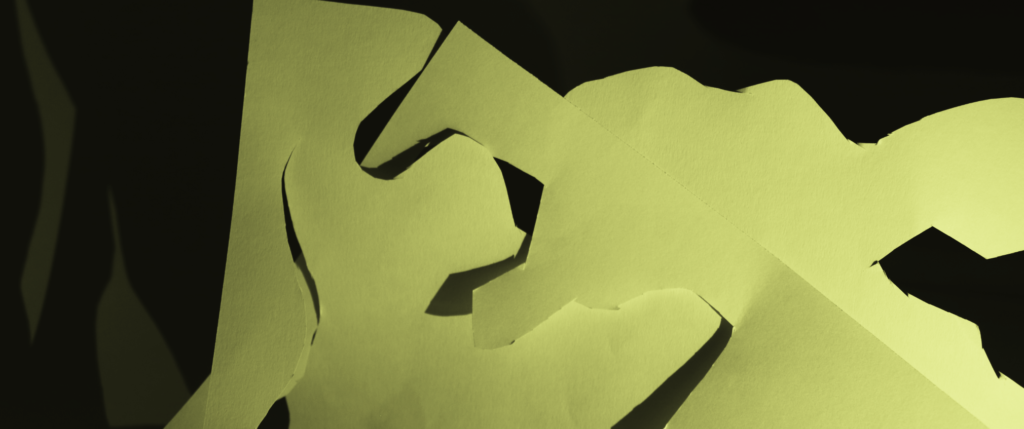
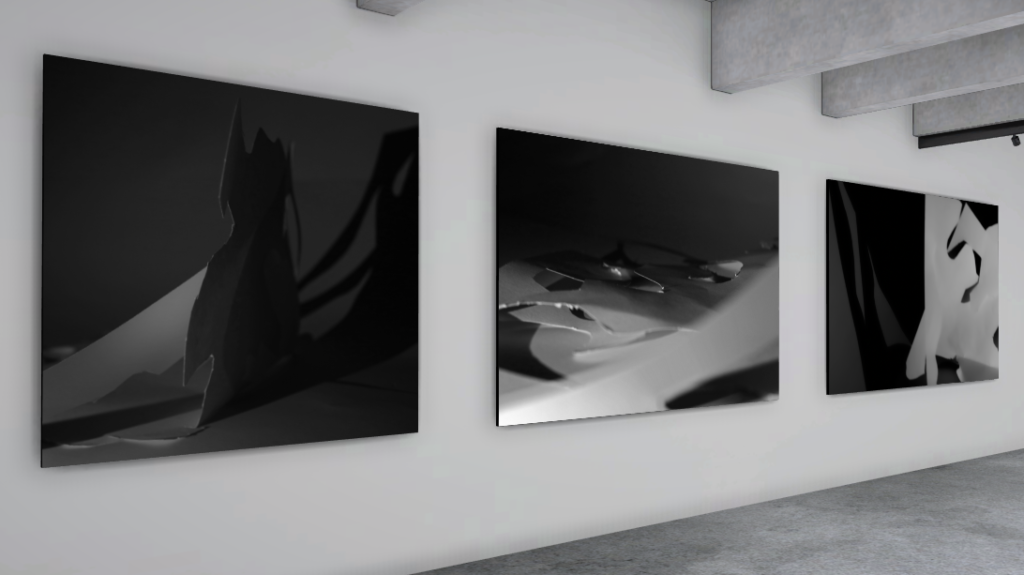
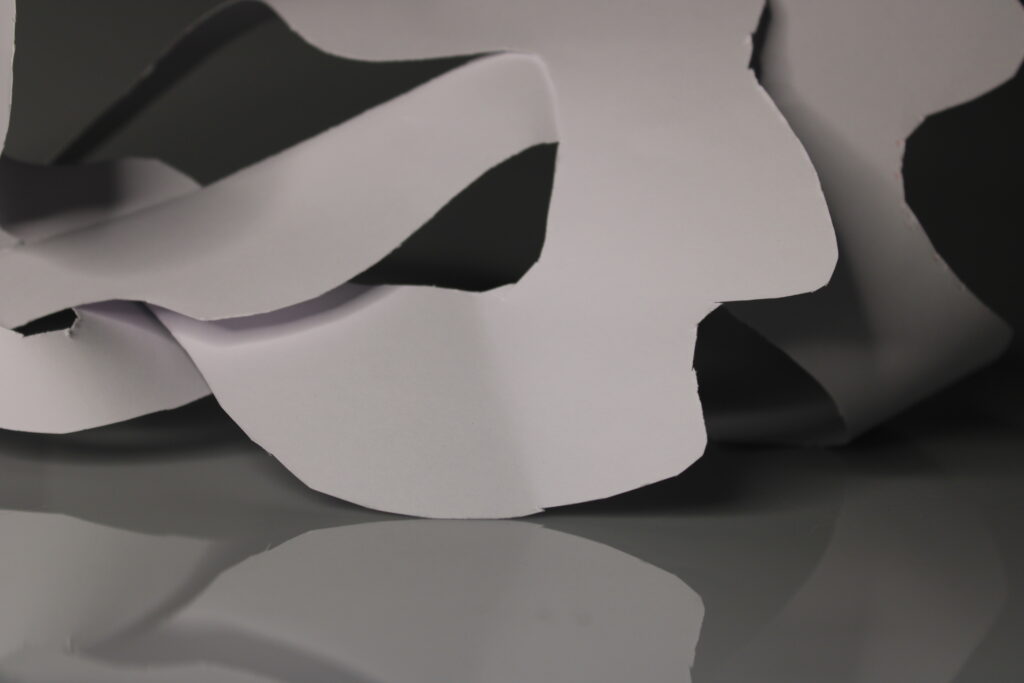
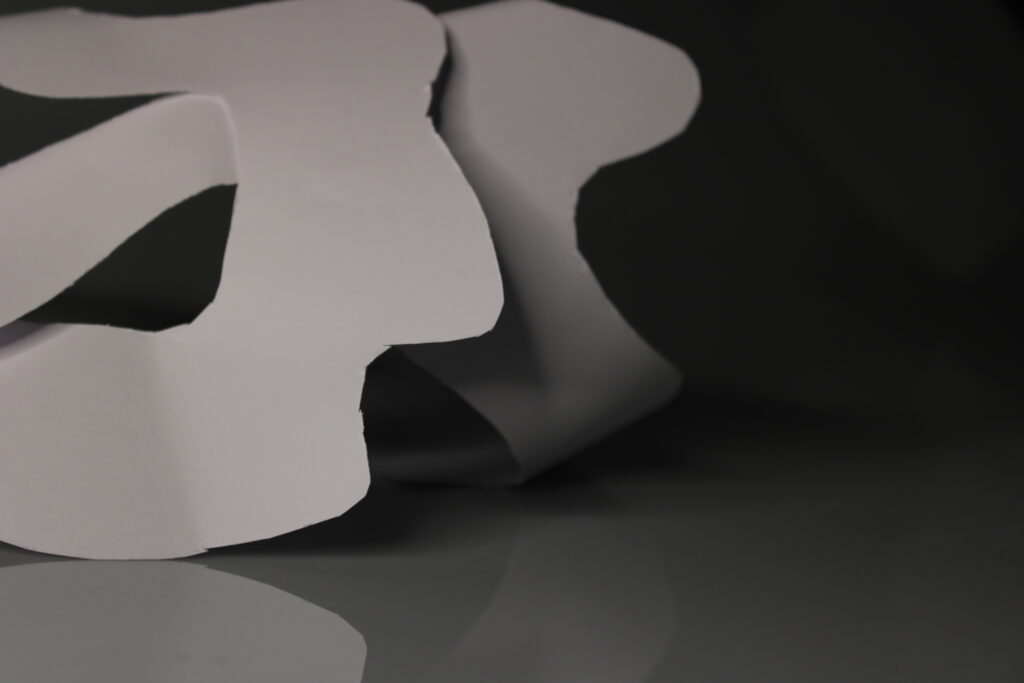
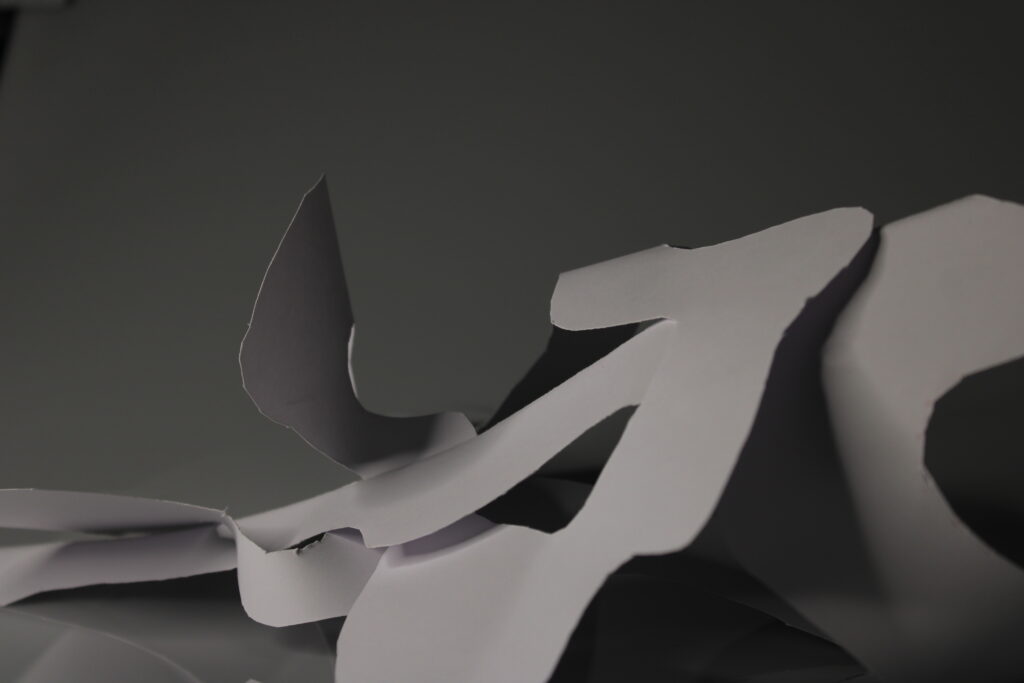
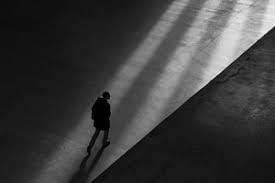
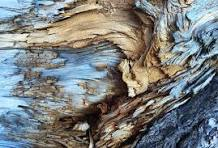
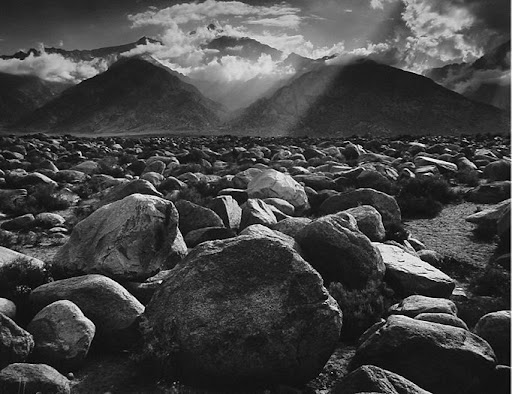
I uploaded my images into the art gallery where I was able to include these three images in a neat order. I like these three images as they represent contrast between light and dark very well, as you can the areas where the light was shining and where it was not. I also like the texture it shows as they have unique shapes in each image, but they still overall give the same vibe of contrast and texture.
Evaluation
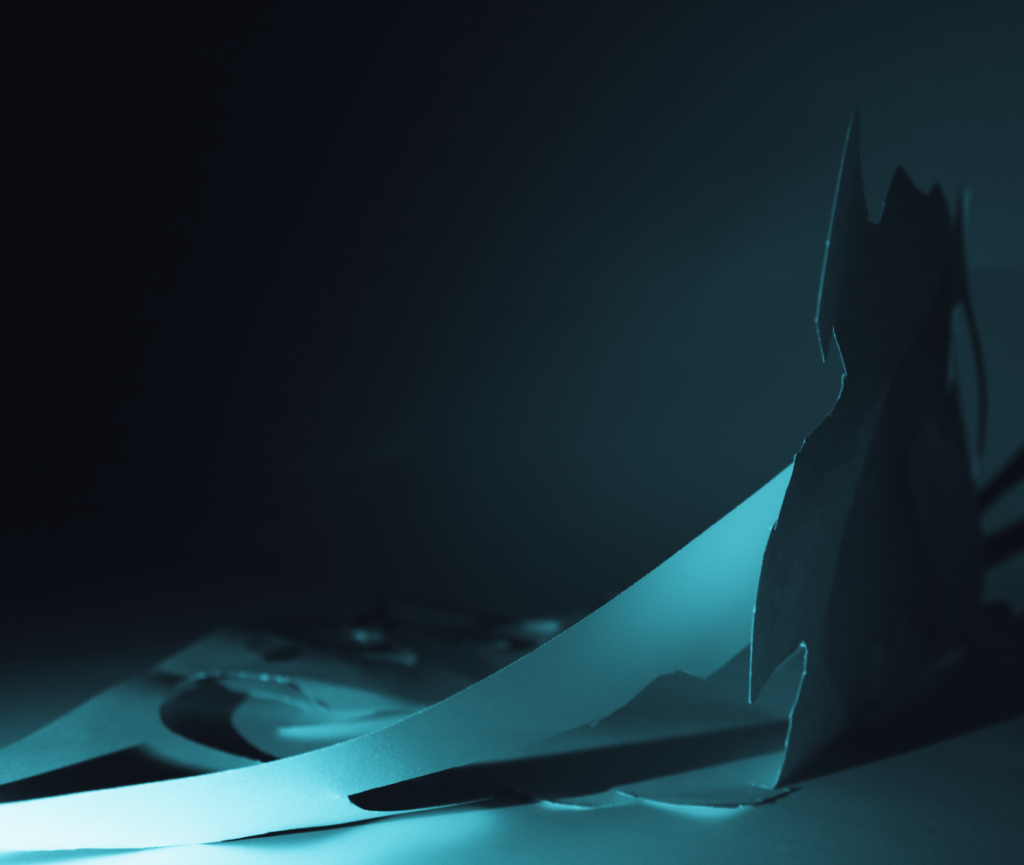
Overall, I think I implemented Brugiére’s work into my own quite well, as typically his work is made from cut up pieces of paper – like mine. His work is more intricate, whereas mine isn’t as much as his is more cut up and set. However, the difference between mine and his work is that my work is more cool toned unlike his where his has more warm tones so to. improve my work, I would edit the colours to be more warm toned.