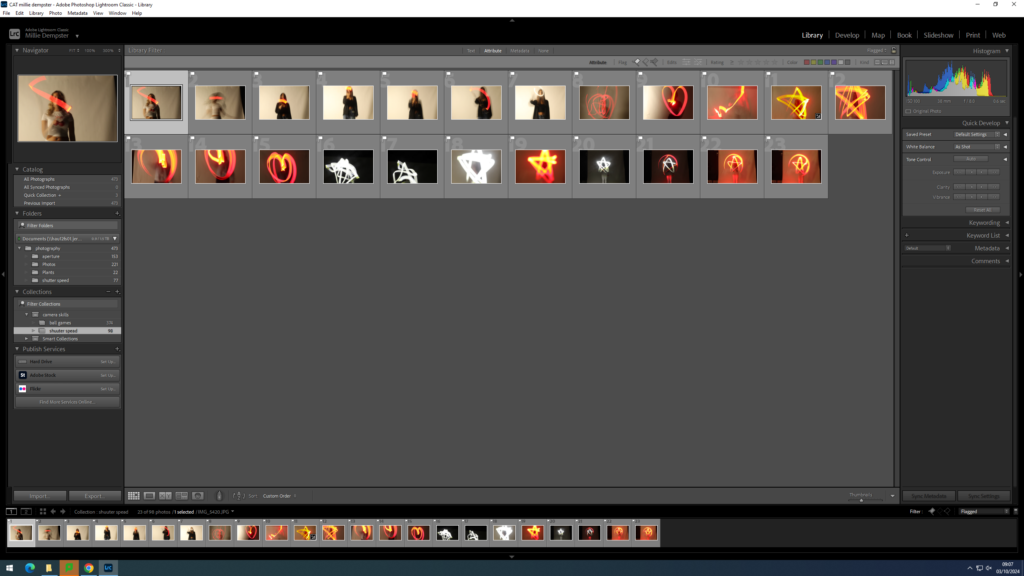
This is my selection of my photos for shutter speed. I cut down my amount of images via Lightroom by using the flagging filter.
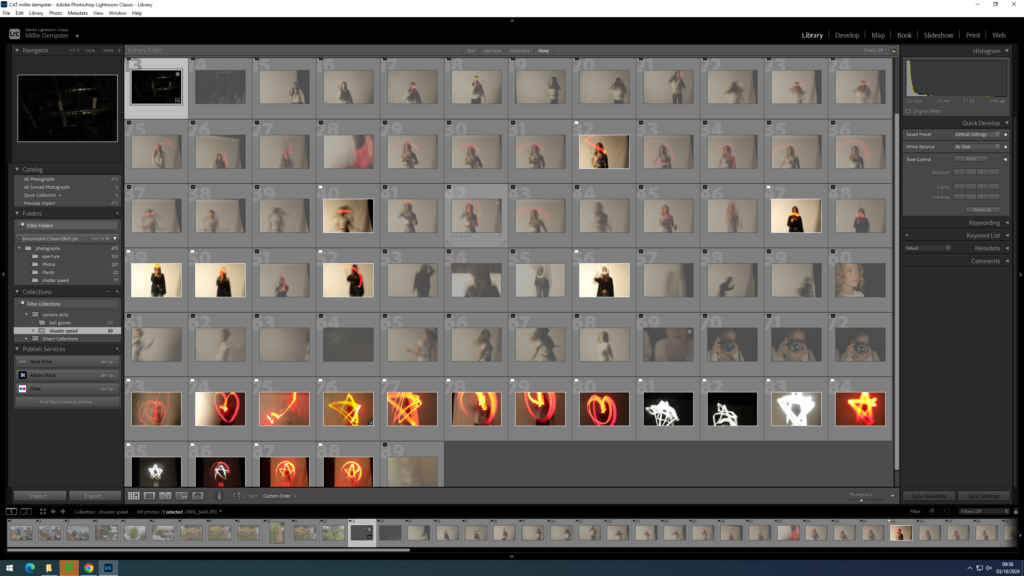

This is my selection of my photos for shutter speed. I cut down my amount of images via Lightroom by using the flagging filter.


August Sander (November 17, 1876 – April 20, 1964) was a notable German photographer known for his portraits and documentary style. His first book, Face of Our Time, came out in 1929. Many consider Sander to be the most significant German portrait photographer of the early 1900s. While he also captured landscapes, nature, architecture, and street scenes, his portraits are what he is most famous for, particularly in his series People of the 20th Century. This series was designed to reflect a diverse range of society during the Weimar Republic.

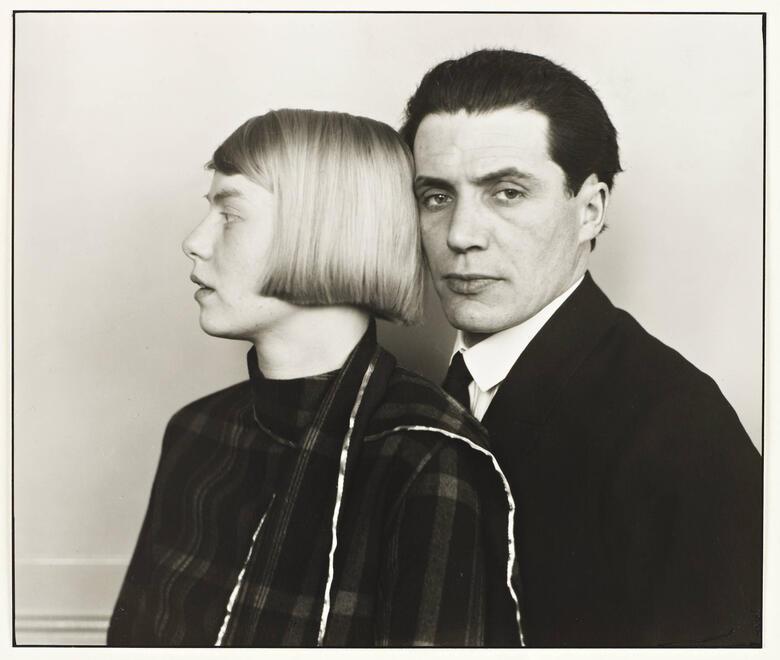



More about August Sander here – https://hautlieucreative.co.uk/photo26al/2024/10/28/environmental-portraits-example-blog-post/
A photographic typology is all about exploring different “types” through a series of images. Instead of focusing on individual photos, it emphasizes the idea of gathering and categorizing. This approach to photography is really impactful because it can change how we see and understand the world we live in.


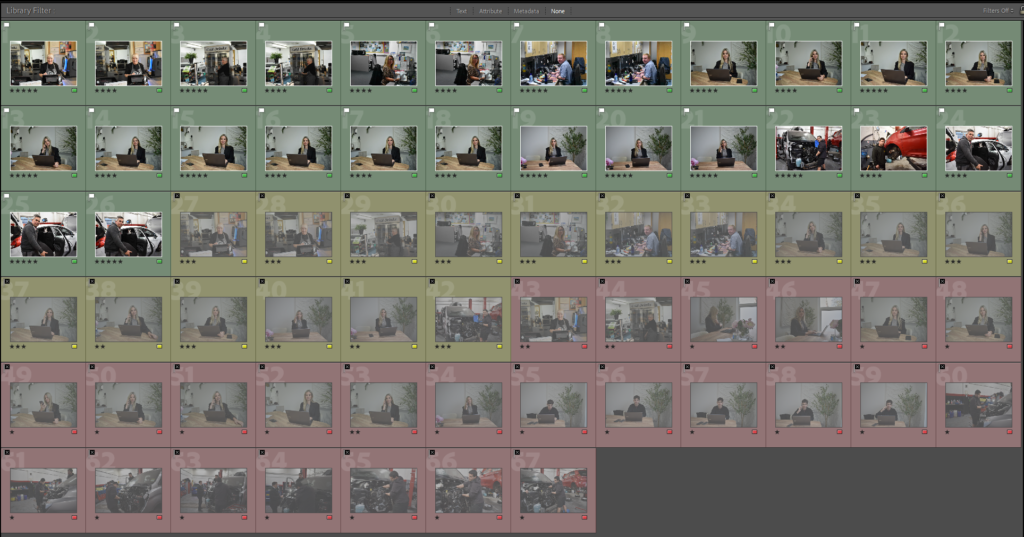
By making a contact sheet it has helped me determine which images I think are best to be shown as my final images, There were images I colour coded yellow as my subject either appeared blurry or the image quality/angle wasn’t at the standards I wanted. There were images I colour coded red as my subject was looking away from the camera or the image wasn’t very relevant to what I was trying to capture. The images I colour coded green are images I think are worth choosing as my final images as they meet all my criteria and I think will look great when presented.

I have selected these photos to be edited and used as my final images as they show a clear representation of my subjects usual environment and they are captured in the moment of their work which makes these images feel more genuine. They also show lots of details in the background of their environment.
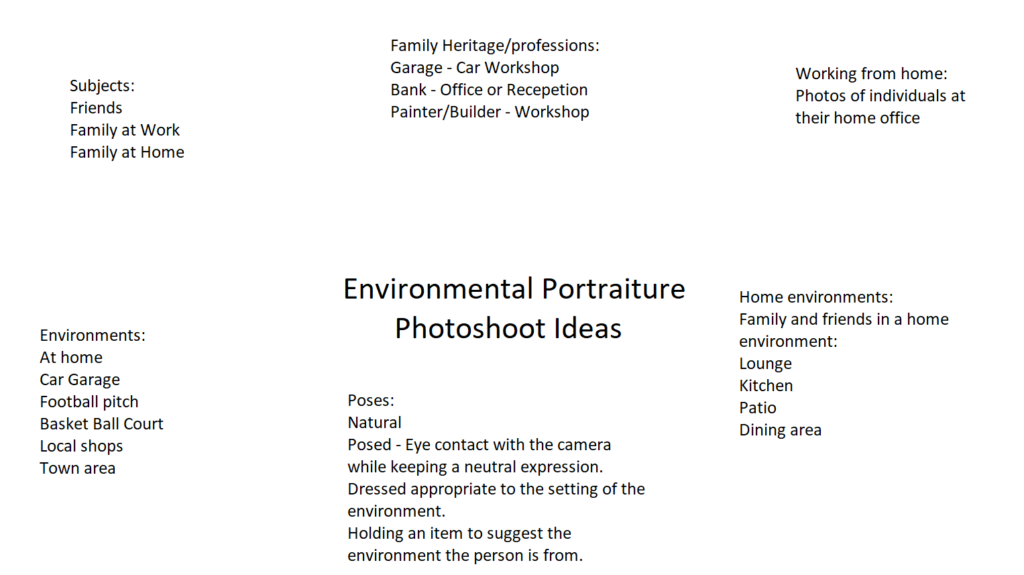

Subjects: I intend to take photos of is my family and friends.
Environments: I will try to capture my subjects in their environment most suited to them. For example: Sister: Will be photographed at her bank or at her home office Dad: Will be photographed at his garage Mum: Will be photographed at home on her patio Sisters boyfriend: Will be photographed at his workshop or his work van Friends: Will be photographed at the football pitch or basketball court
Poses: I intend to make my subjects keep quite a natural face and expression, I may also get them to hold items that will help hint of what their profession is.
Gaze: I intend to make my subjects keep eye contact with the camera in order to make the photo feel more authentic.
Composition: I intend to experiment with various amounts of compositions. Mainly on Rule of thirds and symmetry.
Framing: I intend to get the perfect balance of keeping the subject in frame and in focus while still maintaining the quality of the background behind the subject so the viewer will be able to identify the subjects environment easily.
Orientation: I will be taking most of my pictures in landscape in order to achieve a wider view of the environment.
Aperture: I will experiment with small to medium aperture in order to create a long and medium depth of field which will help me determine which is the best style to take my environmental portraits.
Arnold Newman (born in 1918 – 2006) was a American photographer who was most famous for his environmental portraits. For his portraits he made sure he used a carefully framed and well lit setting while also making sure its contents were also visible, this helps symbolize the individuals life and work in the photograph. One of his famous portraits was one taken of a man named Alfred Krupp and he was originally commissioned by Newsweek to take the portrait but he refused at first, This is due to their backgrounds as Arnold Newman is Jewish and Alfred Krupp was a convicted Nazi war criminal. Eventually Arnold Newman agreed to take the portrait as he saw the assignment as some sort of personal revenge. This portrait would then later become one of the most controversial images taken at its time.
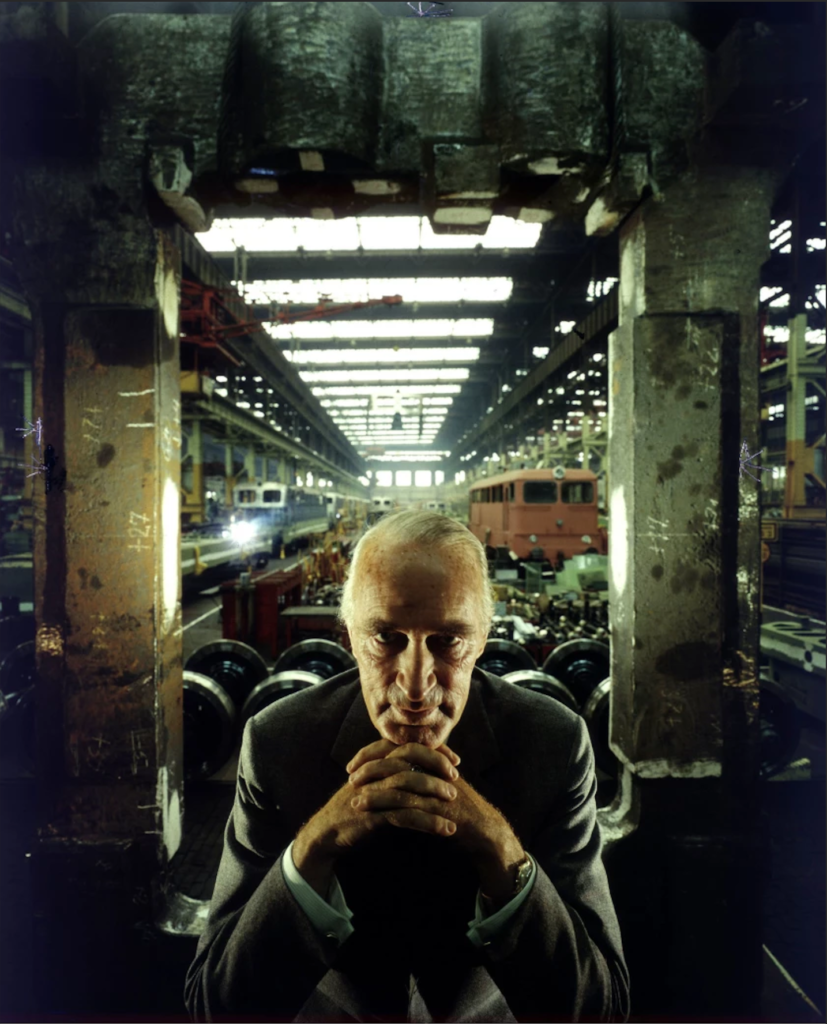
Lighting – The photo is positioned in a way where most of the light from the image is at the top while it gets darker between the bottom of the image. The subject is also illuminated to make him the main focus which can make him look more sinister.
Aperture – The photo looks like it was taken with a wide angle lens as we are able to view a great amount of detail in the image, it also uses a low aperture which gives us a large depth of field as we are able to view most things in the images clearly and with ease and it also doesn’t appear blurry.
Shutter speed – The photo looks a bit over exposed as we can notice from the light towards the back which makes things near the light appear slightly blurry.
ISO – The photo does not appear to look very grainy so I assume that a low ISO was used.
White Balance – The picture uses quite warm colours especially on the pillars and the subject.
The image features a few colours but mainly sticks to using warm colours. The tone of the image is both light and dark, we can see this with the subject where he is illuminated with light which creates some dark shadows at the bottom of the image. We can also see that the subject takes up half of the image and has his fingers interlinked while resting his chin on top and leaning towards the camera and this being done helps create some mystery and uneasy feelings towards the subject which makes us wonder who he is and what he does in his life. We can see a pattern in the background with the pillars which are placed symmetrically with one on the left side and one on the right side which helps us direct our attention to the middle which is the subject.
This image is supposed to represent the horrors that were happening in WW2 specifically the time period were Nazis were using Jewish people as slaves. This is easy to see as we can see that the setting appears to be in an industrial building which resembles closely to a train station, the pose and positioning of the subject also makes us uneasy and makes him look sinister to represent the Nazis at the time who were in charge of trafficking the slaves and what to do with them. The subject named Alfred Krupp was actually a convicted Nazi war criminal which makes the photo even more connected to the setting and what it is supposed to represent.
The concept of this image is to show the public the tragedy of the loss of millions of Jewish people during WW2 and how horrible their conditions were, By using a convicted Nazi as the subject of the photo it helped layout the true meaning of the photo and what it really presents. Arnold Newman was said to be furious when he saw this image and this photo allowed Newman to share his hatred towards Krupp with the world.
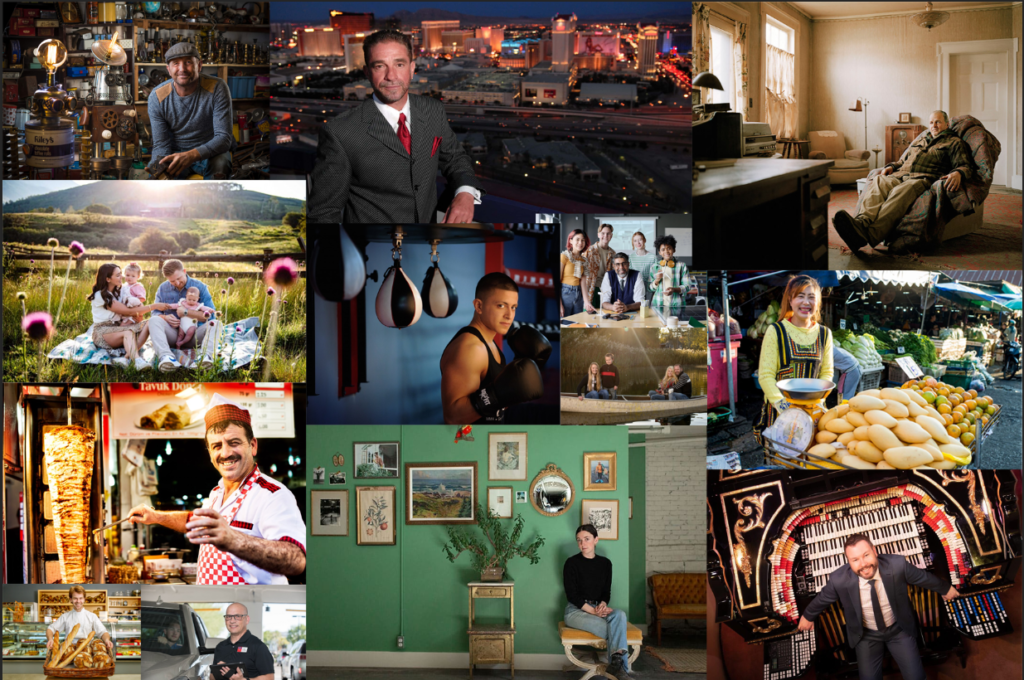
Environmental portraiture are pictures taken of the subject in their usual environment, for example a person whose skill and job is baking would have a picture taken of them at the bakery or a person who does boxing for a hobby would have a picture taken of them doing boxing at their training session. These images without explaining anything can help us determine the life’s that these people live and can reveal the type of person they are by what they do in their life. This makes Environmental portraits interesting as it gives the image a meaning and a story behind it which makes these images standout compared to other styles of images.
People use environmental portraits as it tells a story, by viewing an image of a subject and their environment, which would be easily identifiable as its usually something we see day to day or have heard of, it allows for viewers to give their insights on the subjects personality, their life style, their hobby/job. In some cases it can even make enhance the viewers understanding of the photo as some environmental portraits have a deep and fascinating meaning like the image Alfred Krupp taken by photographer Arnold Newman.
To take a good environmental portrait image you want to make sure you have a subject and their environment (or a background/object which will make the image easy to identify of what the subjects usual environment is) and you also want to make sure that you have a plan in place of what you want to capture. Once you have everything in order you want to position your camera and ensure you have the settings you want to use to capture the image like how much light is being let in or the depth of field you want to achieve. Once that’s all done you can get your subject to look at the camera and pose however you would like and then you can capture the image.
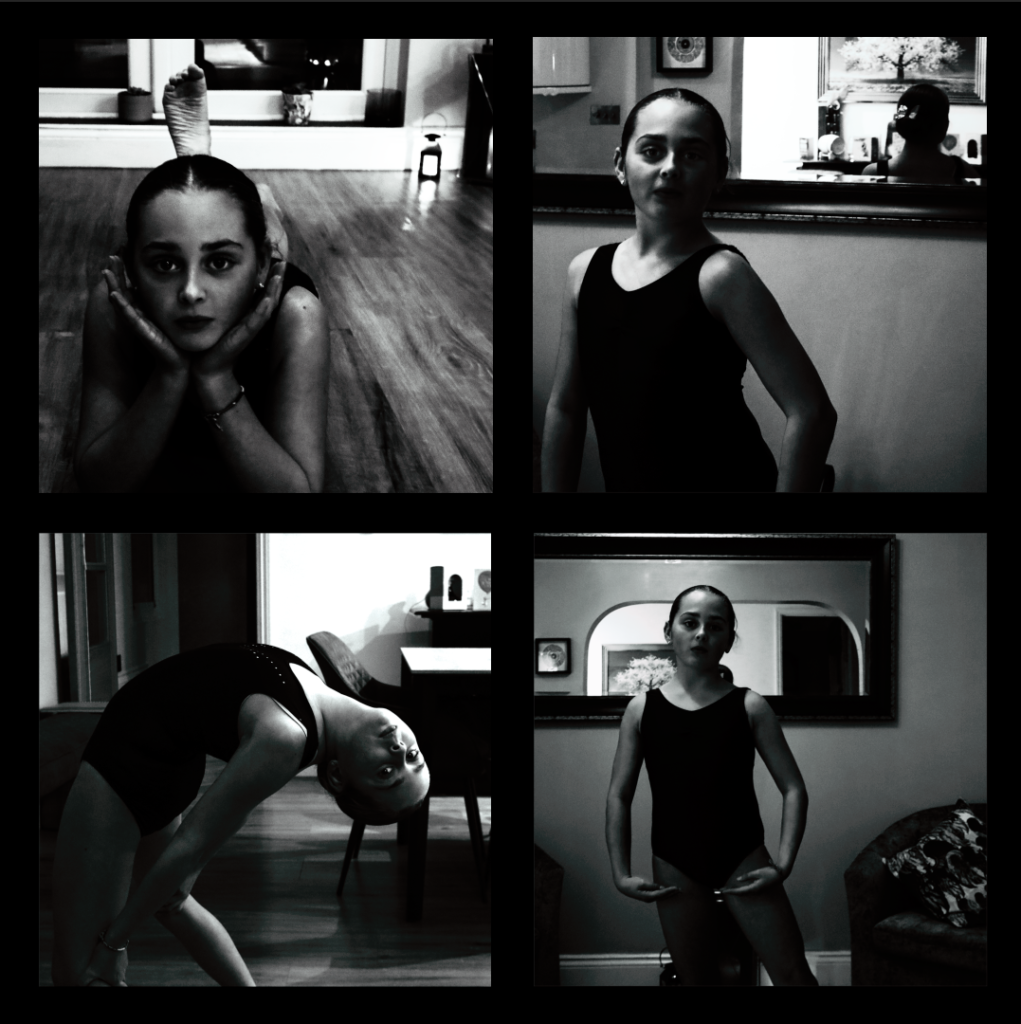
I chose these as my final images because these are the best edited photos out of all of my possible photos and they showed the most seminaries to August Sander. and how in each photos she is looking within the camera.
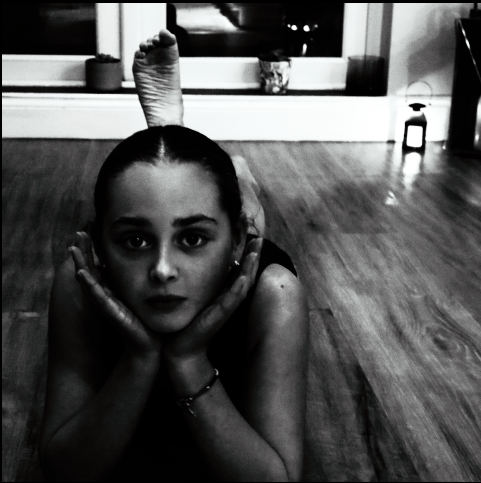
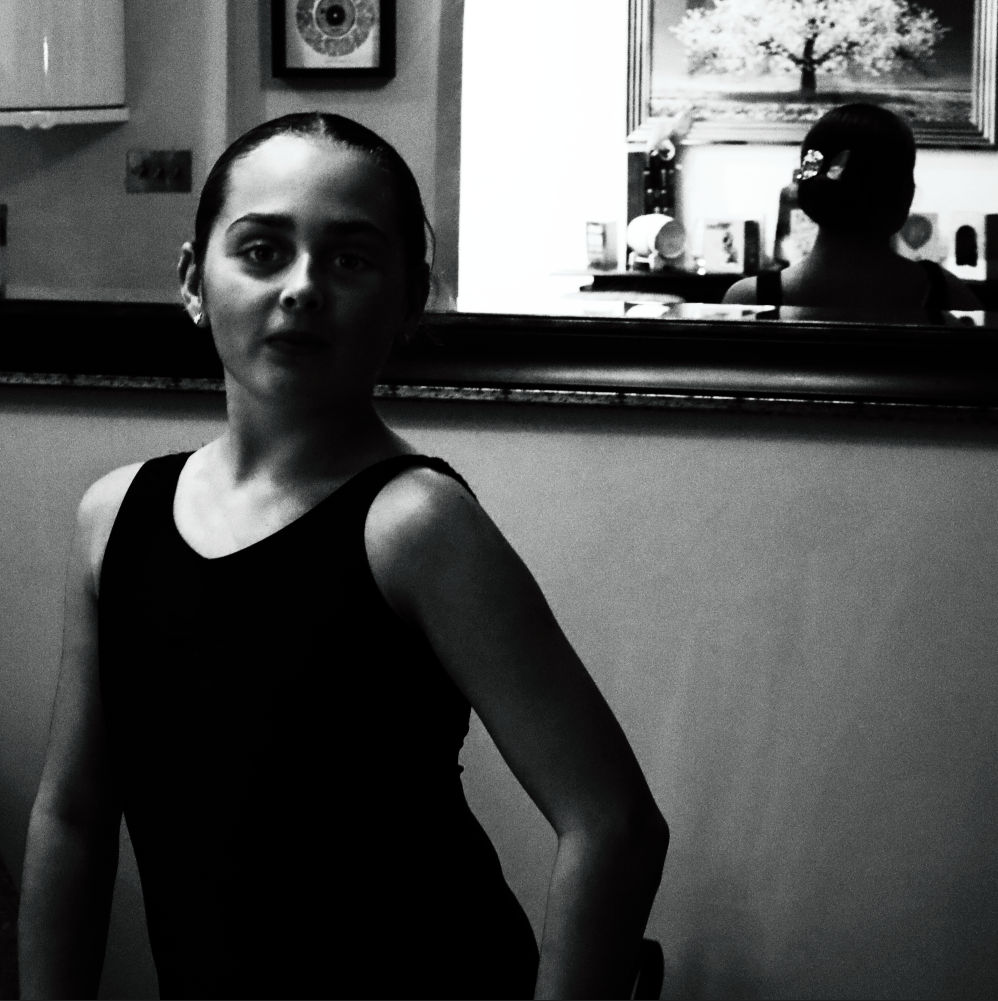
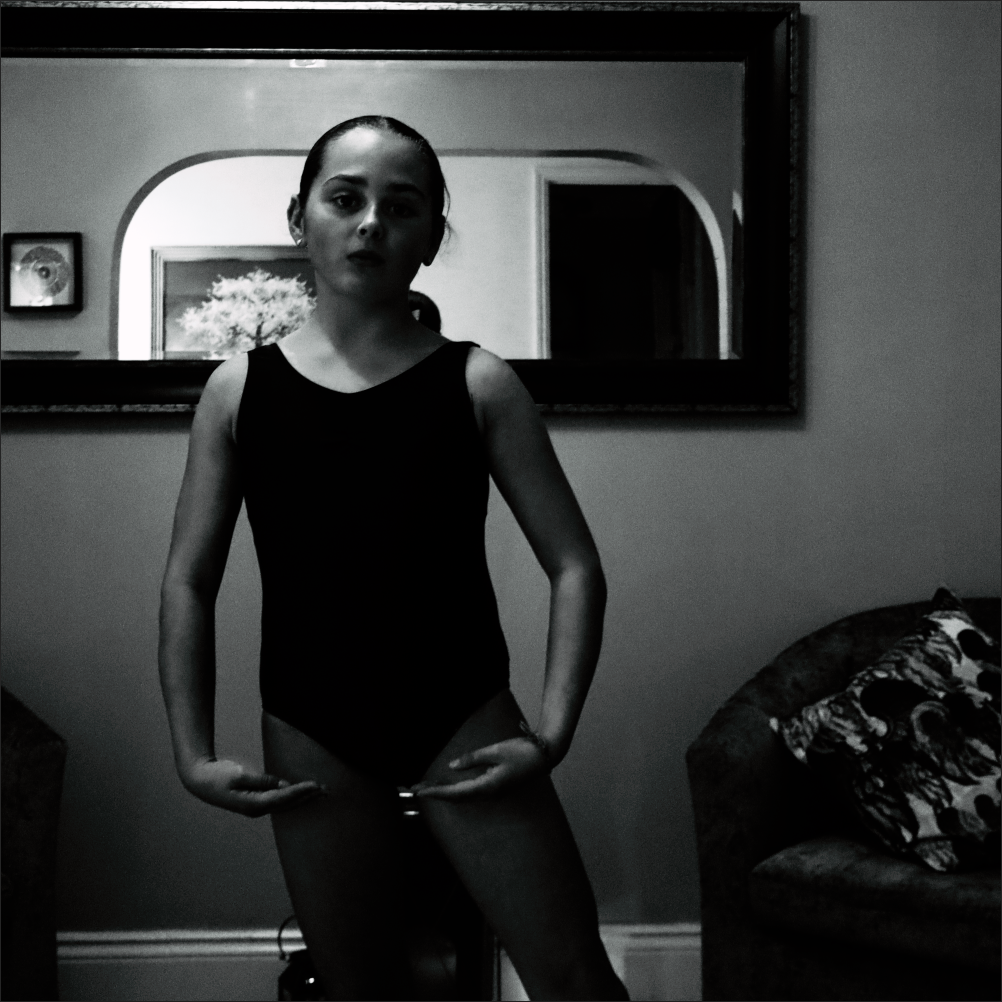
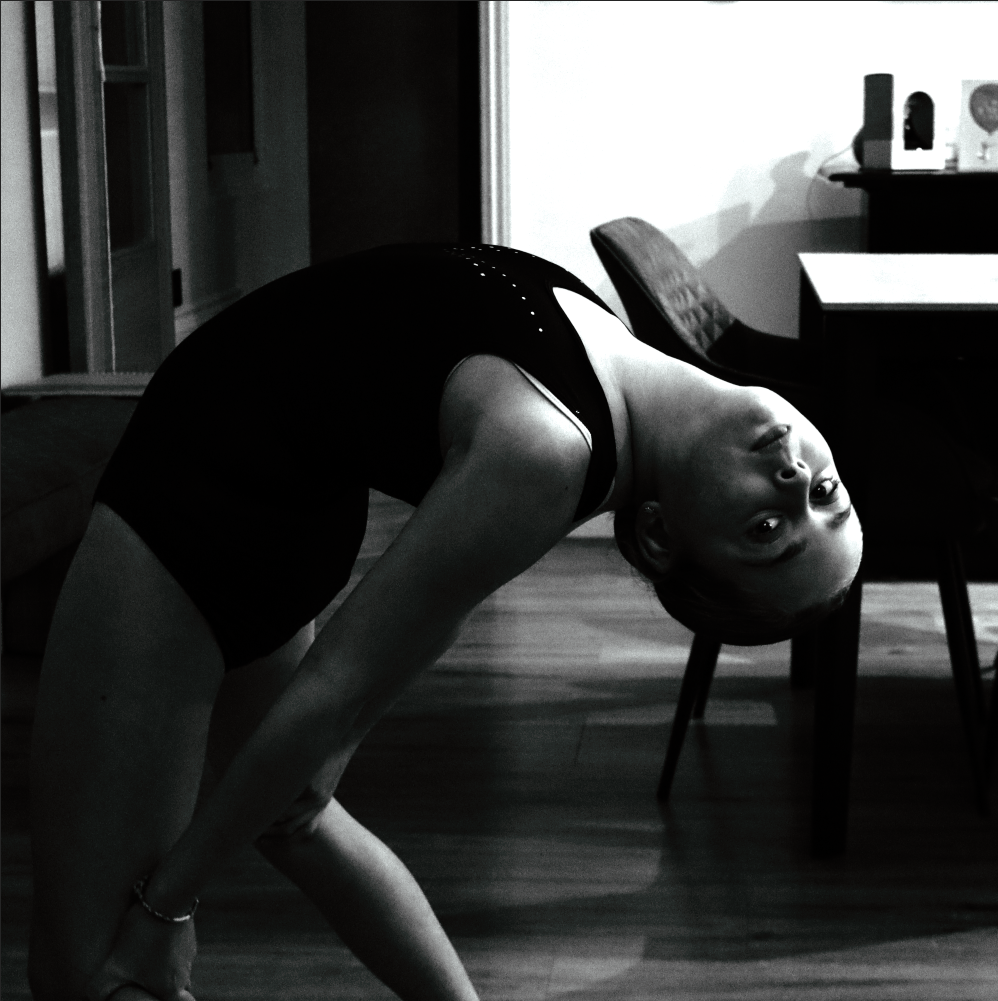
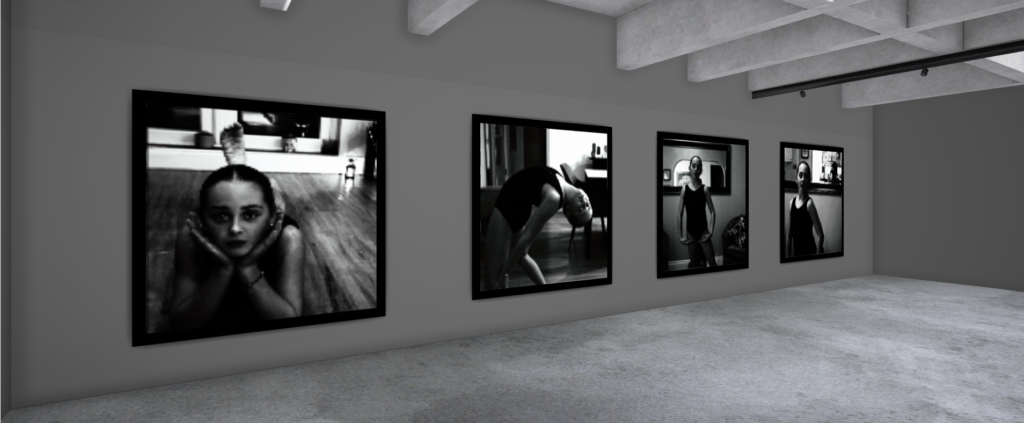
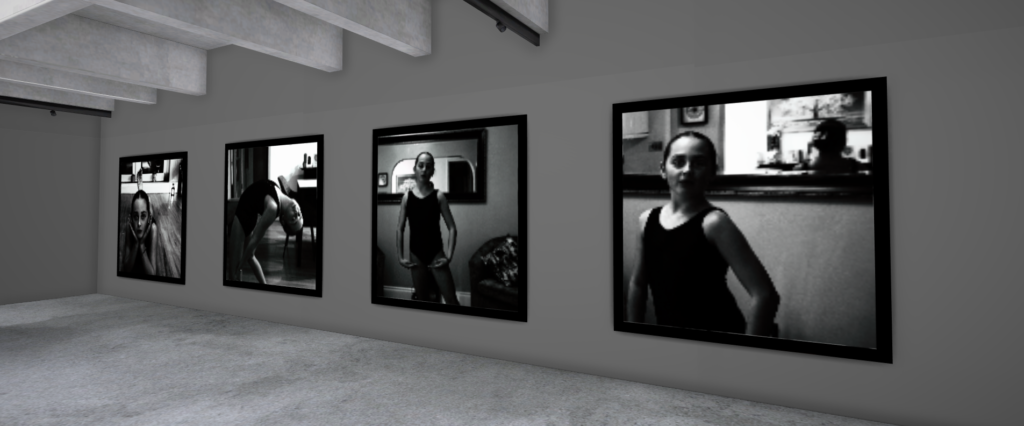


with those I used artsteps to visualise what it would look like in a gallery and to see that those 4 photos go well together
Who was he?
August Sander was a German portrait and documentary photographer. His first book Face of our Time was published in 1929. Sander has been described as “the most important German portrait photographer of the early twentieth century”.
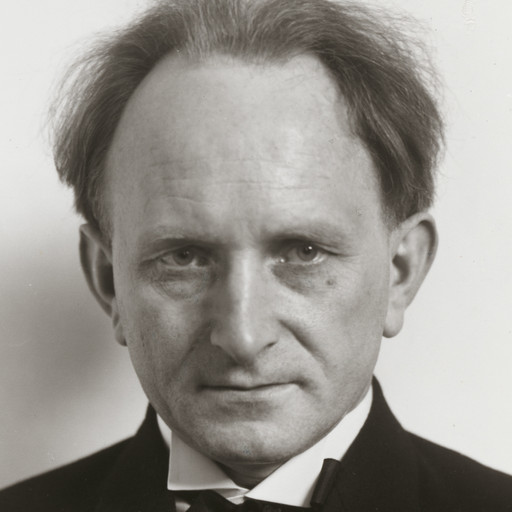
People of the Twentieth Century
He began his decades-long project People of the Twentieth Century. Though Sander never completed this exceptionally ambitious project, it includes over 600 photographs divided into seven volumes and nearly 50 portfolios. The seven volumes Sander used as his organizing principles were The Farmer, The Skilled Tradesman, The Woman, Classes and Professions, The Artists, The City, and The Last People.
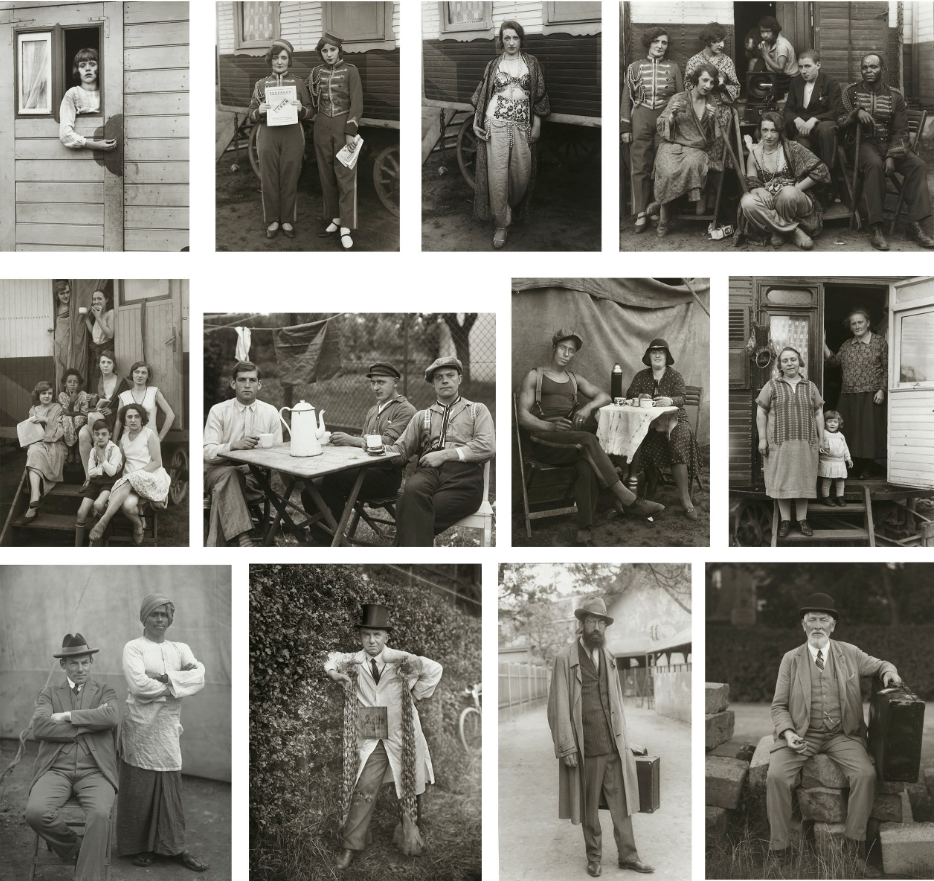
The photographs from this project are mostly black-and-white portraits of Germans from various social and economic backgrounds: aristocrats and gypsies, farmers and architects, bohemians and nuns. The portraits often include familiar signifiers (a farmer with his scythe, a pastry cook in a bakery with a large mixing bowl, a painter with his brushes and canvas, musicians with their instruments, and even a “showman” with his accordion and performing bear), but sometimes the visual clues to a subject’s “type” are not so obvious, leaving the title of the work and its placement in one of Sander’s categories to illuminate the subject’s role. The titles Sander assigned to his photographs do not reveal names, and capture one of the project’s many contradictions: Each photograph is a portrait of an individual, and at the same time an image of a type. Several subjects even reappear in different roles, which reveals an inherent flexibility that persists throughout the project.
Typologies
A photographic typology is a single photograph or more commonly a body of photographic work, that shares a high level of consistency. This consistency is usually found within the subjects, environment, photographic process, and presentation or direction of the subject and visually explores a theme or subject to draw out similarities and differences for examination.
Typology is a type of photograph which had its ultimate roots in August Sander’s series of portraits in 1929, titled “Face Of Our Time”. The term ‘Typology’ was first used to describe a style of photography when Bernd and Hilla Becher began documenting old and broken down German industrial architecture in 1959.
August Sander’s typologies

Bernhard and Hilla Becher’s typologies
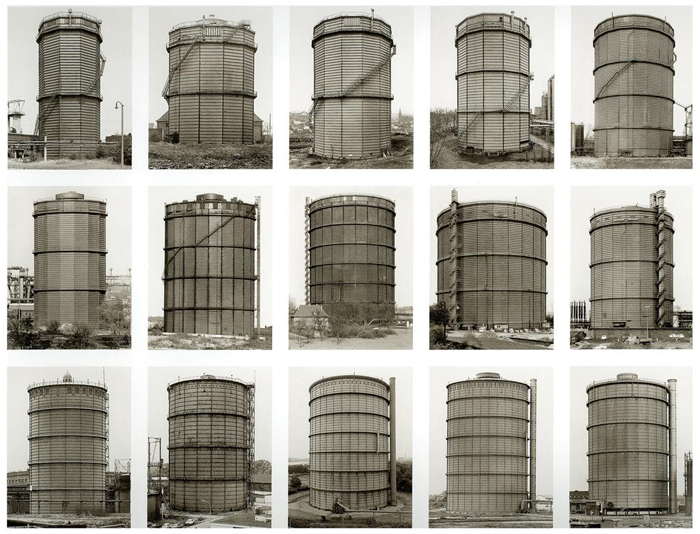
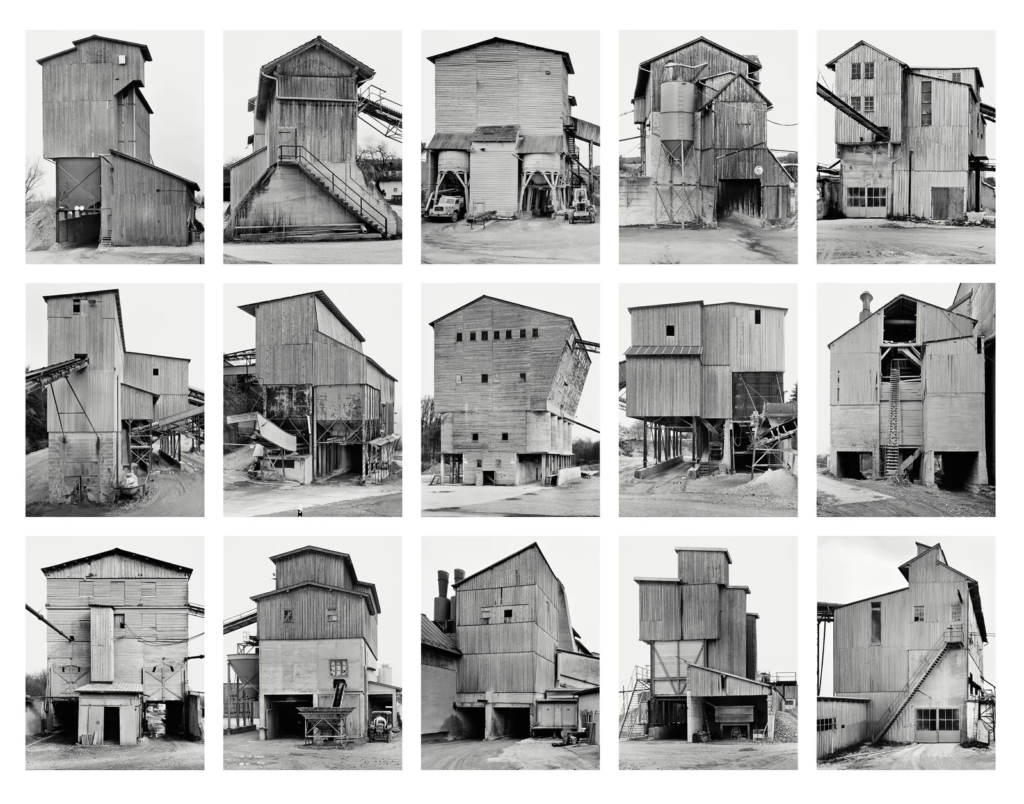
The artists’ most immediately recognizable work, the typologies group several photographs of a single category of industrial structure, such as cooling towers or blast furnaces. Presented together in a grid, subtle variations emerge among these homogeneous structures.
August Sander biography:
Sander has been described as “the most important German portrait photographer of the early twentieth century”. His work includes landscape, nature, architecture, and street photography. however, he is best known for his portraits and his series ‘People of the 20th Century.’
The environmental factor of August Sander’s portrait meant that the subjects in his photos would always be surrounded by the environmental they work in, in the background of the full-body shot, so their occupation was clear to the viewers.
His photographs:
After photographing local farmers near Cologne, he was inspired to produce a series of portraits of German people of different lives. He was committed to ‘telling the truth’. His portraits were usually photographed straight on in natural light, with facts of the sitters’ class and profession alluded to through clothing, gesture, and backdrop. At the Cologne Art Society exhibition in 1927, Sander showed 60 photographs of “Man in the Twentieth Century,” and two years later he published ‘Face of Our Time’.
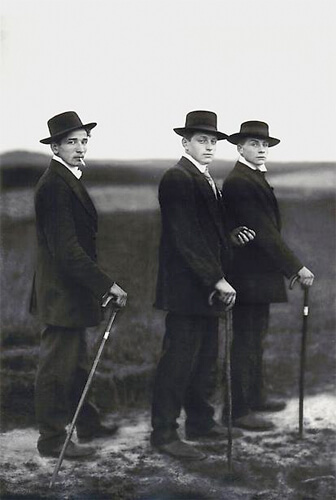
Sanders’ photographs are mostly black-and-white portraits of Germans from various social and economic backgrounds: aristocrats and gypsies, farmers and architects, bohemians and nuns. The portraits often include familiar signifiers to help the audience know who they were , but sometimes the visual clues to a subject’s “type” are not so obvious, leaving the title of the work and its placement in one of Sander’s categories to illuminate the subject’s role. Each photograph is a portrait of an individual, and at the same time an image of a type.

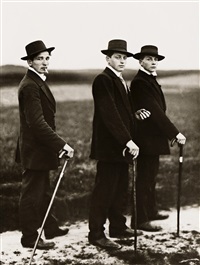
With this photo, you can easily see the leading lines which are the walking sticks, leading lines help direct your eyes to the main focus of the photo. in this photo there are three wealthy men standing next to each other with walking sticks and suits, this signifies that they are wealthy and posh compared to other people that August sander has photographed. the posture of the men also help to create the idea that they are smart men due to them standing up straight and not slouching. the men are also looking straight into the camera to help with the firm eye contact.
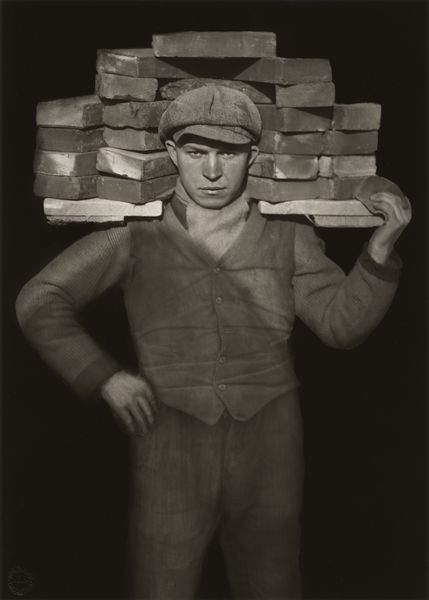
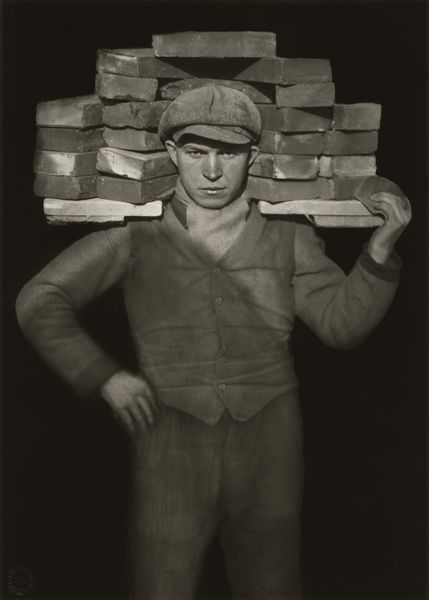
– August Sander – Handlanger (Bricklayer) – 1928
– formal (posed) with relaxed facial expression
– Full body
– Deadpan angle
– Eye contact > engagement with the camera
– Black and white
Typologies
what is a typology?
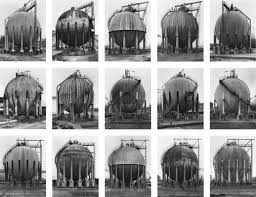
This is an example of August sanders typologies.

this is my environmental portrait mood board.
An environmental portrait is a portrait executed in the subject’s usual environment, such as in their home or workplace, and typically illuminates the subject’s life and surroundings.
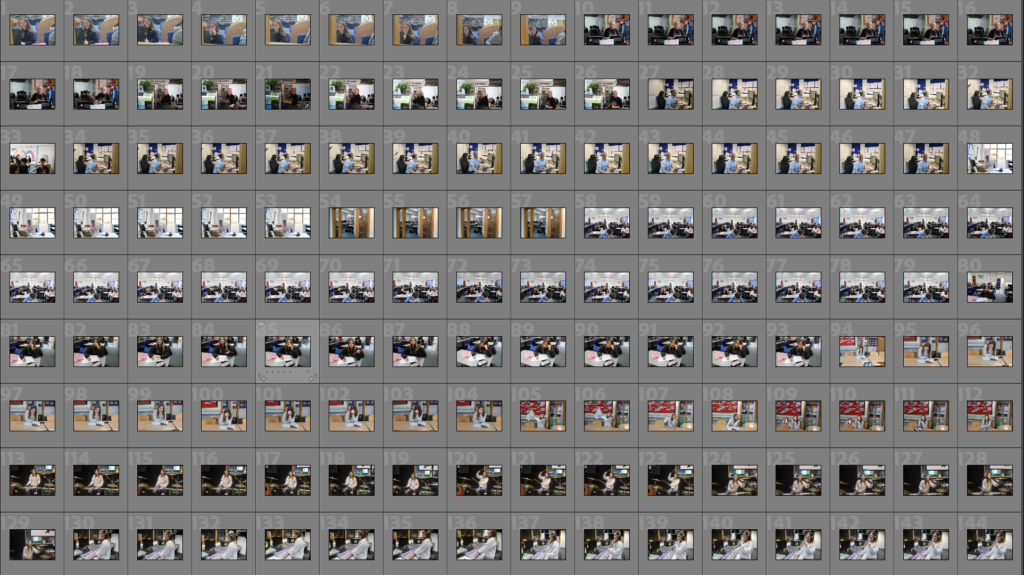
This is my contact sheet from all of the photos I’ve taken, with different people in their different environment, such as the canteen, offices, classrooms ect.
Final photos before and after editing.
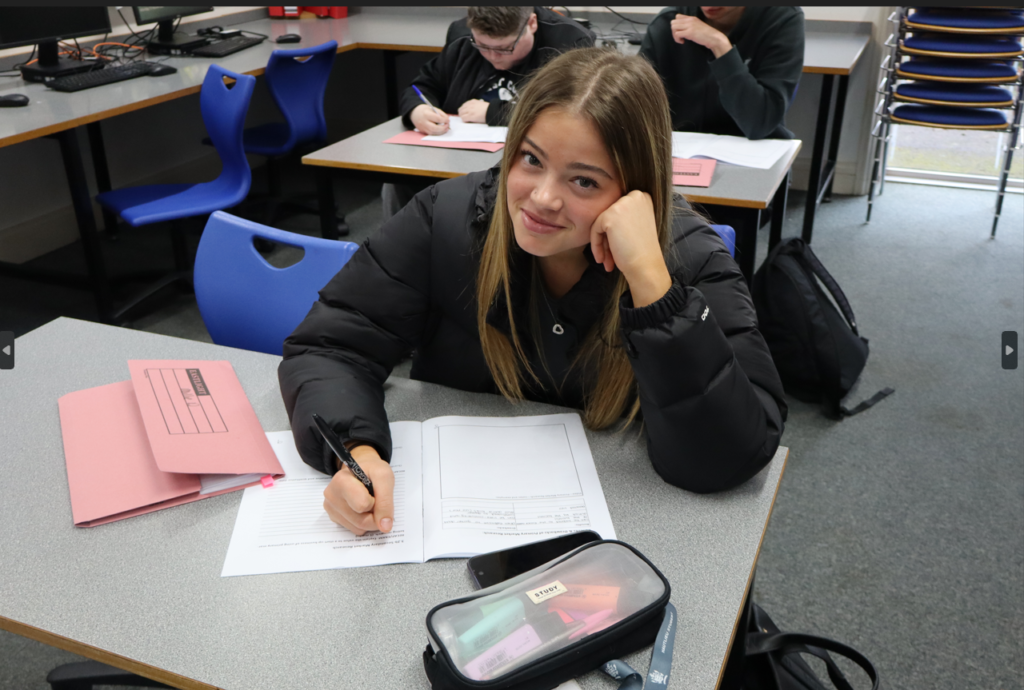
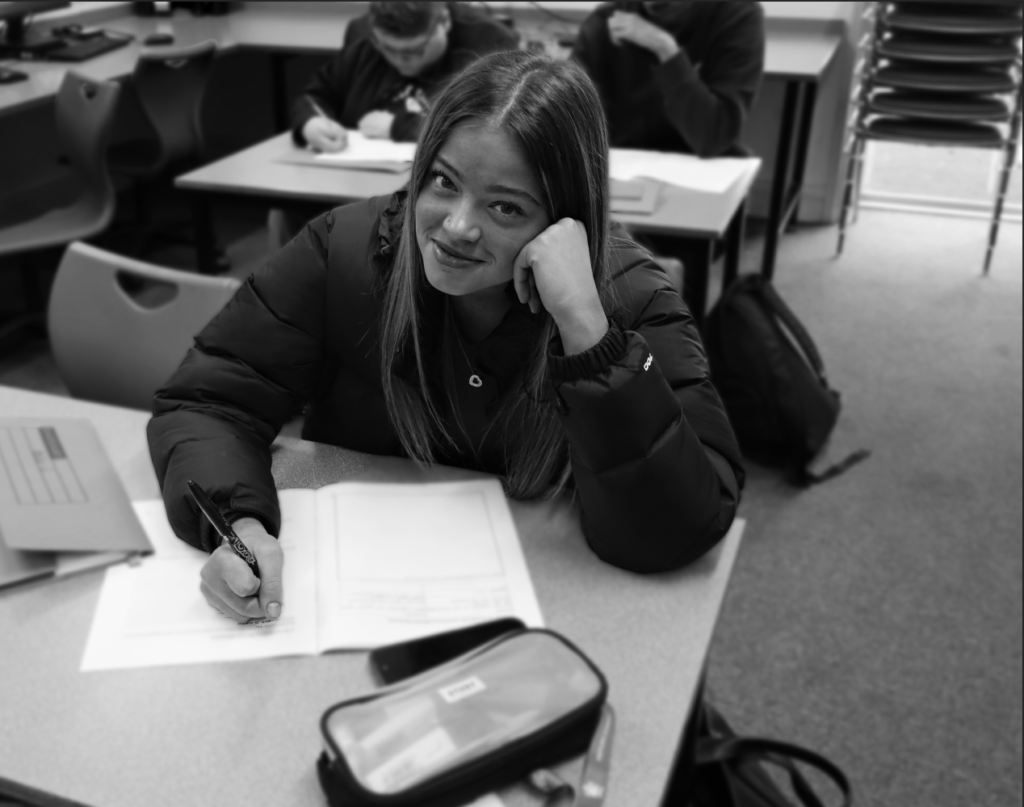
with this photo, as I was using one of the new cameras i used the ‘P’ setting, therefore the photo didn’t come out as good as I expected. to edit this photo, I cropped round the main focus of the image which was Millie, then I made the background blurry, using the blur tool. I changed the photo to black and white and changed the contrast. I also edited the photo to make the background smaller.


With this photo, I also made the background blurry on photoshop. I made sure to keep the ‘cold drinks’ sign in the photo which helps the audience understand that she is a canteen lady.


I did the same with this photo, using the blurring tool on photoshop, to enhance the main focus. I cropped the image to get the unnecessary background out of the photo. again like the other photos I made it black and white so it would fit in with my theme of black and white photos.
My evaluation of my photos.
throughout this photoshoot, I personally took many photos up to standard however I think I could have explored with the ISO and aperture more to create better and more clear photos.