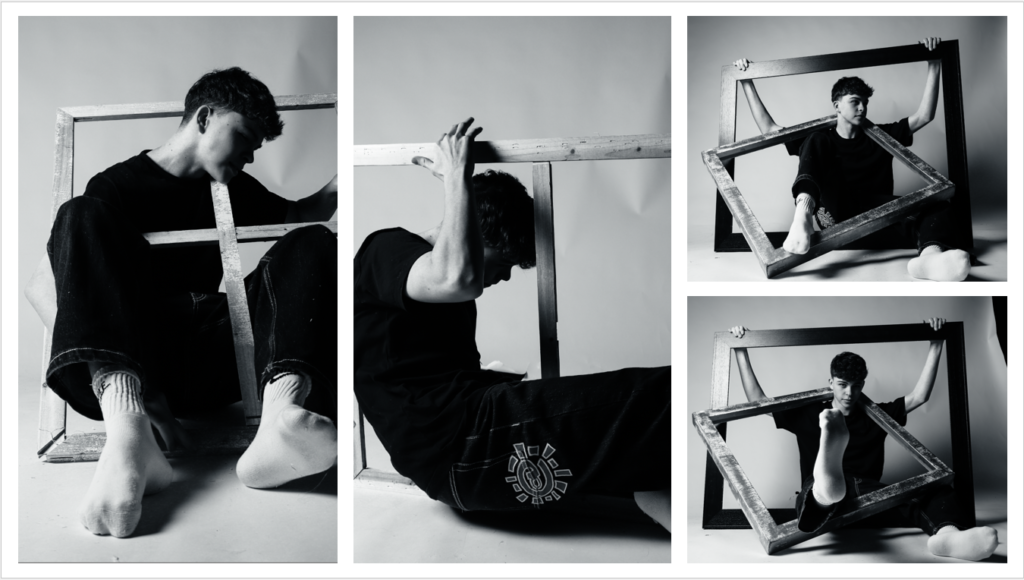
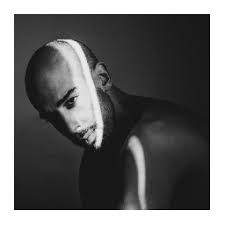
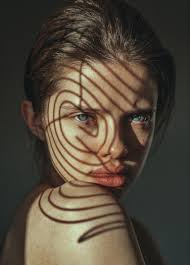
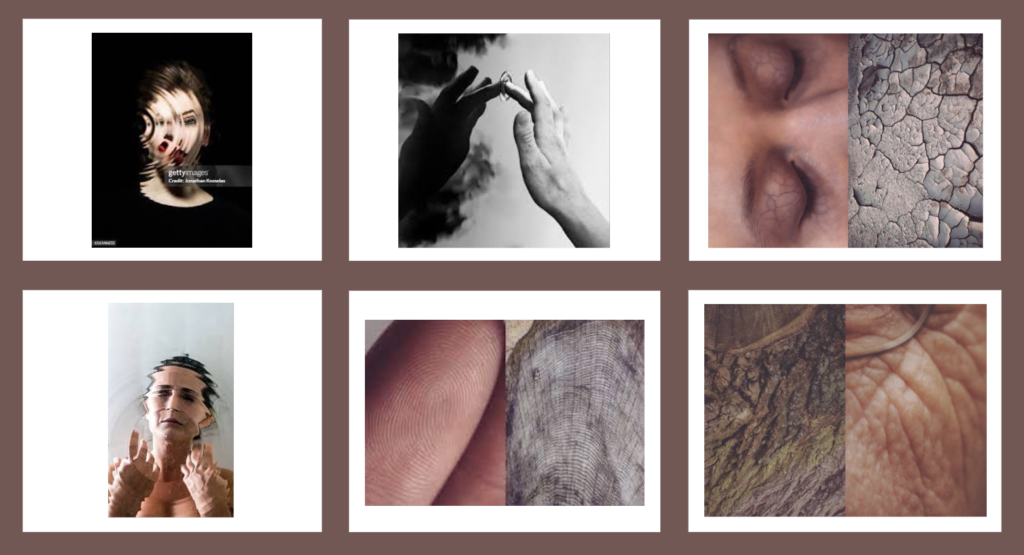
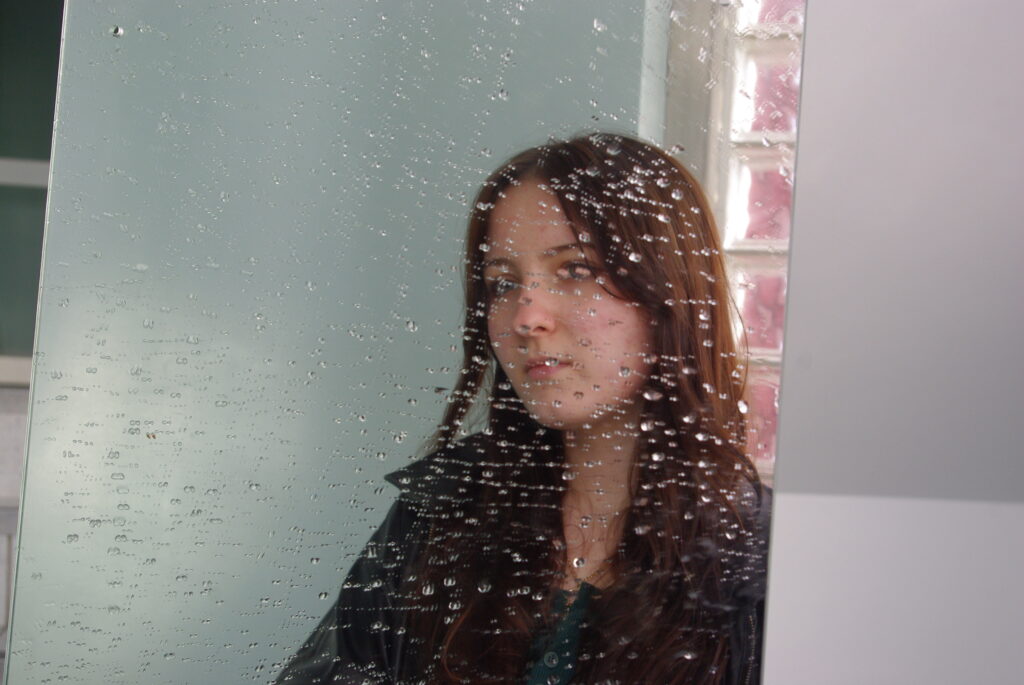
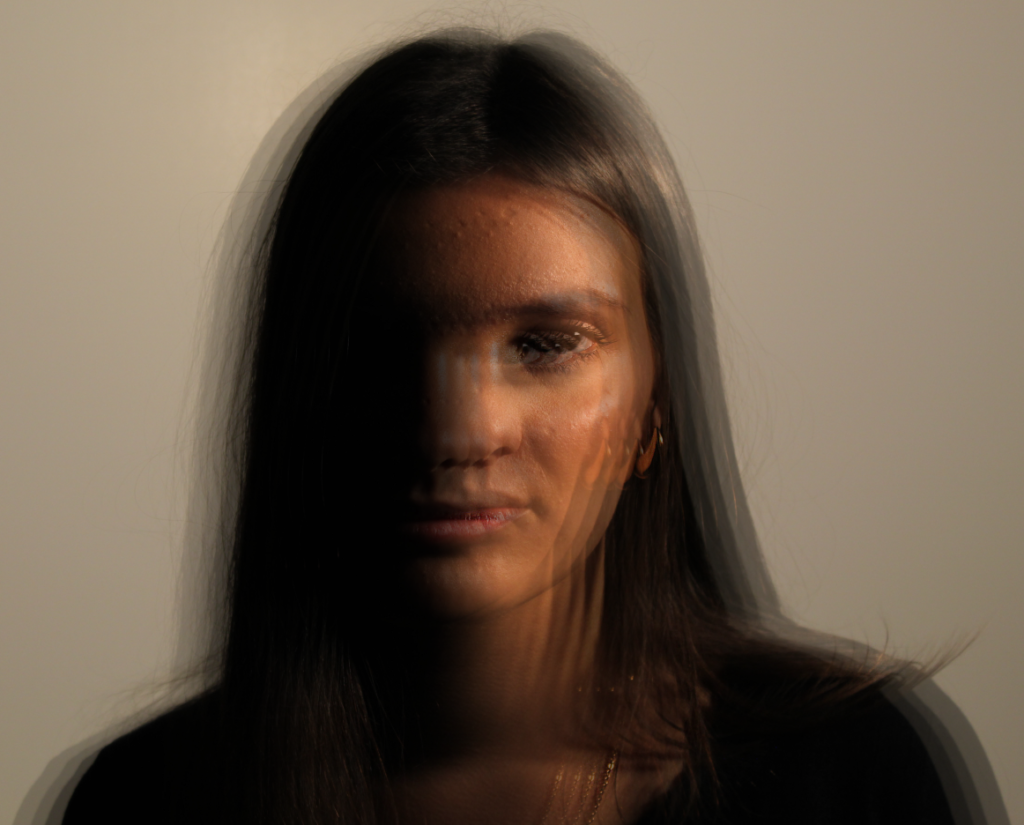
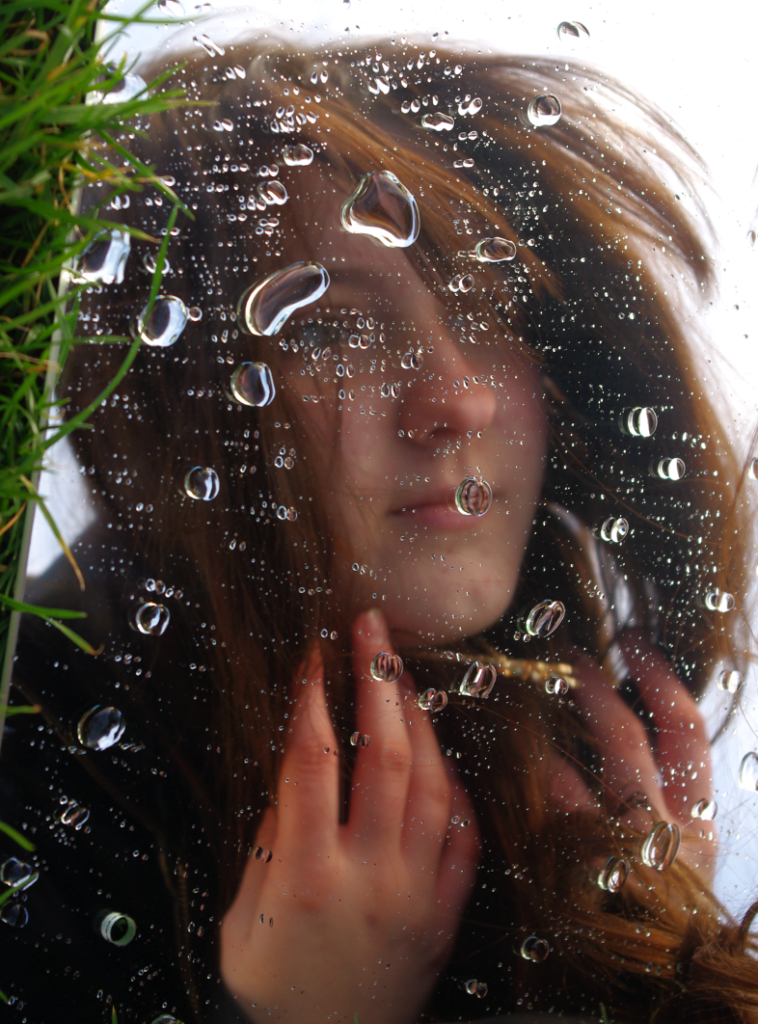
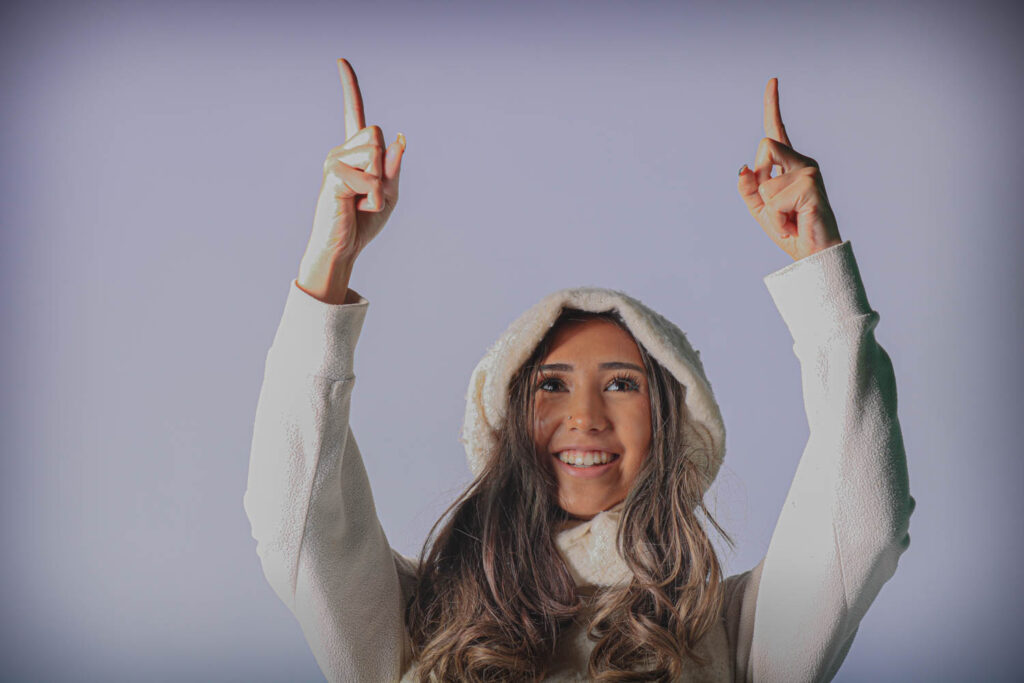
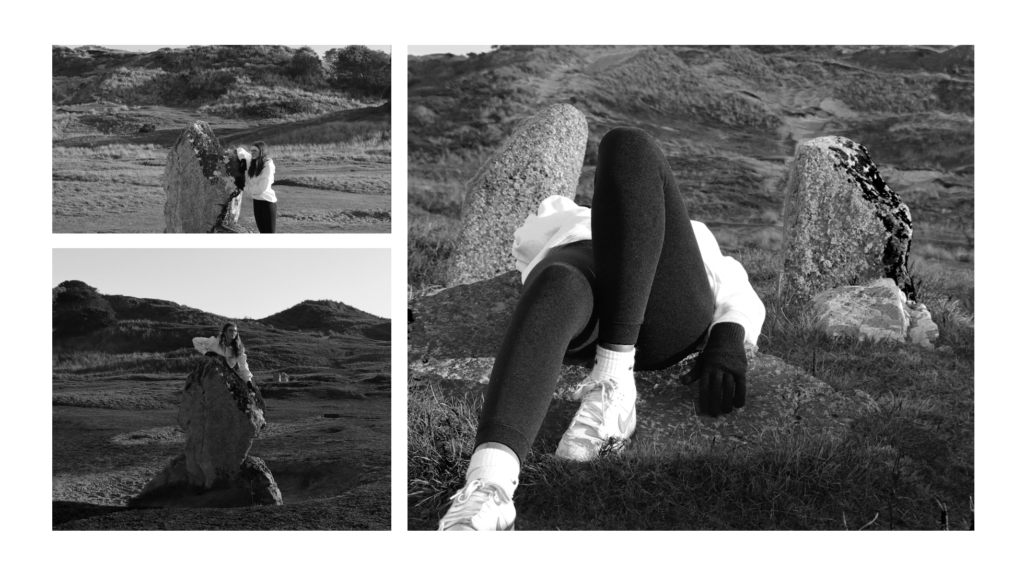
Photoshoot 1
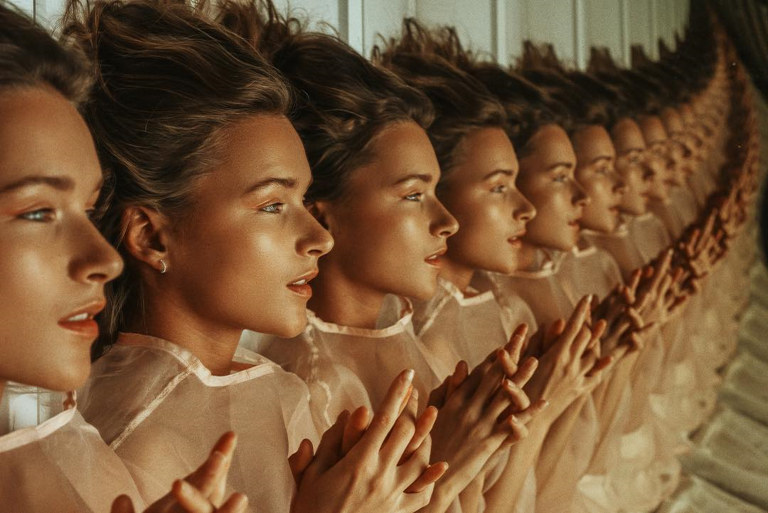
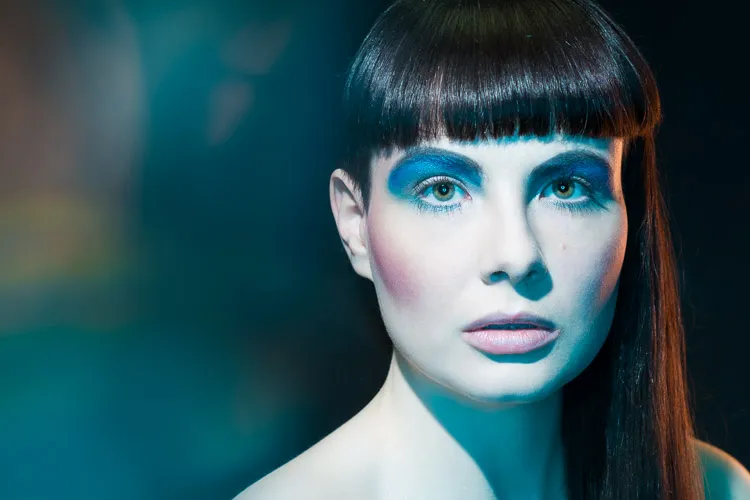
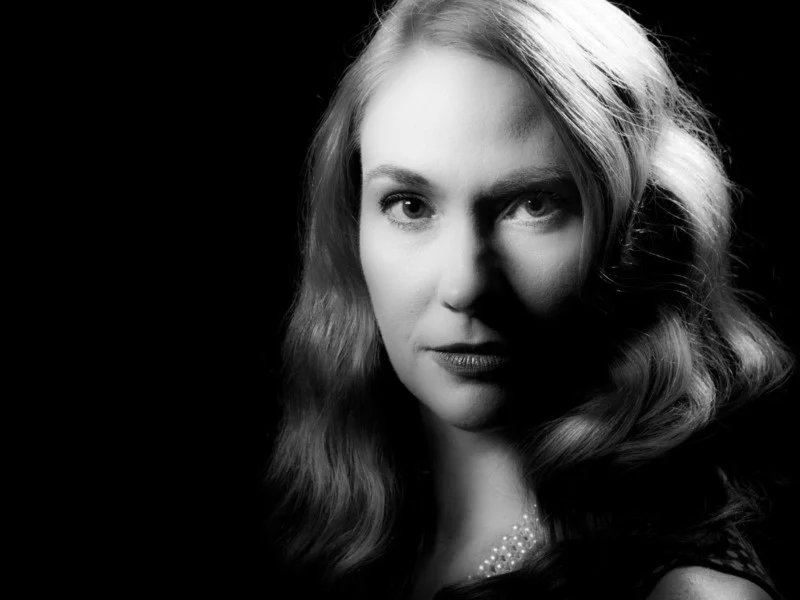
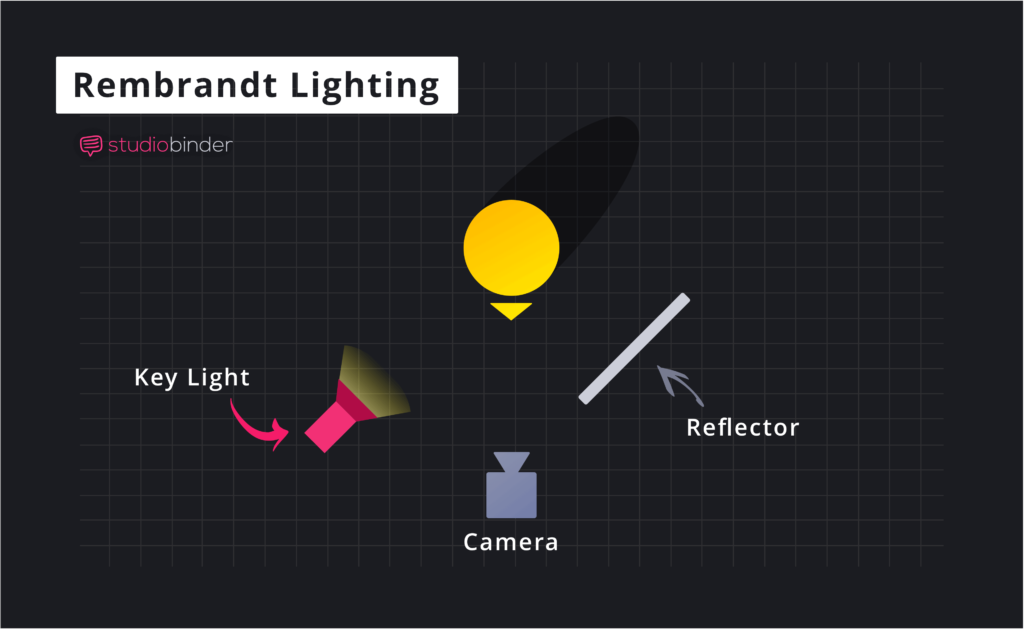
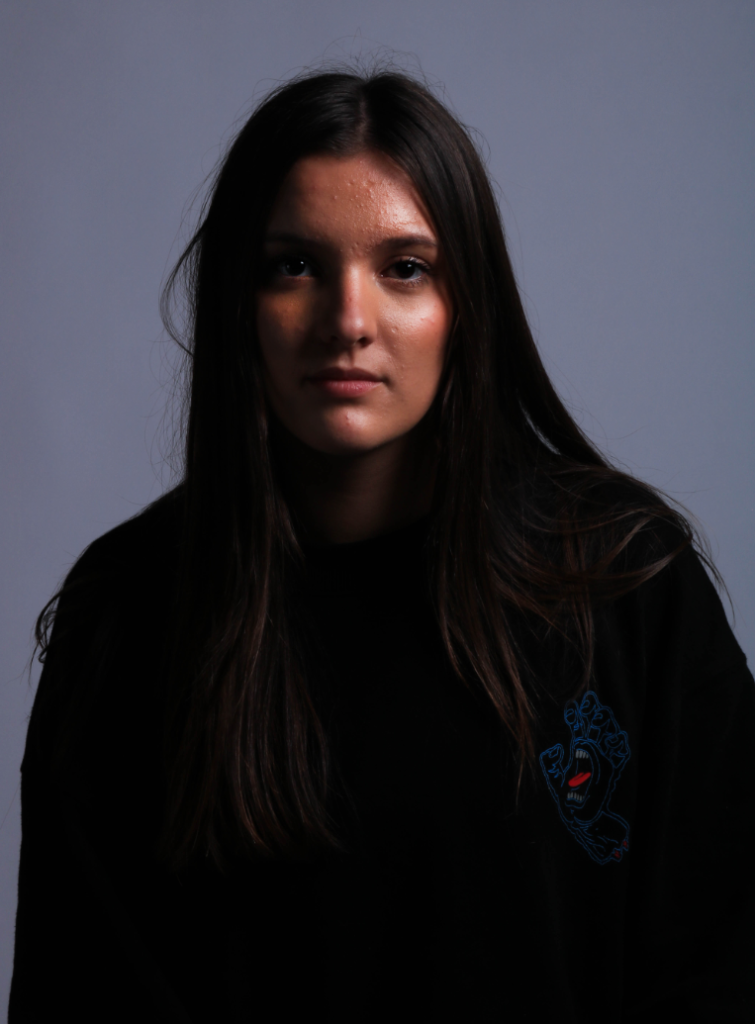
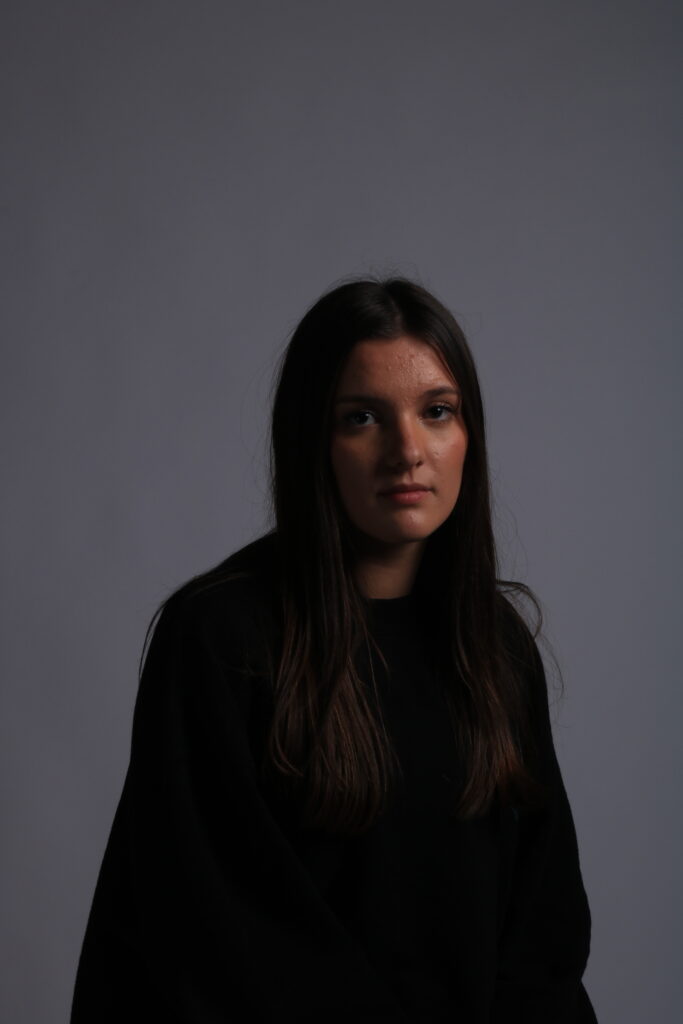
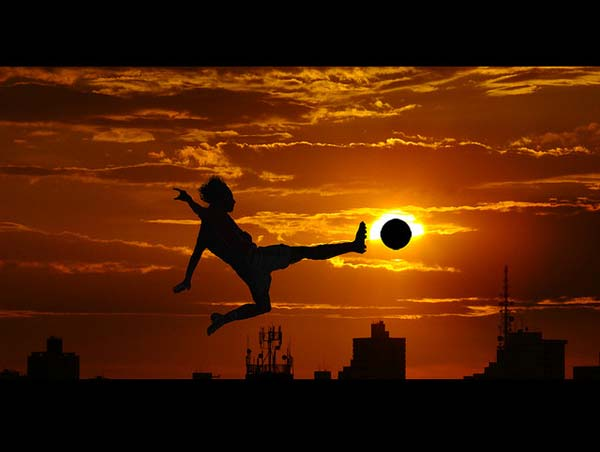
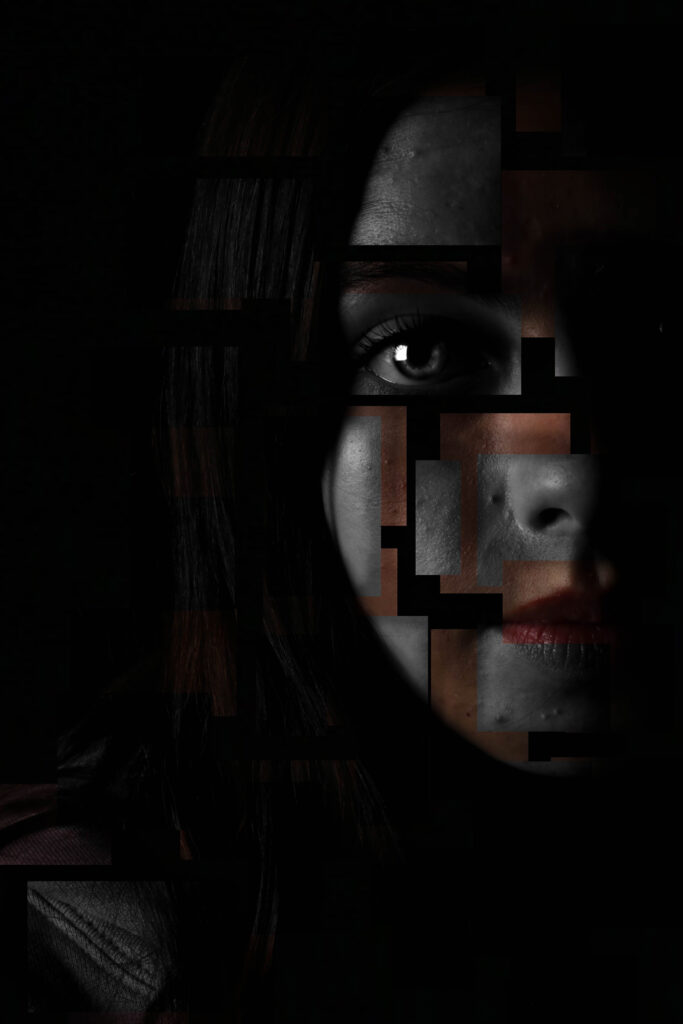
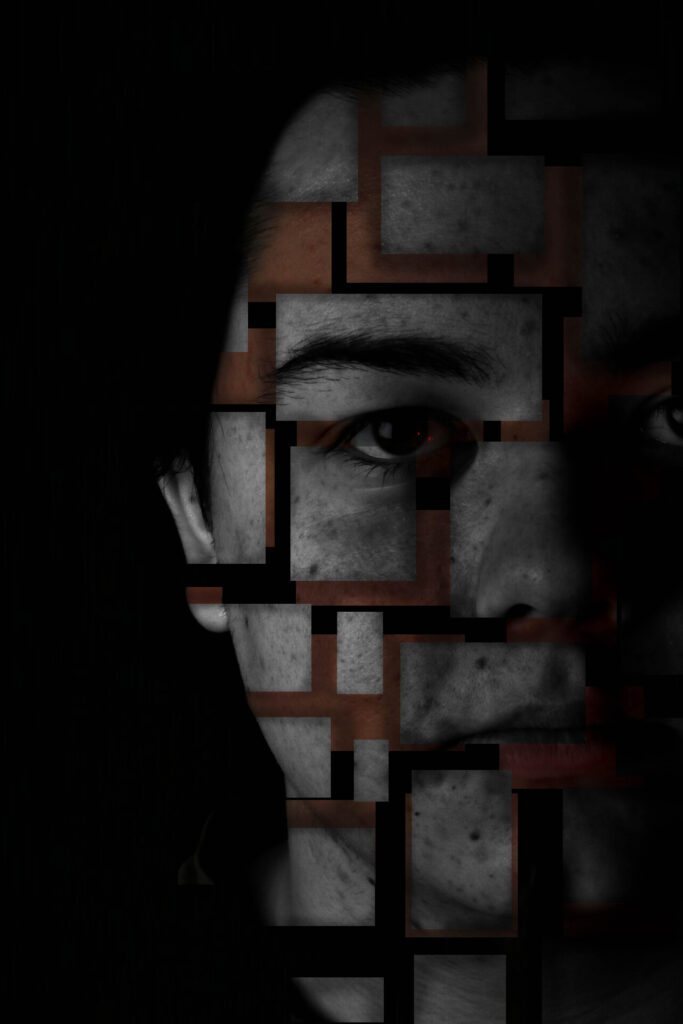
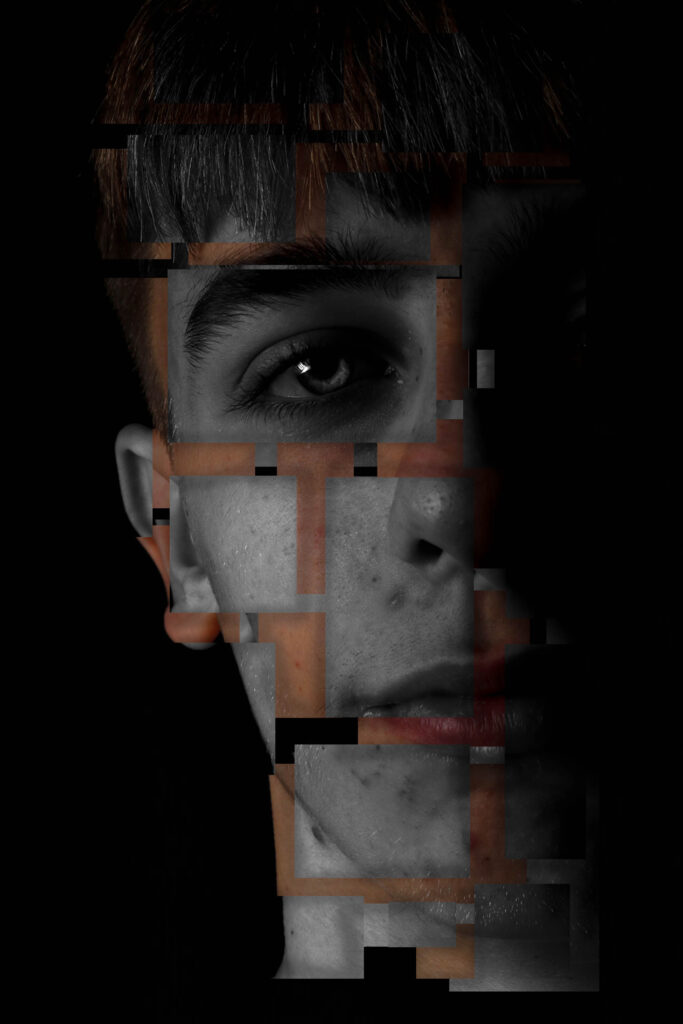
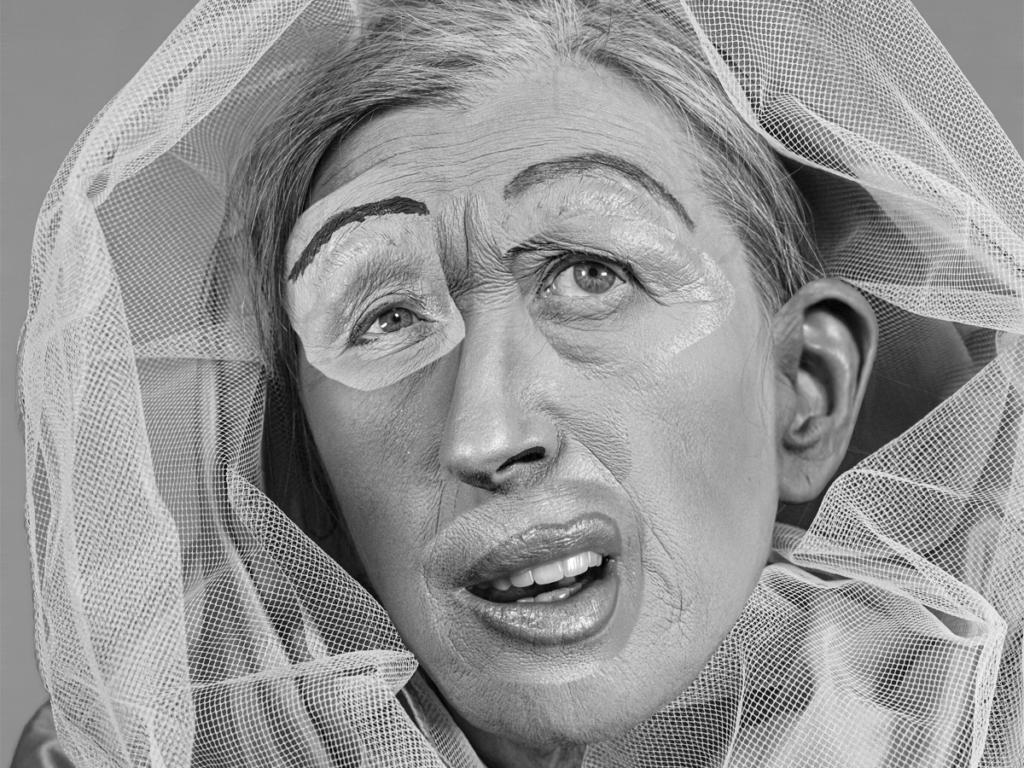
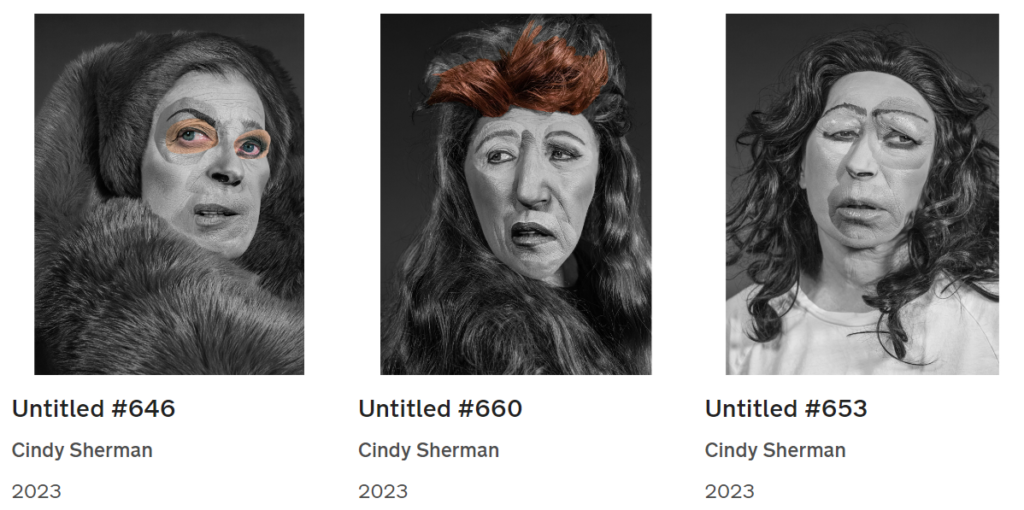
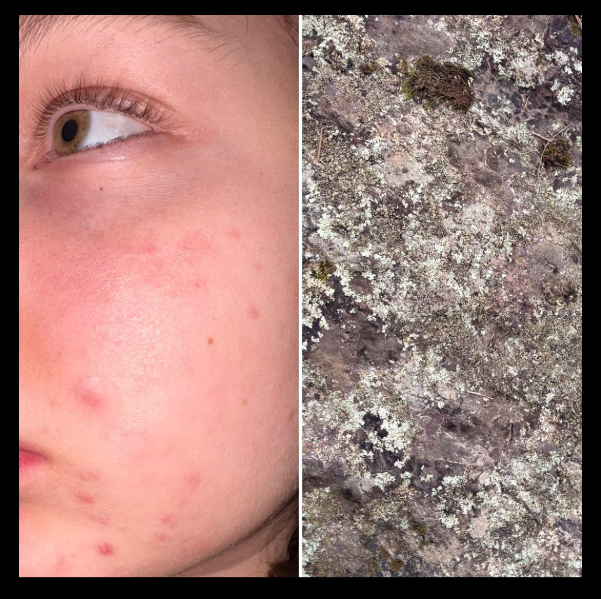
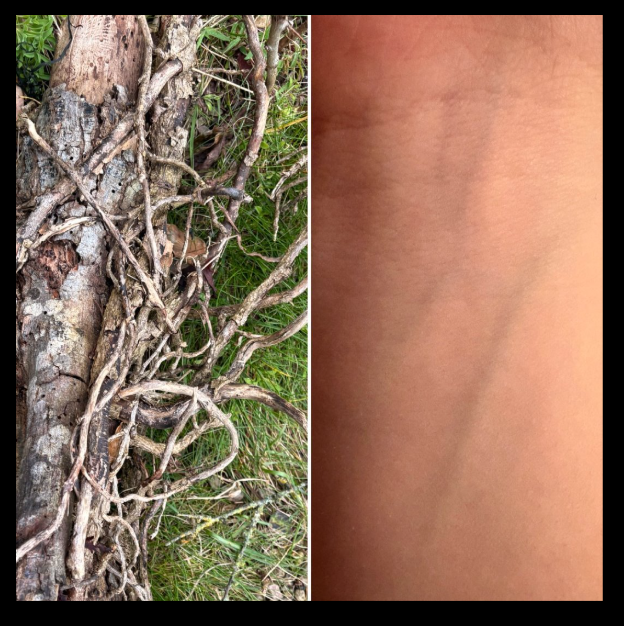
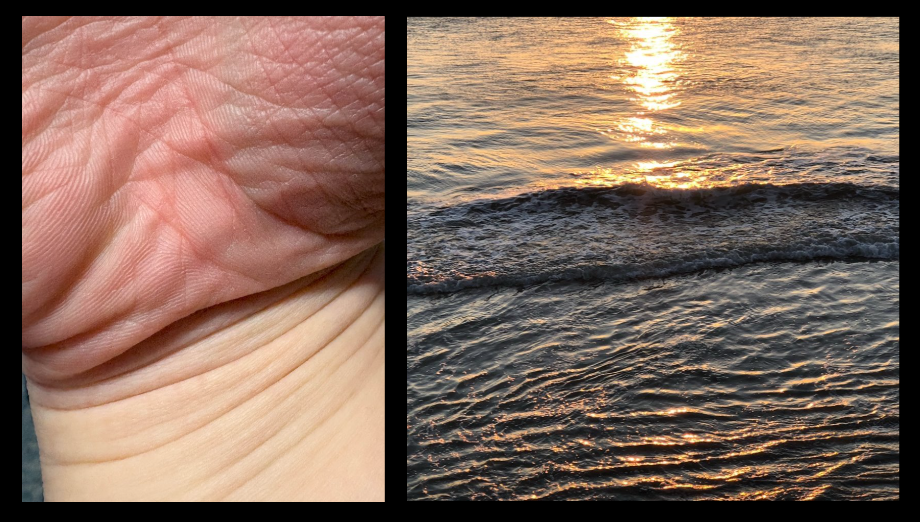
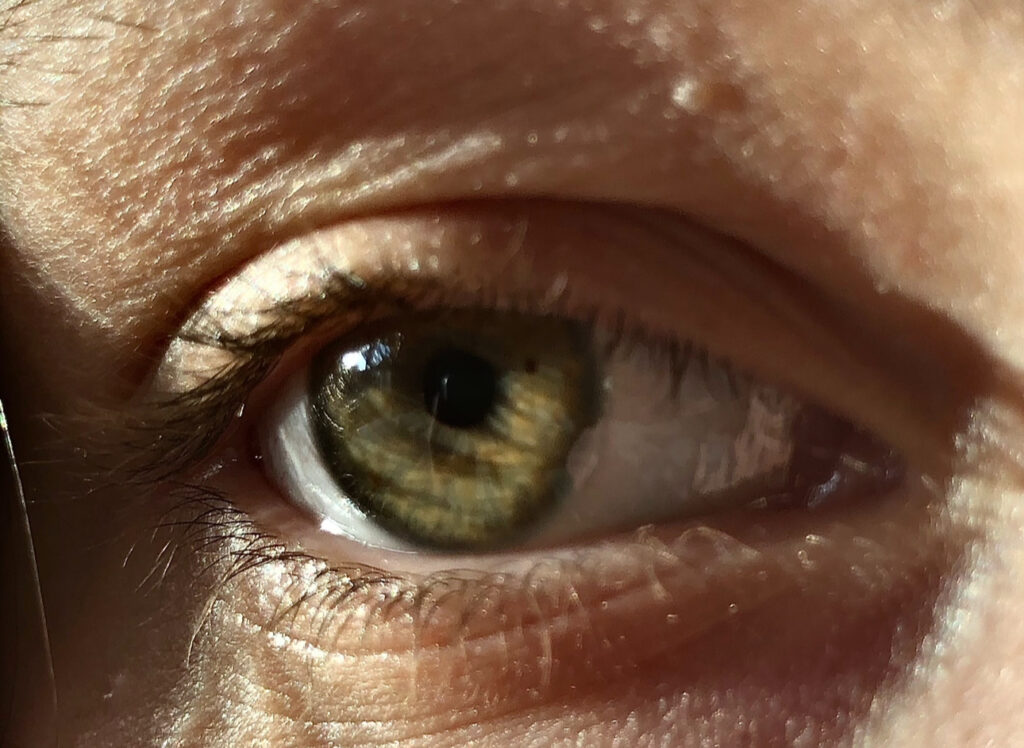
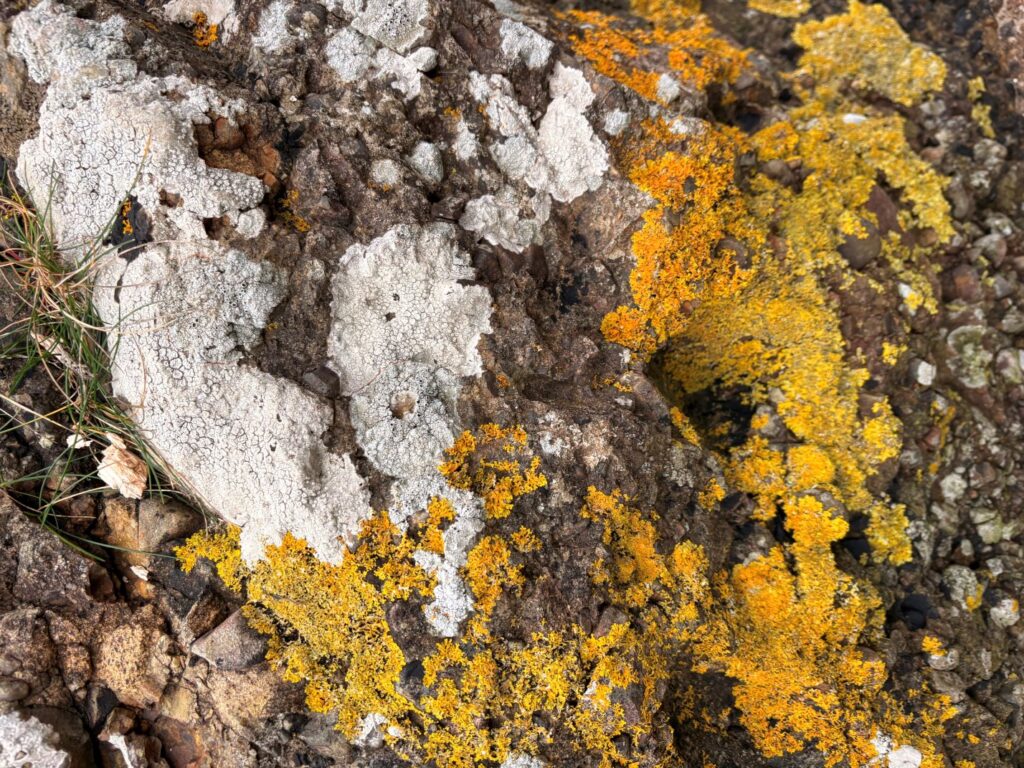
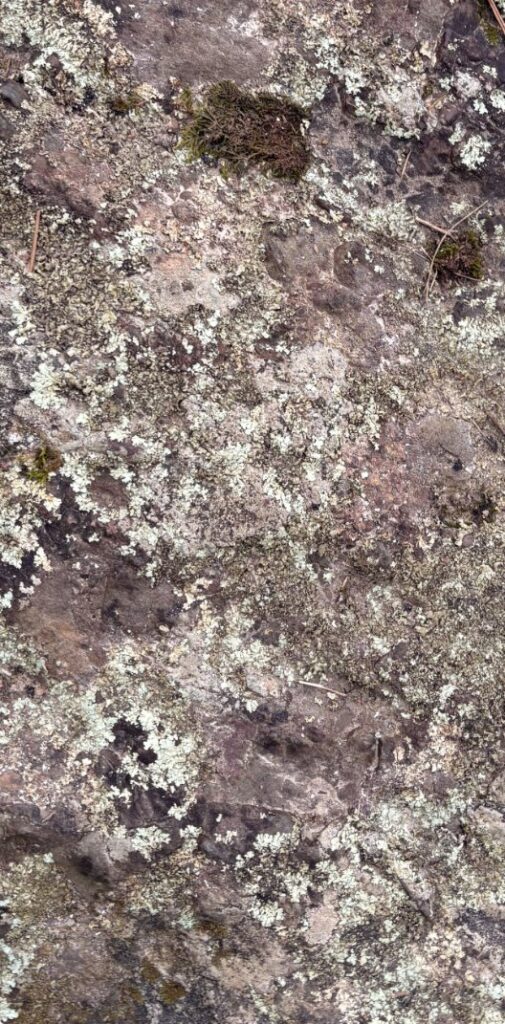
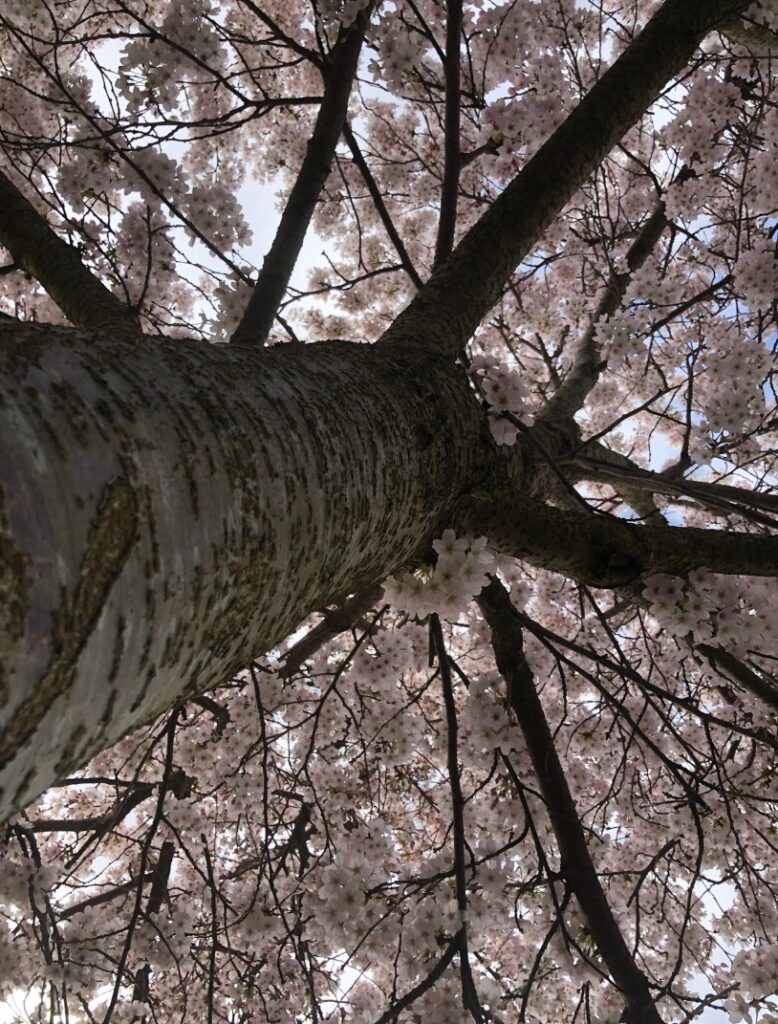
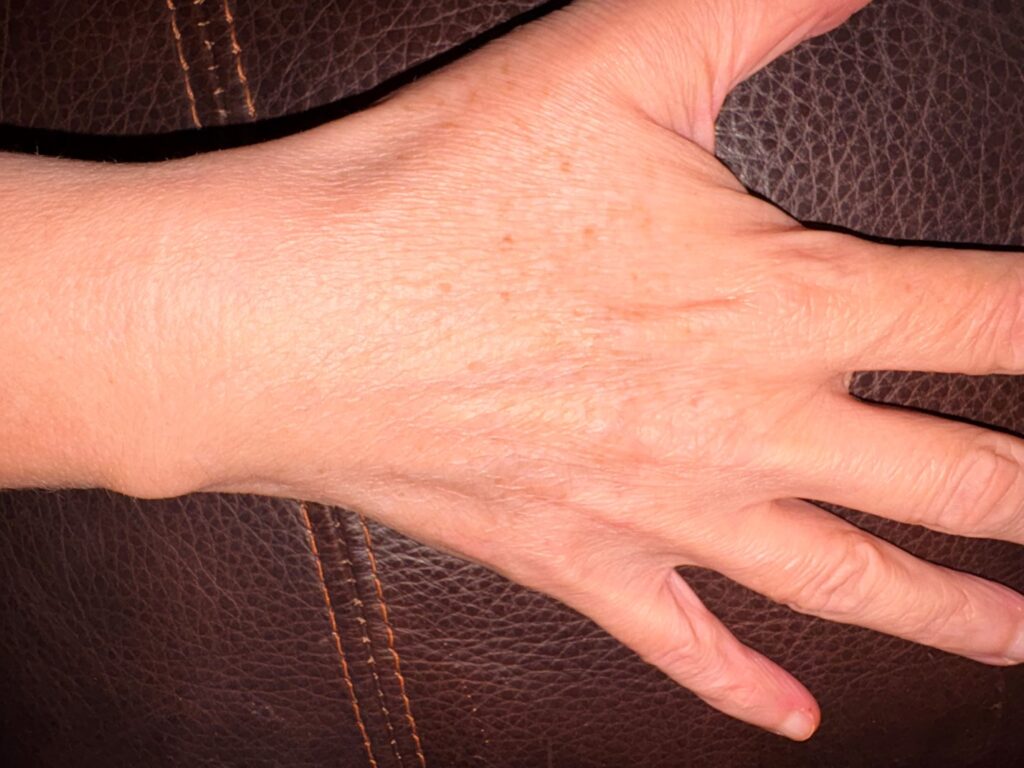
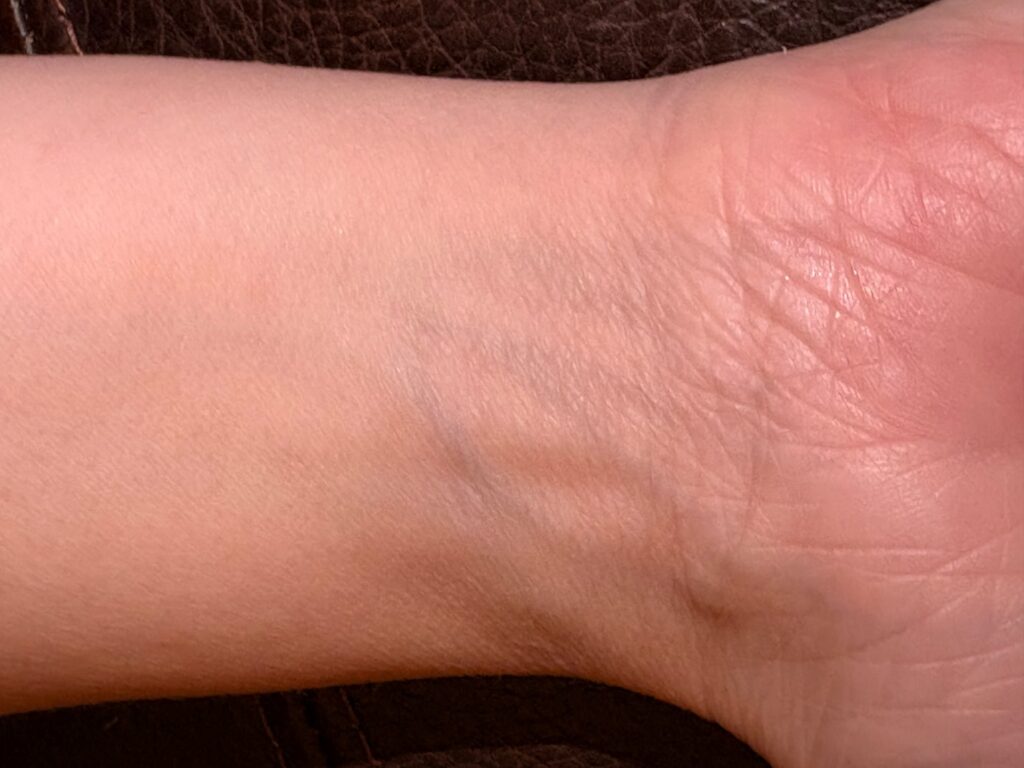
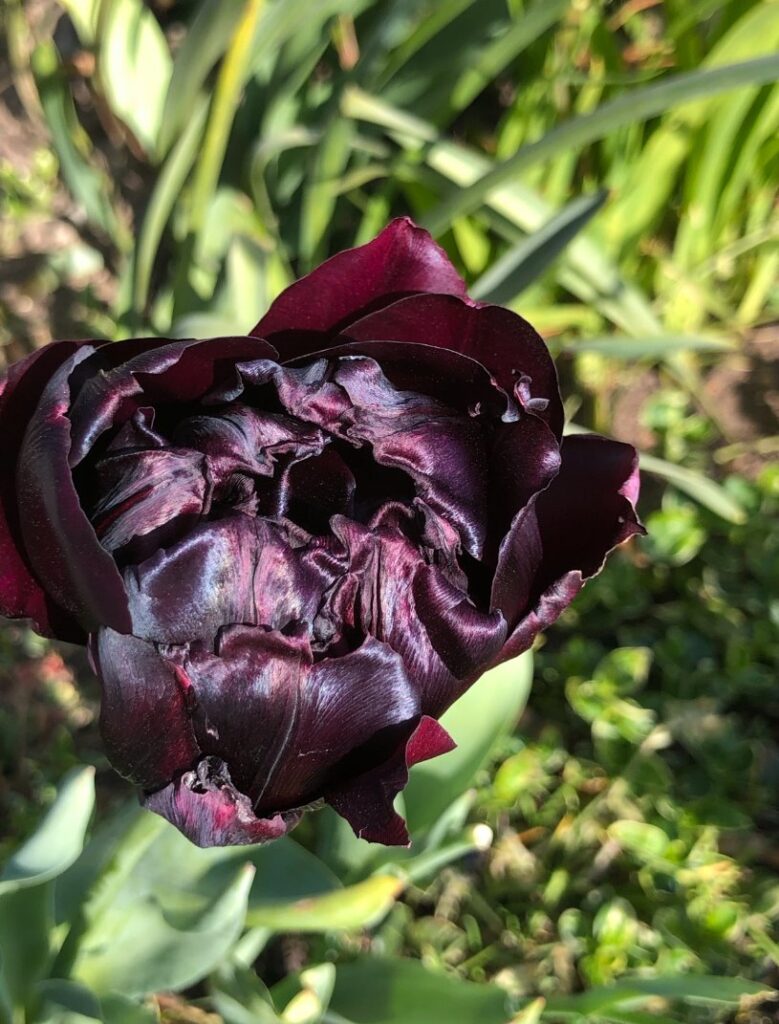
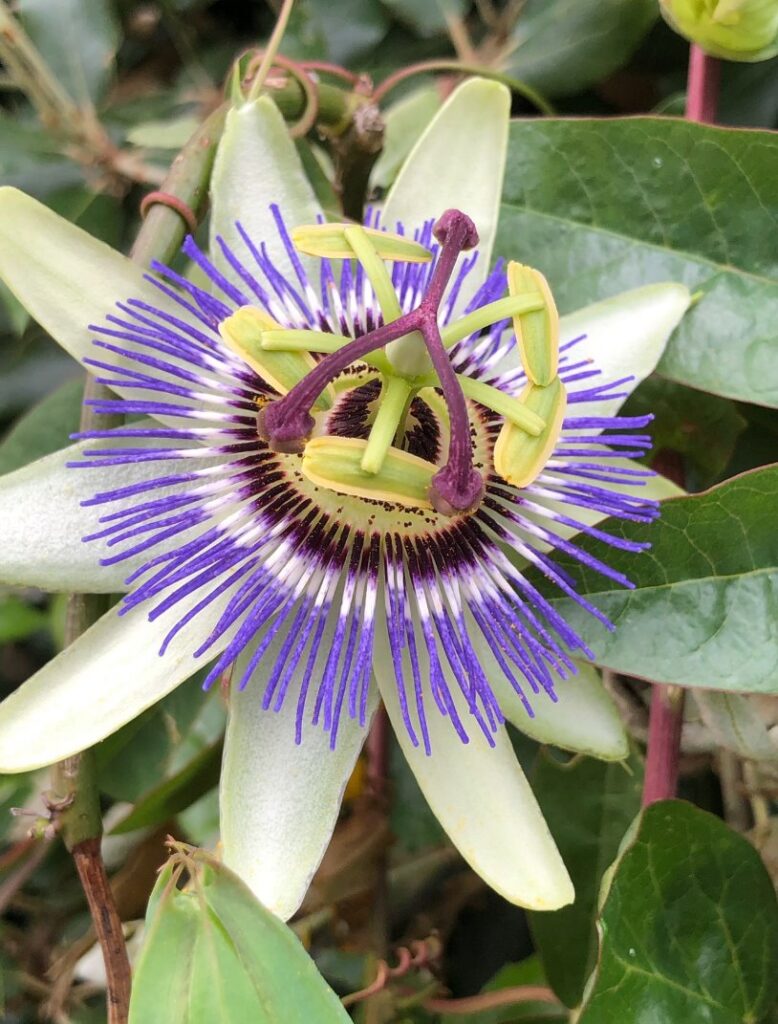
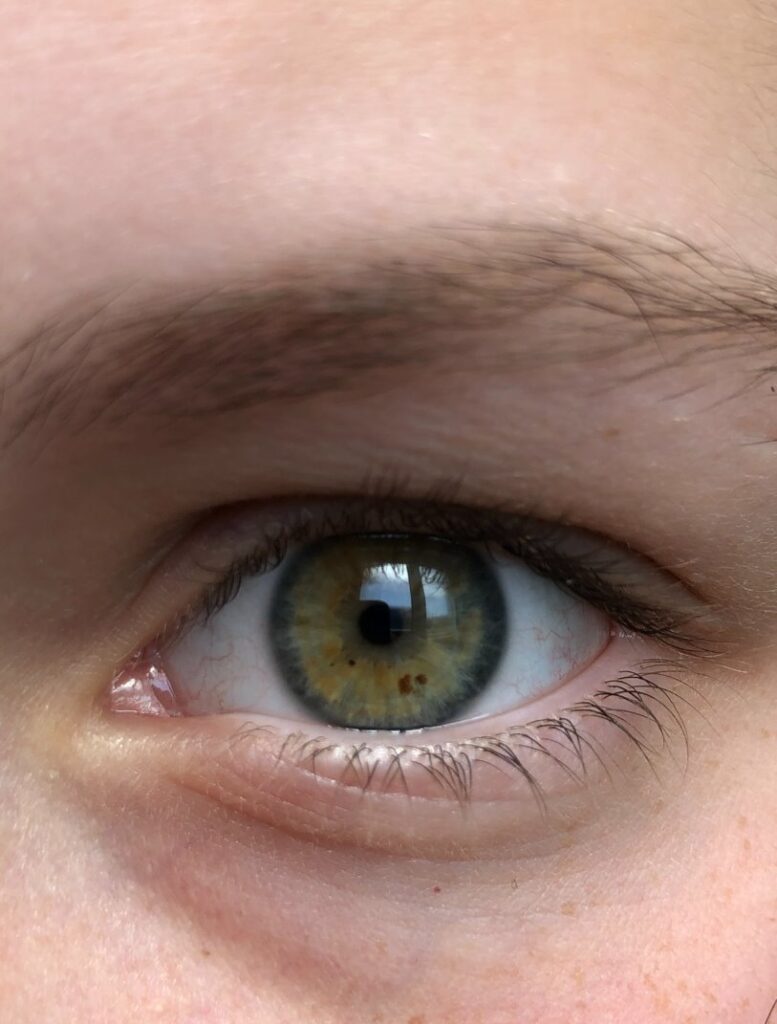
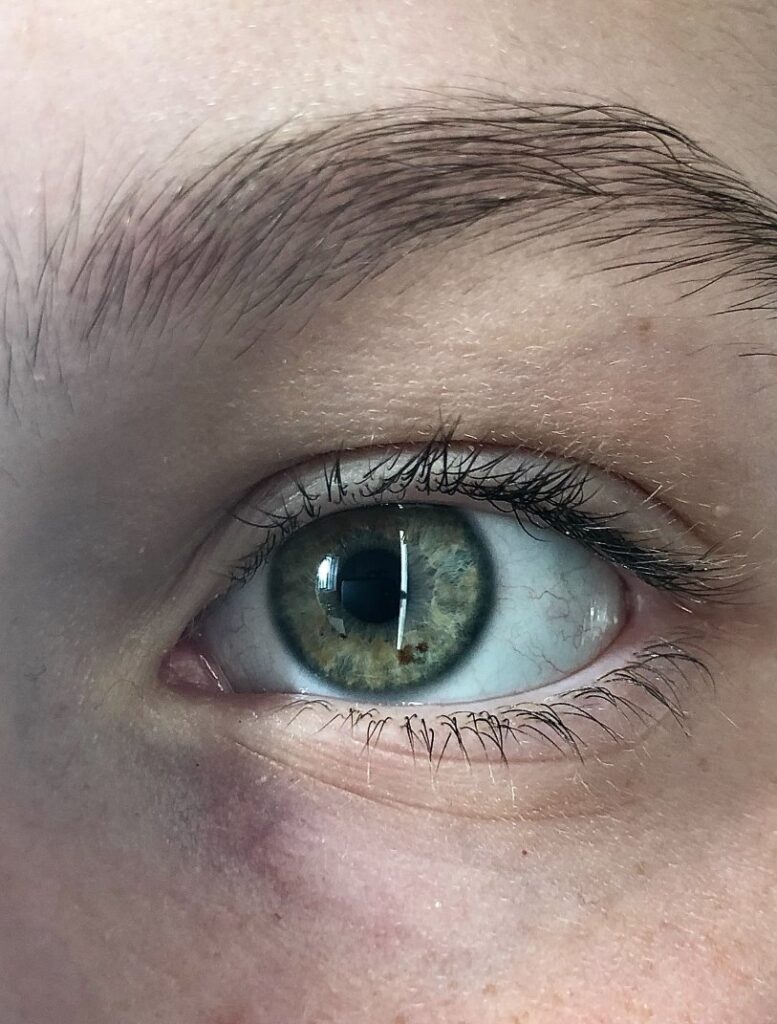
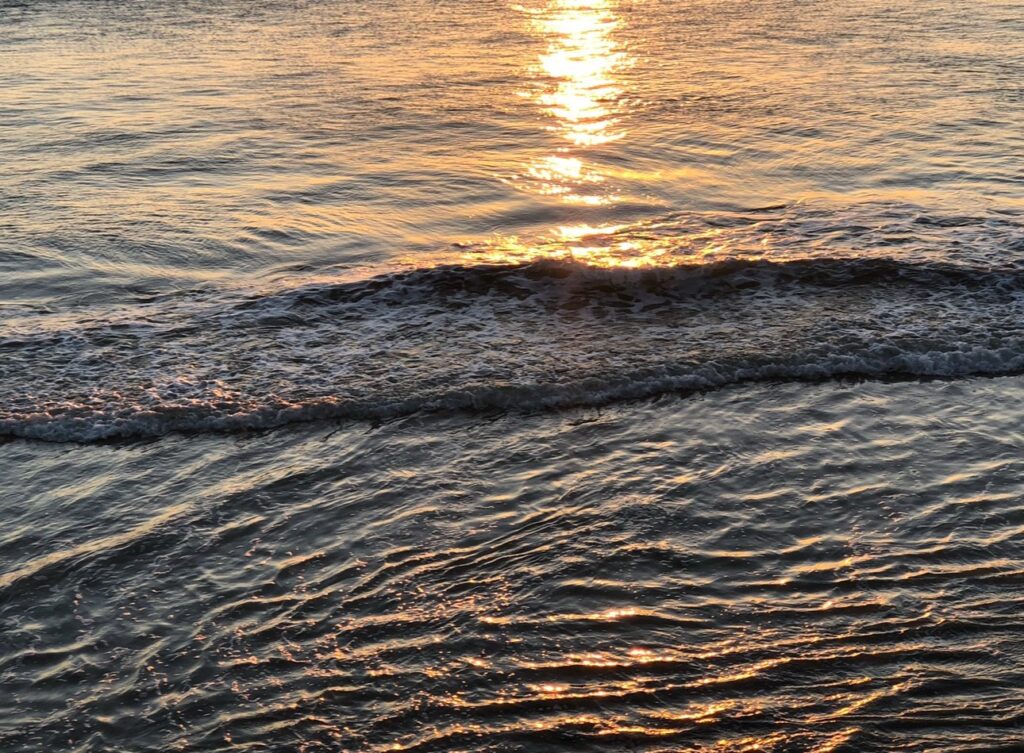
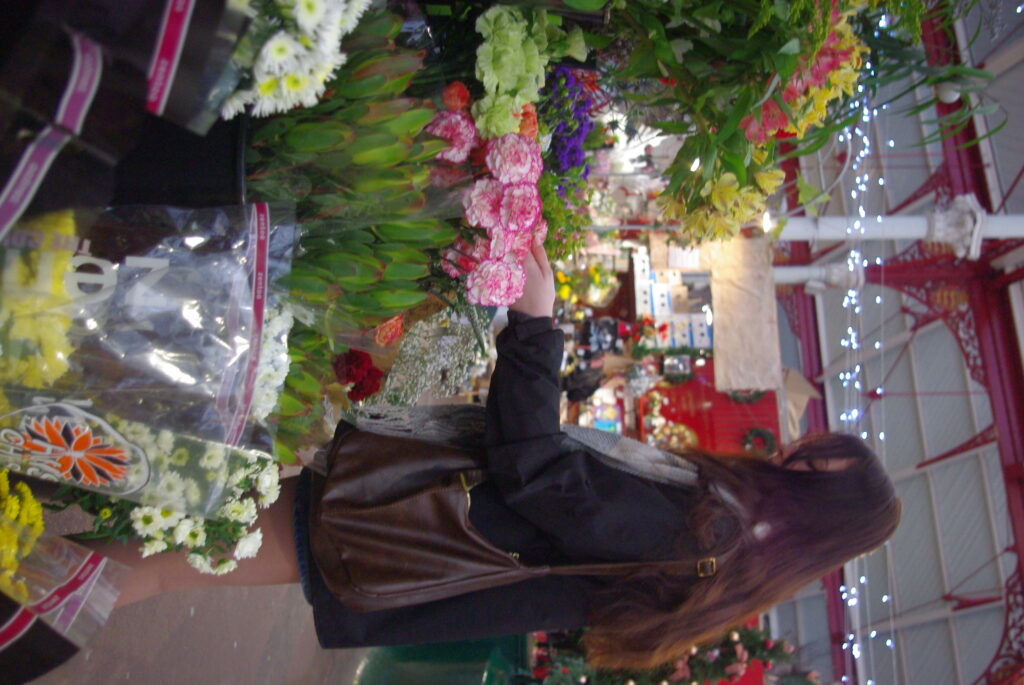
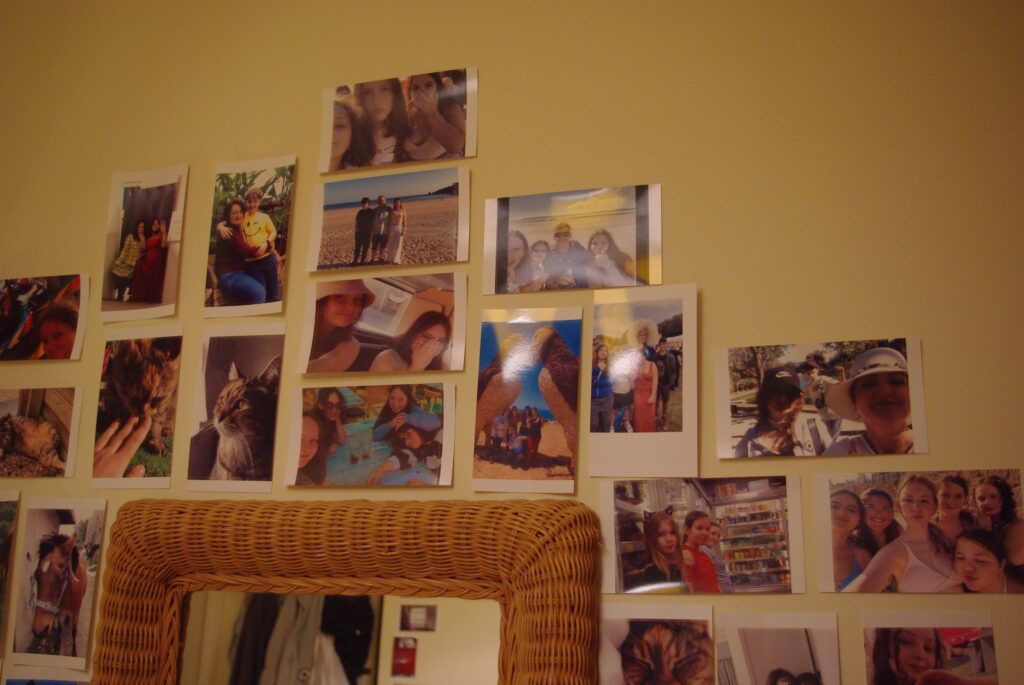
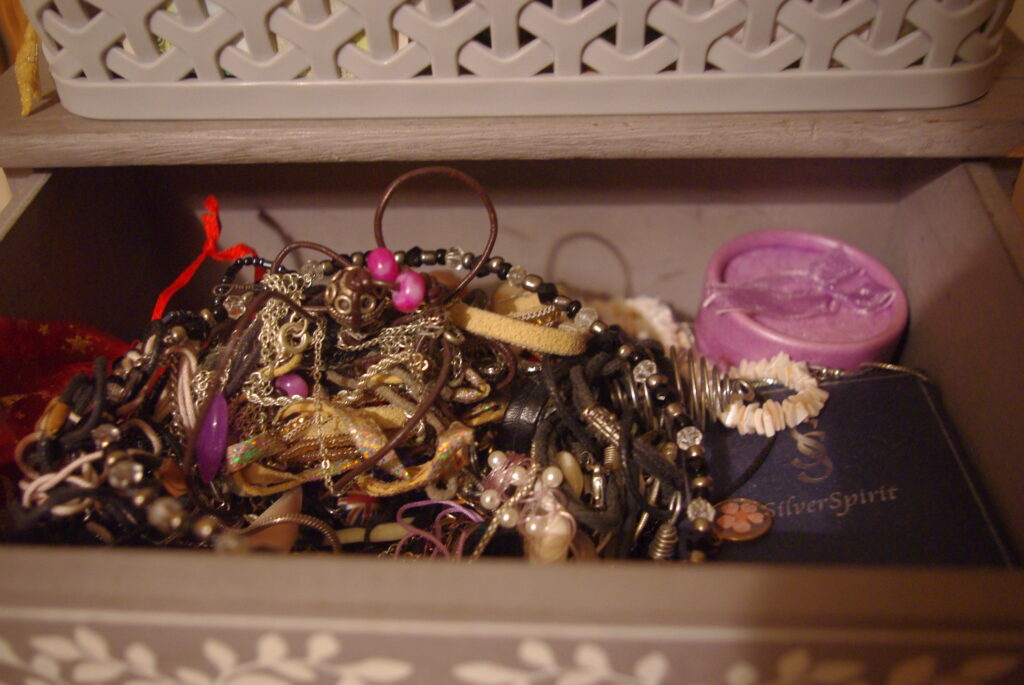
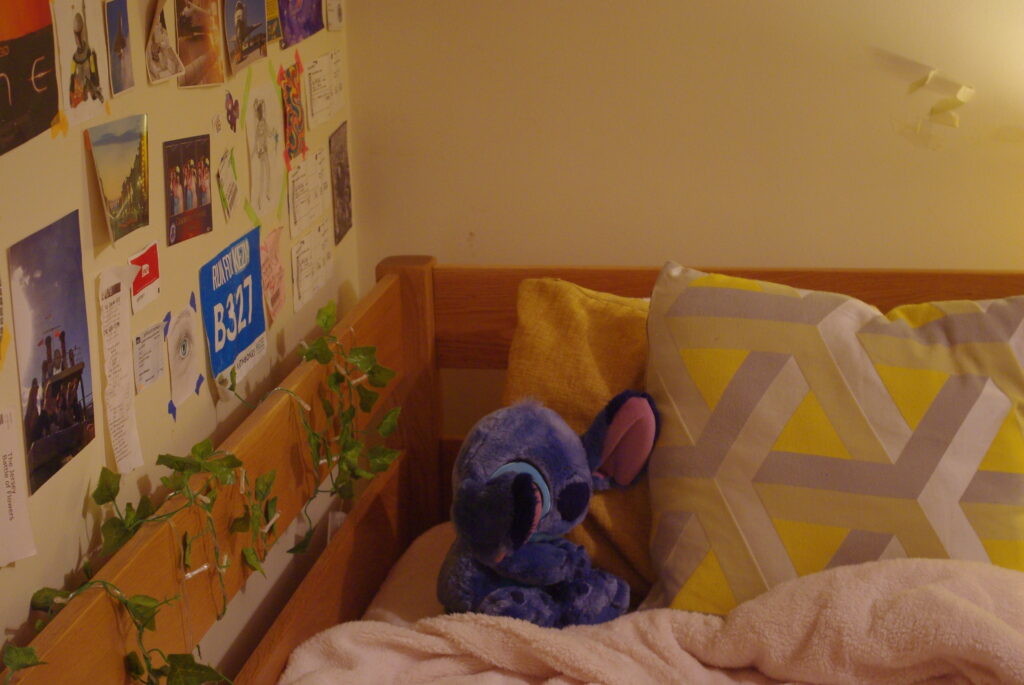
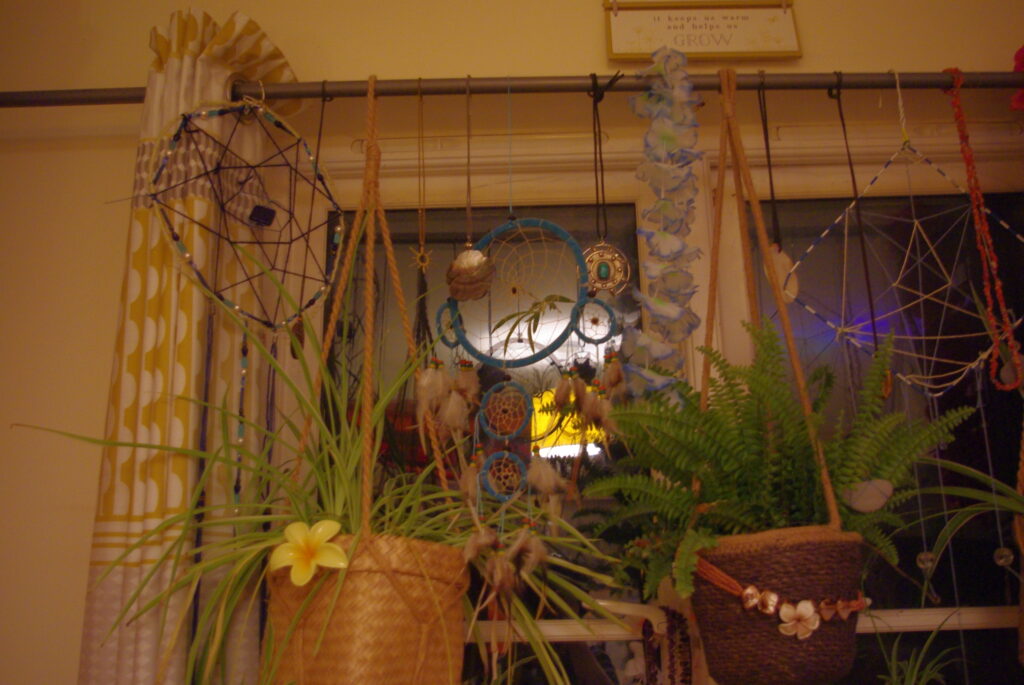
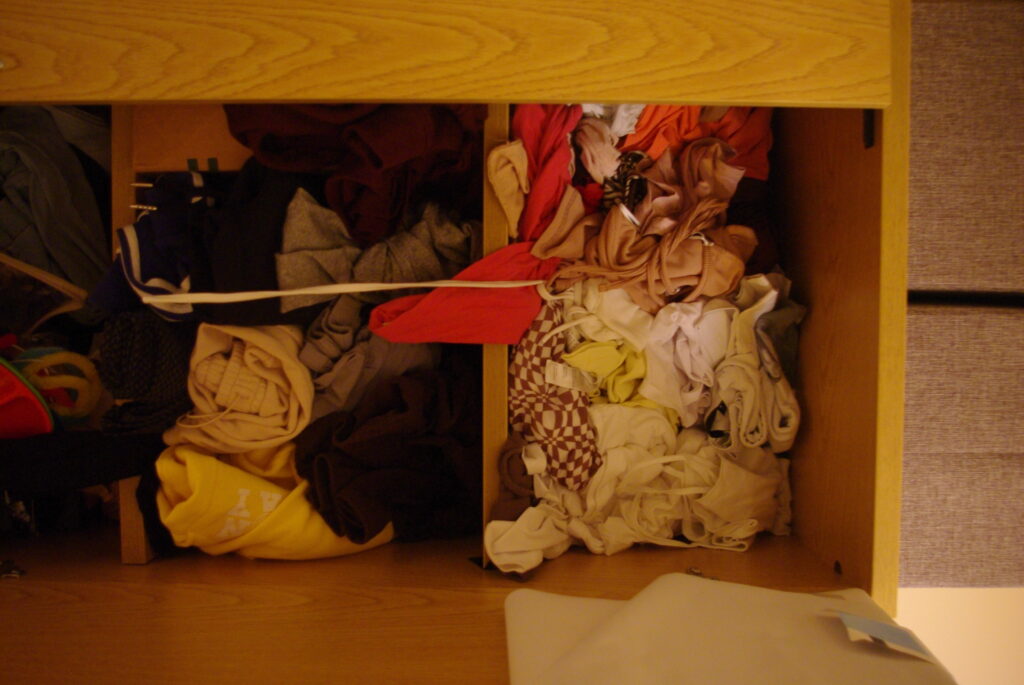
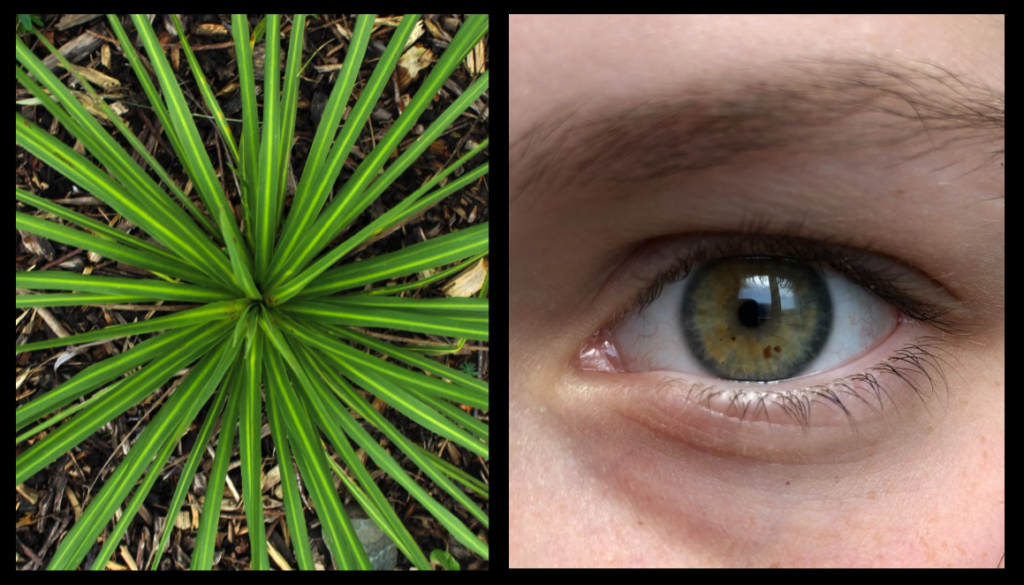
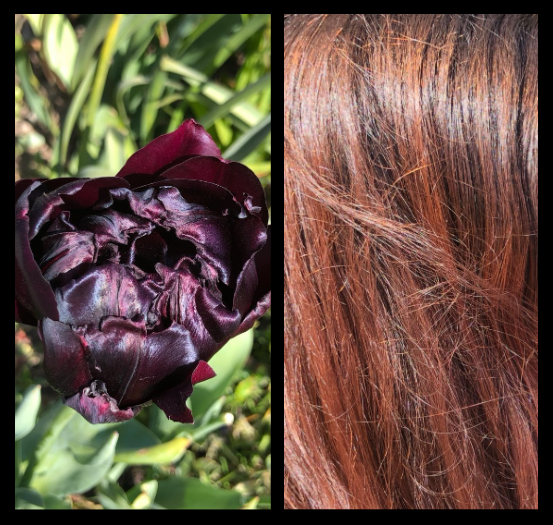
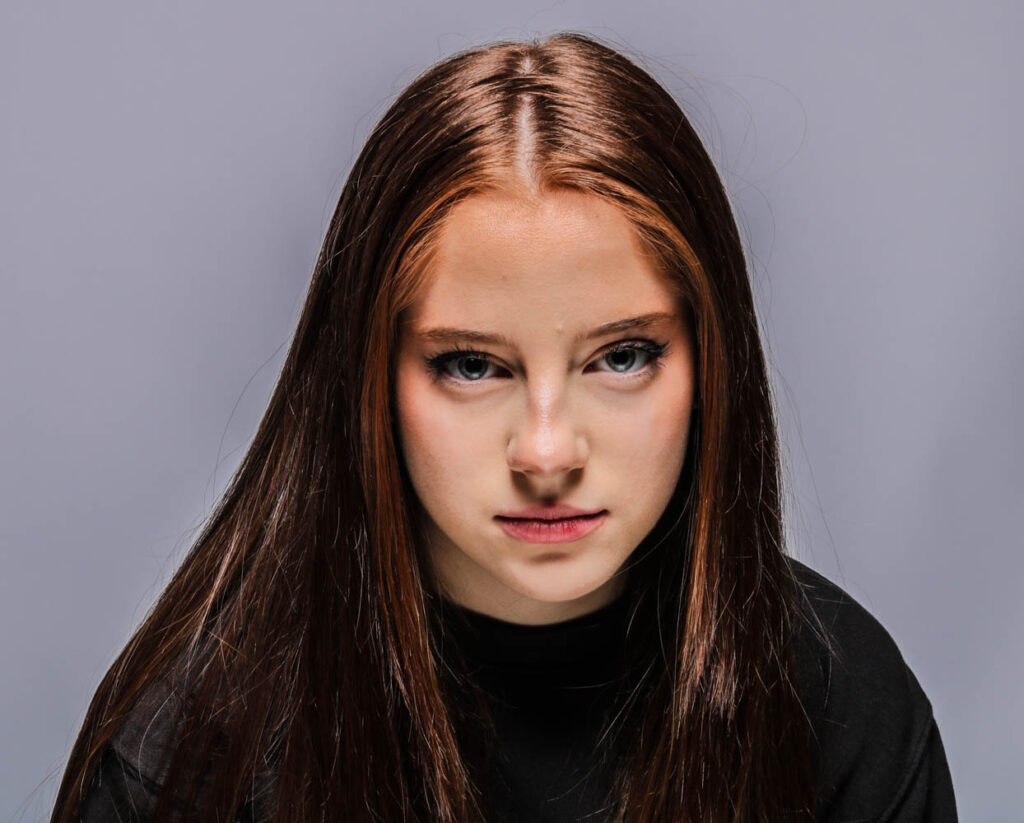
These are the specific 3 photos I have taken inspiration from and I am going to try and replicate in my photoshoot.

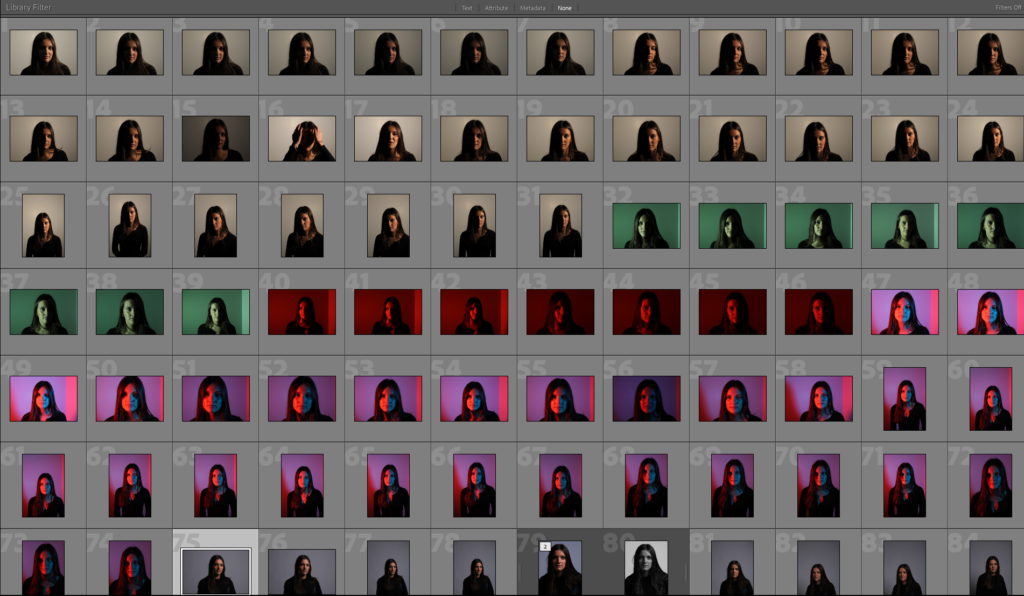
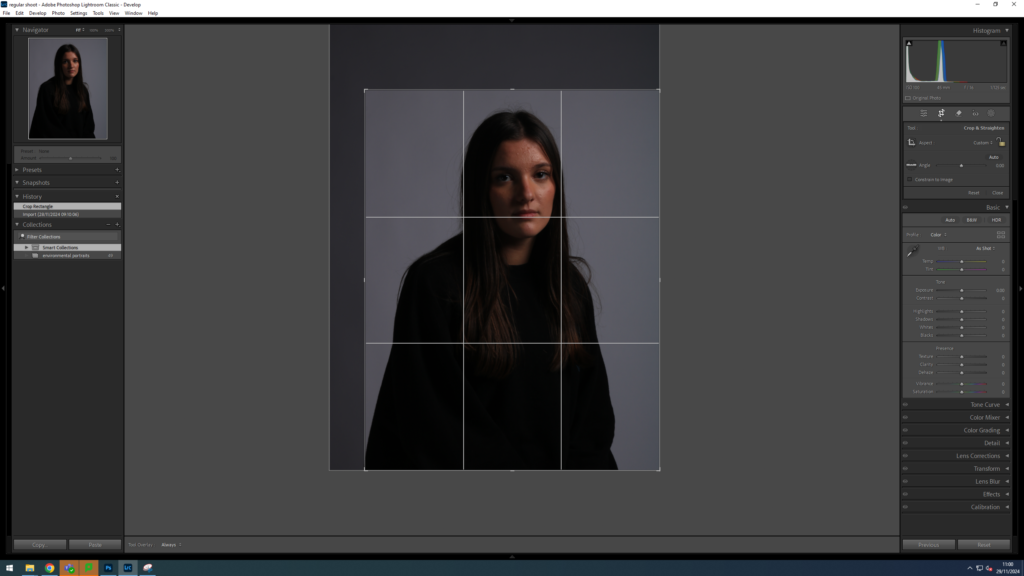
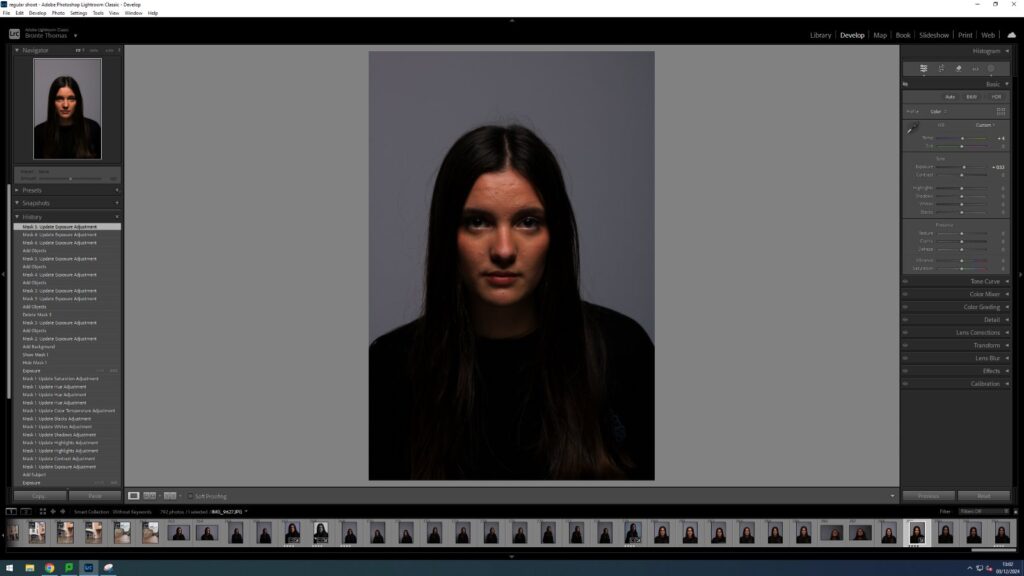
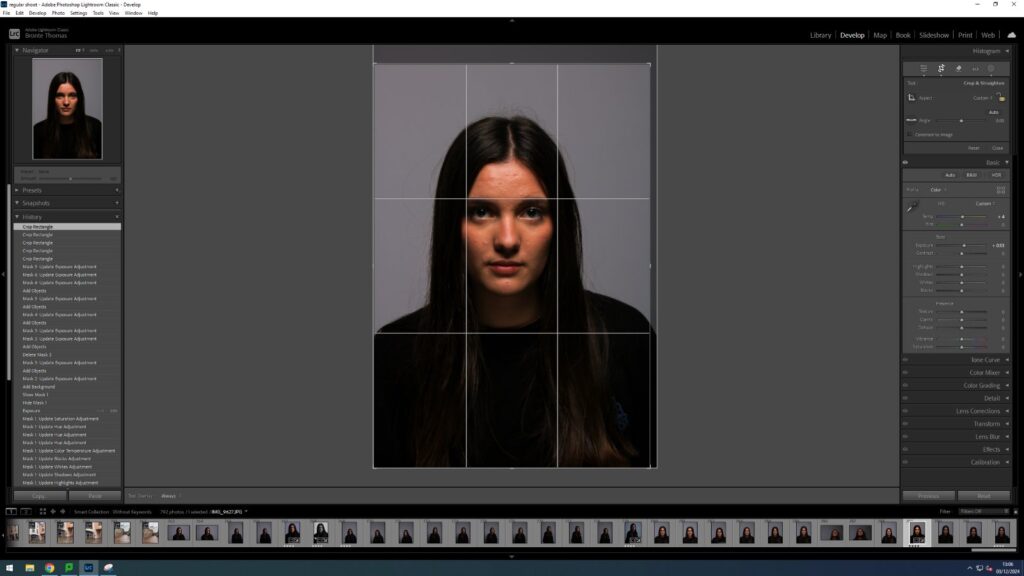
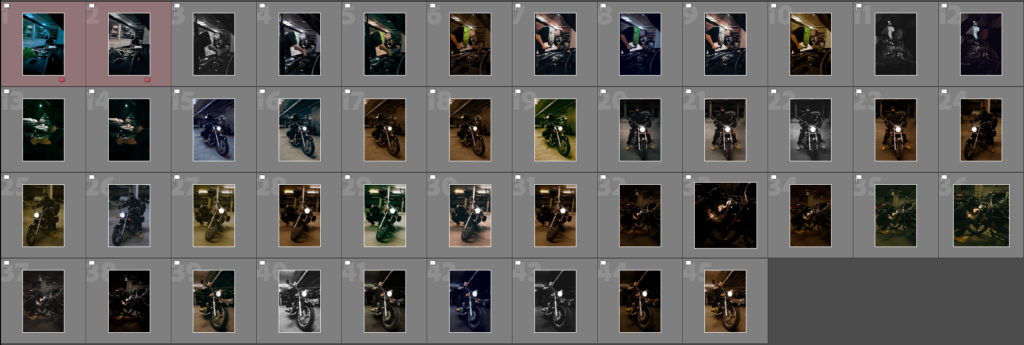
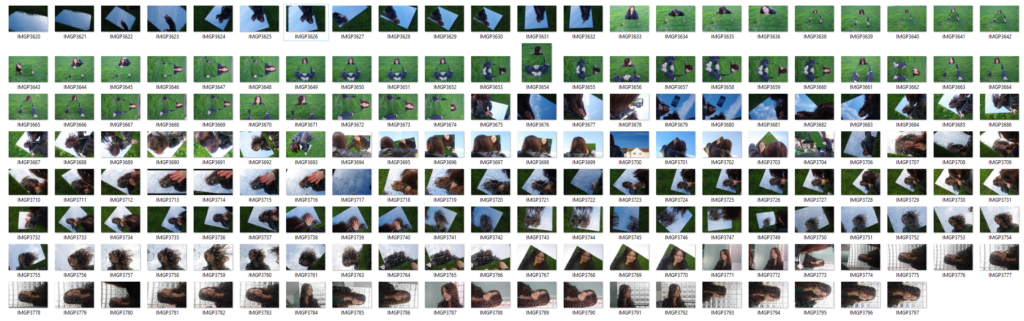
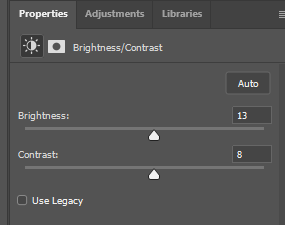
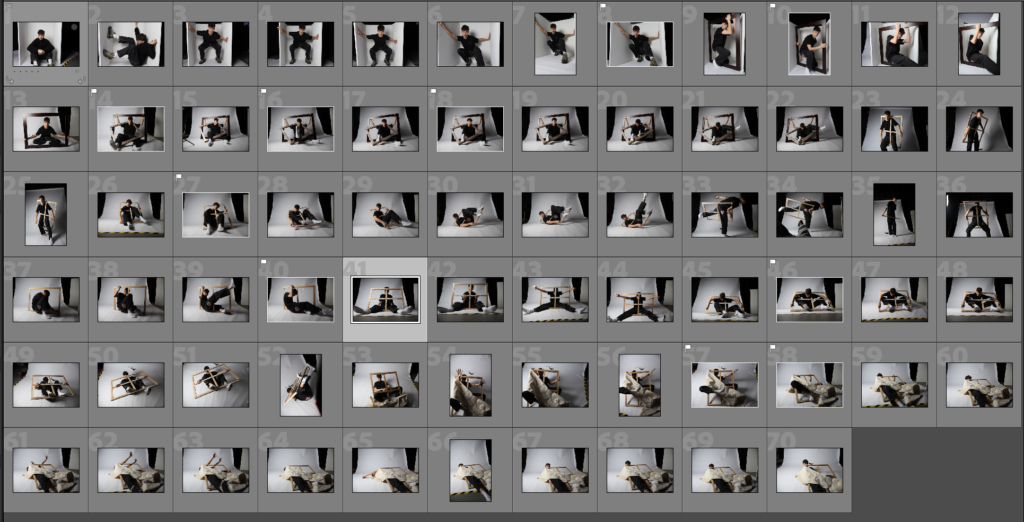
Contact Sheet 1
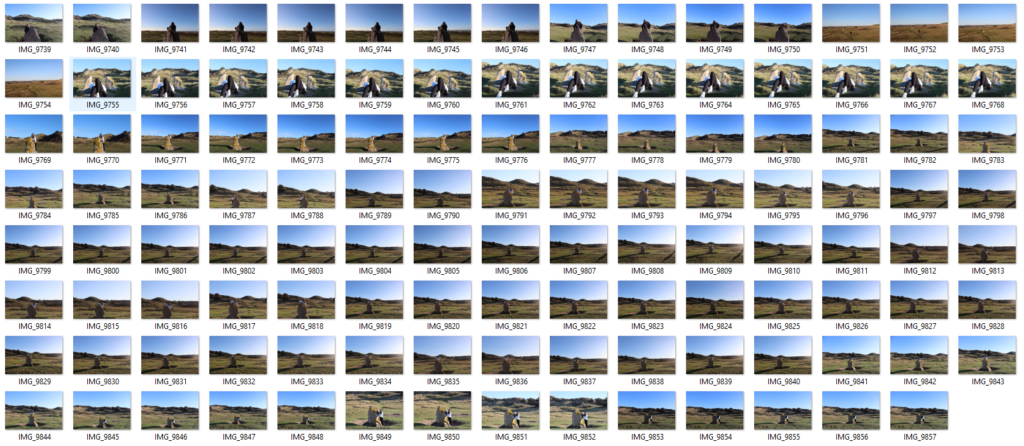
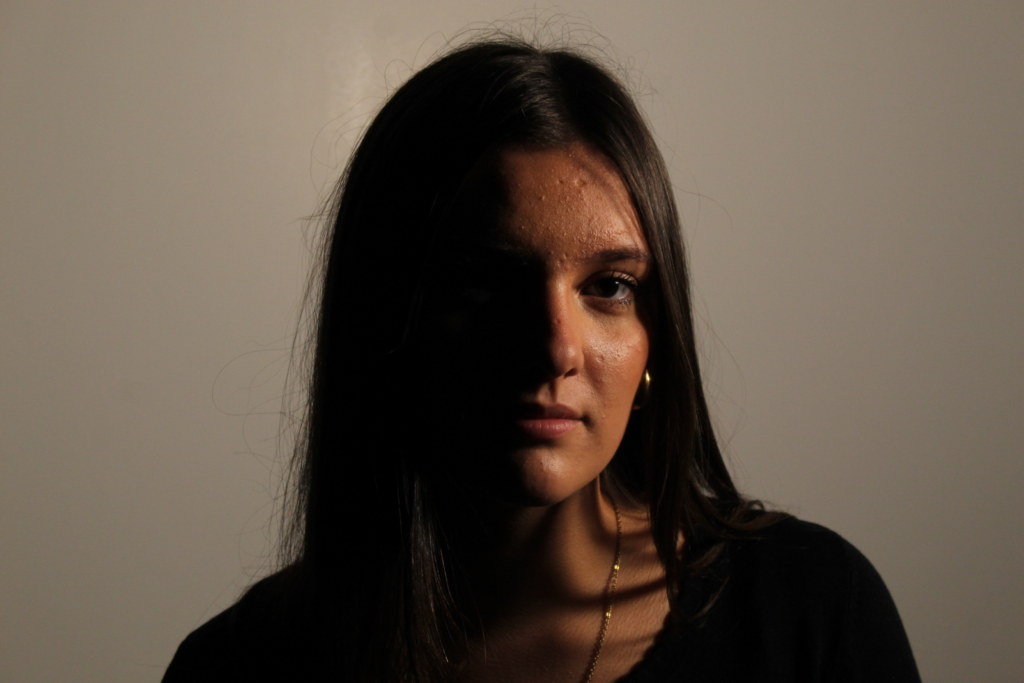
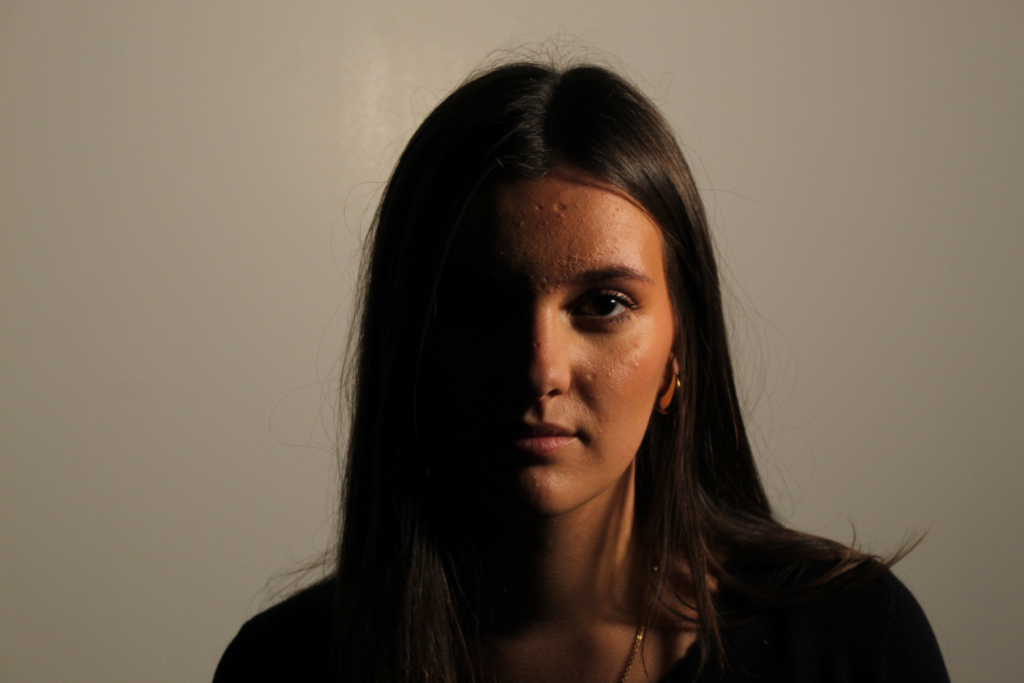
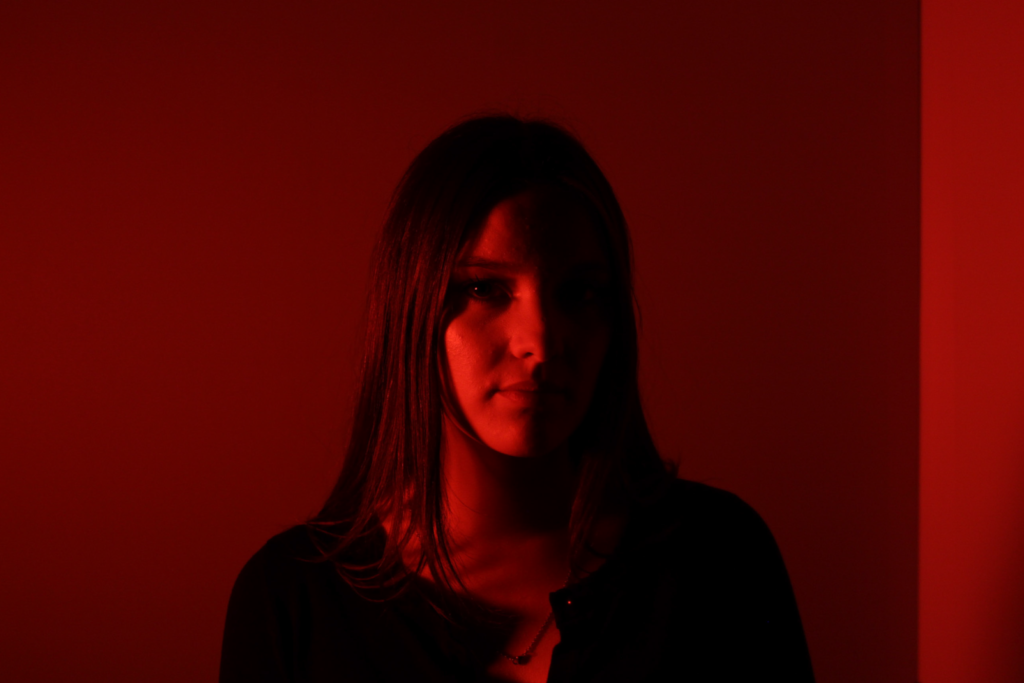
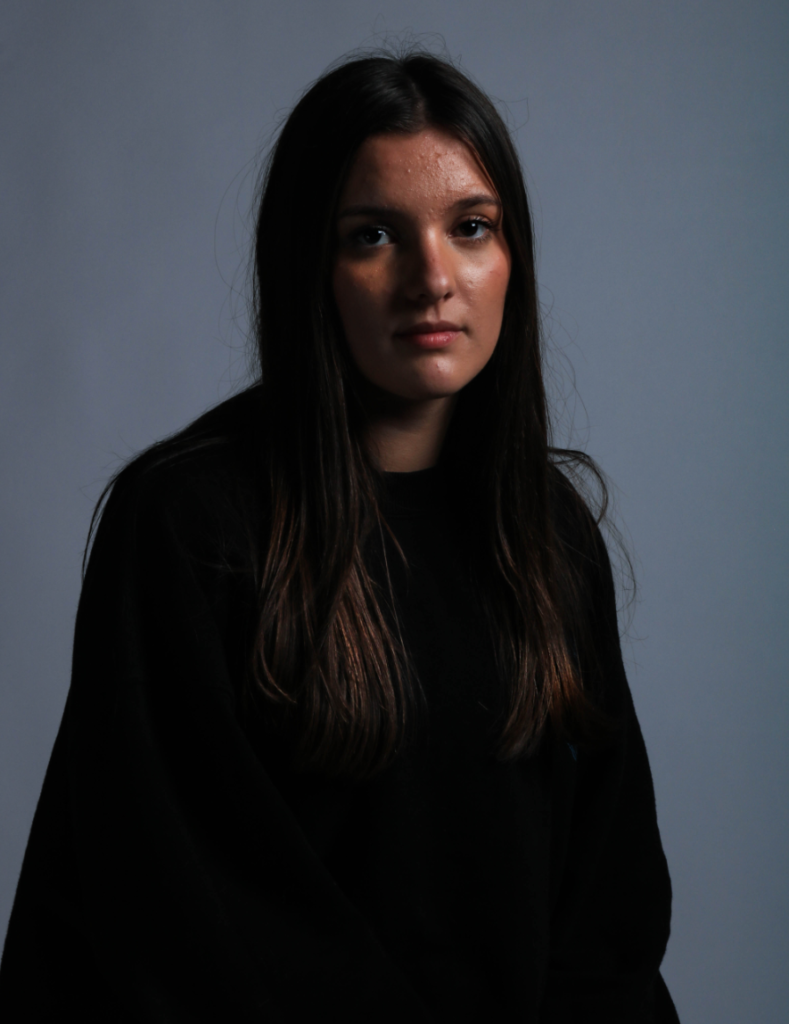
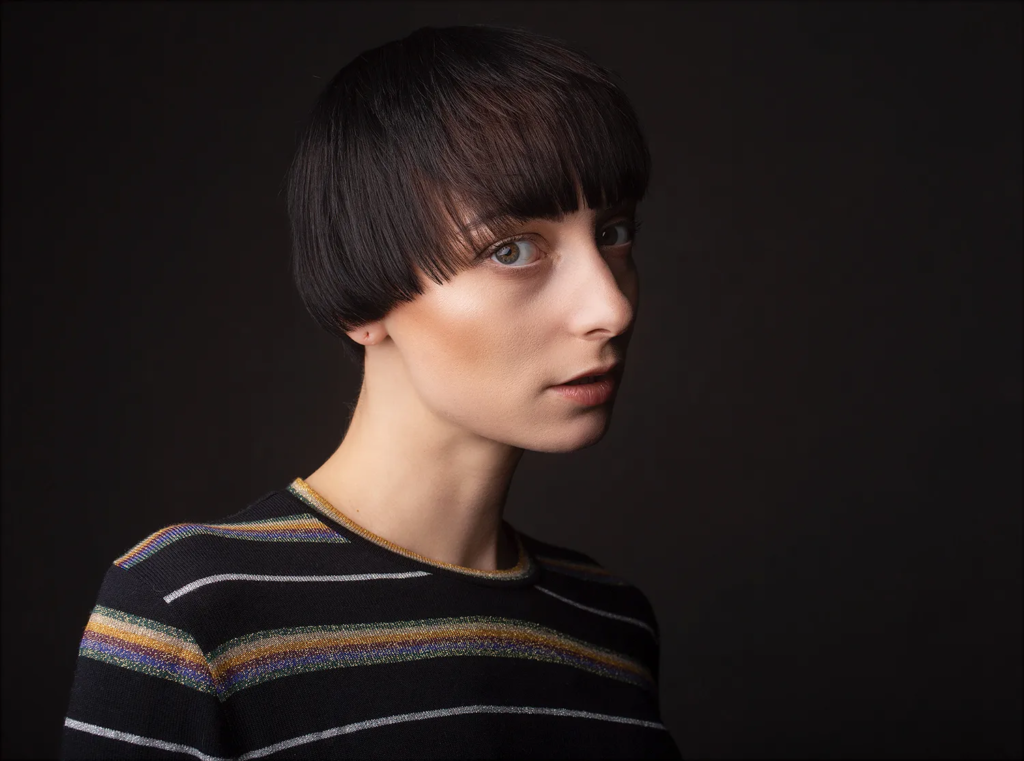
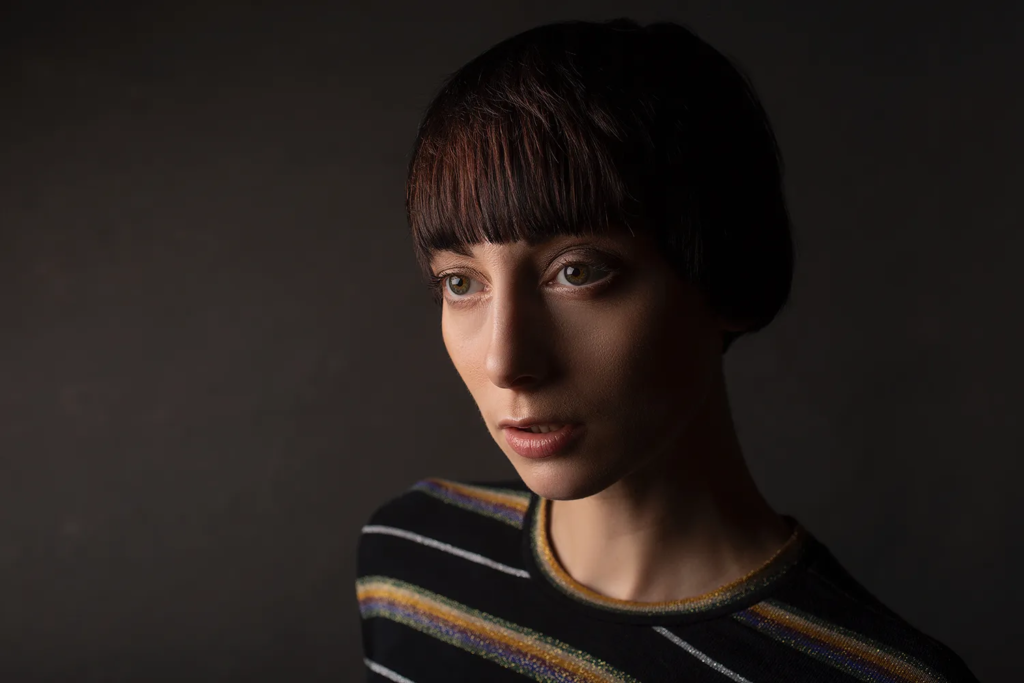
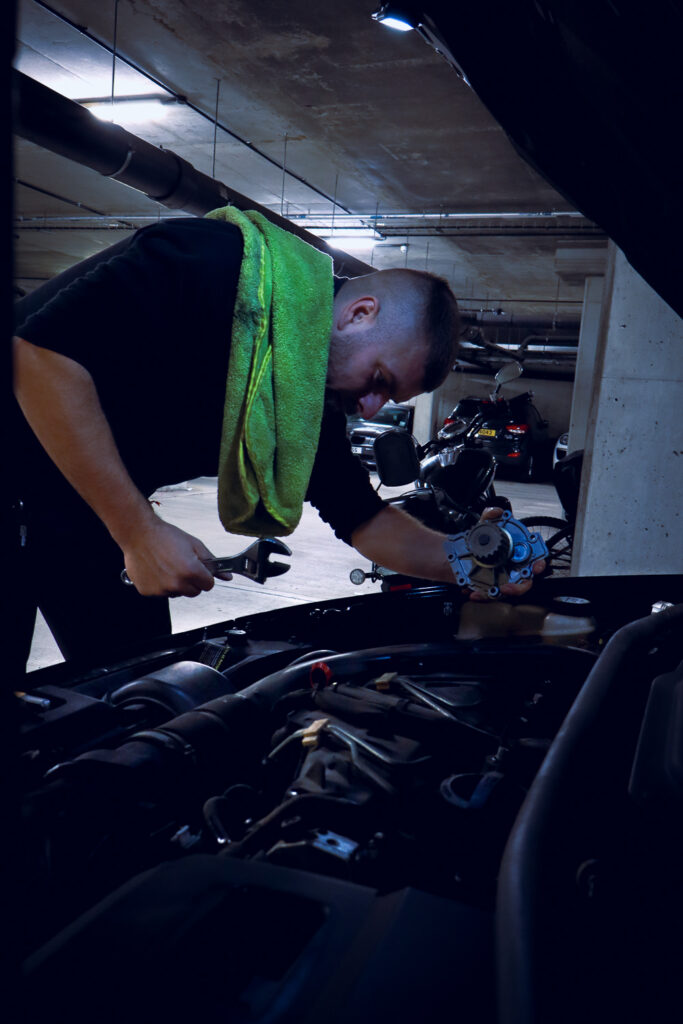
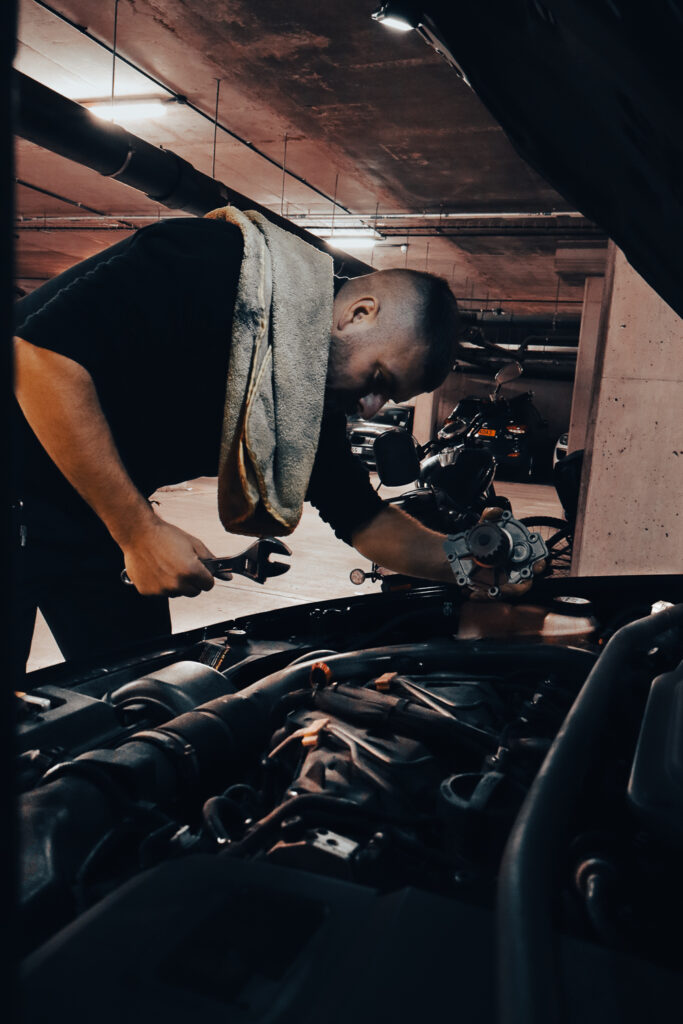
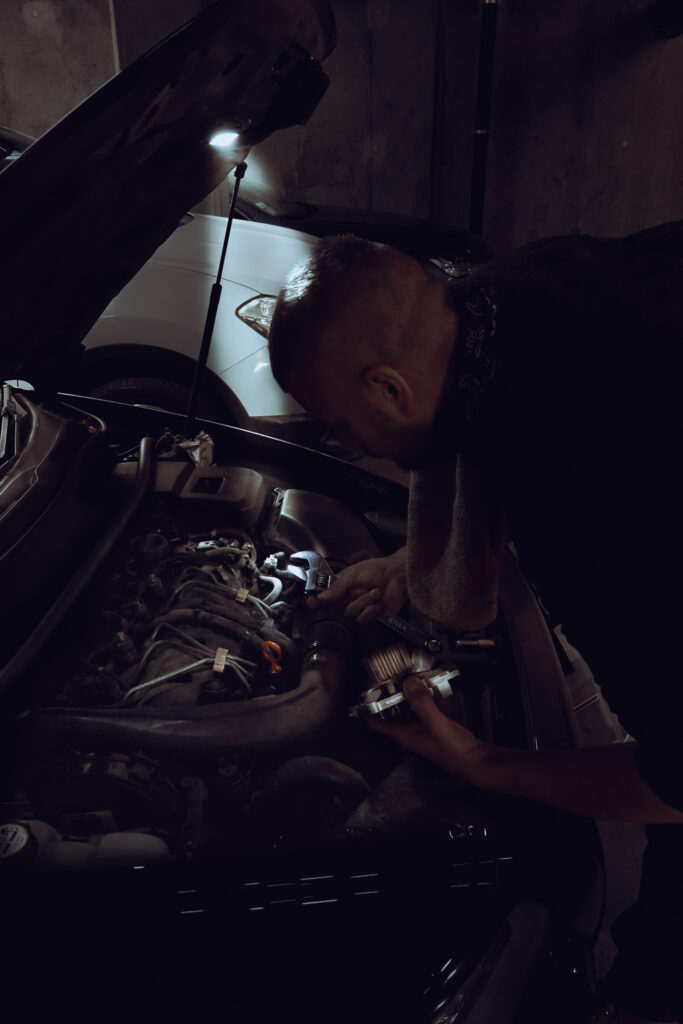
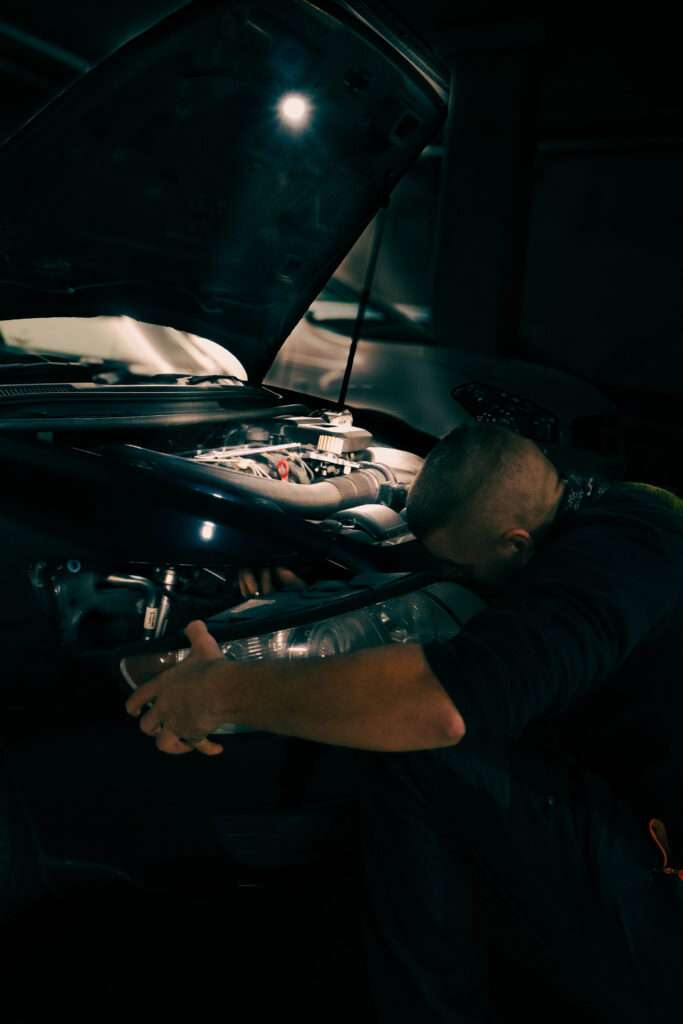
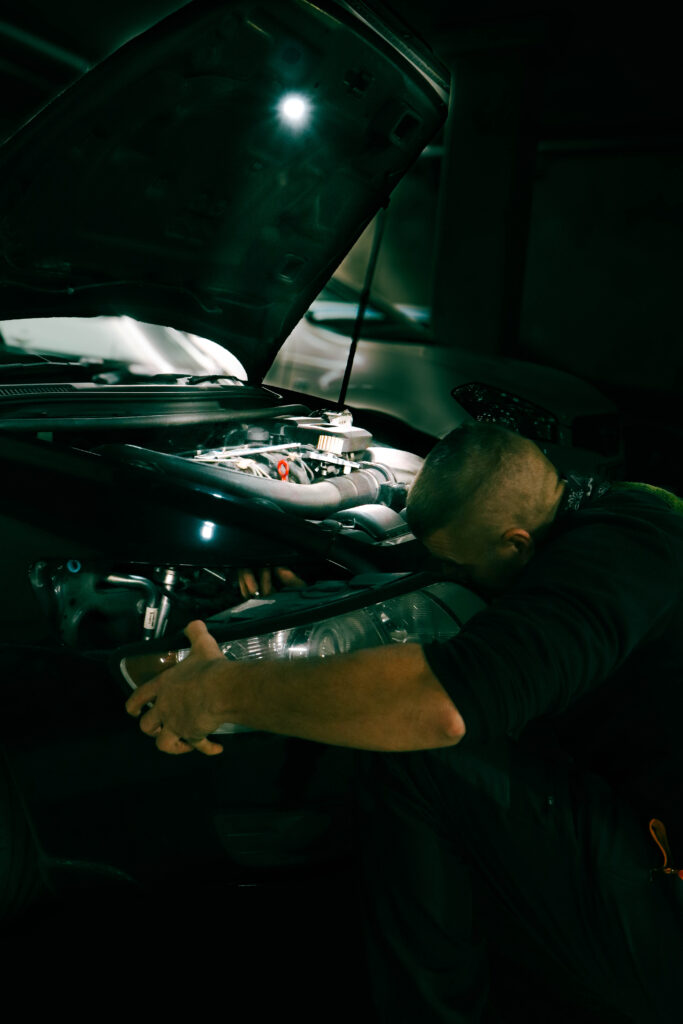
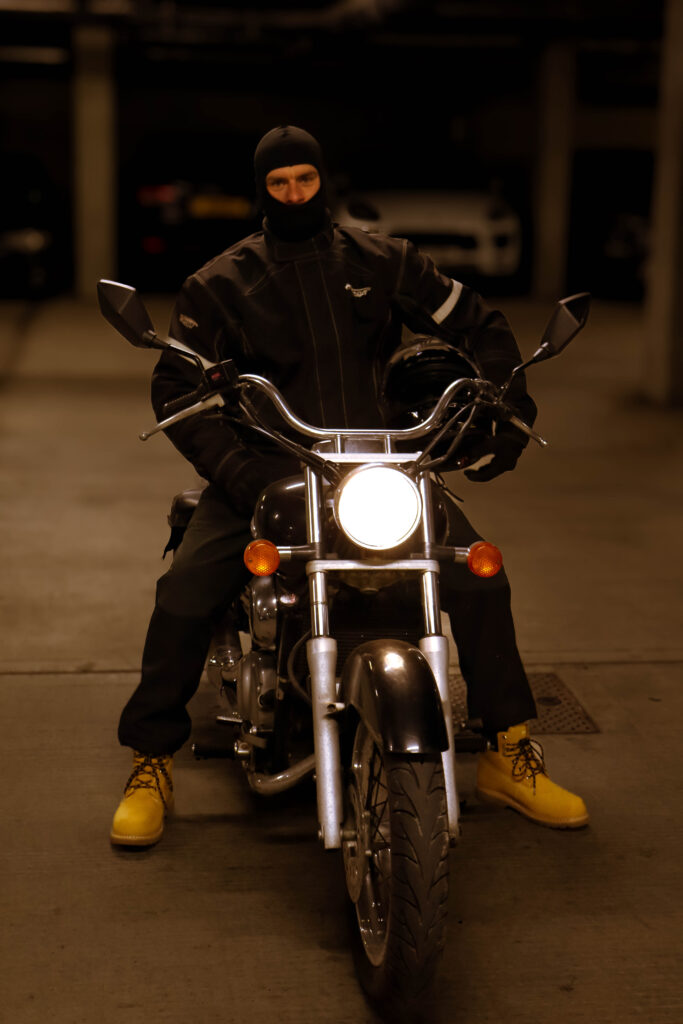
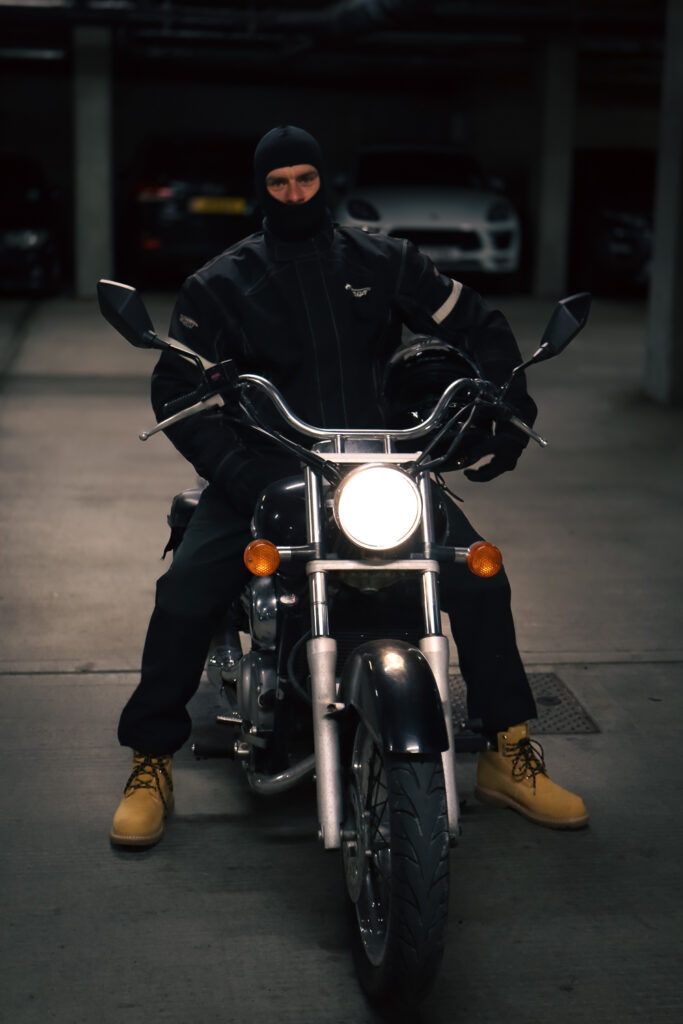
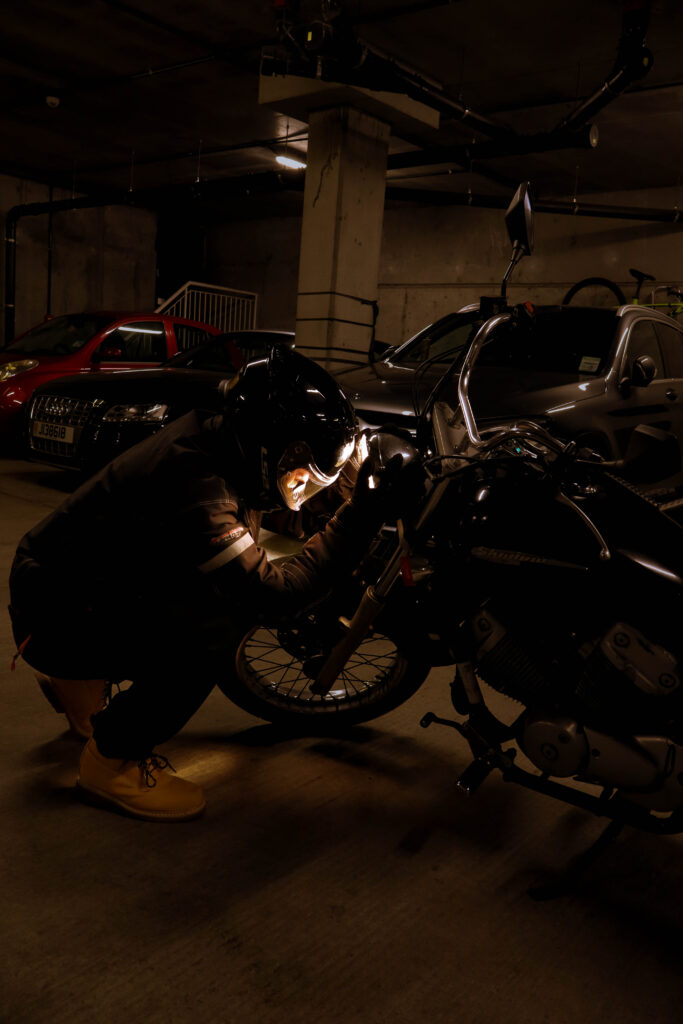
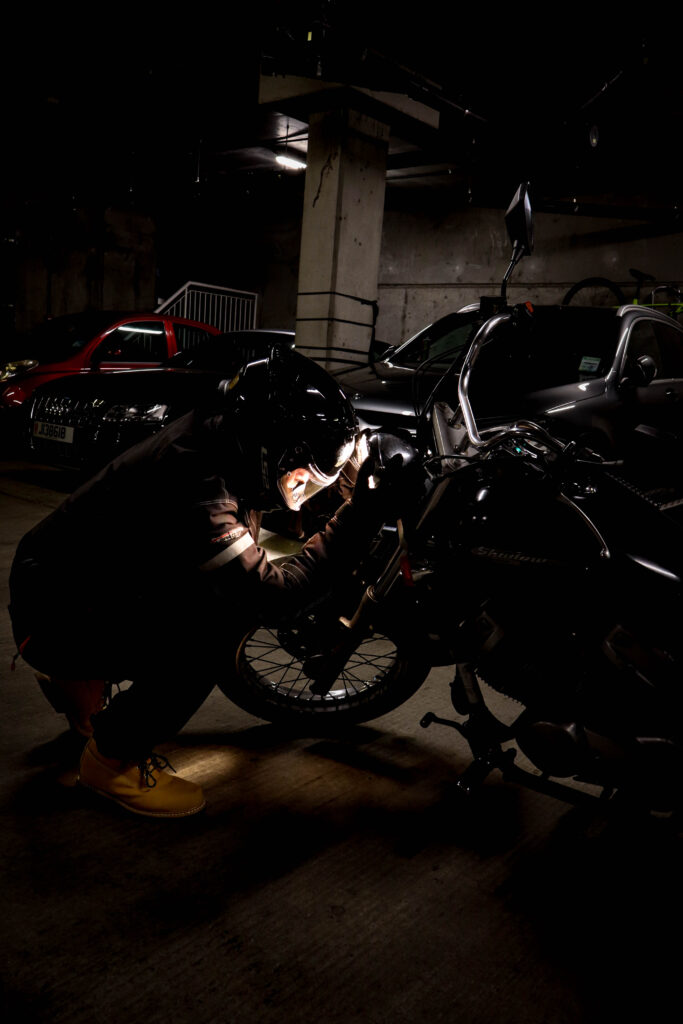
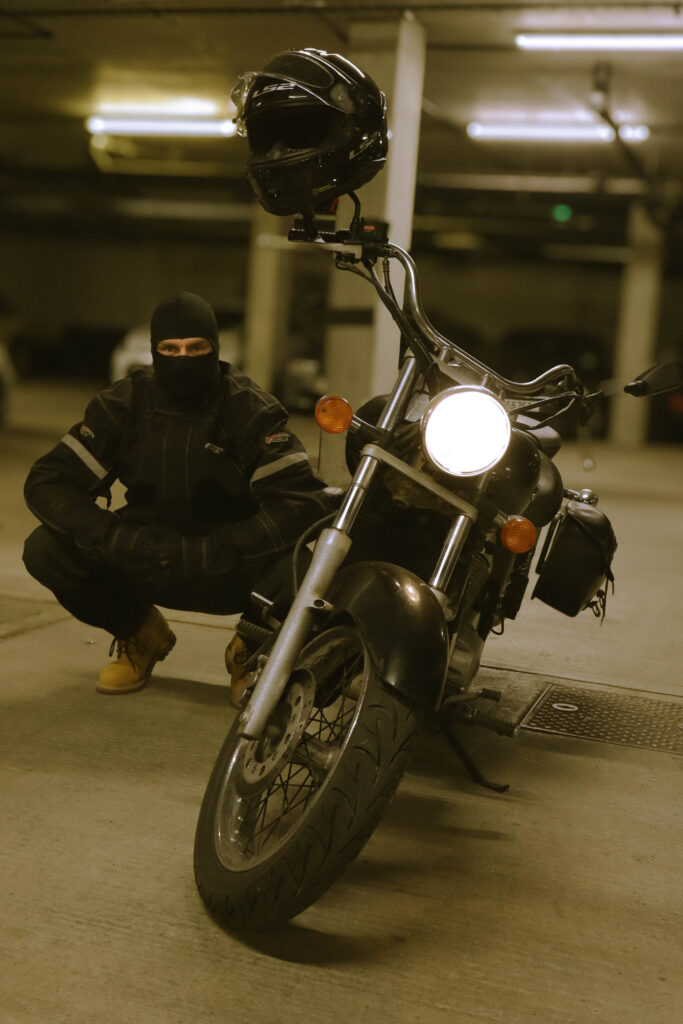
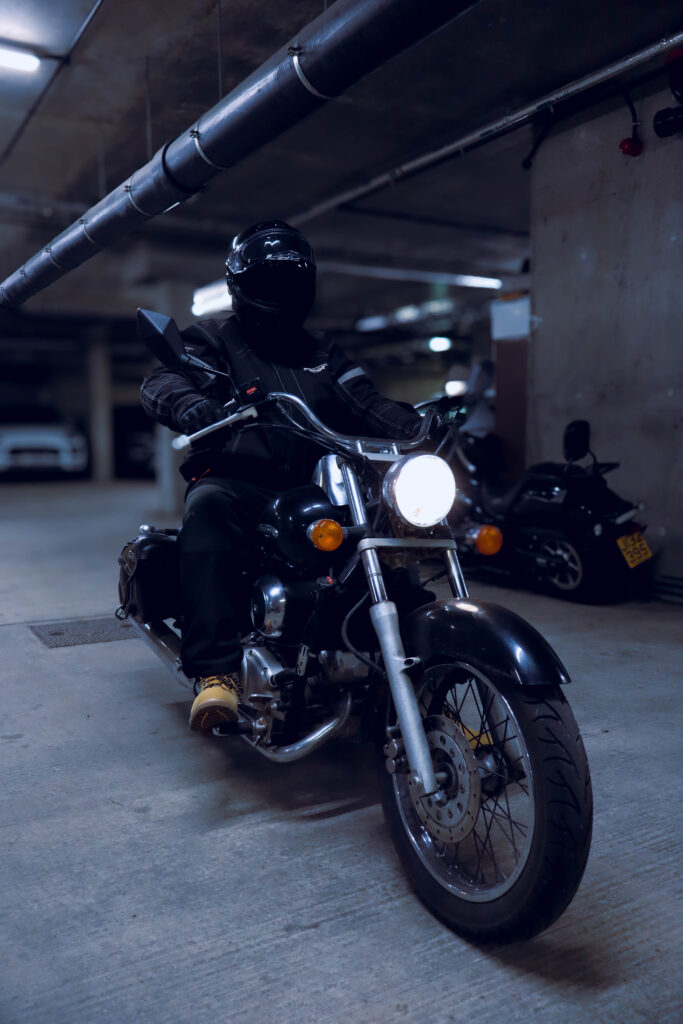
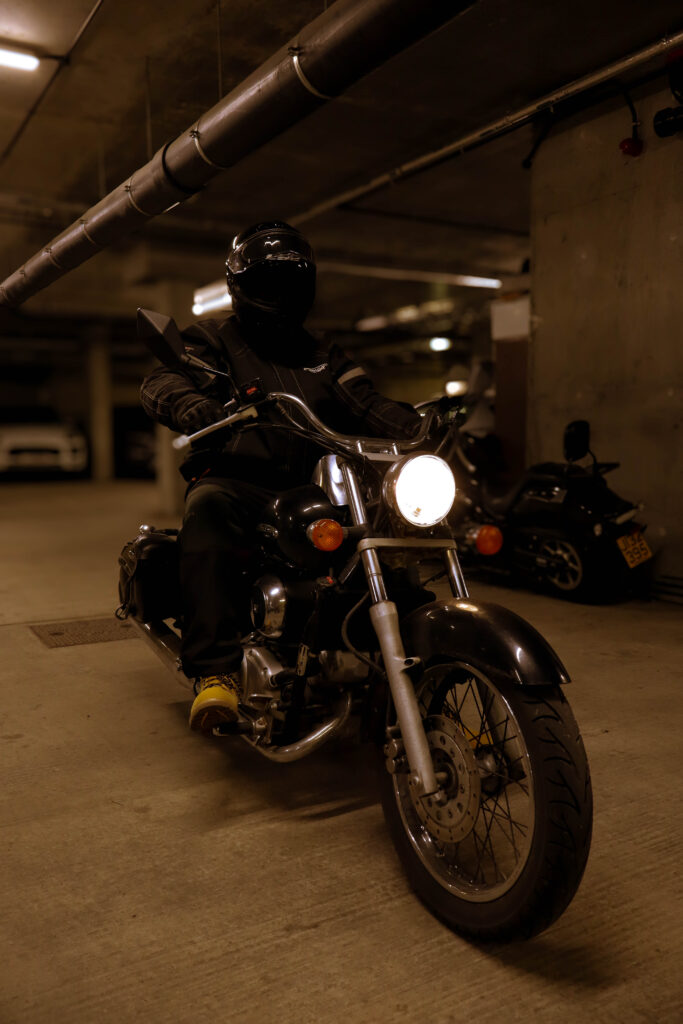
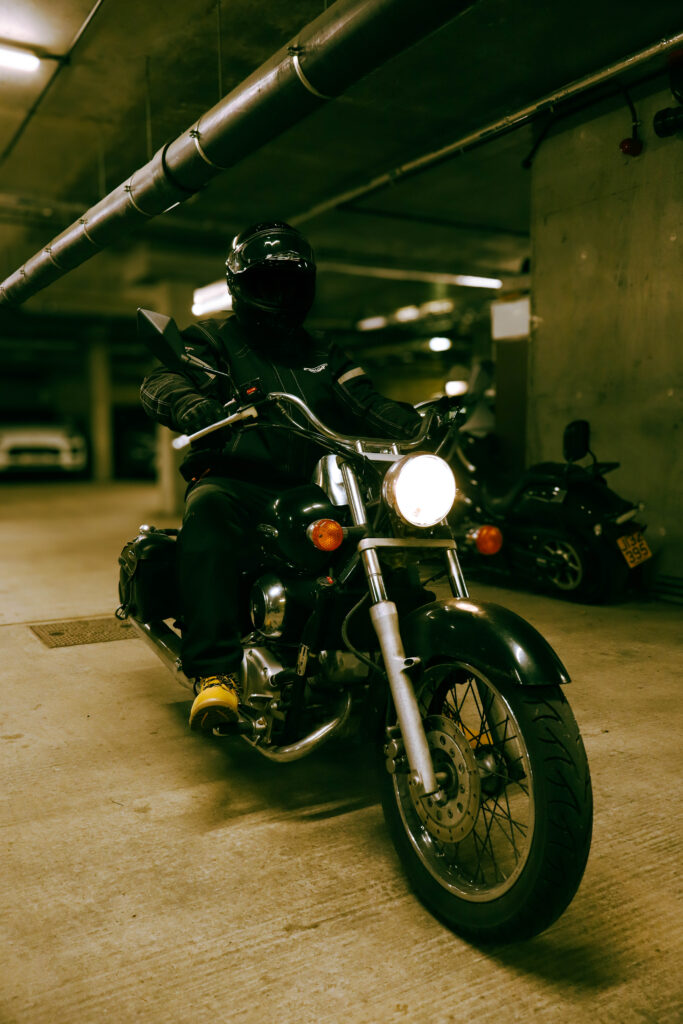
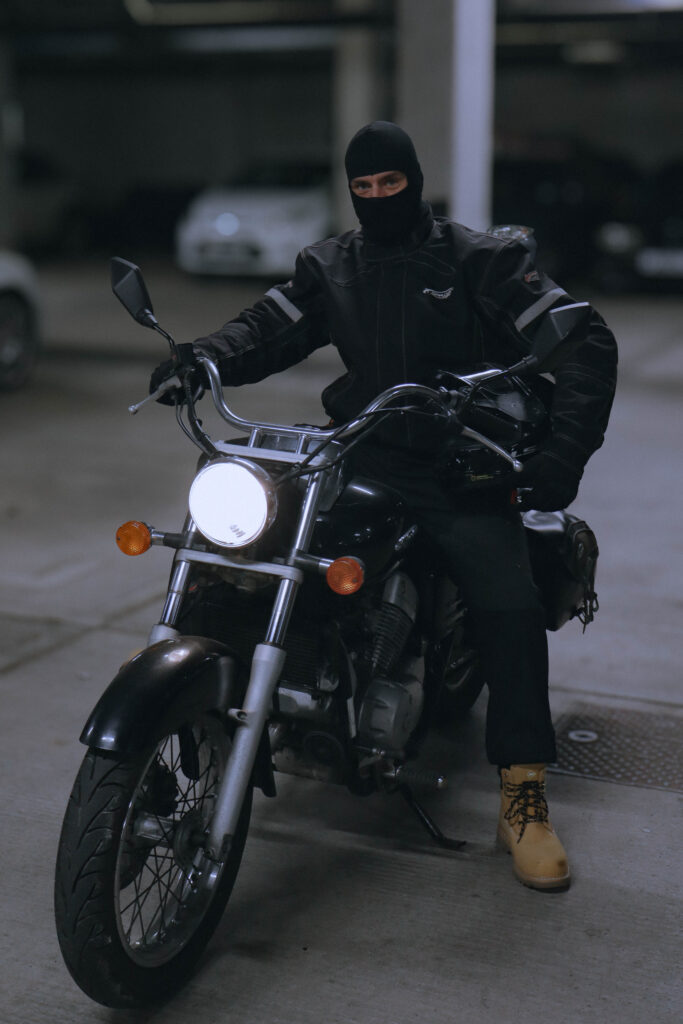
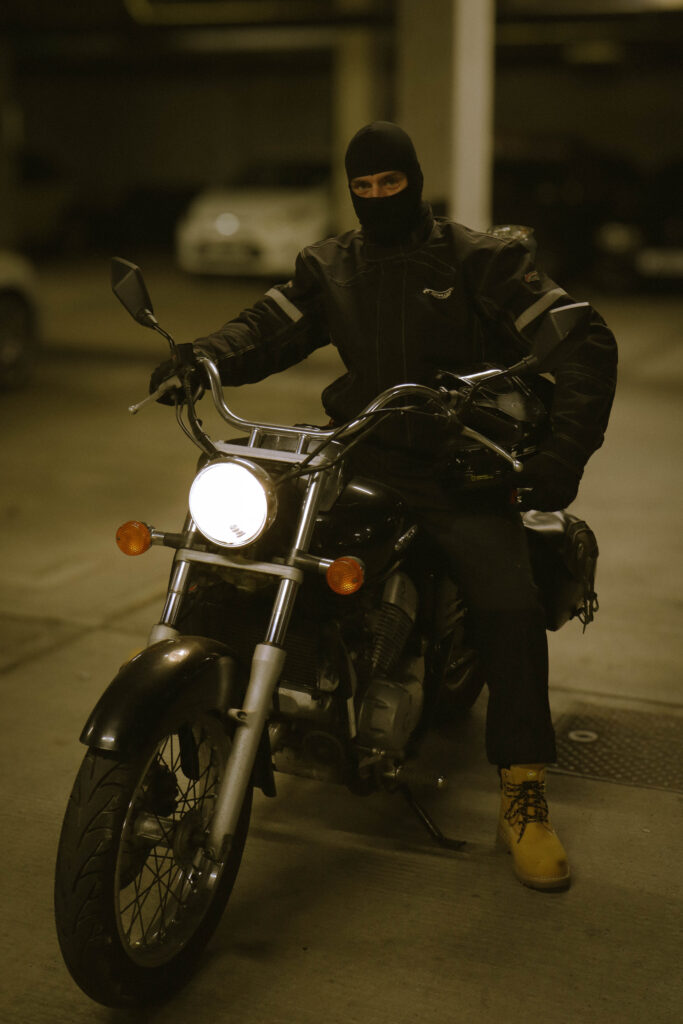
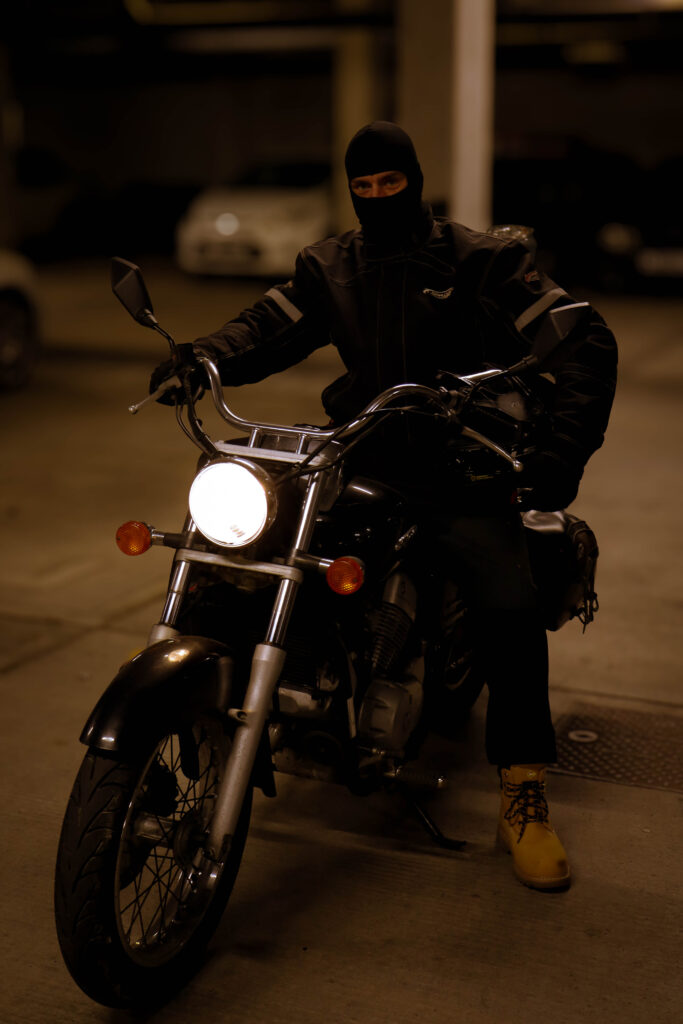
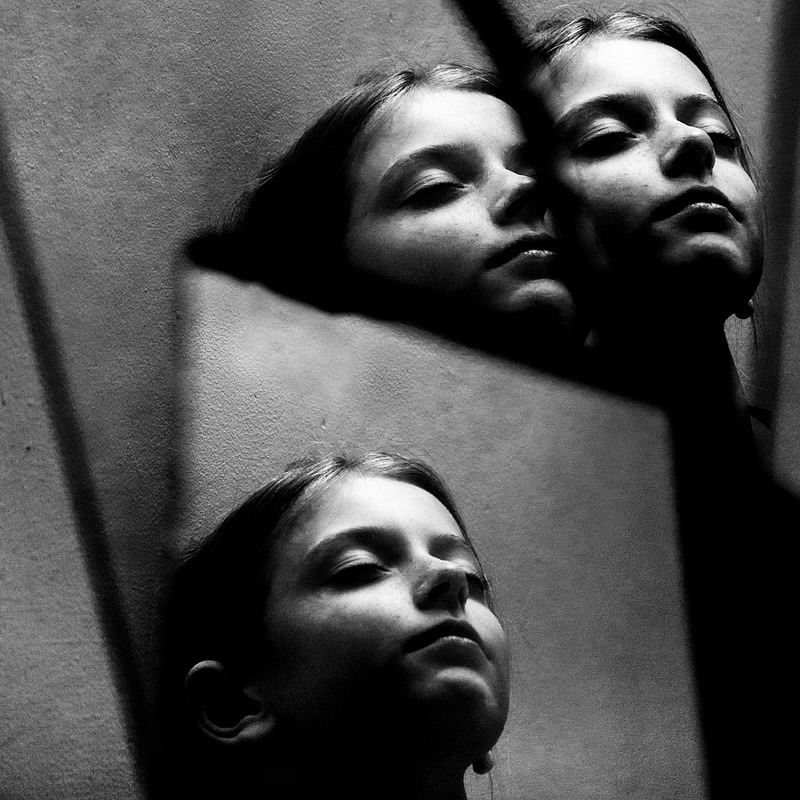
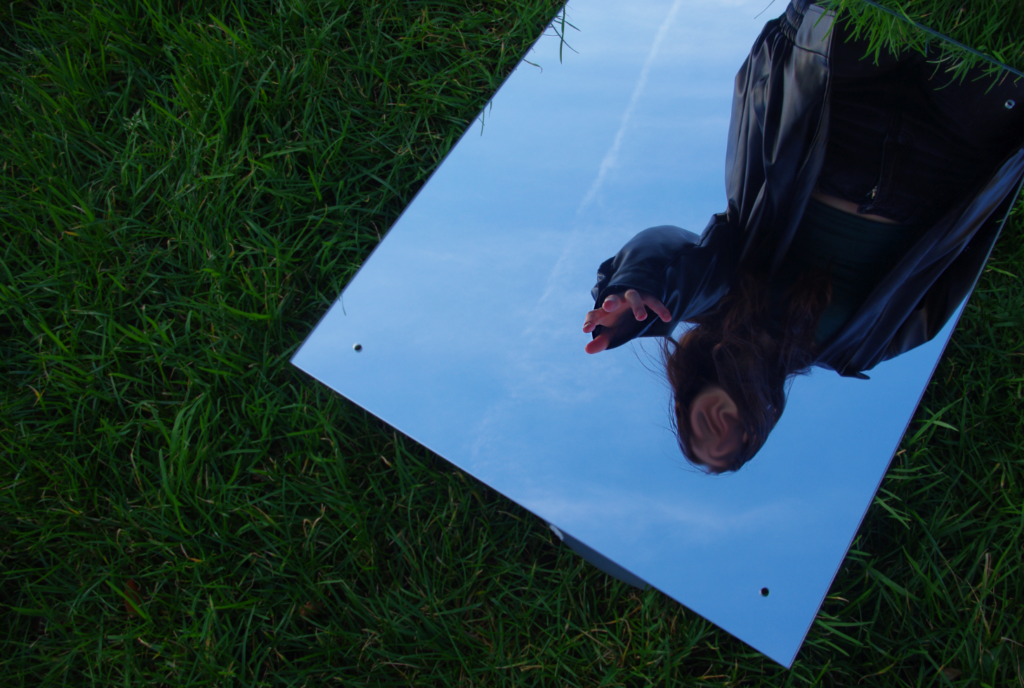
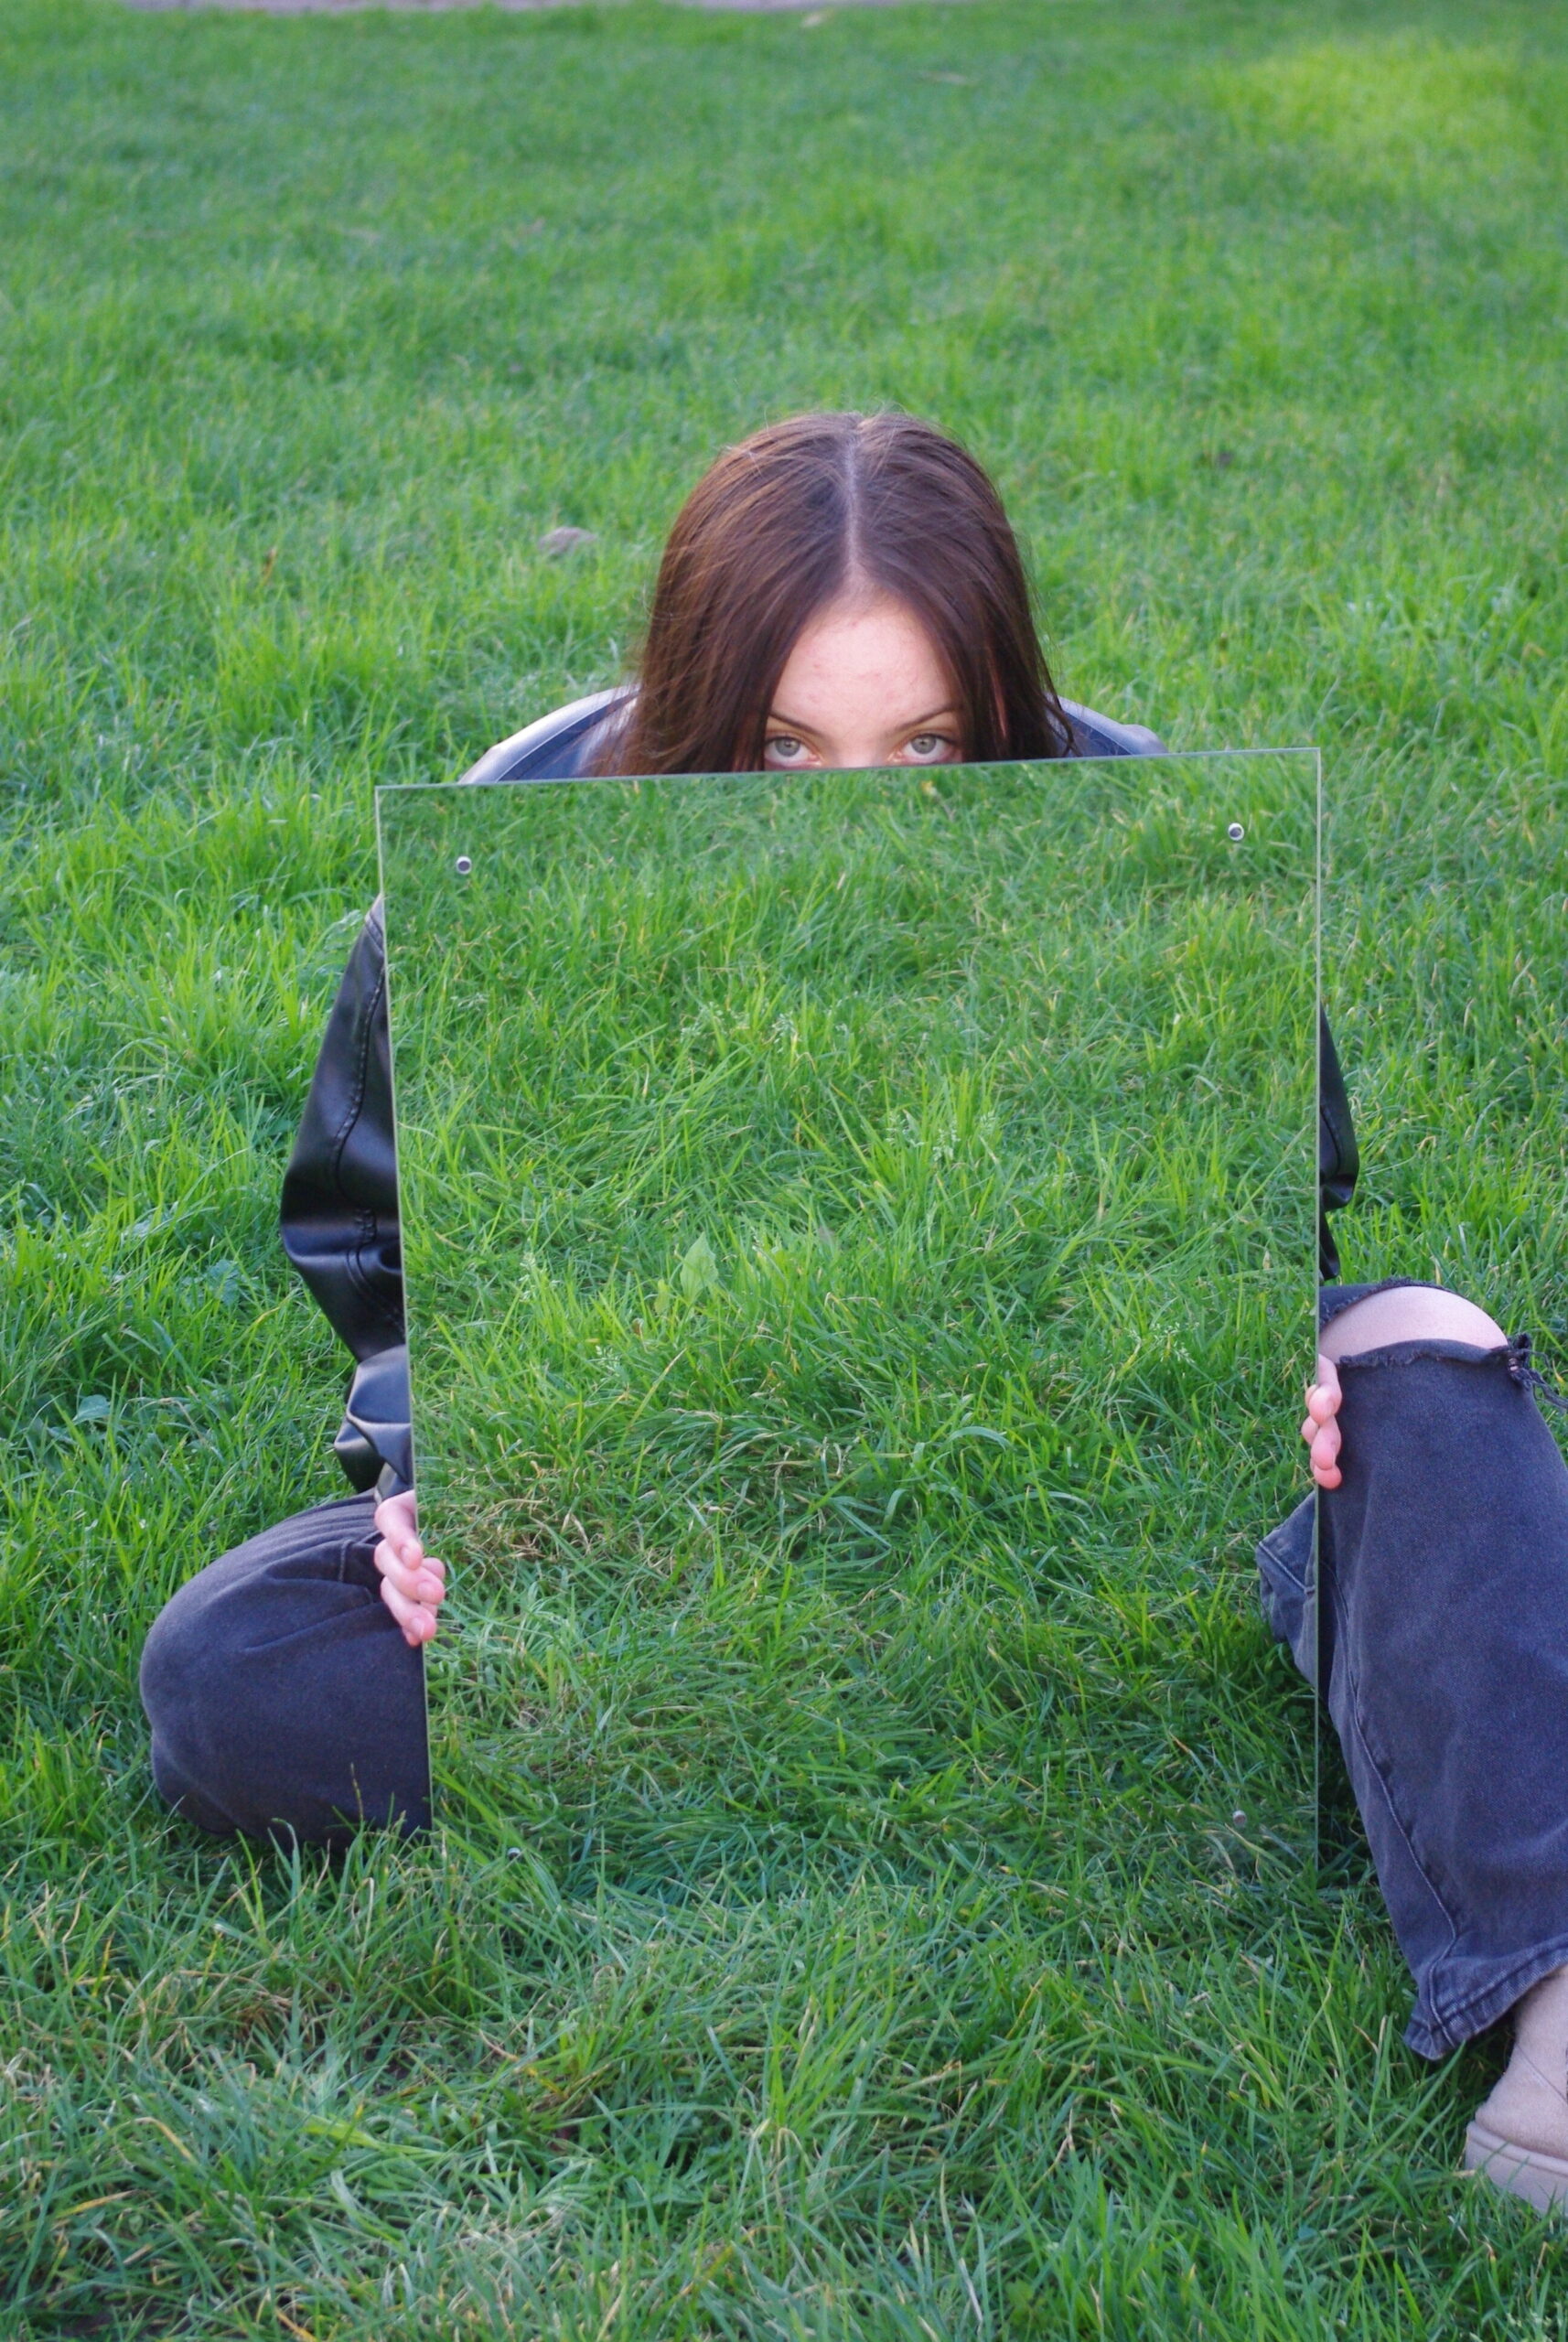
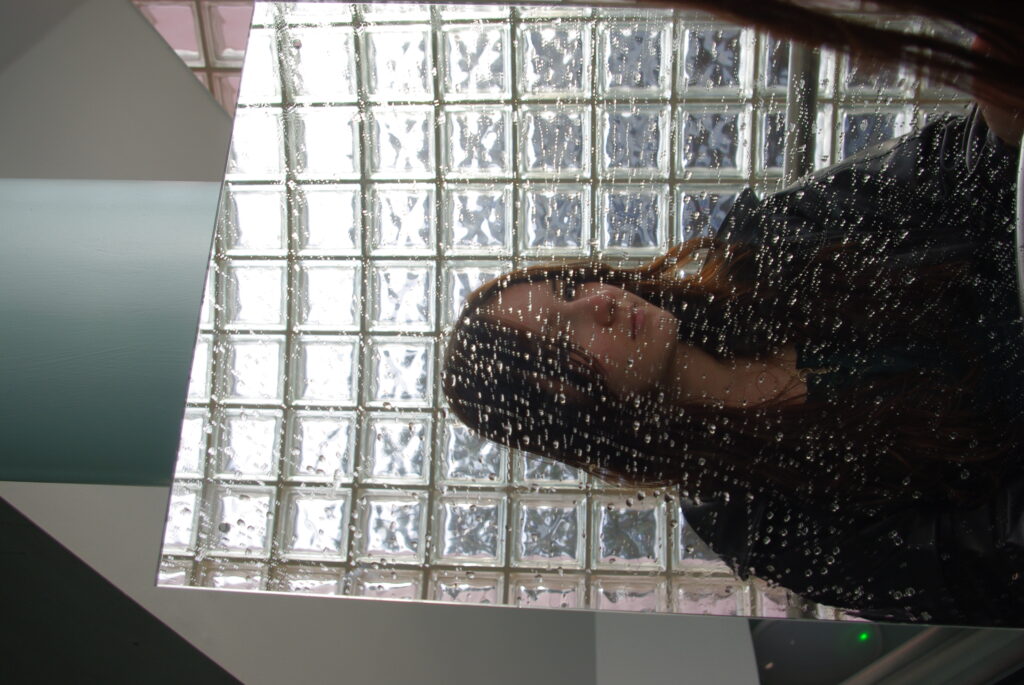
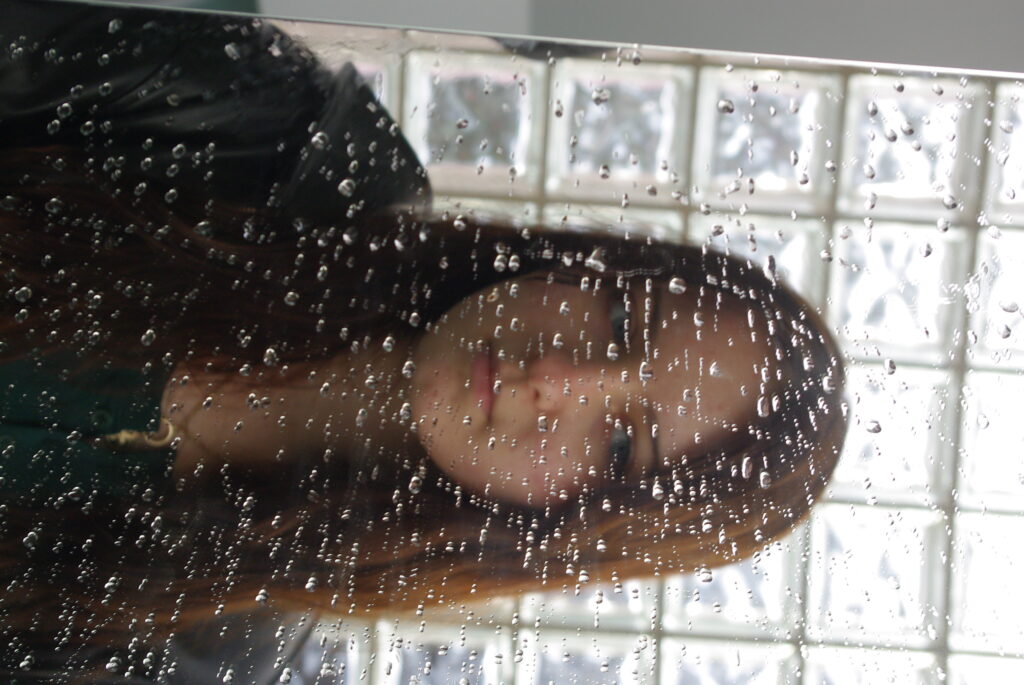
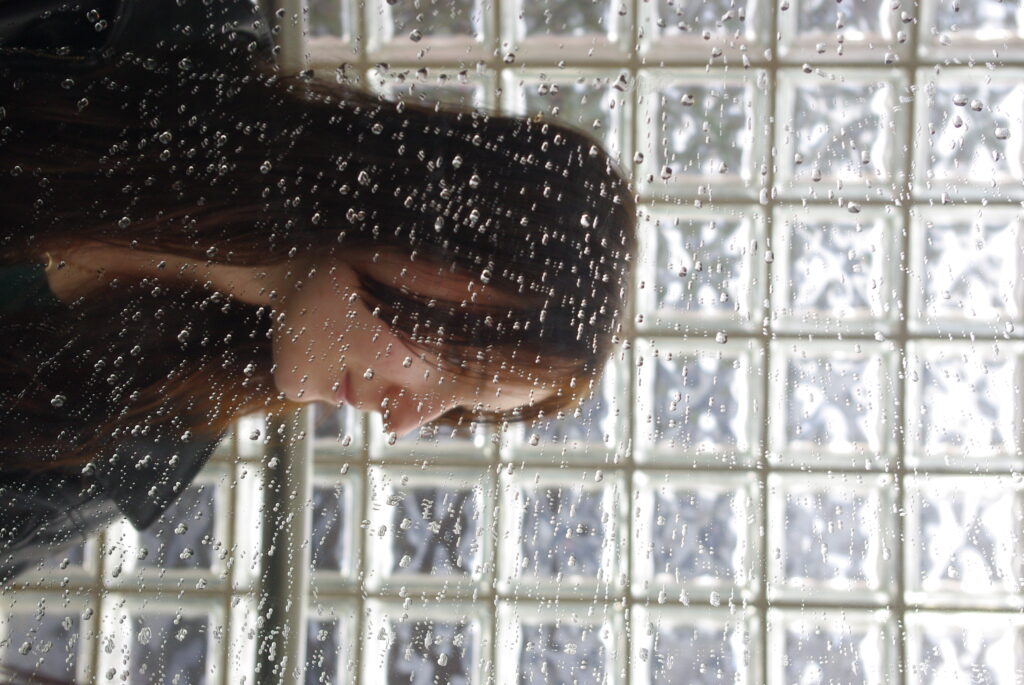
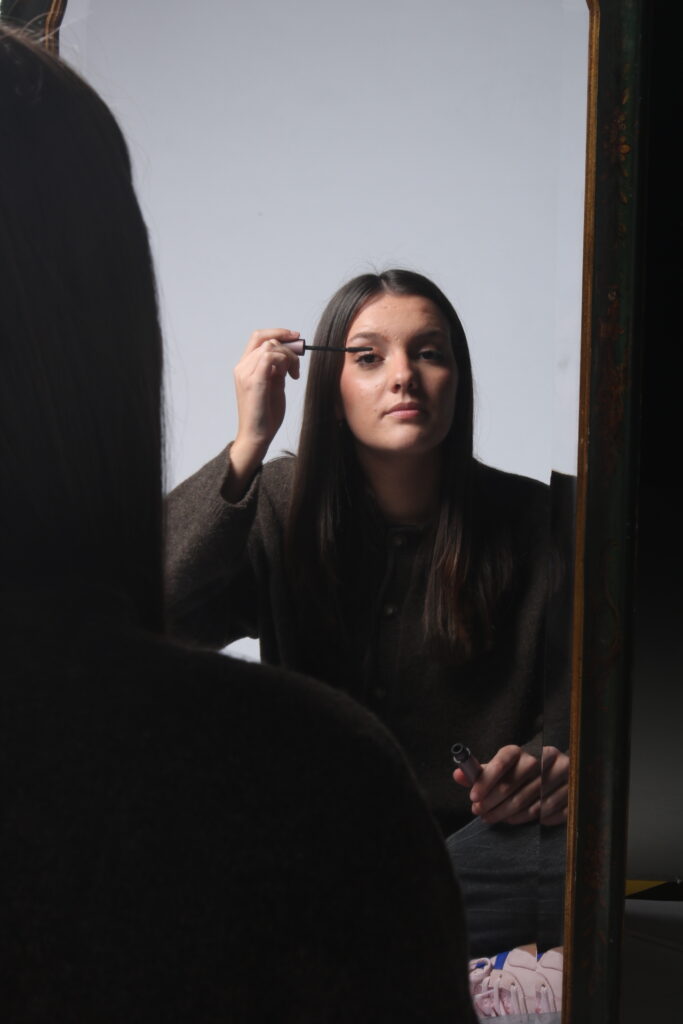
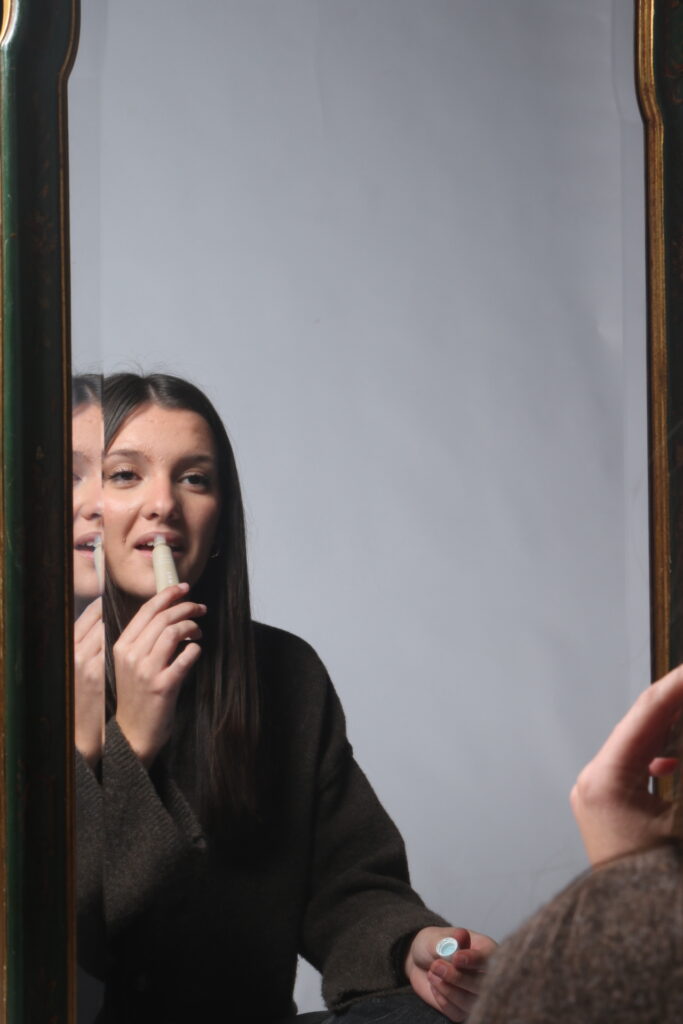
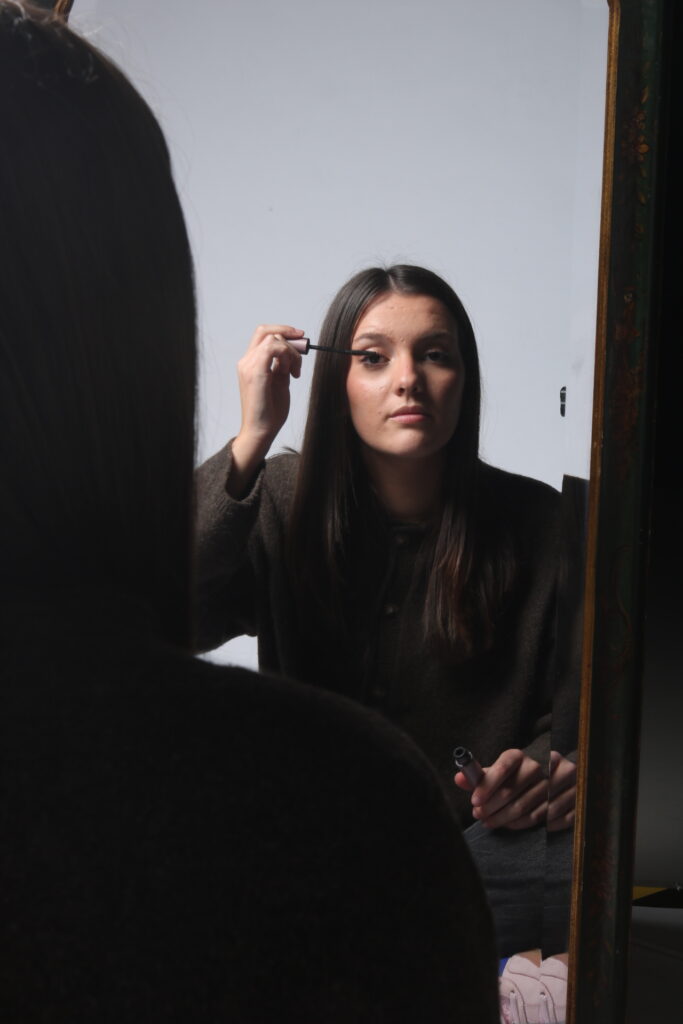
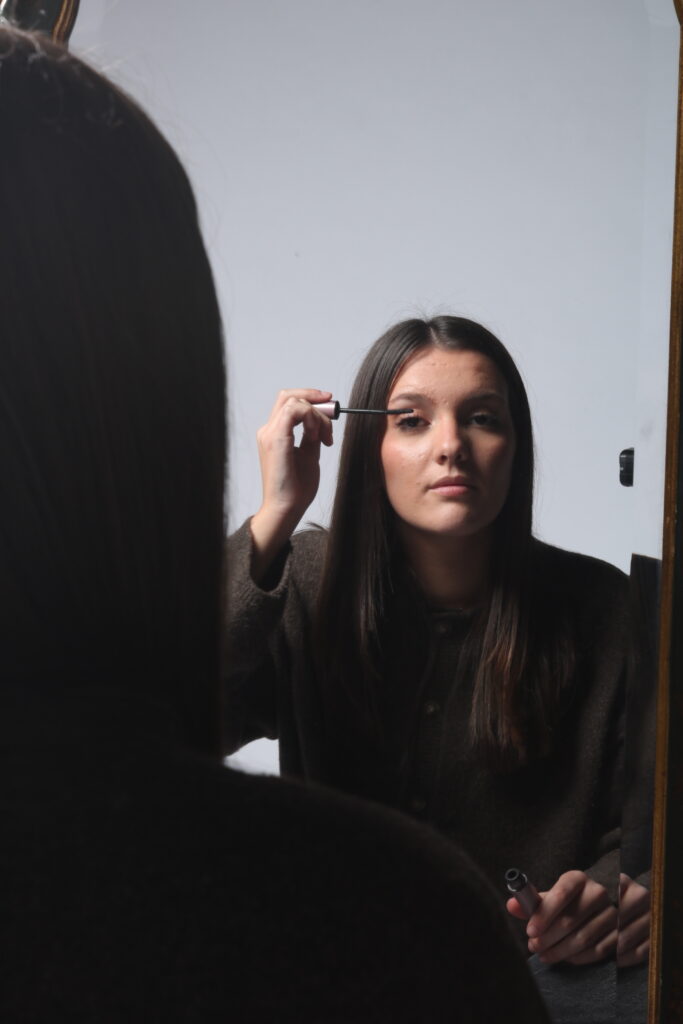
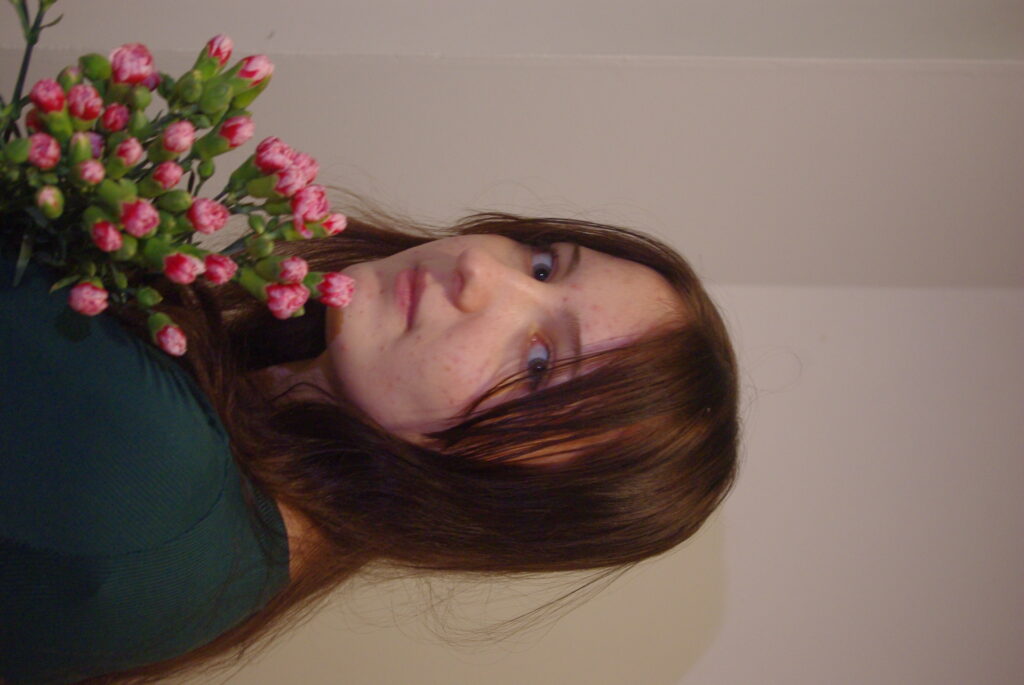
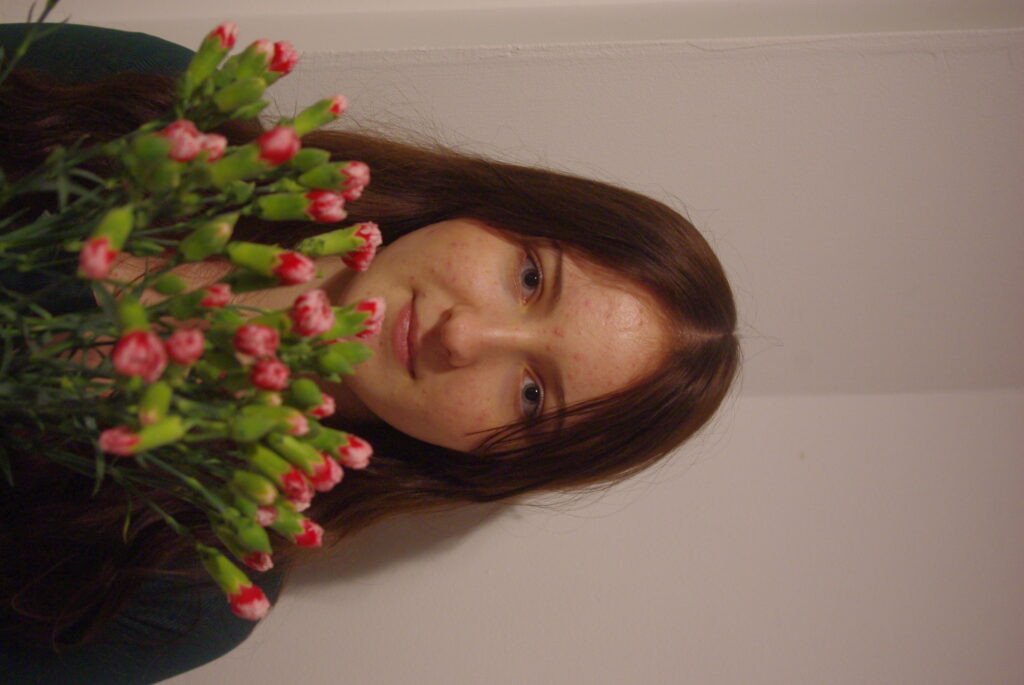
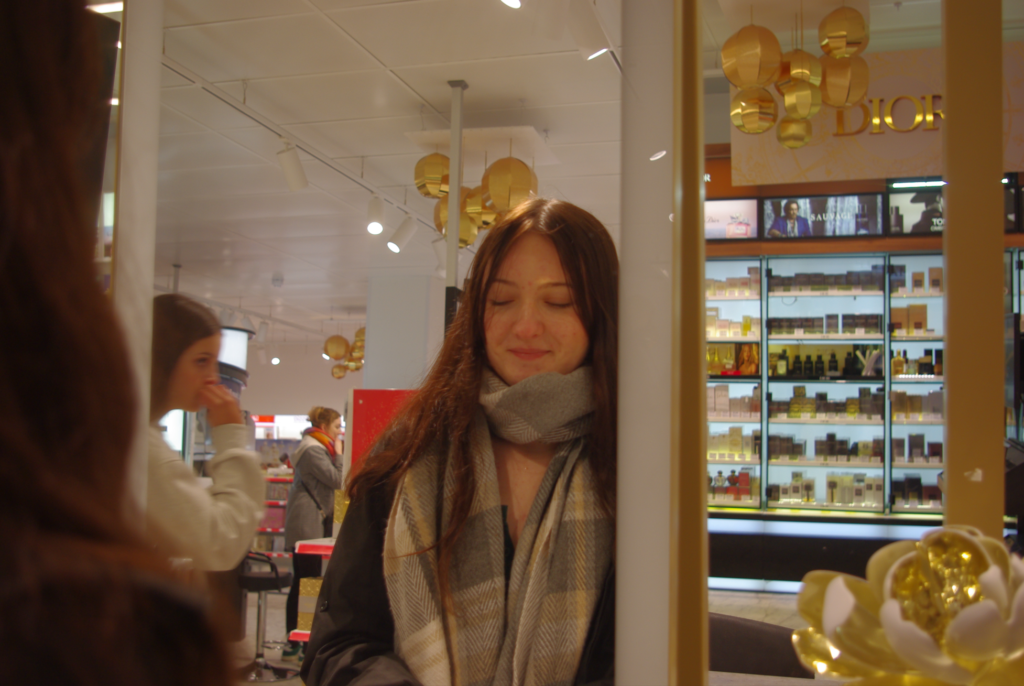
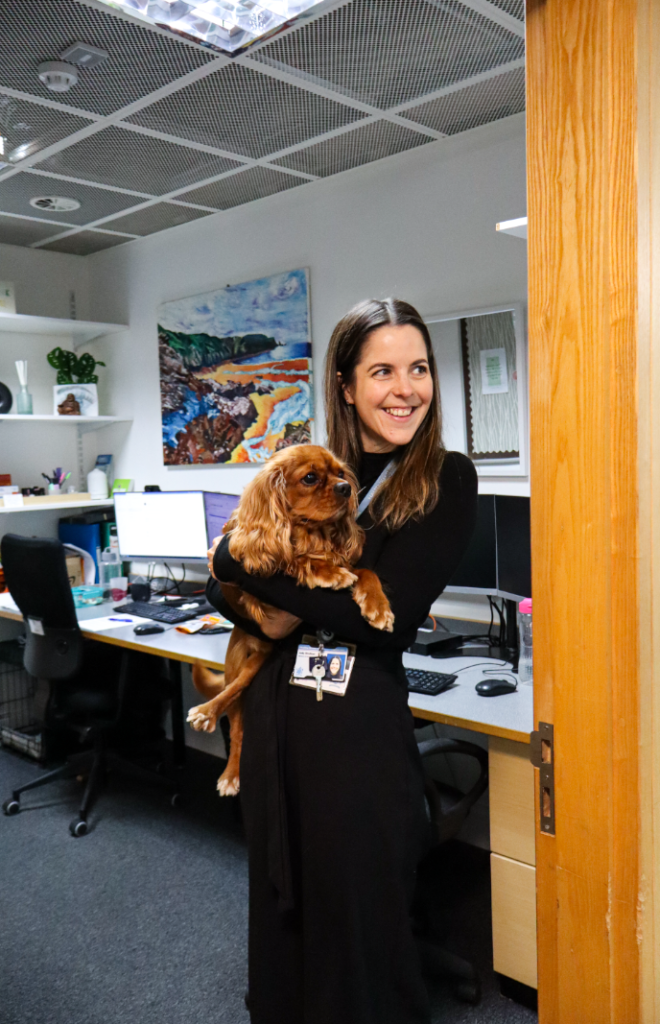
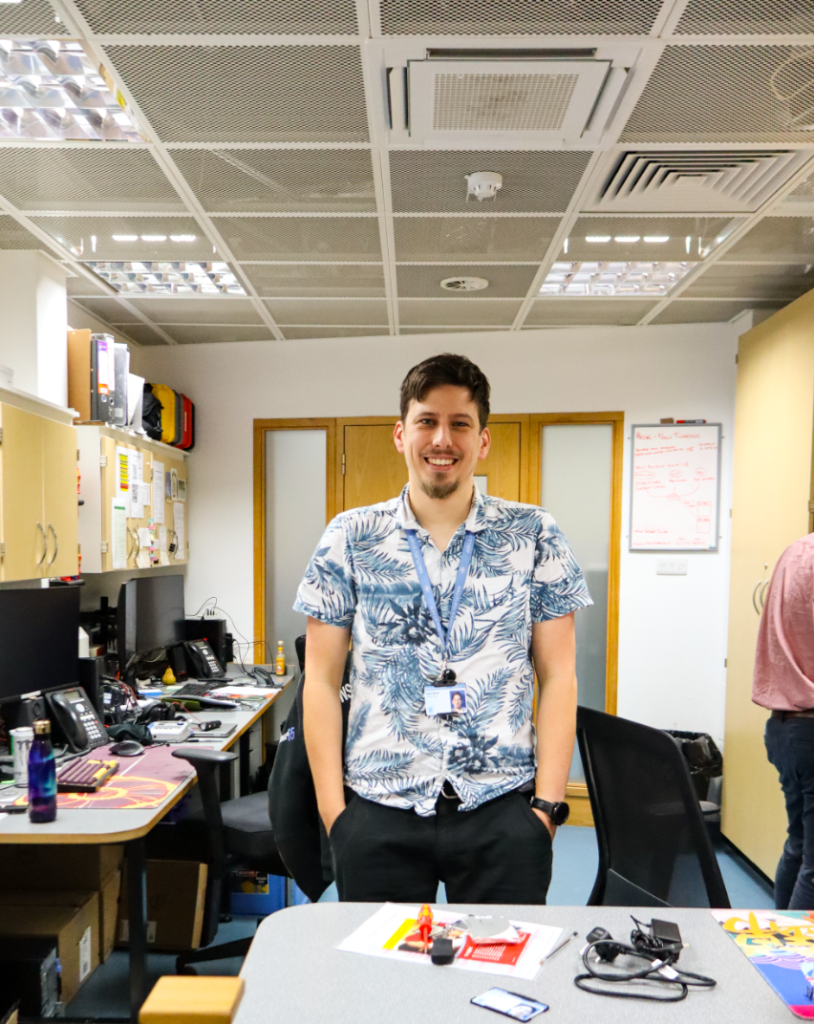
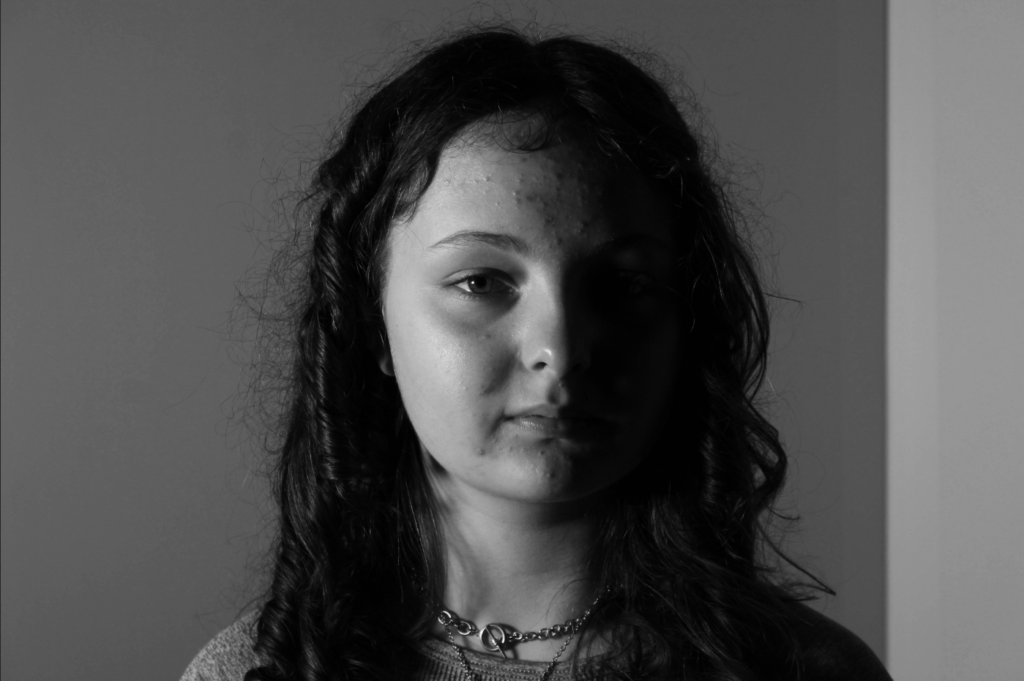
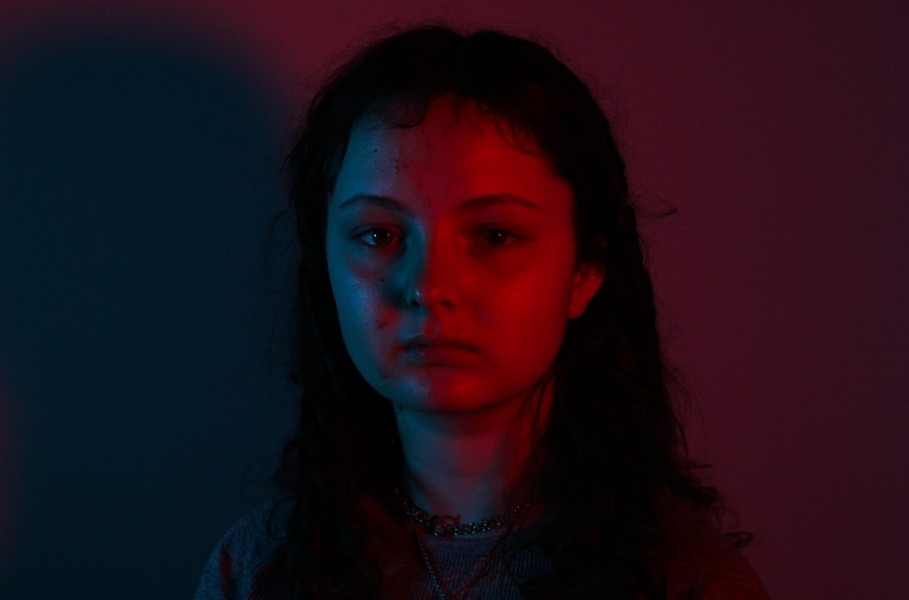
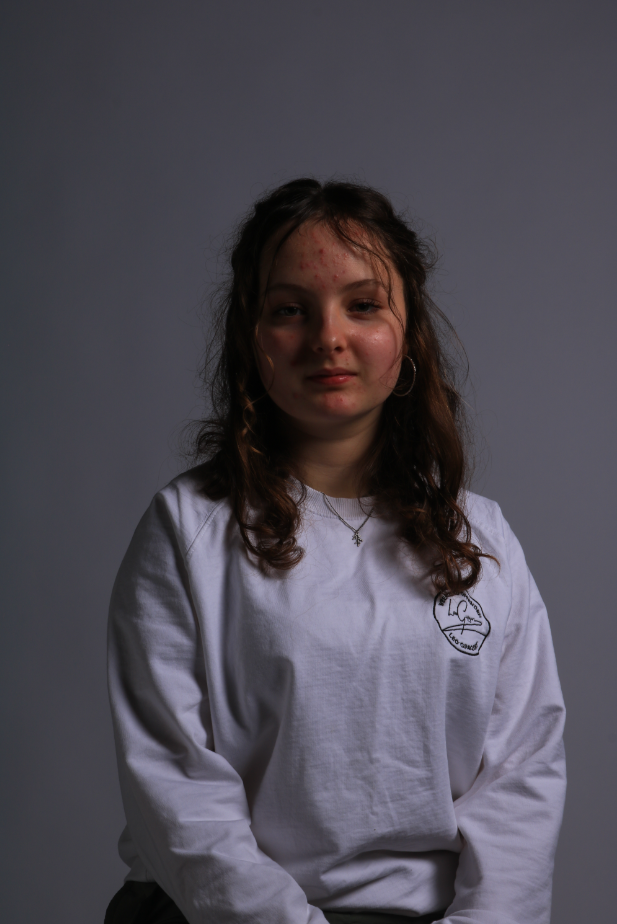
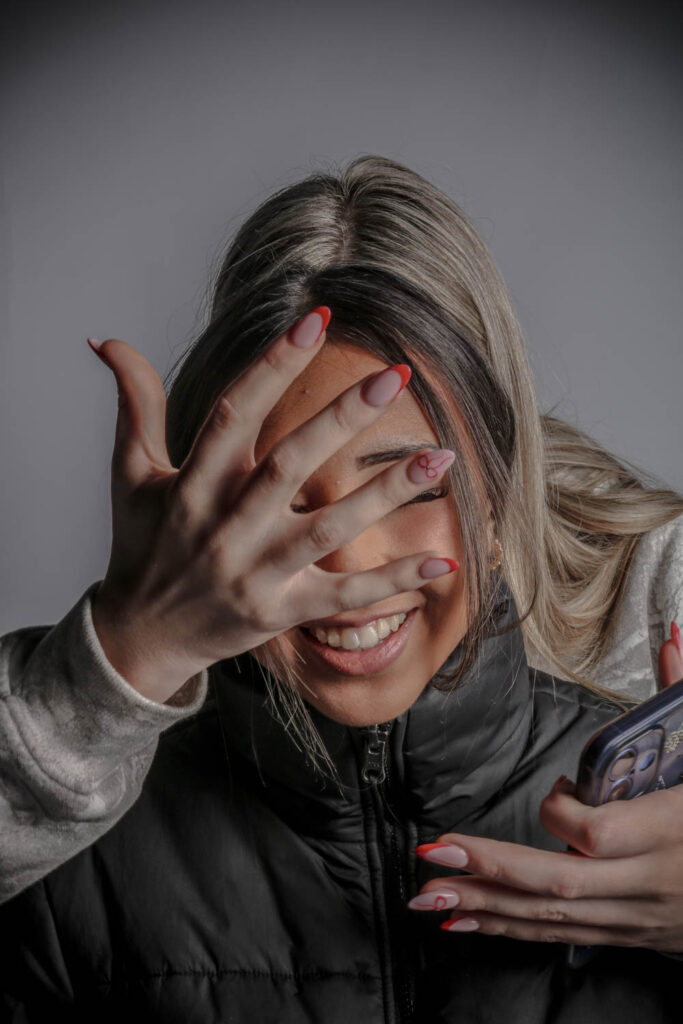
There were three photos that really stood out to me in this photo shoot.

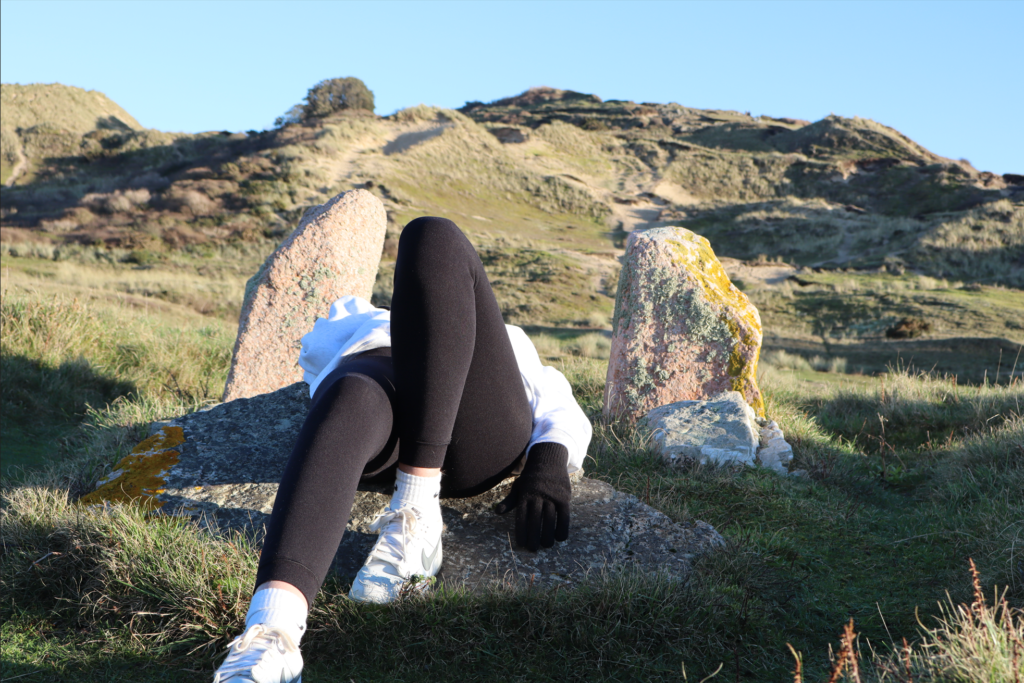
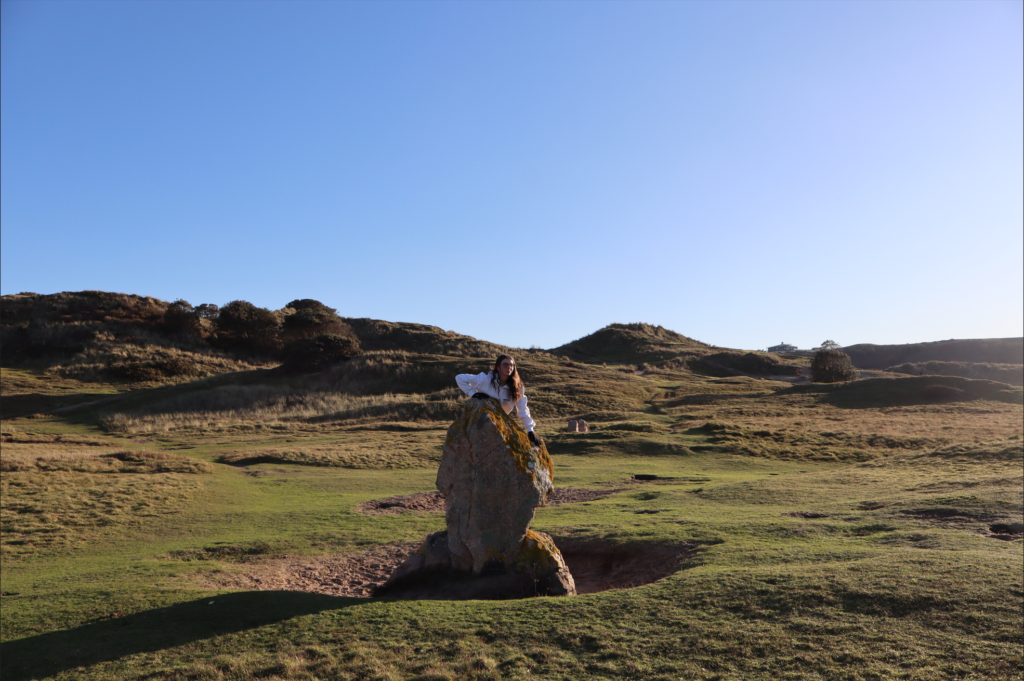
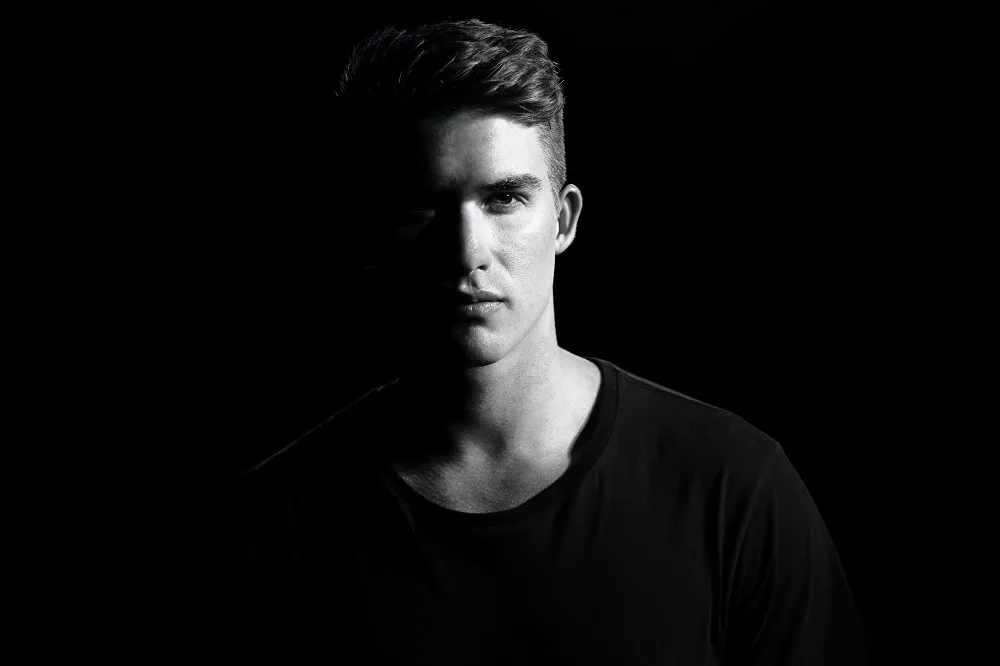
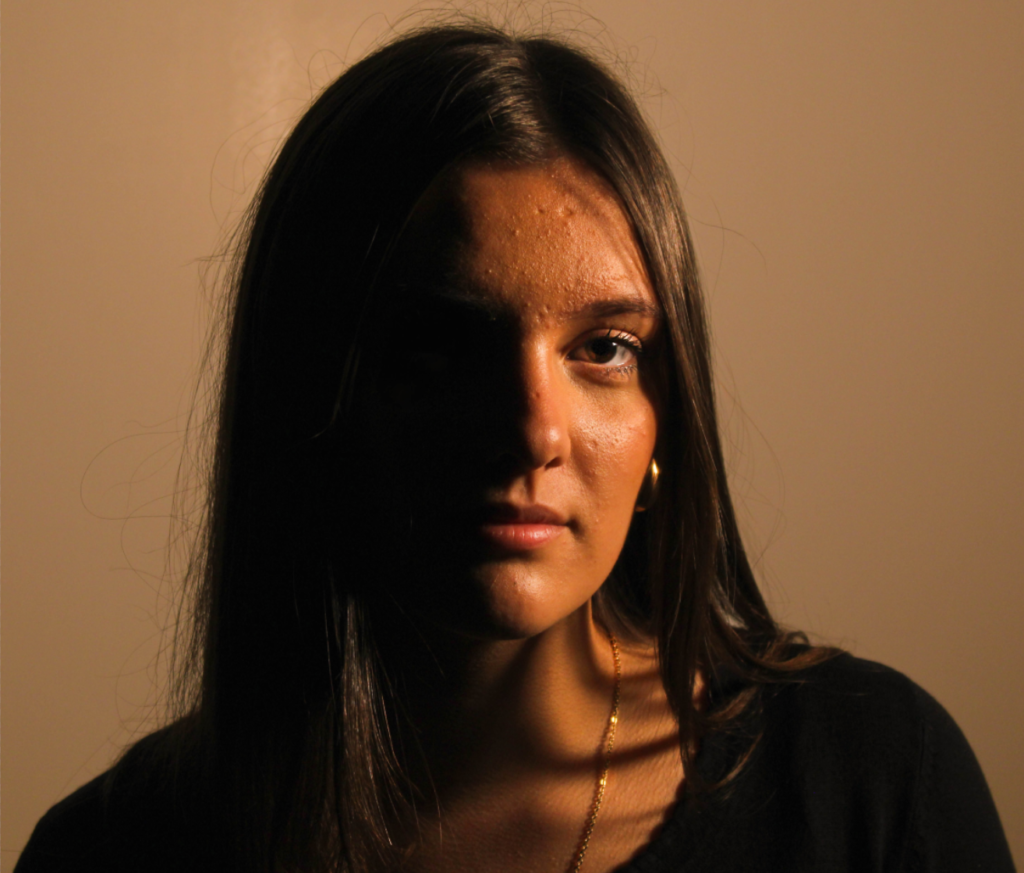
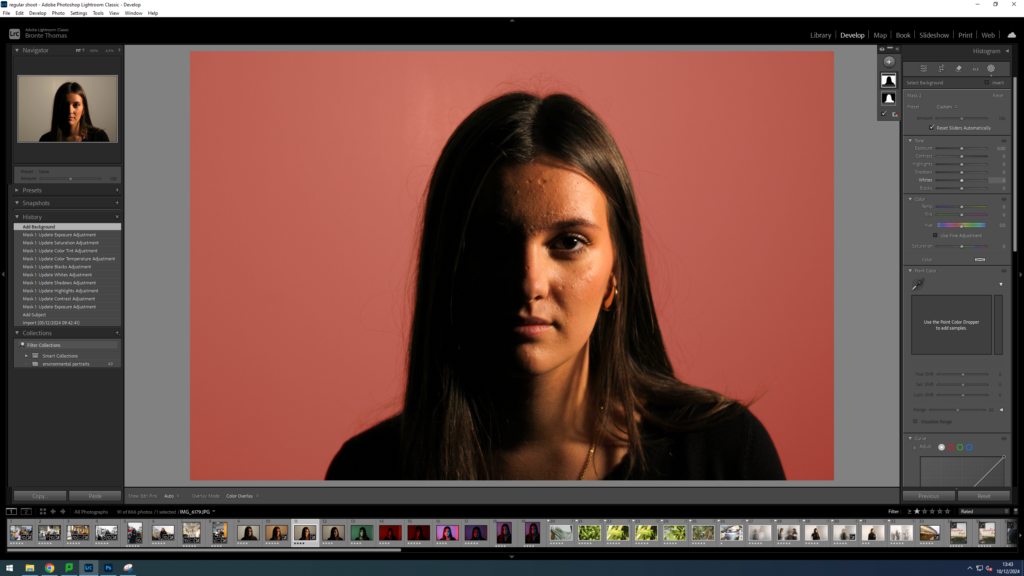
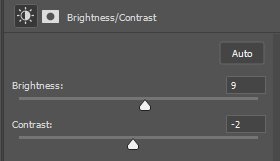
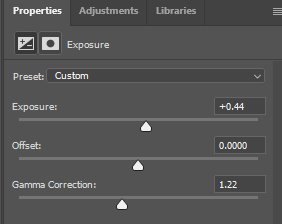
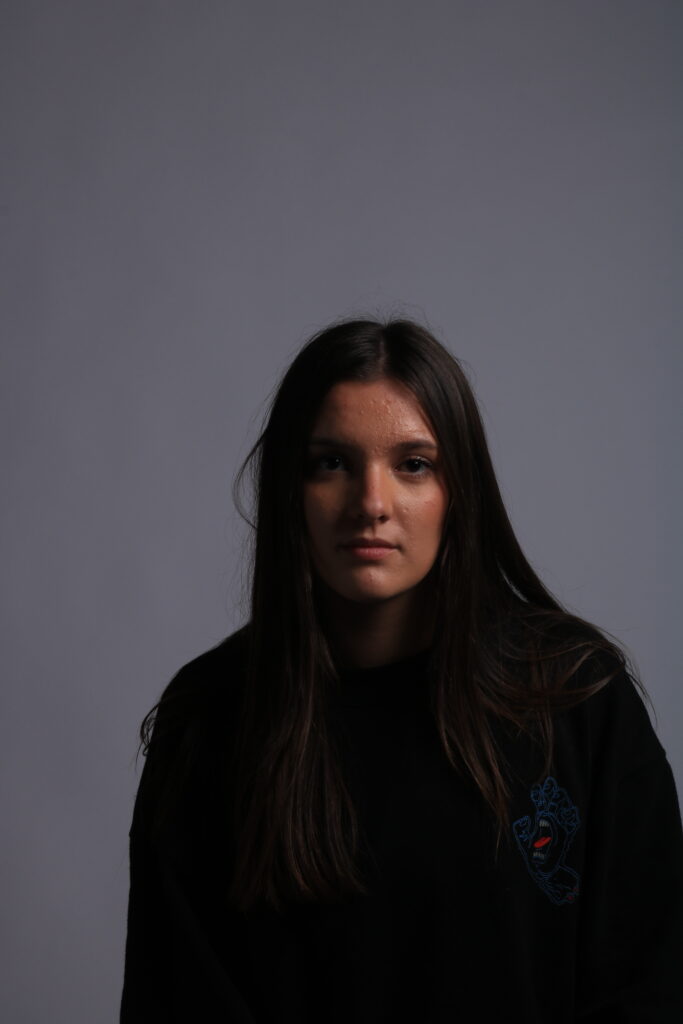
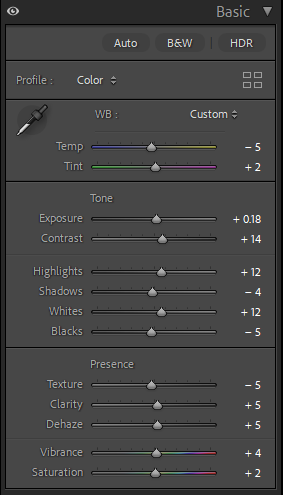
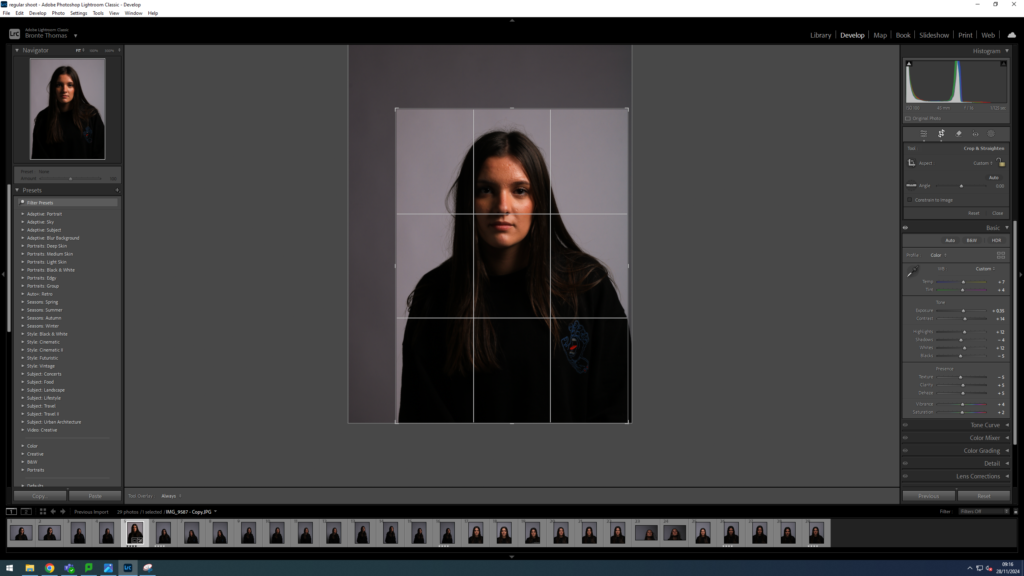
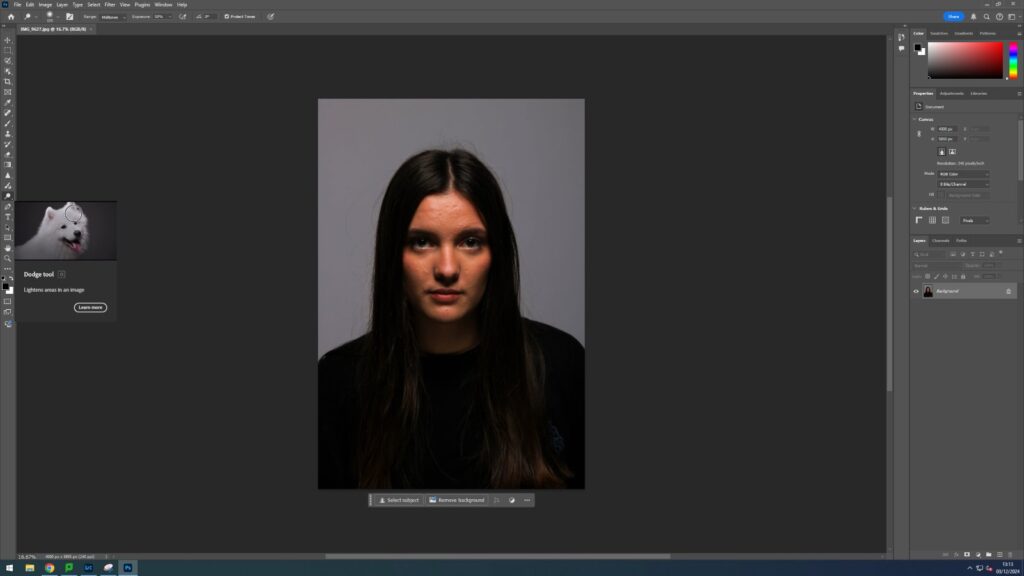
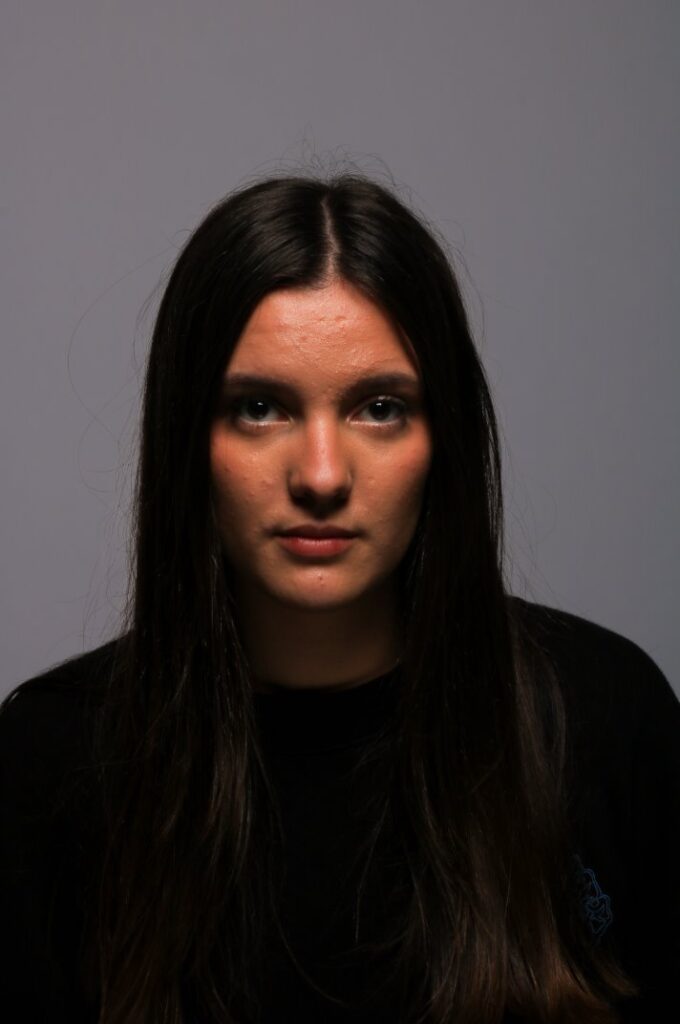
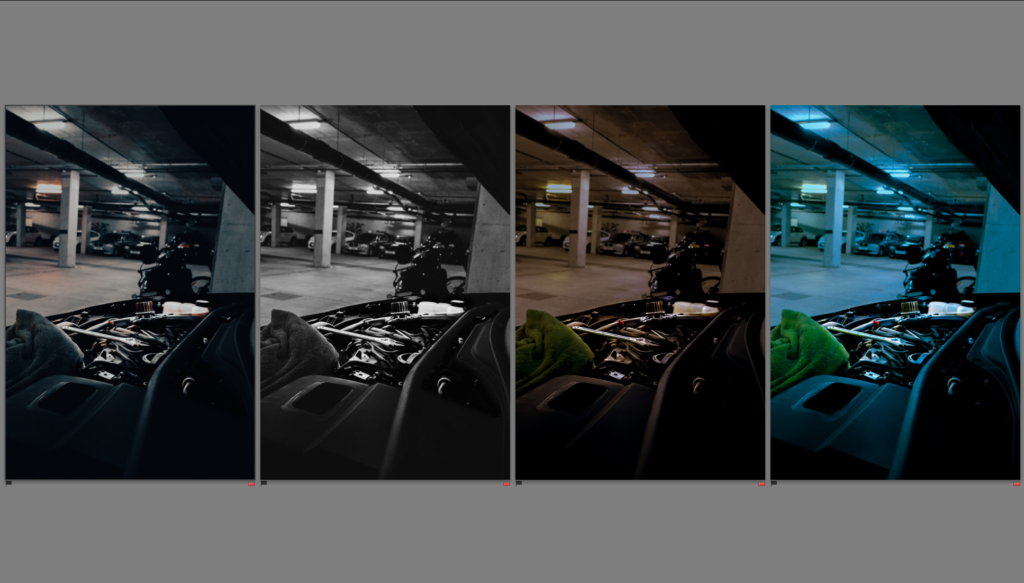
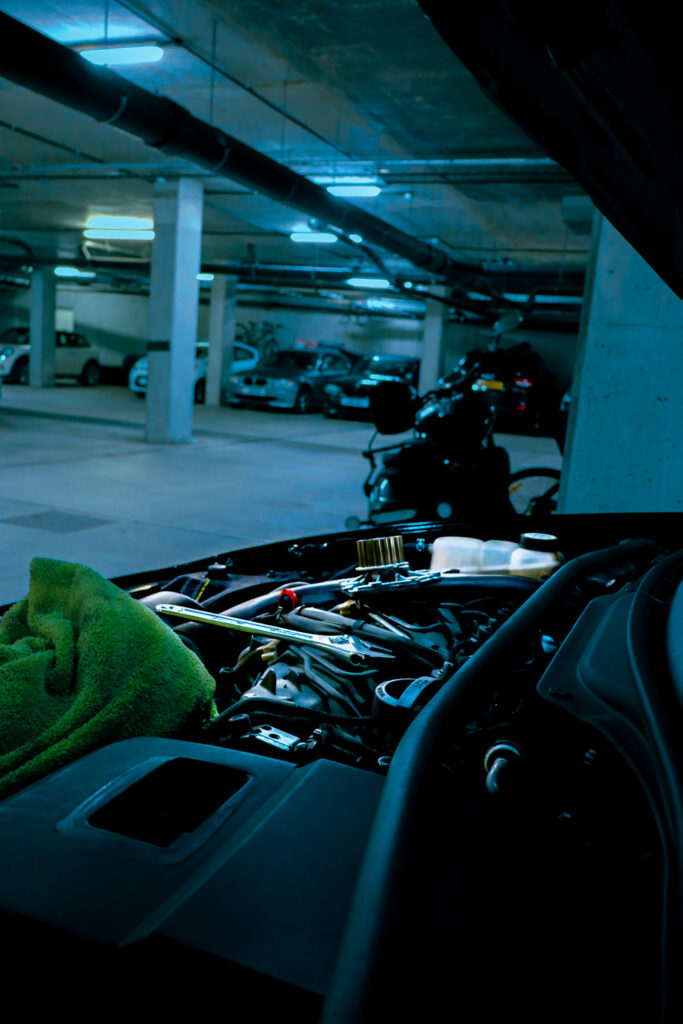
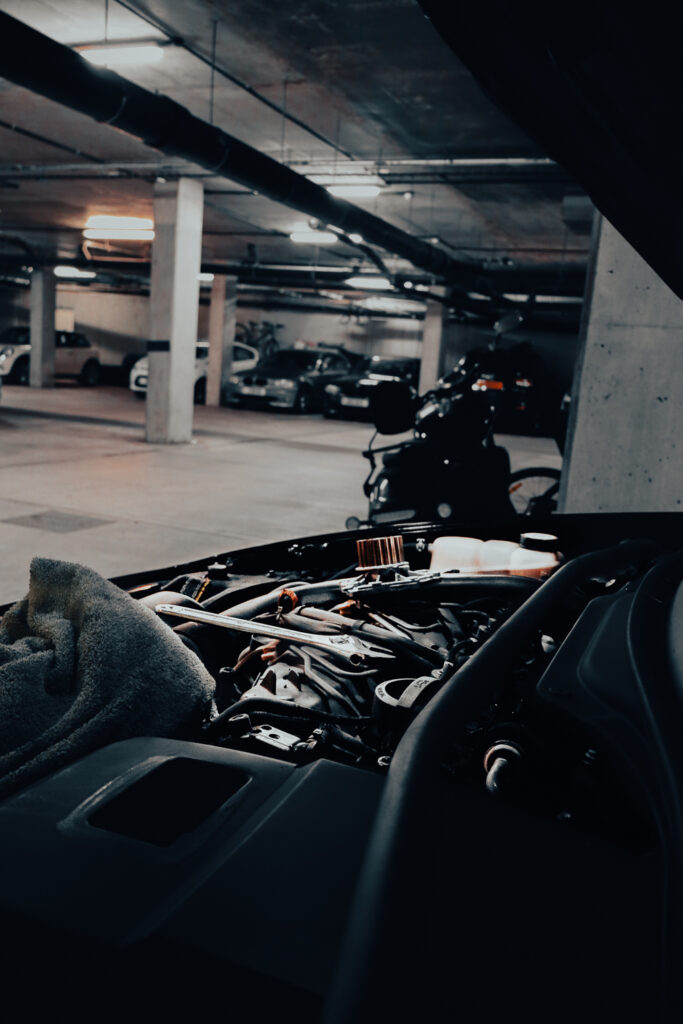
After editing this is how they came out.
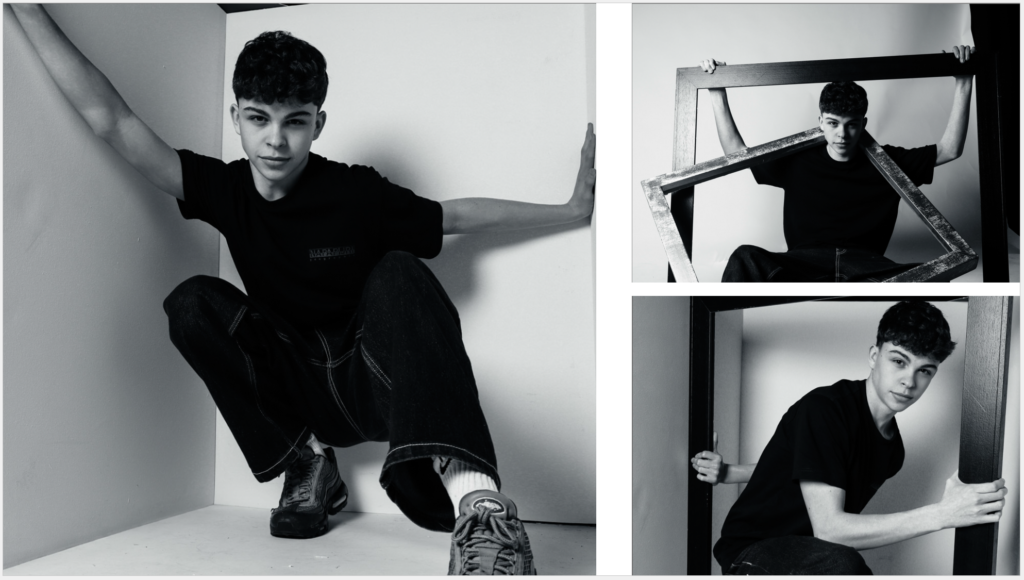
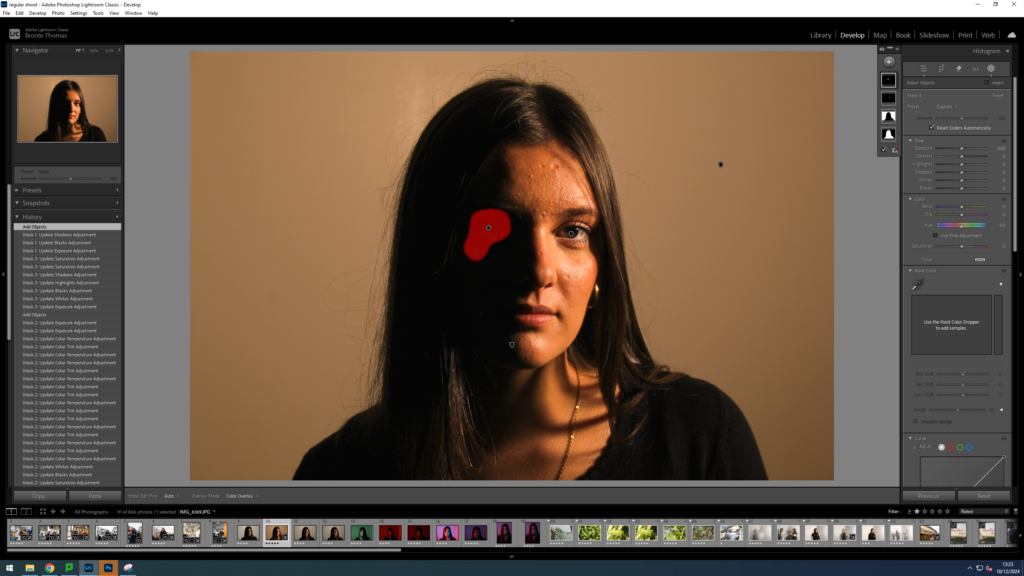
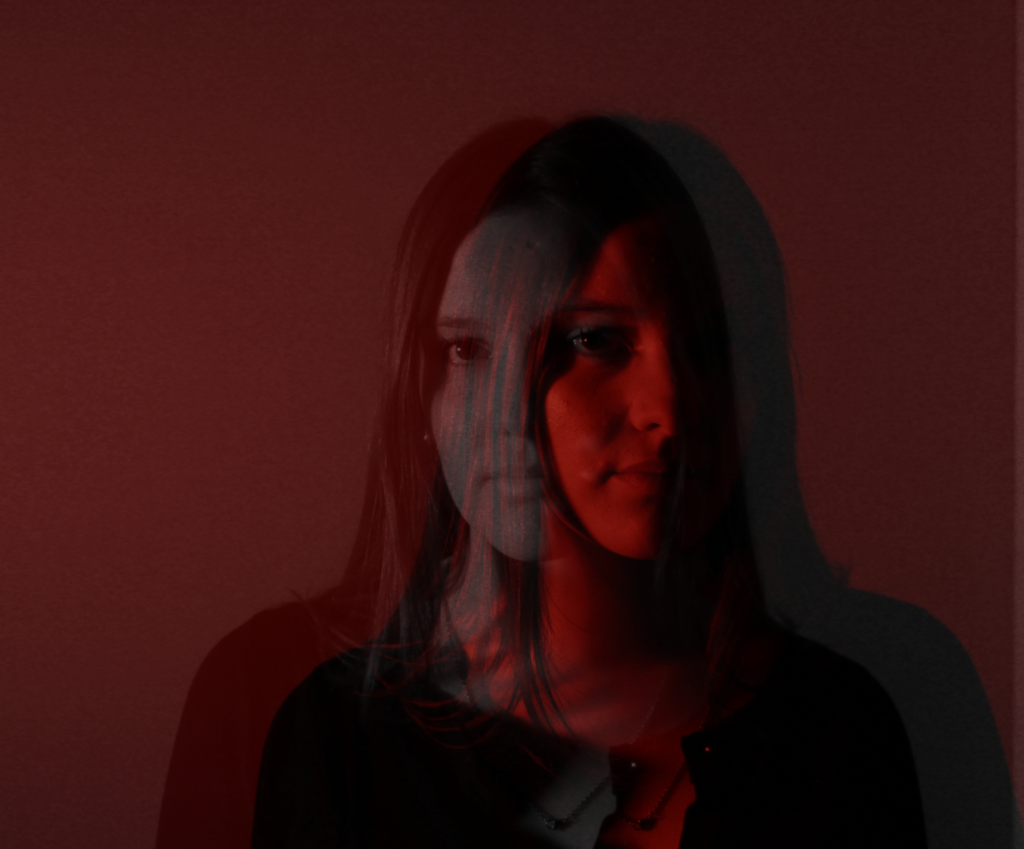
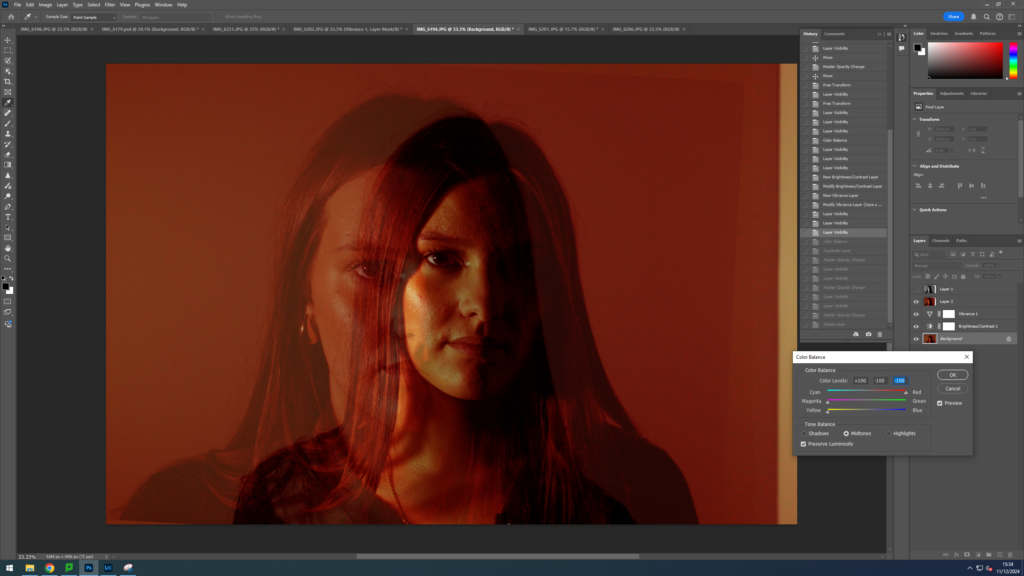
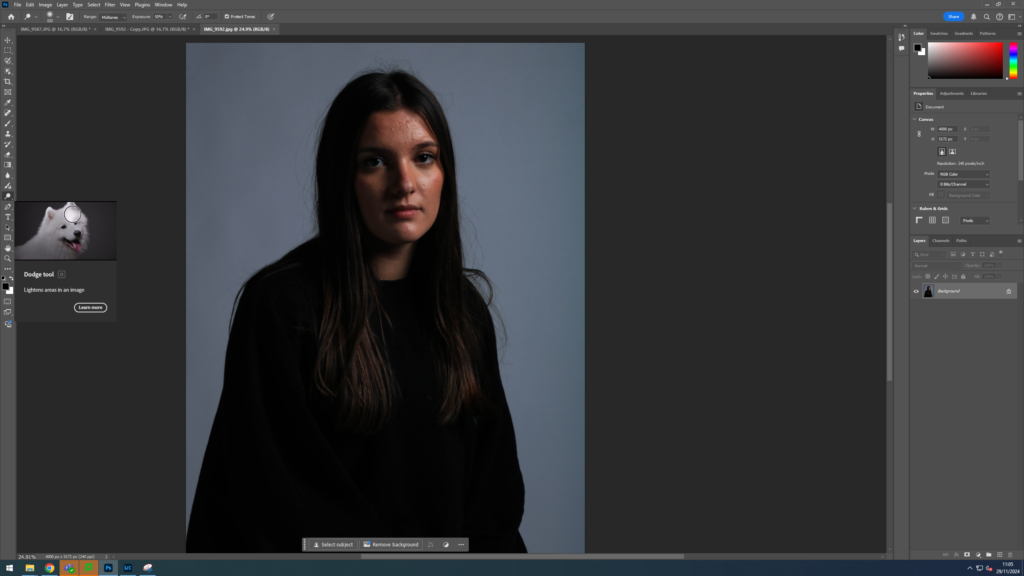
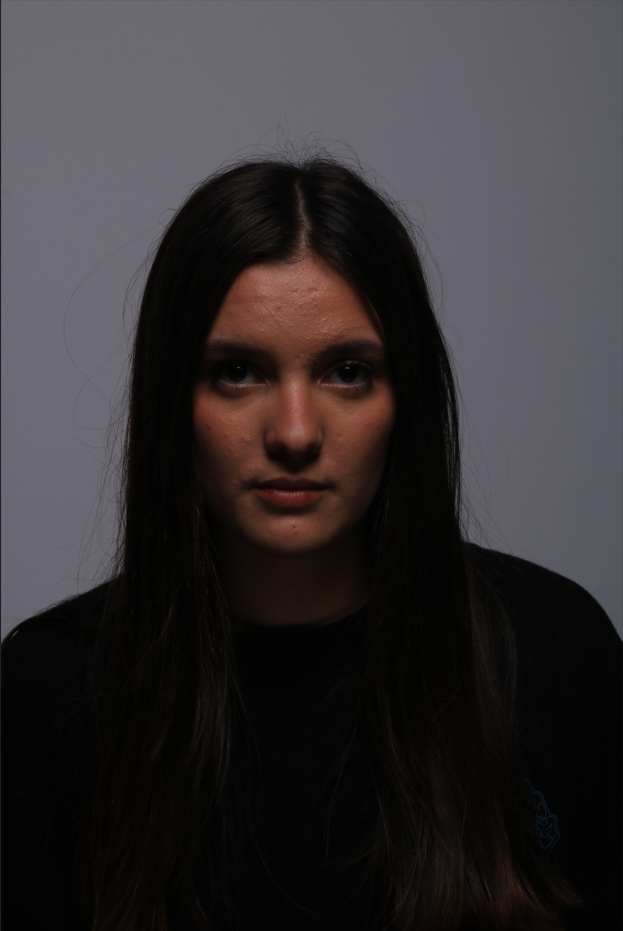
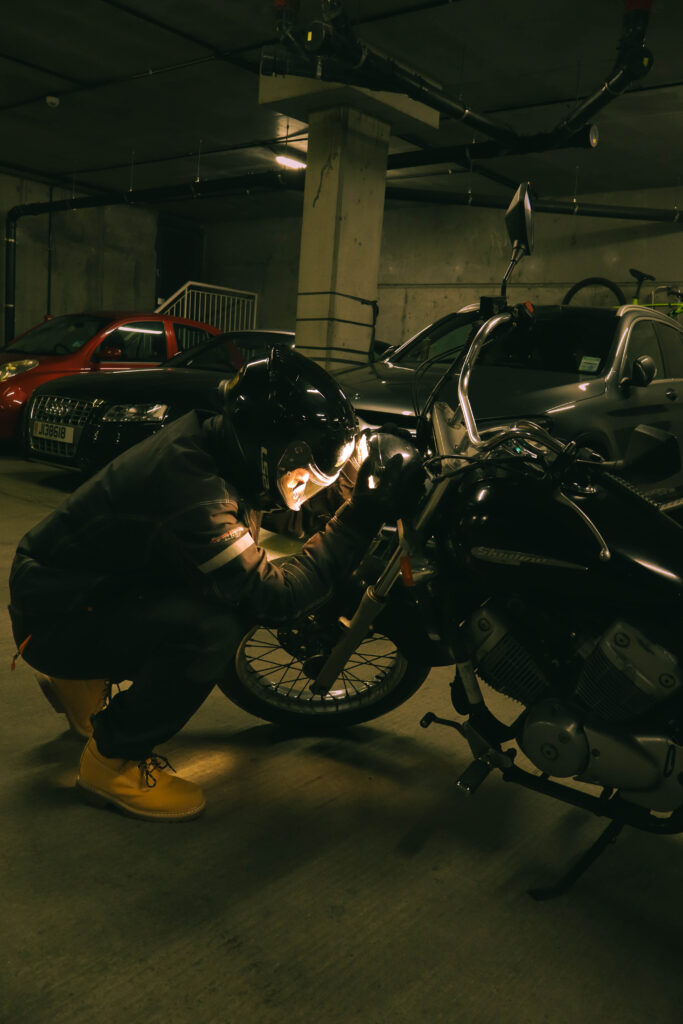
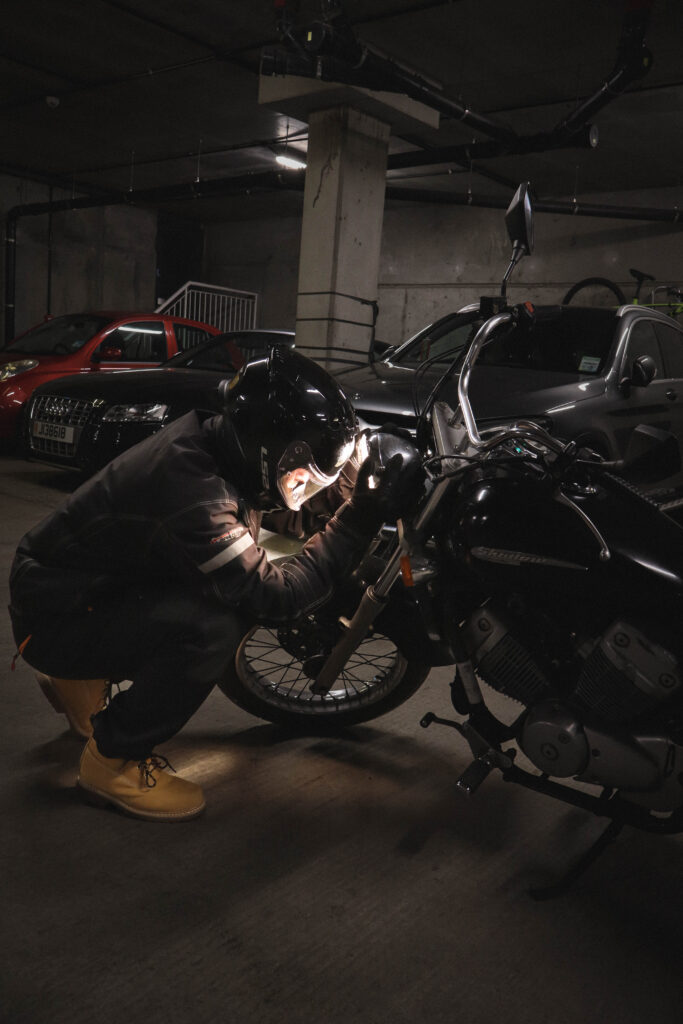
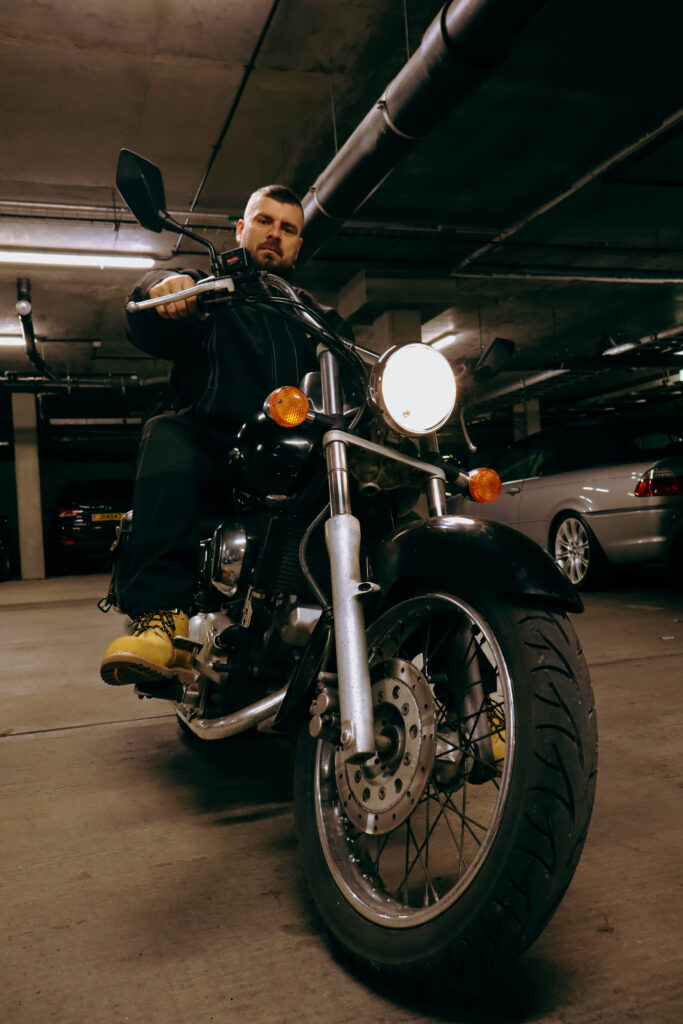
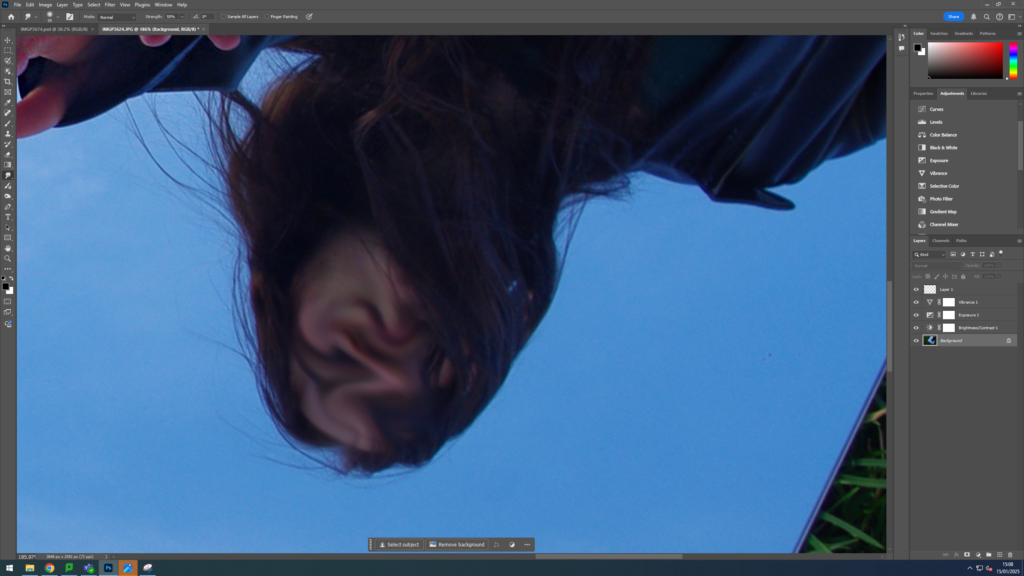
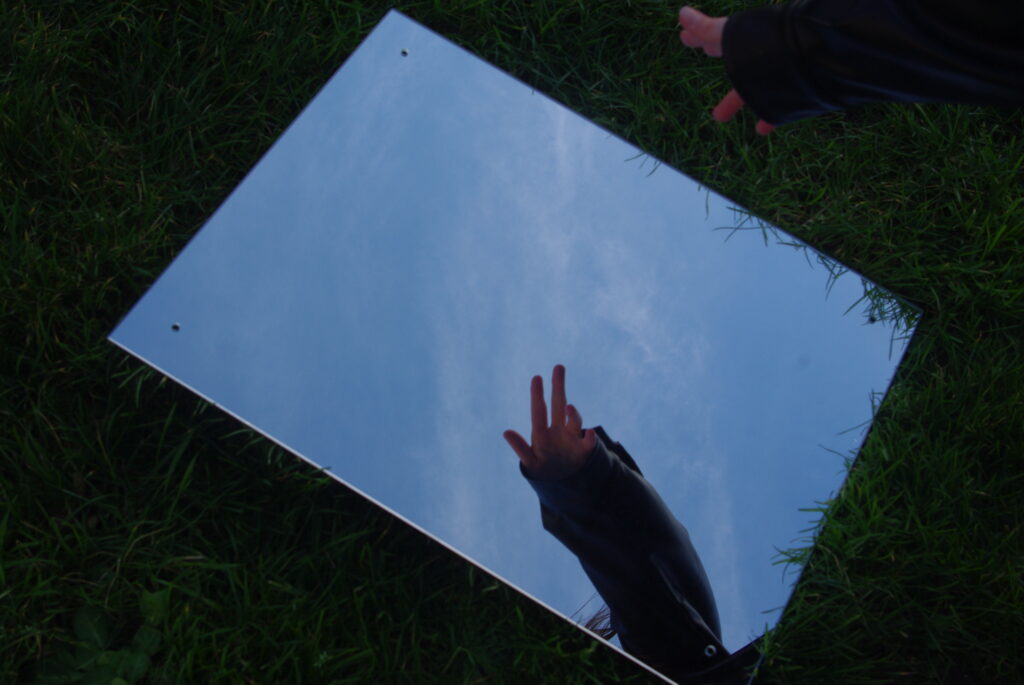
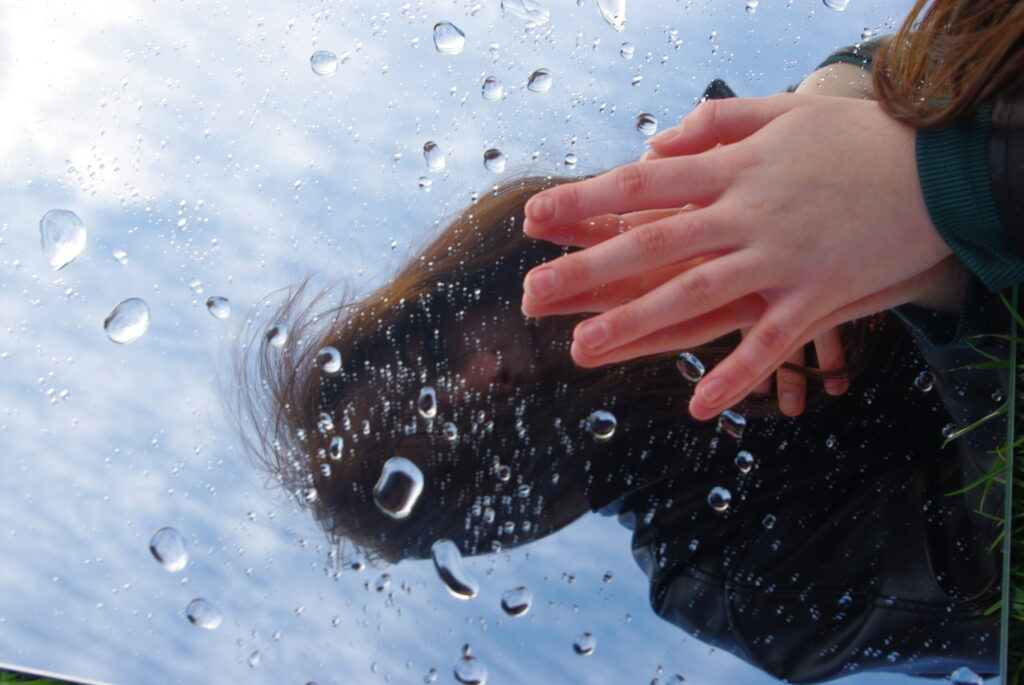
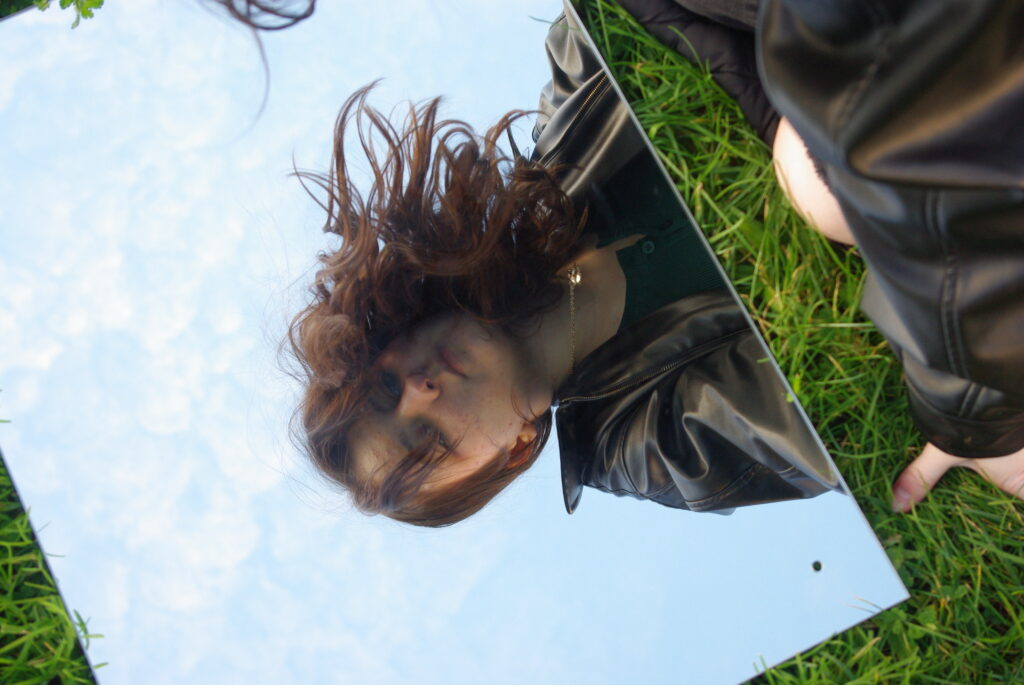
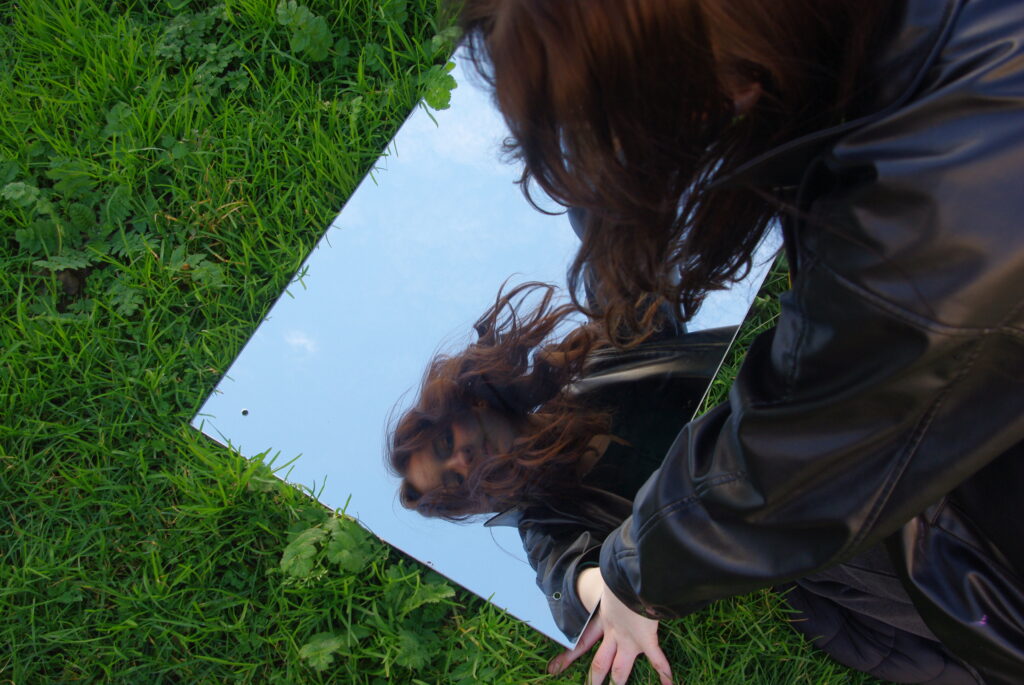
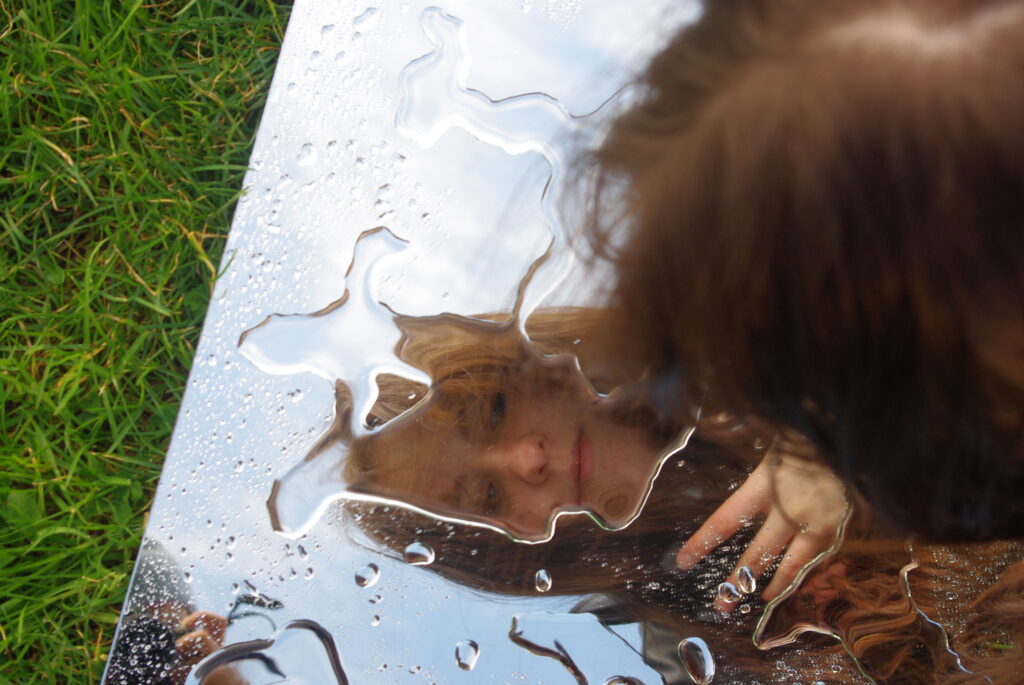
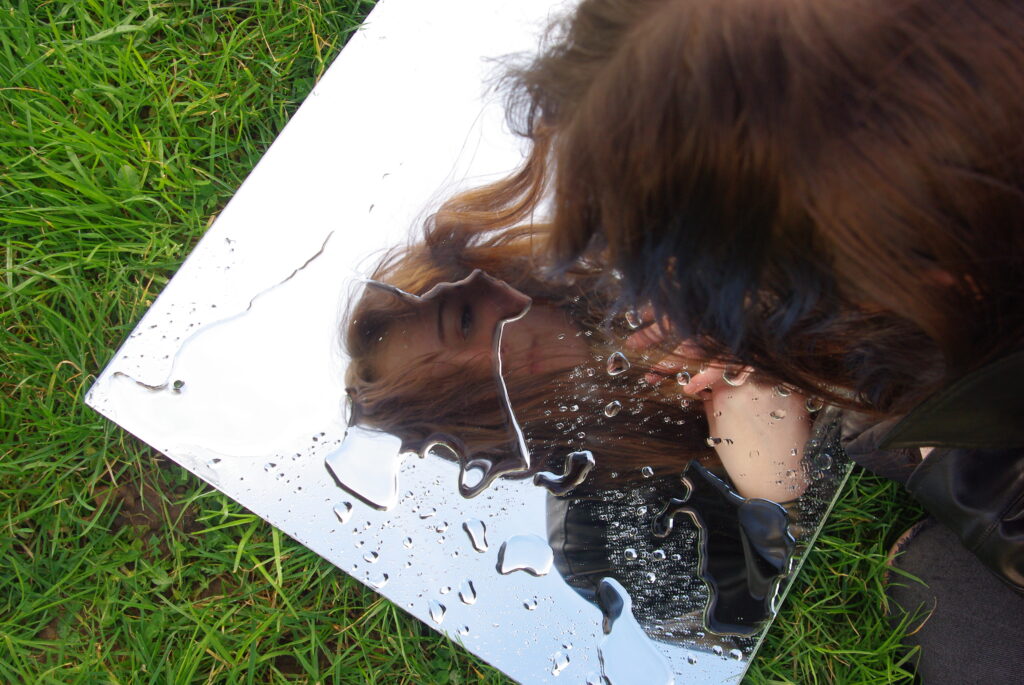
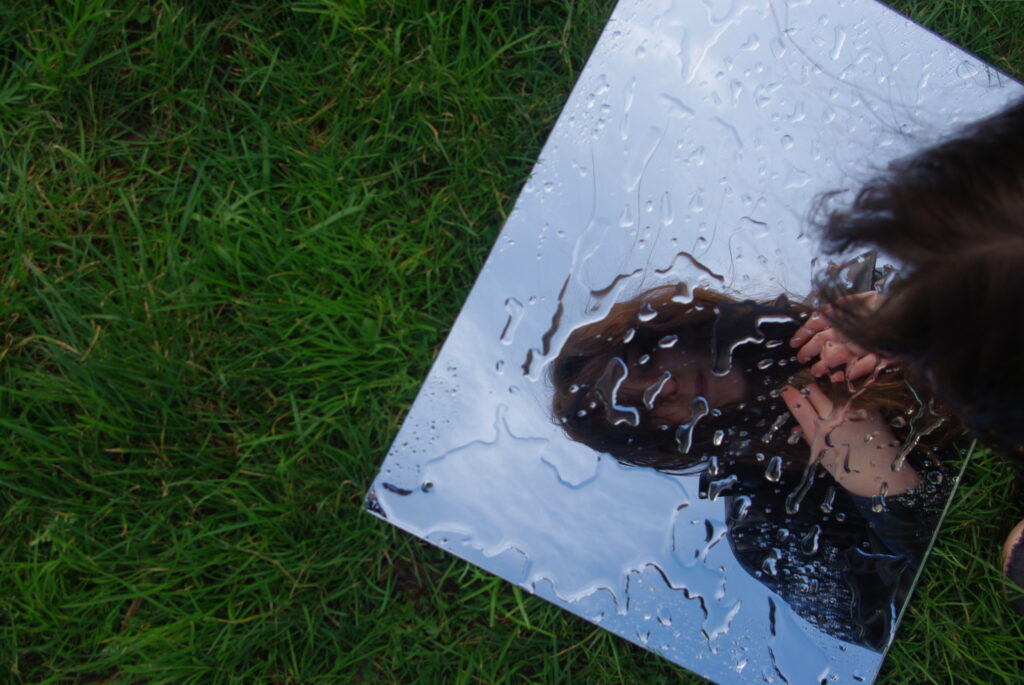
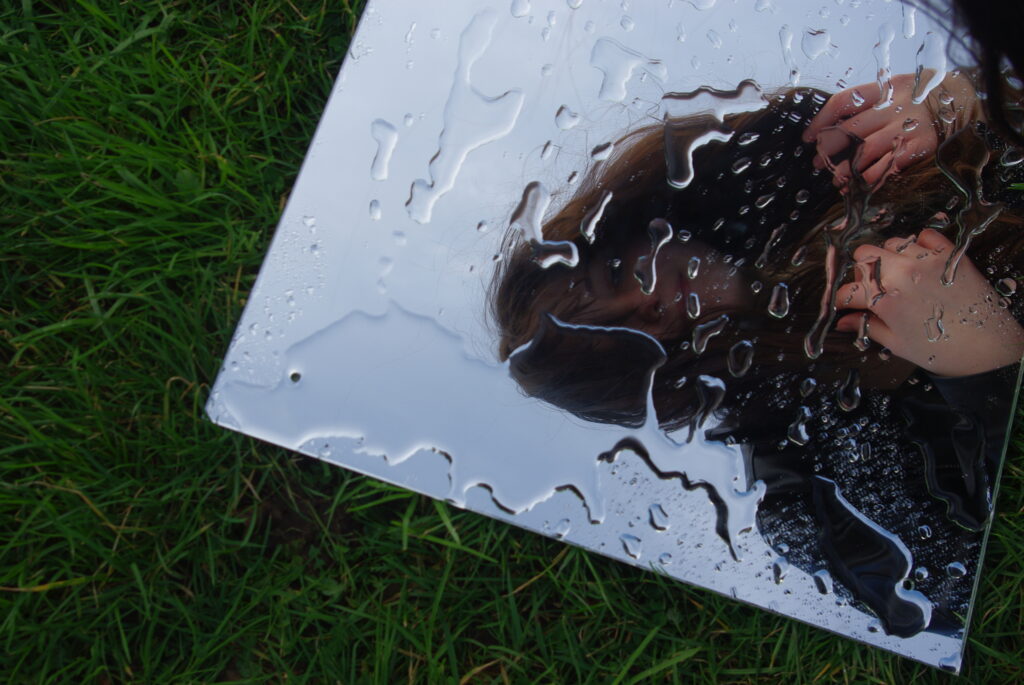
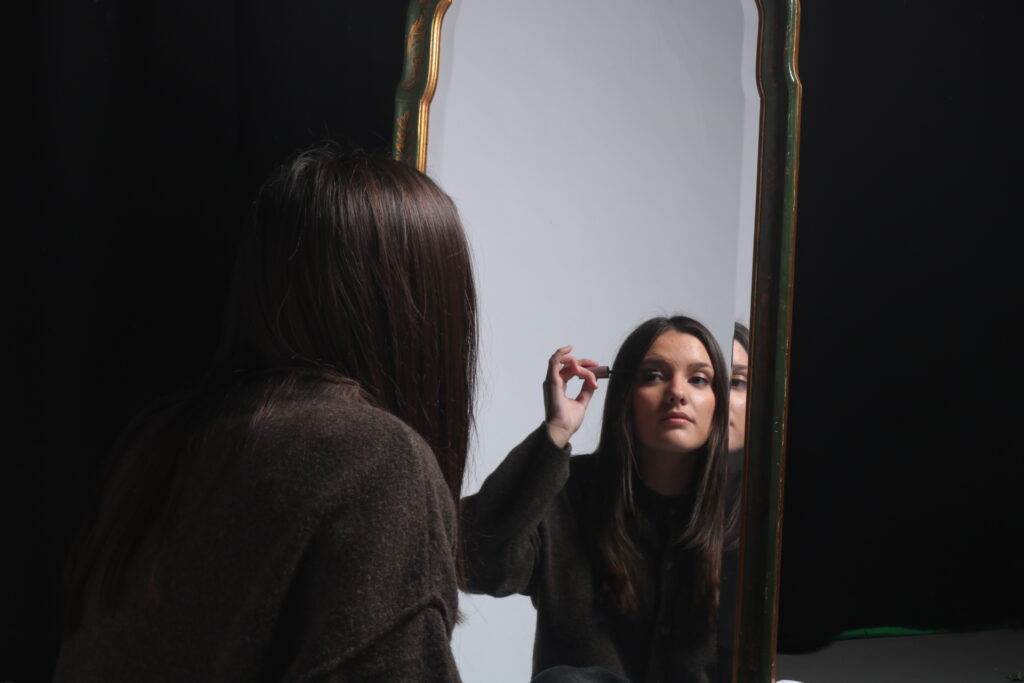
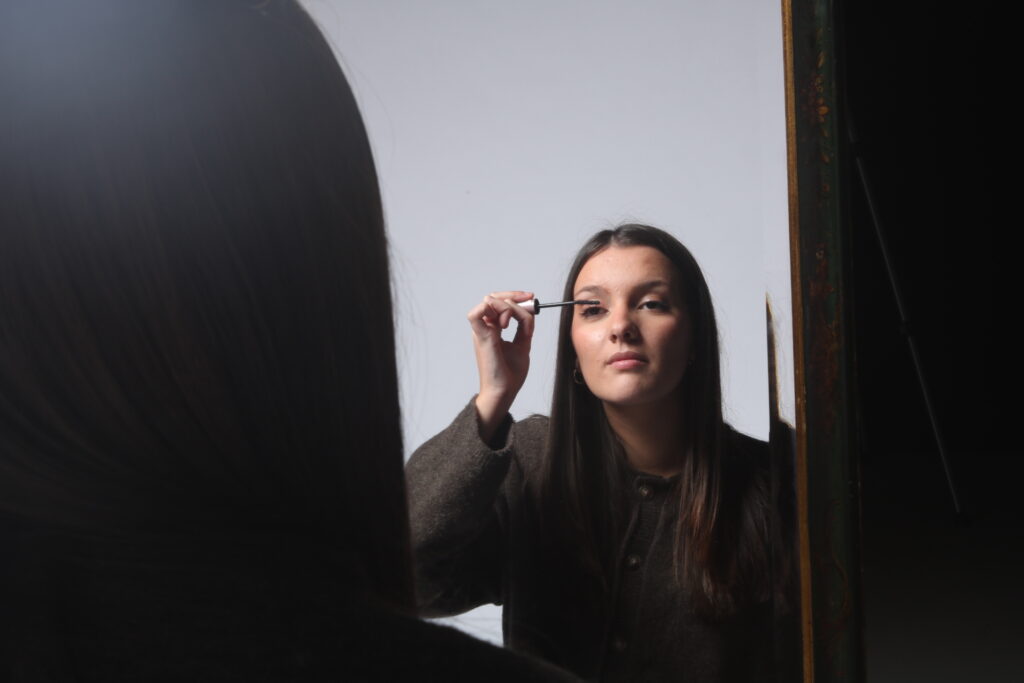
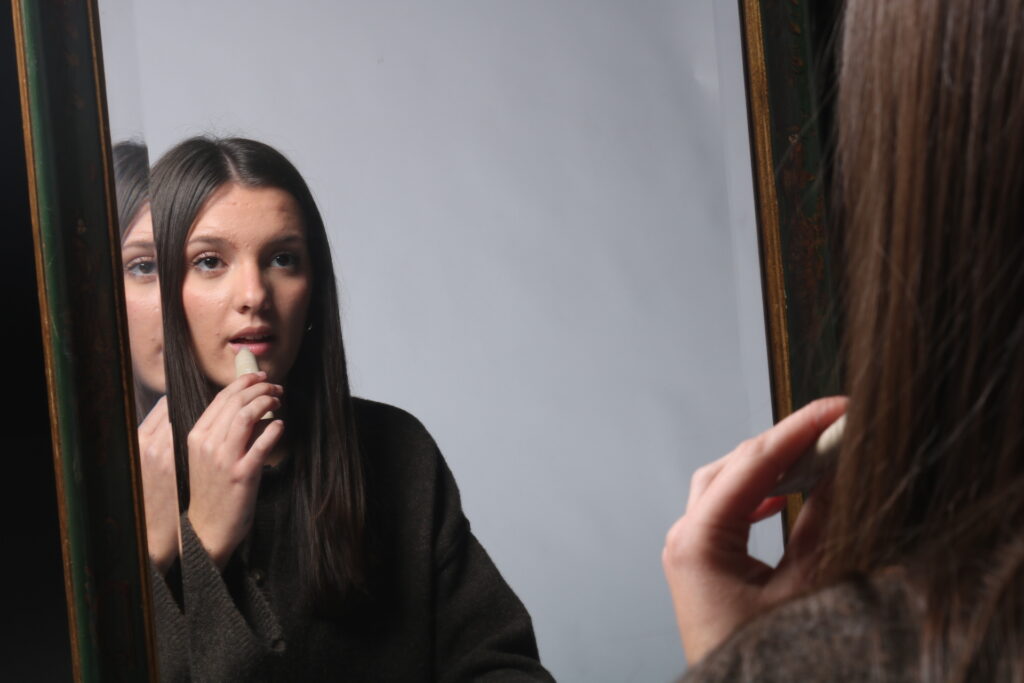
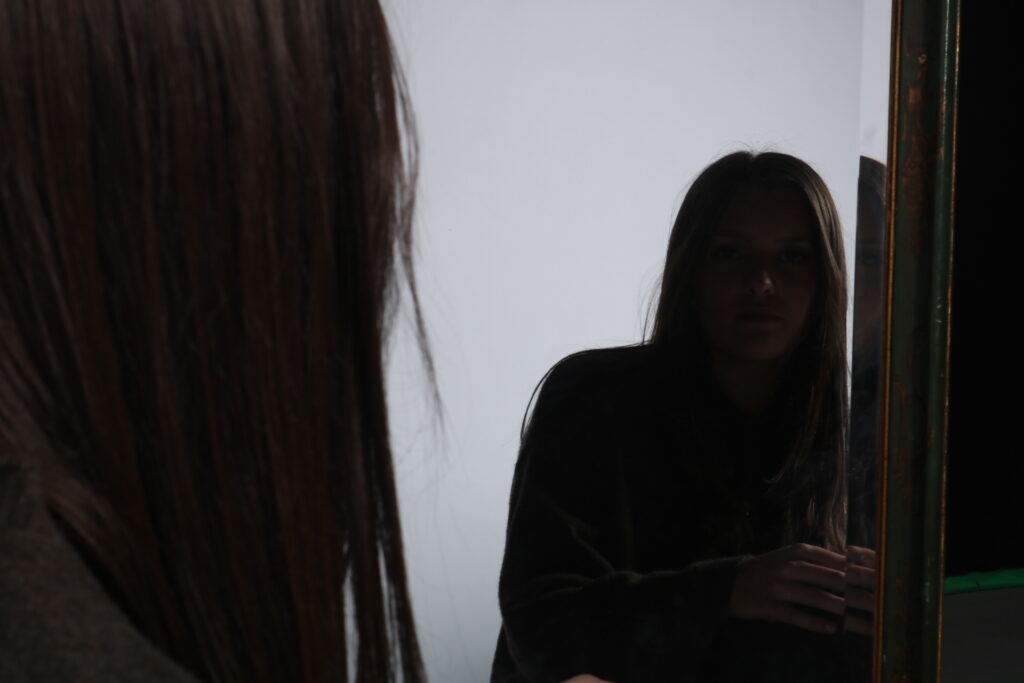
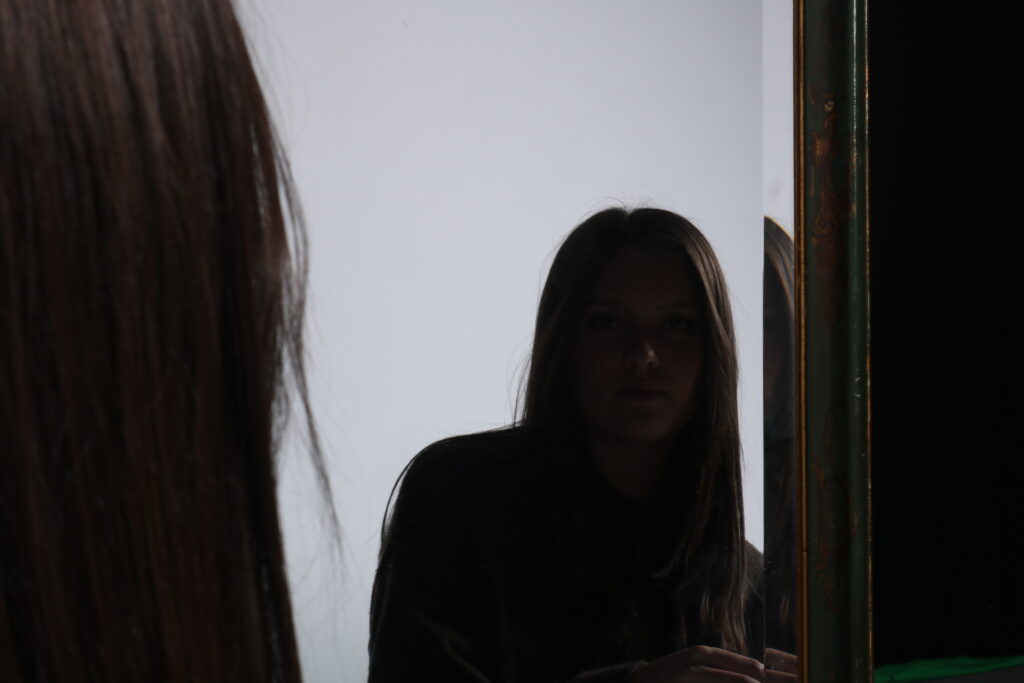
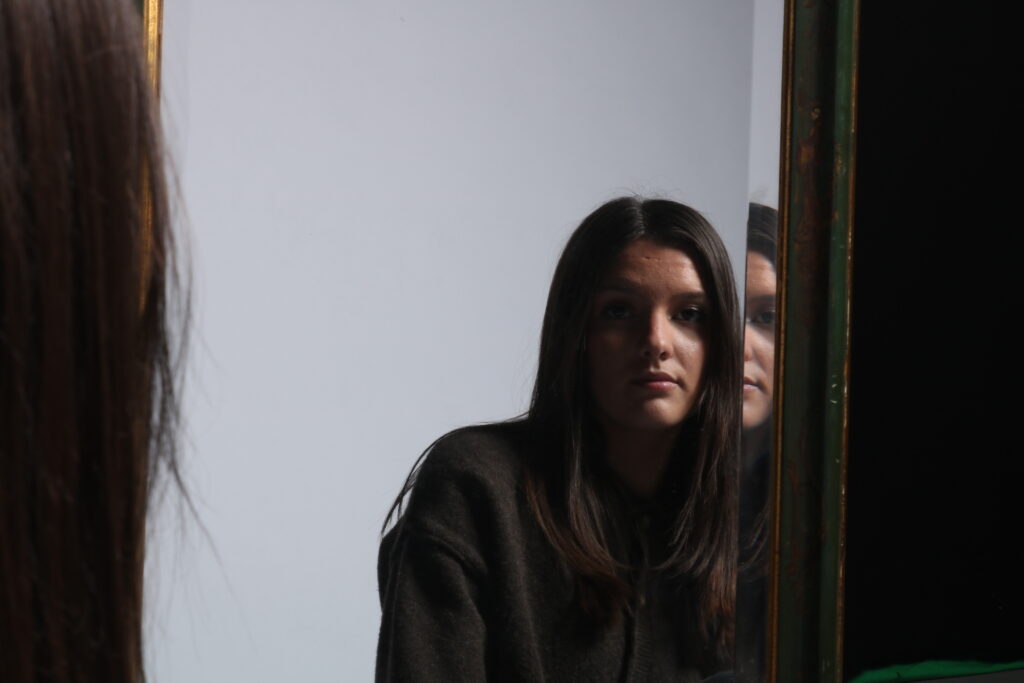
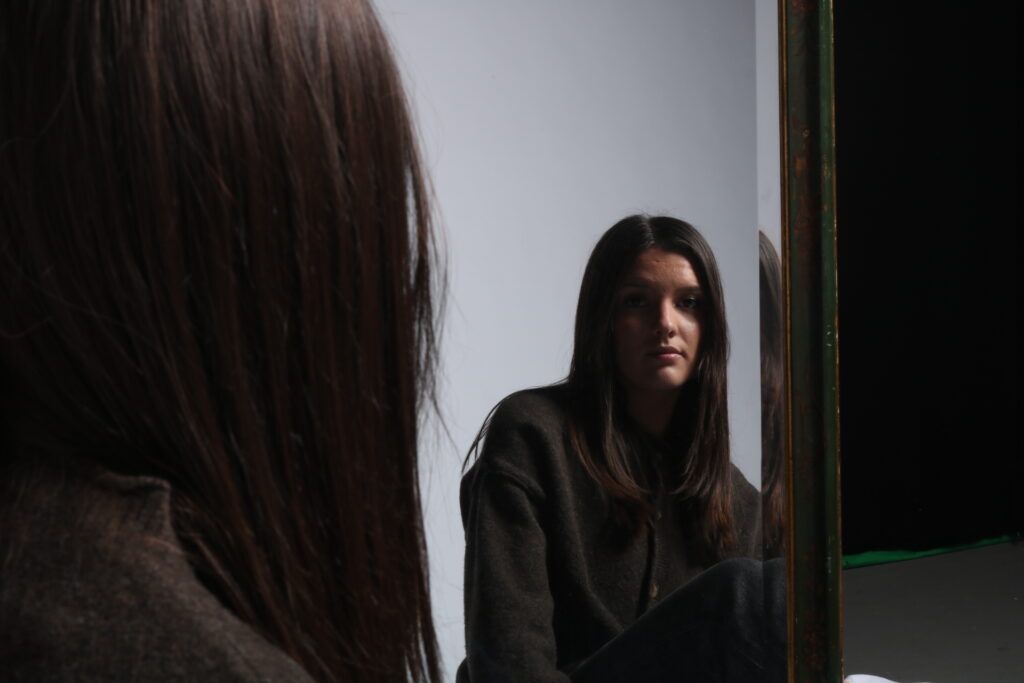
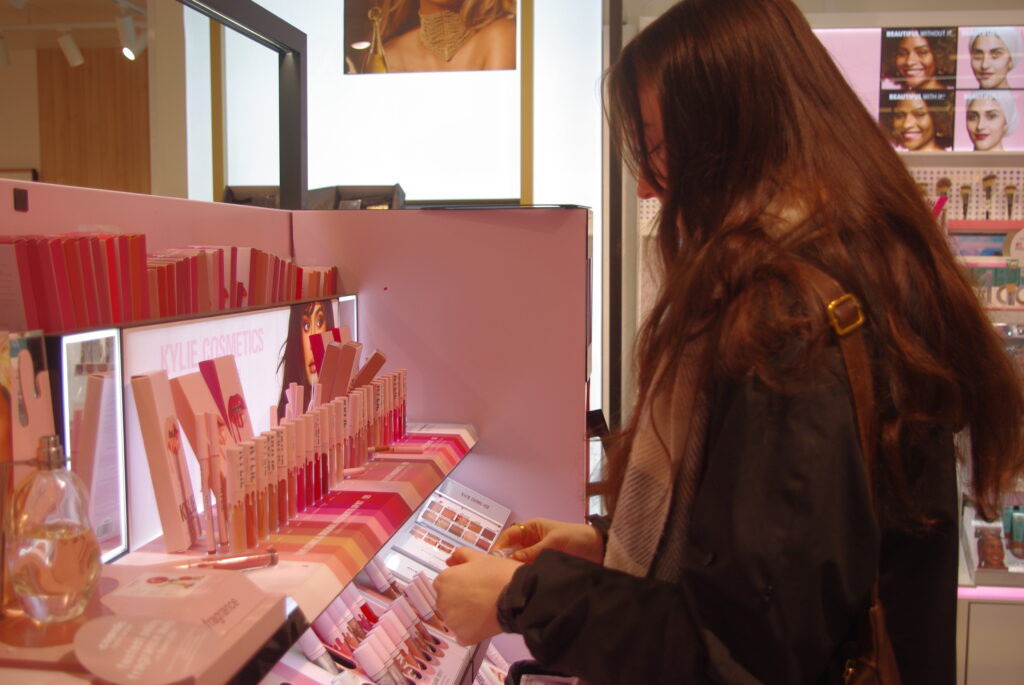
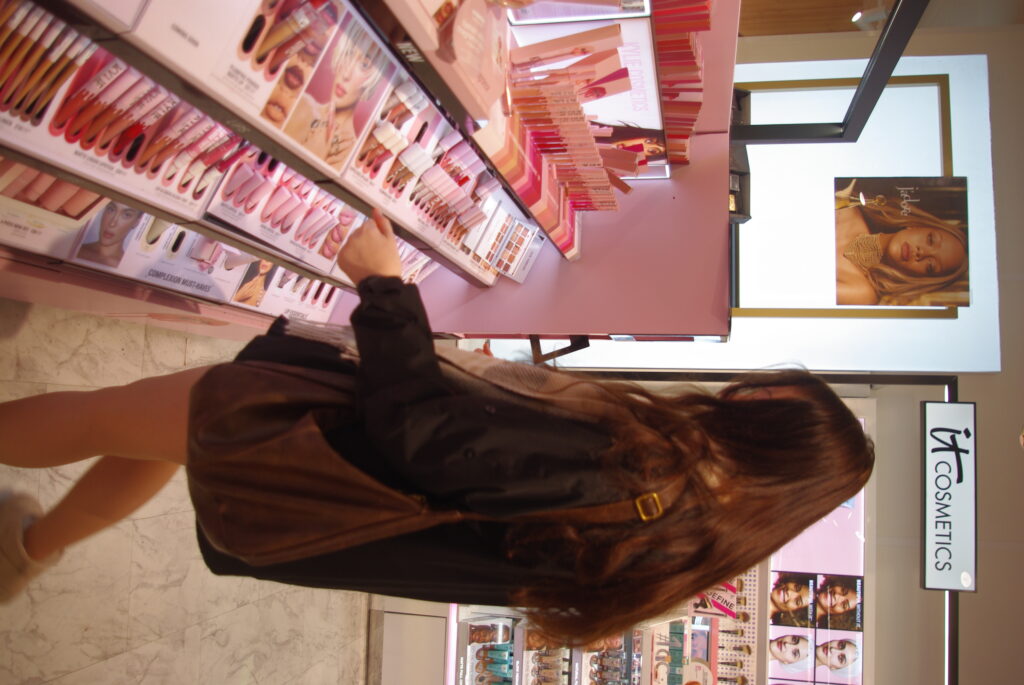
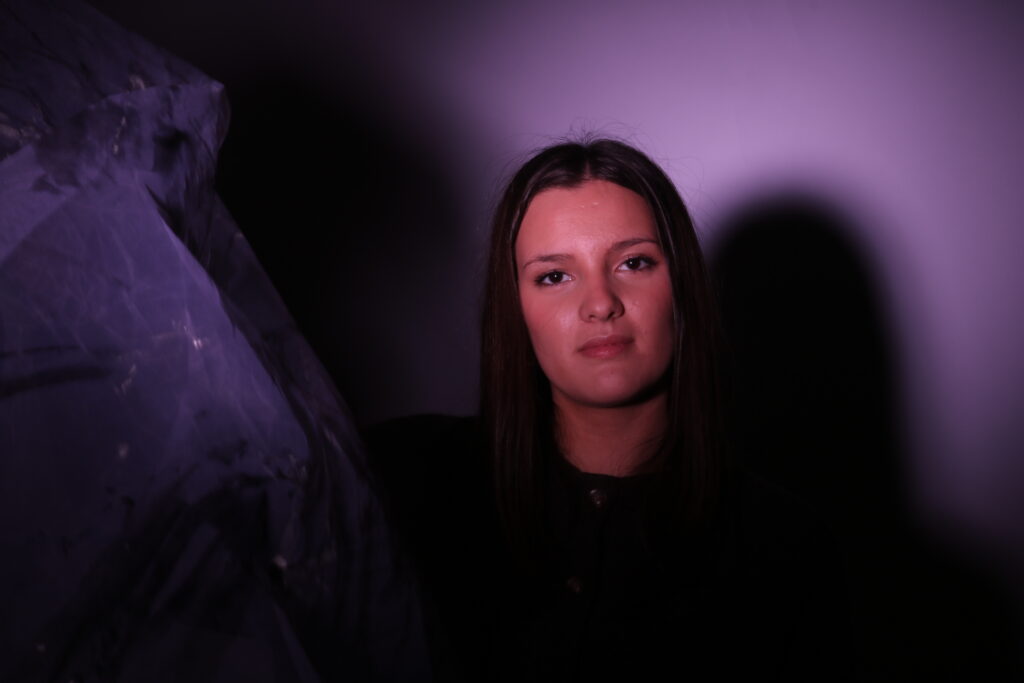
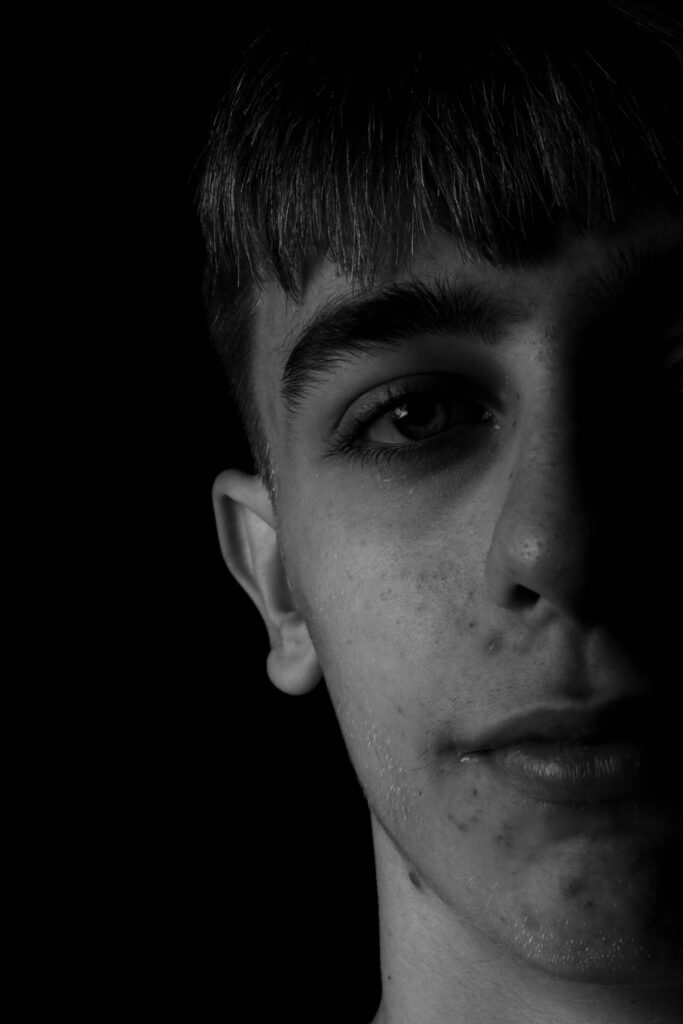
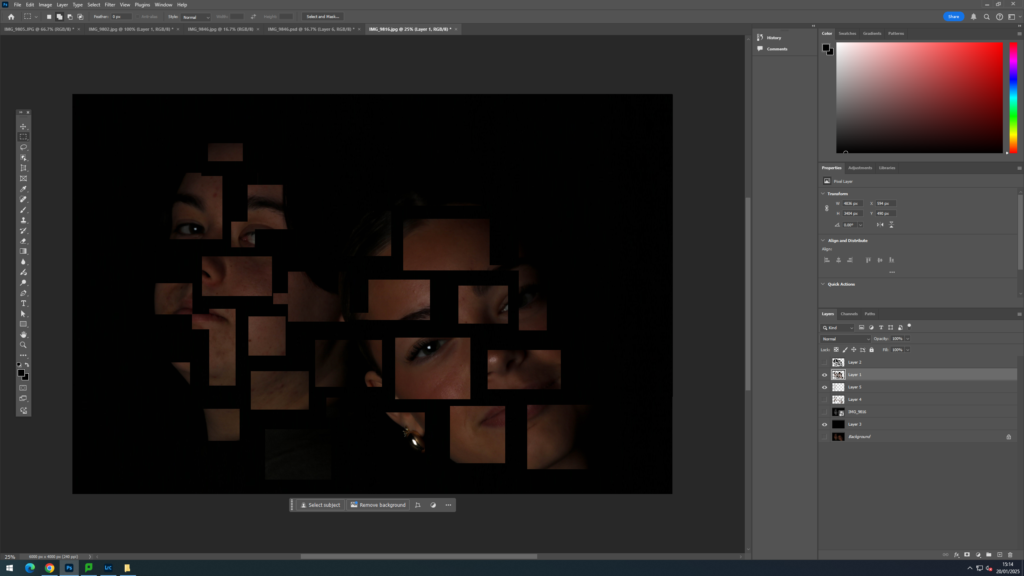
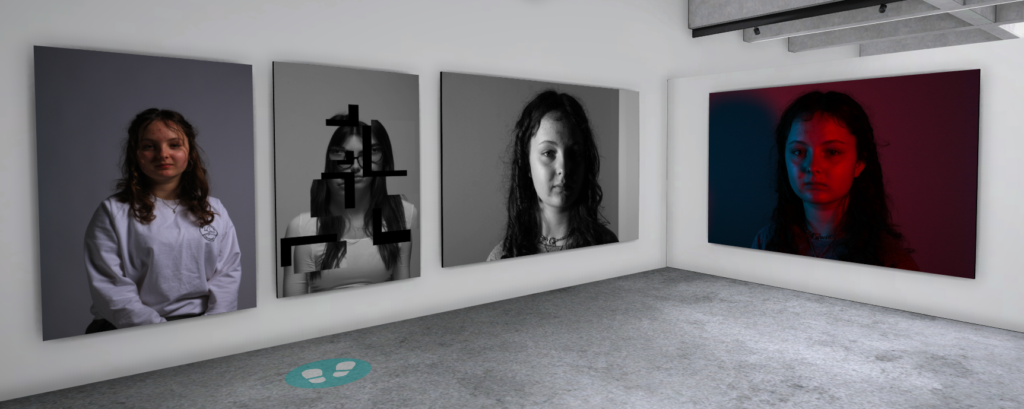
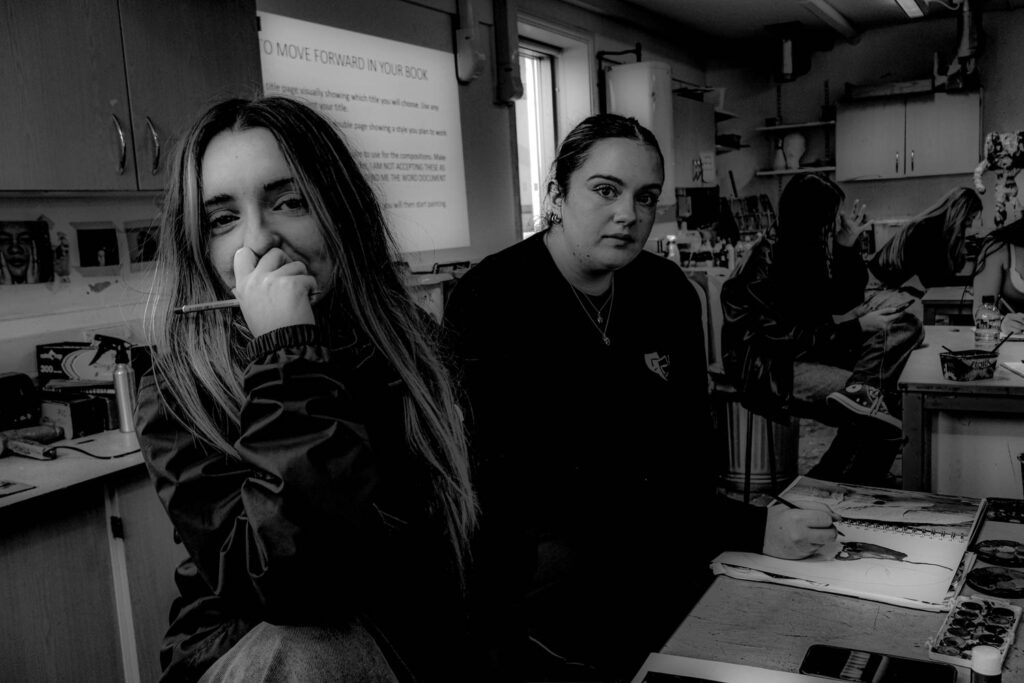
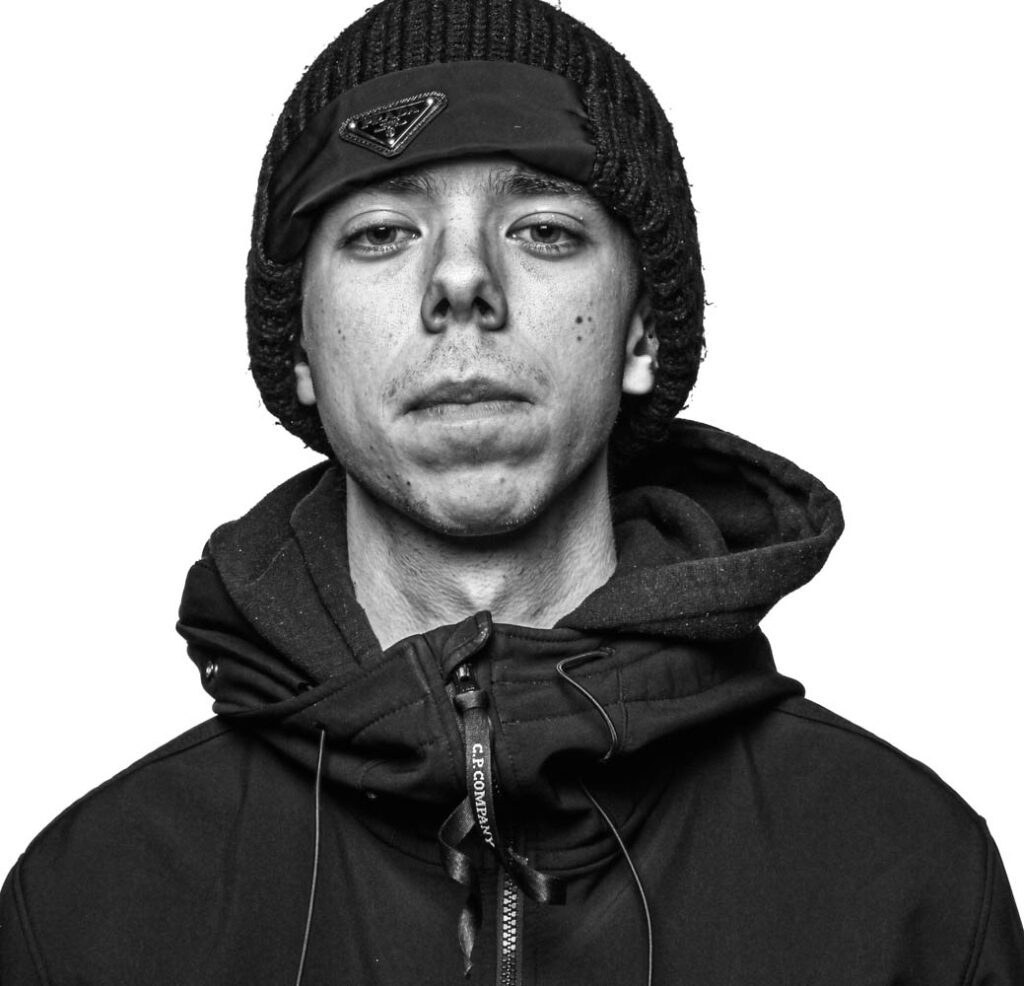
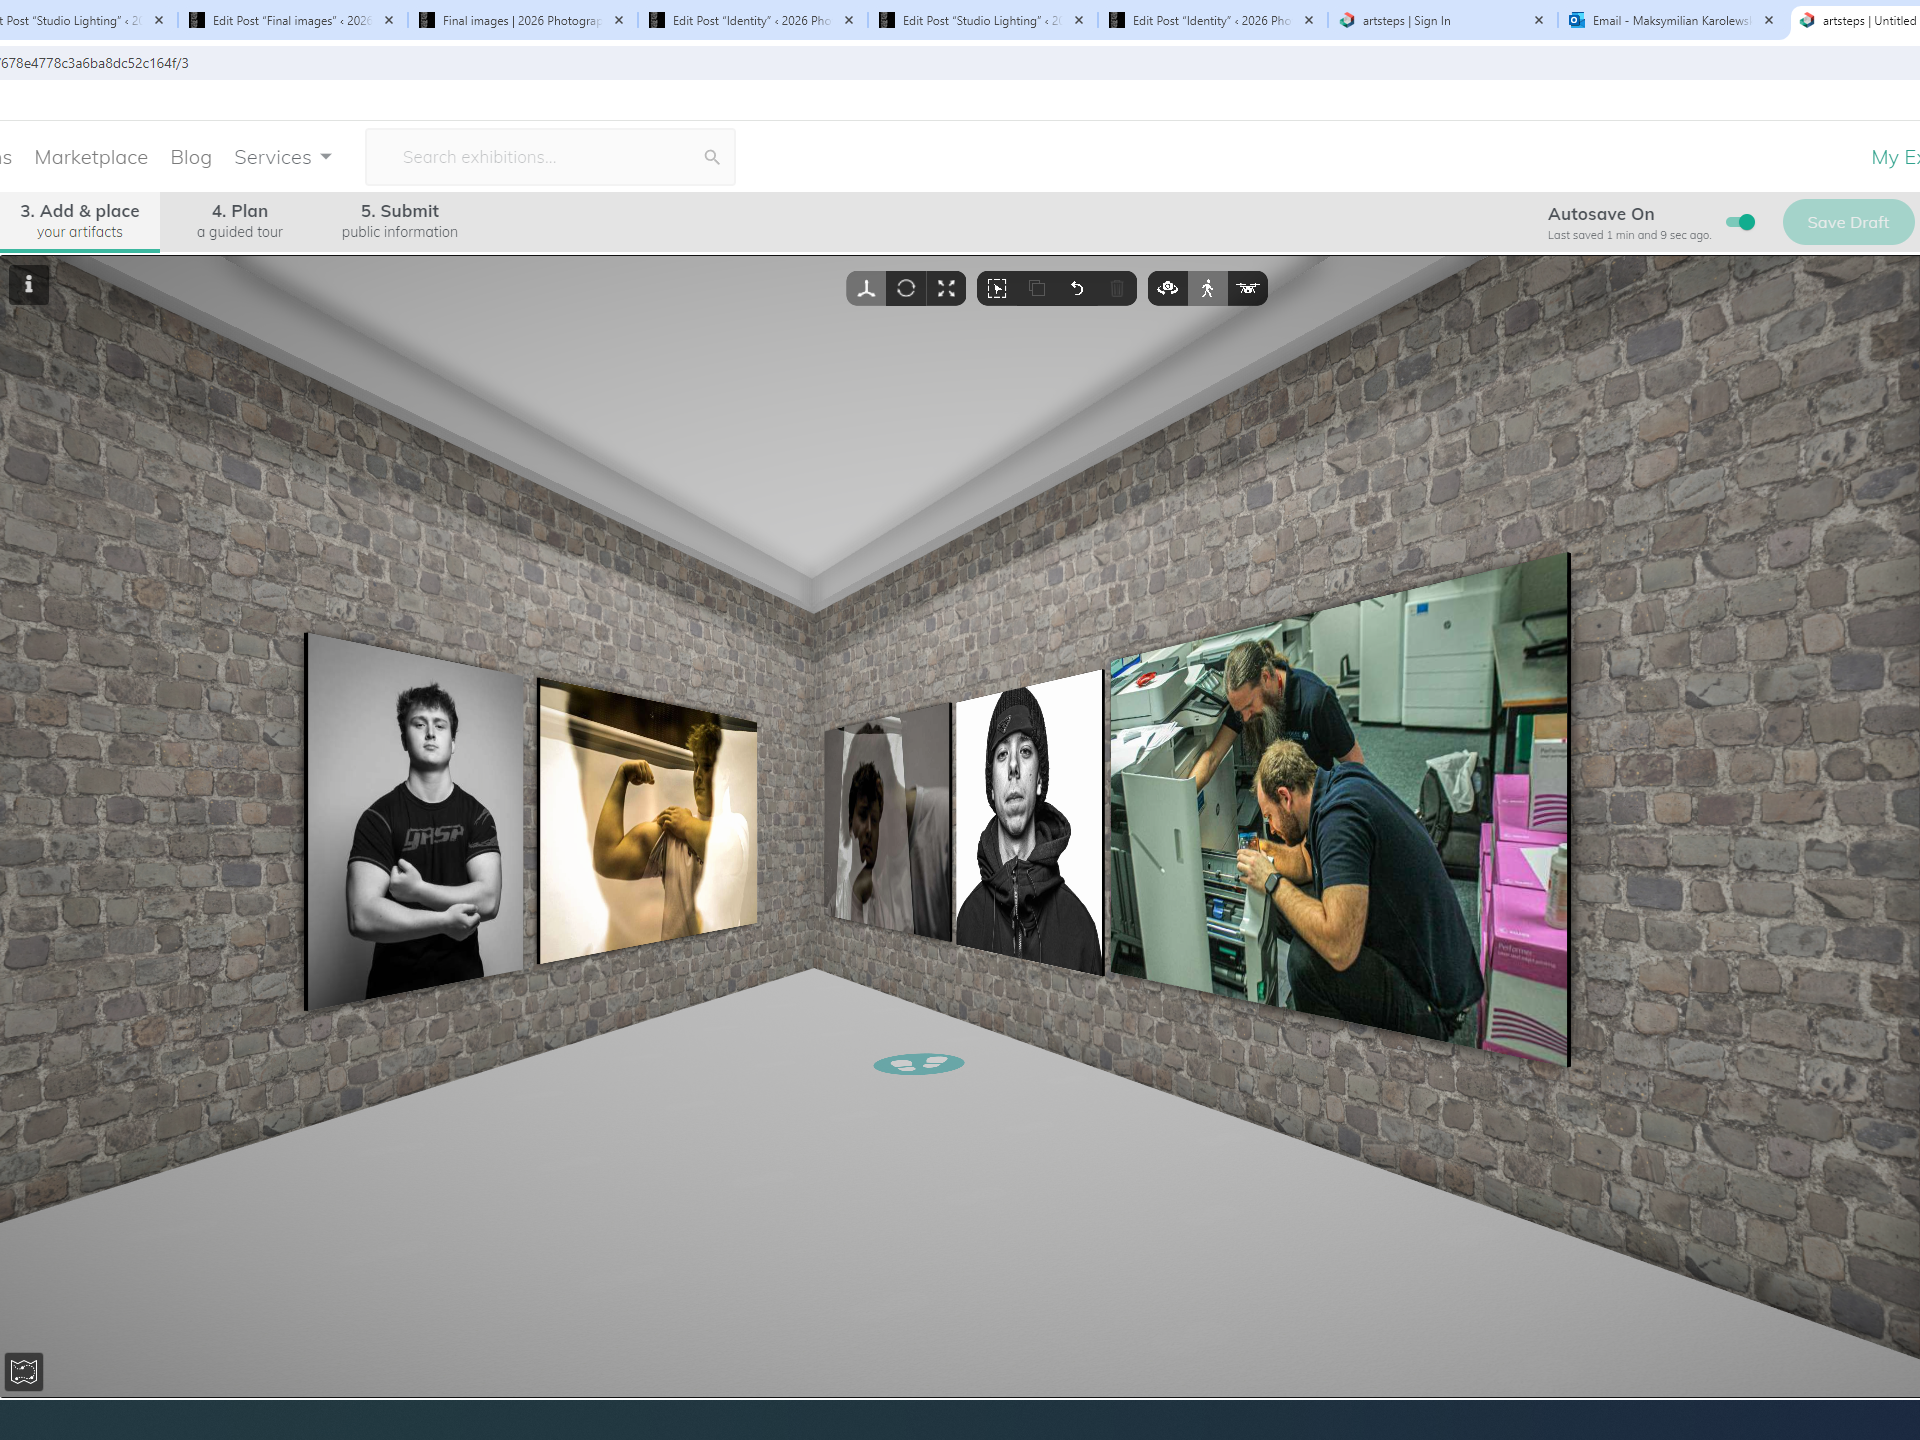
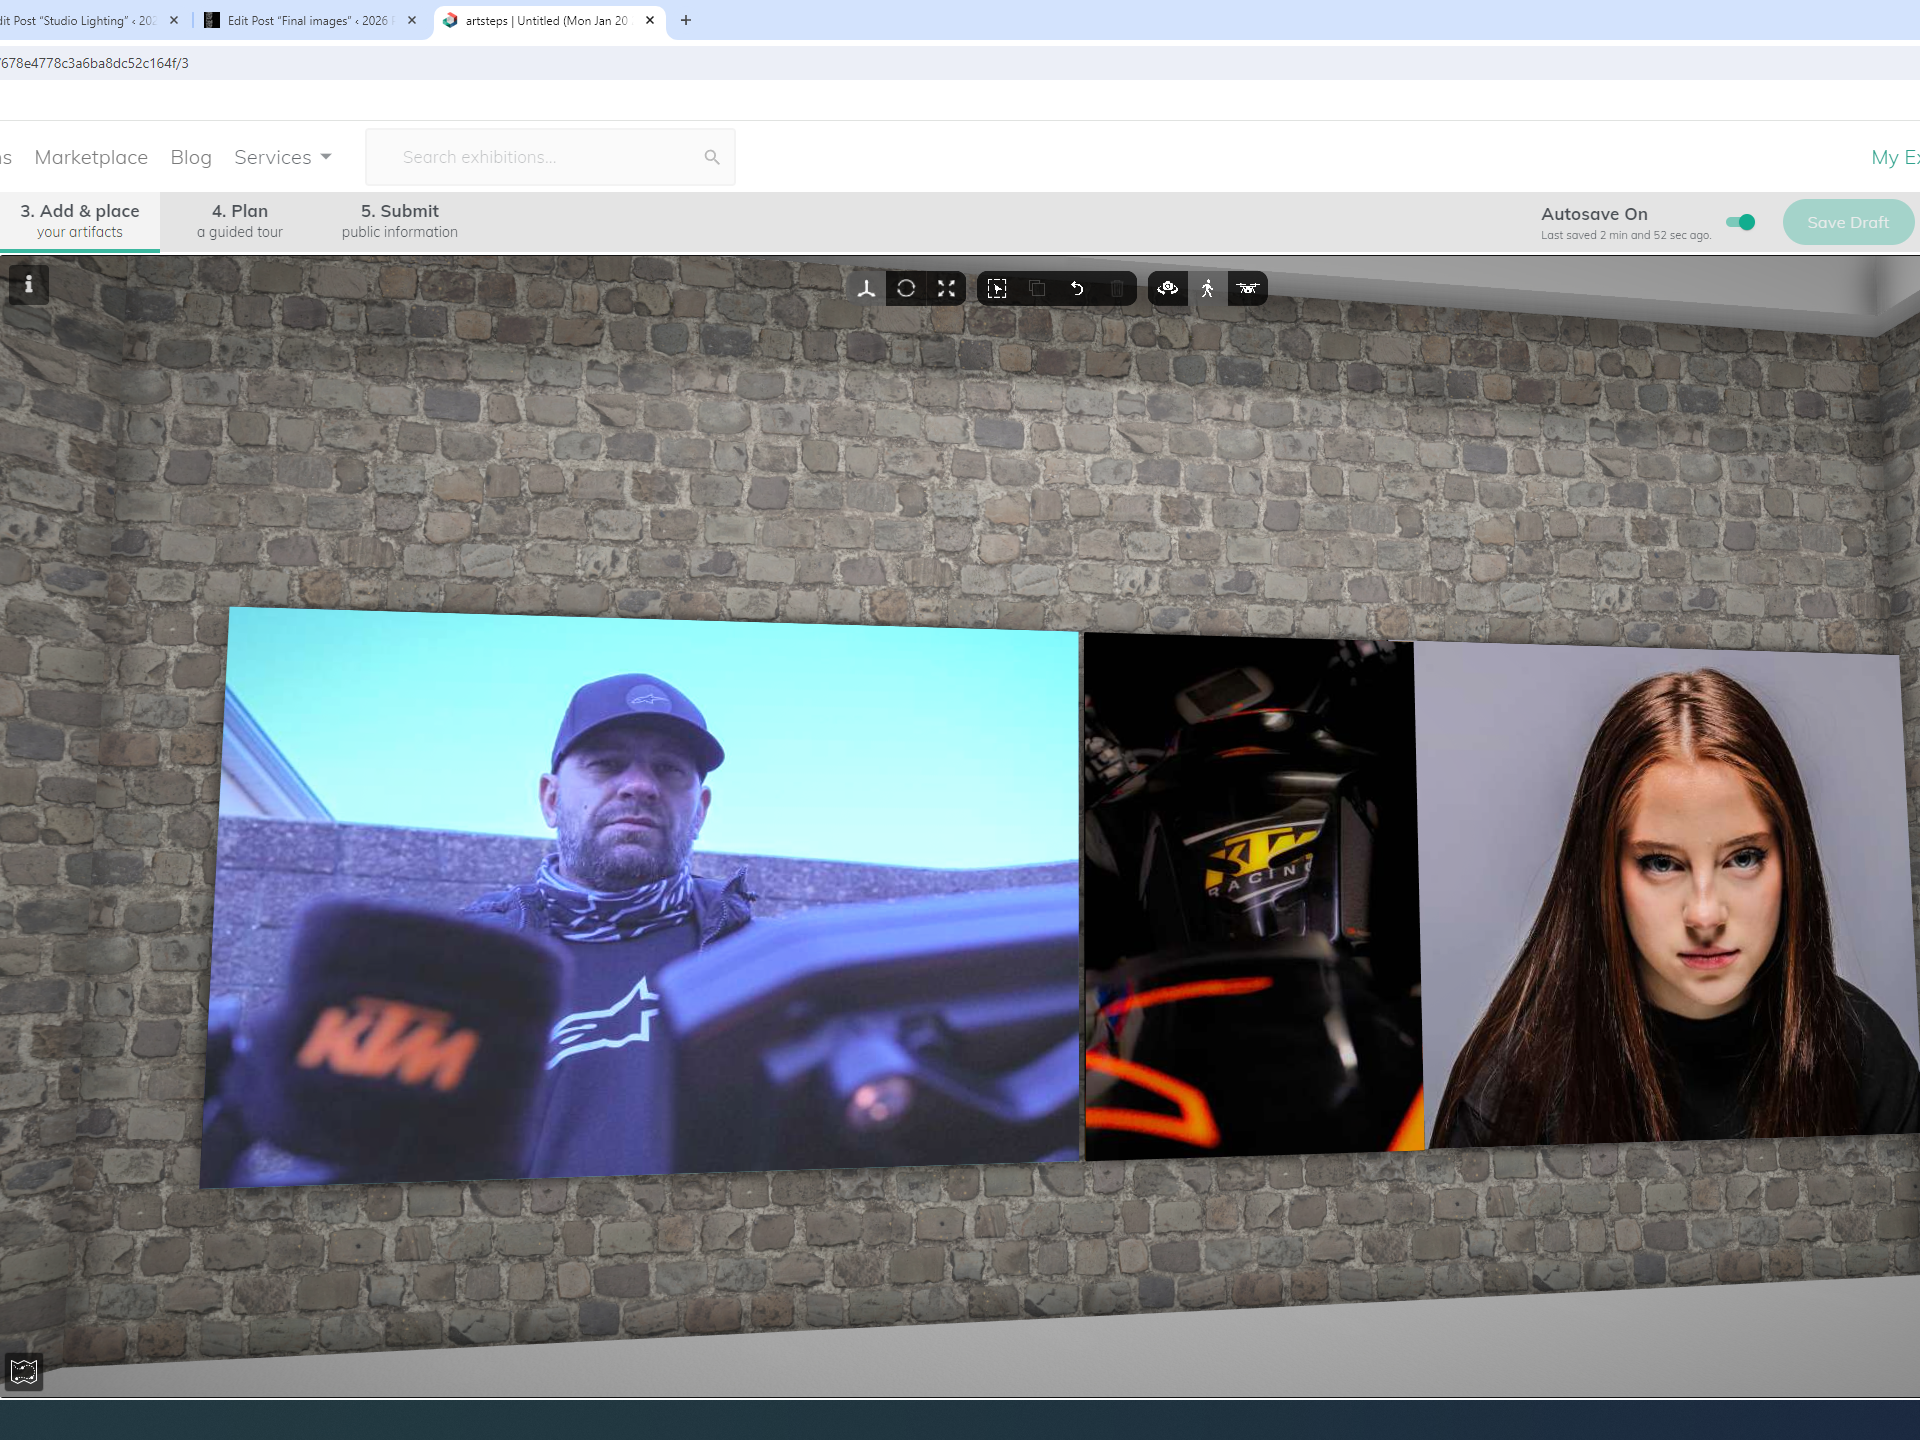
Photoshoot 2
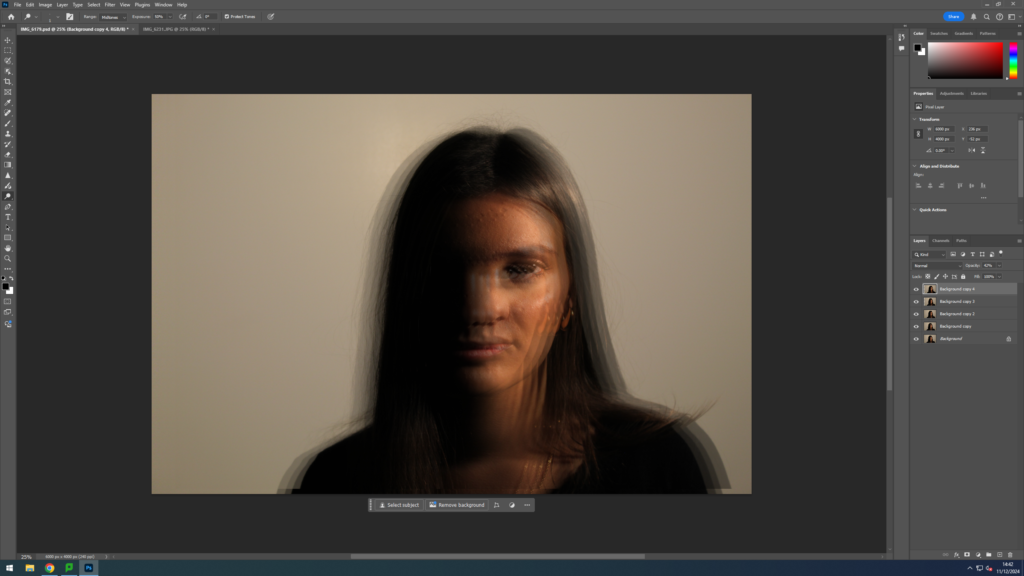
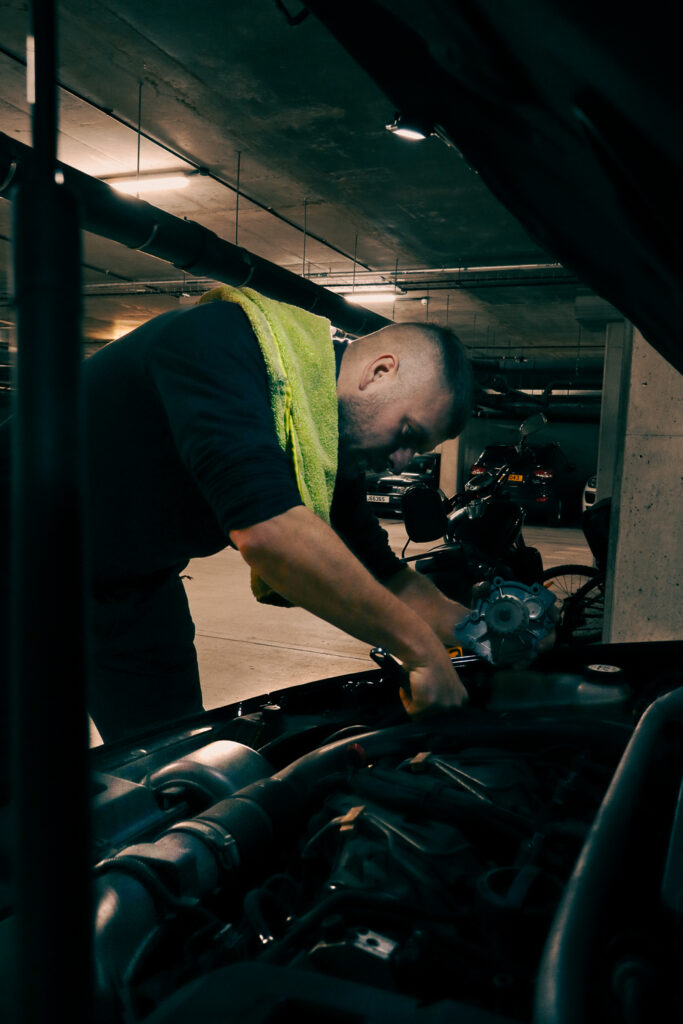
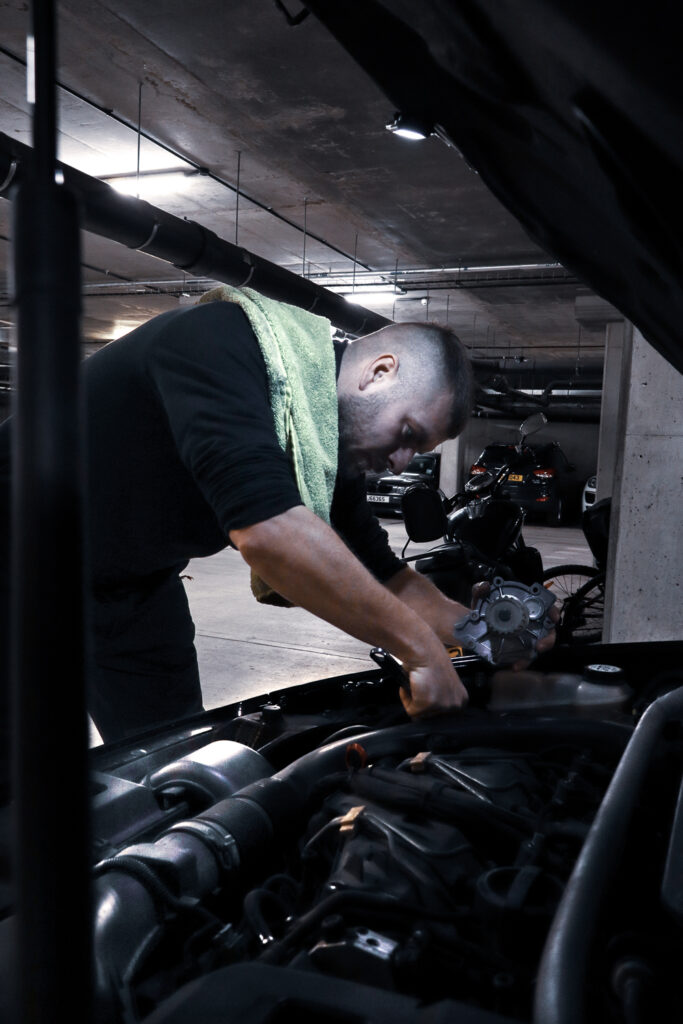
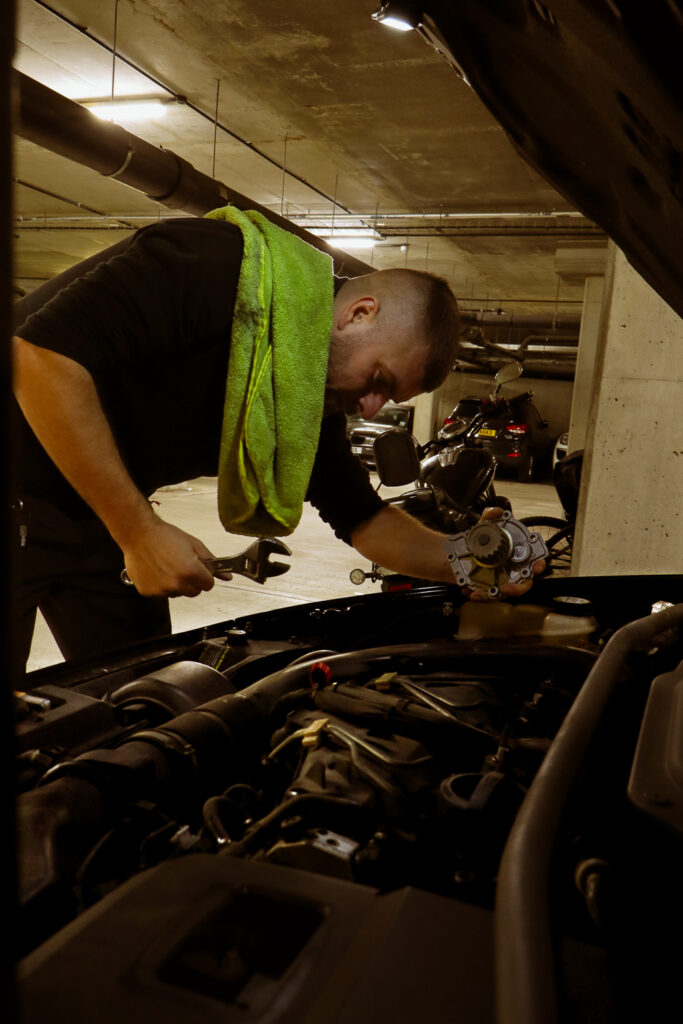
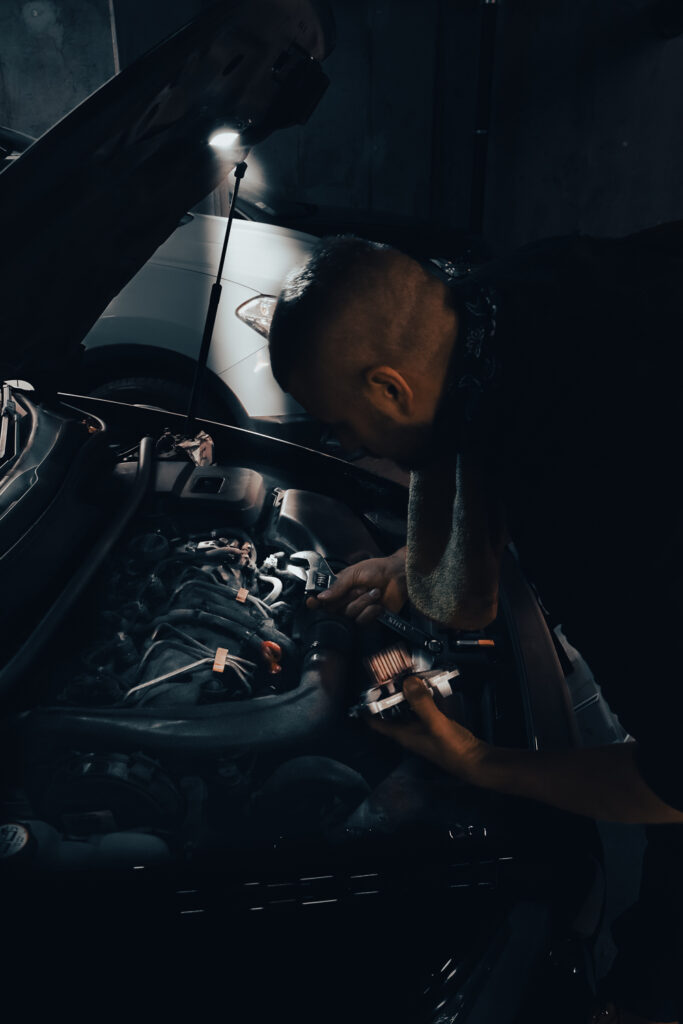
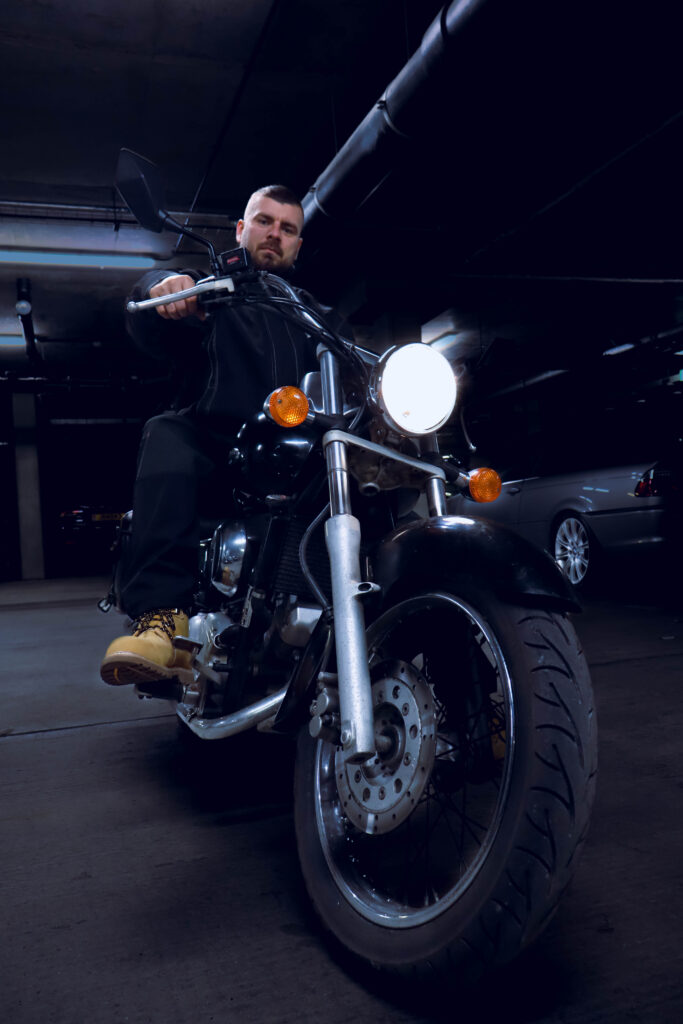
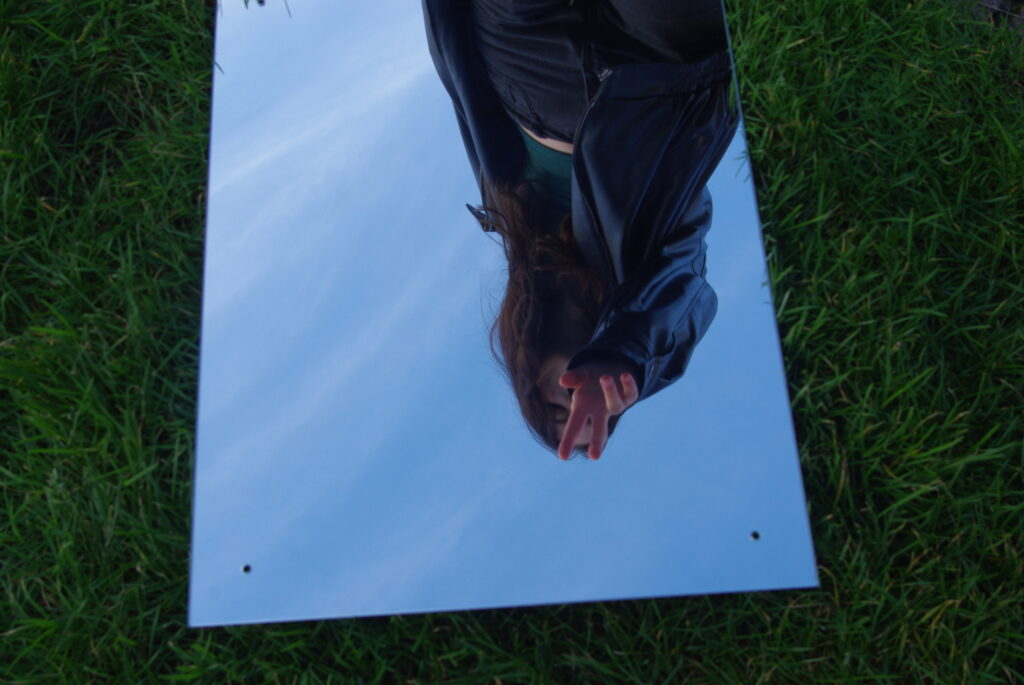
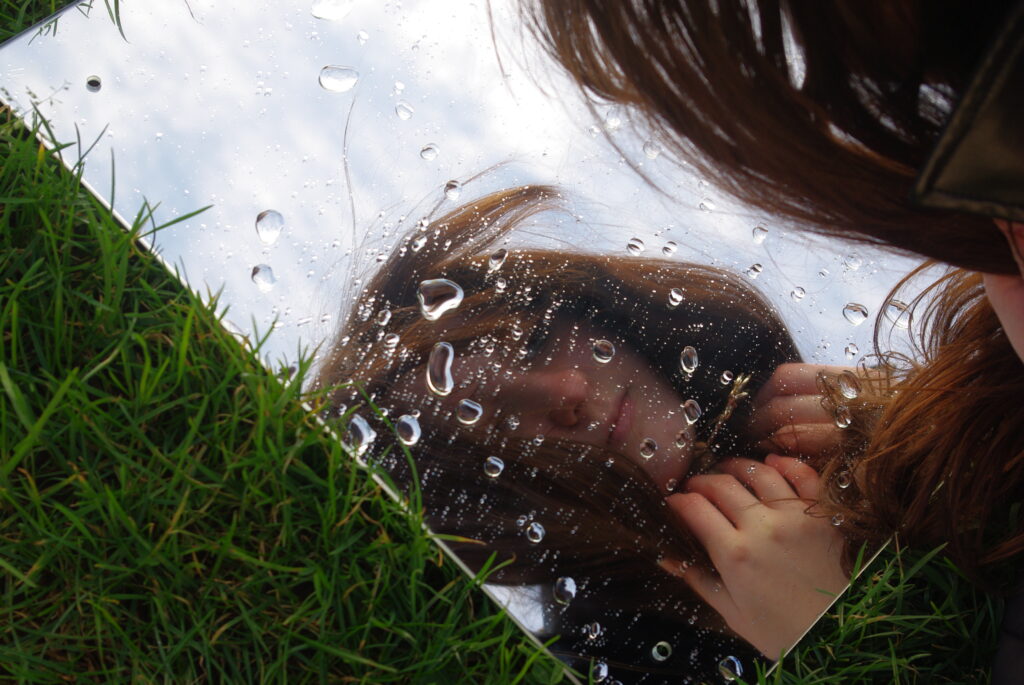
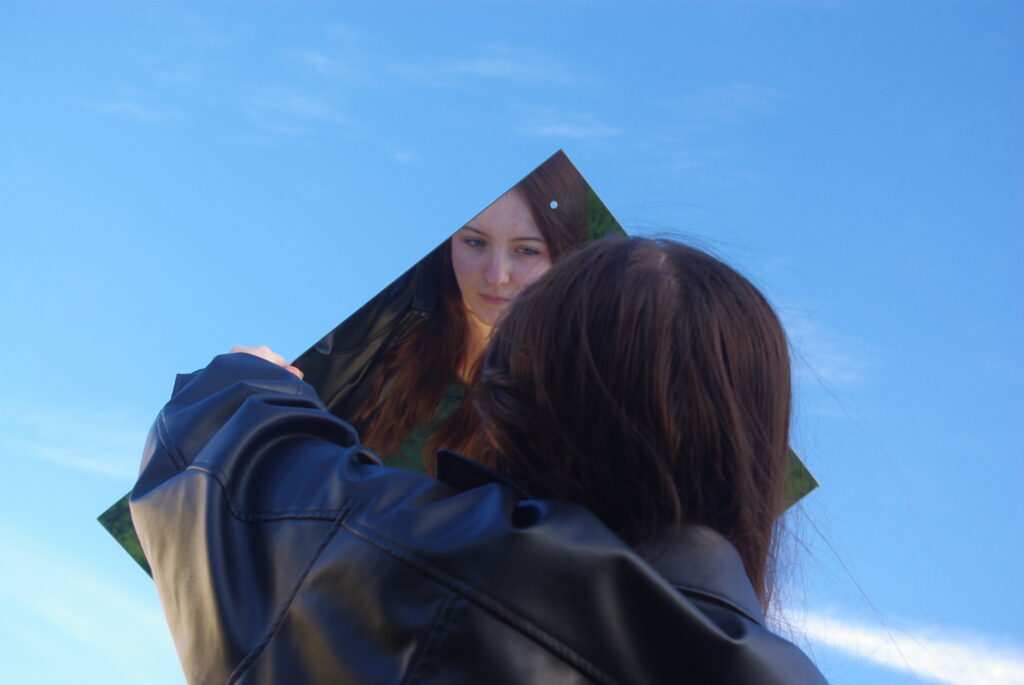
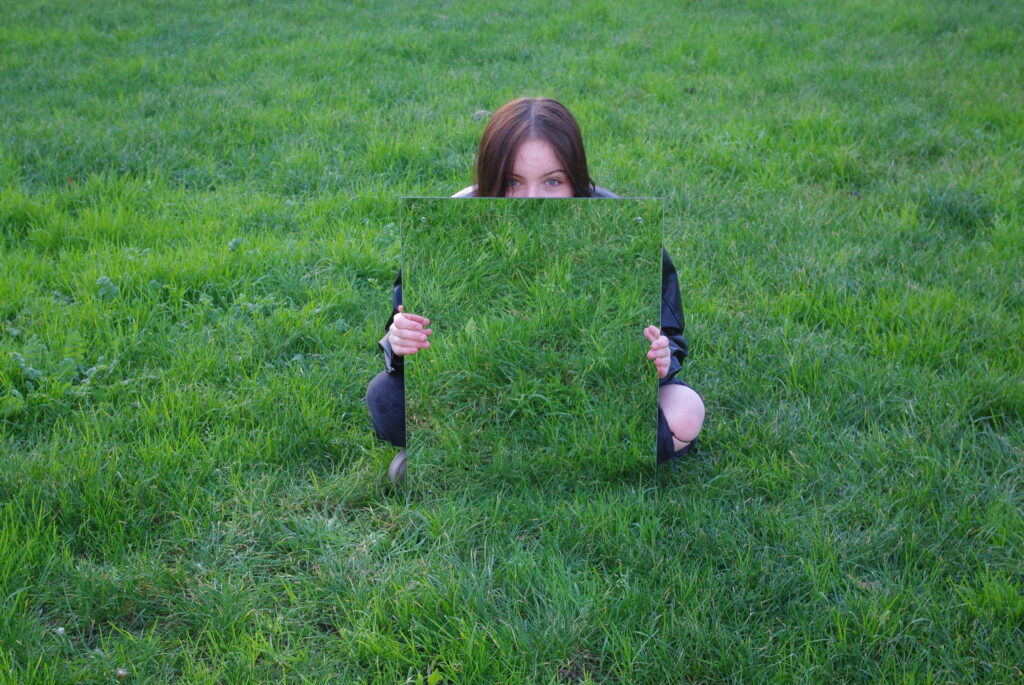
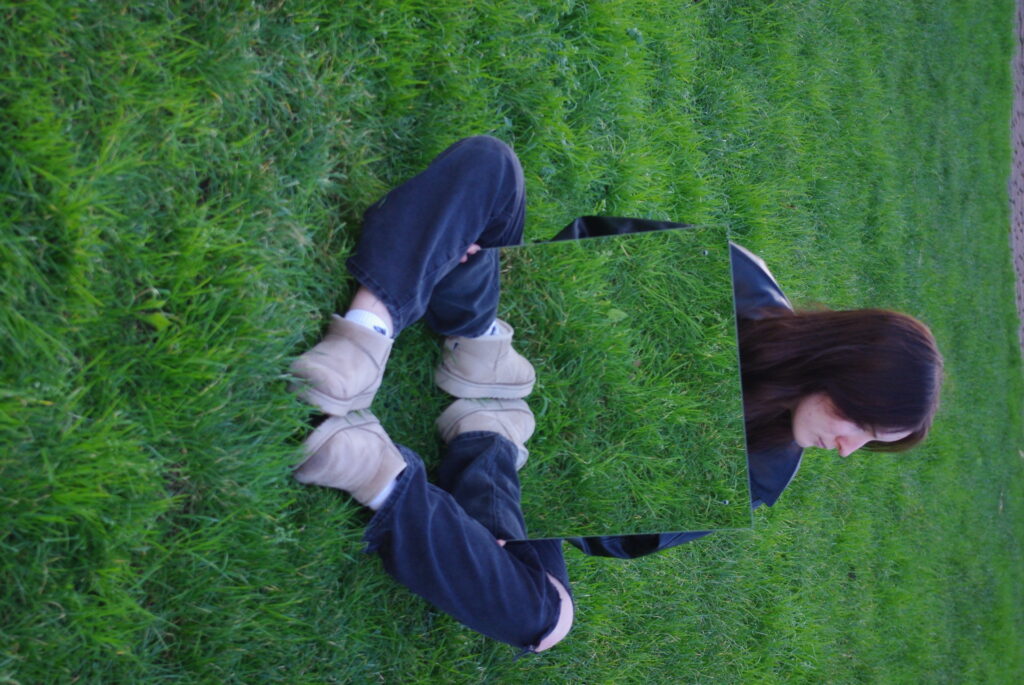
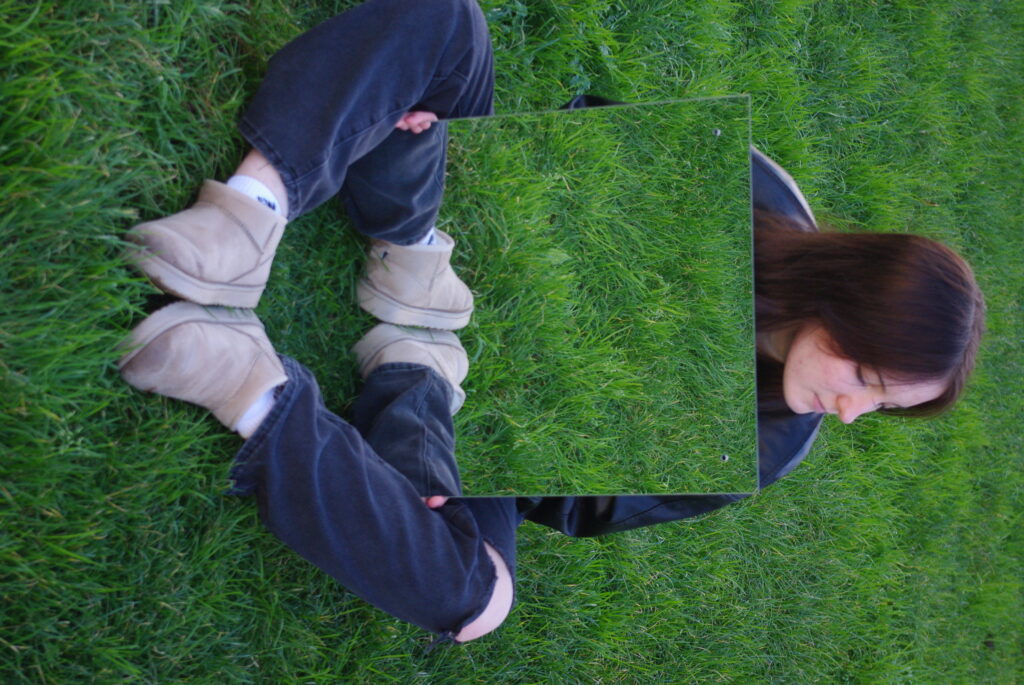
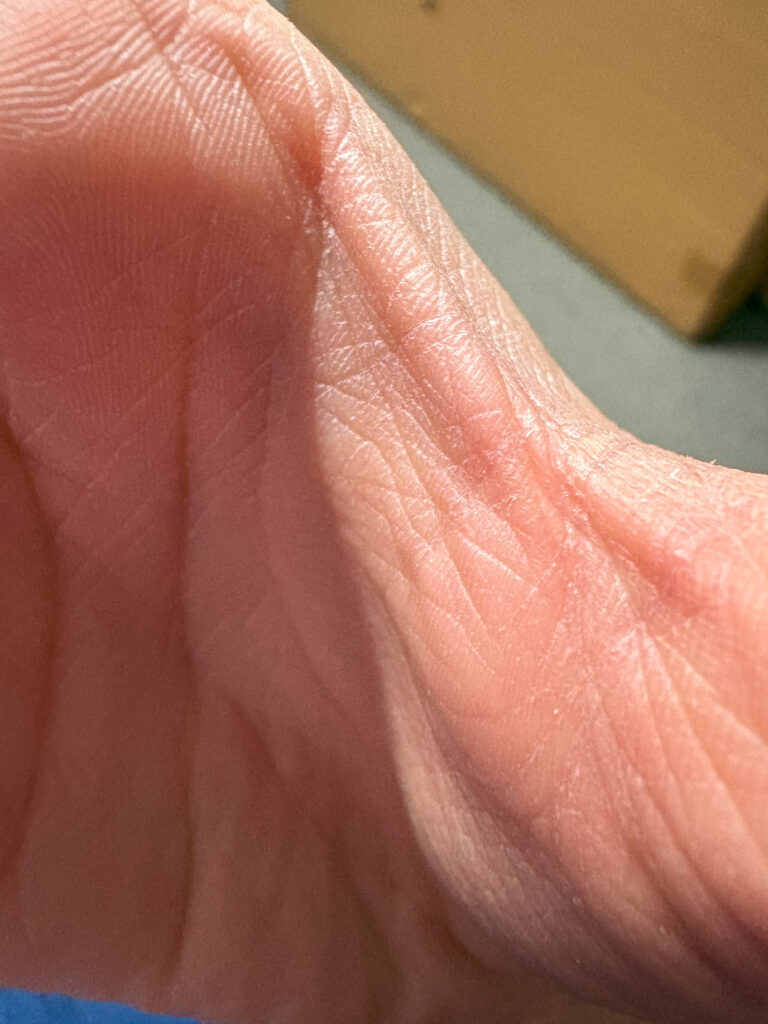
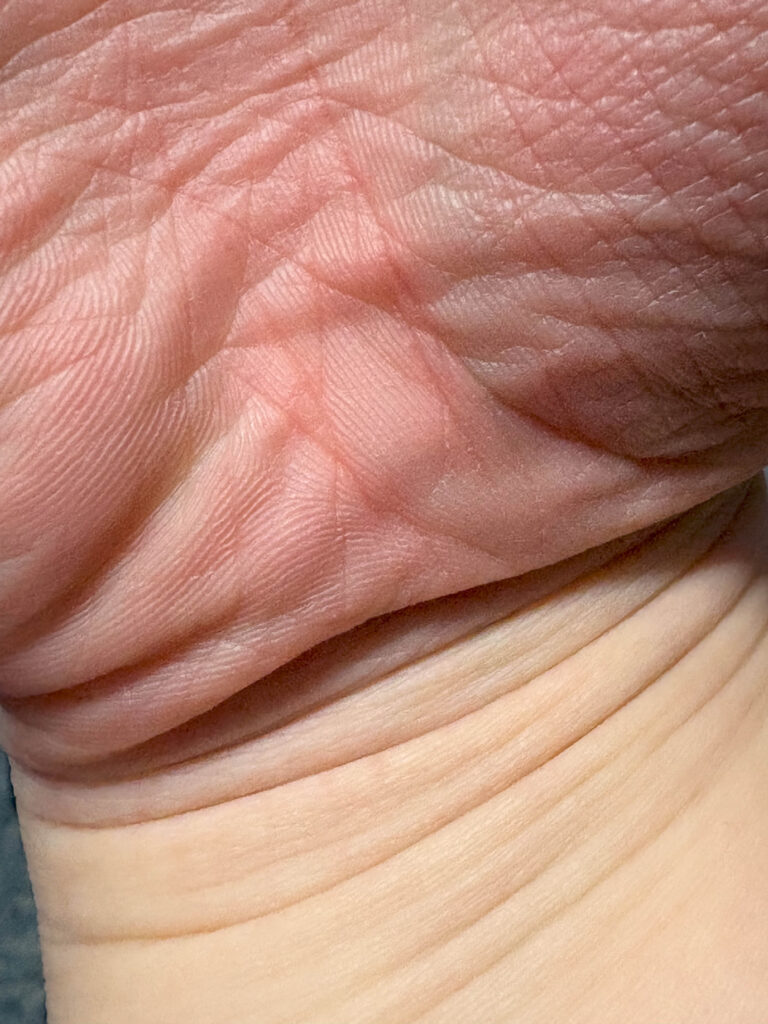
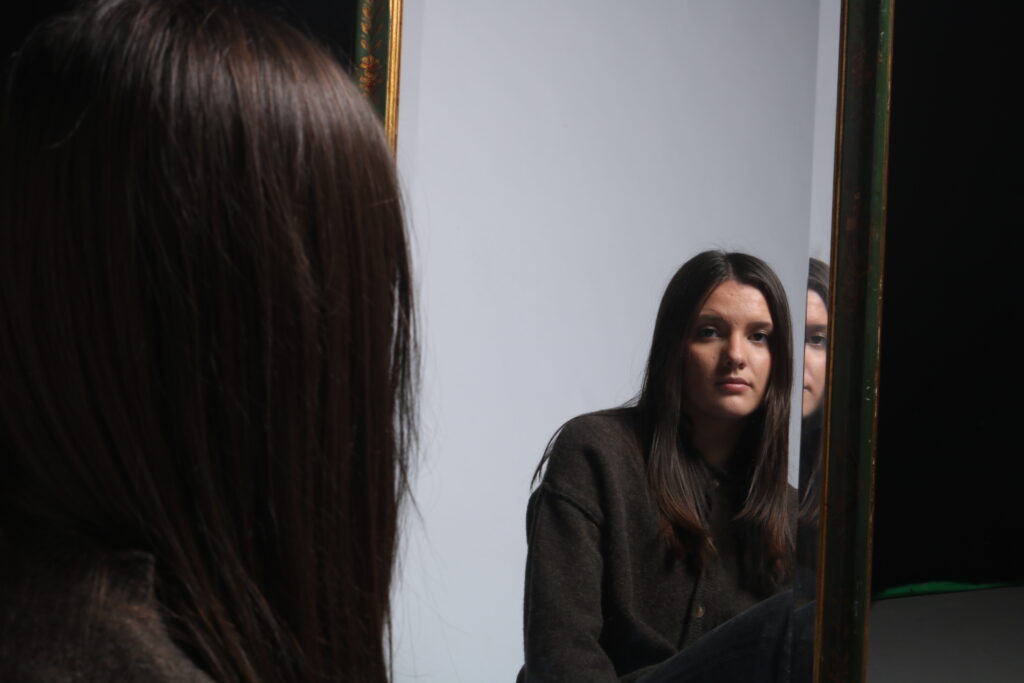
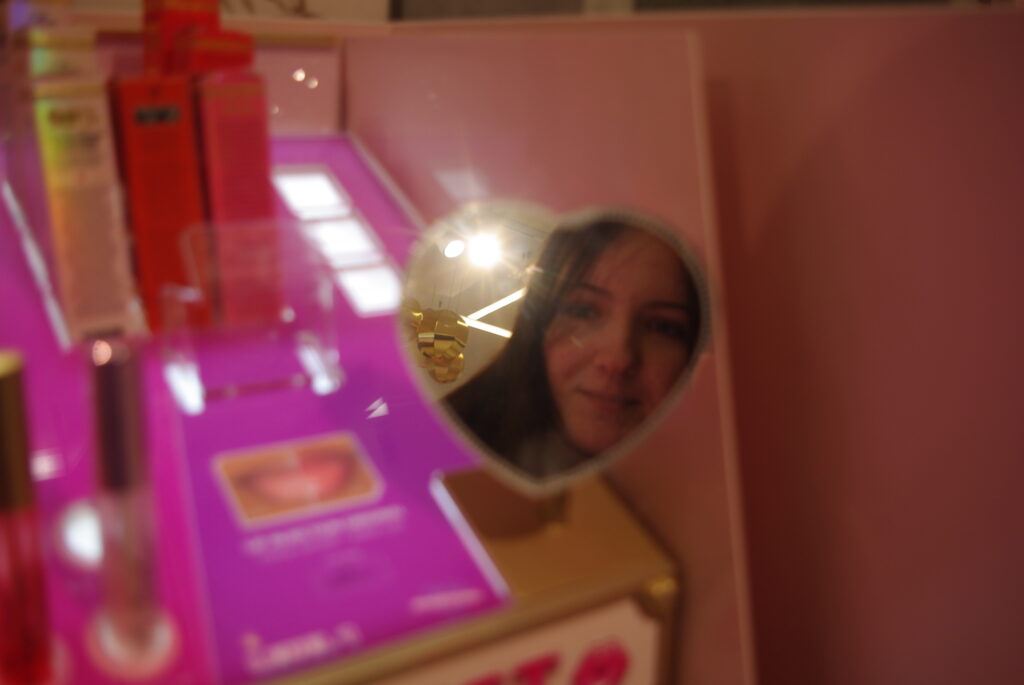
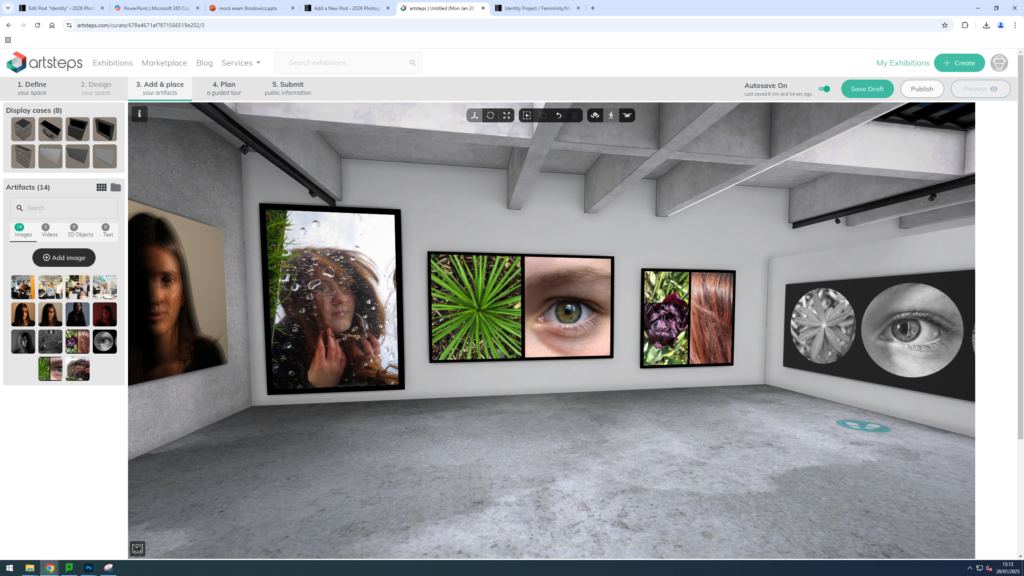
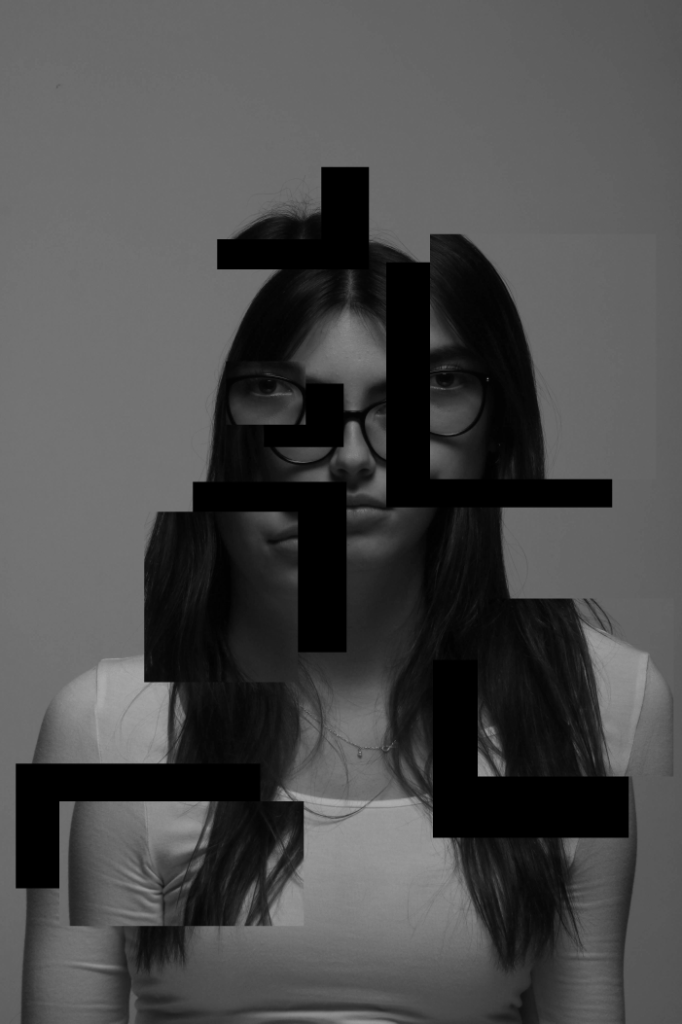
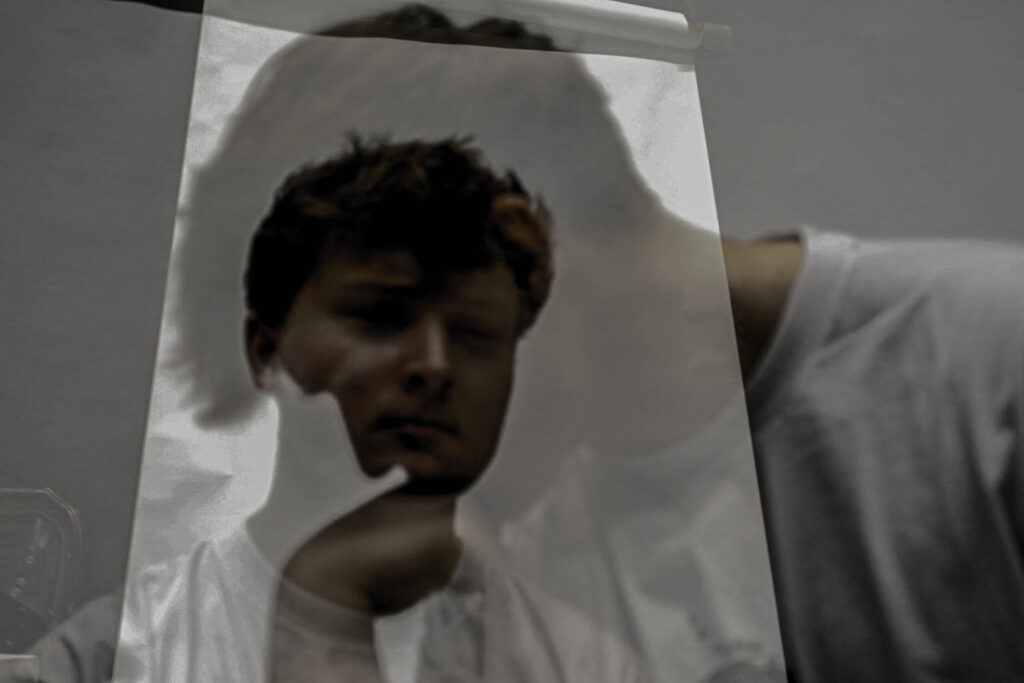
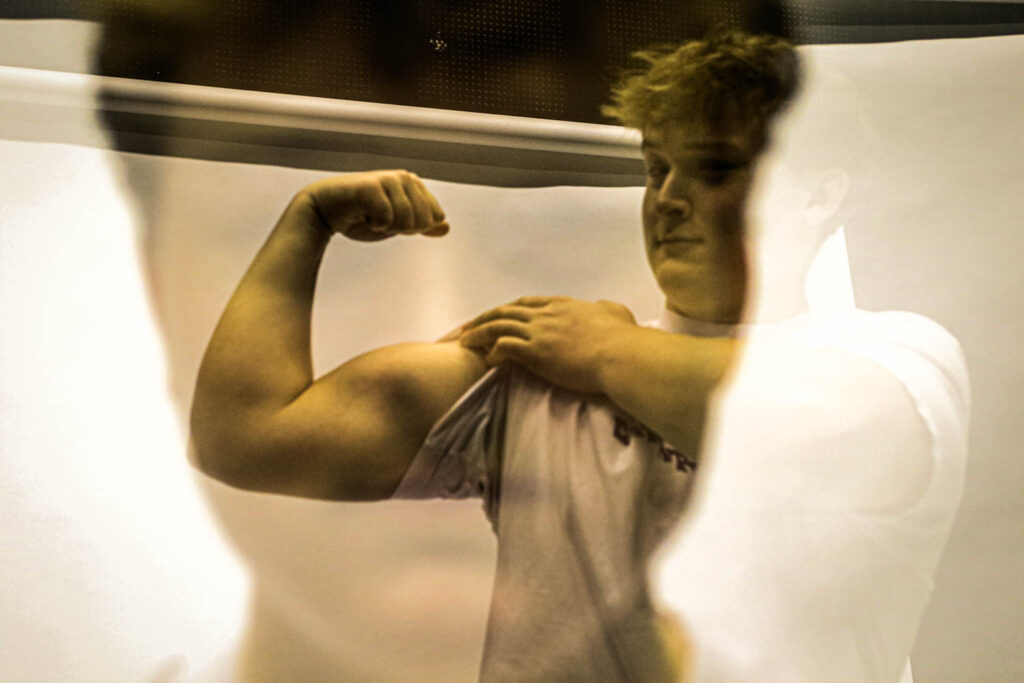
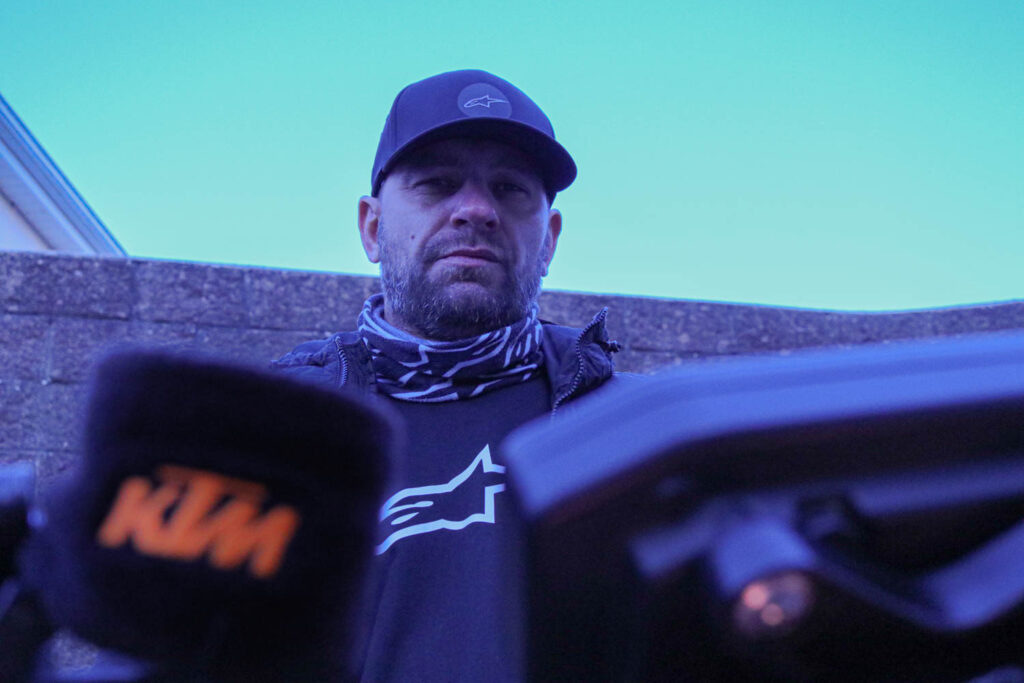
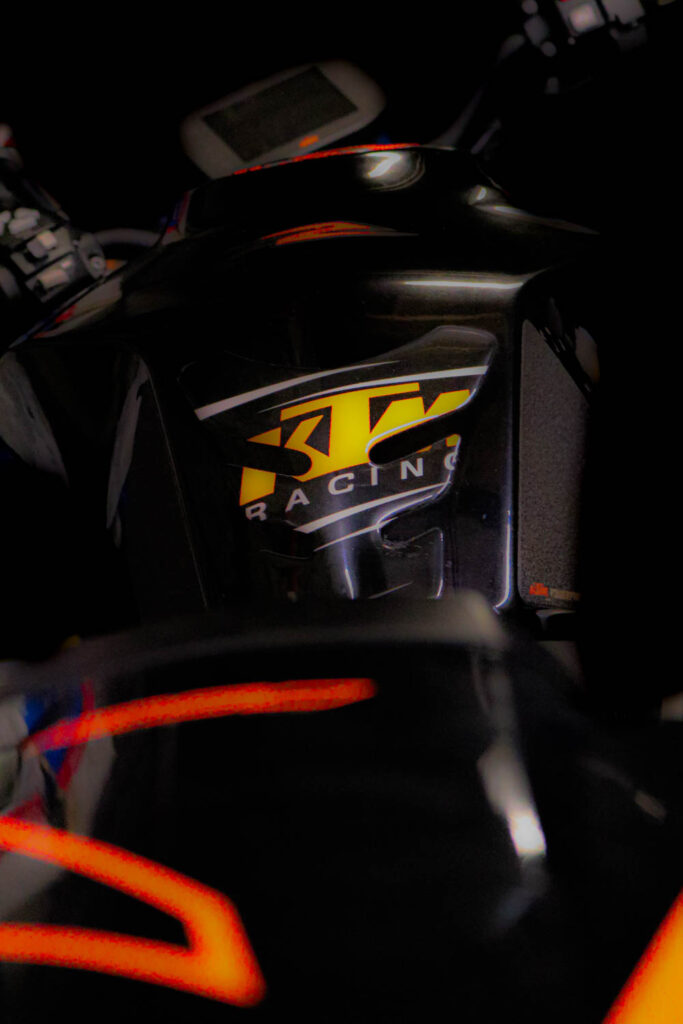
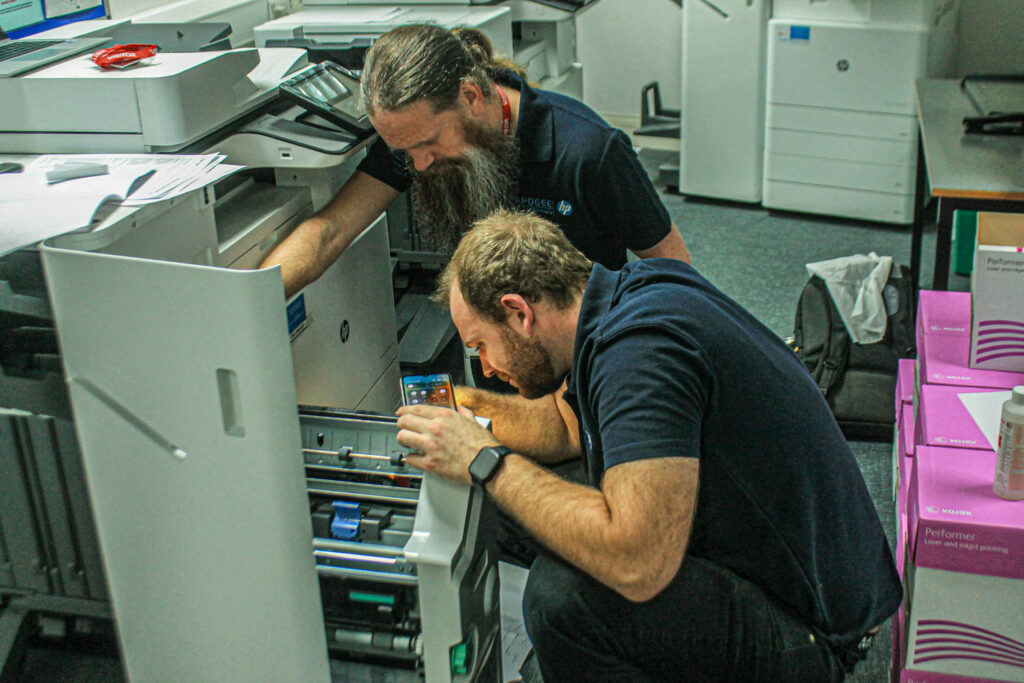
In my second photoshoot, I’m going to push myself to be more creative and take photos that are bolder and more unconventional, experimenting with interesting shapes and compositions. I plan to focus on using negative space more intentionally, paying attention to how it can enhance the overall visual impact of each shot. By playing with the balance between the subject and the empty space around it, I hope to create images that evoke a sense of tension, mystery, or simplicity. I want to explore how negative space can help direct the viewer’s attention and add depth or meaning to the scene. This will be a great opportunity to experiment with new angles, perspectives, and framing techniques, making my photos more dynamic.
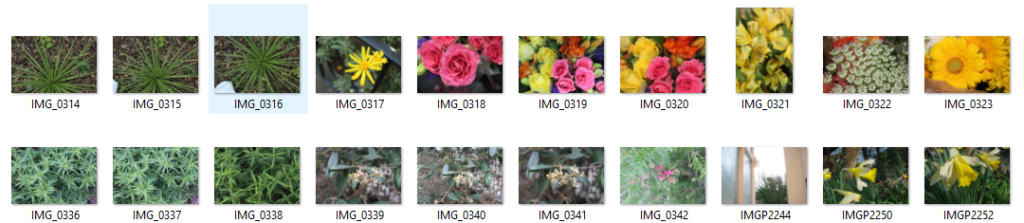
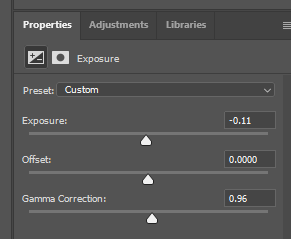
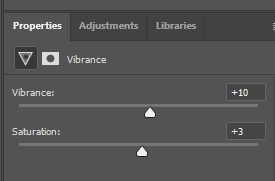
Contact sheet 2
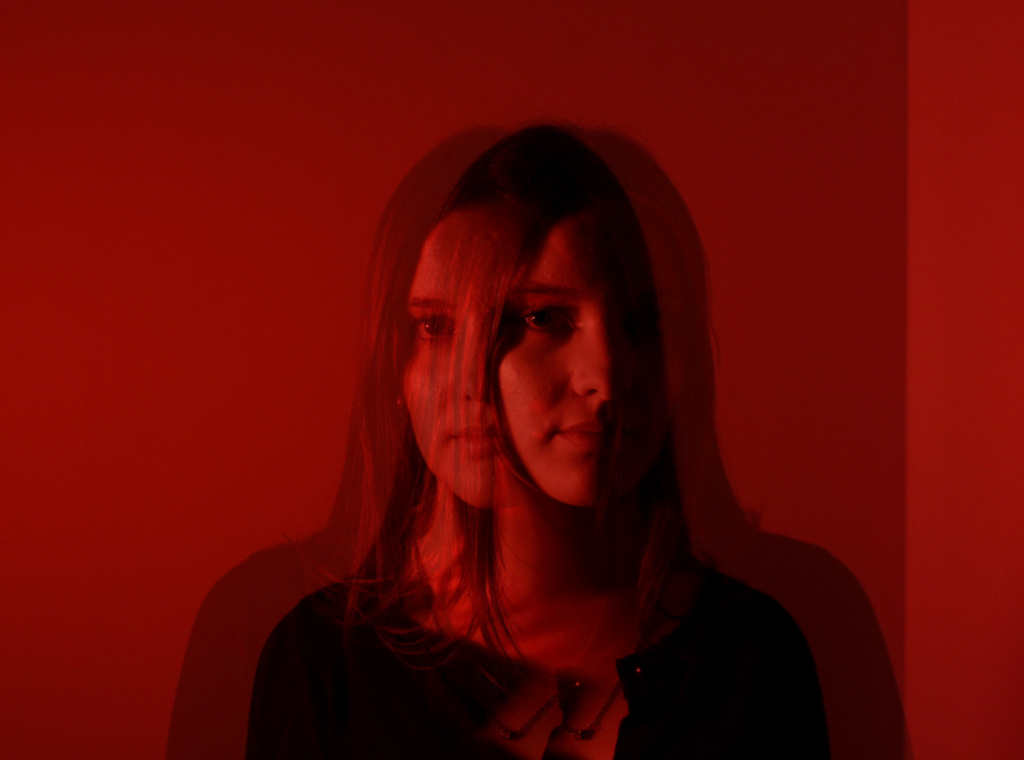
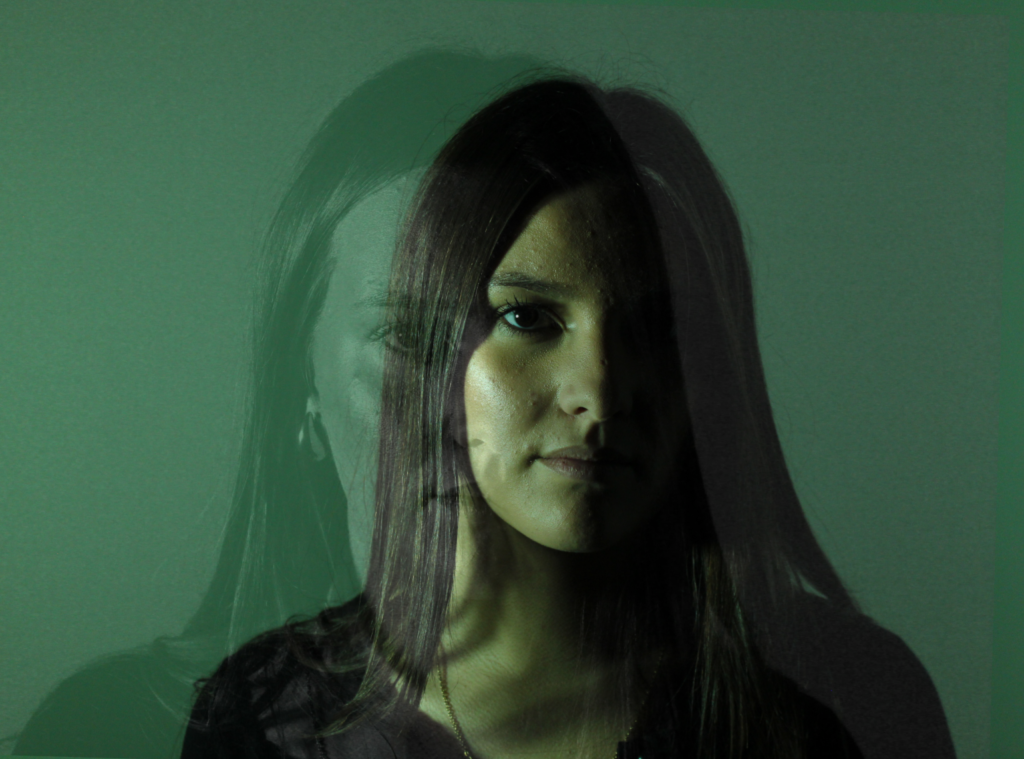
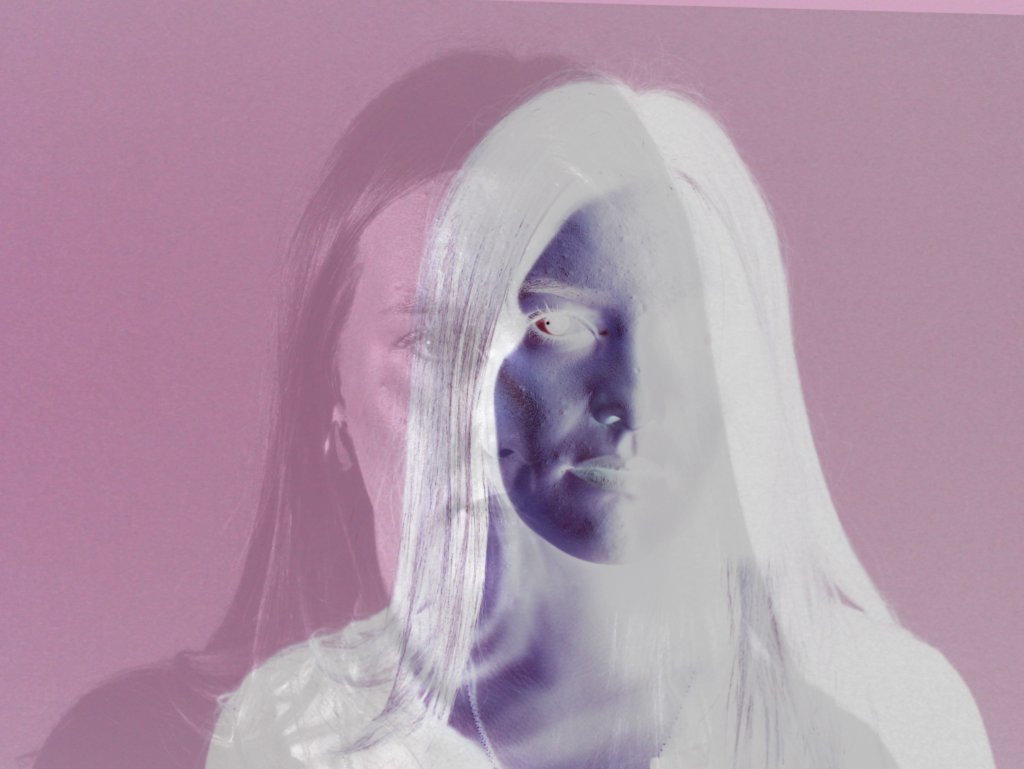
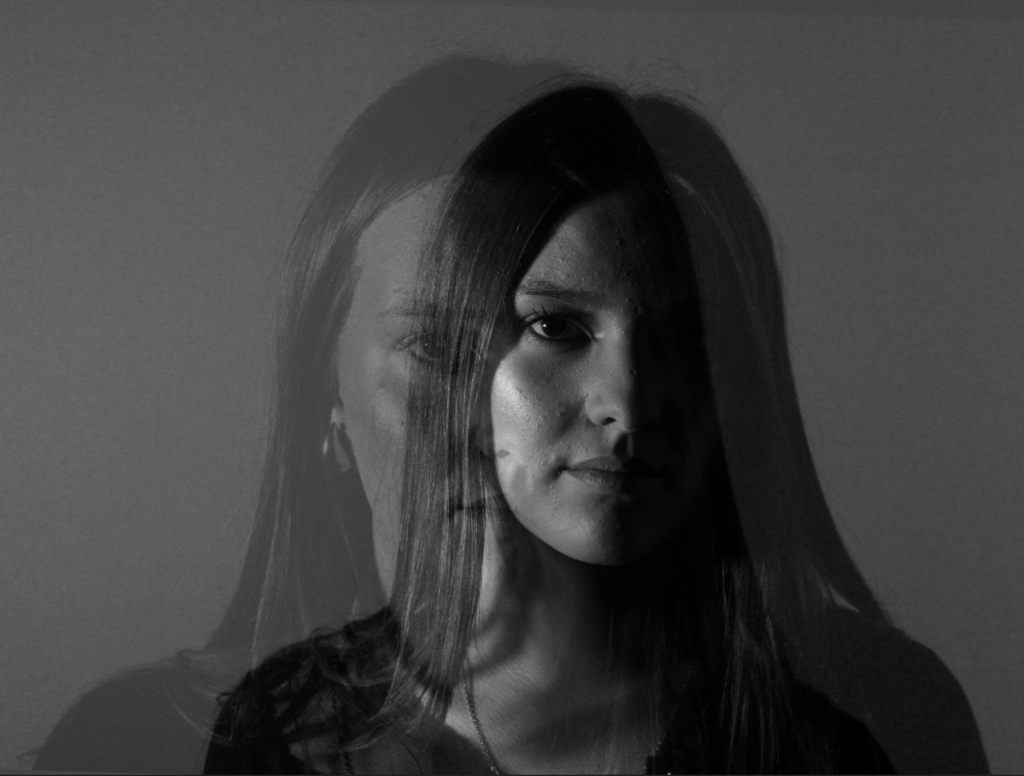
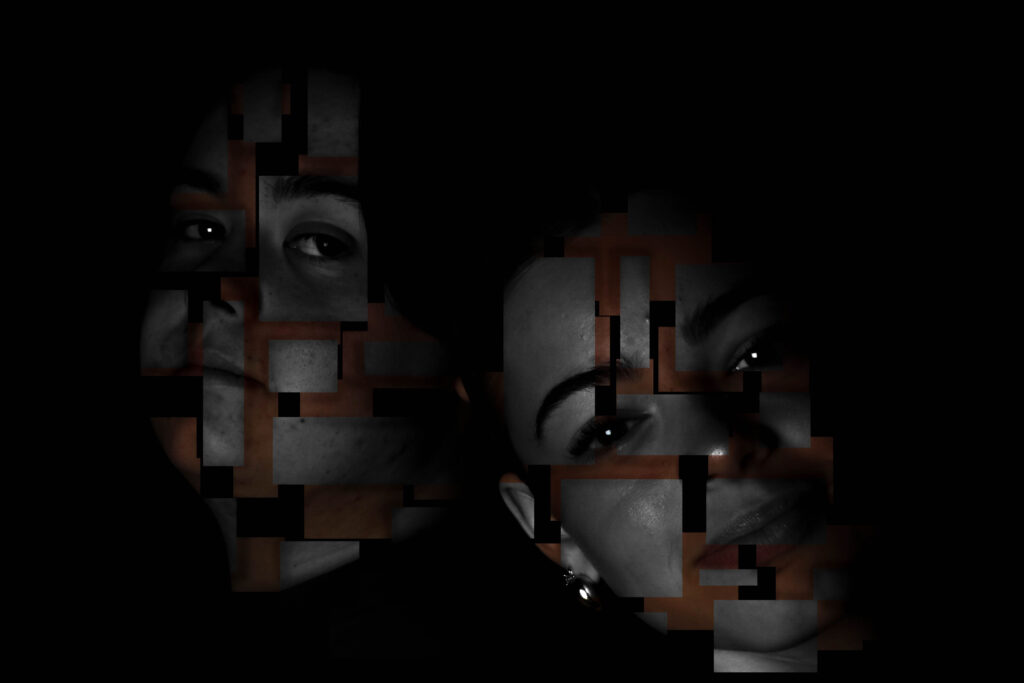
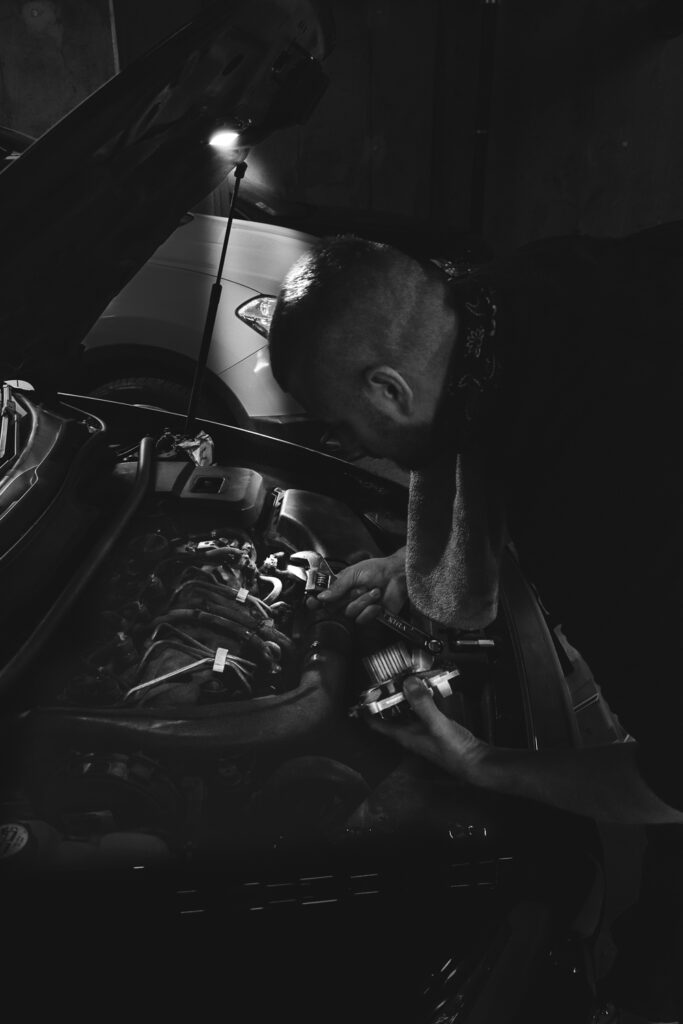
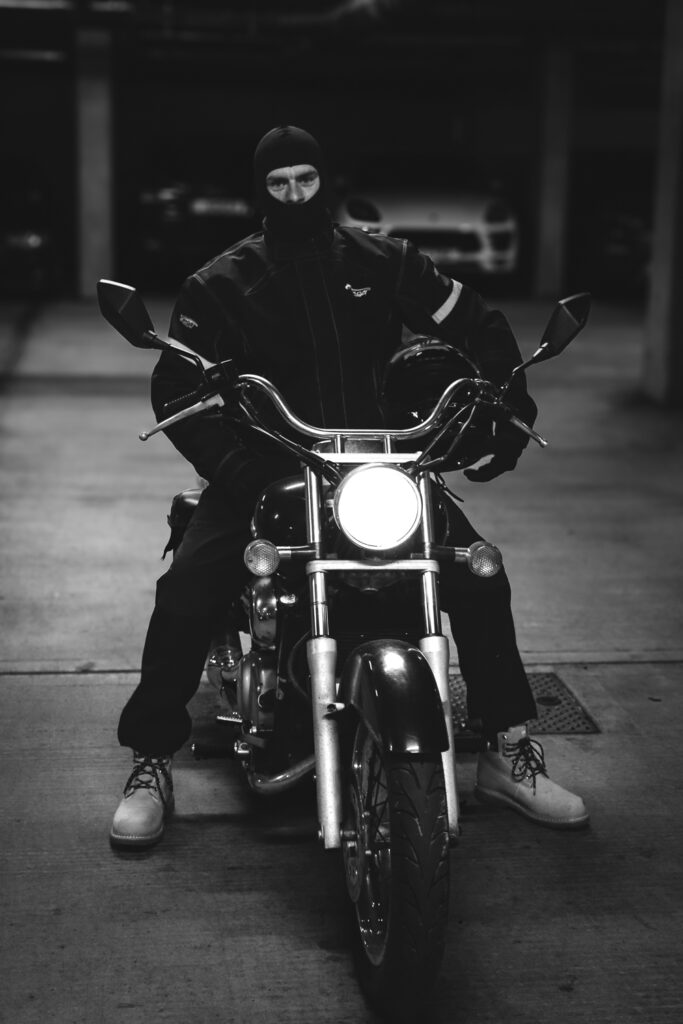
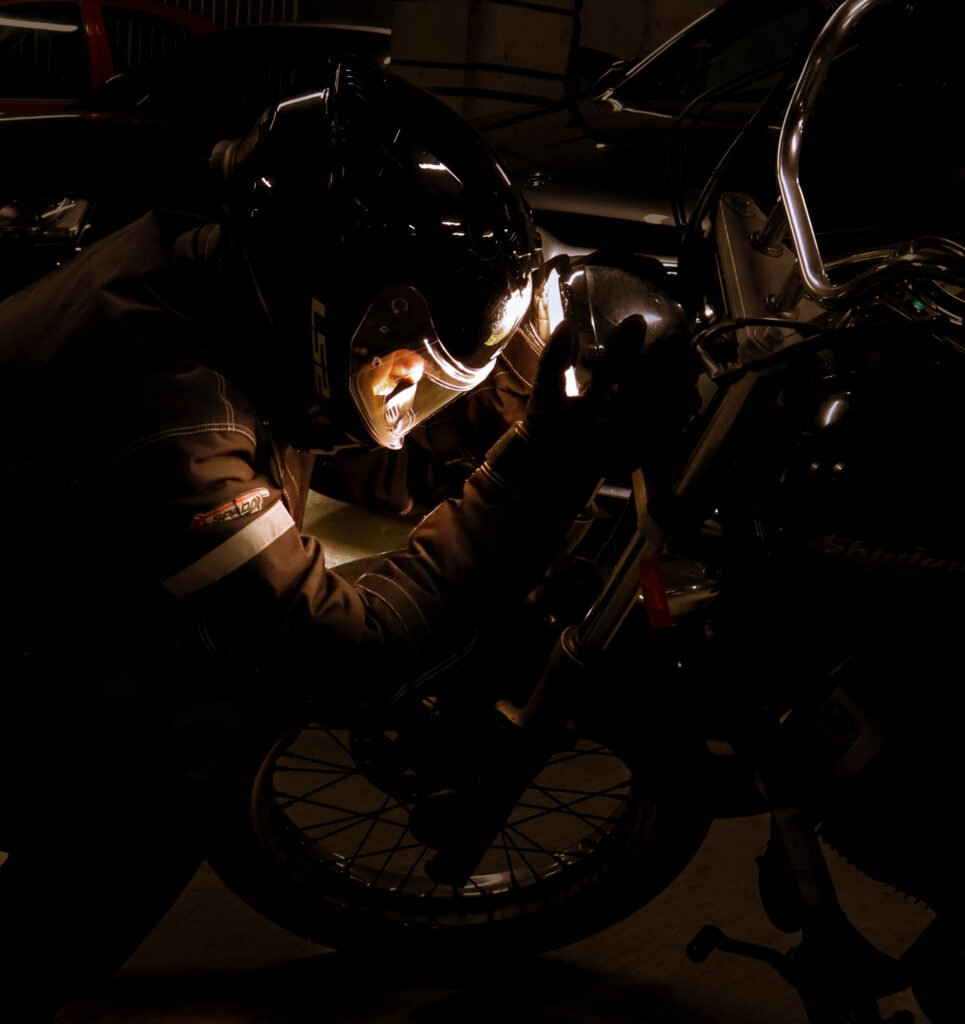
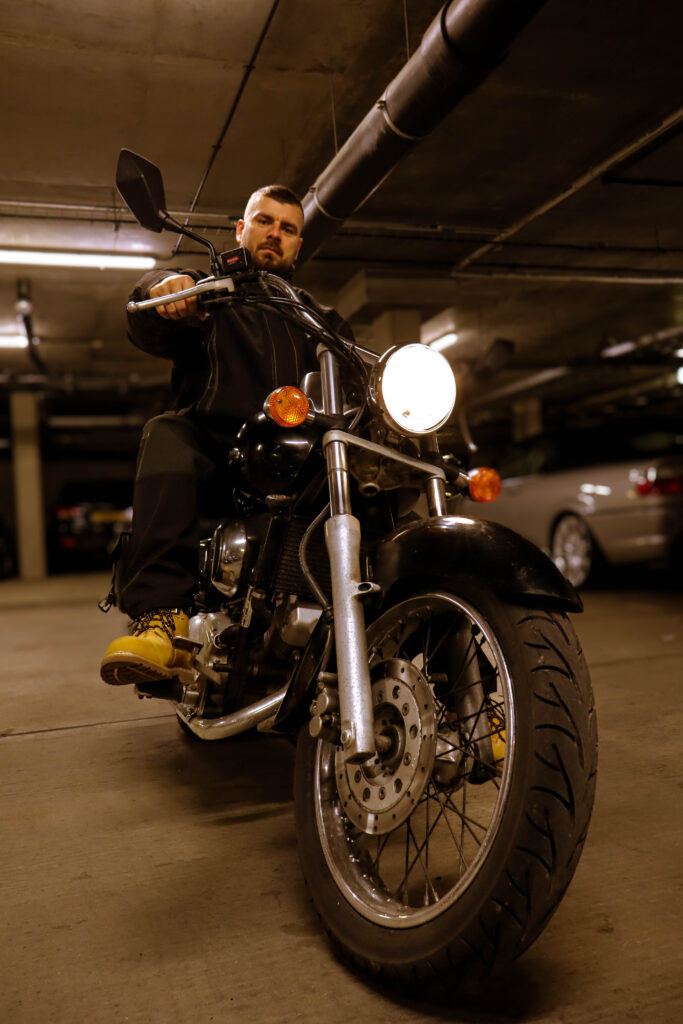
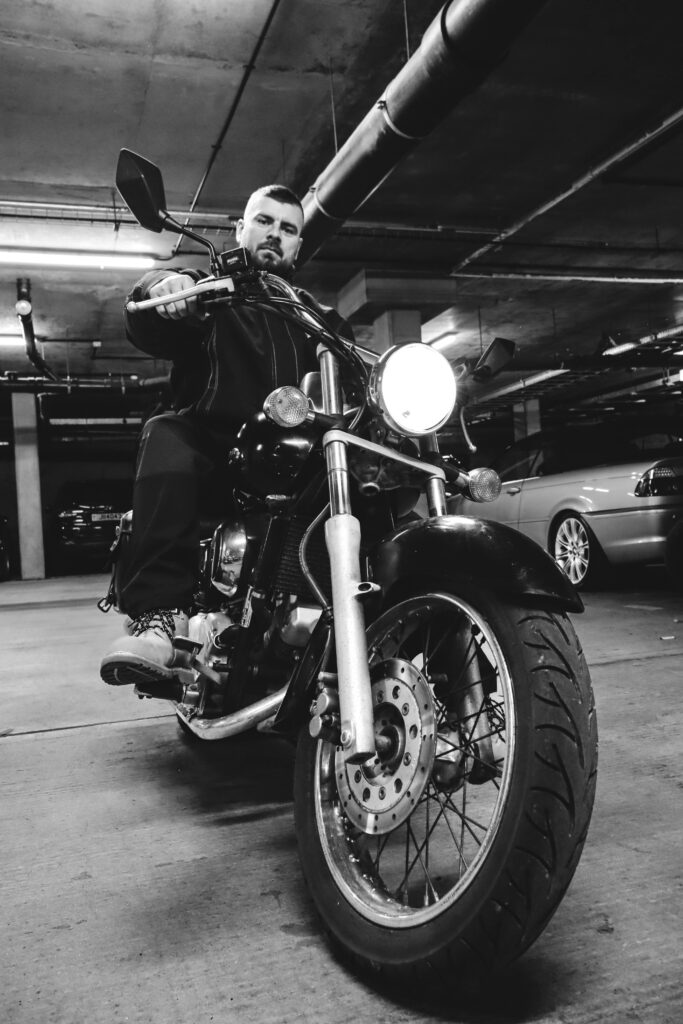
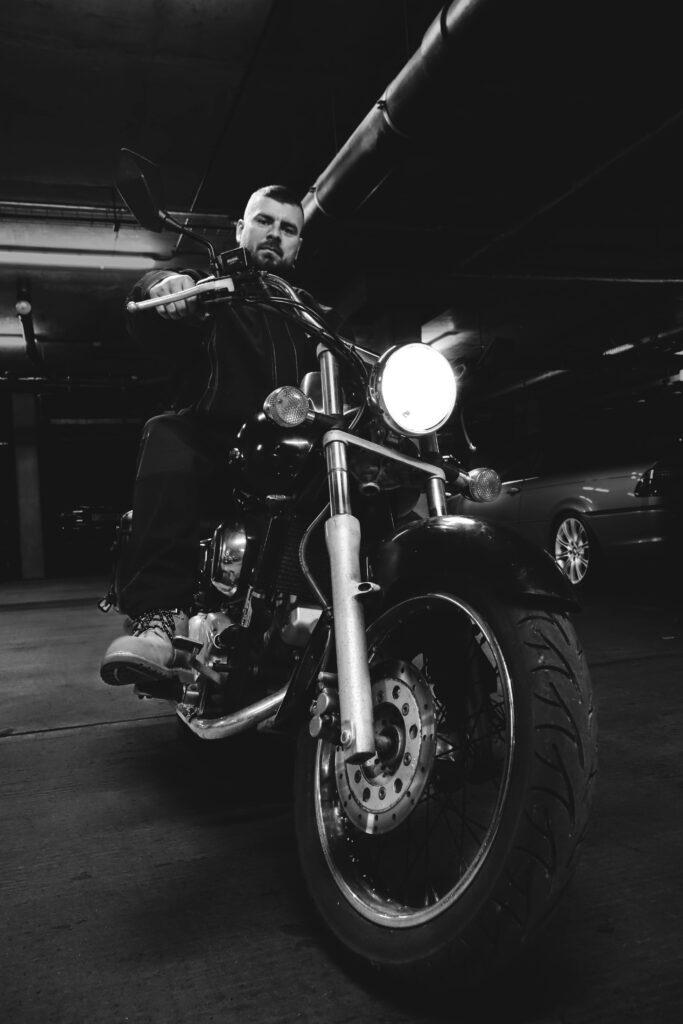
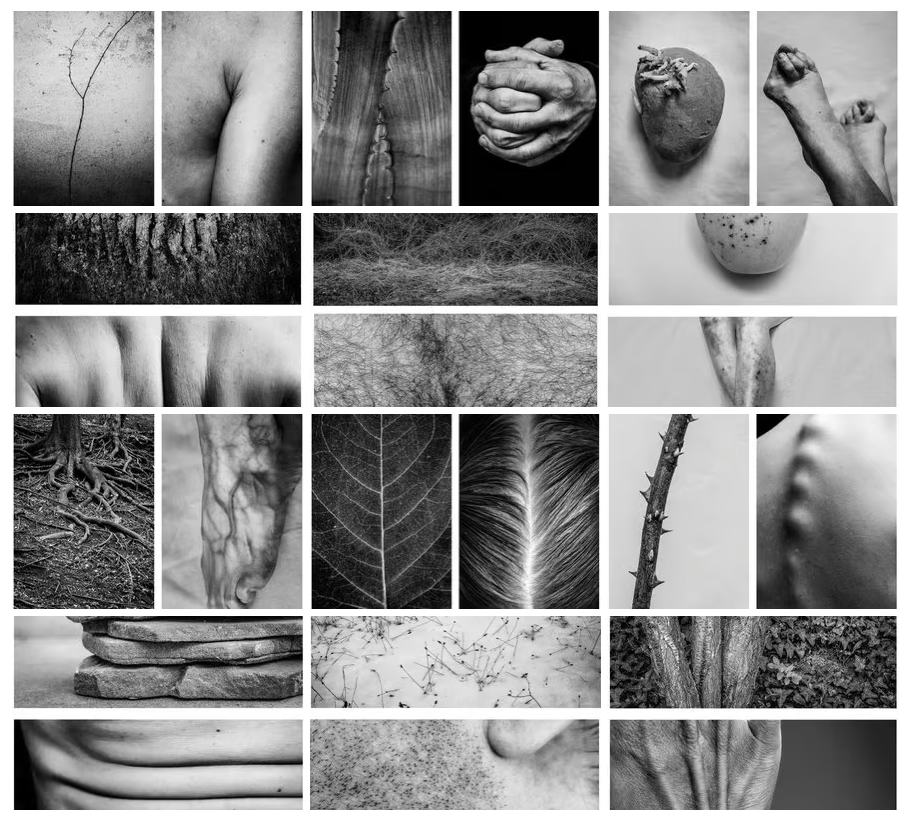
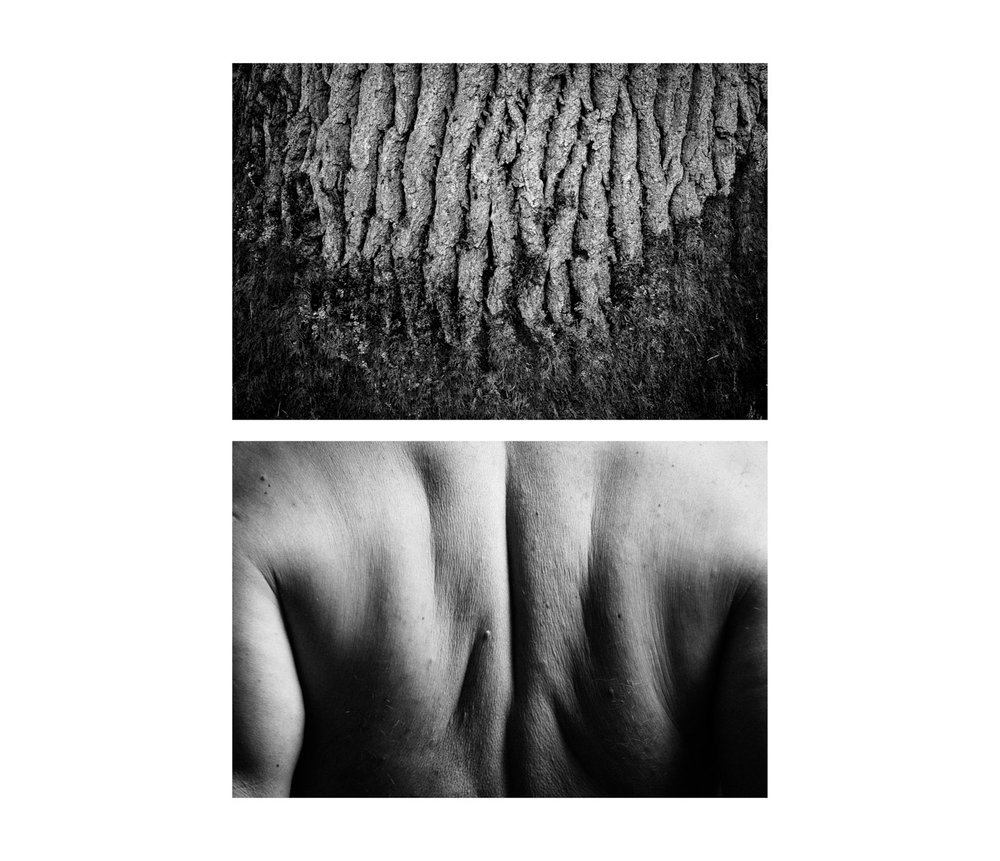
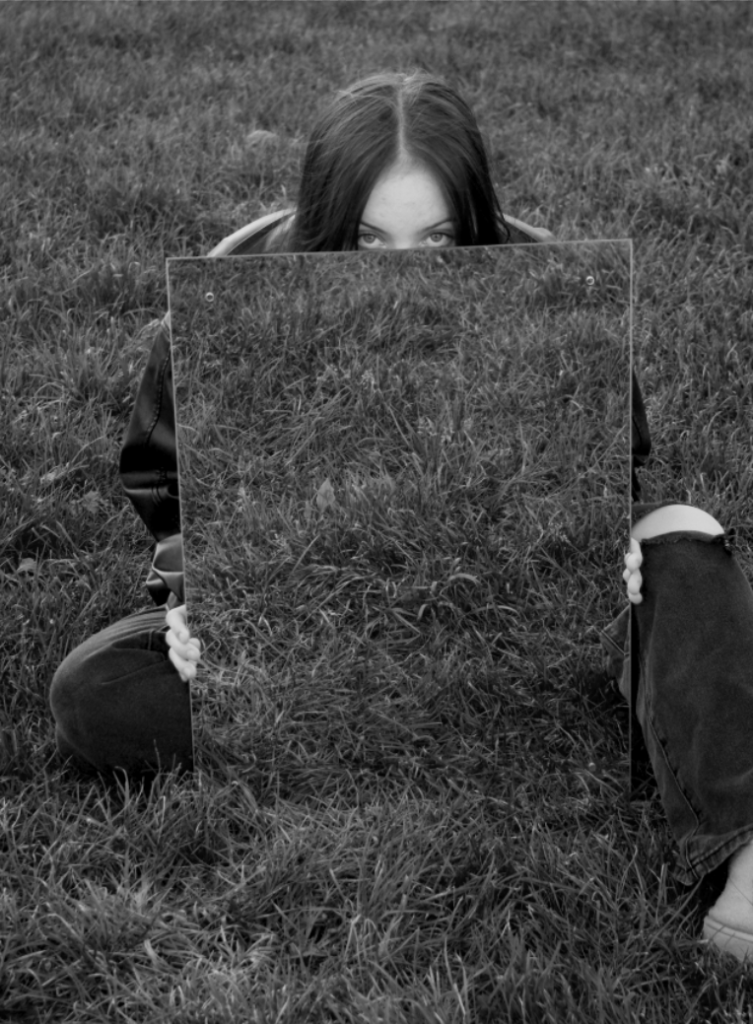
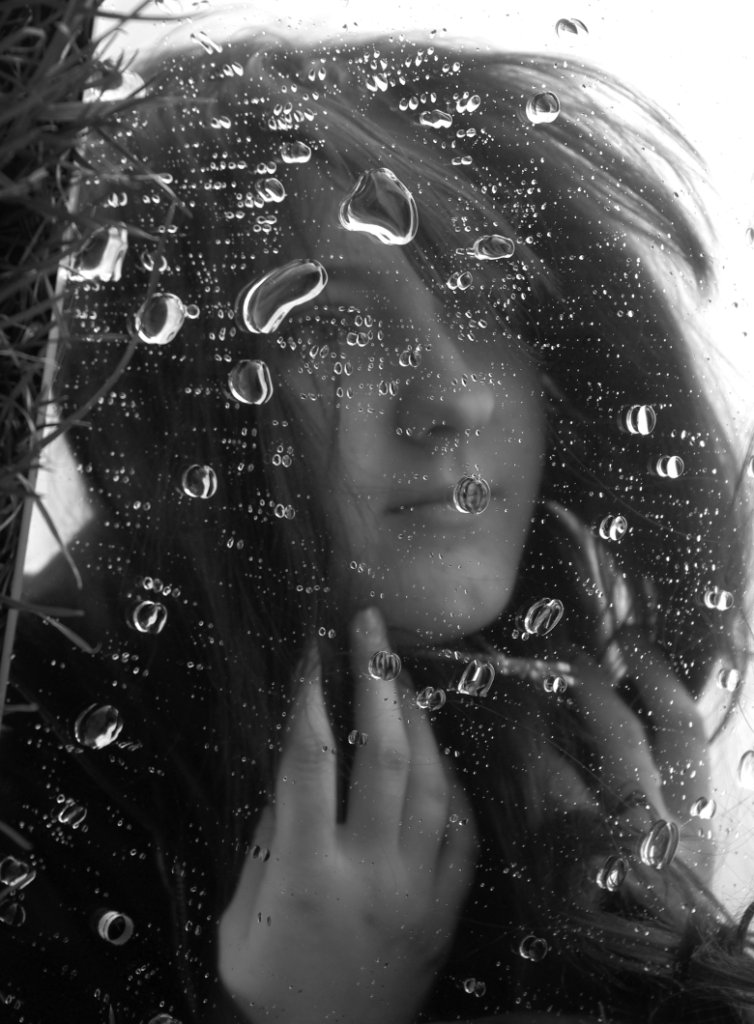
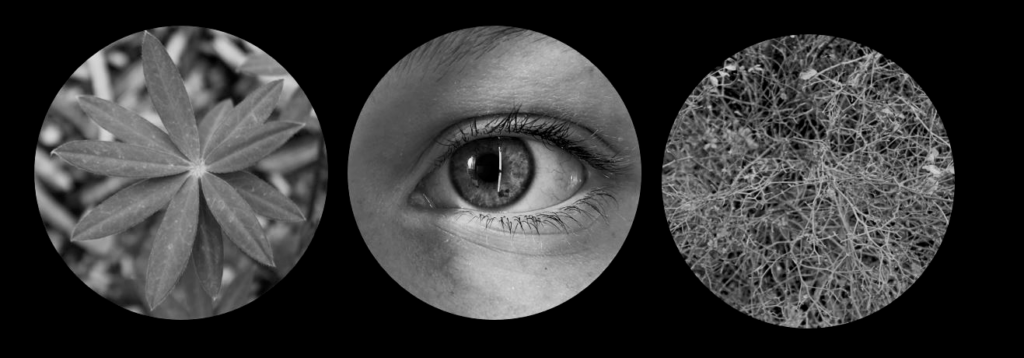
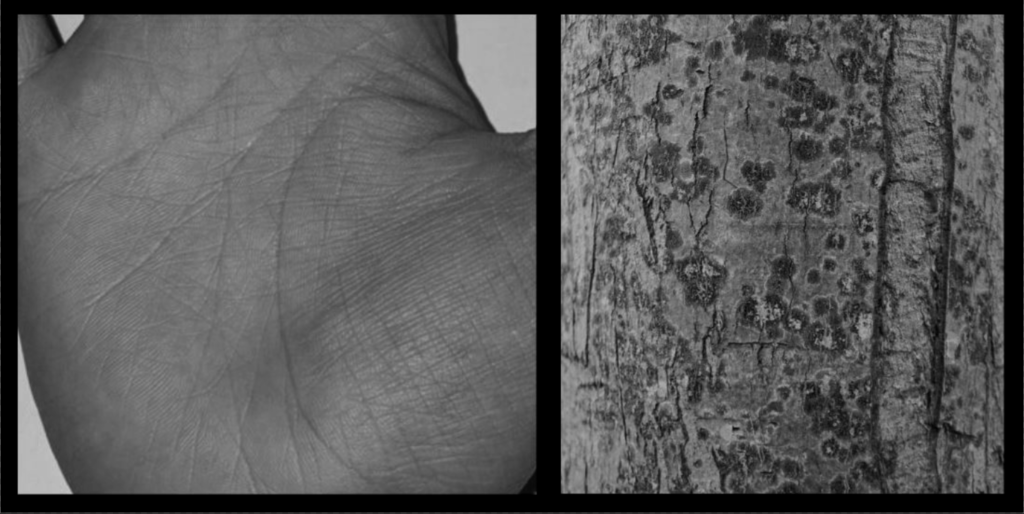
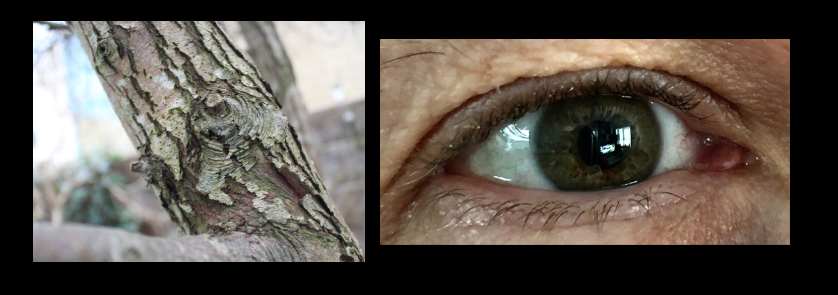
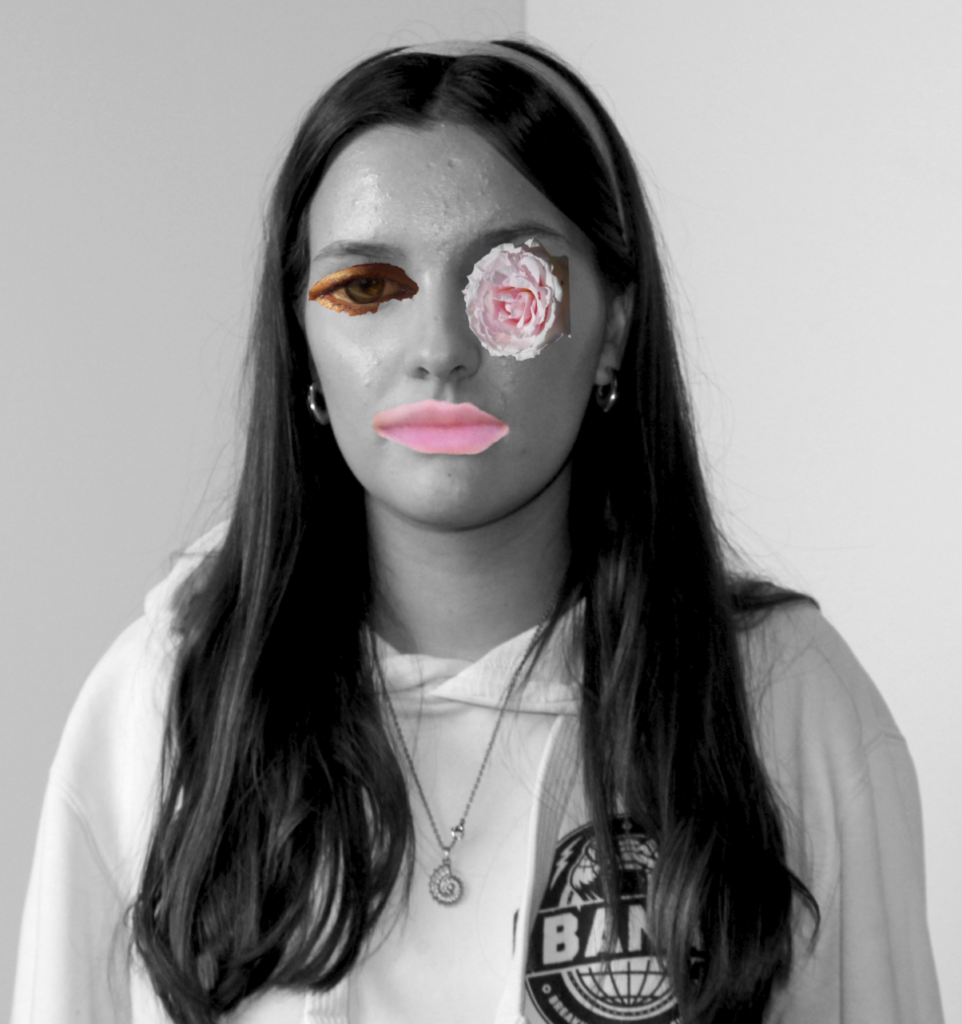
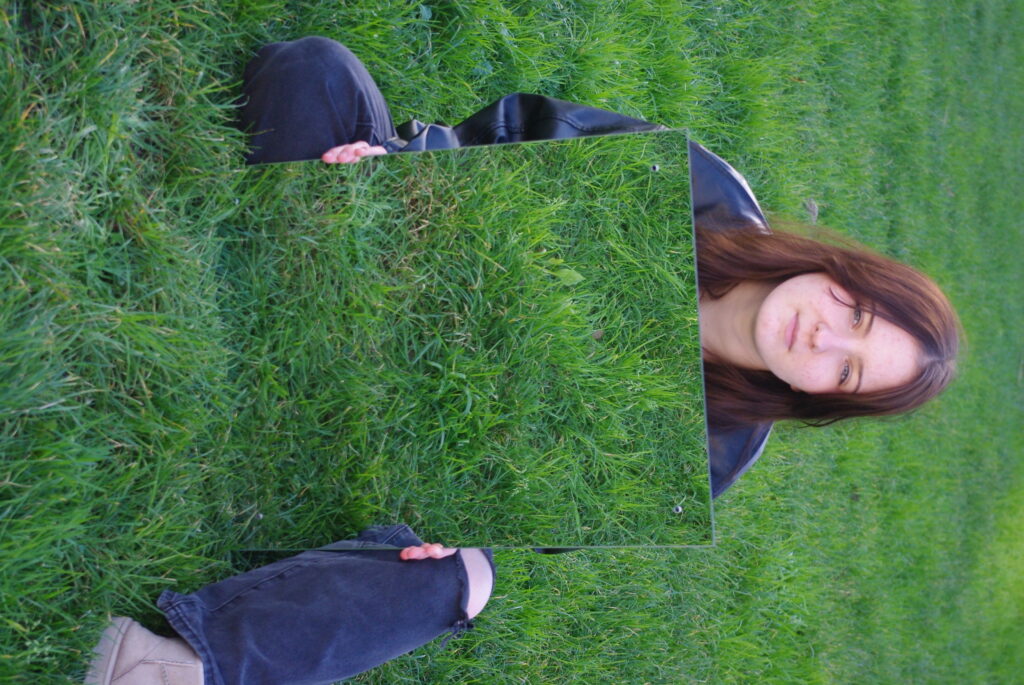
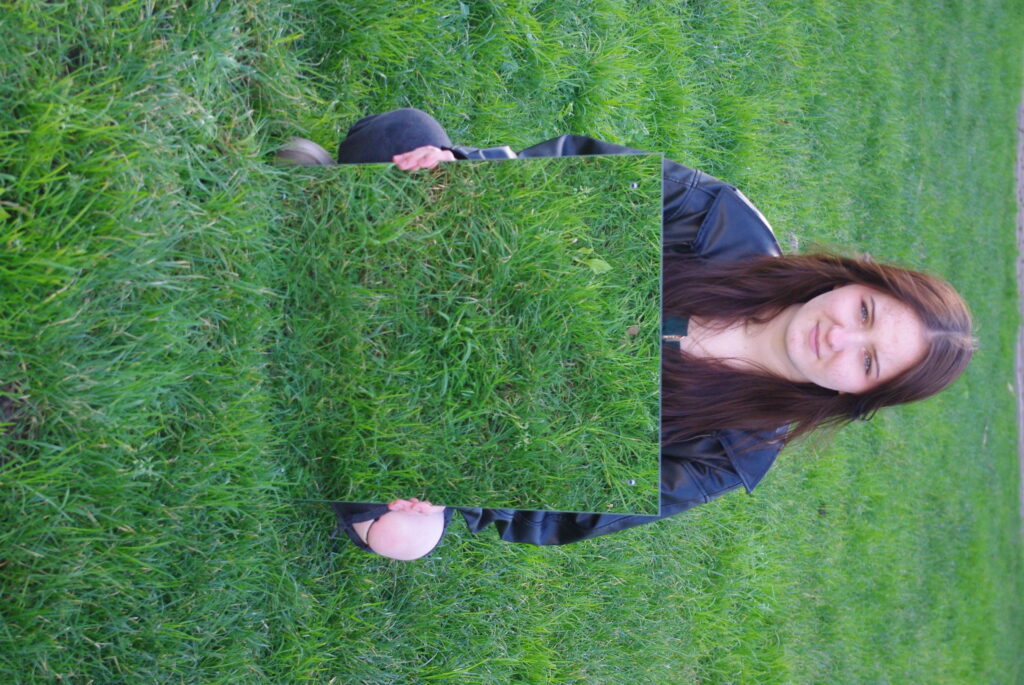
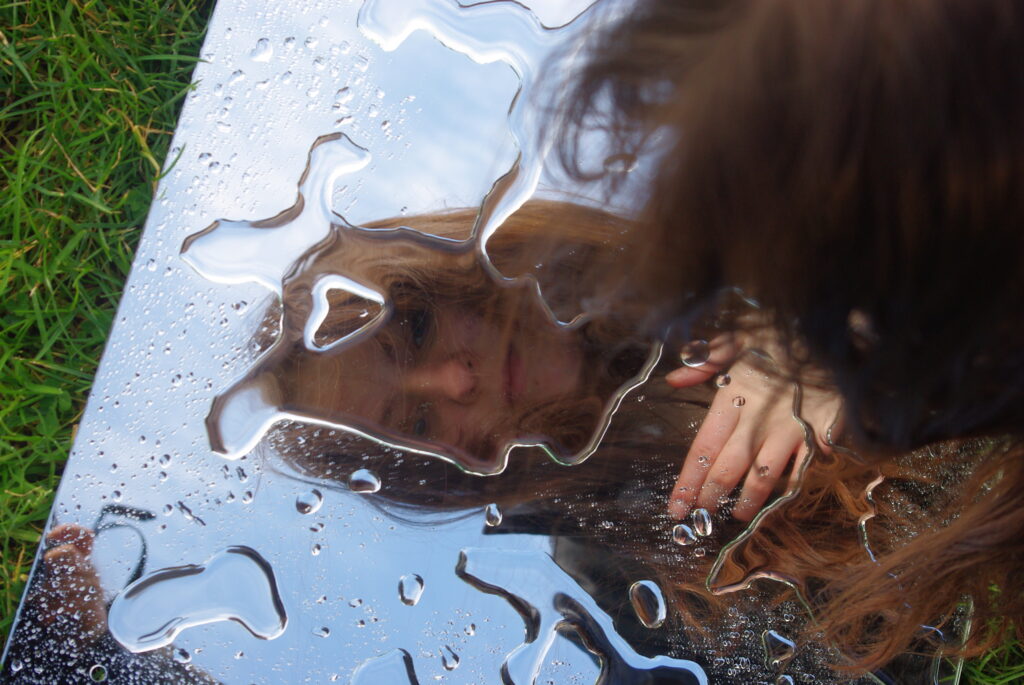
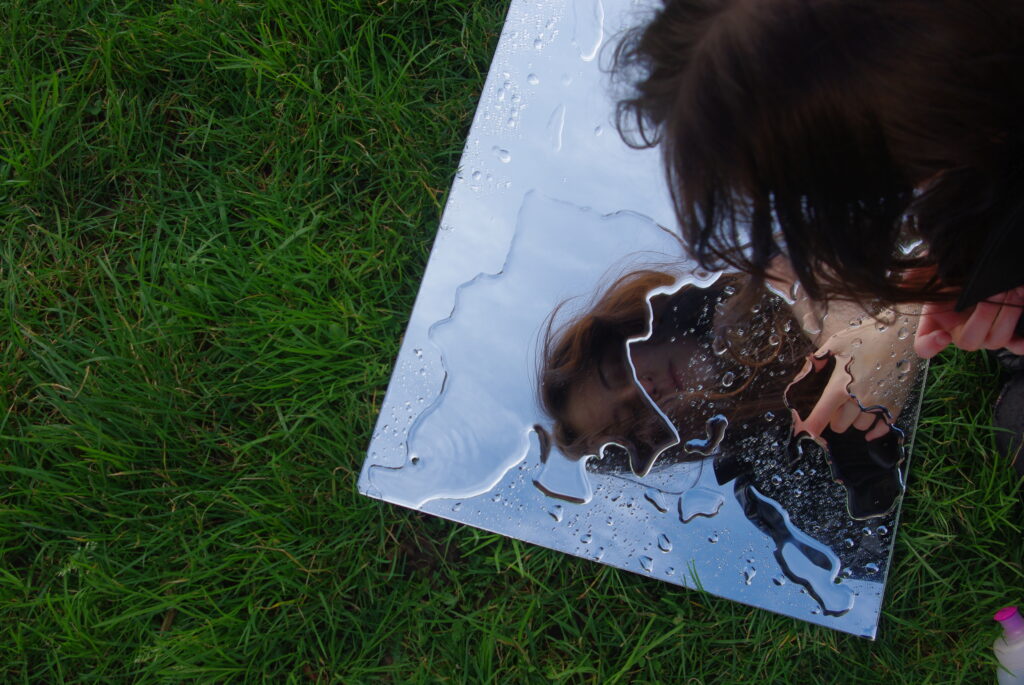
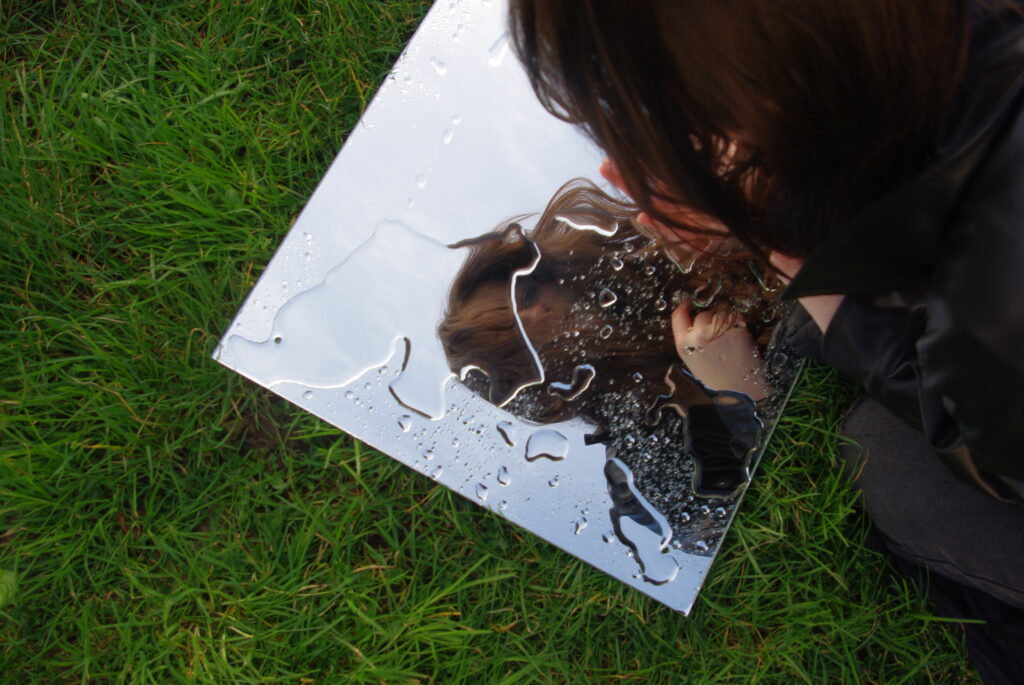
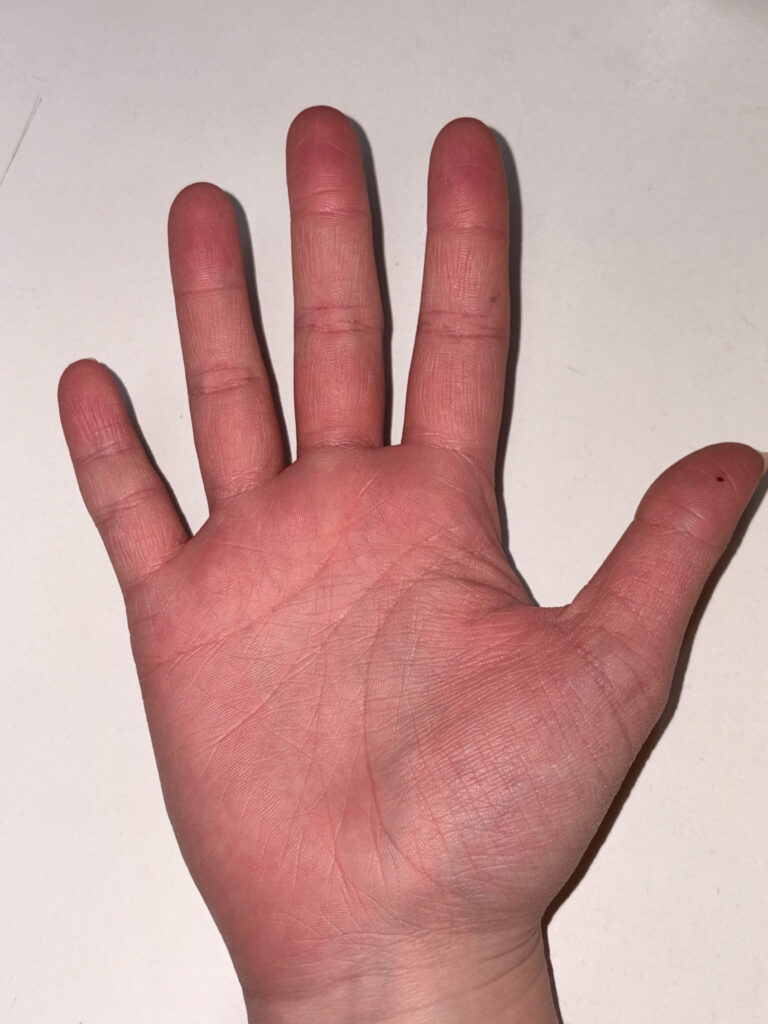
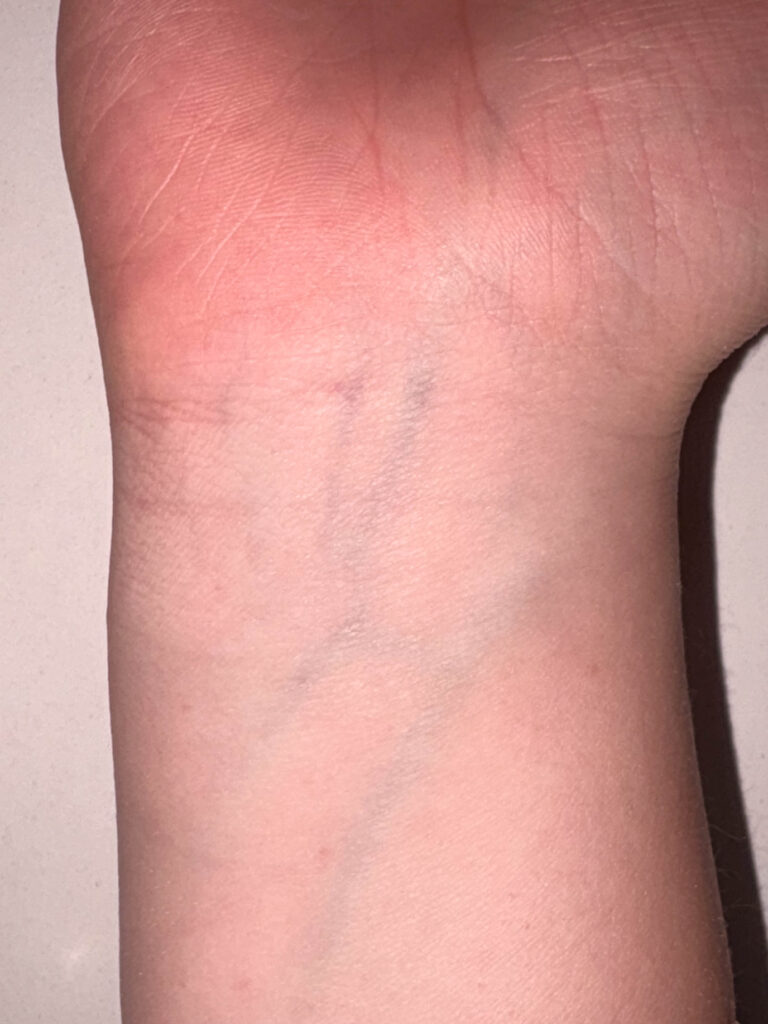
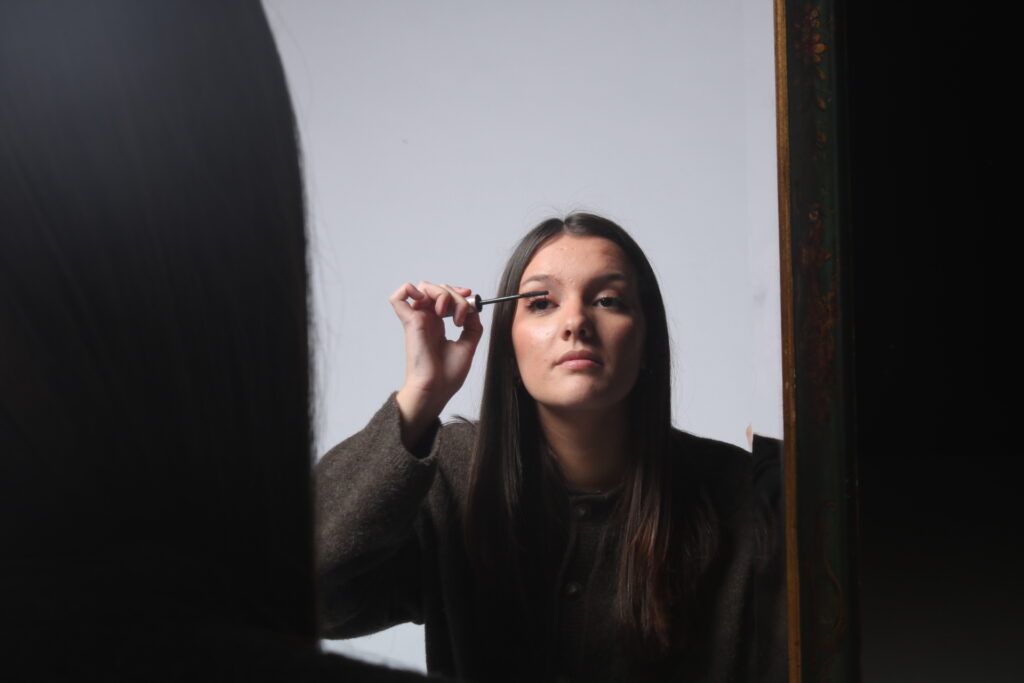
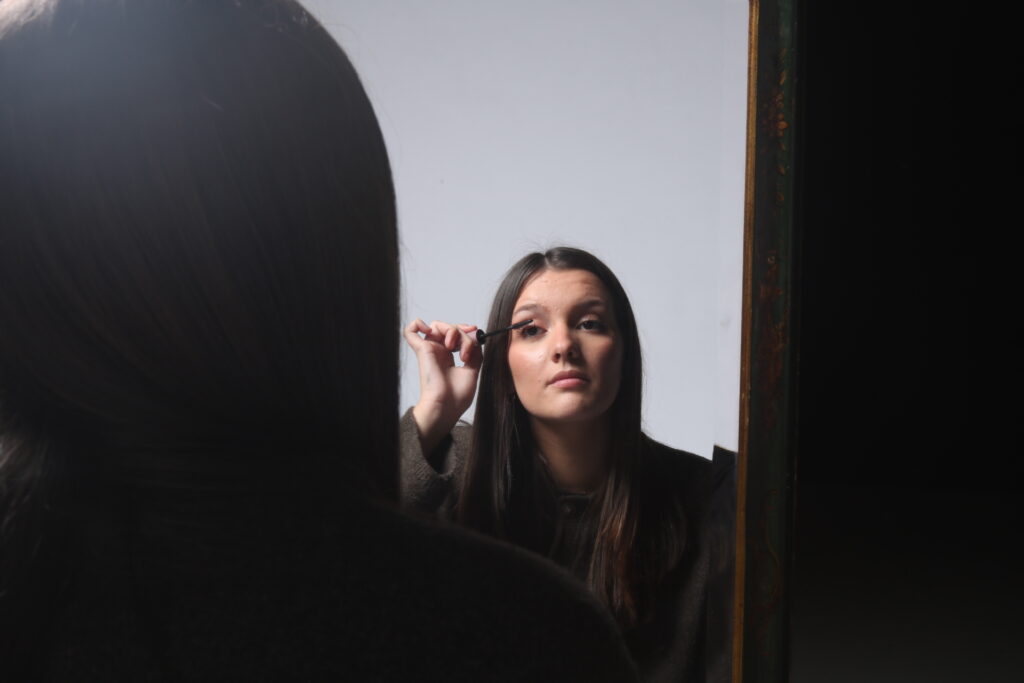
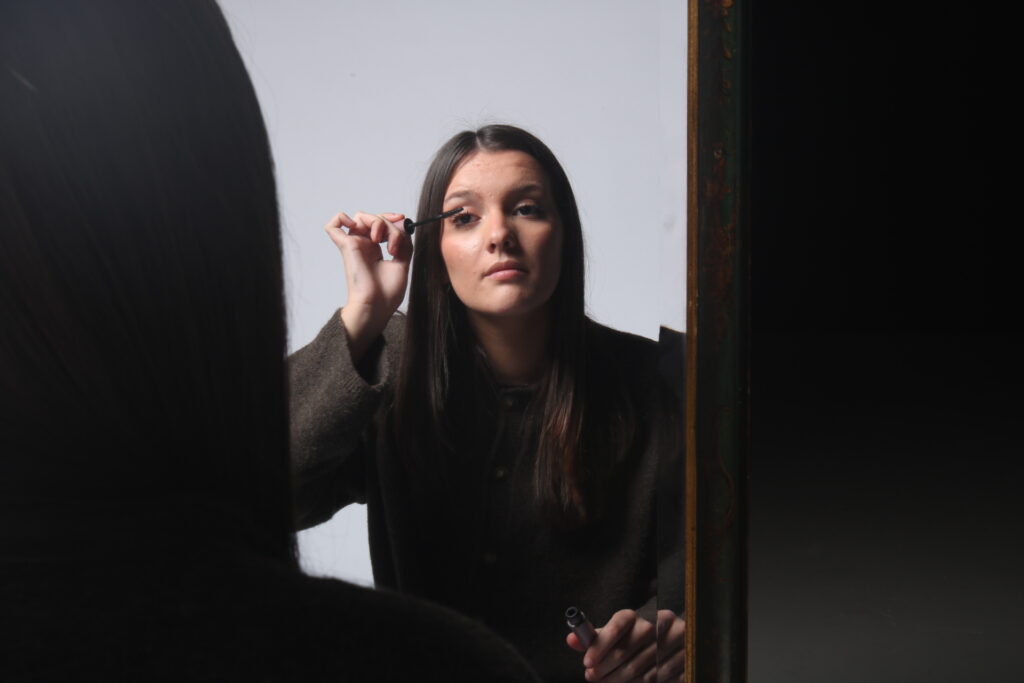
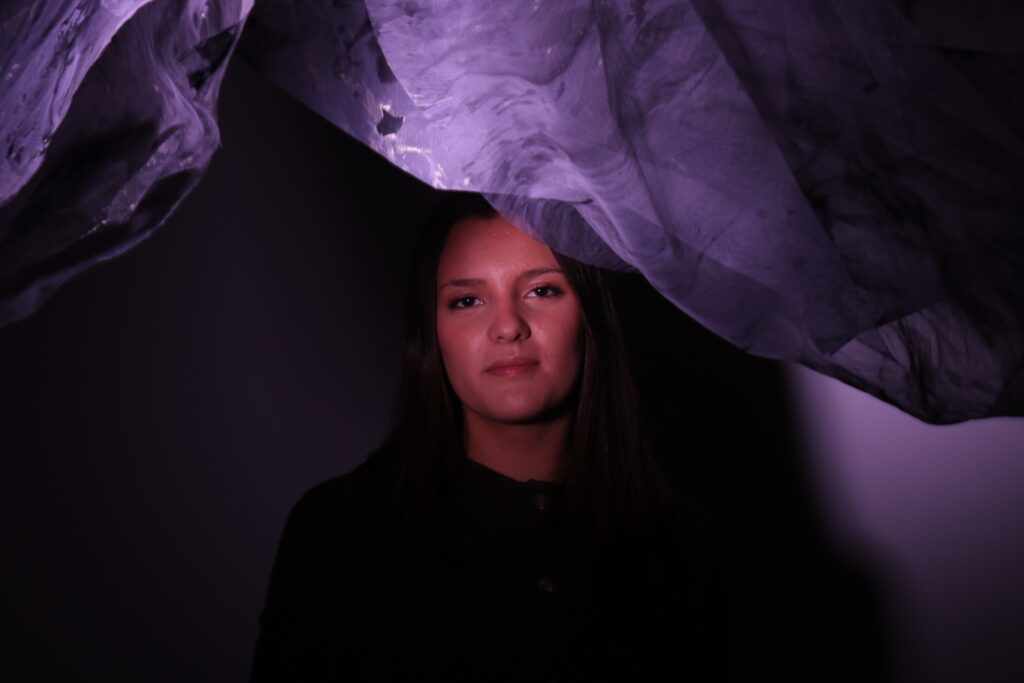
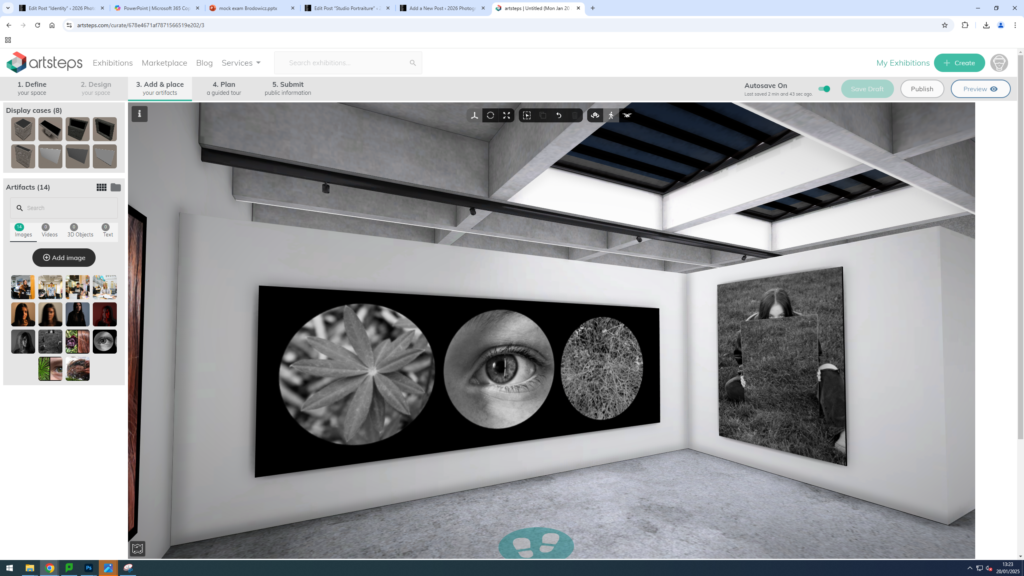
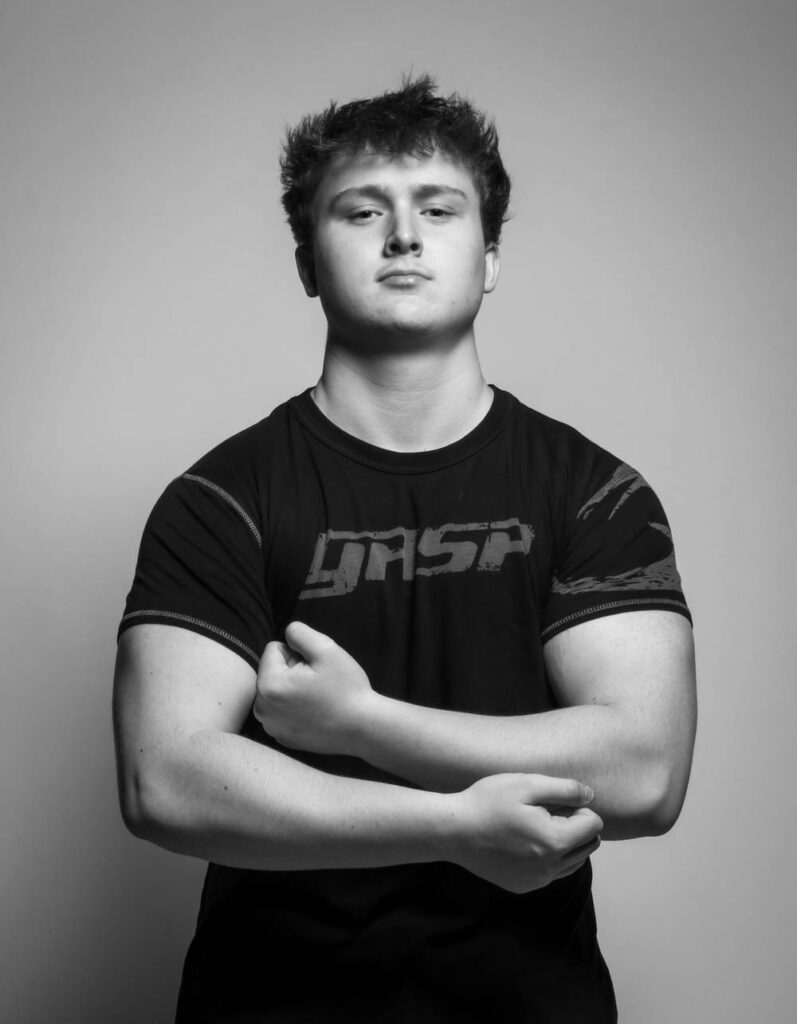
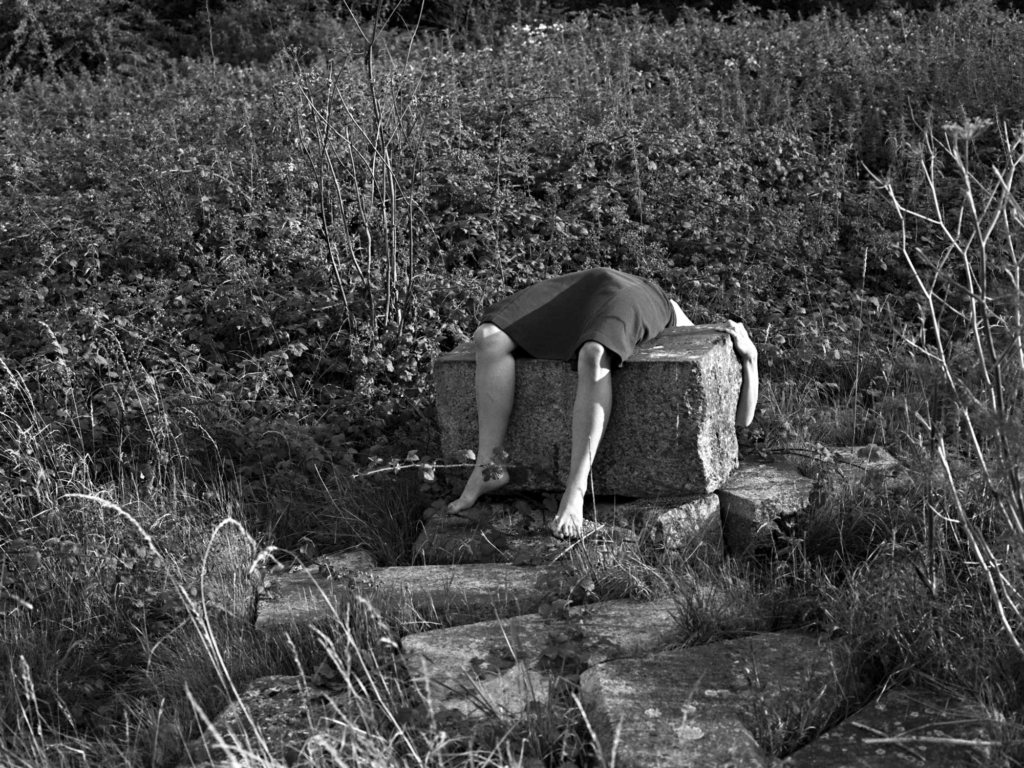
Here are 7 of my favourites edited
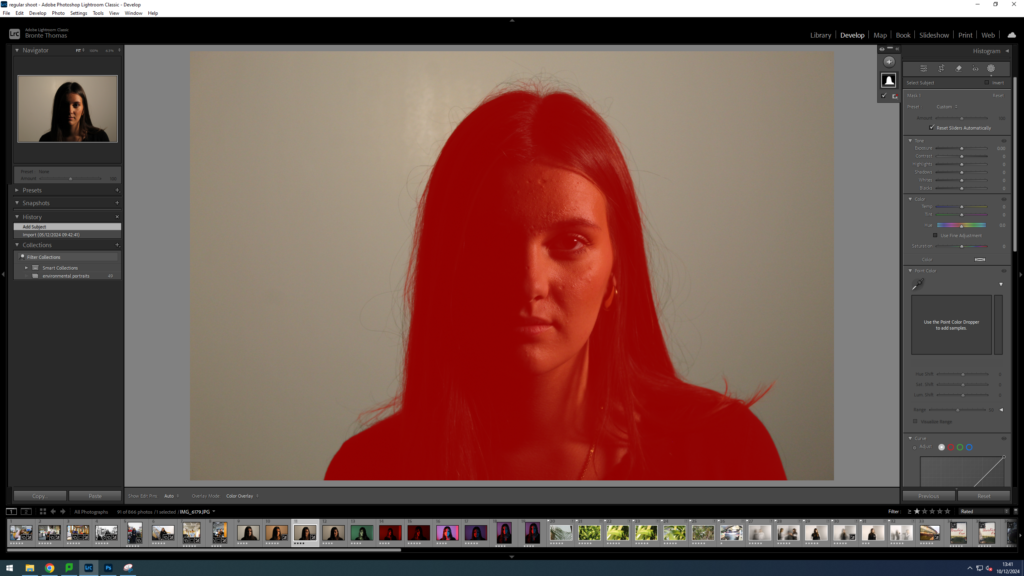
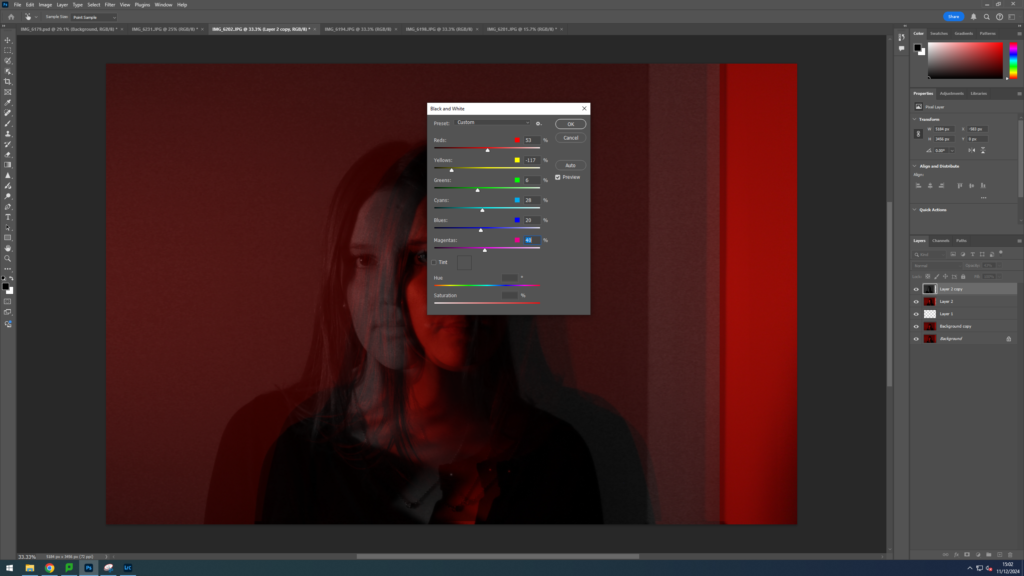
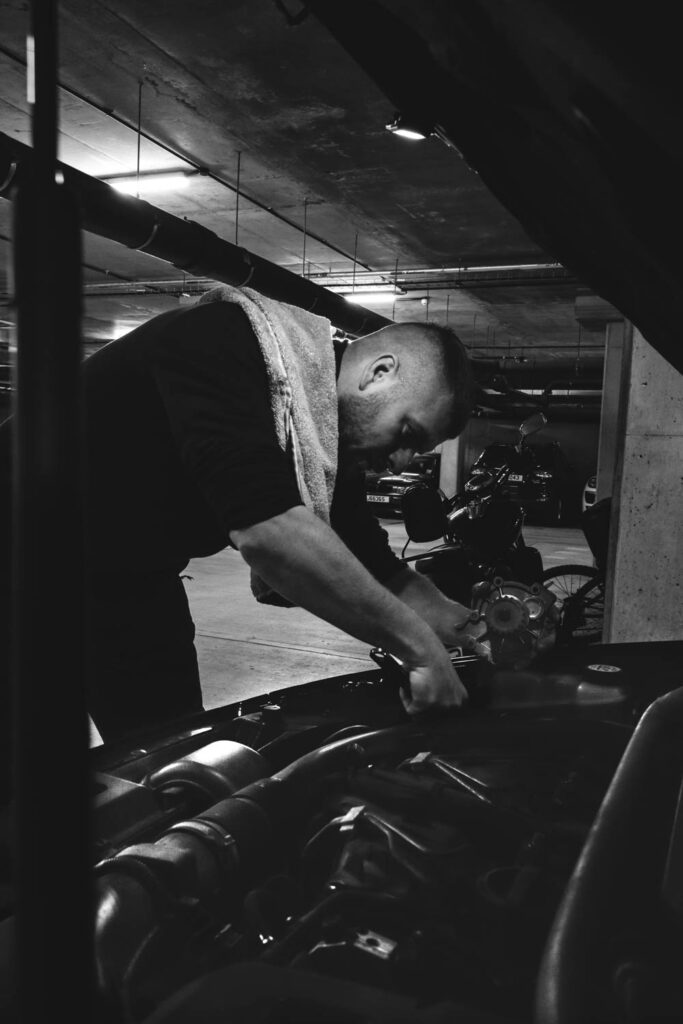
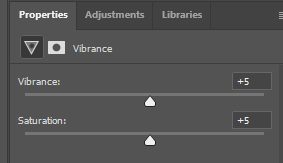
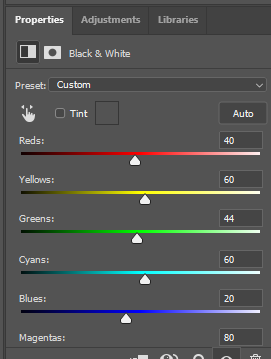
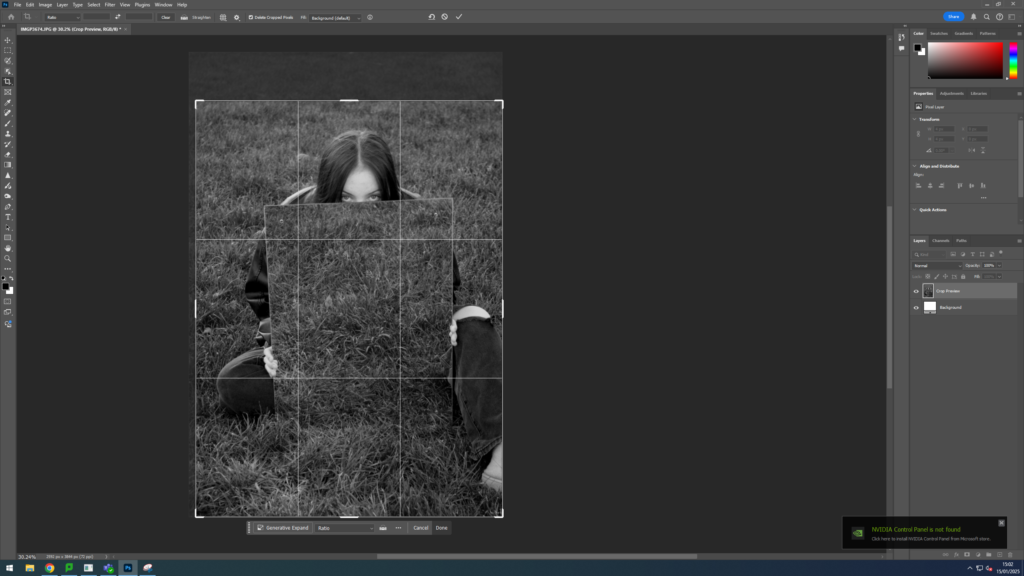
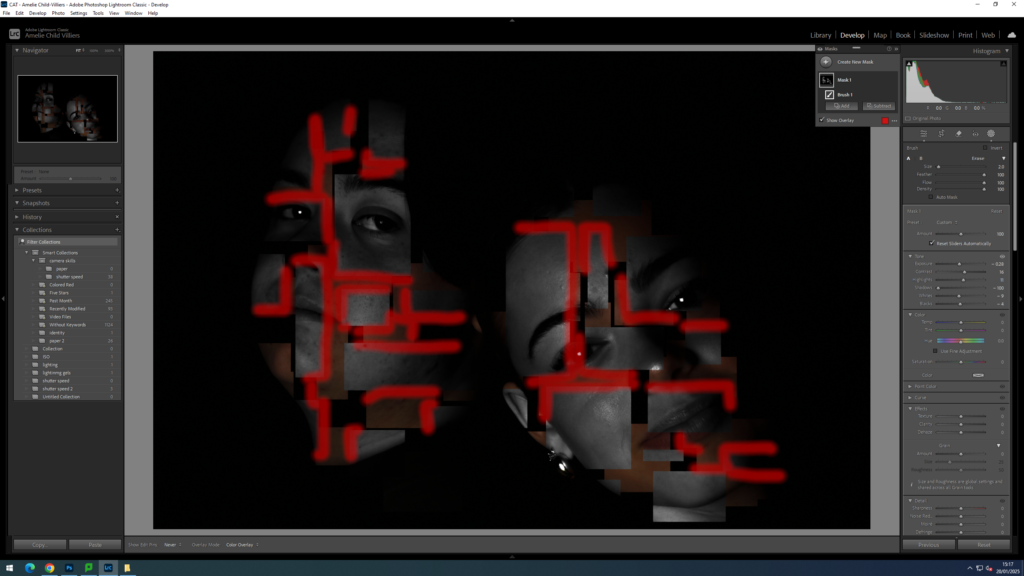
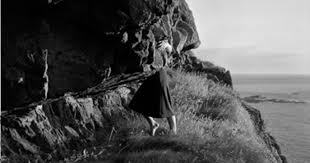
For the editing process, I decided to convert the photos into black and white, as I wanted to emulate Clare Rae’s distinctive black-and-white identity photo style. The black and white removes any distractions on colour, putting more focus on the shape and form.