- When you have finished designing your booklet, go to ‘File’ > ‘Print Booklet’

You will get a pop-up window like this.

2. If you are stapling your book together, you want to select the booklet type ‘2-up saddle stitch’

3. Keep the other tick-boxes ticked
4. Now you need to check your print settings…. click ‘print settings’…

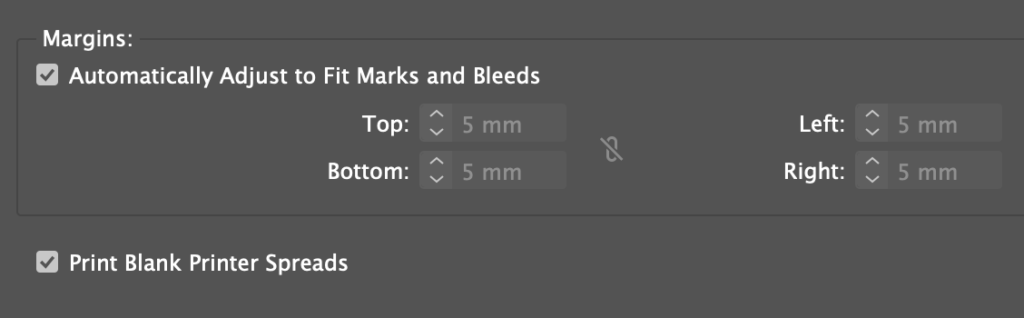
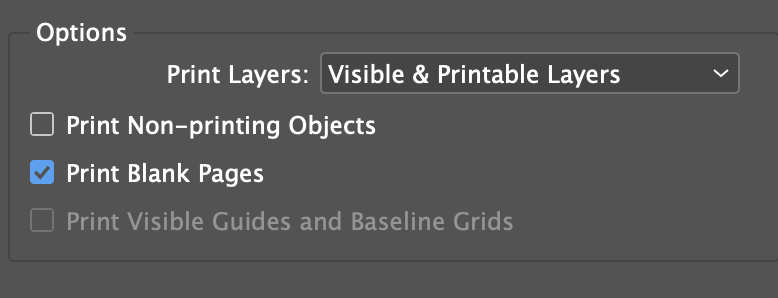
5. Tick ‘Print Blank pages’ – this is especially important if you have blank pages in your booklet. If left unticked, the printer will leave out these pages.
- Click setup – In setup – adjust the orientation to suit your layout.
- Click ‘Scale to fit’

- Click the setup button at the bottom of the toolbox

- If you have a white margin around your pages, it can be tricky to see where to trim your pages… To help with this, select ‘marks and bleed’ – then tick crop marks (you don’t need this if you have images that go right up to the edge).

Click ‘Preferences’ – choose – ‘print on short edge’


6. select your printer

Click ‘printer at the bottom of the toolbox. Make sure that two-sided printing is enabled.


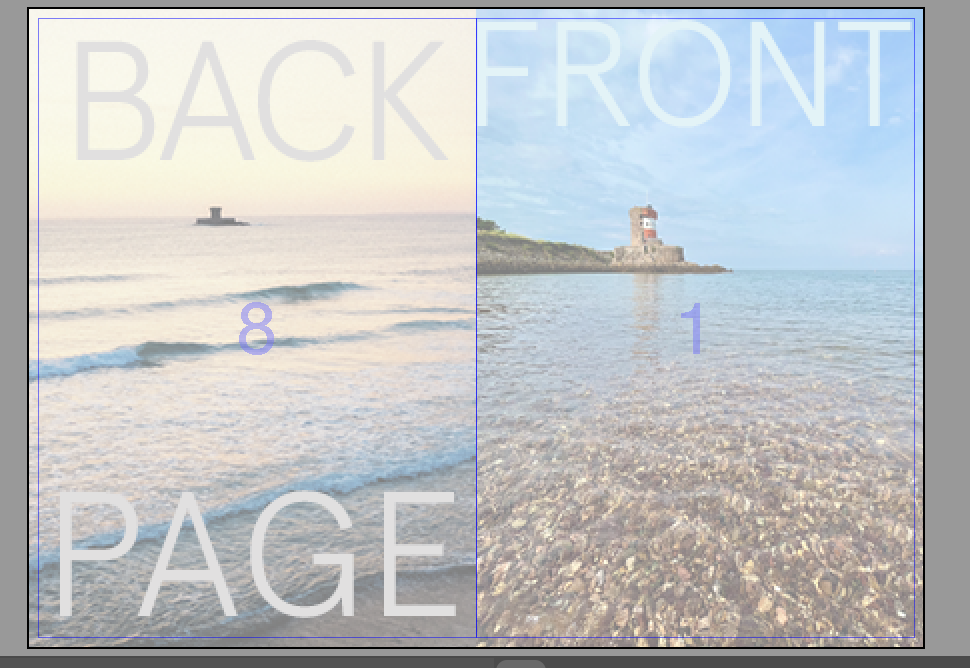
7. Click ‘Preview’ on the left to check your layout.

It’s a good sign if your front and back pages are next to each other in the preview.
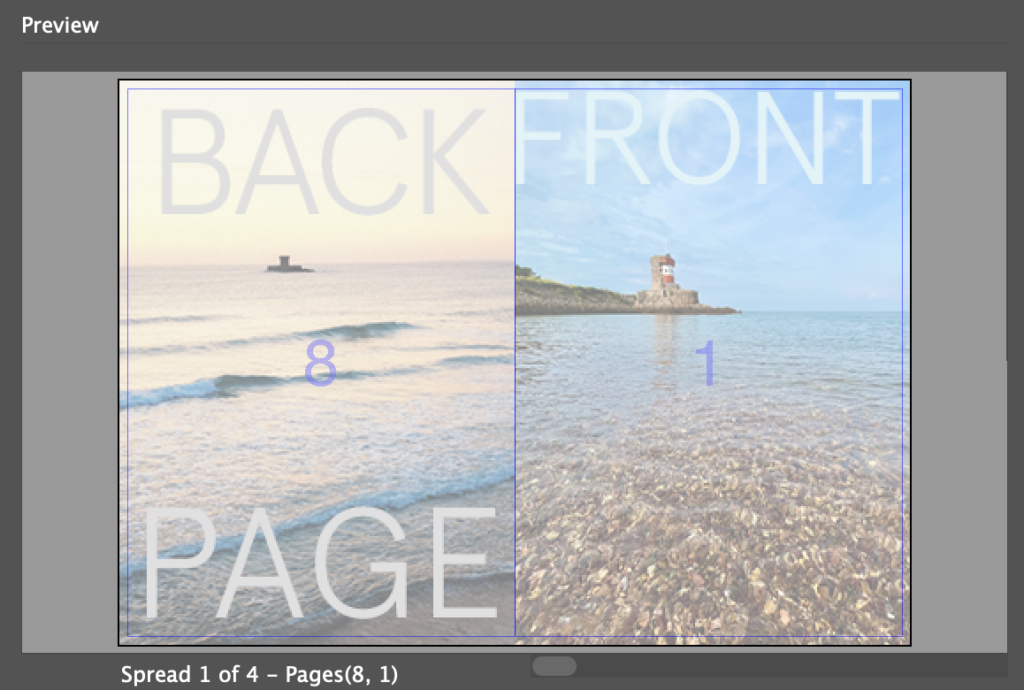
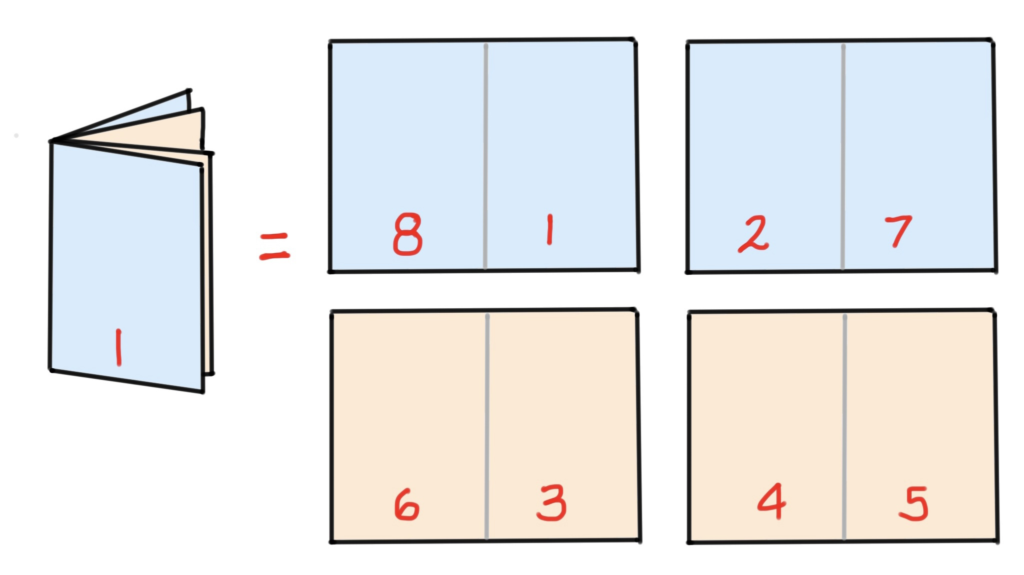
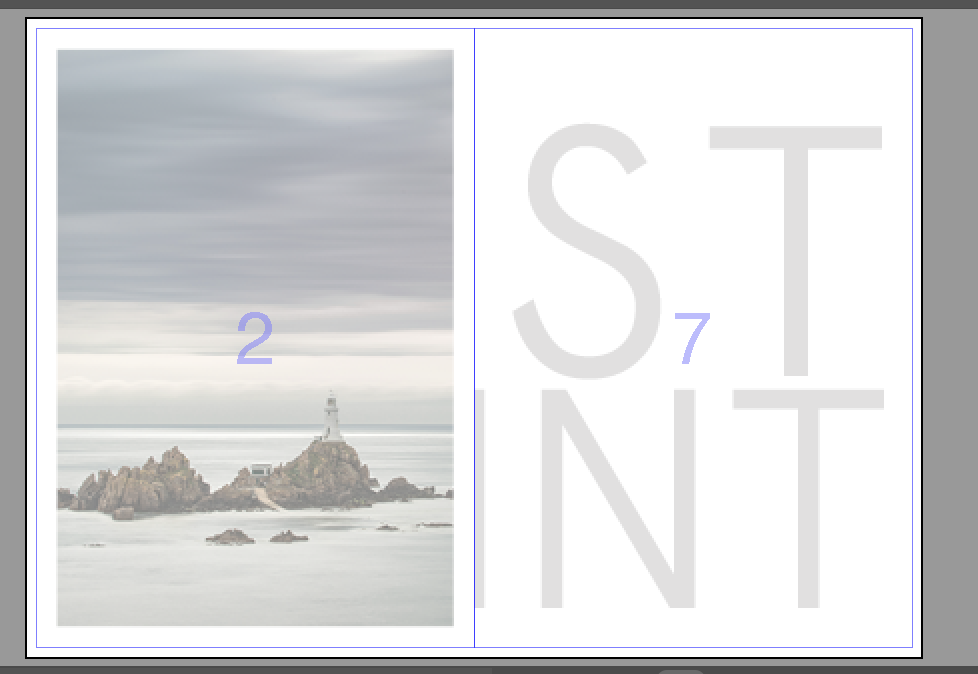
8. You will notice that the page numbers don’t appear to be in order. For example, my page 1 and 8 are next to each other, and my page 2 and 7 are next to each other. Don’t worry – this is correct! When you print the pages and fold them in half, they will be in order.
9. It’s important to consider the quantity of pages. 1 piece of paper will print 4 pages (2 on each side). So your booklet must have a quantity of pages that is a a multiple of 4.
The pages you can have are:
- 4
- 8
- 16
- 20
- 24
- 28
- 32…. etc
A 4 page booklet is printed on 1 sheet of paper like this:
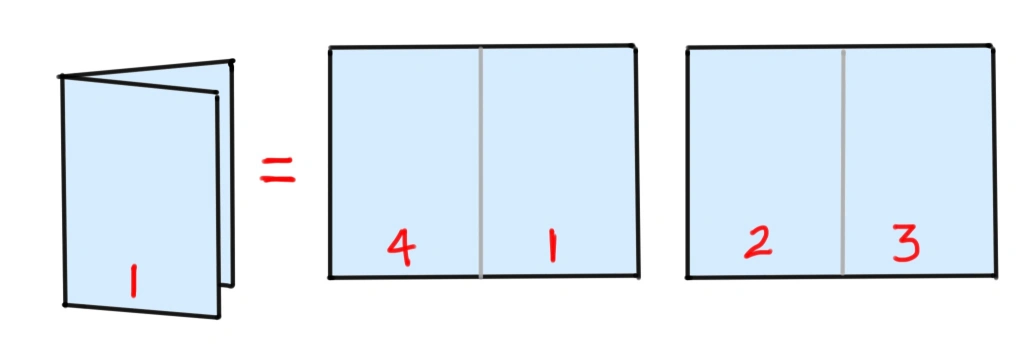
An 8 page booklet is. printed on 2 sheets of paper like this: