- Open your image in photoshop
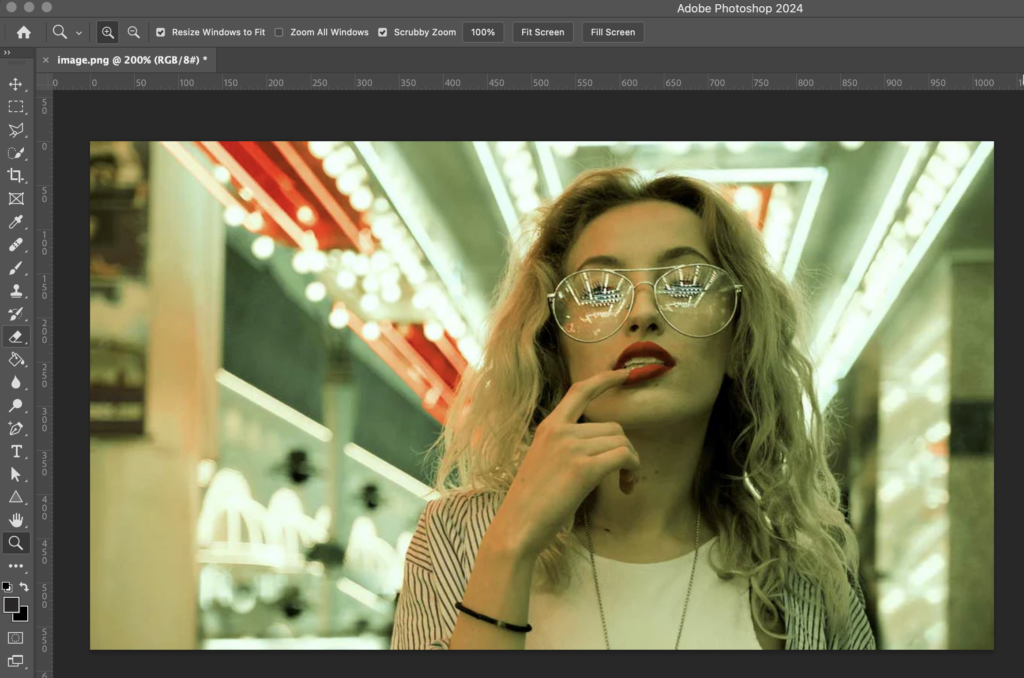
2. Adjust your image so it has good brightness and contrast: Image>Adjustments>Brightness and Contrast

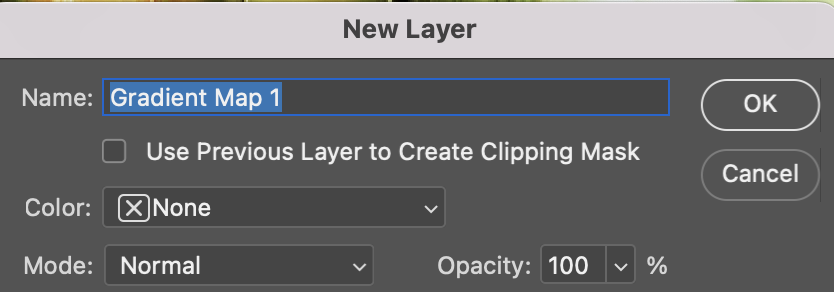
3. When you are happy with the Brightness and Contrast, go to Layer (Along the top menu)> New Adjustment Layer > Gradient Map
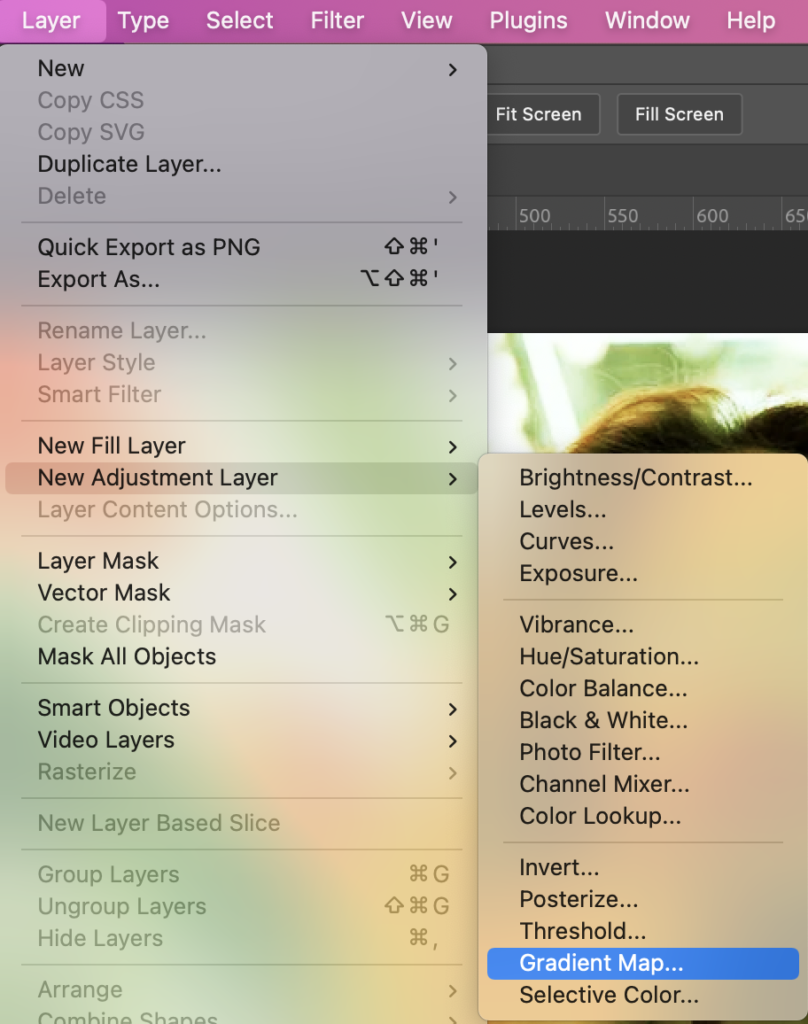
4. When you see a pop up, press ok
5. Make sure you can see the properties panel…. (If you can’t, follow the steps below)
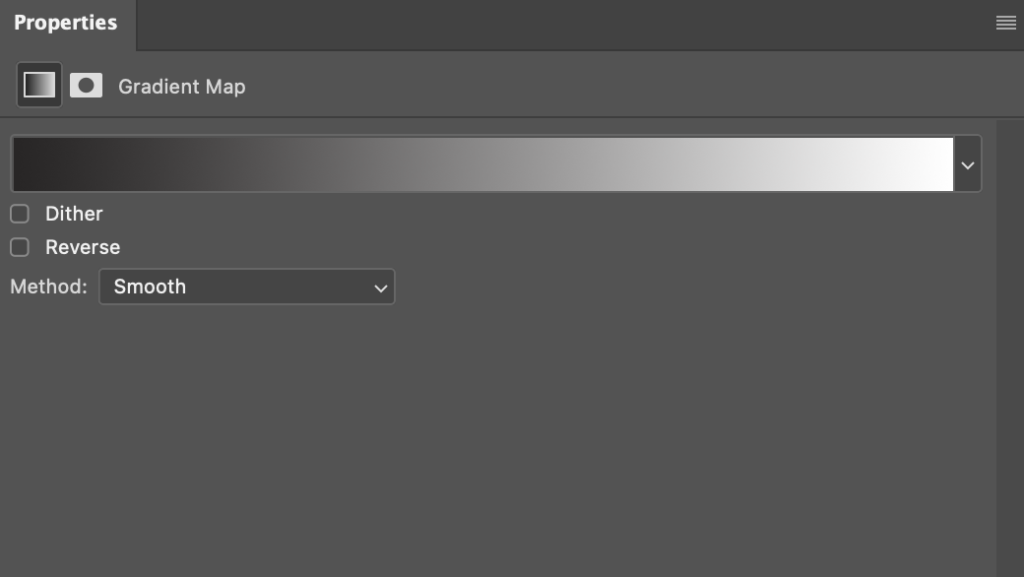
If you can’t see the properties panel, go to Windows>Properties (Windows is where you will be able to reveal any toolbars/panels that are not showing)
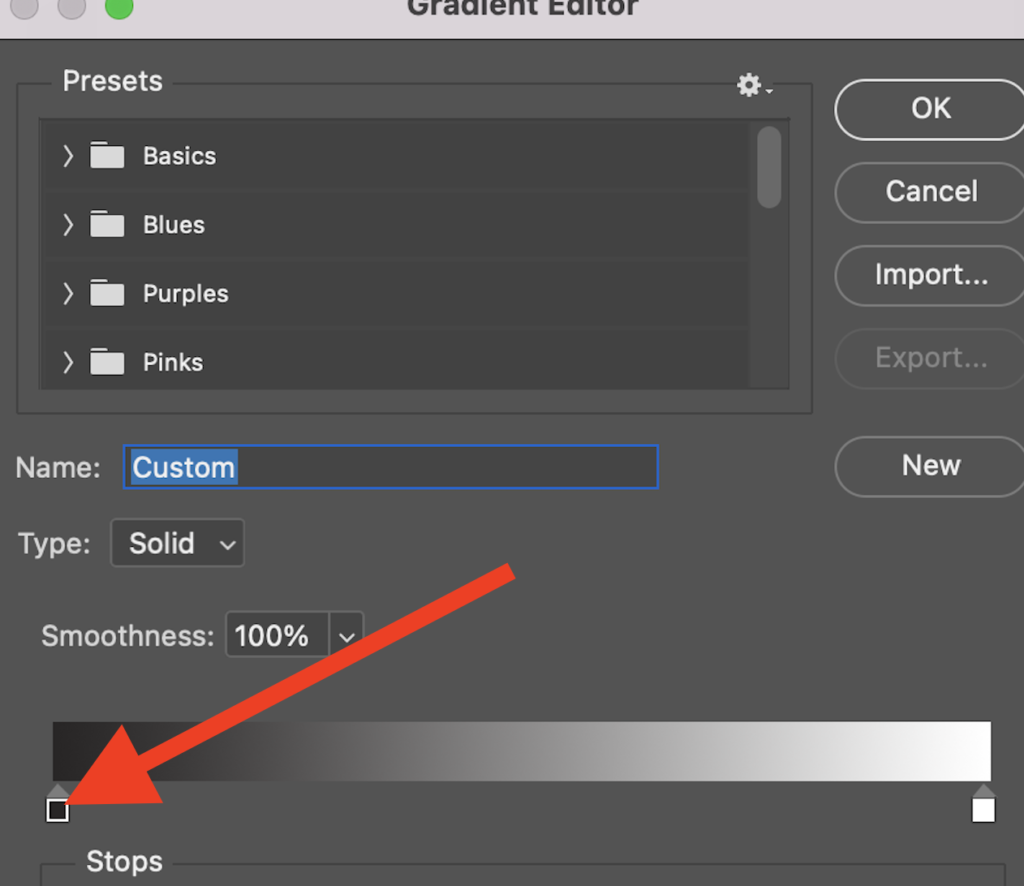
6. In the properties panel, select the long gradient bar
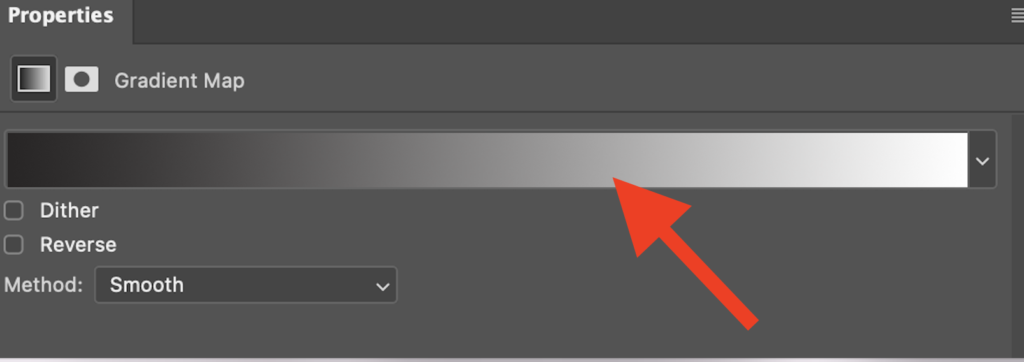
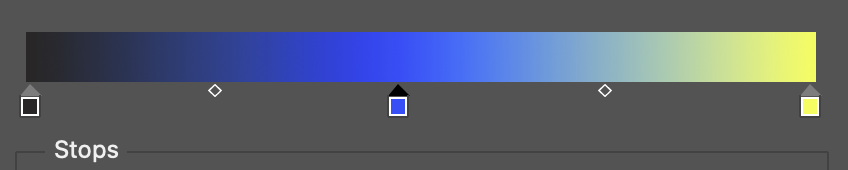
7. You will now see a gradient editor
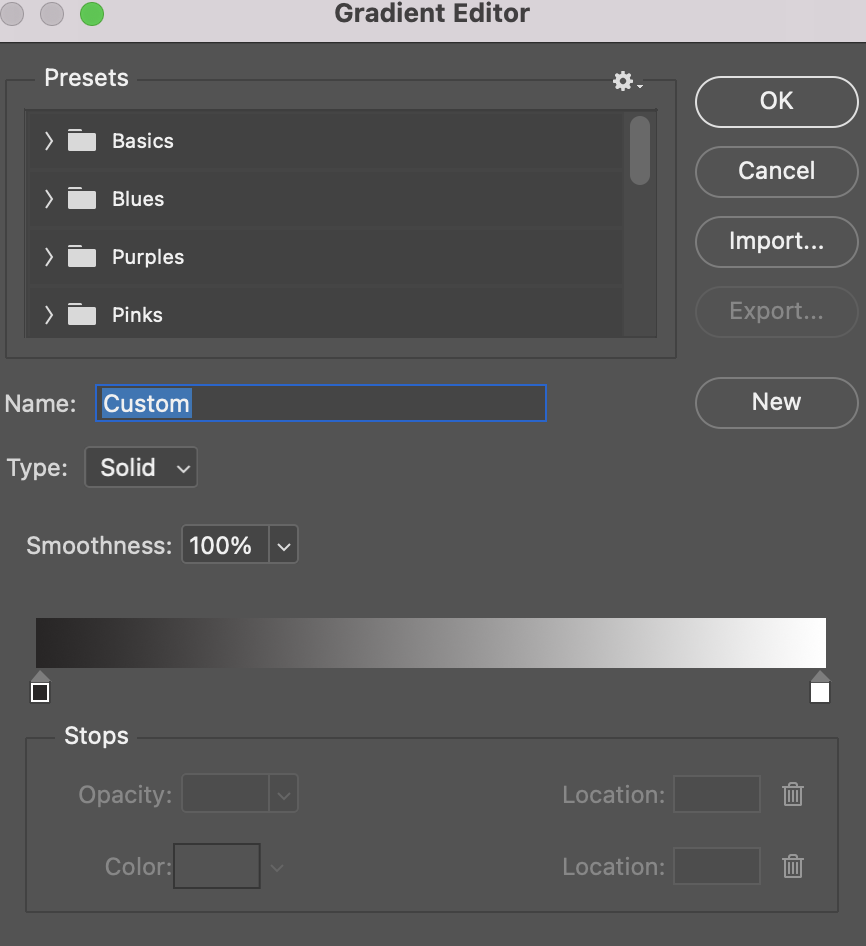
8. The left side of the gradient represents your dark colours. You can keep this black if you want, or change it to an alternative dark colour. To change the colour, click on the likke square icon to the left of the gradient.
9. To change your brightest colour, change click the little white cube.
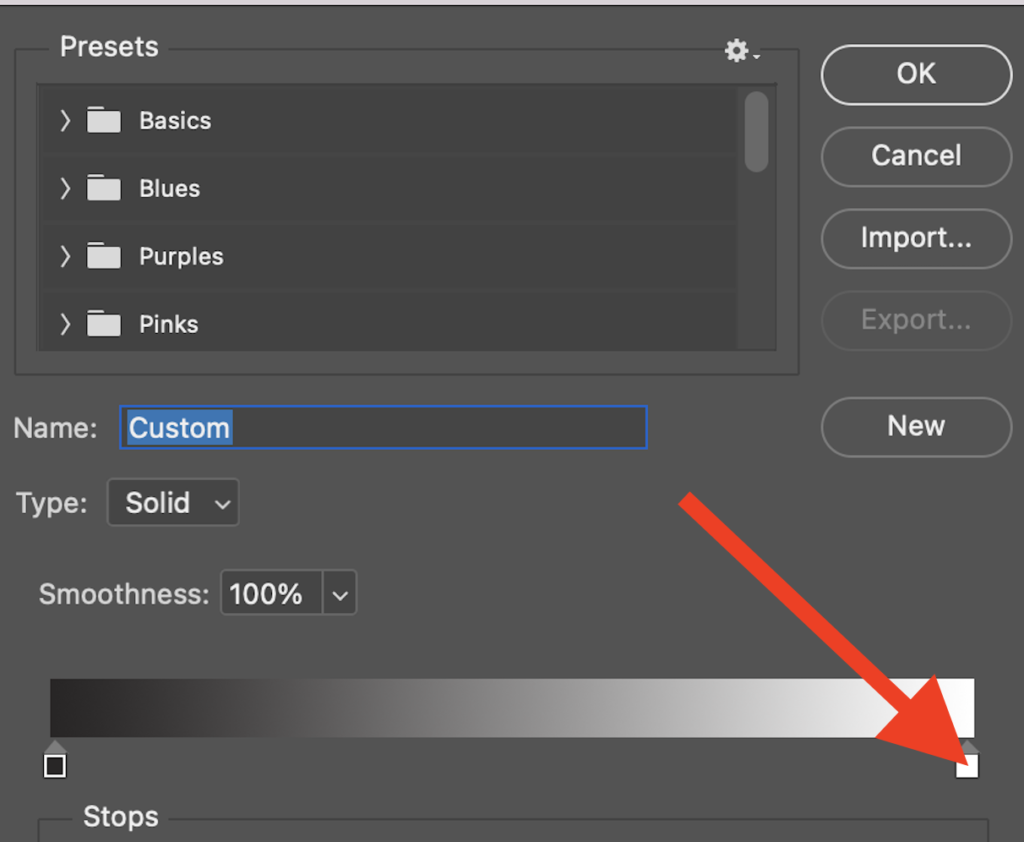
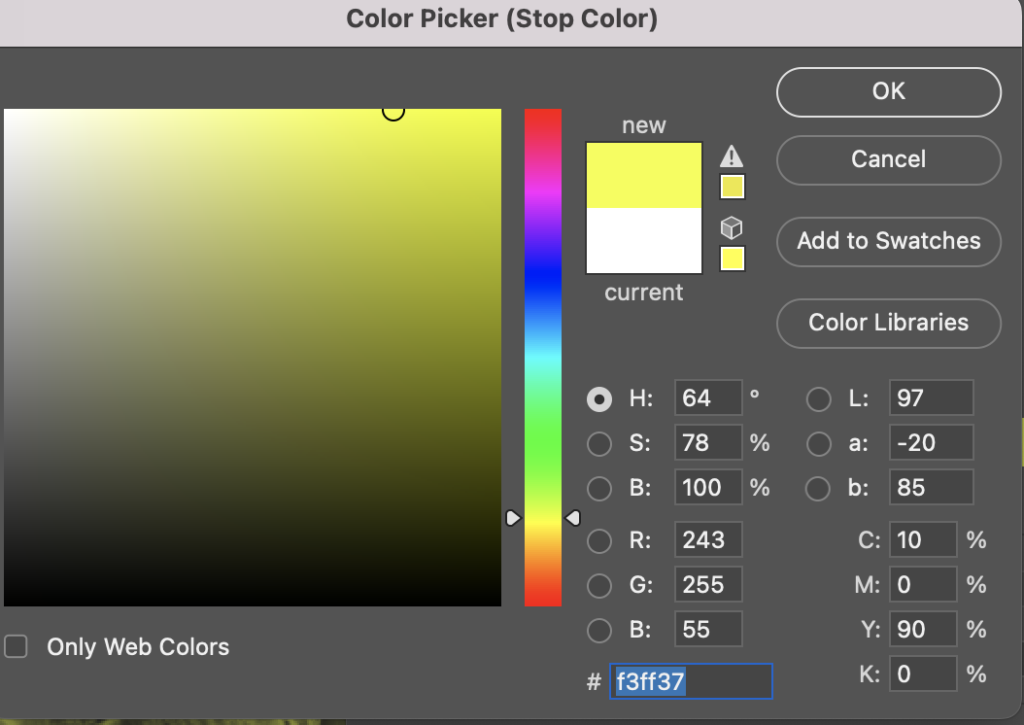
10. Choose a colour for your brightest tone (you can keep it white if you want)
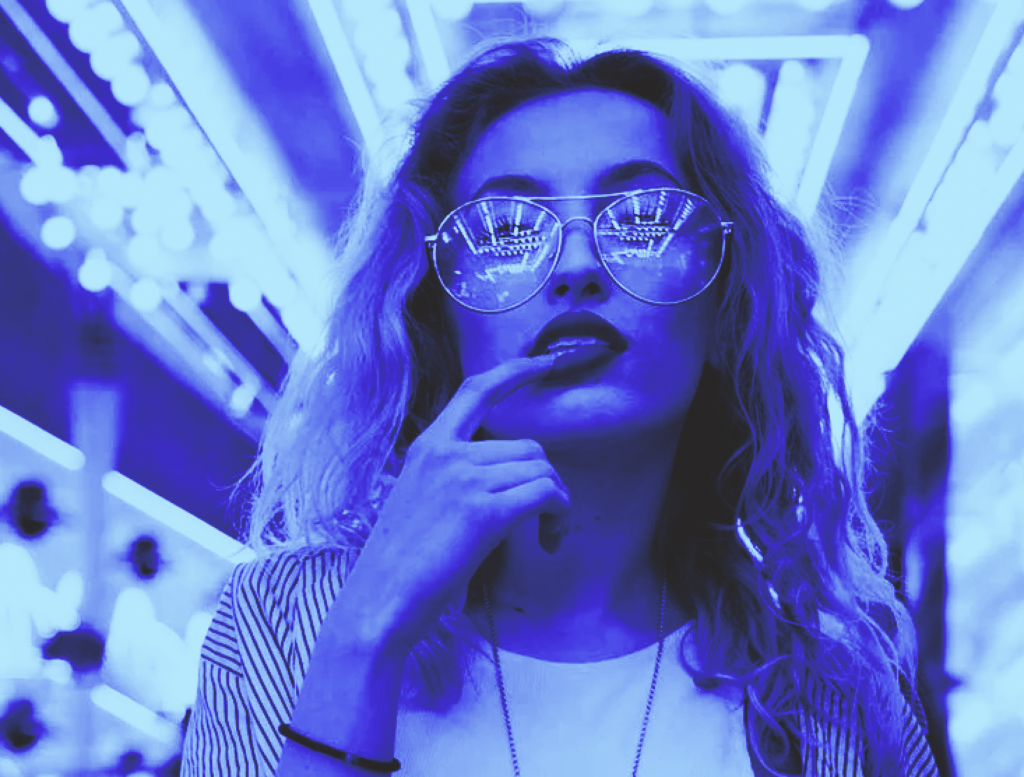
In my example, I chose a bright yellow.
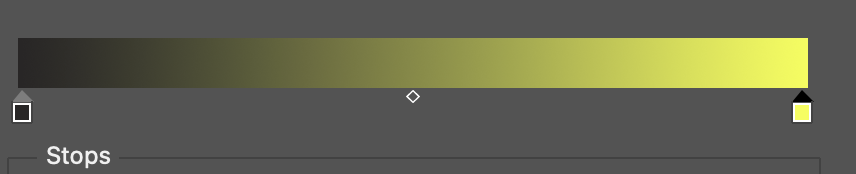
11. Now choose a mid-tone. To choose a mid-tone, click somewhere under the middle of the gradient bar.
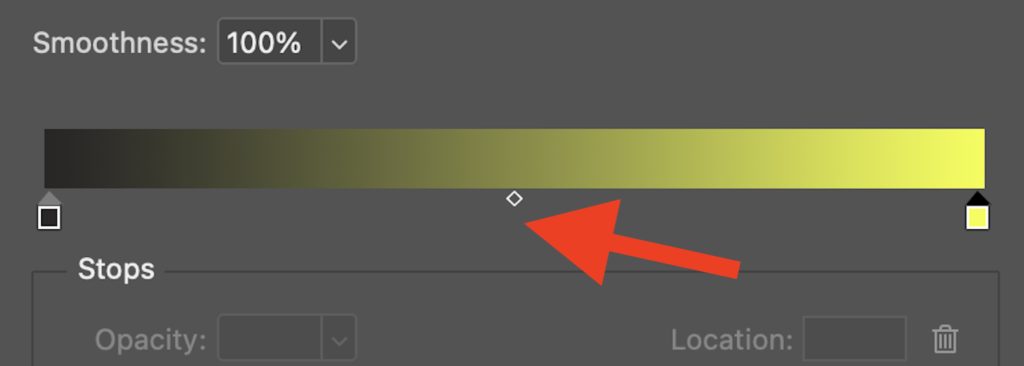
12. This creates a third square so you can choose an additional mid-tone for your gradient. Click the square to change its colour.

13. These were some colours I experimented with… Be careful the colours you choose… don’t go too tacky!