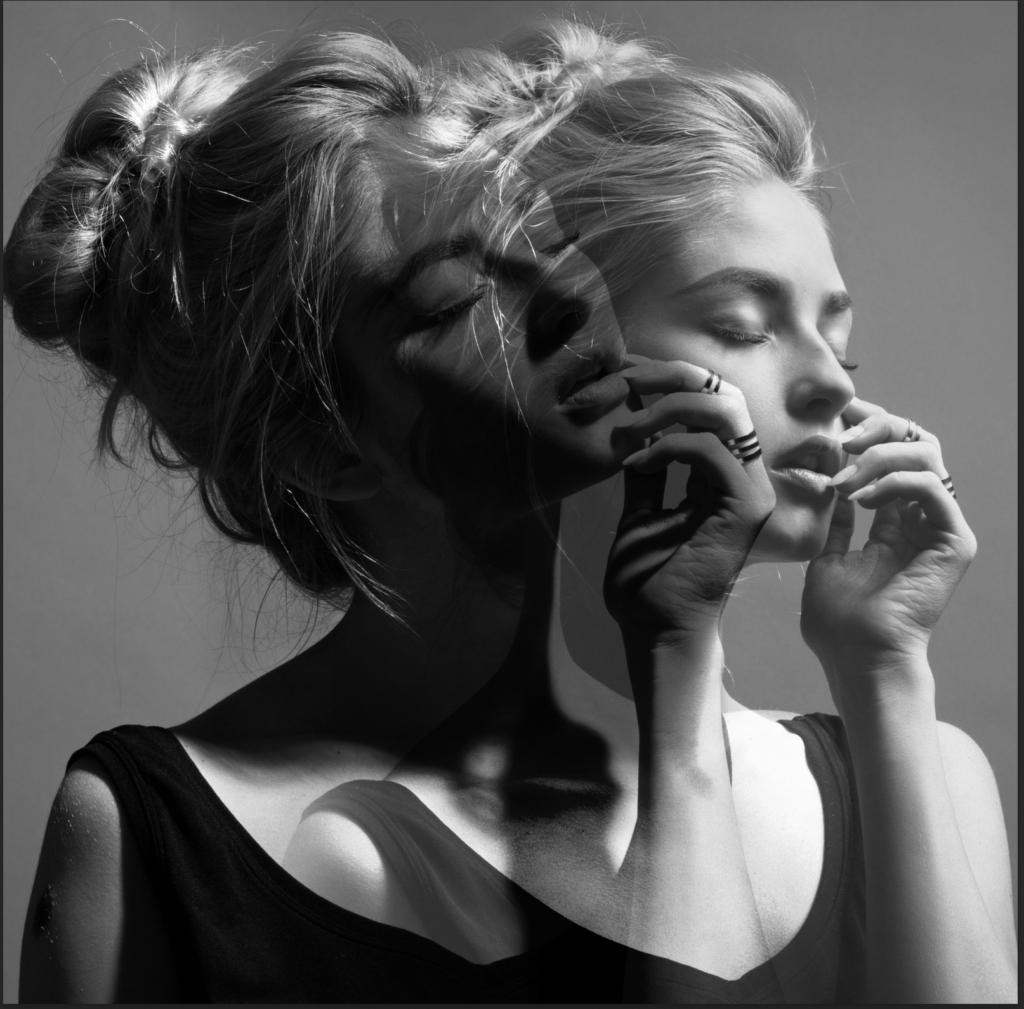
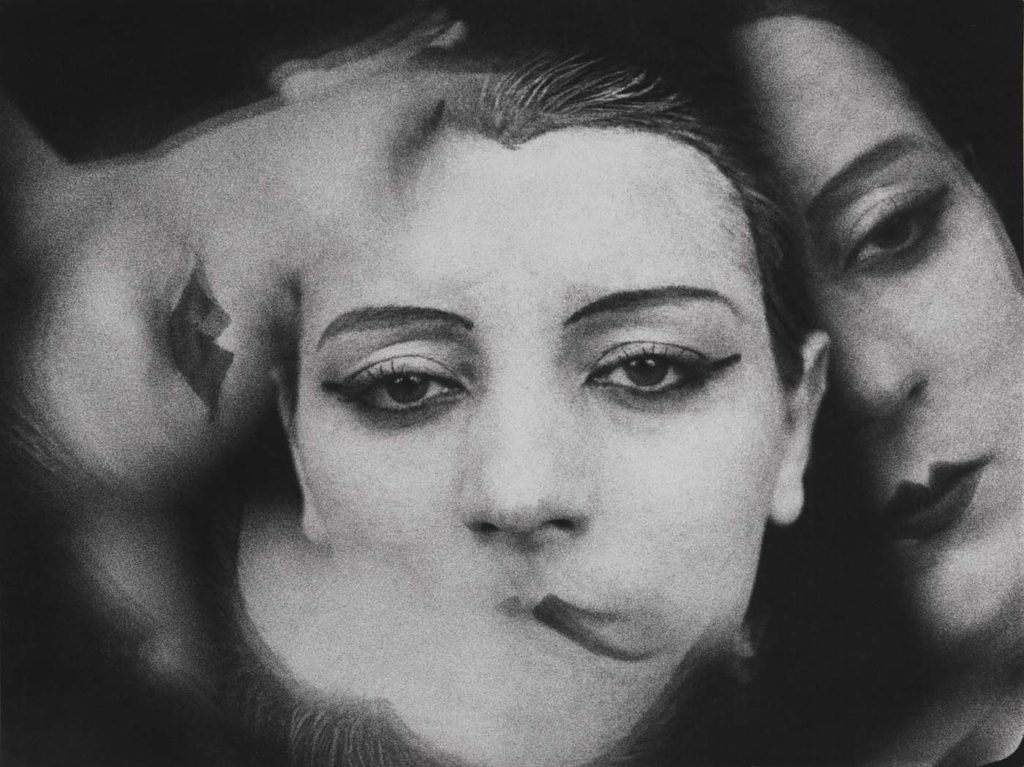
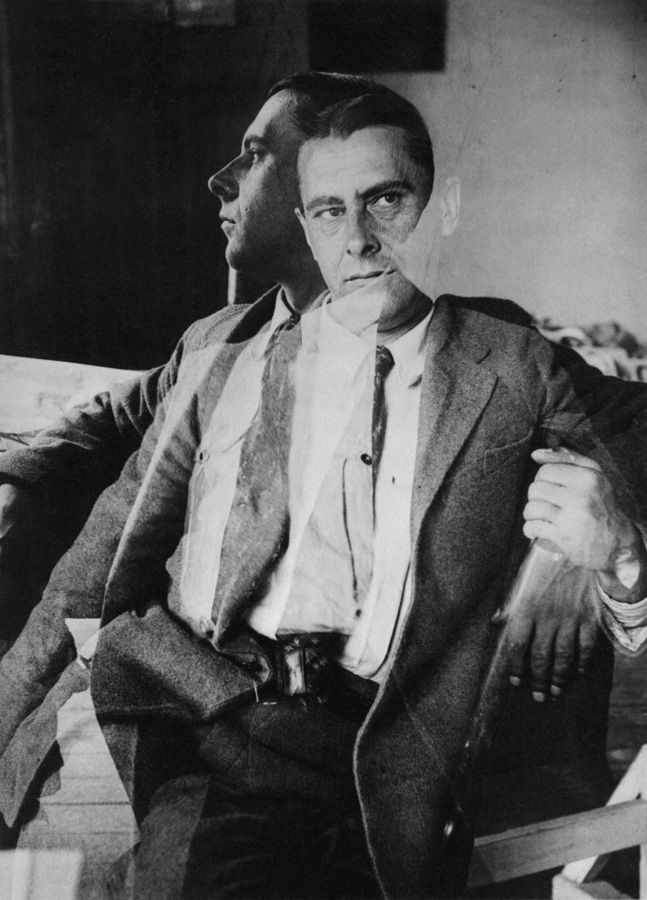
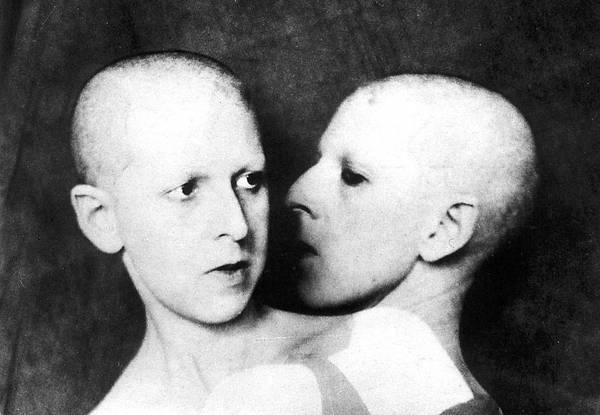
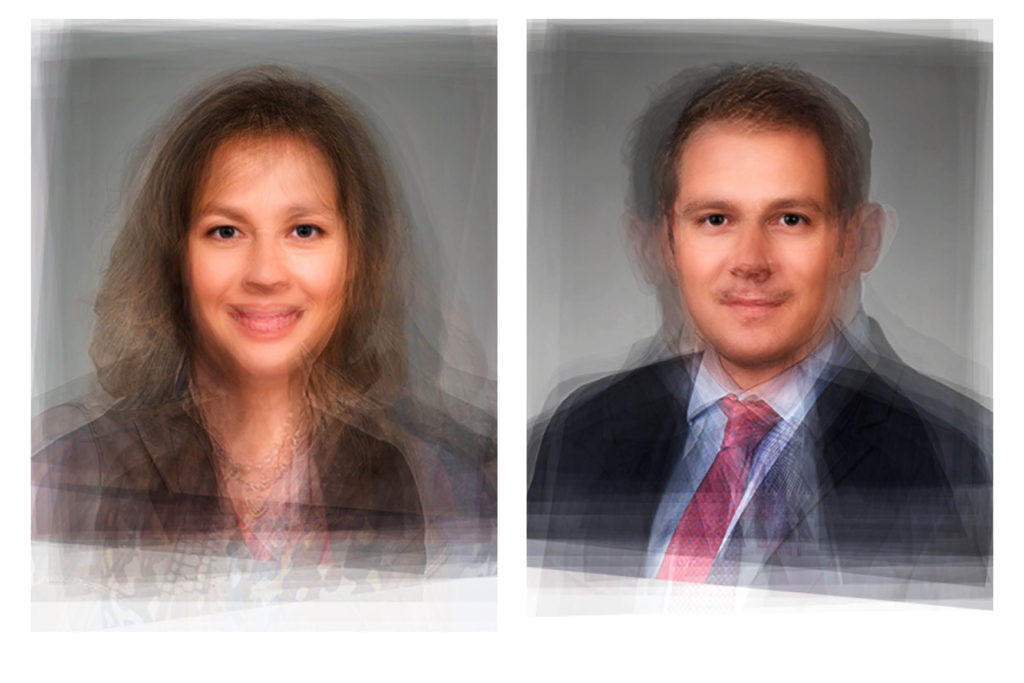
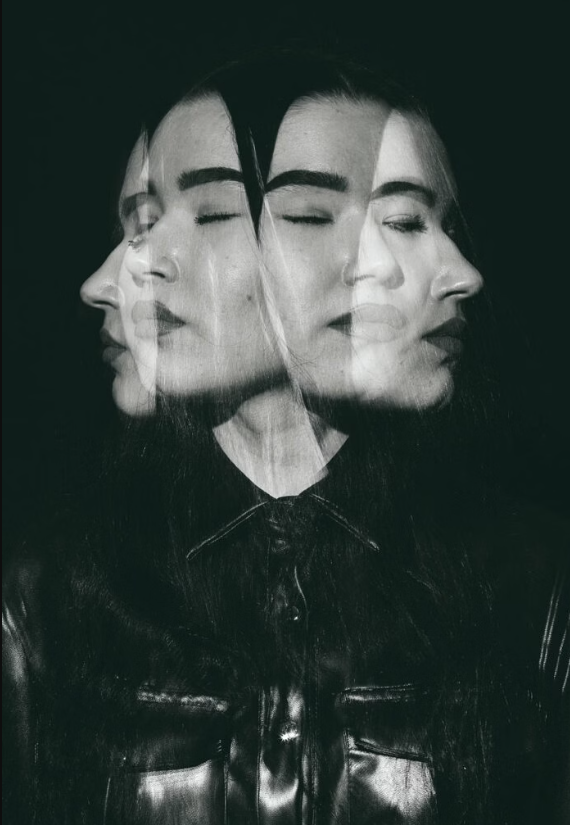
Double or multiple exposures are an illusion created by layering images (or portions of images) over the top of each other. This can be achieved in the camera settings, or on Adobe Photoshop by creating LAYERS and then using BLENDING OPTIONS and OPACITY CONTROL.
Artist have used these techniques to explore Surrealist Ideas and evoke dream-like imagery, or imagery that explores time / time lapse.
Mary Ray:
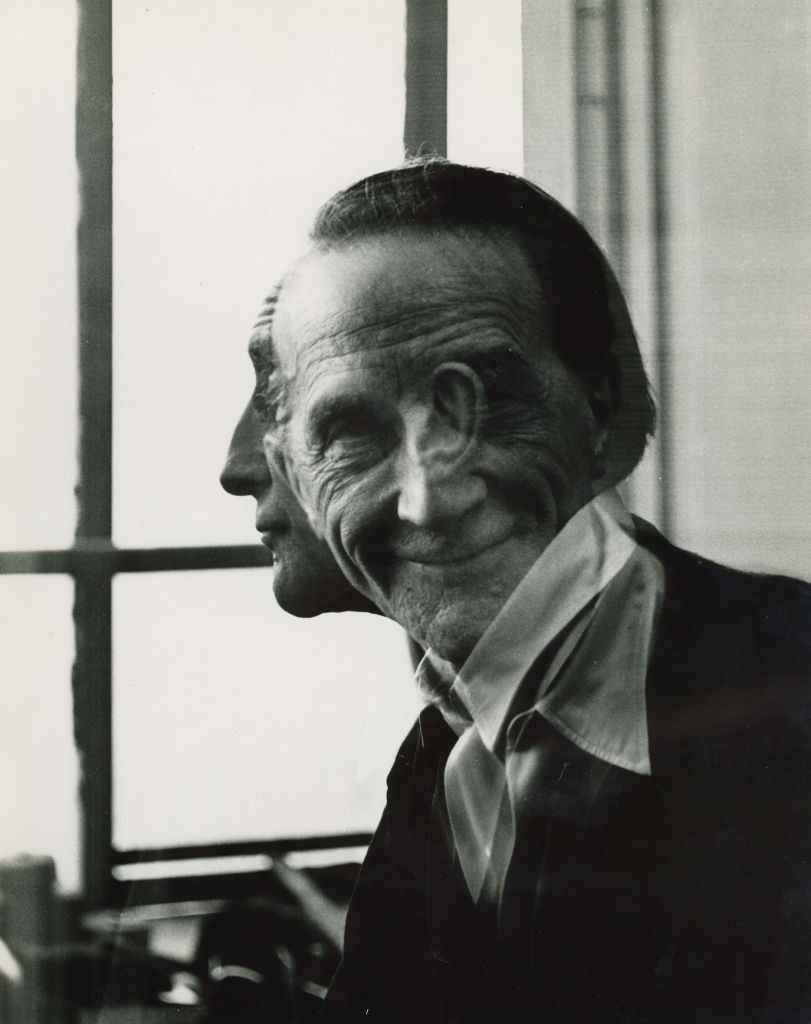
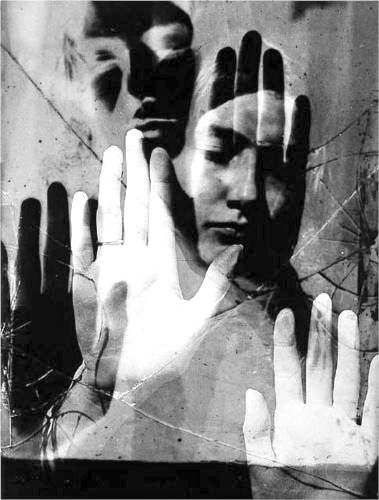
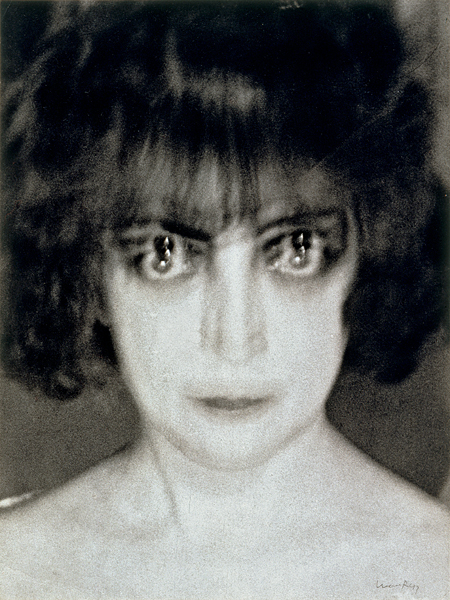
Alexander Rodchenko:
Claude Cahun:
Lewis Bush, Trading Zones:
Tiffany Sutton
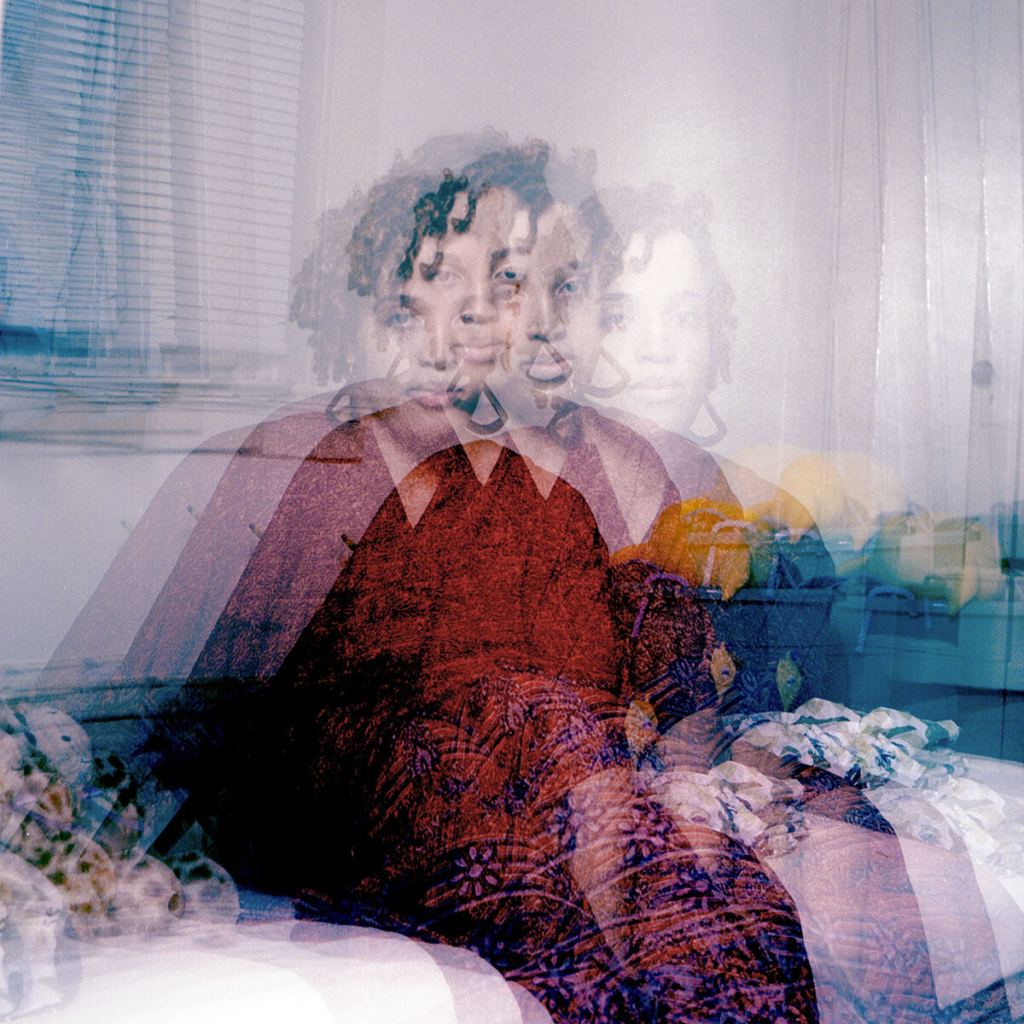
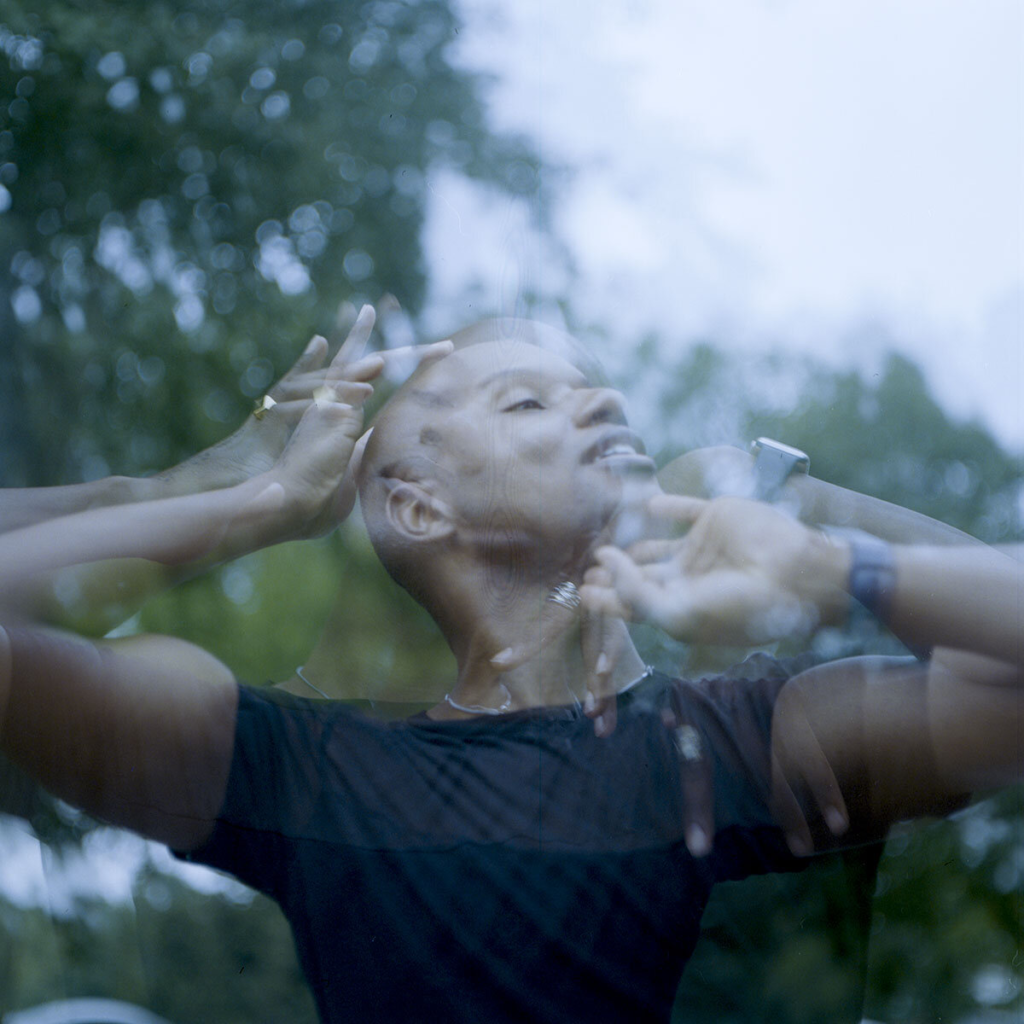
Michael Betzner
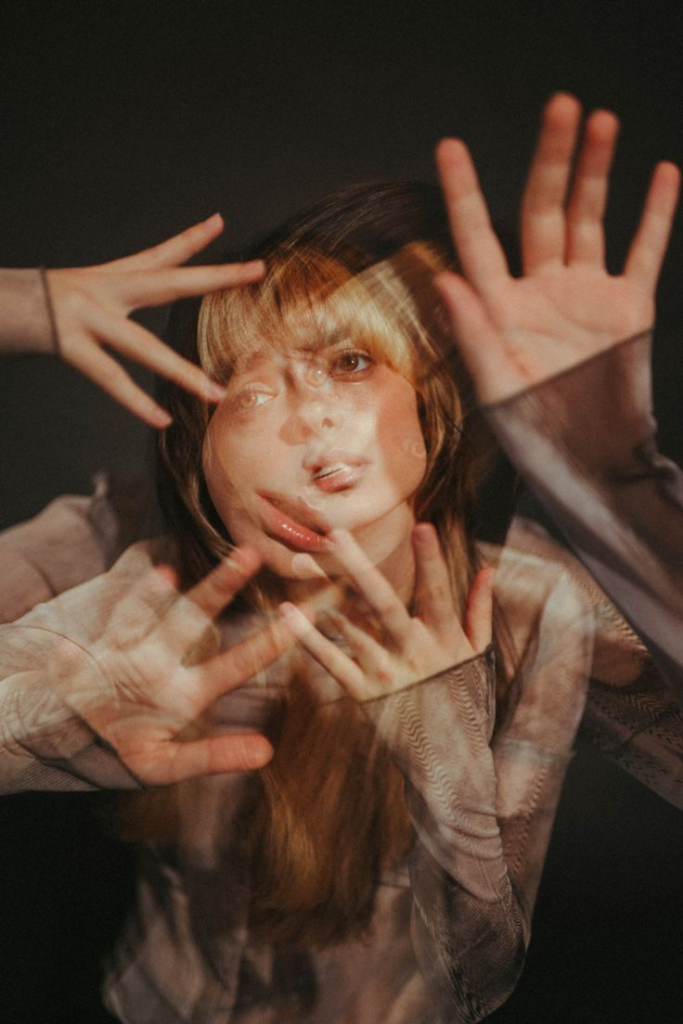
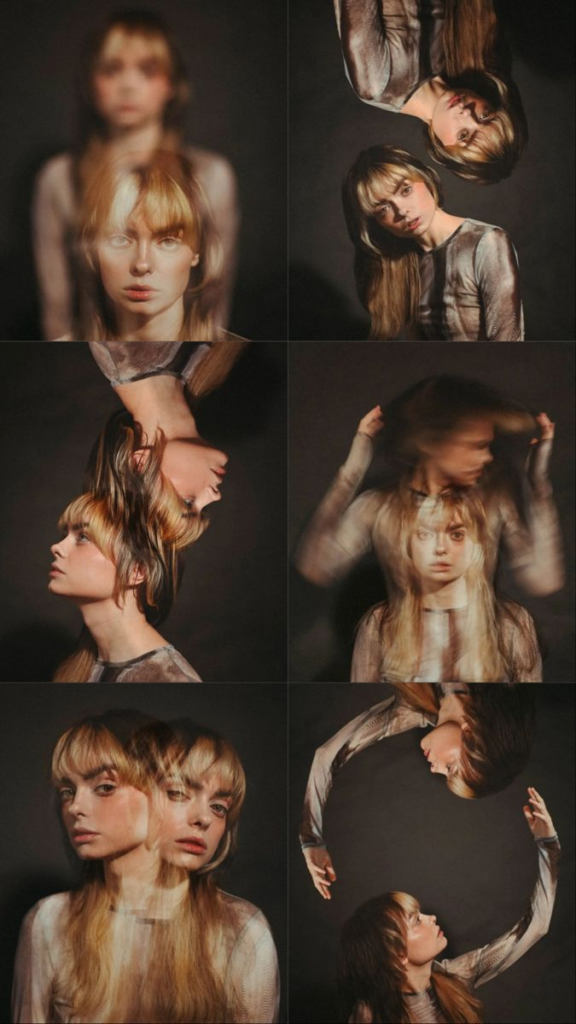
More ideas:
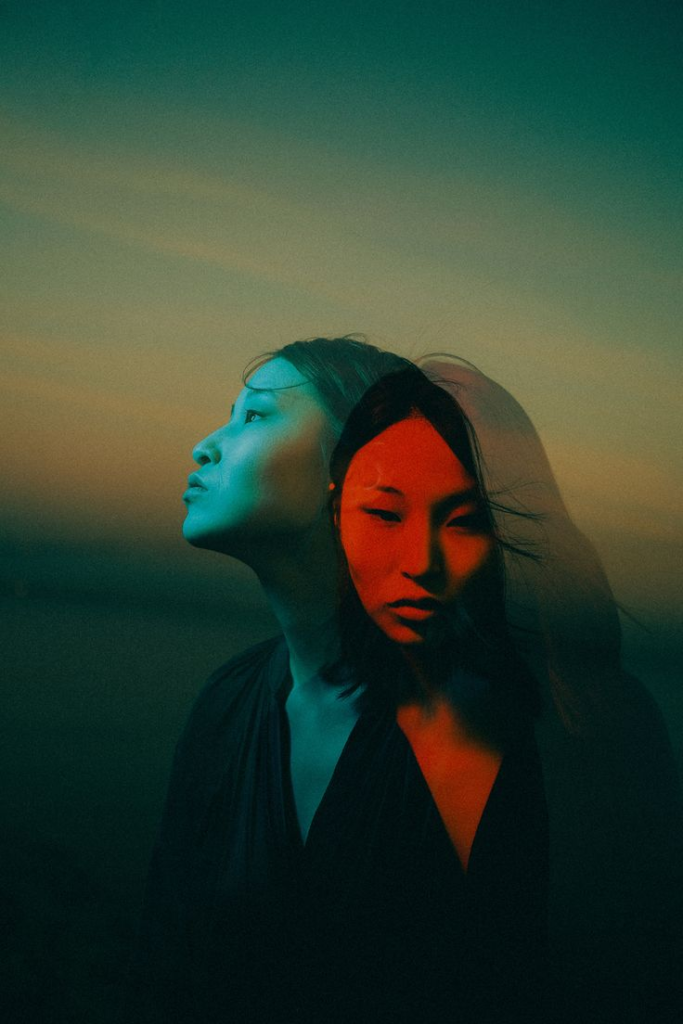
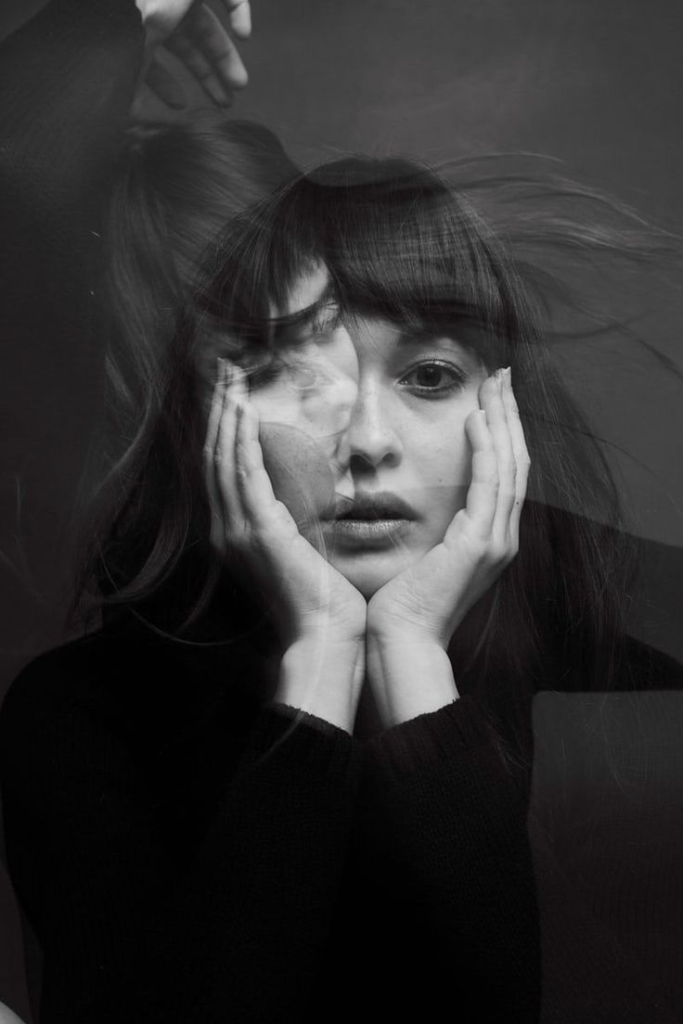
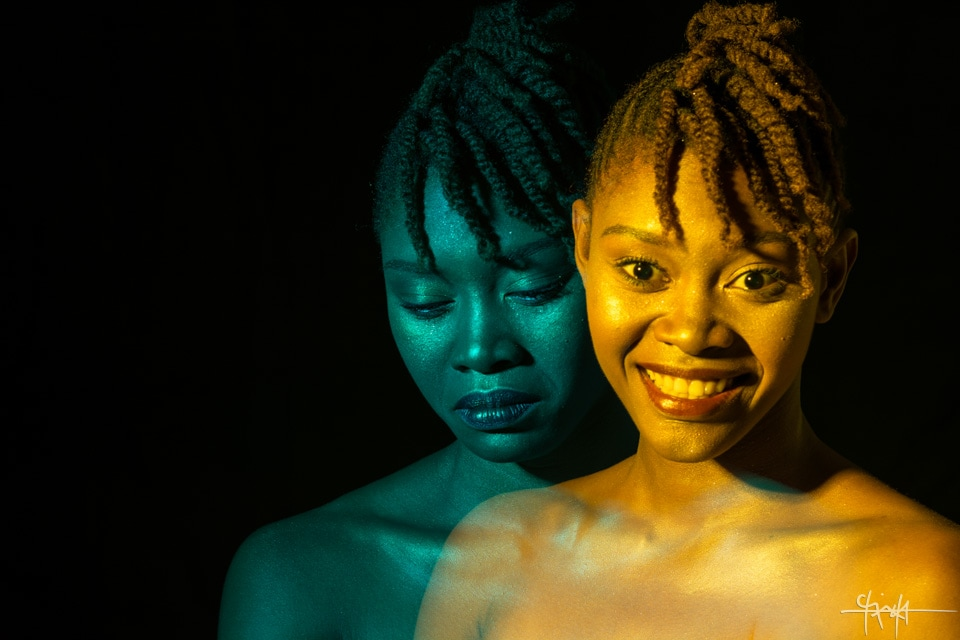
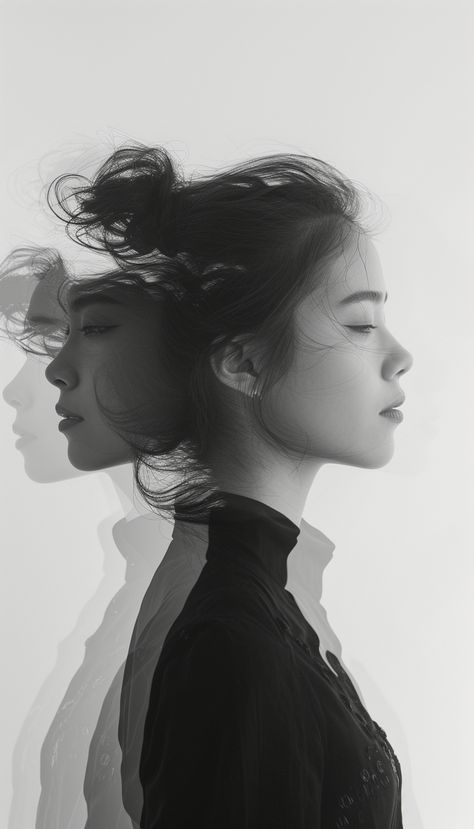
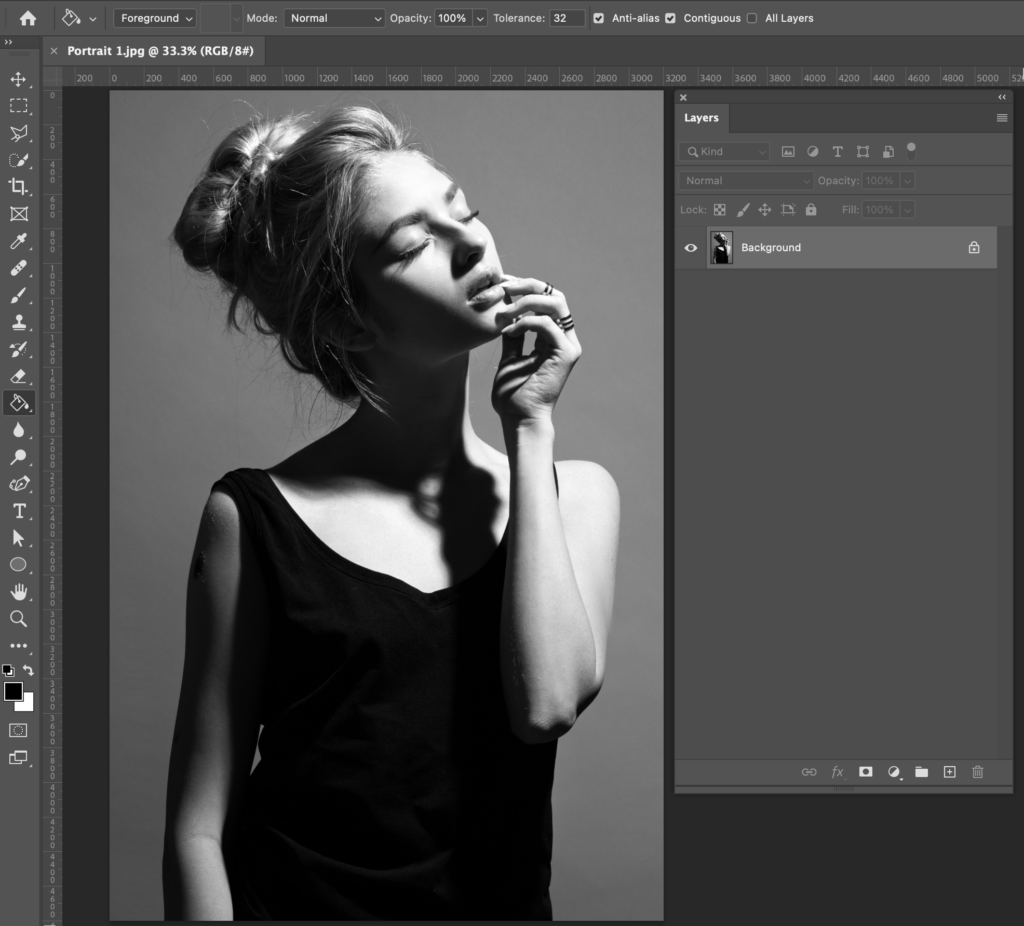
How to create this effect in photoshop:
- Open your first photo in photoshop and edit it to your liking before applying the mutli-exposuure effect.
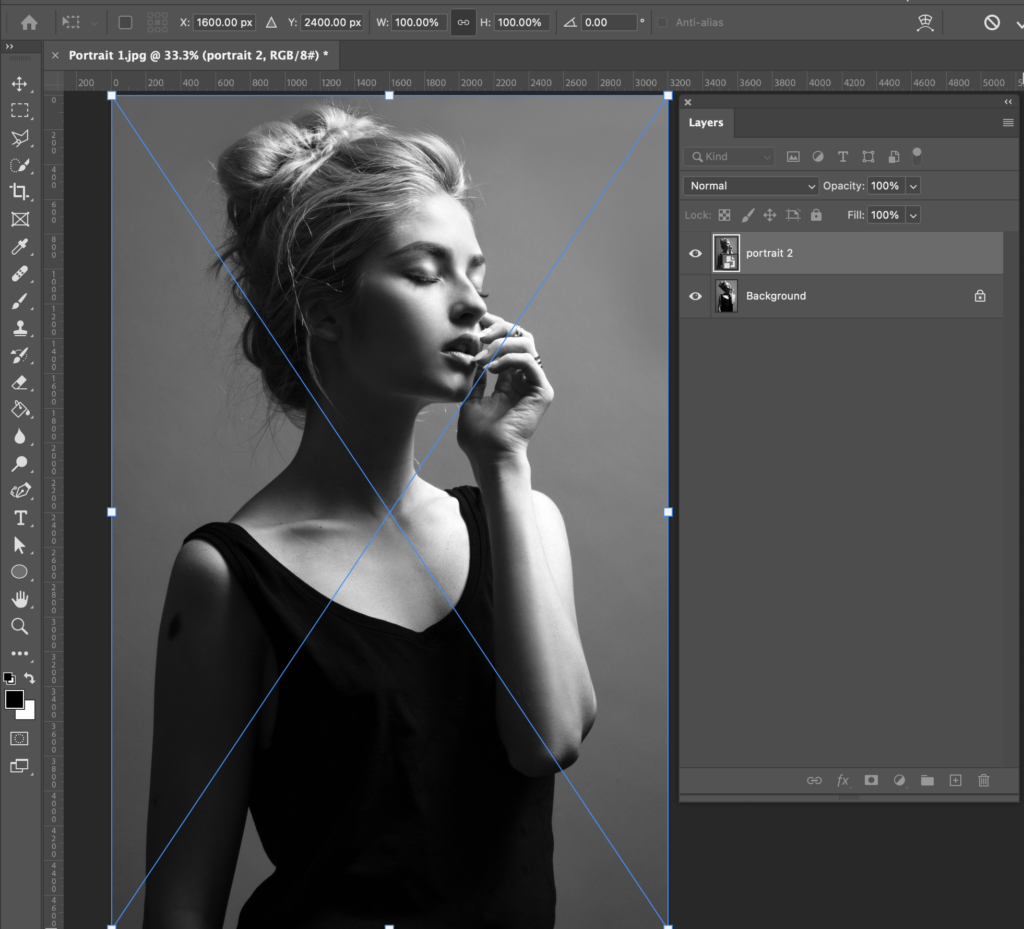
2. Drag your second image on top of the original. If you need to resize or reposition, hold CTRL + T on your keyboard.
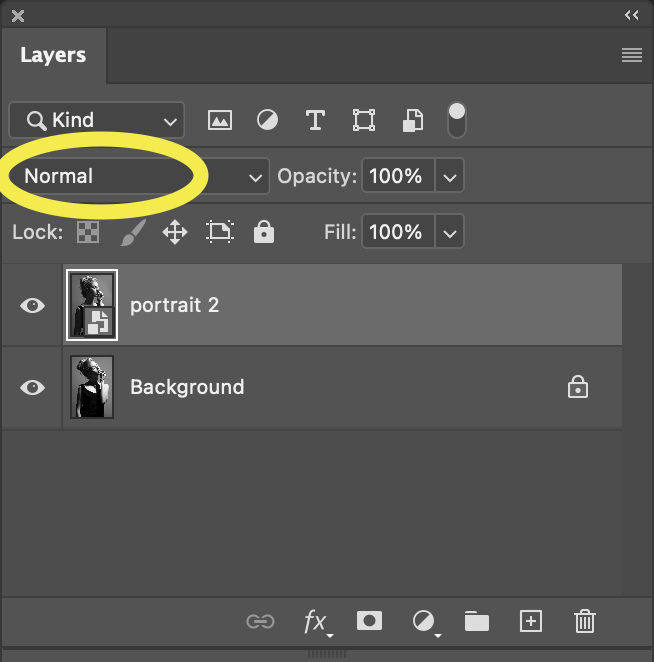
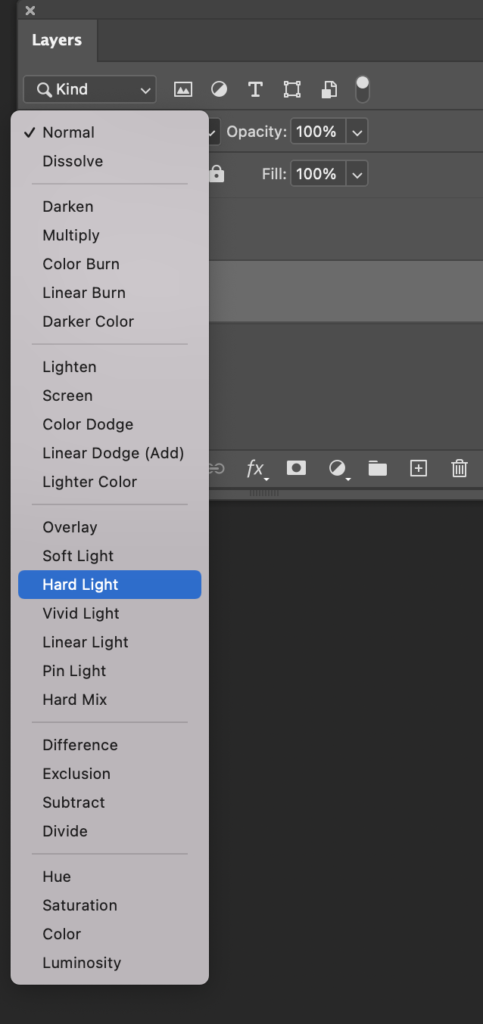
3. In the layers panel, click where it says ‘normal’. This is where you can adjust the blend mode.
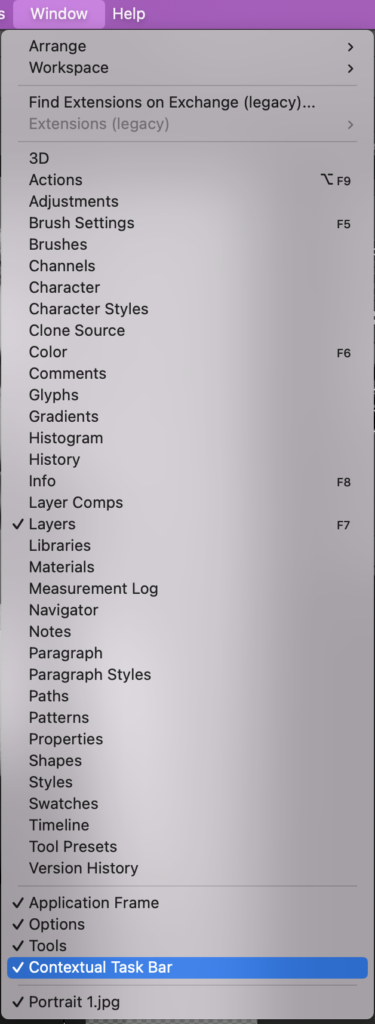
(TIP: If the layers panel isn’t visible, go to Windows along the top panel and make sure Layers is ticked.)
4. Experiment with different blend modes from the drop down.
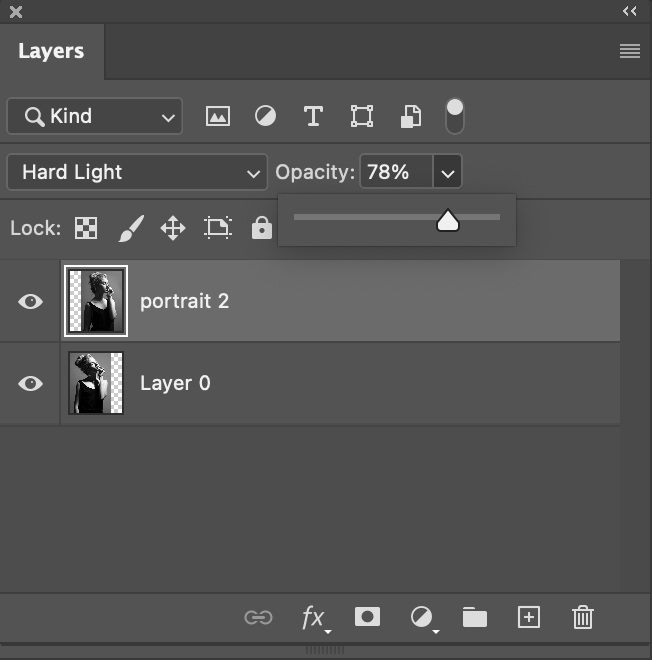
5. You can also adjust the opacity
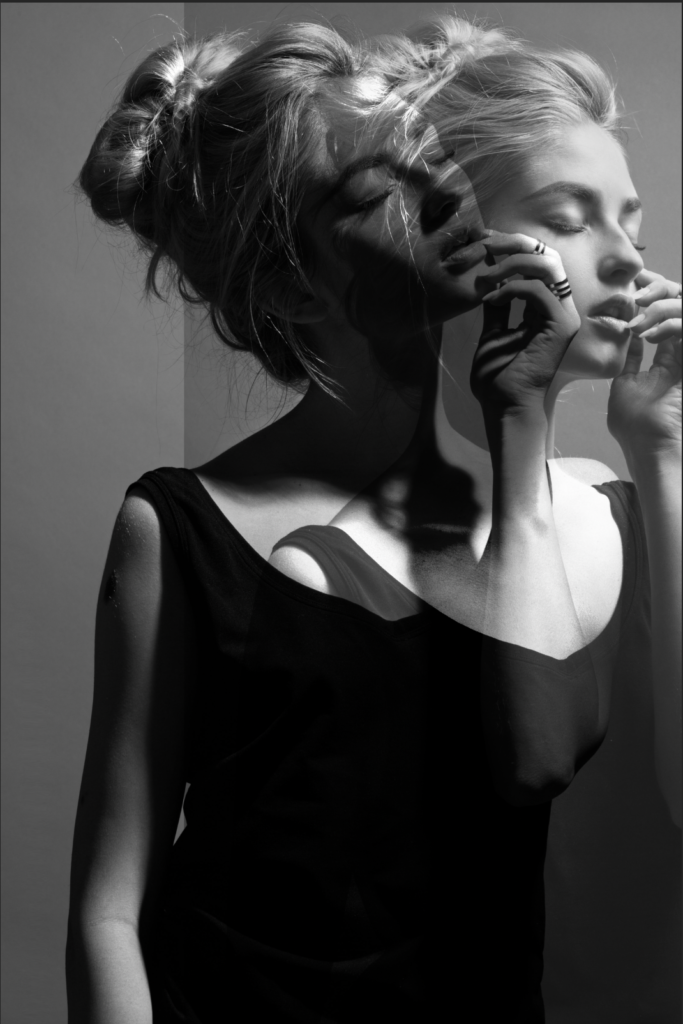
6. For this image, I used the crop tool to extend my page so I had more room to work with (as shown below).
Crop tool:

Extending the right edge to allow more room to work with:
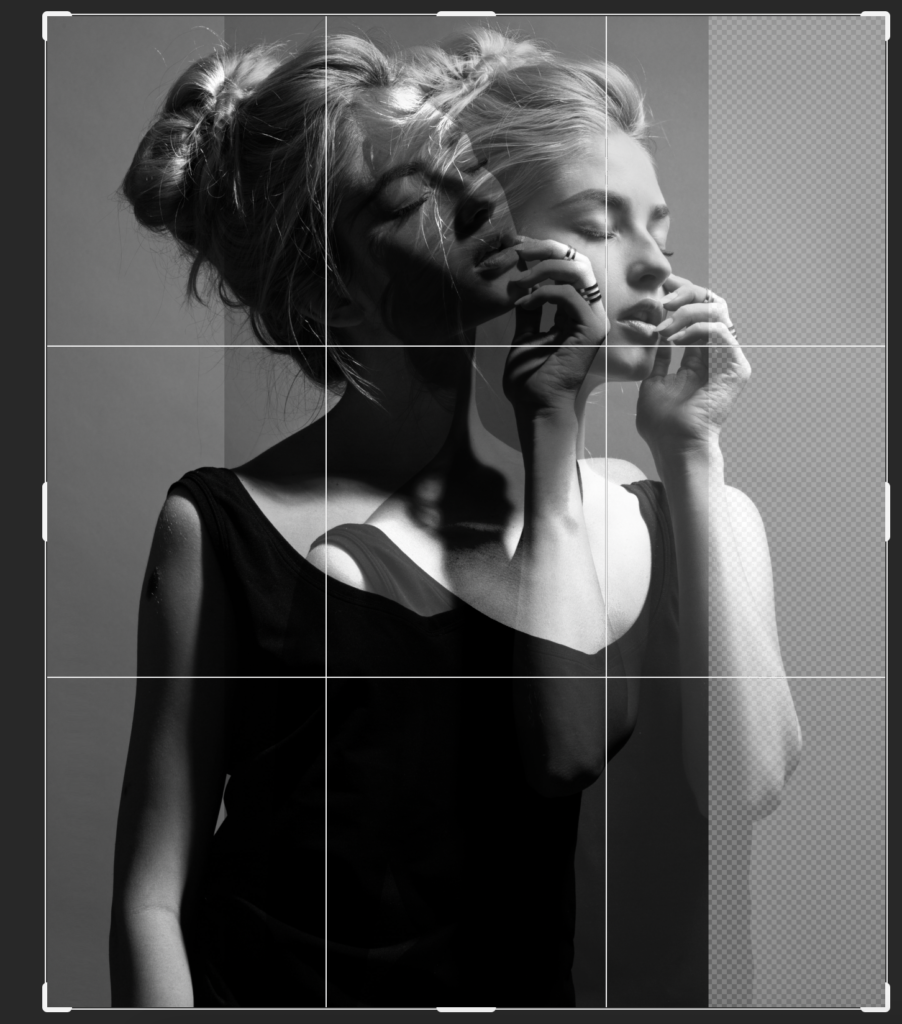
Press Enter when happy with cropping.
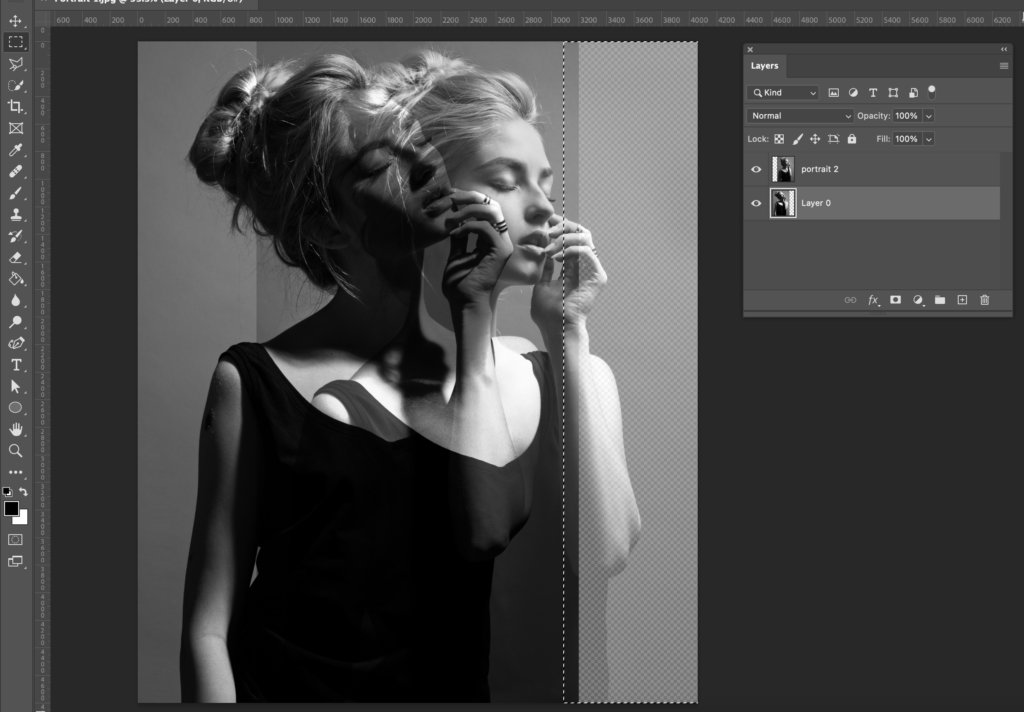
7. If you want to extend your canvas, and you need to remove the transparent background (indicated by the checkered area), then follow this step. If not, skip to step 8.
In the layers panel, select on the bottom layer.
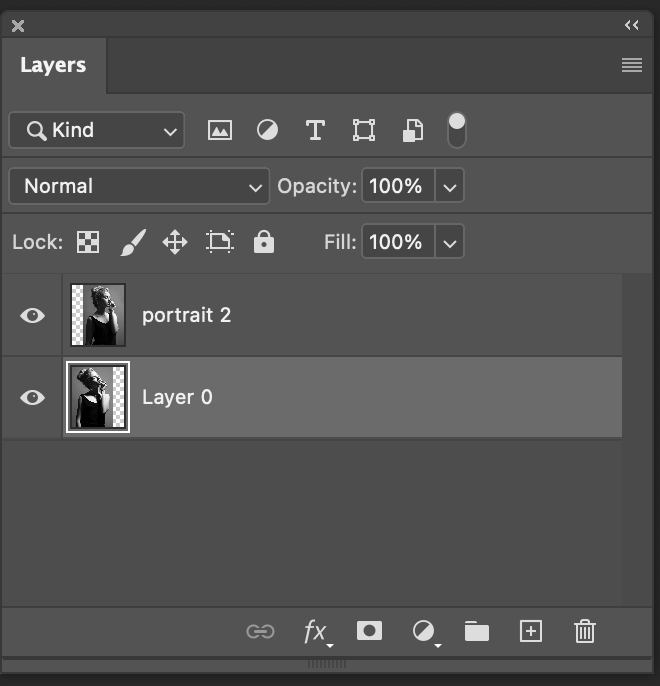
Select the rectangular marquee tool.

Click and drag a rectangular selection over the checkered area.
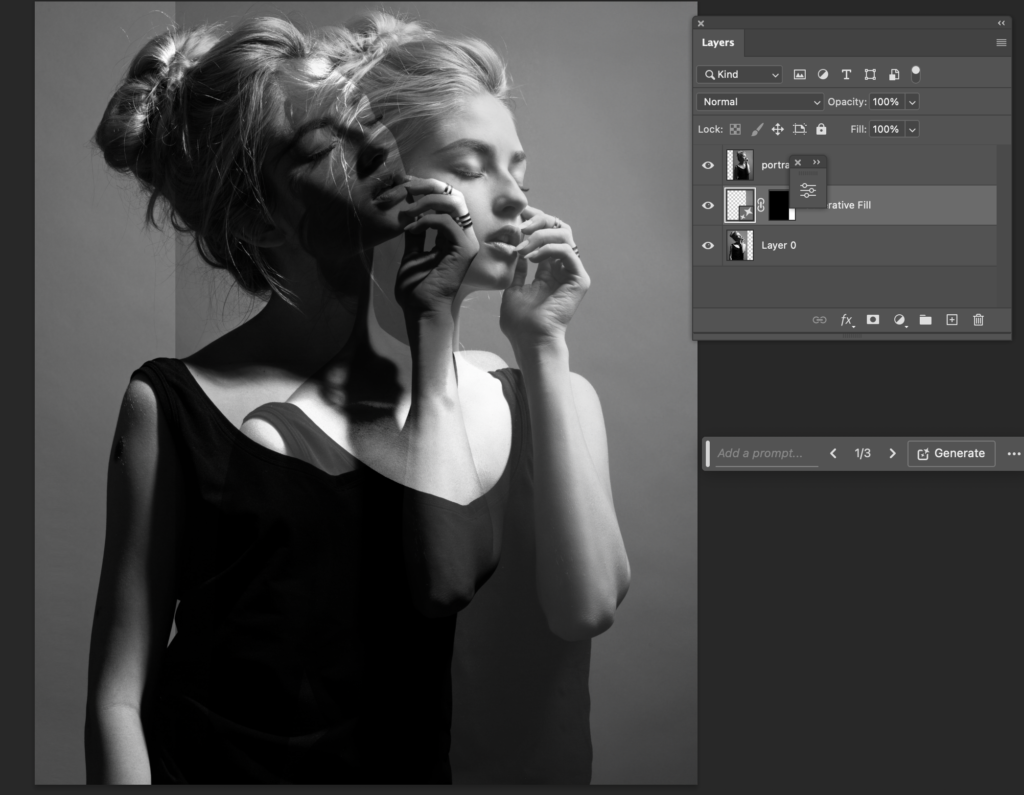
Now we are going to use Photoshops AI to fill the background… In the contextual toolbar, click generative fill > generate (if you don’t type anything, it will use content awareness).
Tip : If the contextual toolbar isn’t visible, go to Windows along the top toolbar and scroll down to check that contextual toolbar is ticked.
If this process doesn’t work, it might be because your selection included too many details, try to make sure your rectangular selection only has part of the background selected.
8. I’m now going to increase the intensity of my image….
Select back onto the top layer with the reduced opacity.
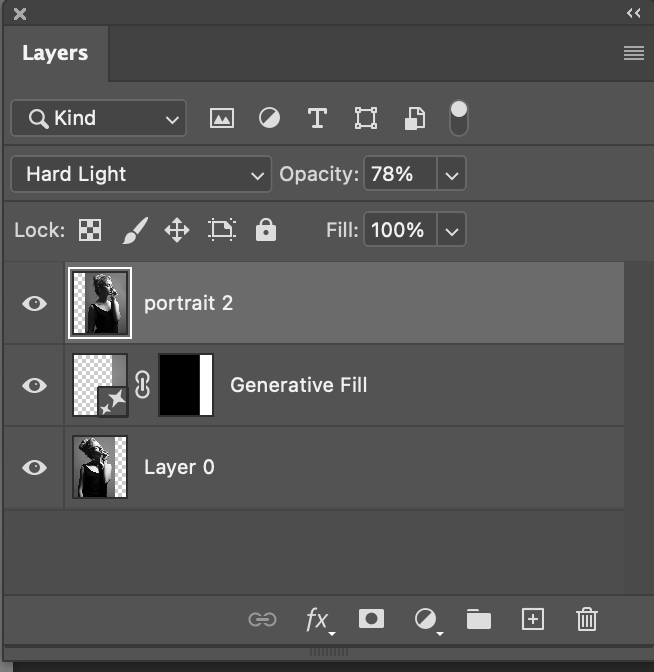
9. Go to Layer > Duplicate Layer.
You can see this has intensified the second layer (because there are now two coppies) while maintaining the blend mode.
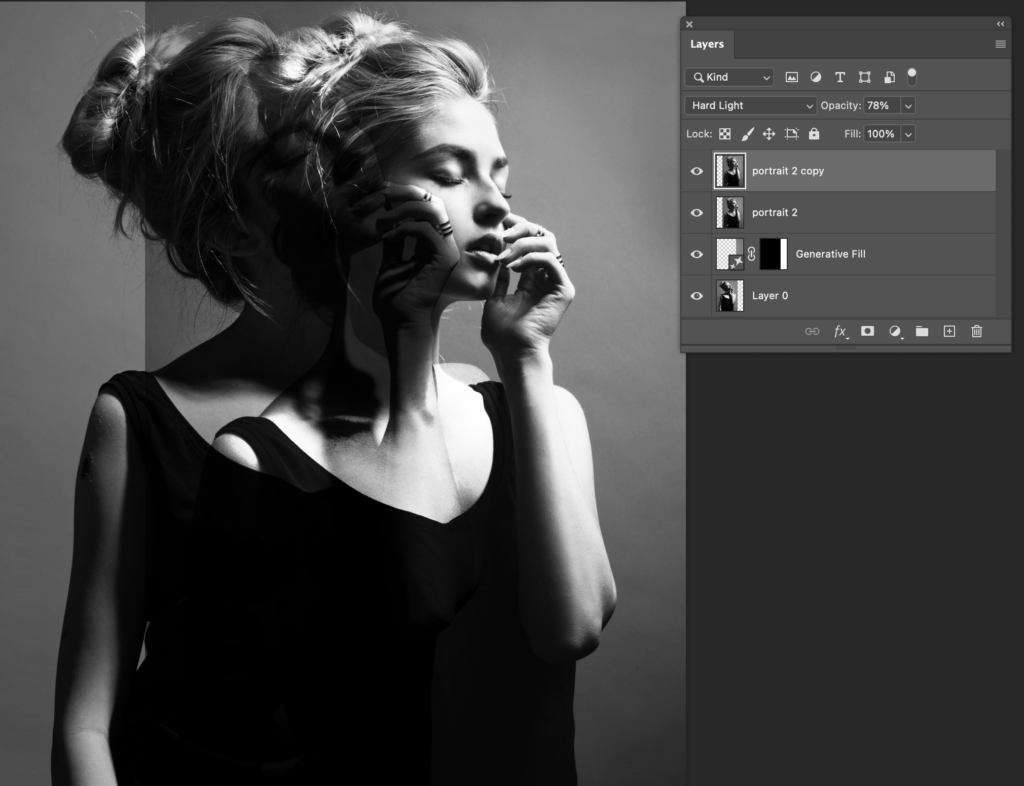
10. However, I want to reveal more of my bottom layer, so I am going to reduce the opacity of this top layer again.
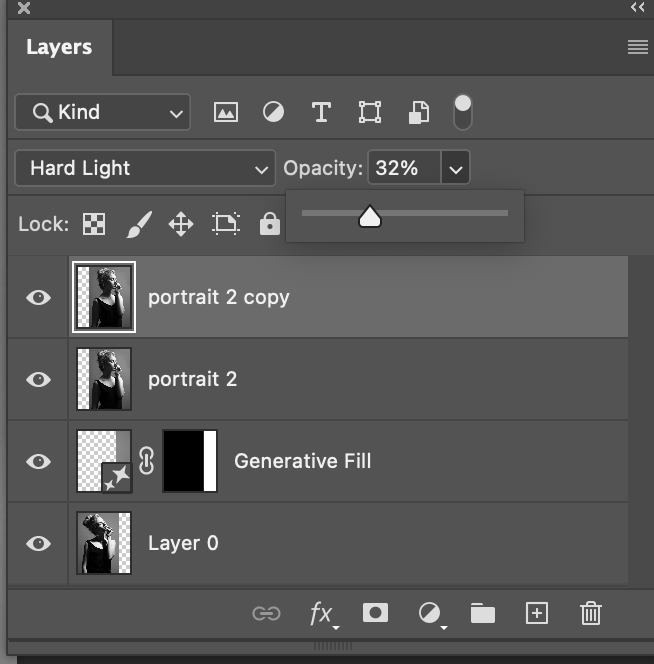
You can play around with duplicating and altering the opacity of layers until you are happy.
10. If there is a sharp line separating your images, you can remove it using the eraser tool.
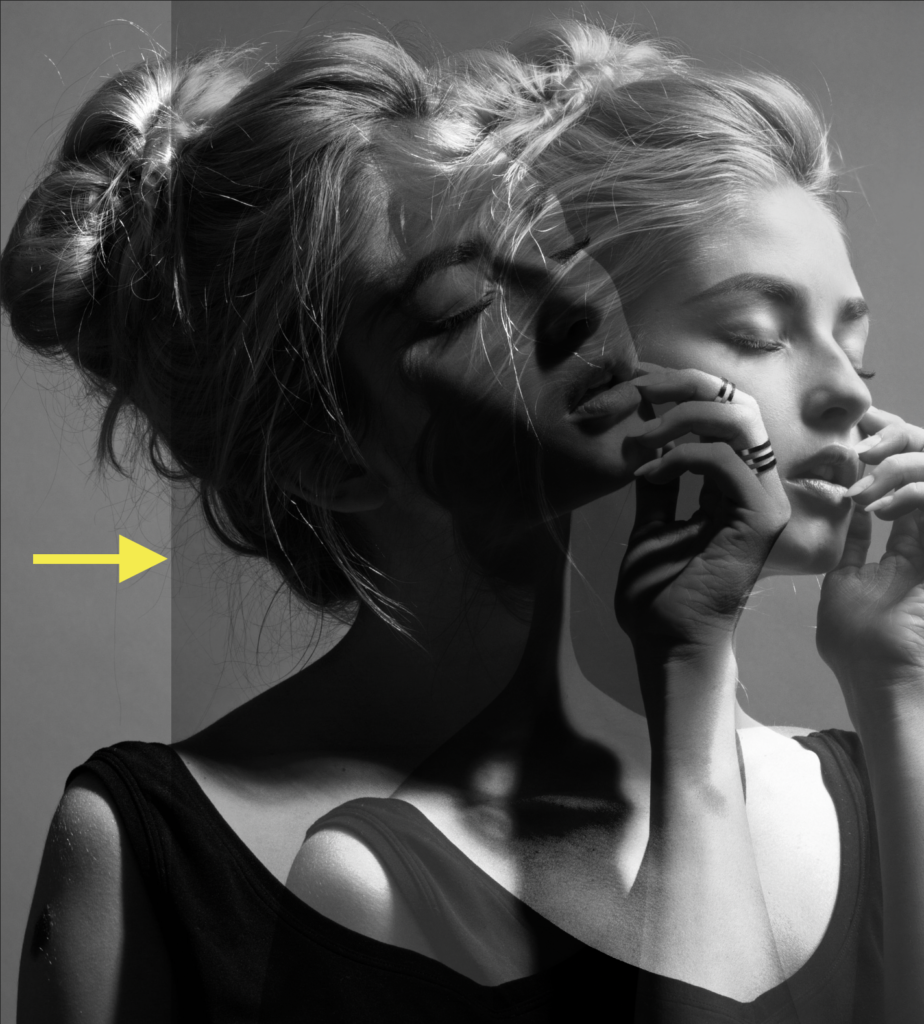

Reduce the hardness of the eraser and change the size to your liking.

Use the eraser to erase the edge of the image. (make sure you have the correct layer selected).
