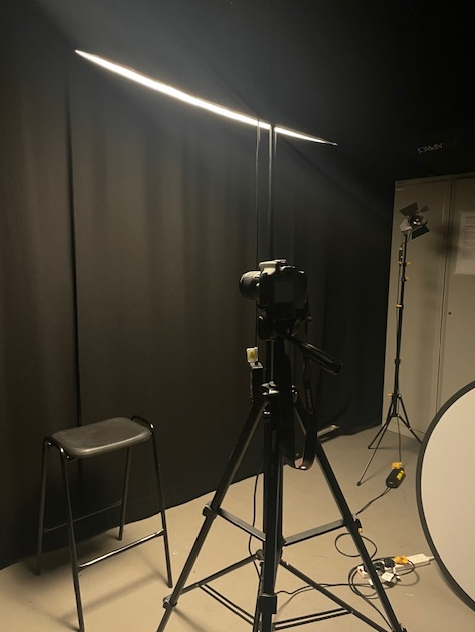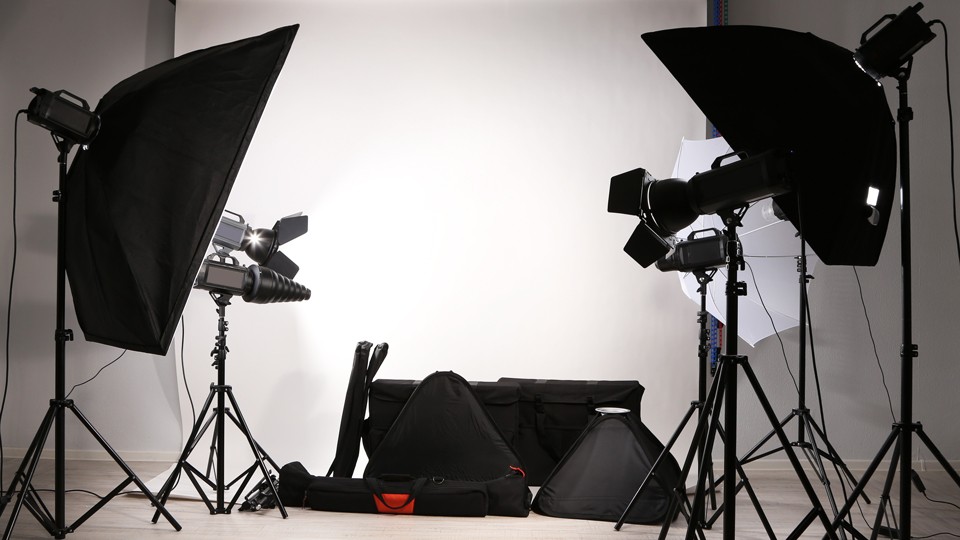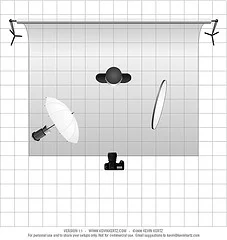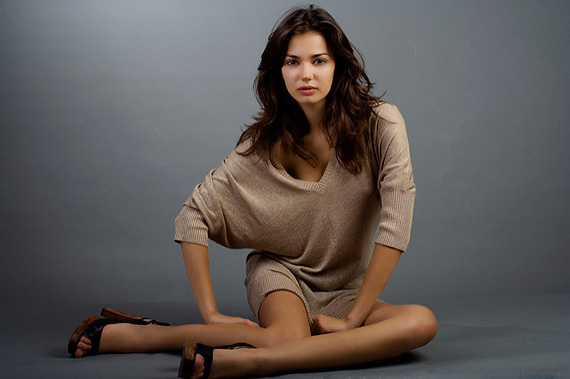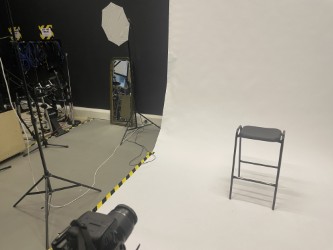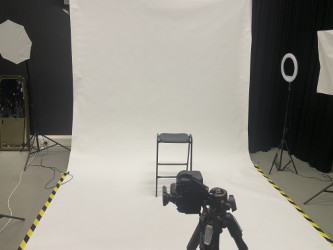
Studio lighting is a popular choice for portrait photographers who want complete control over their lighting environment. In a studio setting, photographers can use a variety of lights, such as soft boxes, umbrellas, and beauty dishes, to create the perfect lighting setup for their subject.
Studio lighting in photography happens when a photographer uses an artificial light source to either add to the light that’s already there, or to completely light their photograph. Setups can range from using a single flash that you mount onto your camera, to multiple off-camera lights.
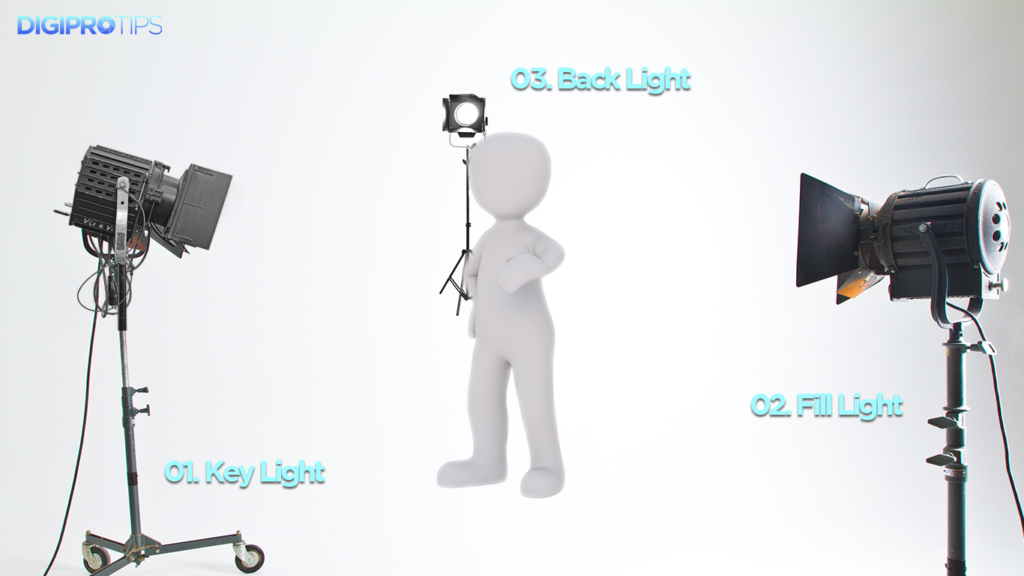
difference between 1-2-3 point lighting
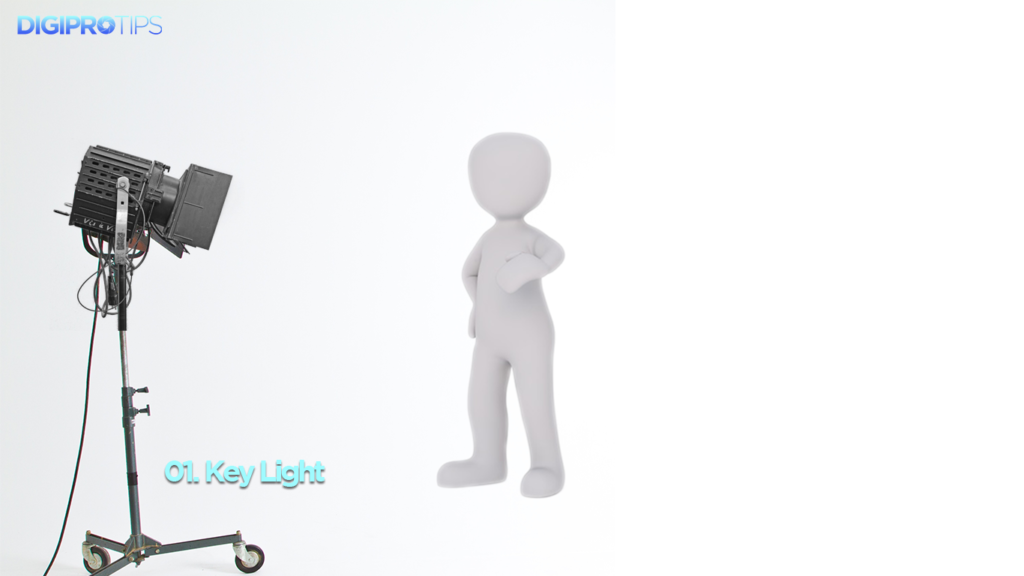
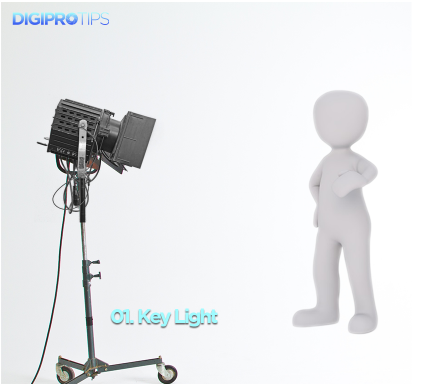
point 1 – key light
usually the strongest point of light and most influence within the area, places to on side of camera or subject.
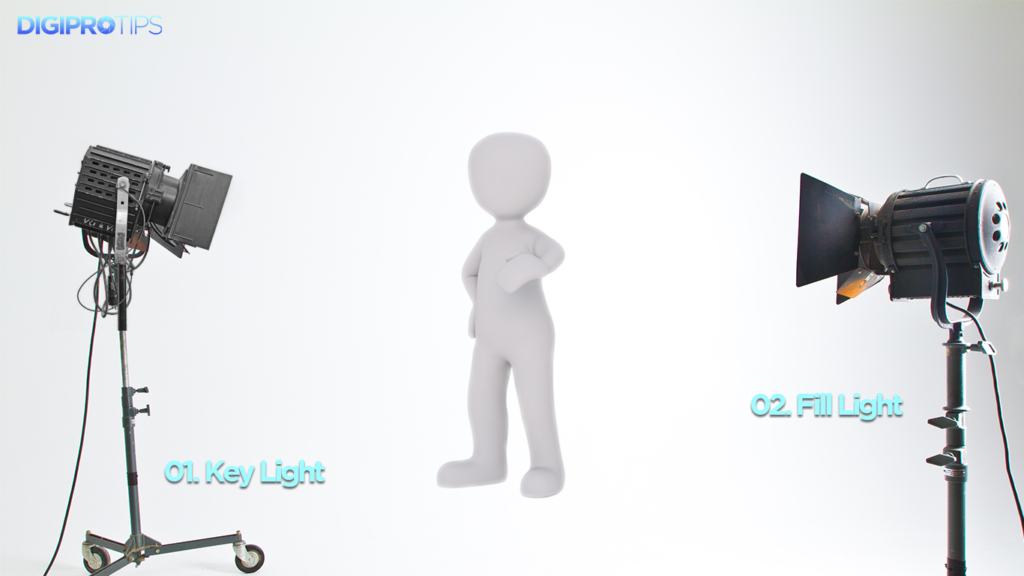
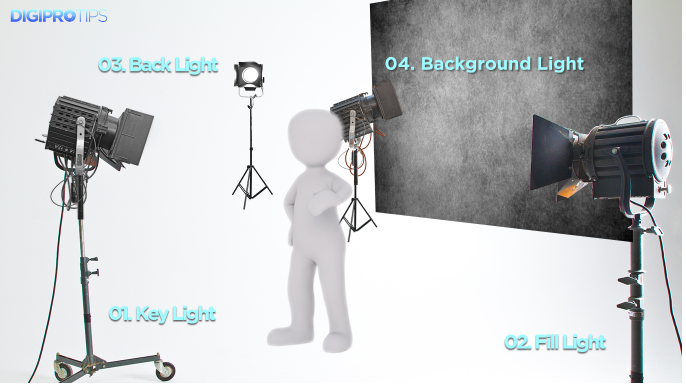
point 2 – fill light
if are to lights the more stronger one is your key light and the less one is your fill light, which is usually places the opposite side of the key light, which is used to full the shadows created by the key light. The fill will usually be softer and less bright than the key

point 3 – back light
the third light in your kit after setting up the key and fill will become the back light which is also known as the rim, hair, or shoulder light.
The back light is normally placed behind the subject and lights it from the rear.
The back light is the light that makes your shot ‘pop’. Rather than providing direct lighting, like the key and fill, its purpose is to provide definition and subtle highlights around the subject’s outlines. If setup correctly there should be a subtle rim of light around your subject. This helps separate the subject from the background and provide a three-dimensional look.

additional lighting – 4 point light setup
If there is a fourth light available to you then it would become your background or environment light.
The background light is placed behind the subject. Unlike the other three lights, which illuminate foreground elements, it illuminates background elements, like walls or outdoor scenery. This technique can be used to eliminate shadows cast by foreground elements onto the background, or to draw more attention to the background.
This setup would then typically become known as a four point lighting setup.
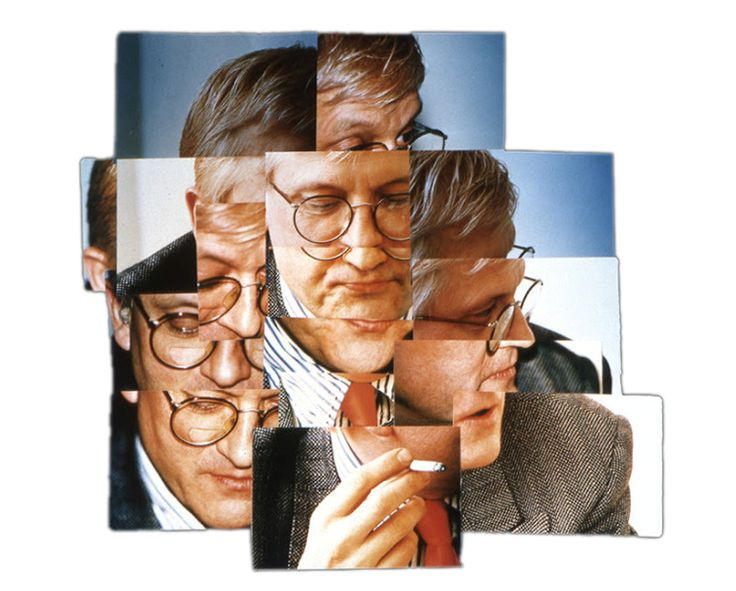
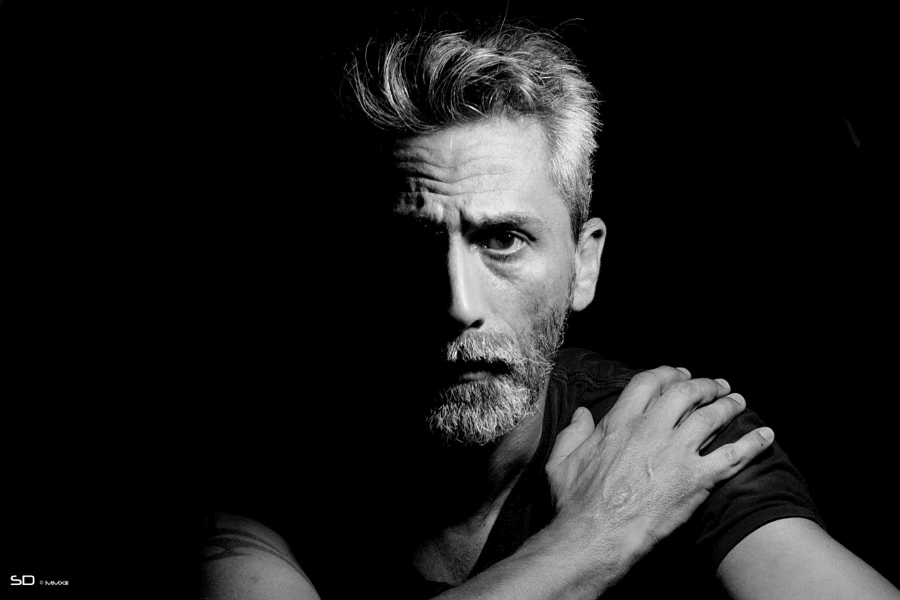
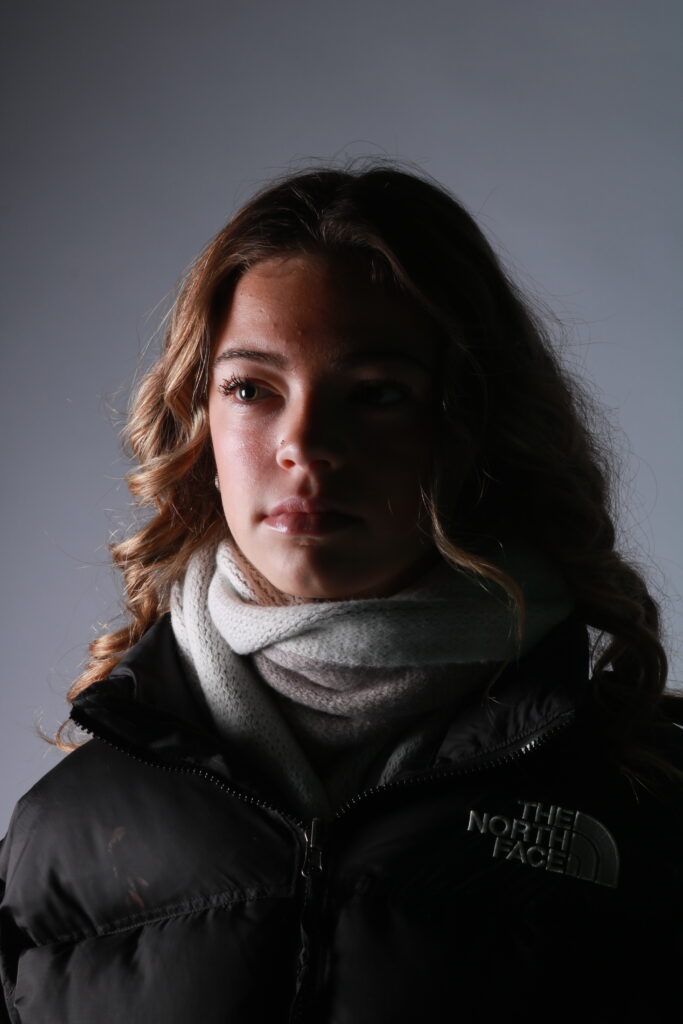
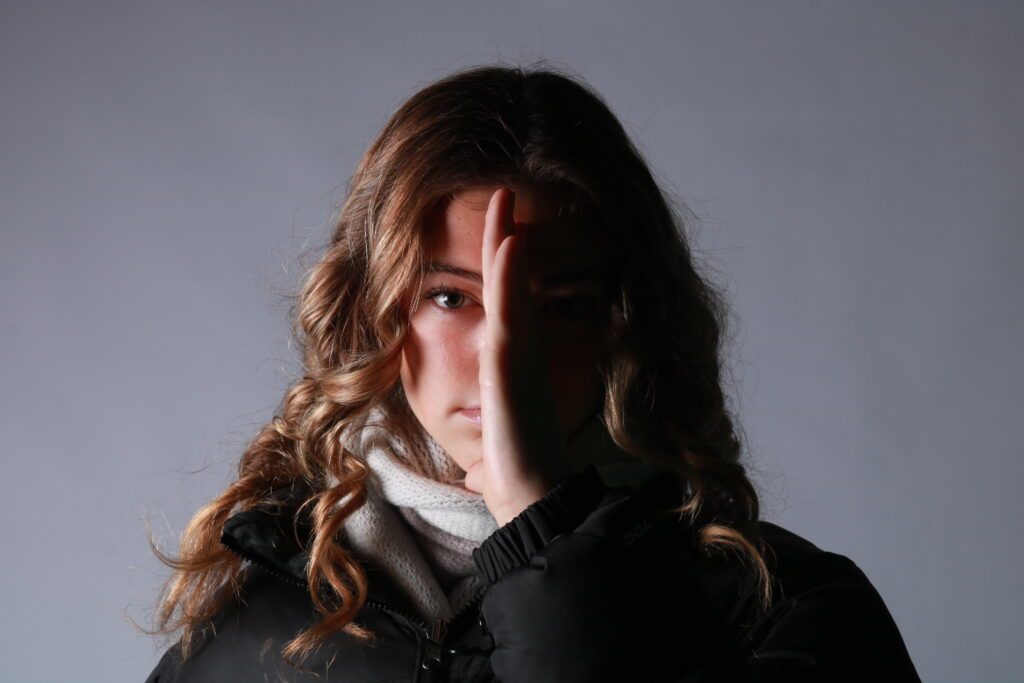
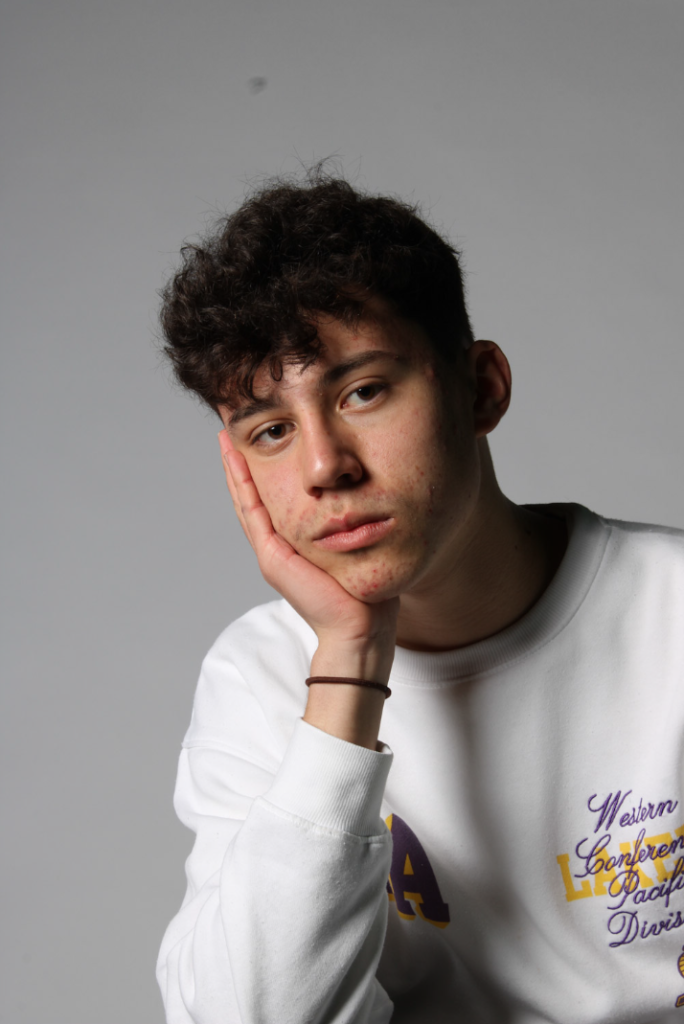
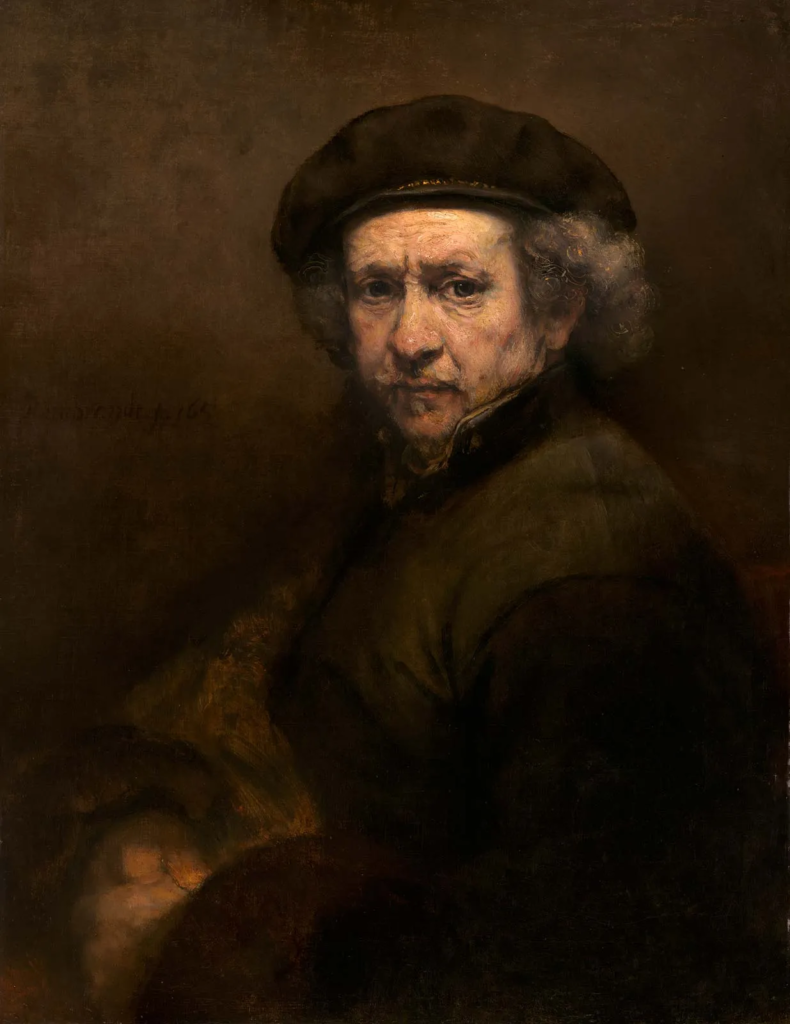
Rembrandt lighting
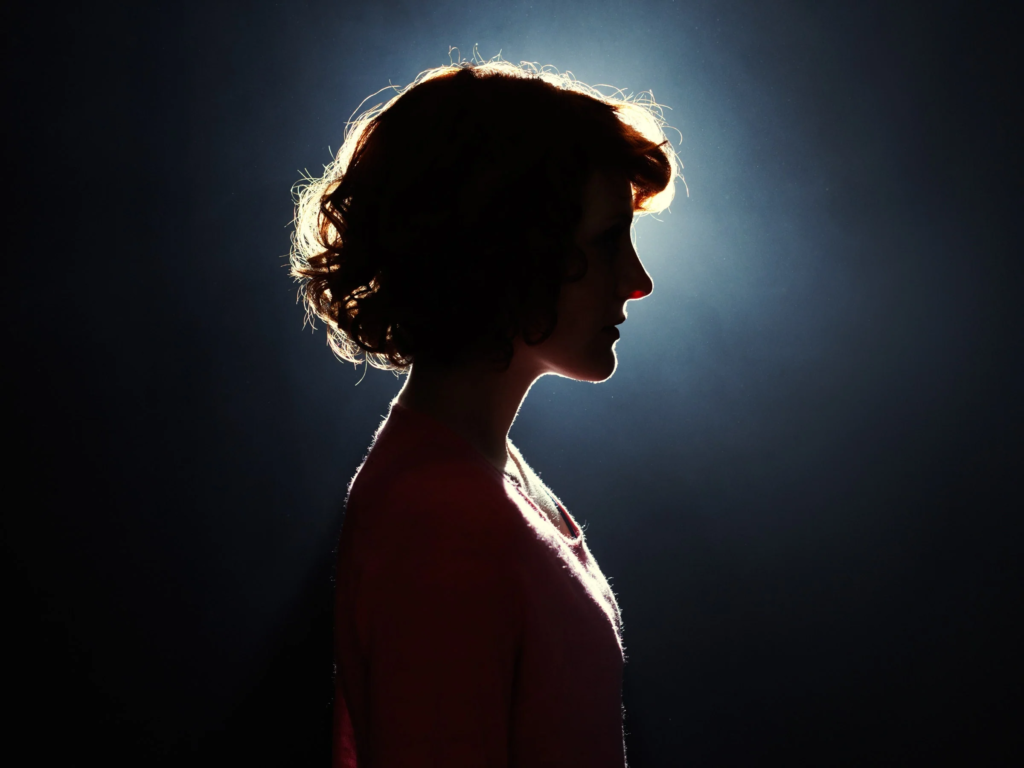
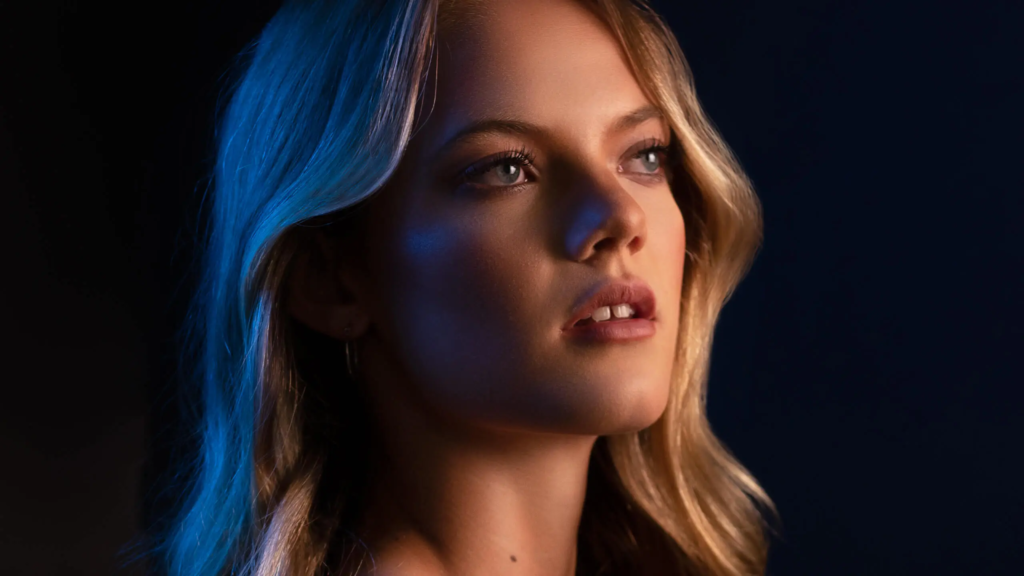
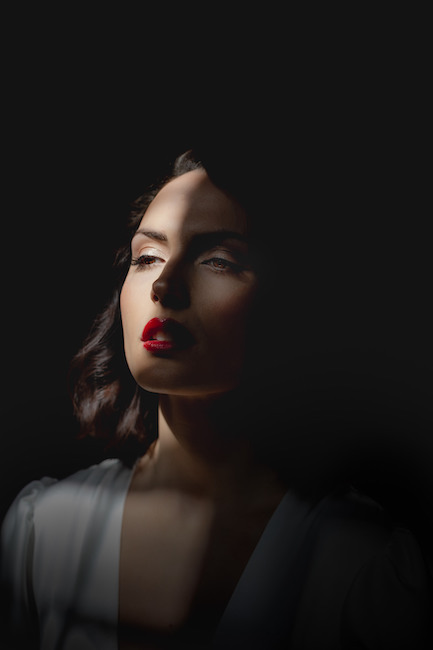
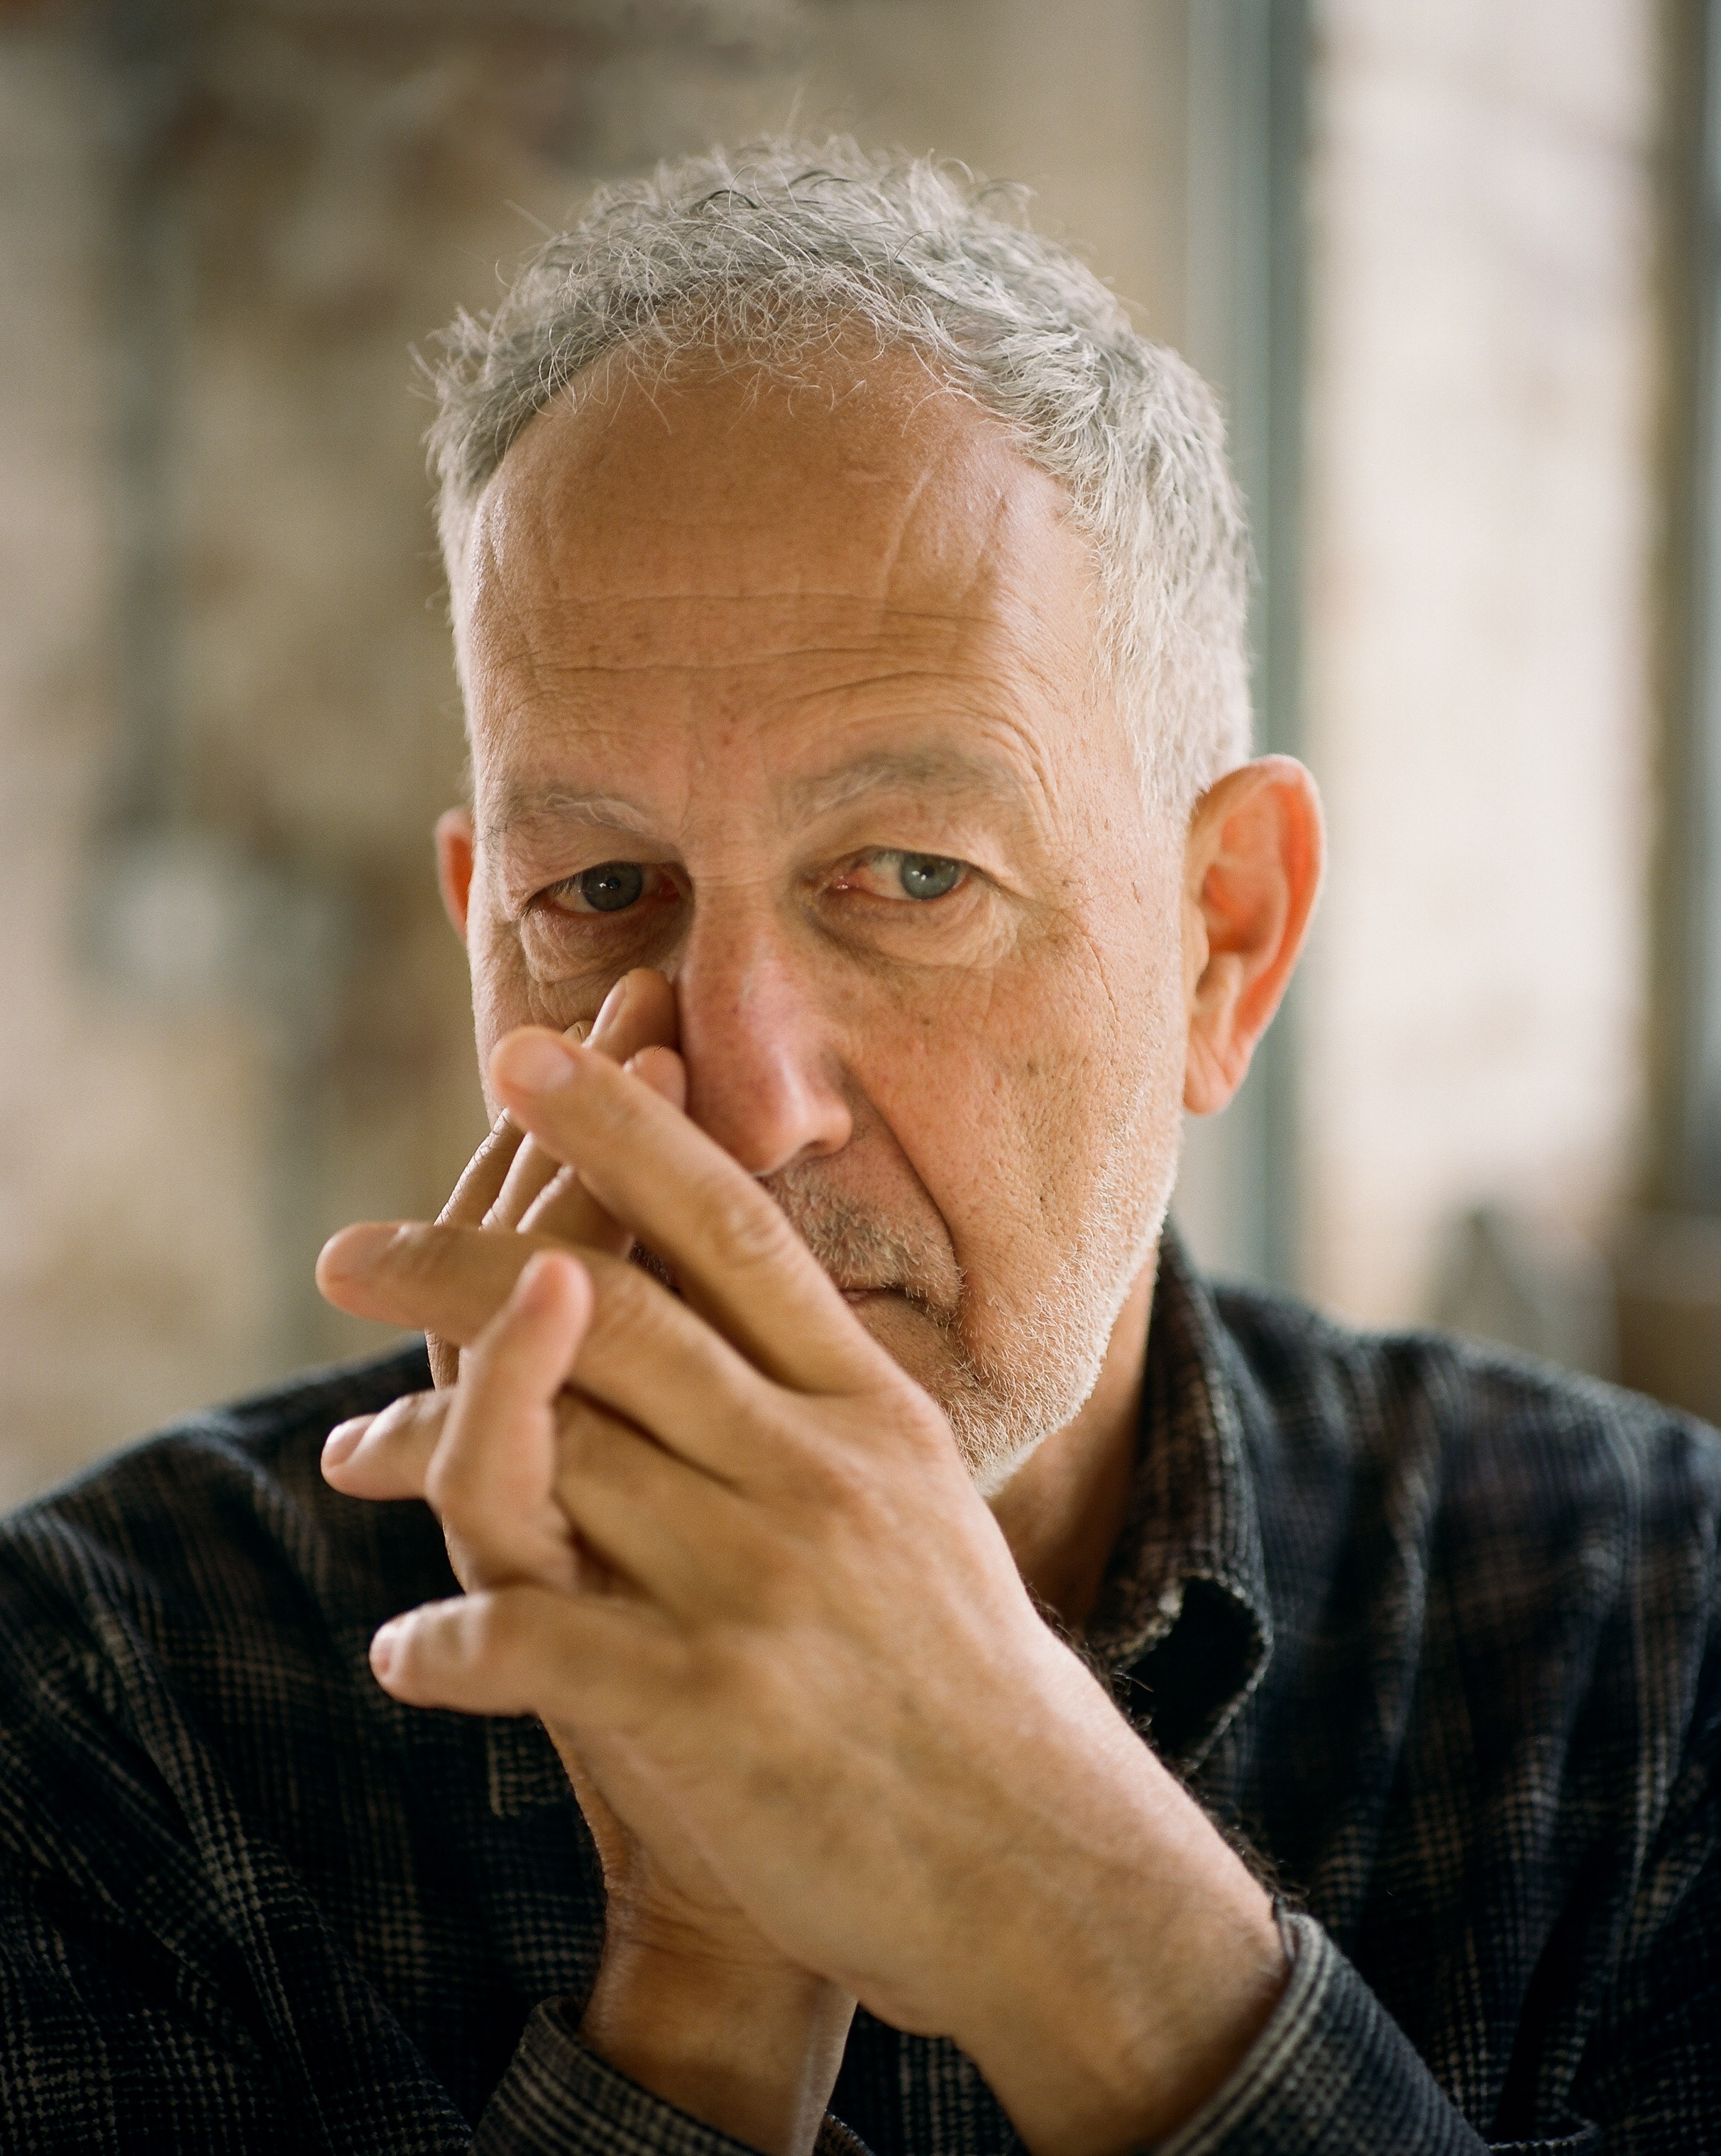
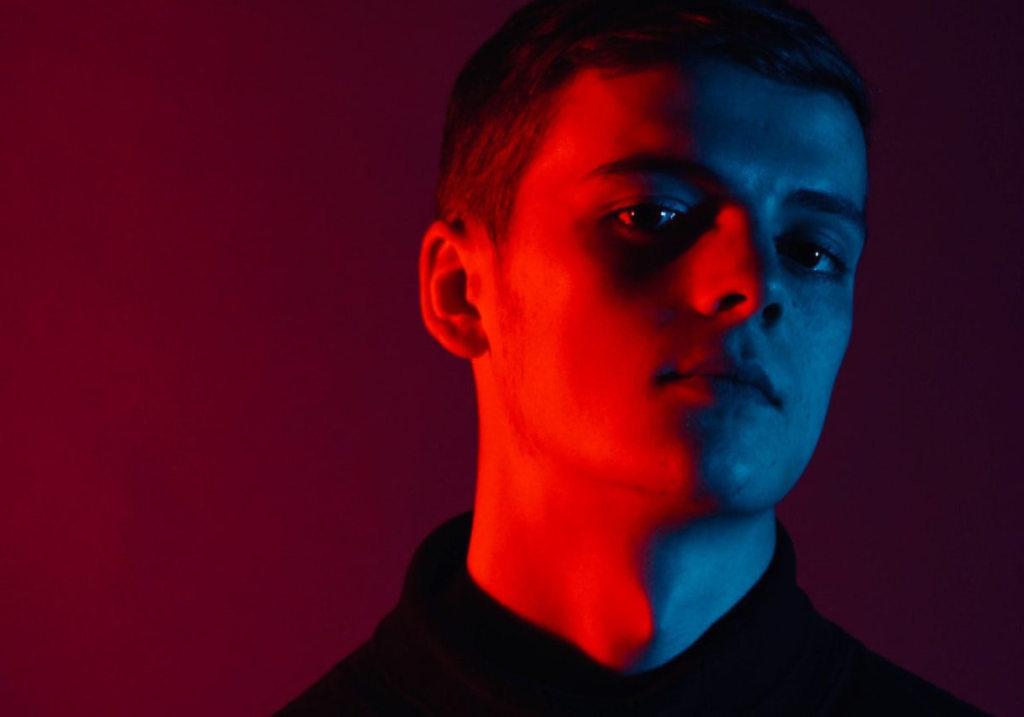
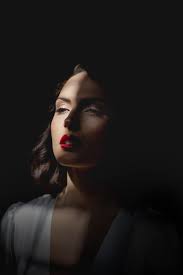
is a classic photographic and cinematic technique that creates a dramatic yet natural look by using a single light source positioned at 45-degree angle to the subject and slightly above eye level. it is characterized by a distinct triangle of light on the shadowed cheek, under eye, formed by the interplay of light and shadow. this high contrast effect adds depth and dimension, emphasizing facial features. commonly used in portrait photography and dramatic scenes, Rembrandt lighting evokes a sense of mystery and intensity, making it a popular choice of creating moody, compelling visuals.
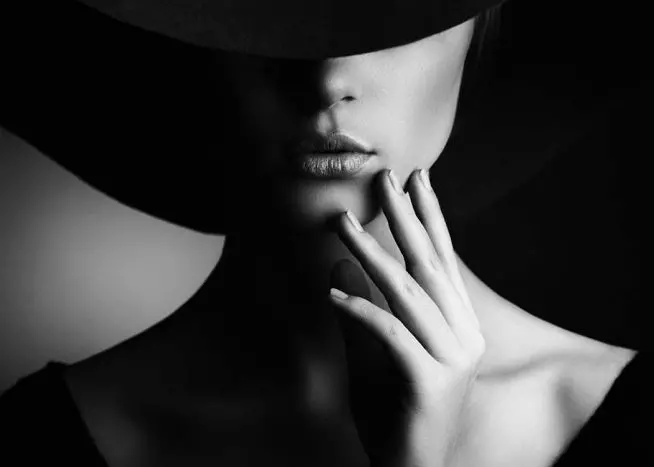
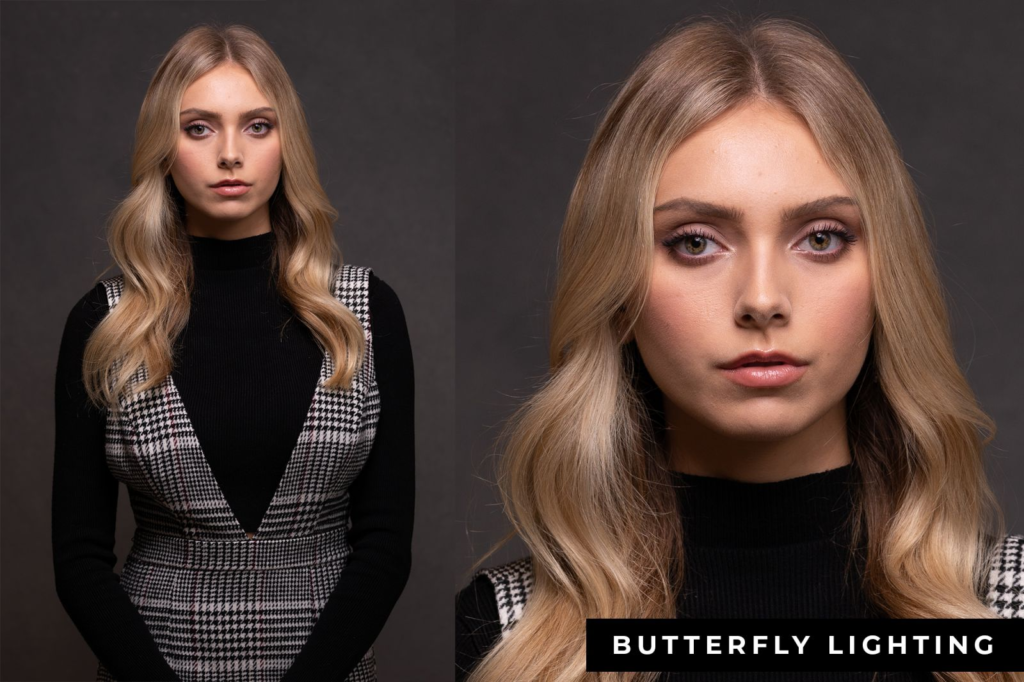
Butterfly lighting
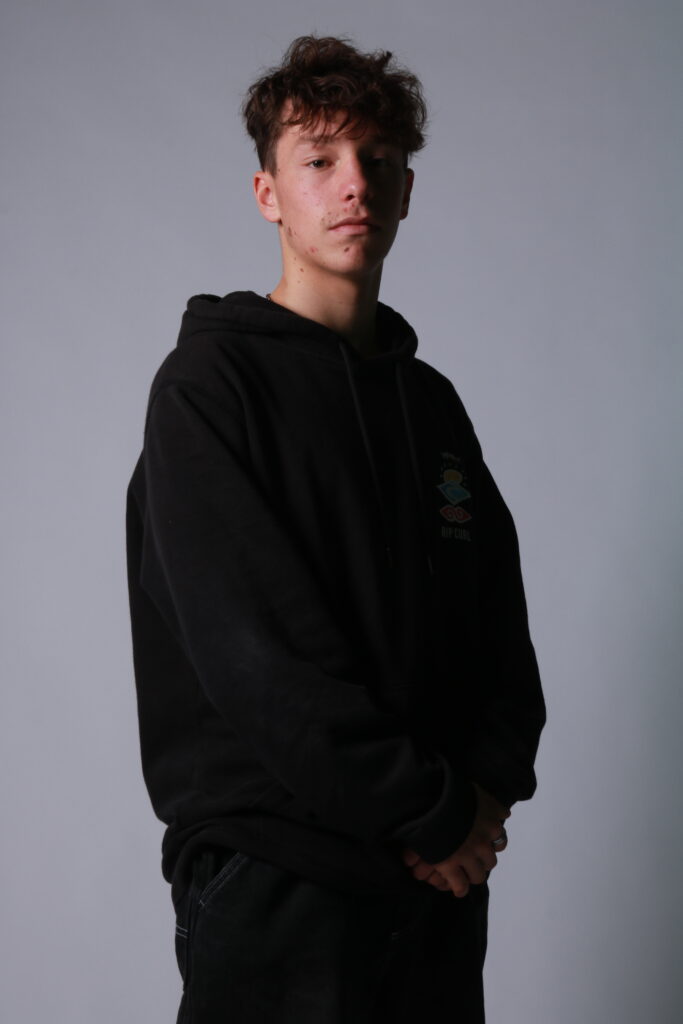
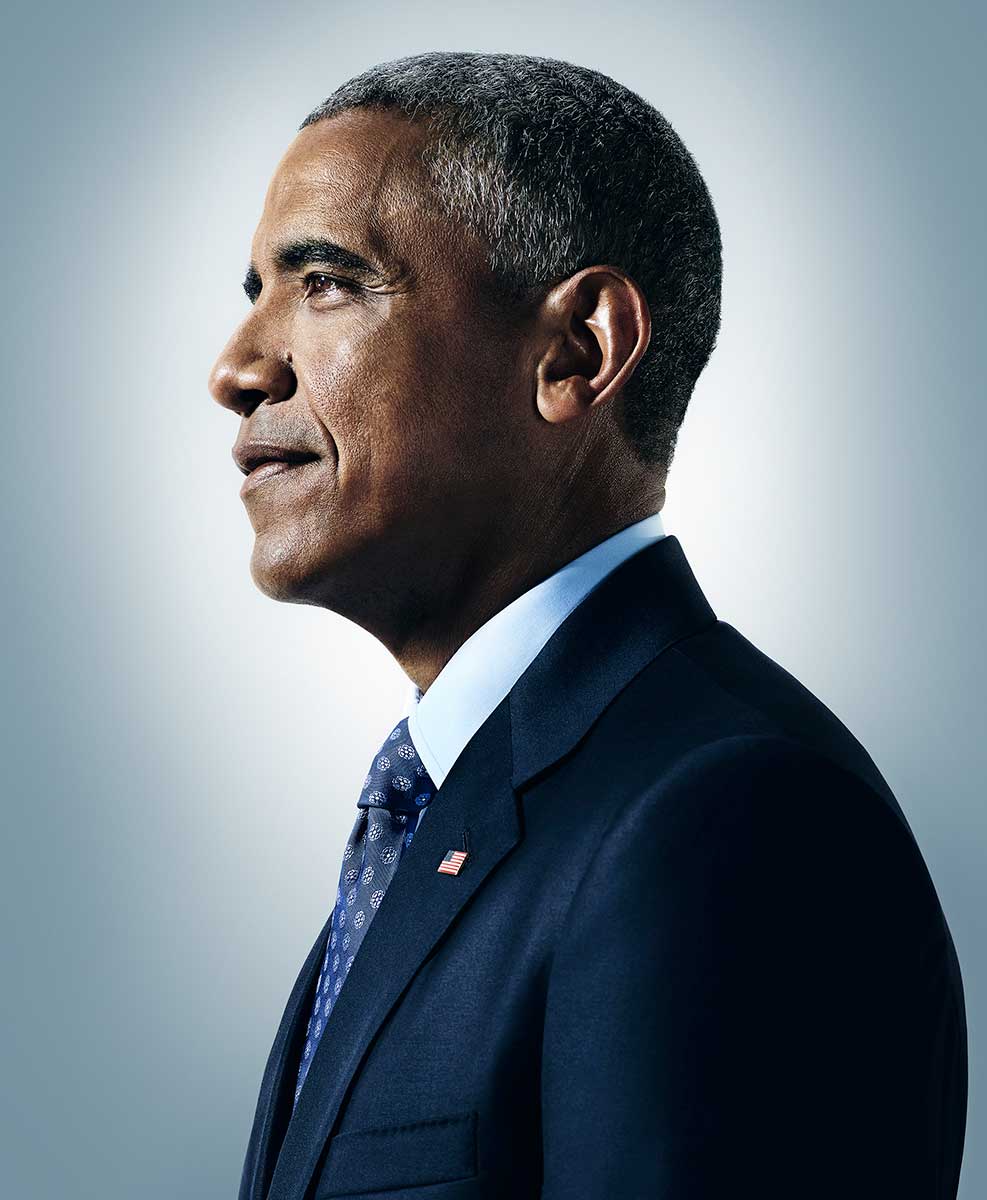
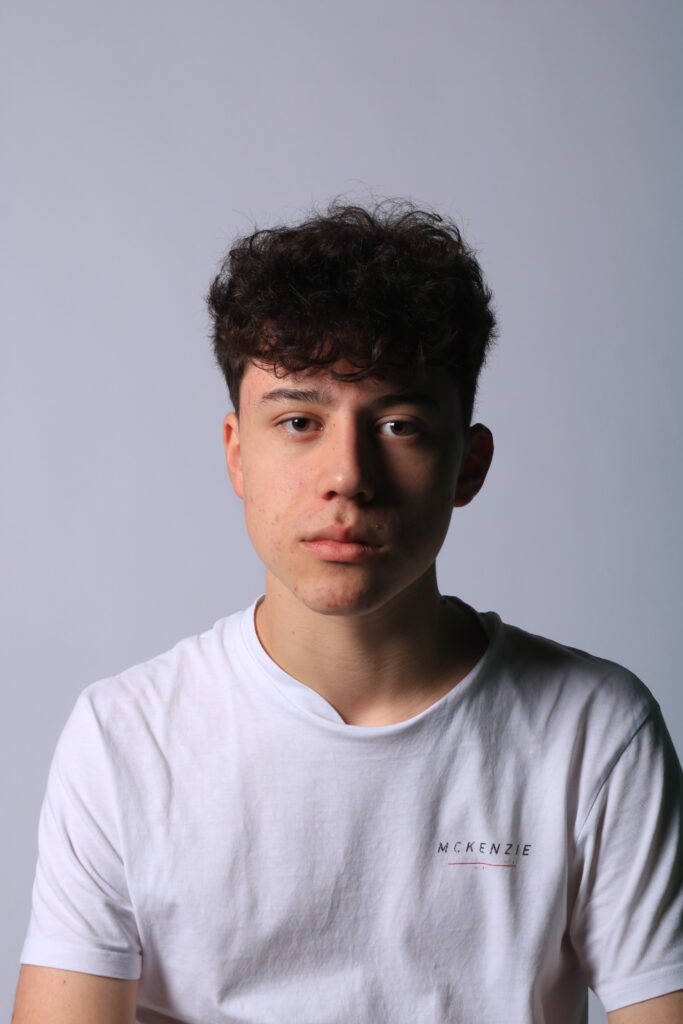
is a portrait lighting technique characterized by a small, butterfly shaped shadow directly under the subjects nose. it is achieved by pacing a single light source above and directly in front of the subject, normally a a 30 – 45 decree angle. this setup highlights the cheek bones and creates a smooth, flattering look, making it popular for beauty, glamor and headshot photography.

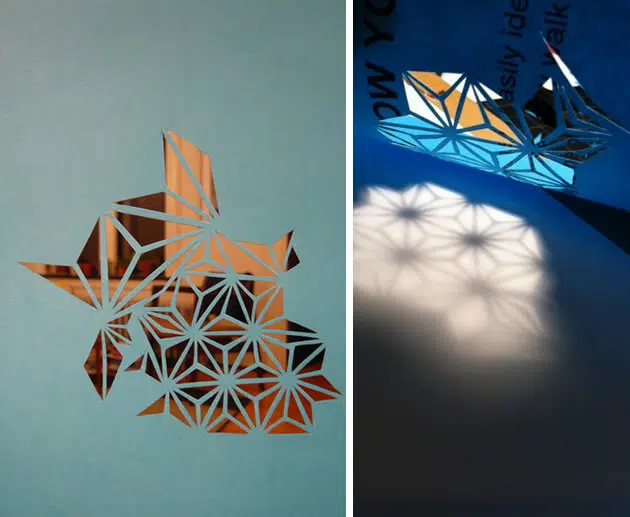
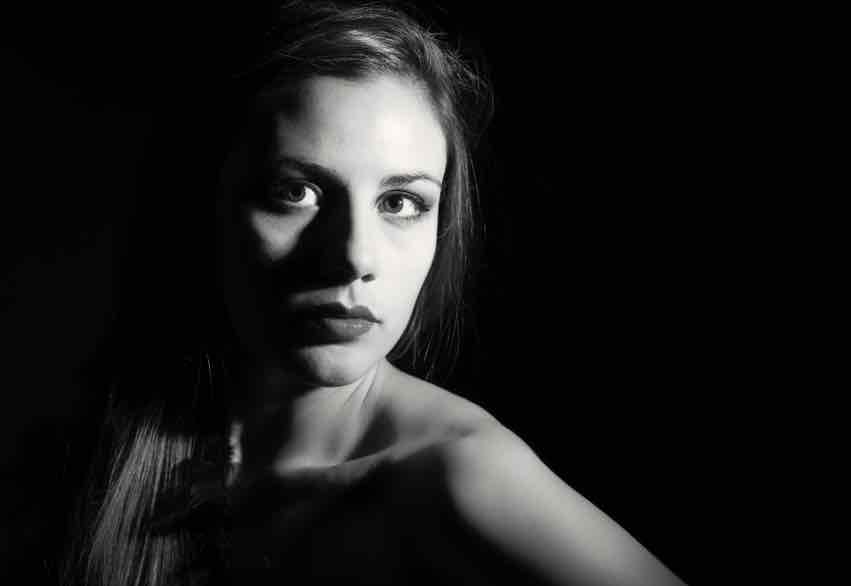
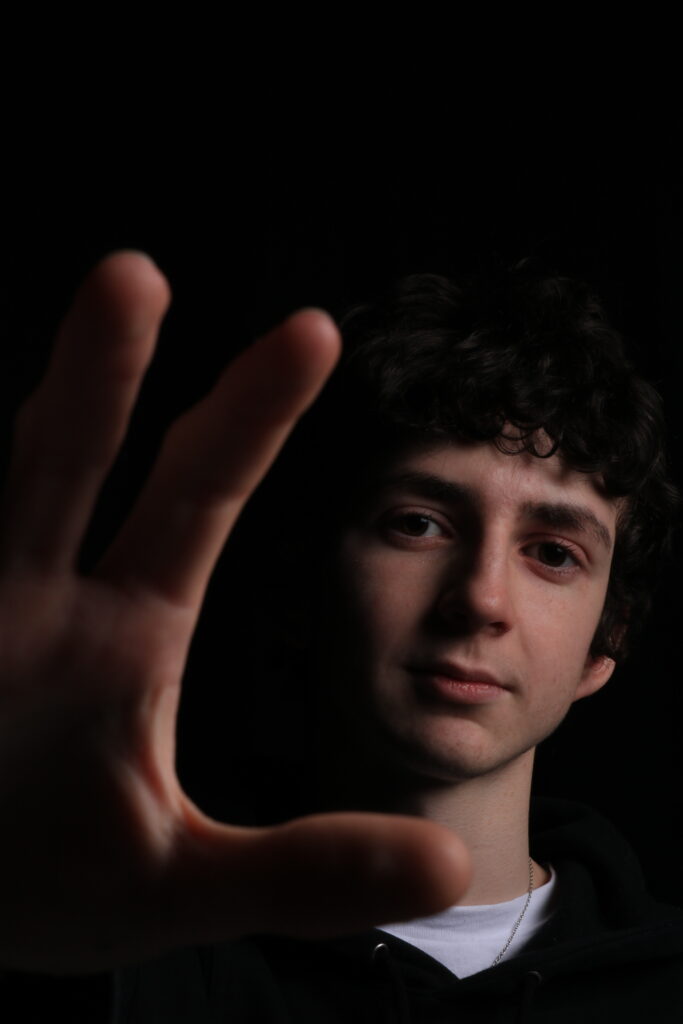
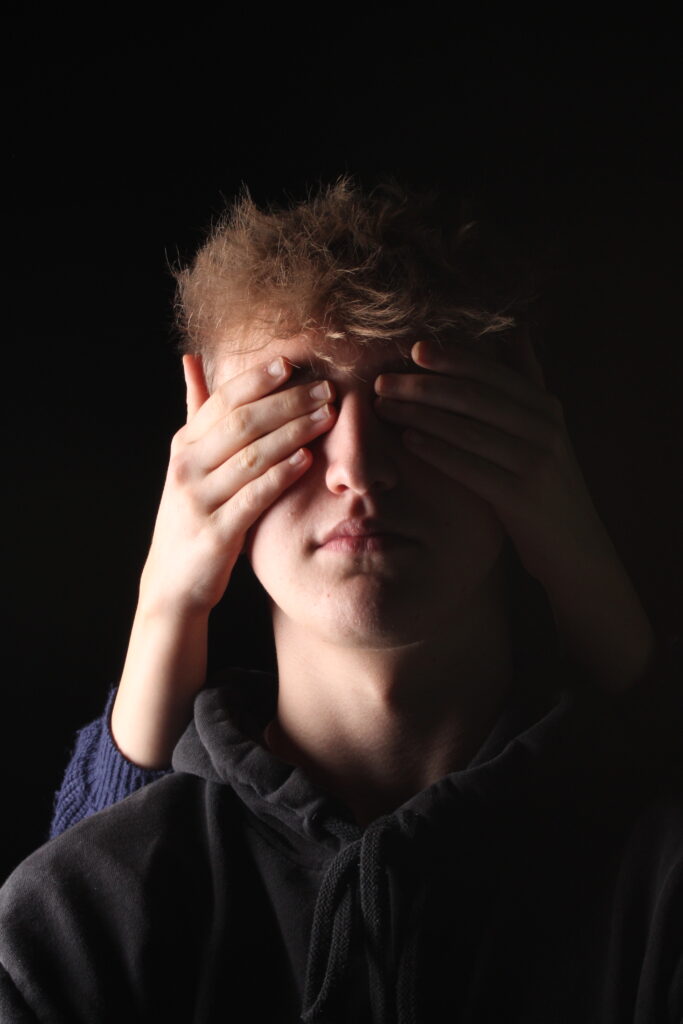
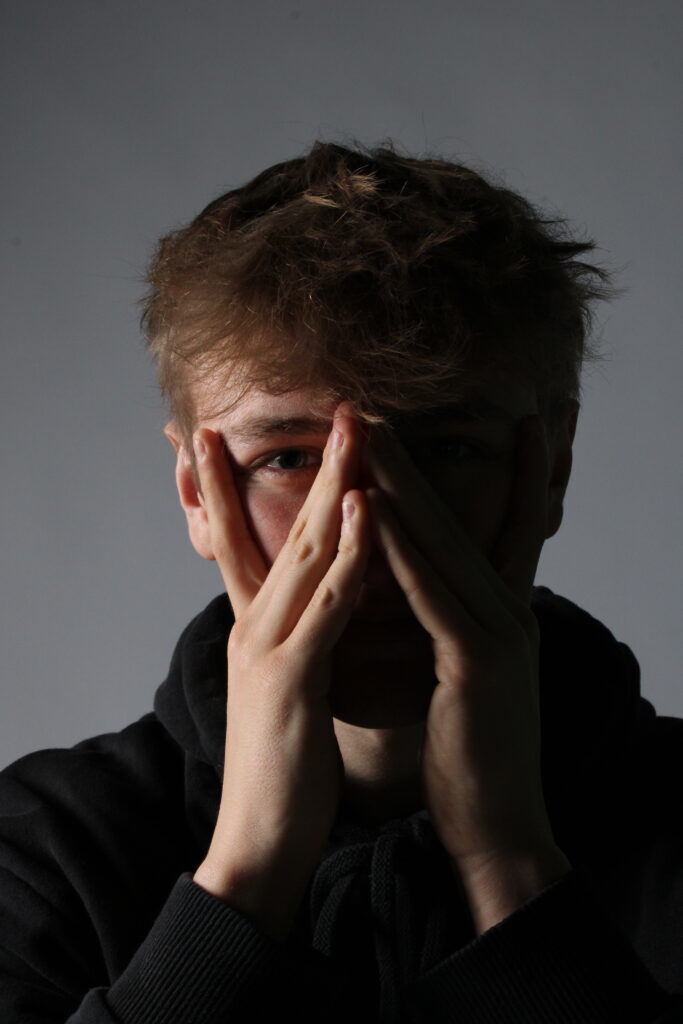
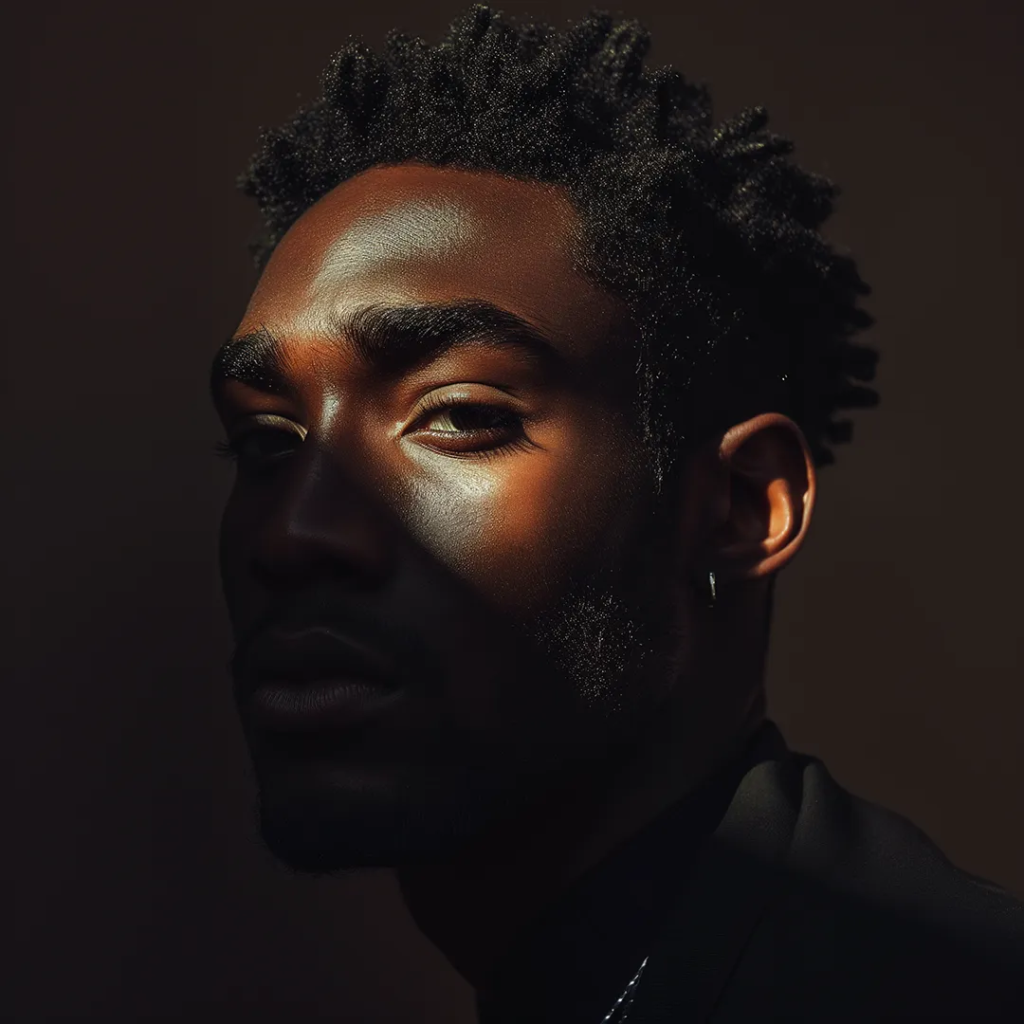
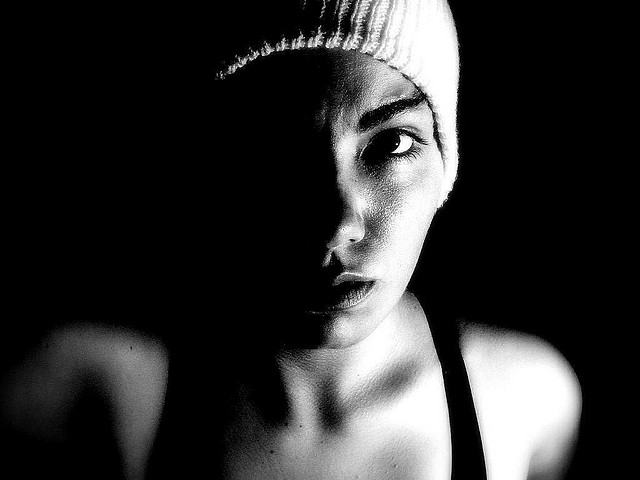
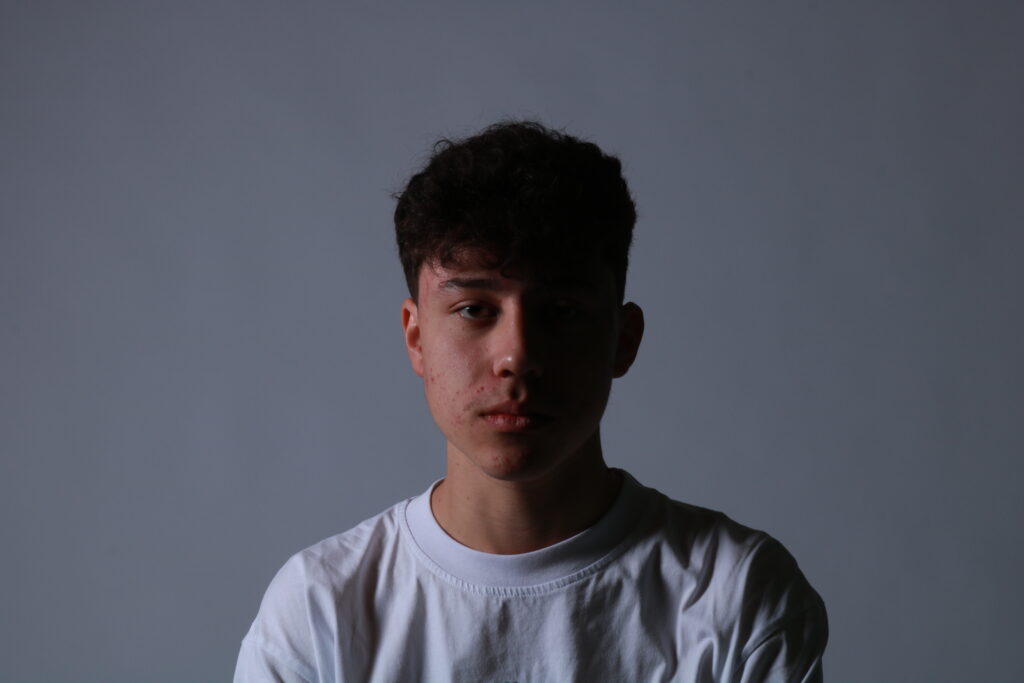
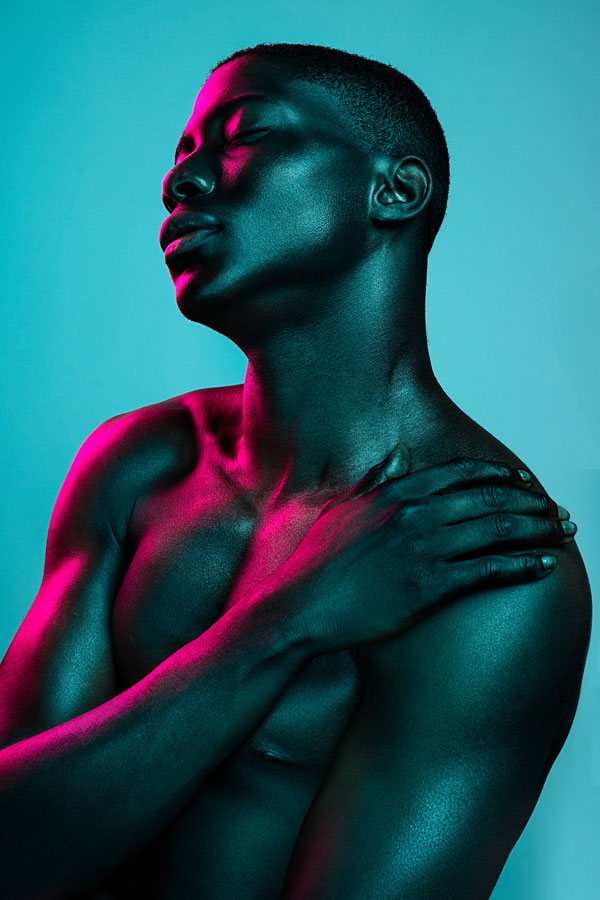
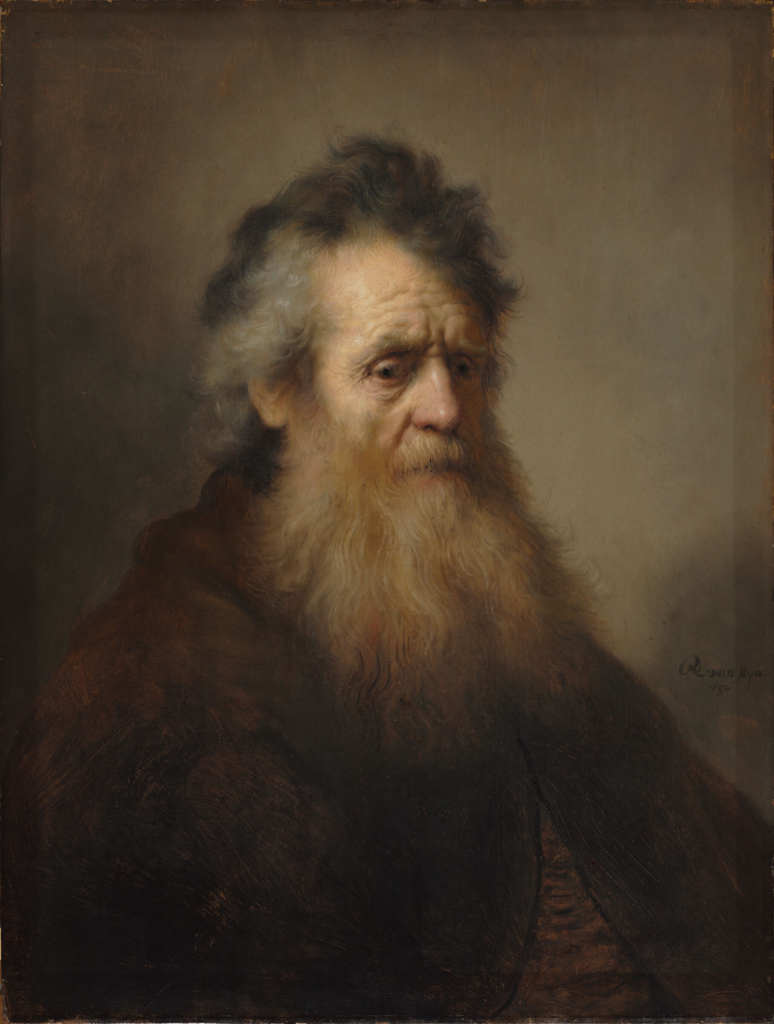
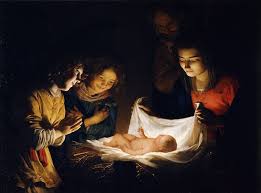
Chiaroscuro
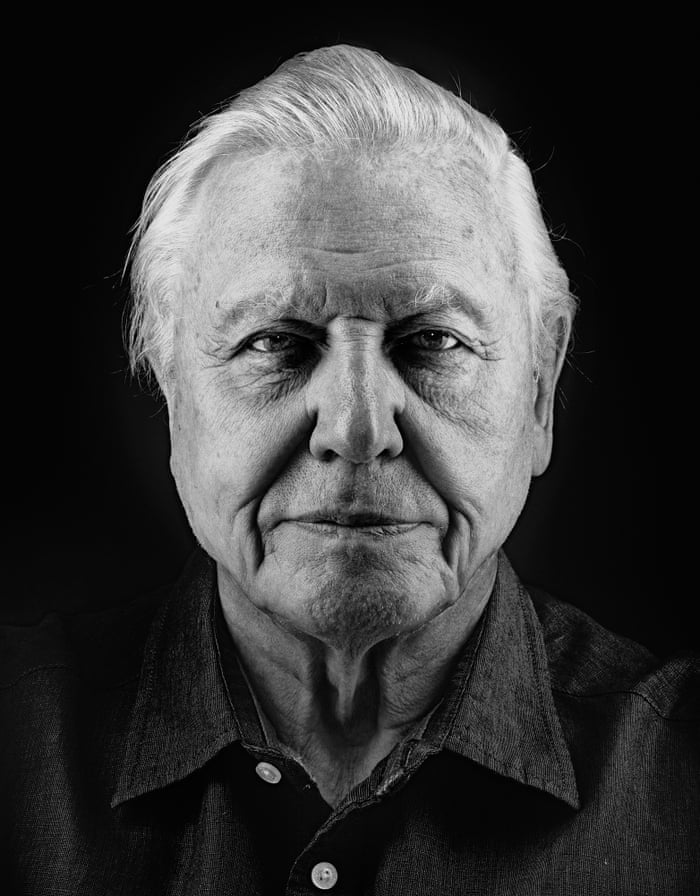
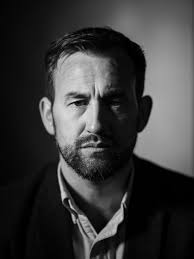
is an artistic technique that uses a strong contrasts between light and shadow to create sense of depth, volume and drama. originating in the renaissance it was formally used by artists like Caravaggio and Rembrandt to emphasize three dimensional forms and evoke mood. in visual arts, chiaroscuro highlights specific areas of a subject while leaving others in shadow, gilding the viewers focus and enhancing the emotional intensity of the sense. this technique is also widely applied in photography and cinematography for dramatic lighting effects.
fill lighting
A fill light is a the style of lighting which is often used in theatre and film as well as in photography. Often used as part of a three point lighting set up, fill lighting is utilised in order to light up the shadowed parts of your setting – this creates less contrast where you do not want it.
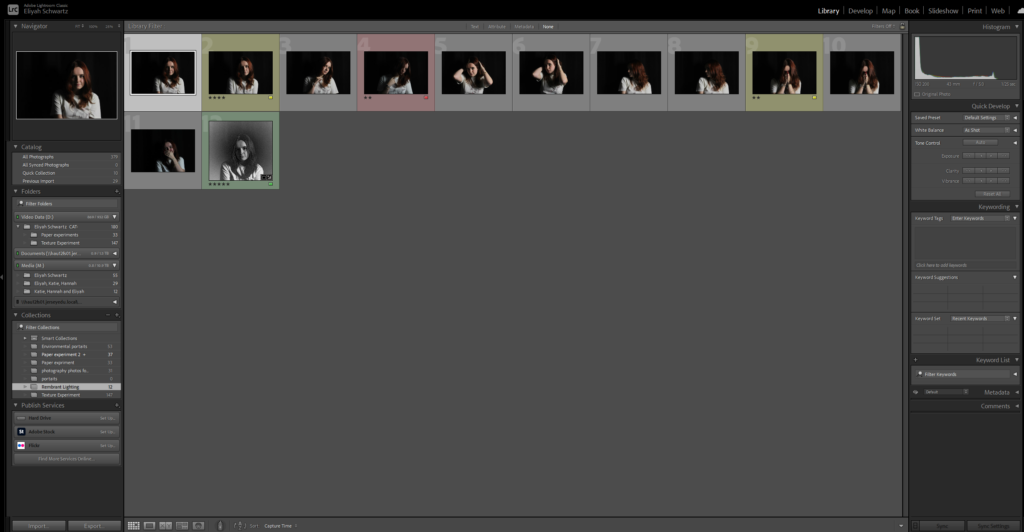
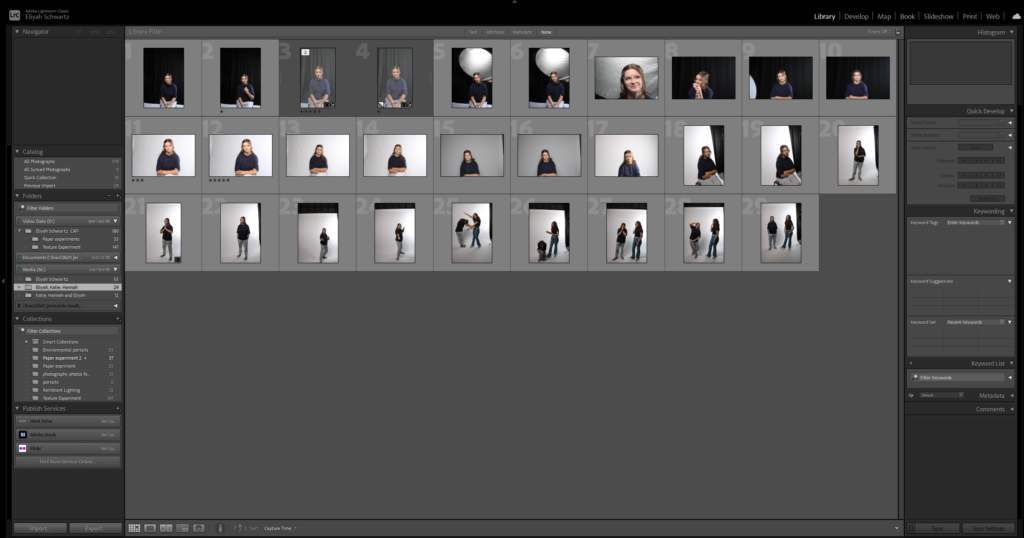
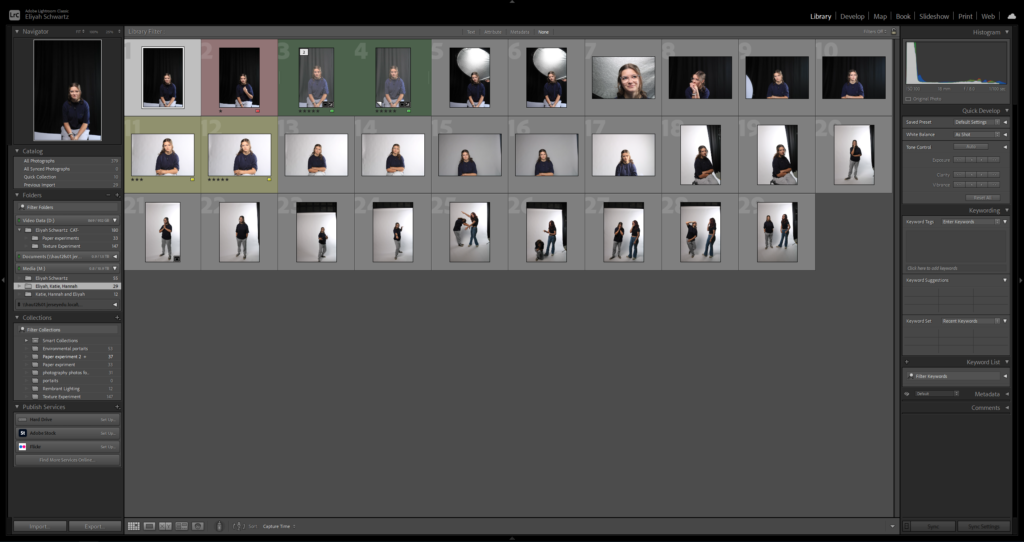
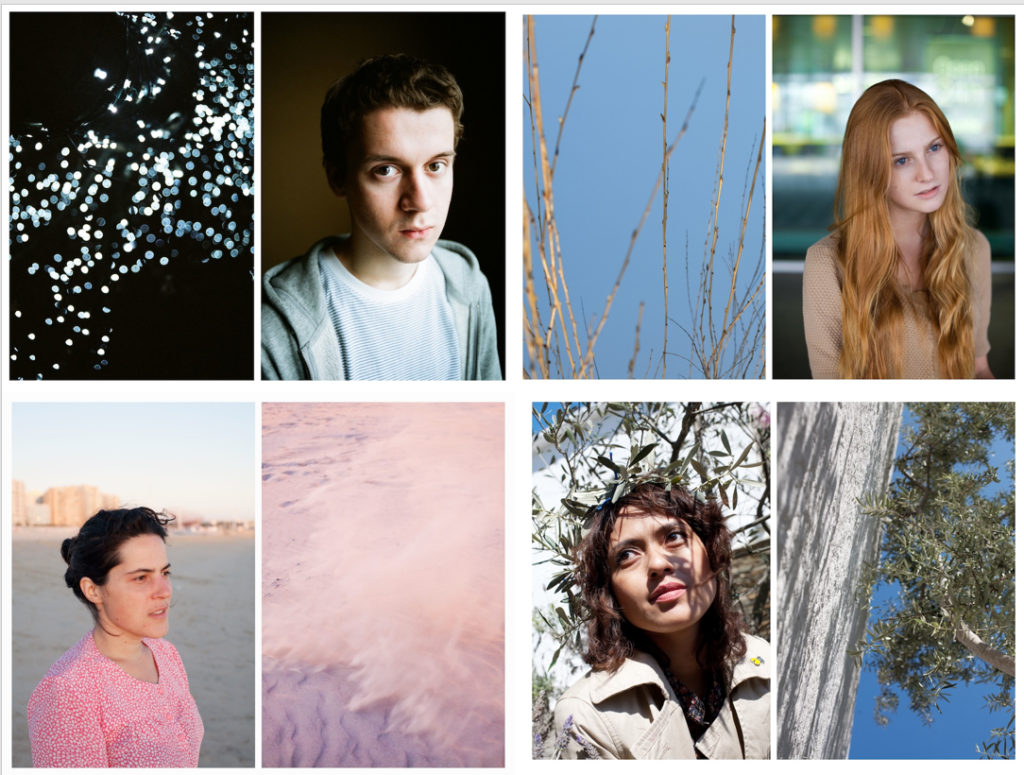
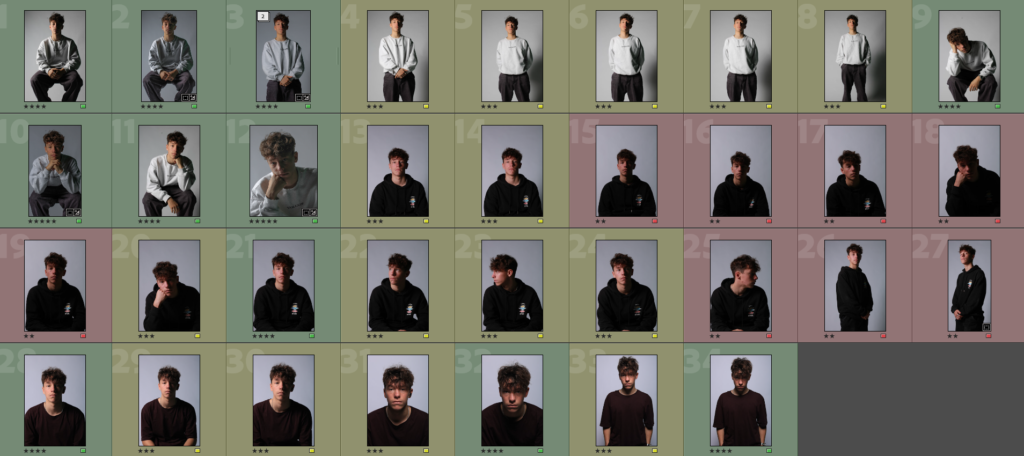
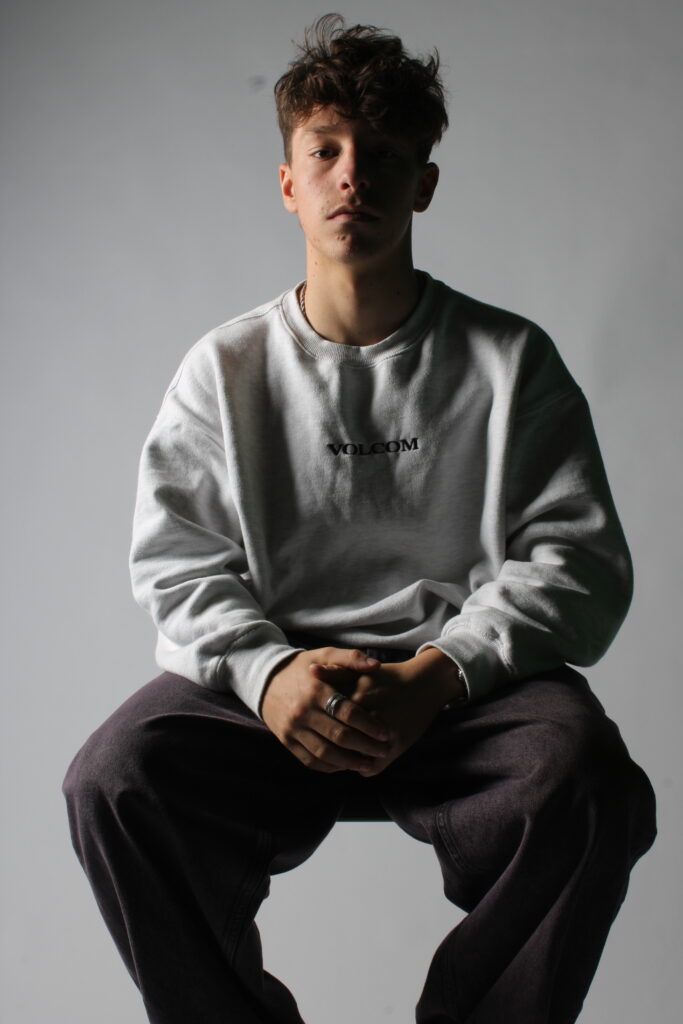
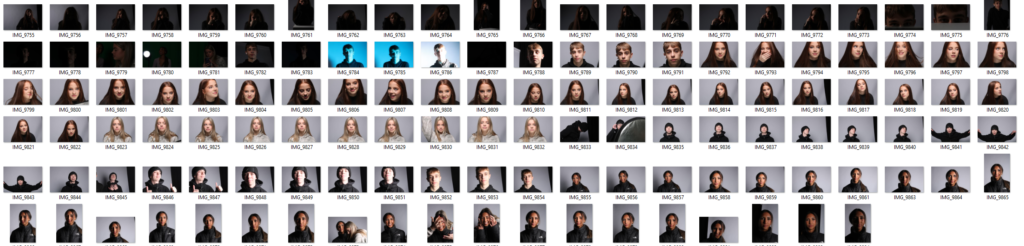
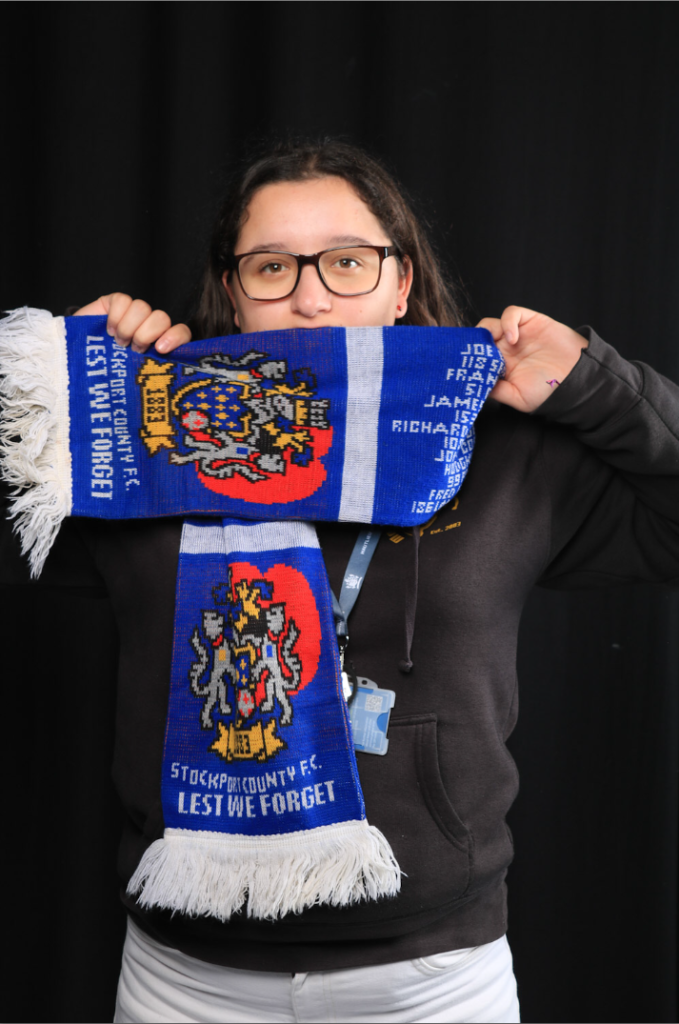
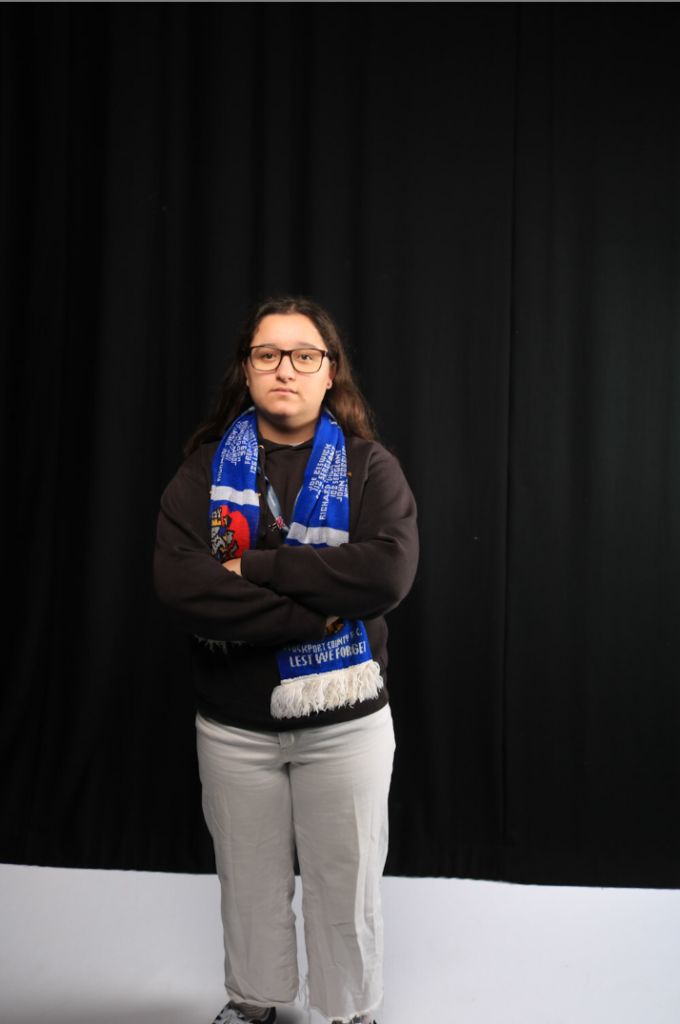
raw photos

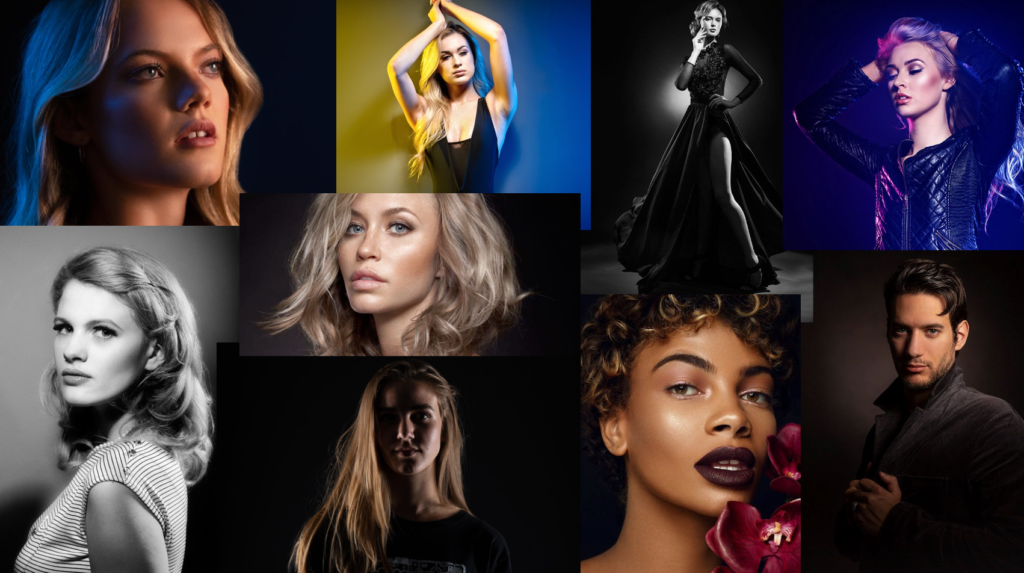
best raw photos –


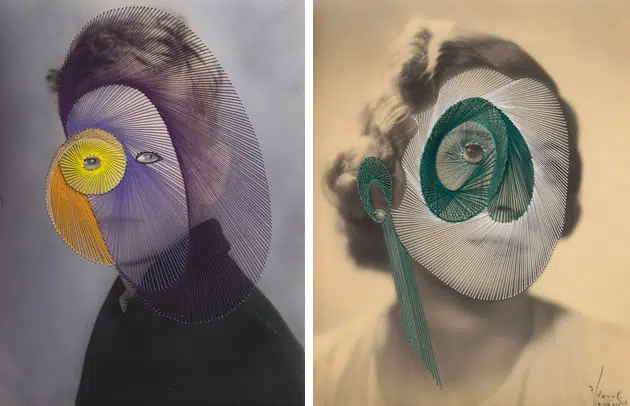
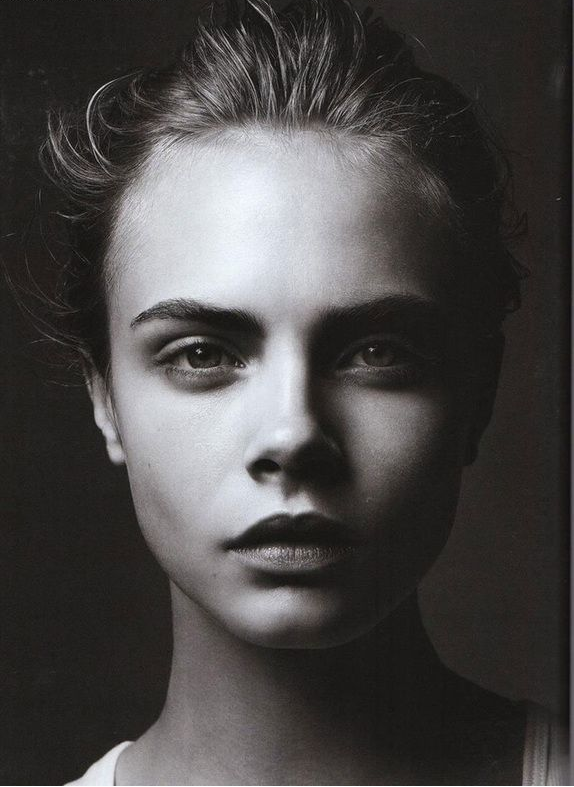
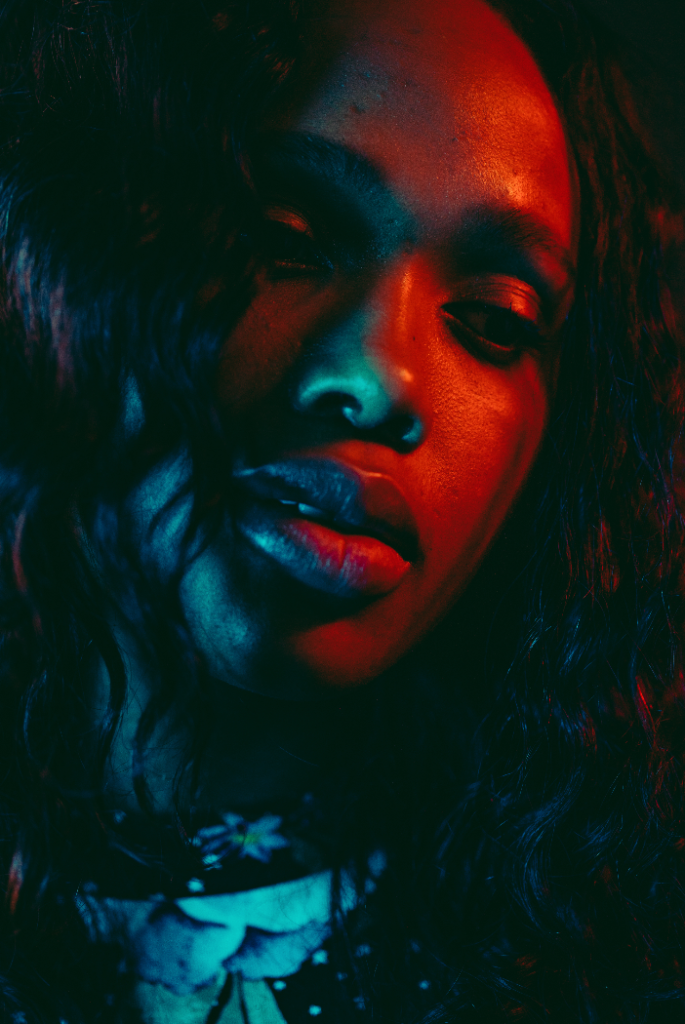
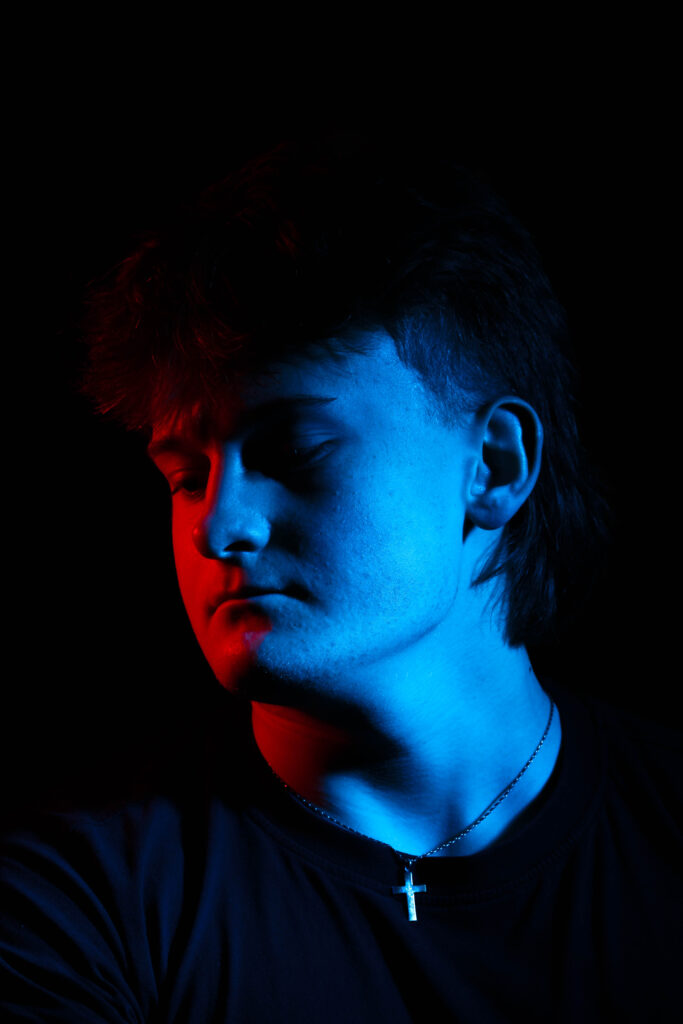
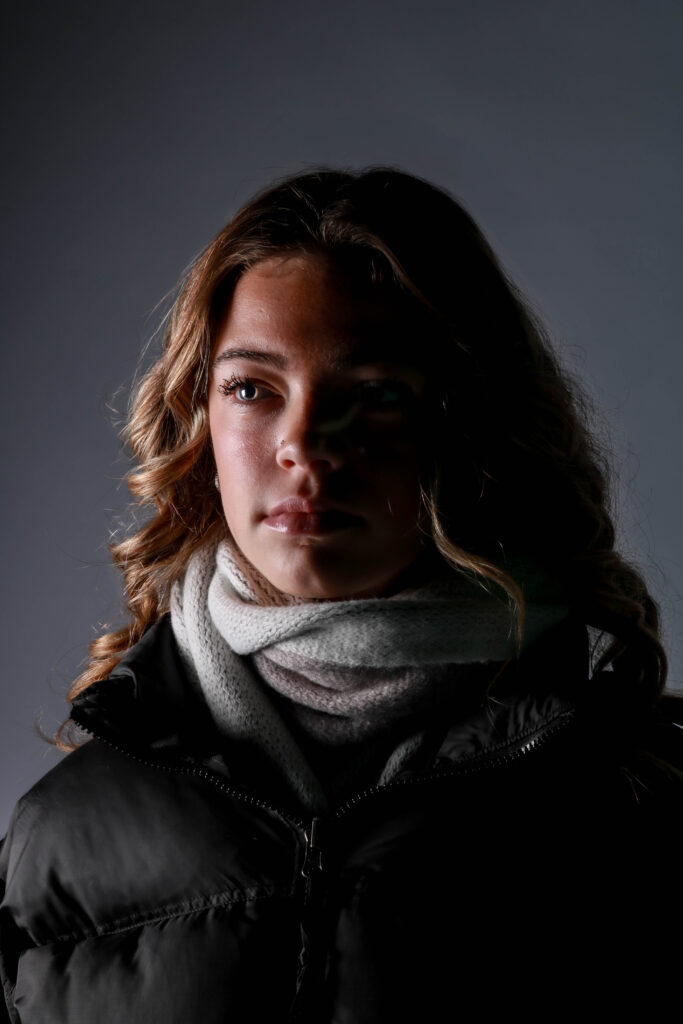
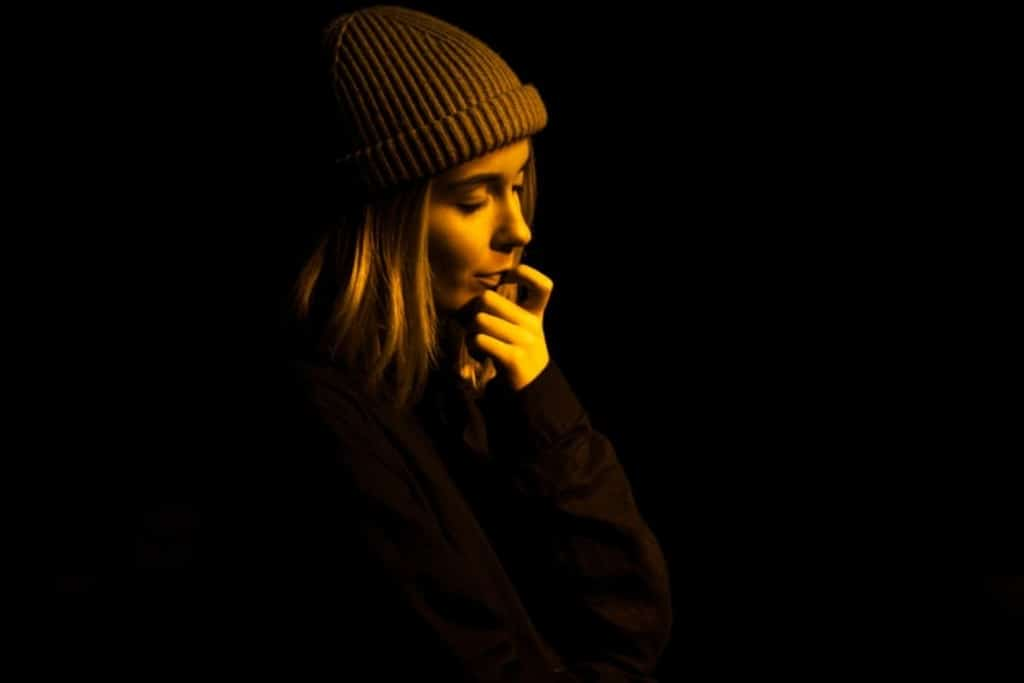
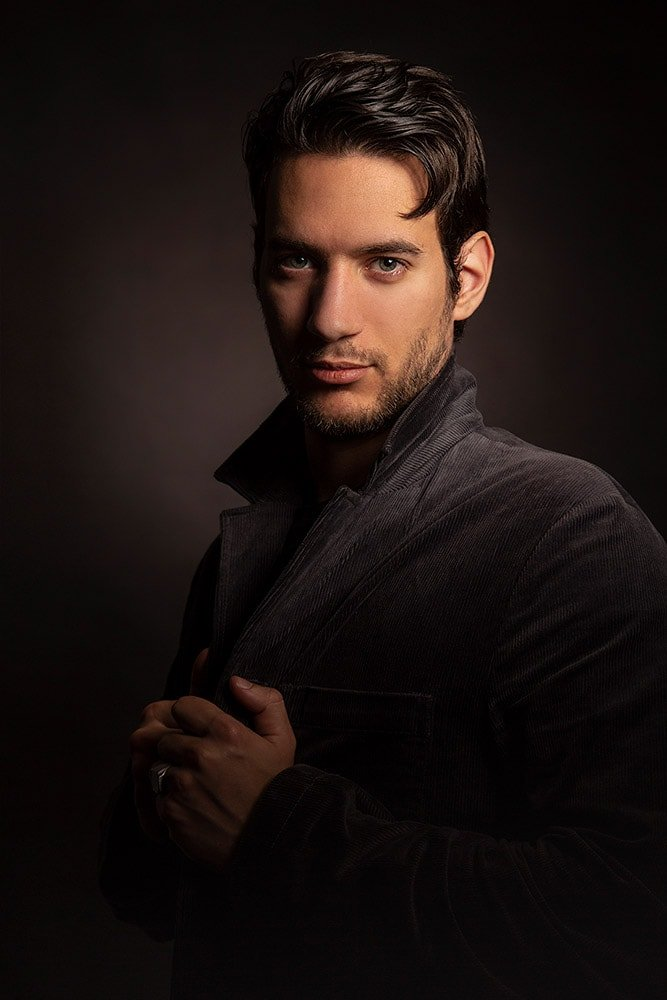
yellow shows chiaroscuro and red is Rembrandt and green shows butterfly
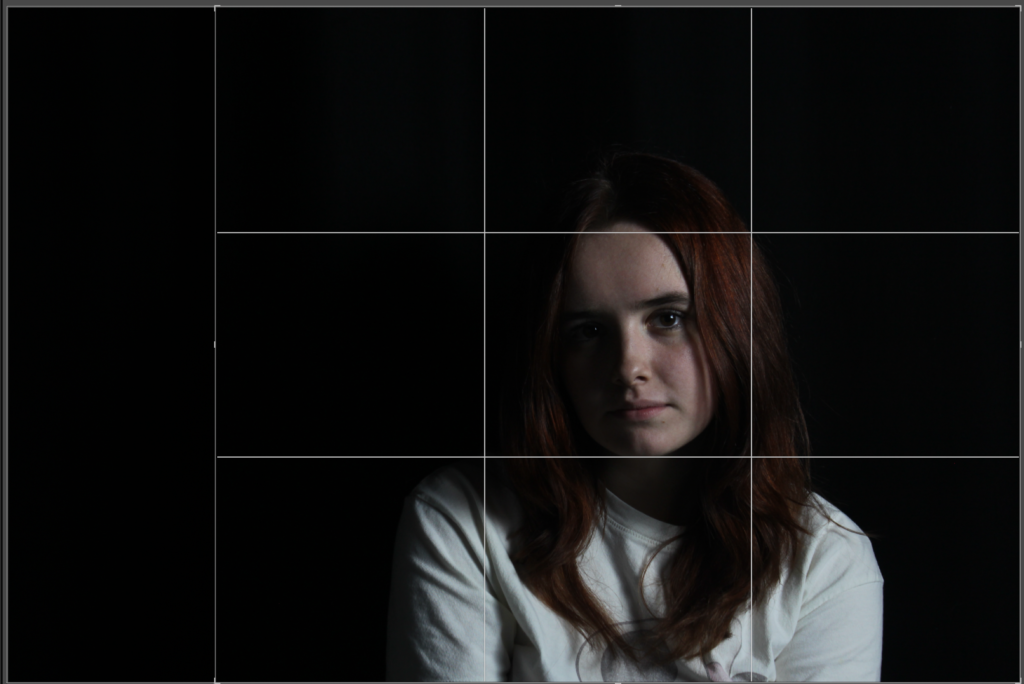
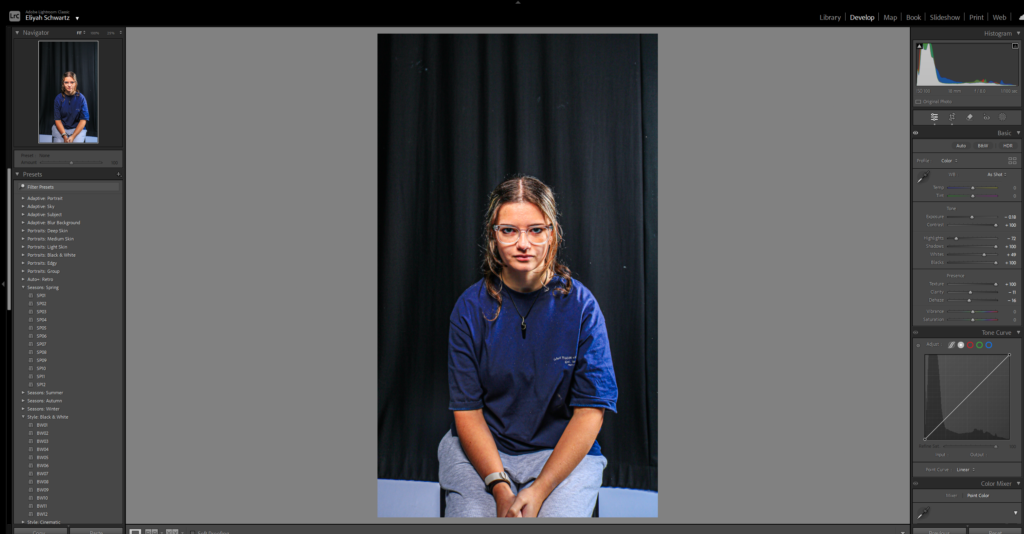
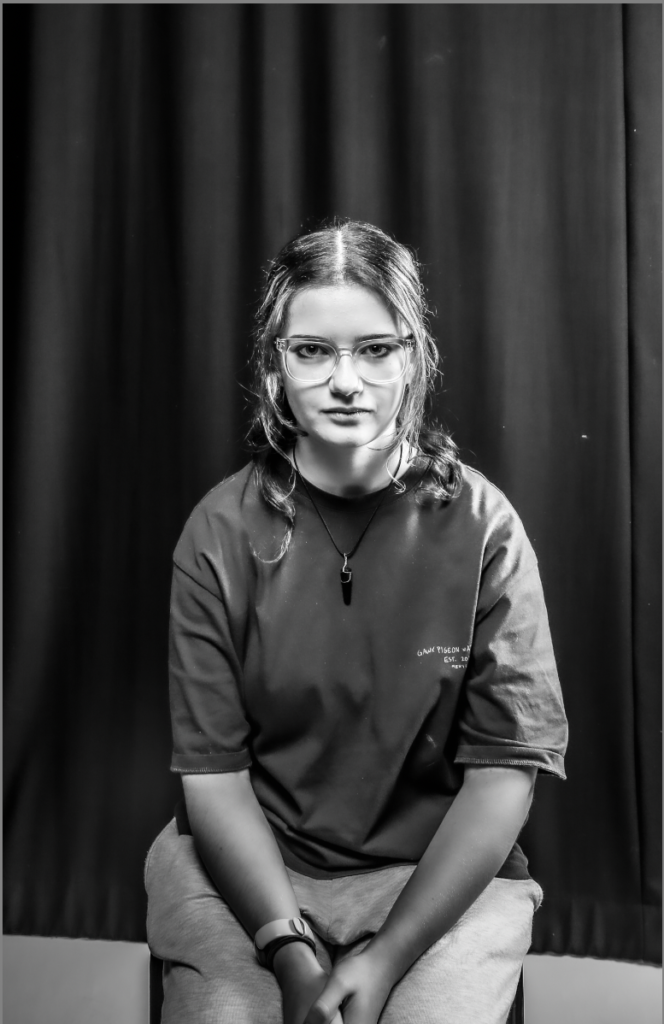
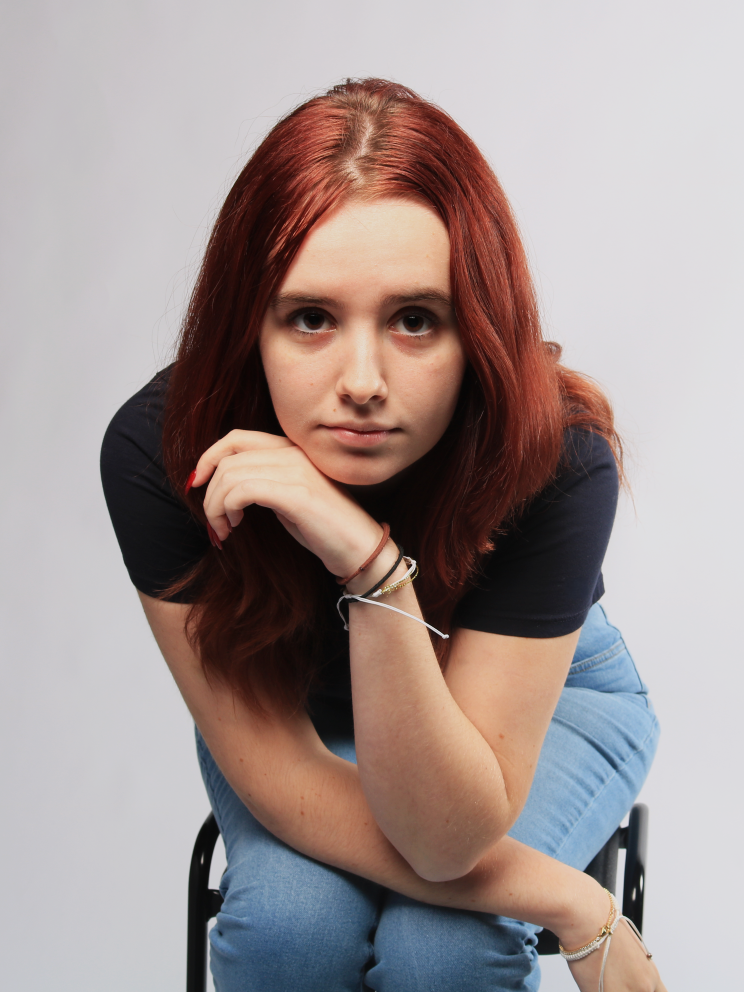
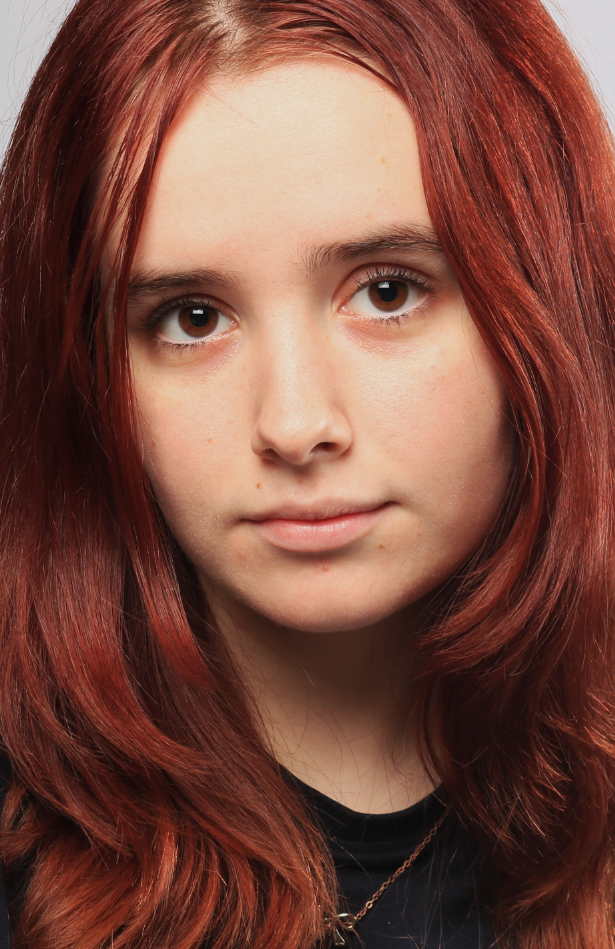
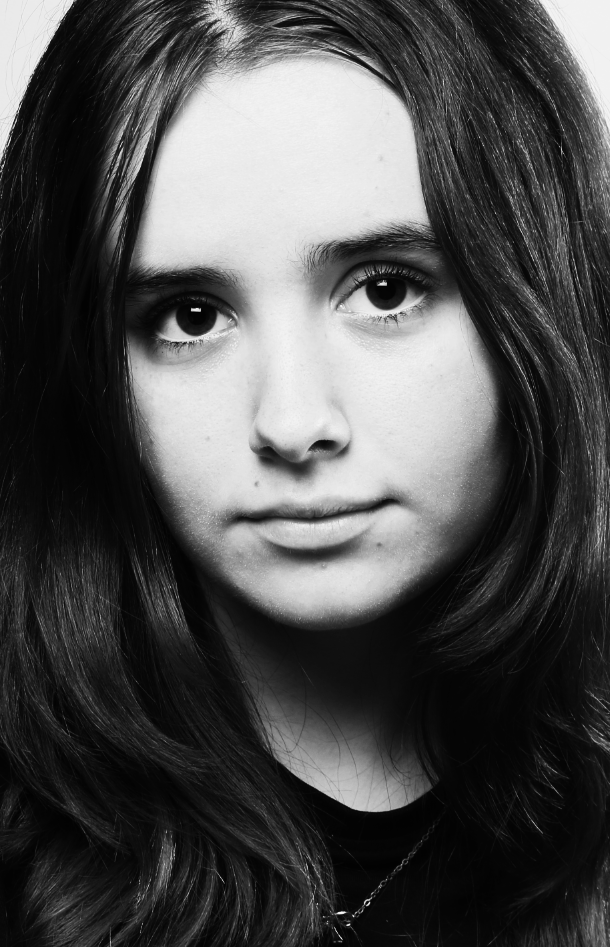
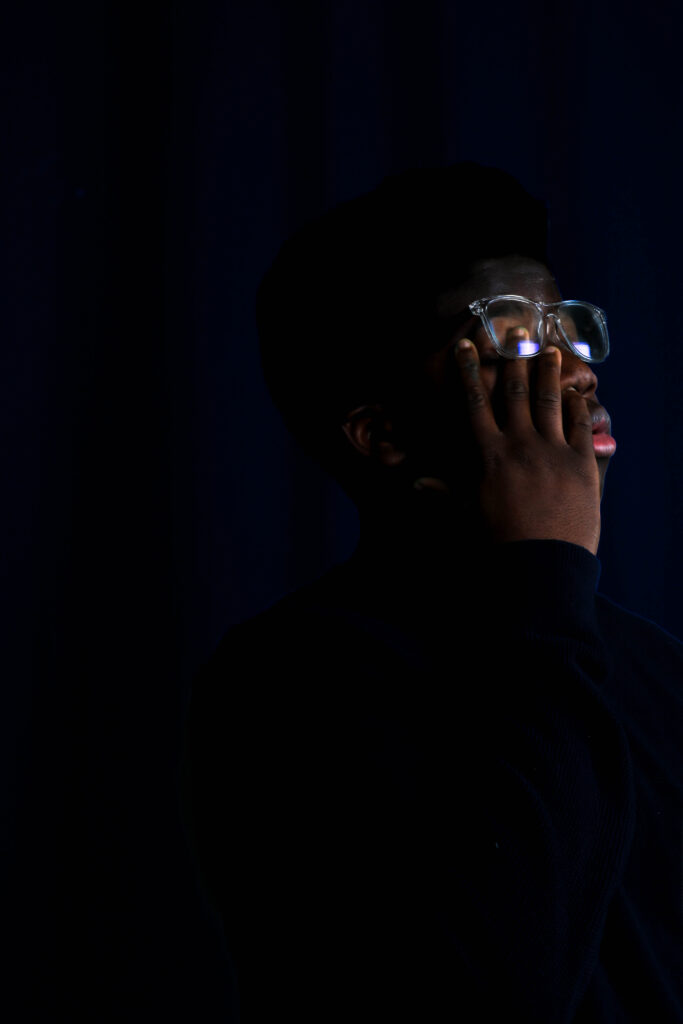
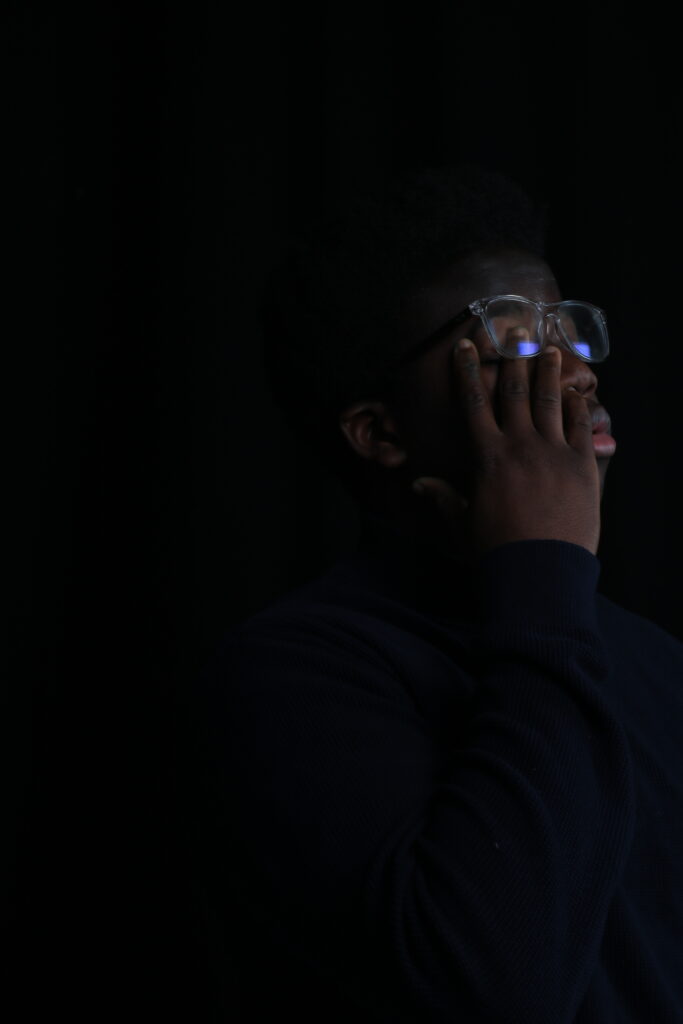
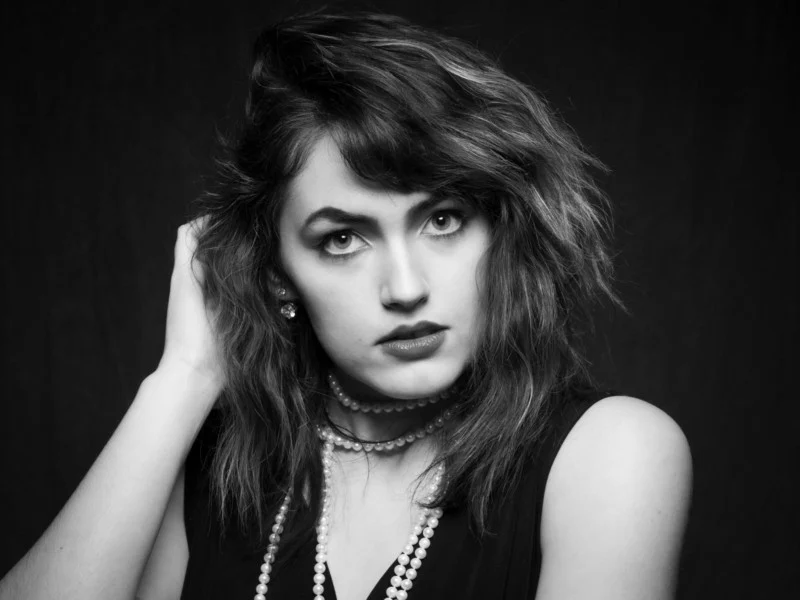
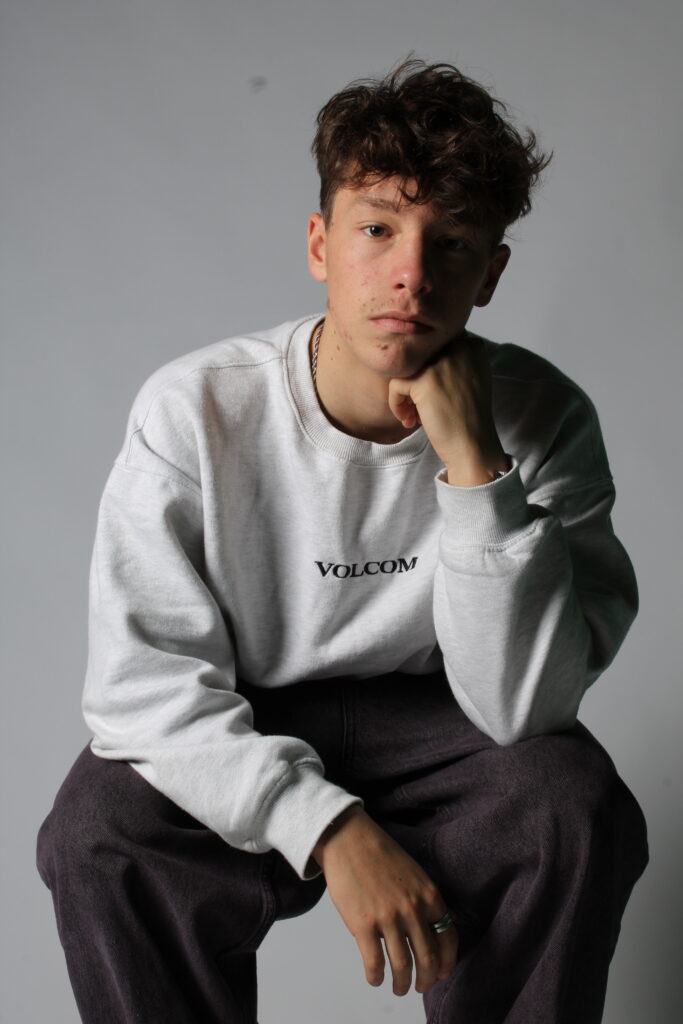
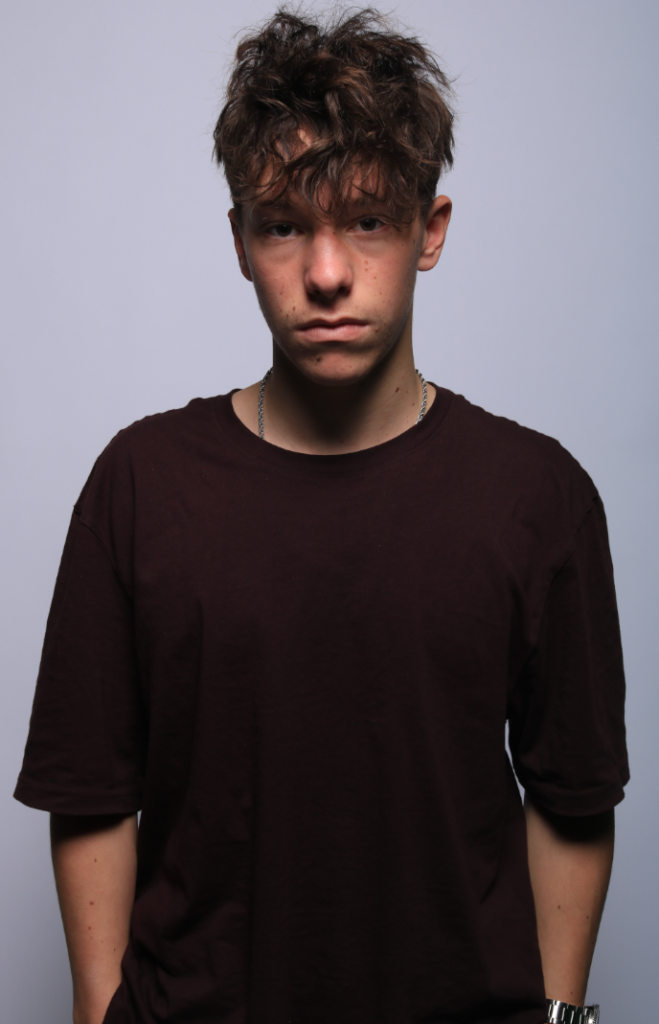
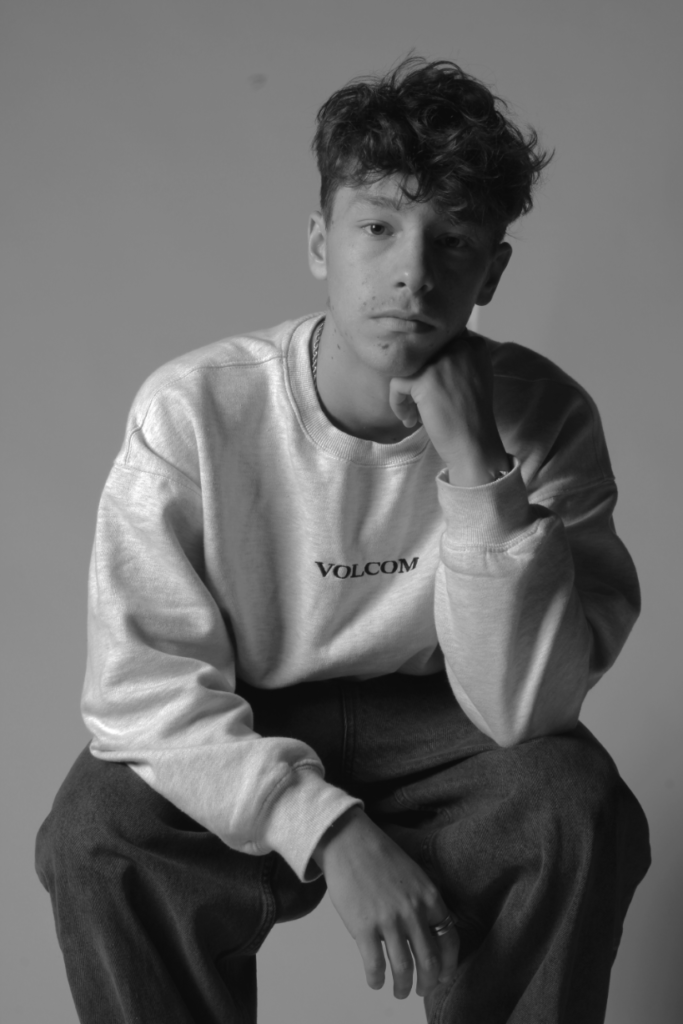
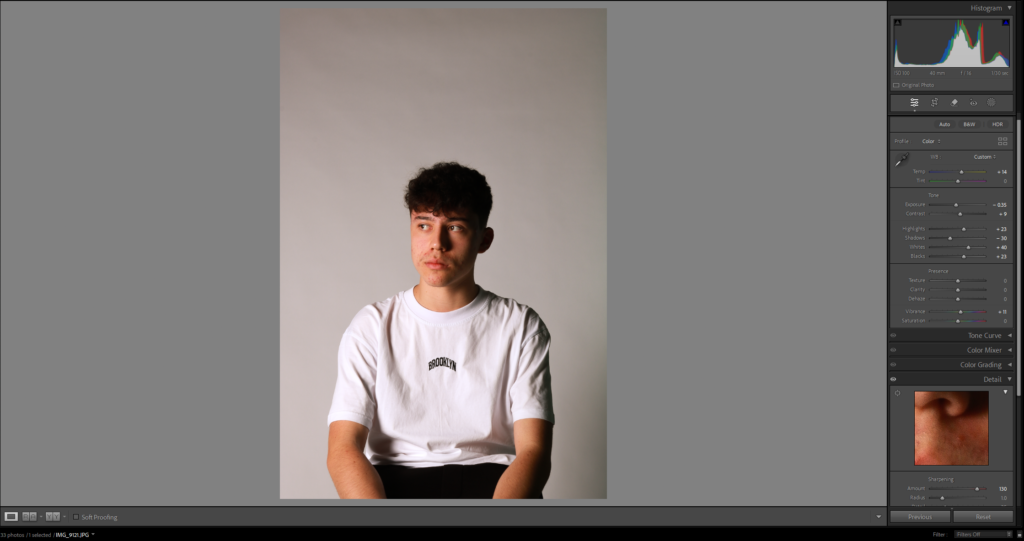
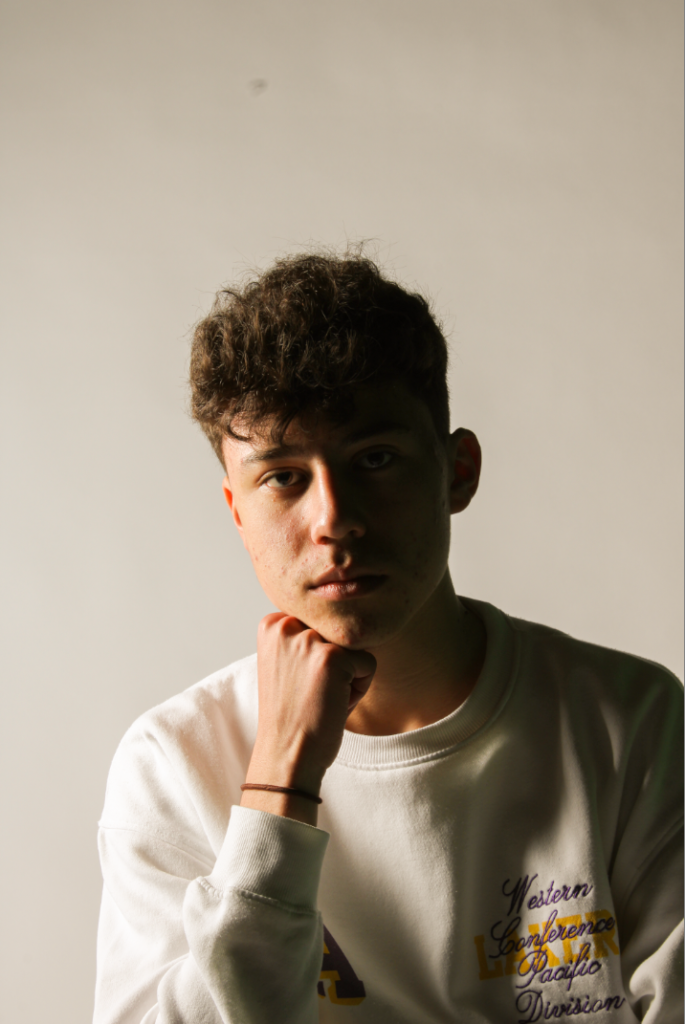
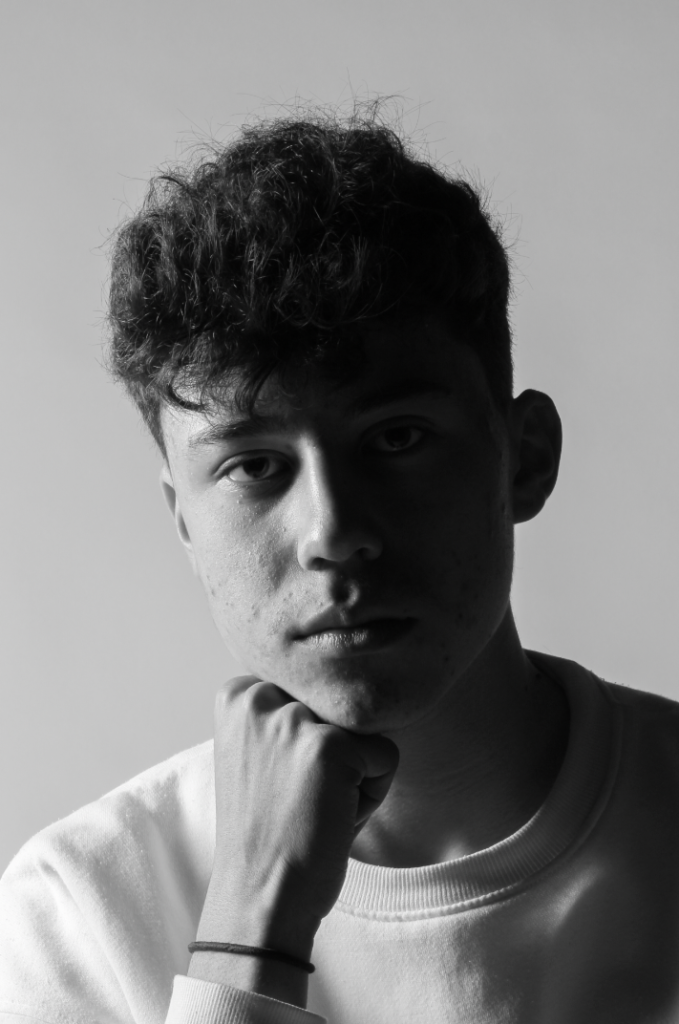
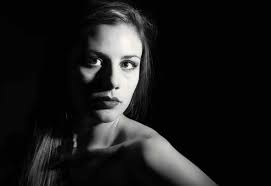
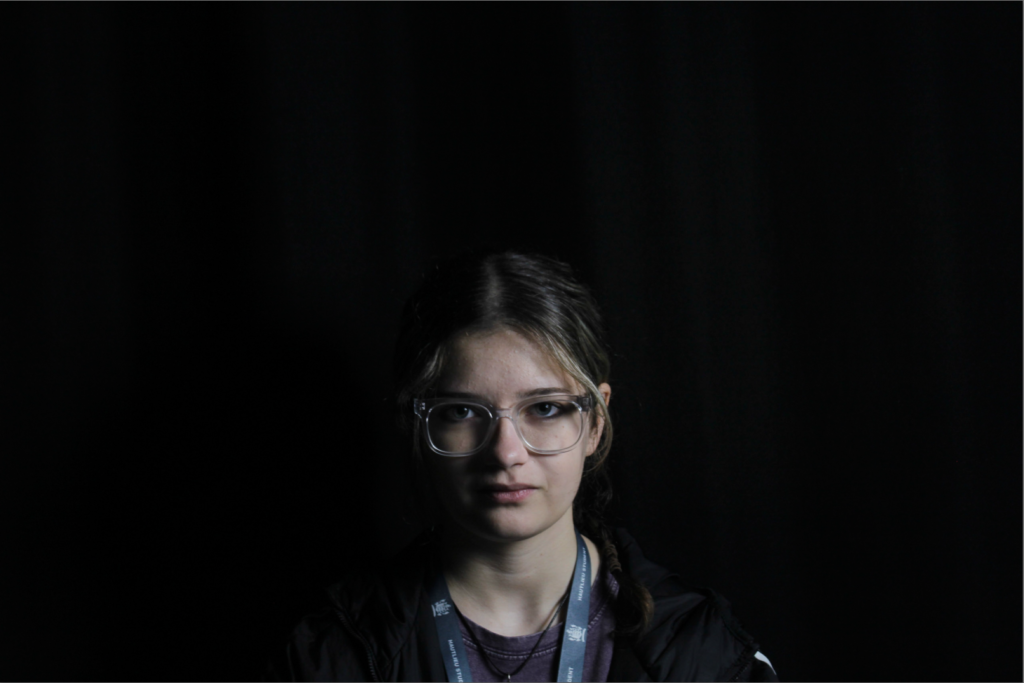
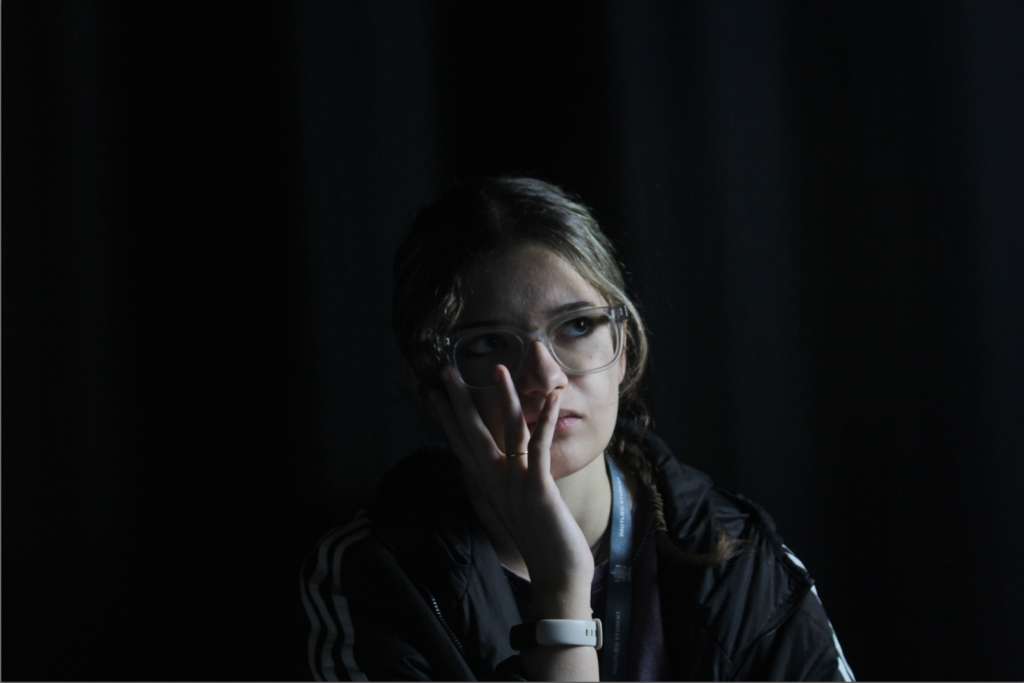
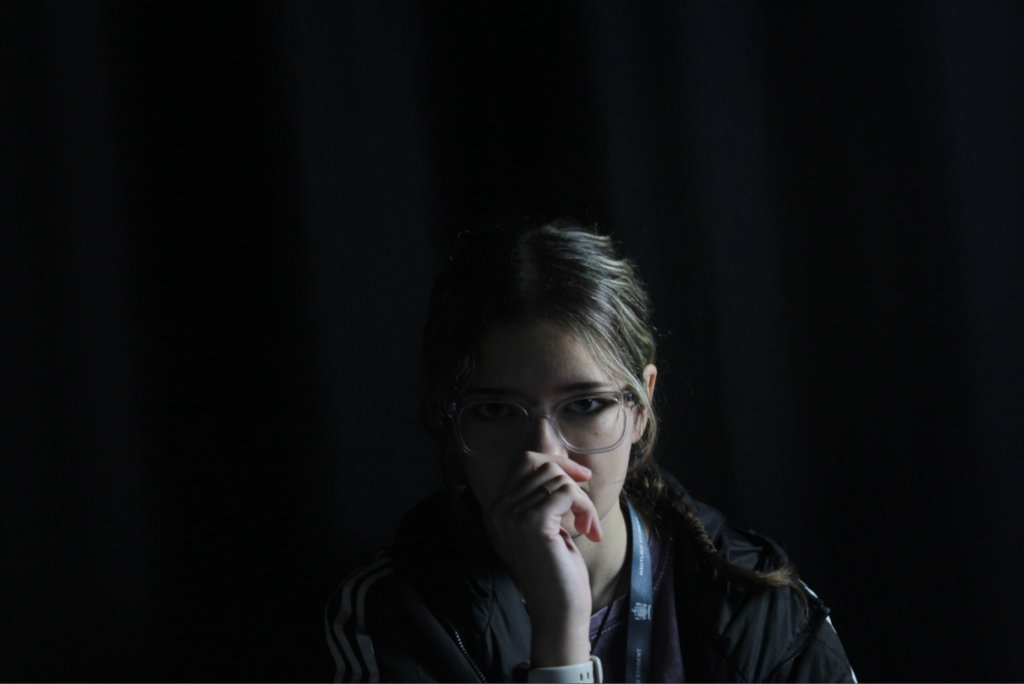
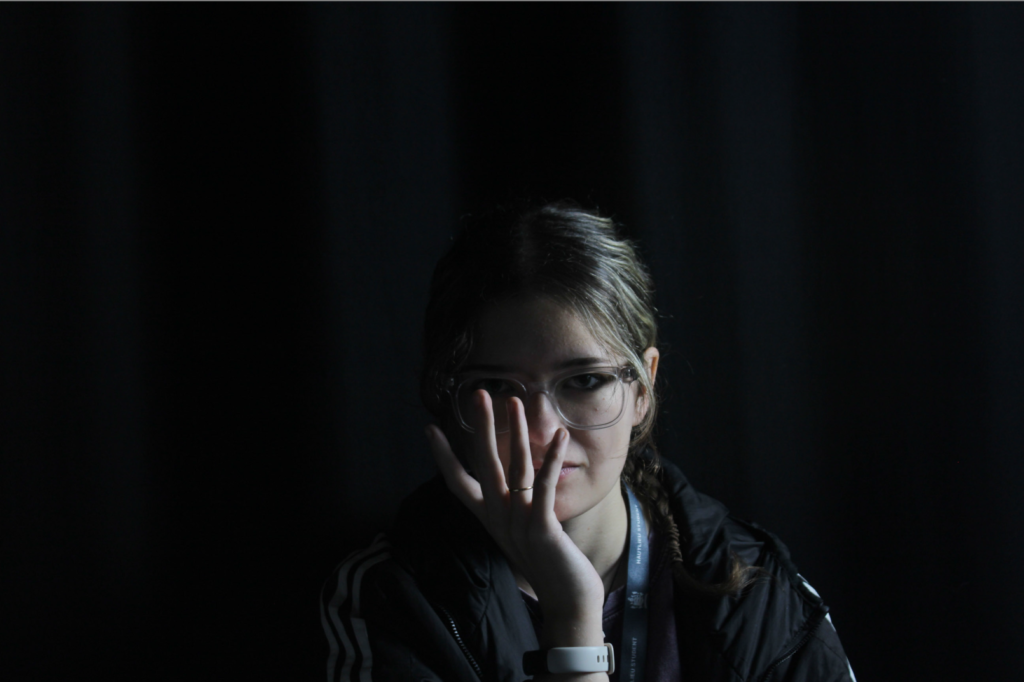
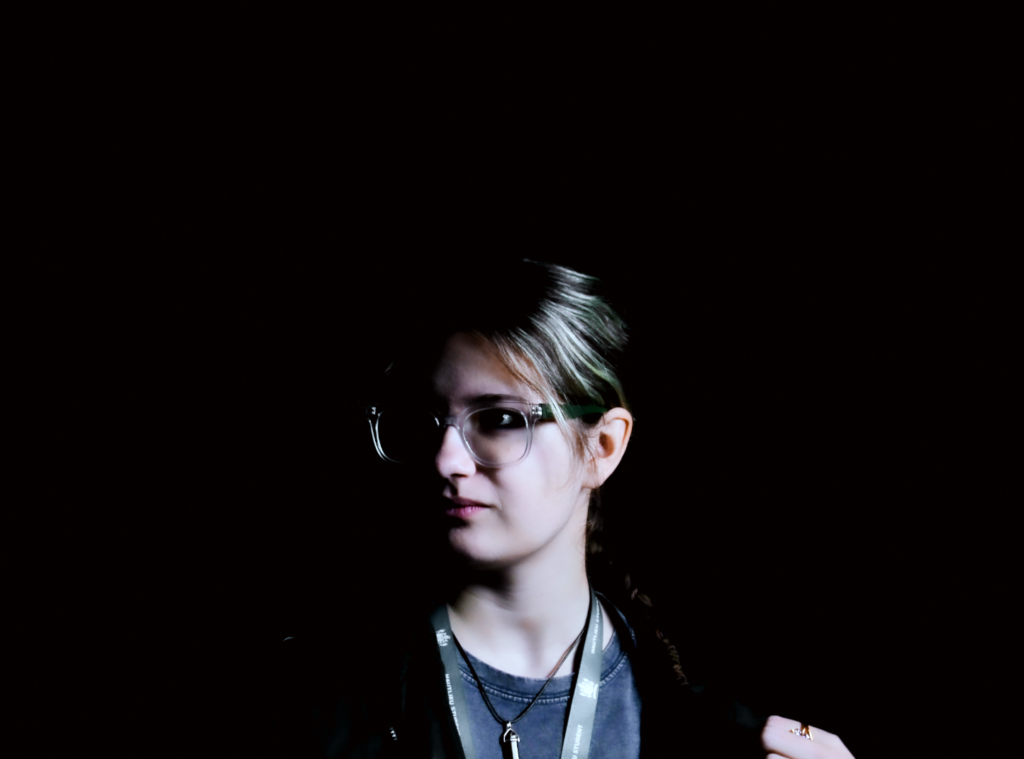
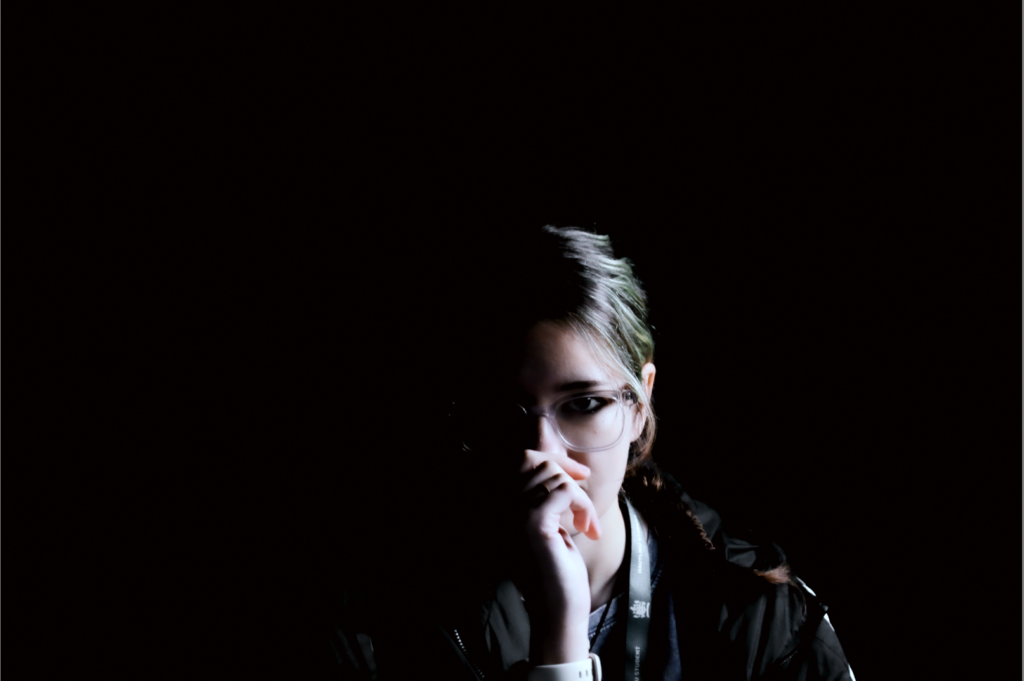
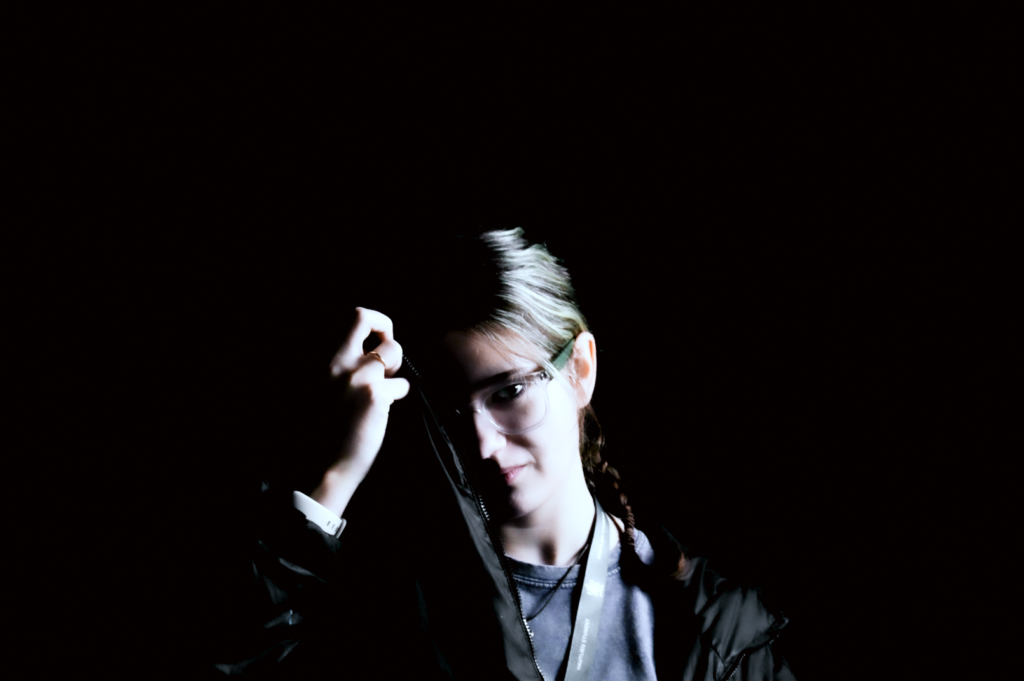
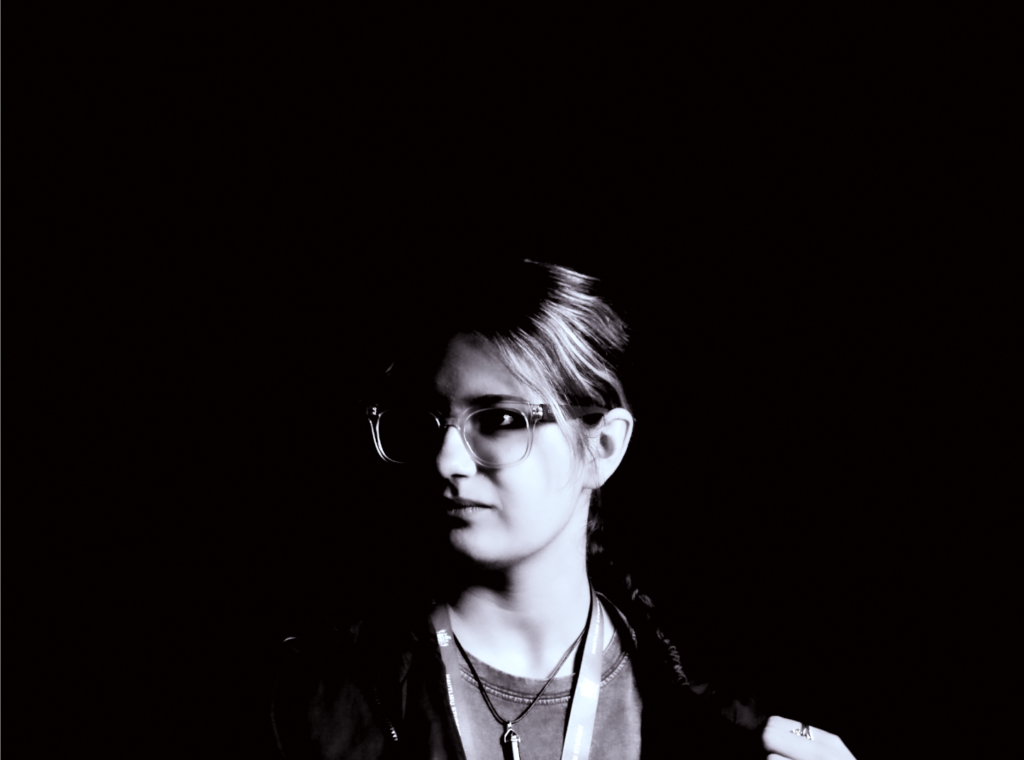
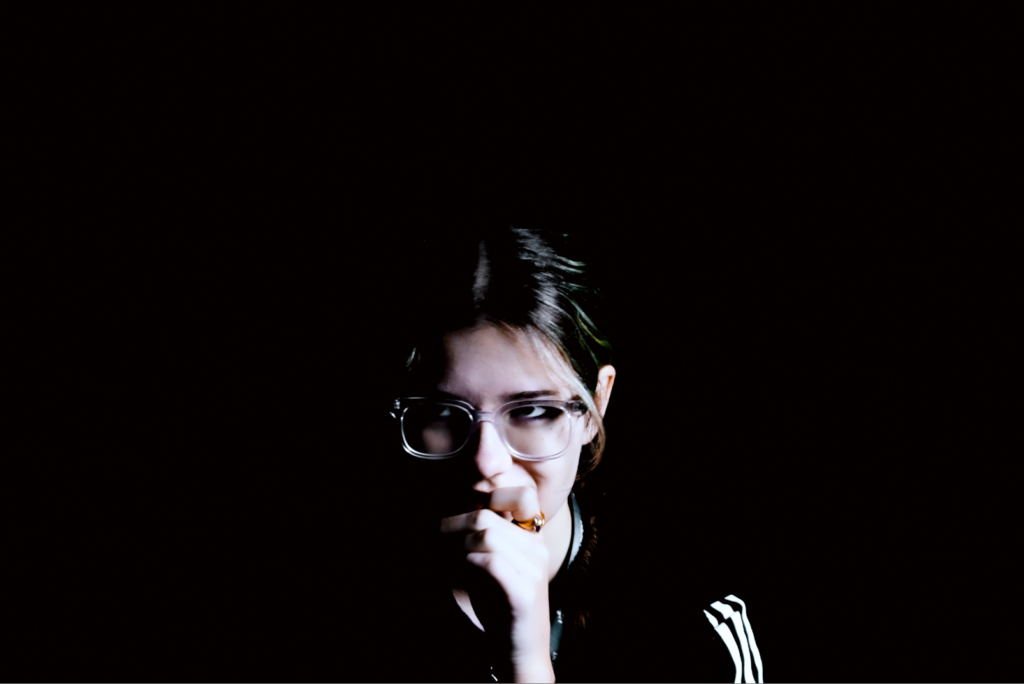
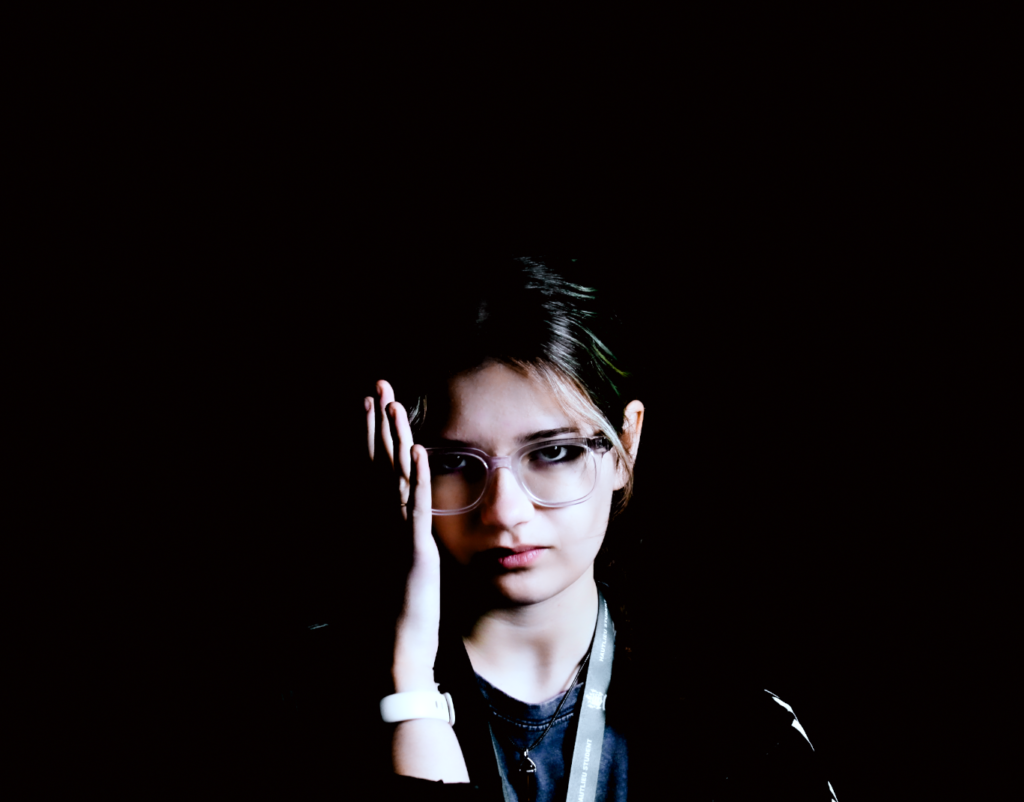
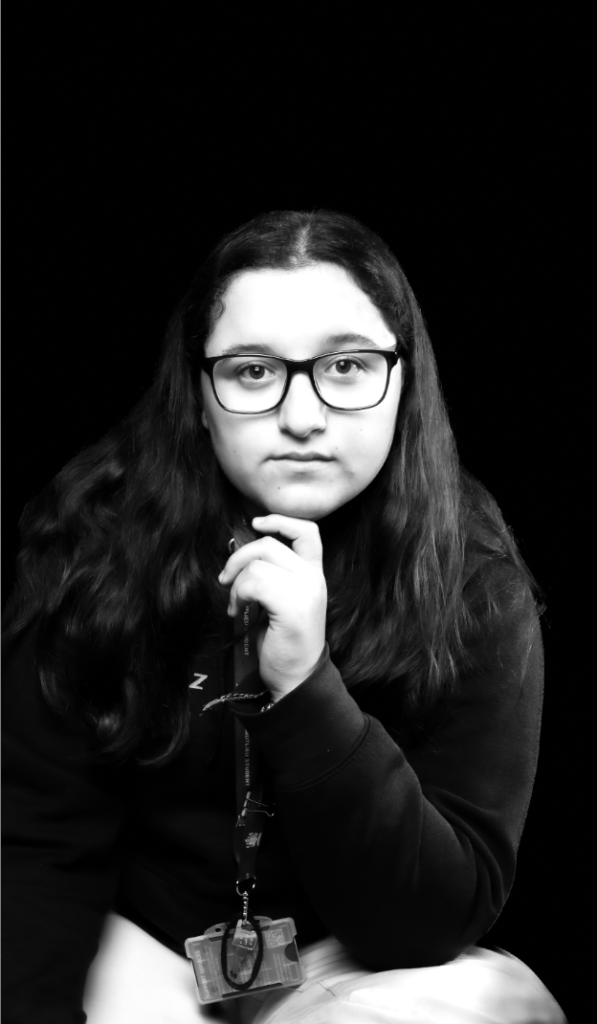
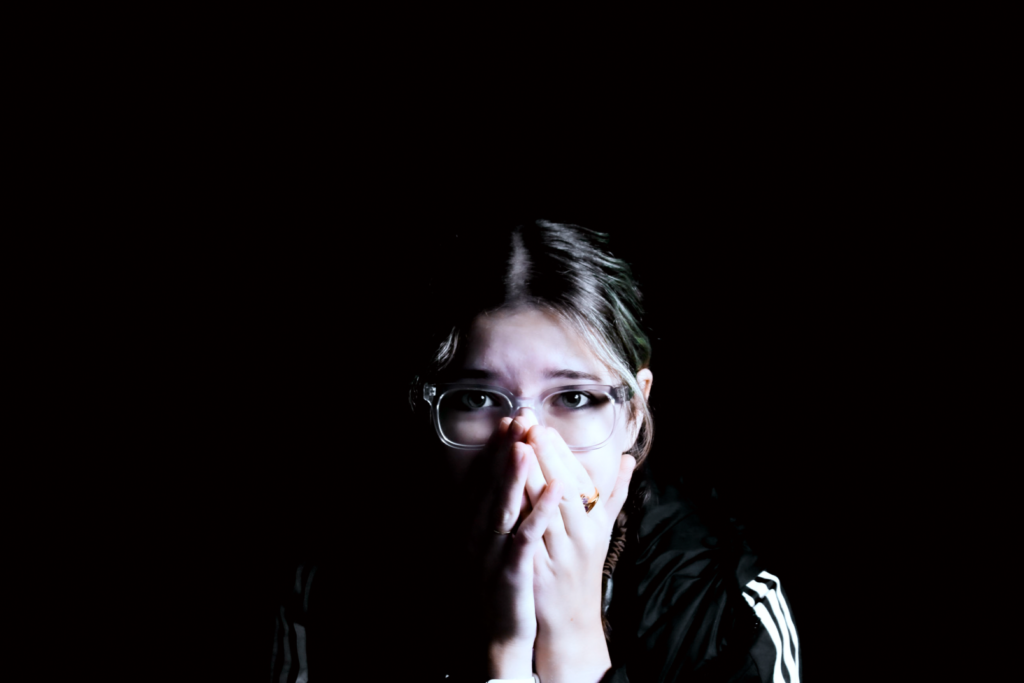
Rembrandt –
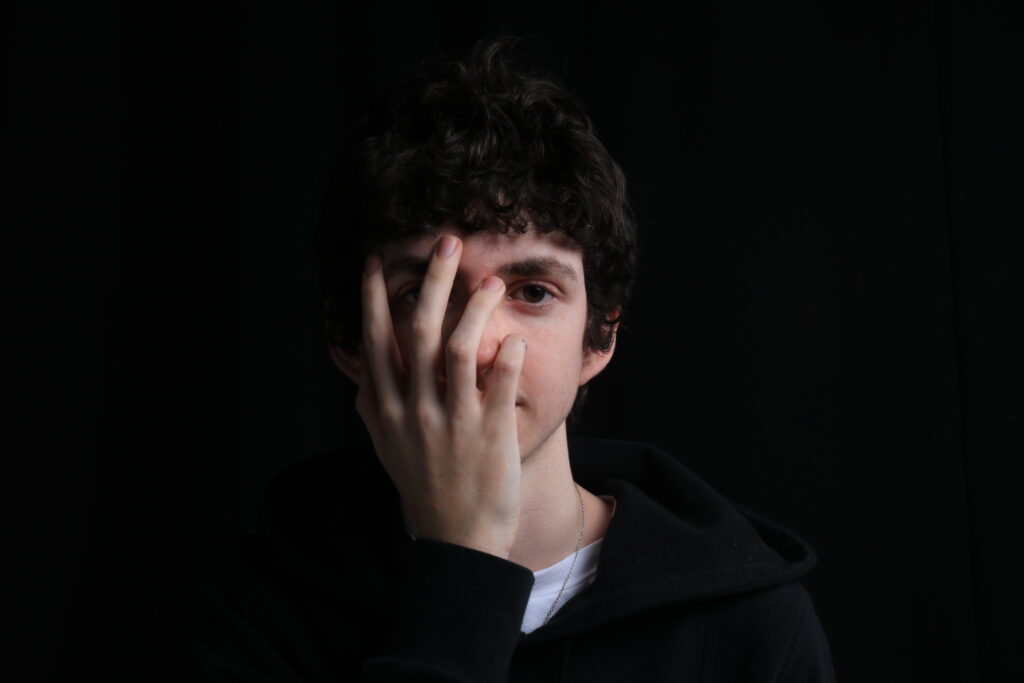
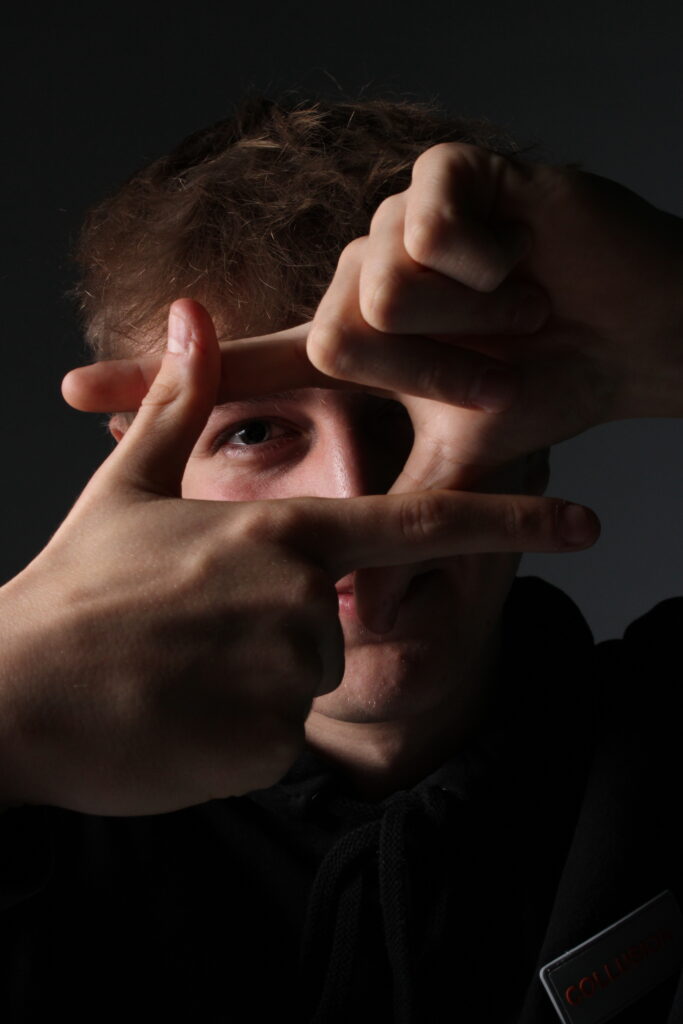
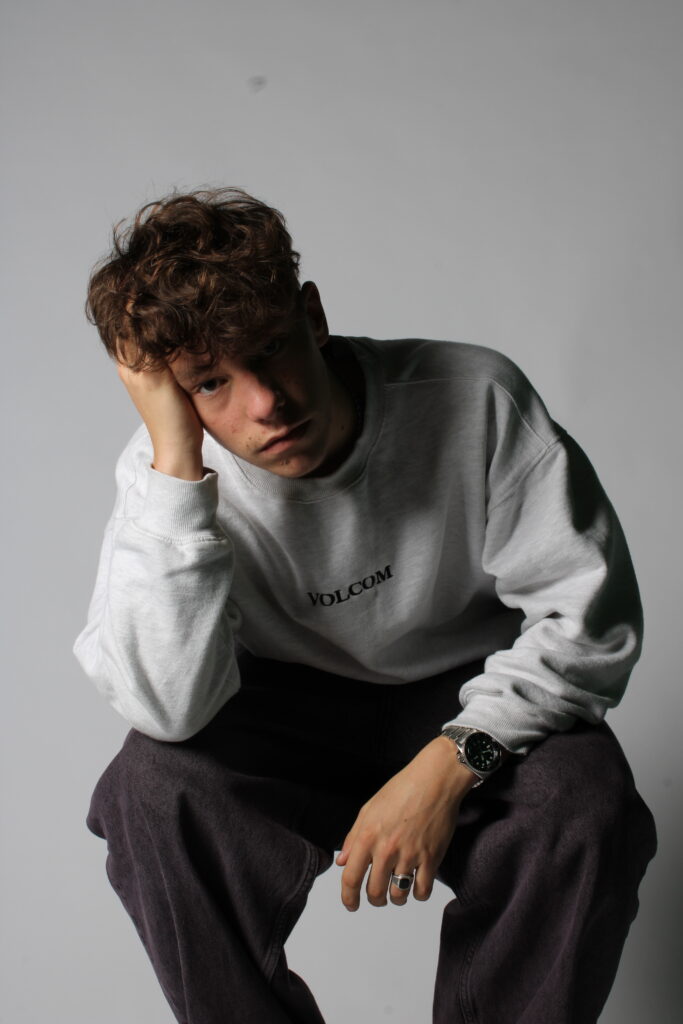
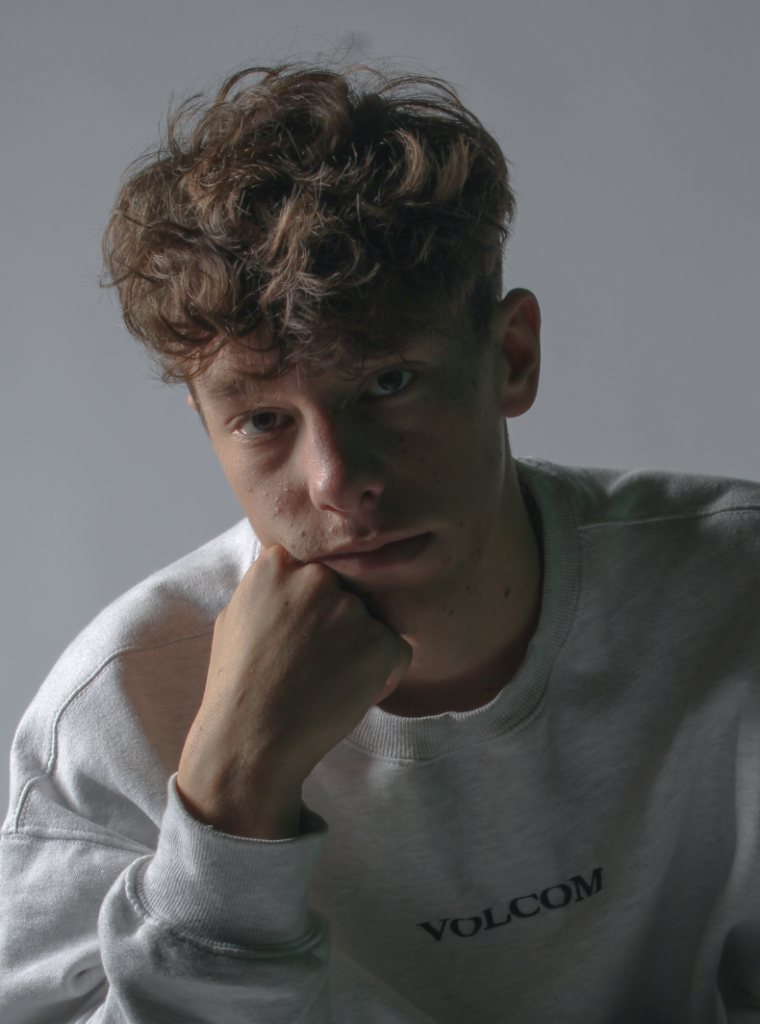
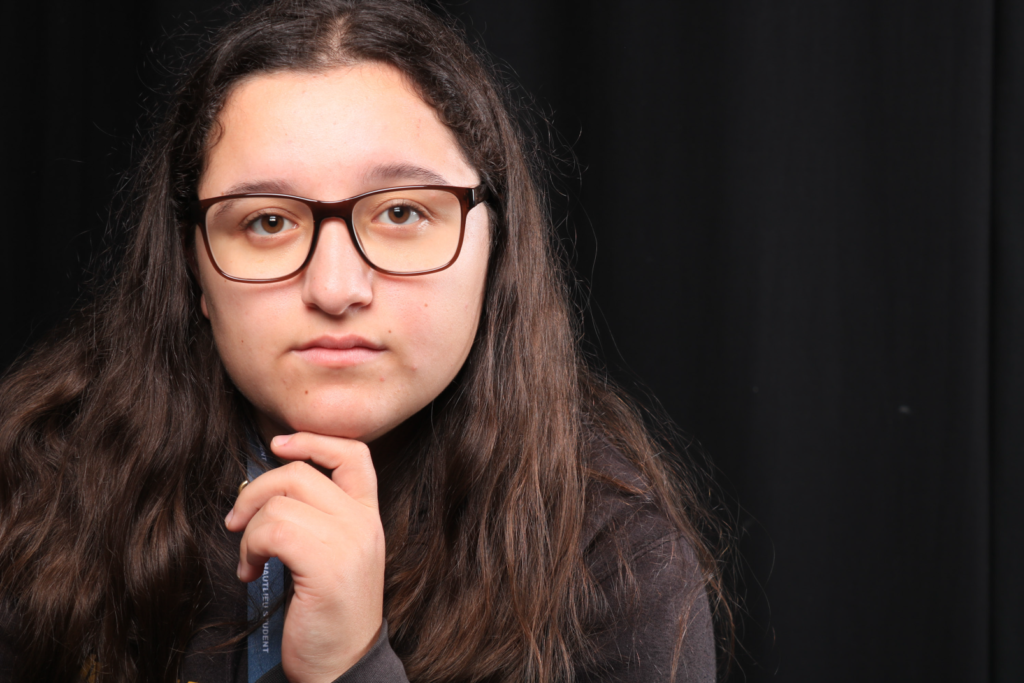
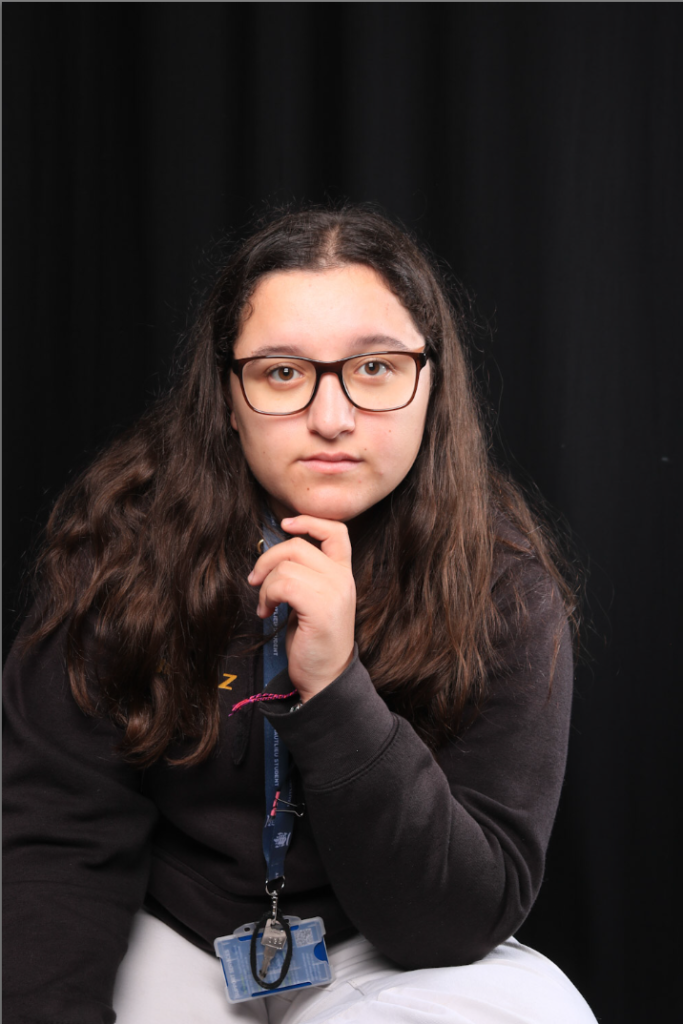
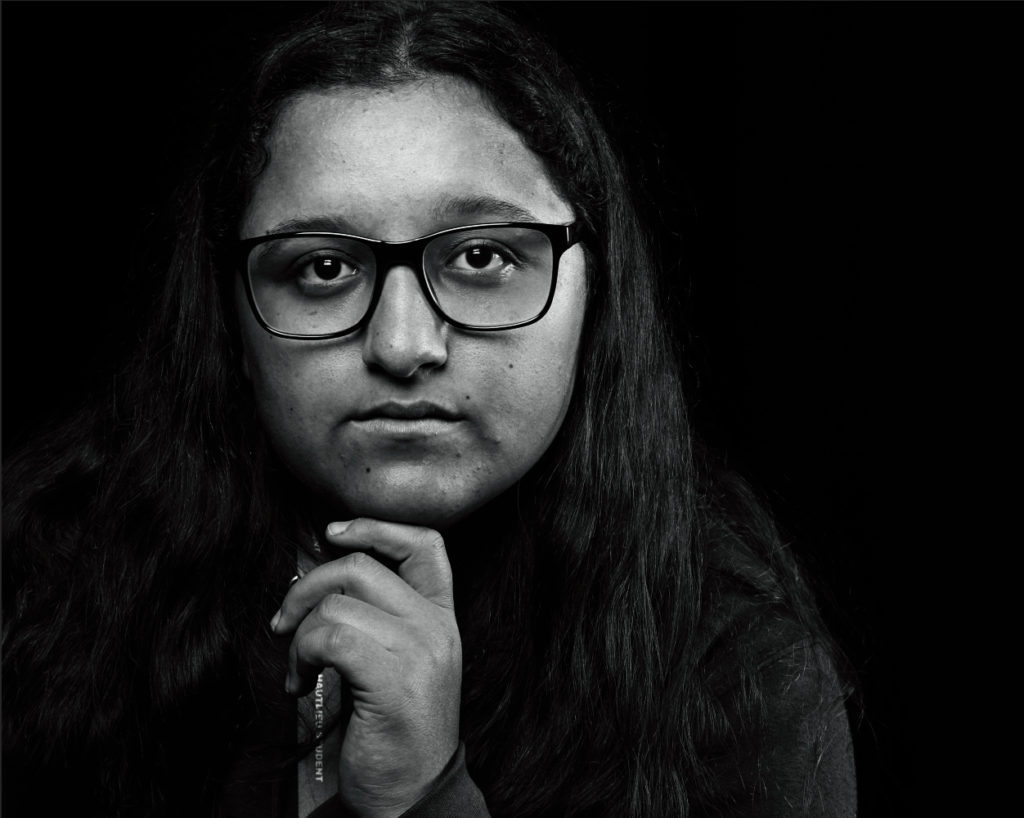
in this photo its shows the light technique of Rembrandt lighting, and with in this photo a reflector is used to the shadows don’t completely block out half of the face. Also even with the glasses u can see the triangle and how it dose not effect the lighting.
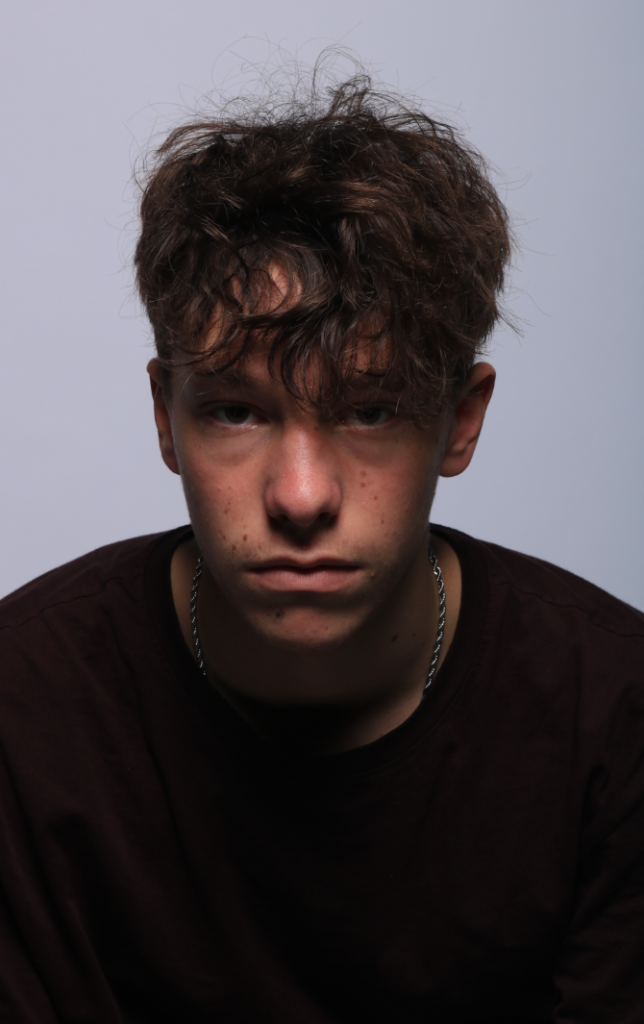
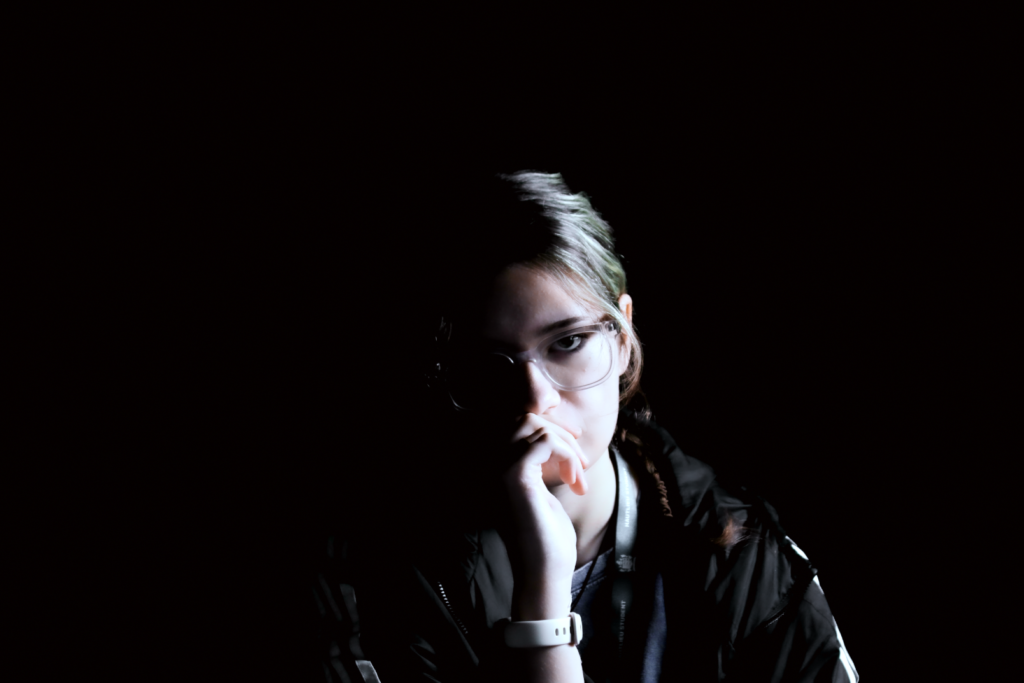
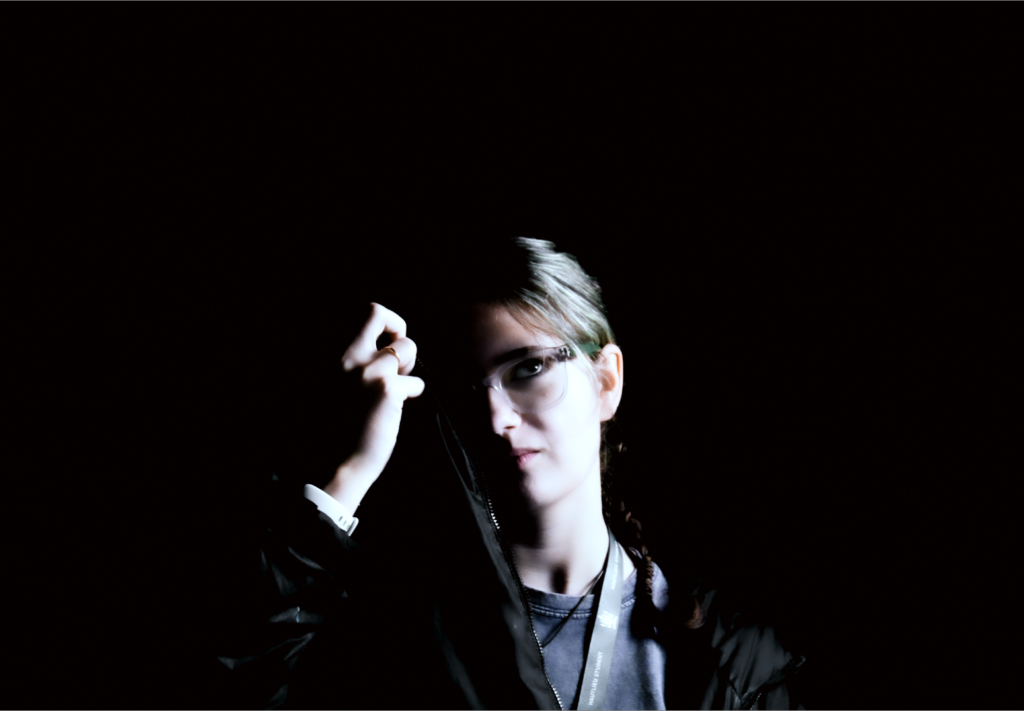
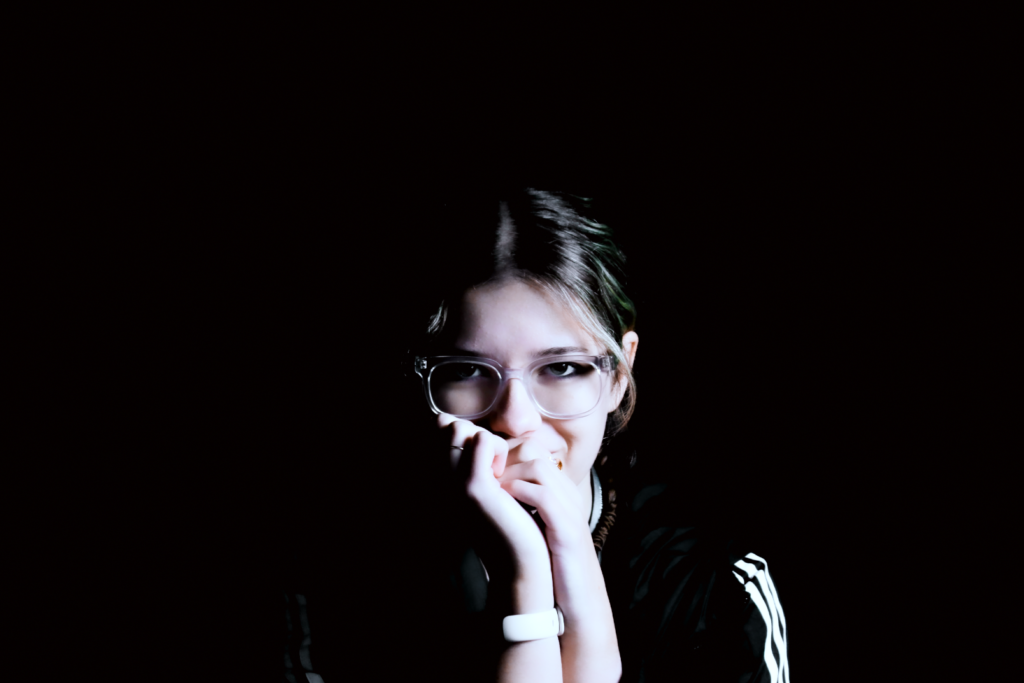
same for this one but its more obvious that’s its Rembrandt lighting, as can see the triangle more so. And the light was moved more so closer to the camera, like half way between the model and camera.
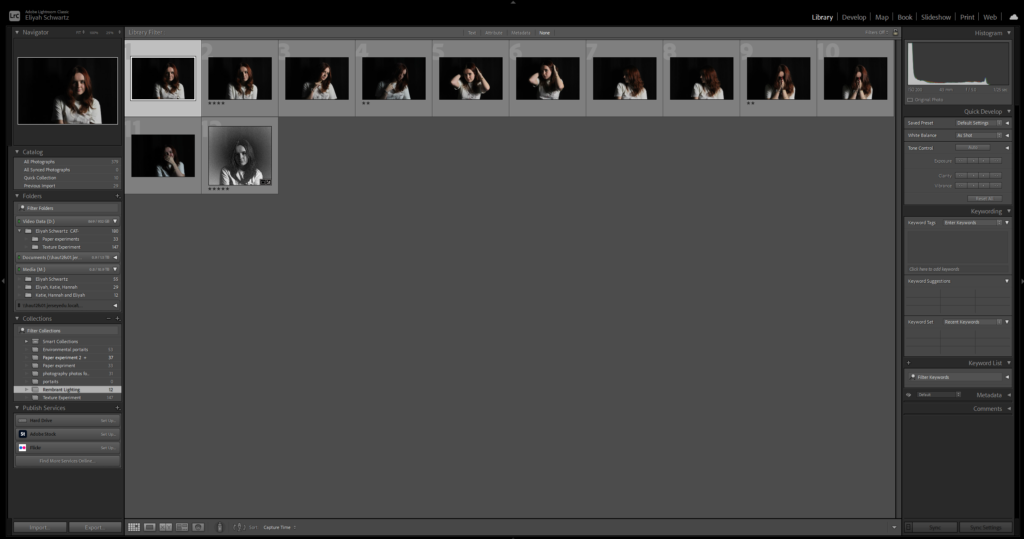
more Rembrandt raw photos
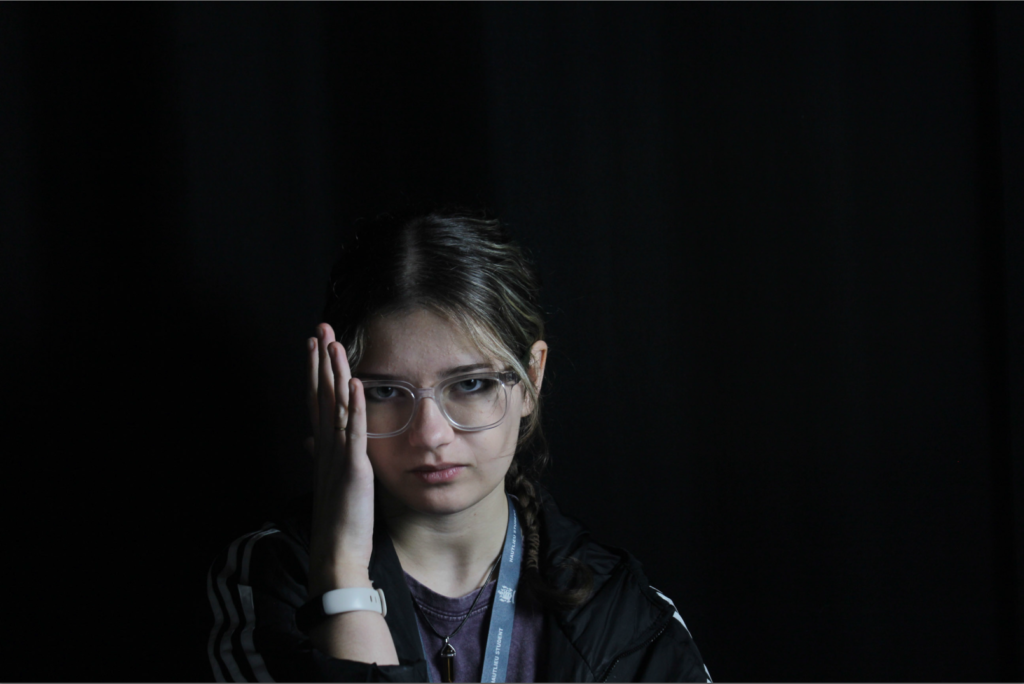
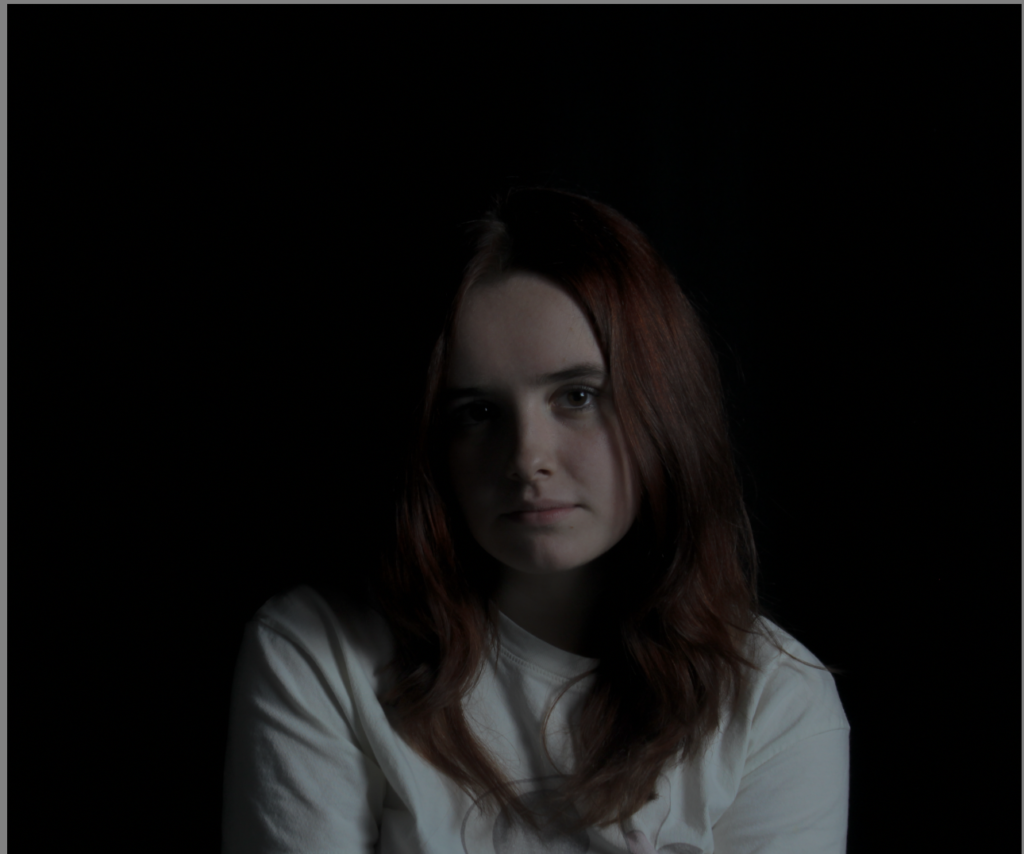
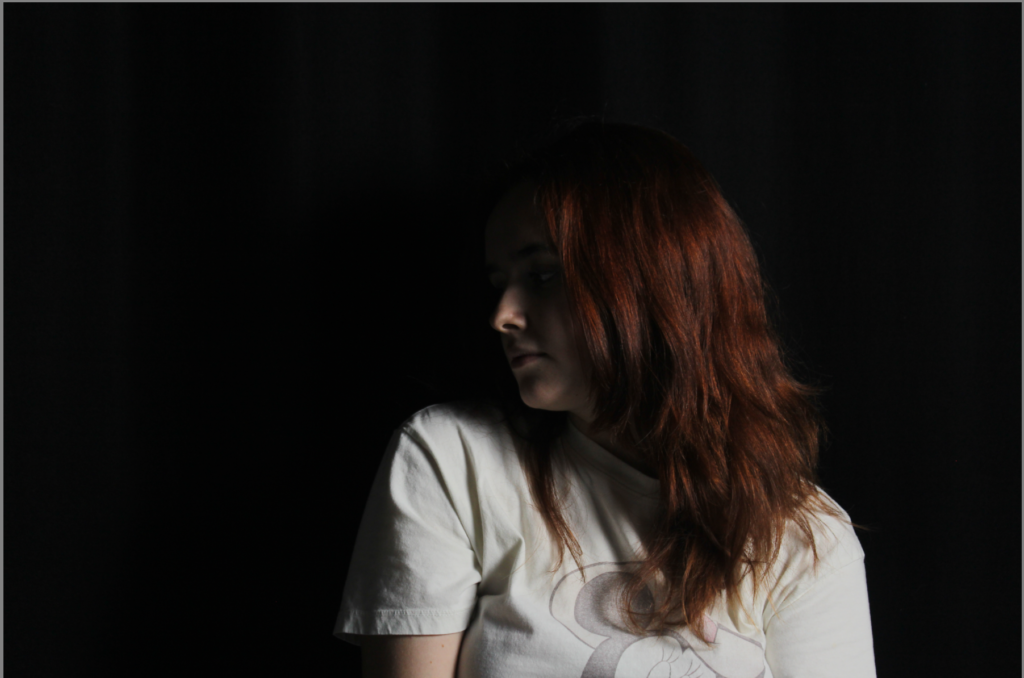
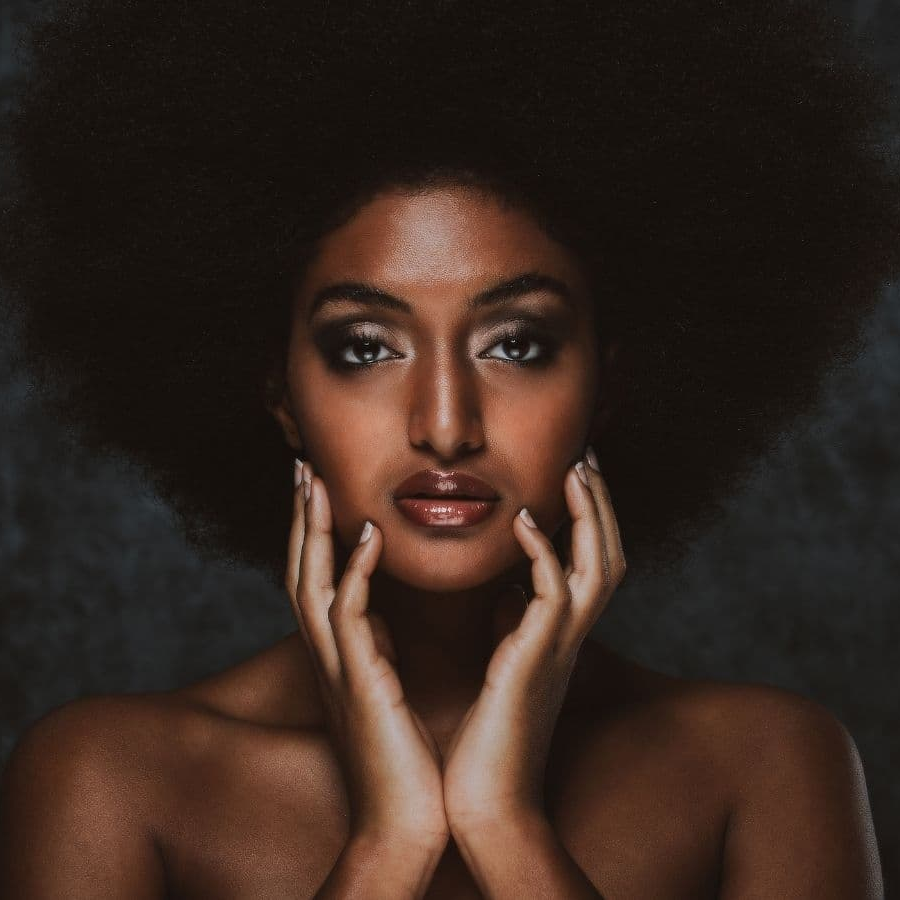
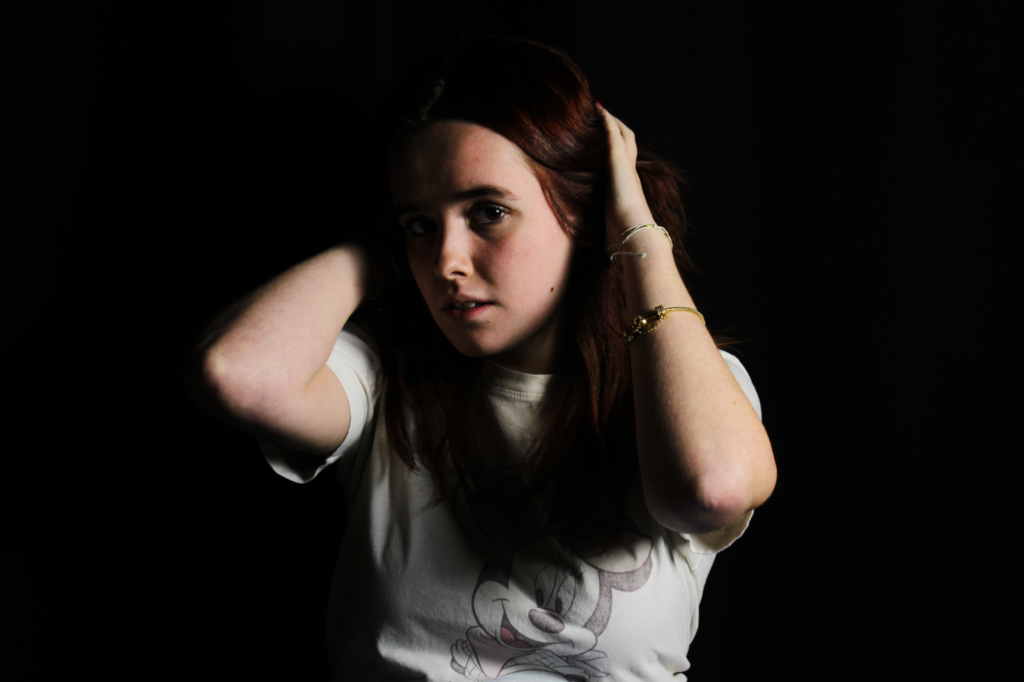
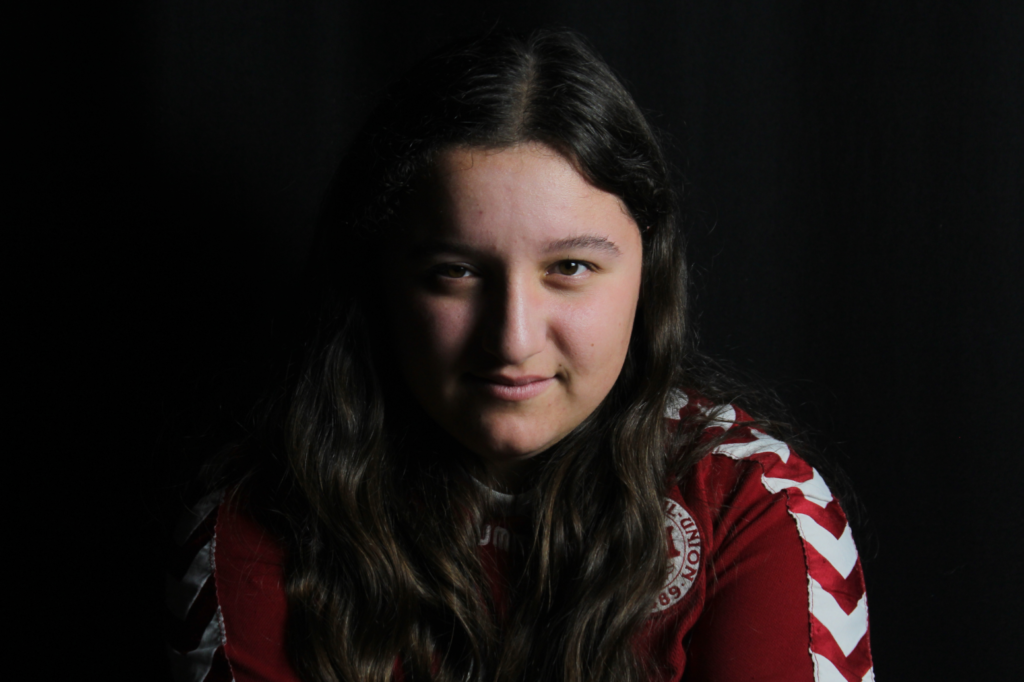
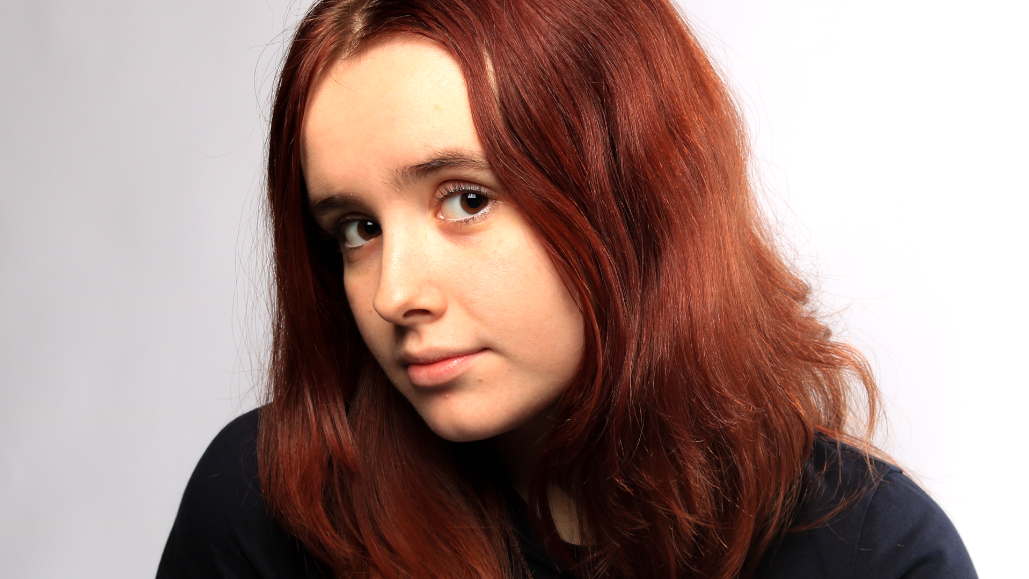
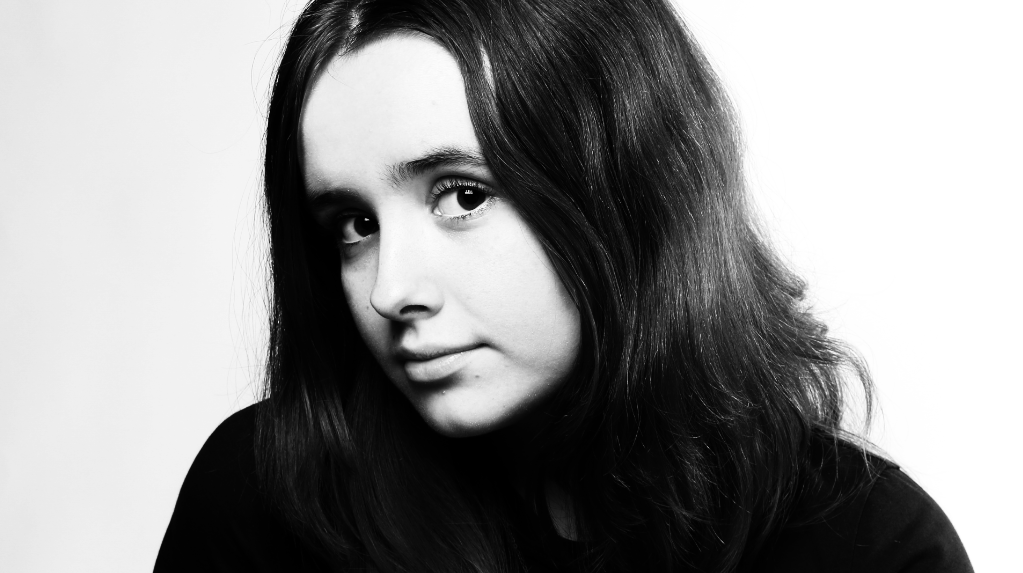
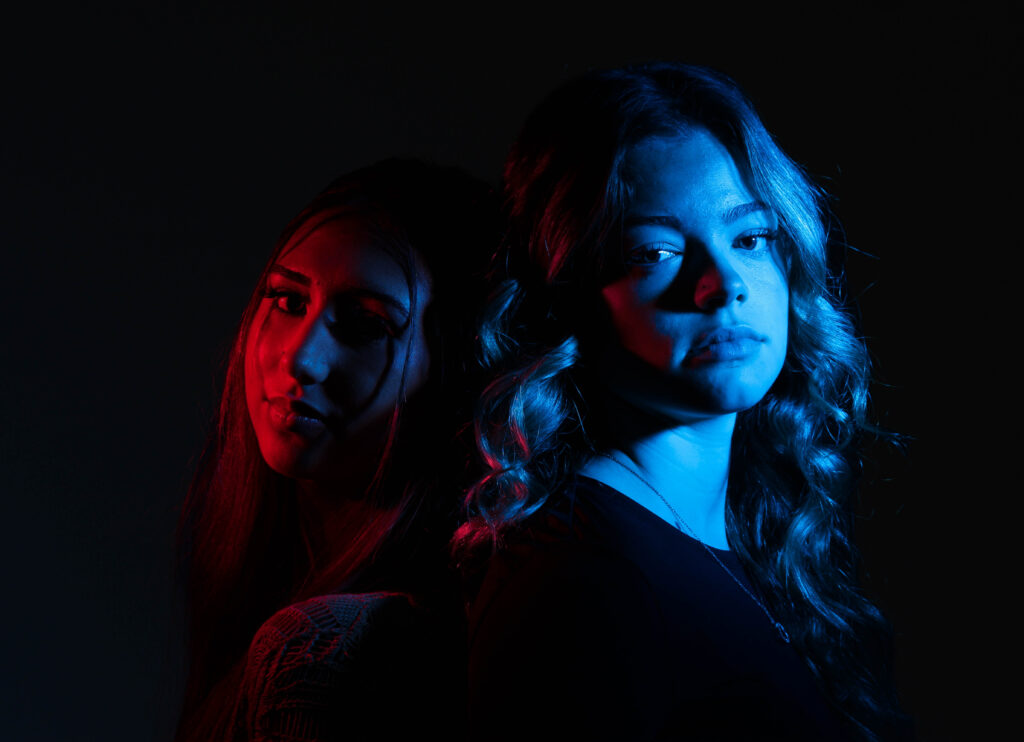
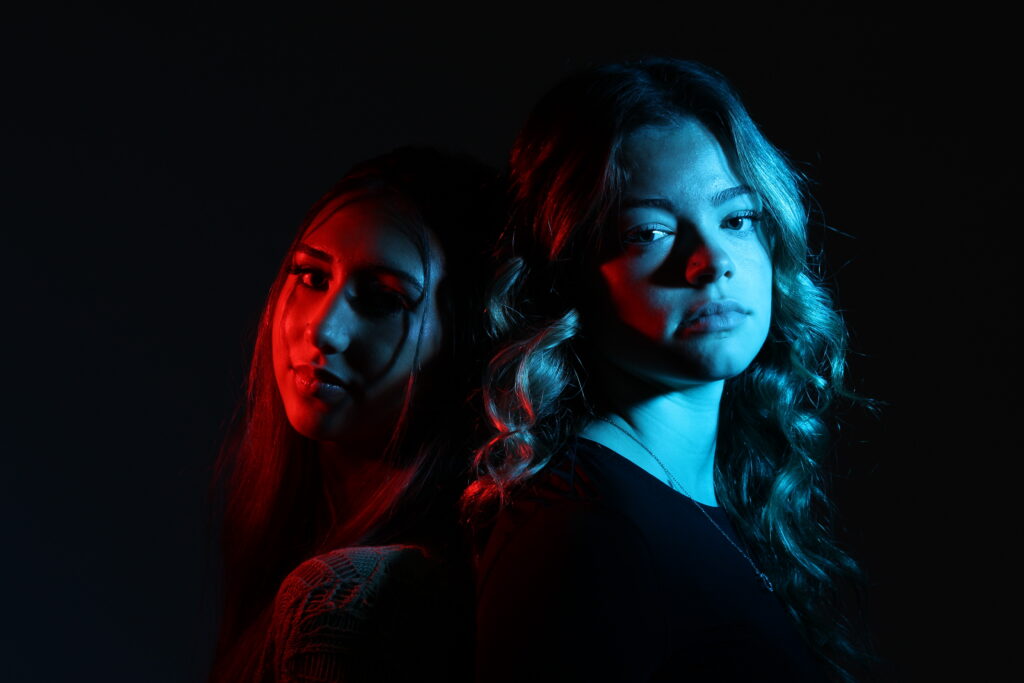
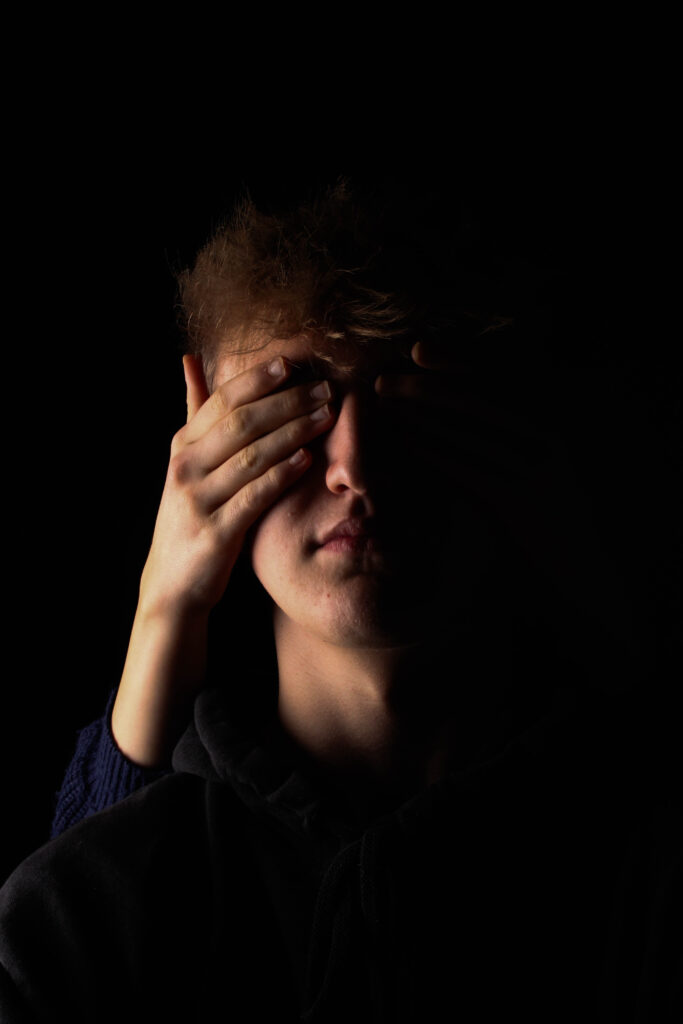
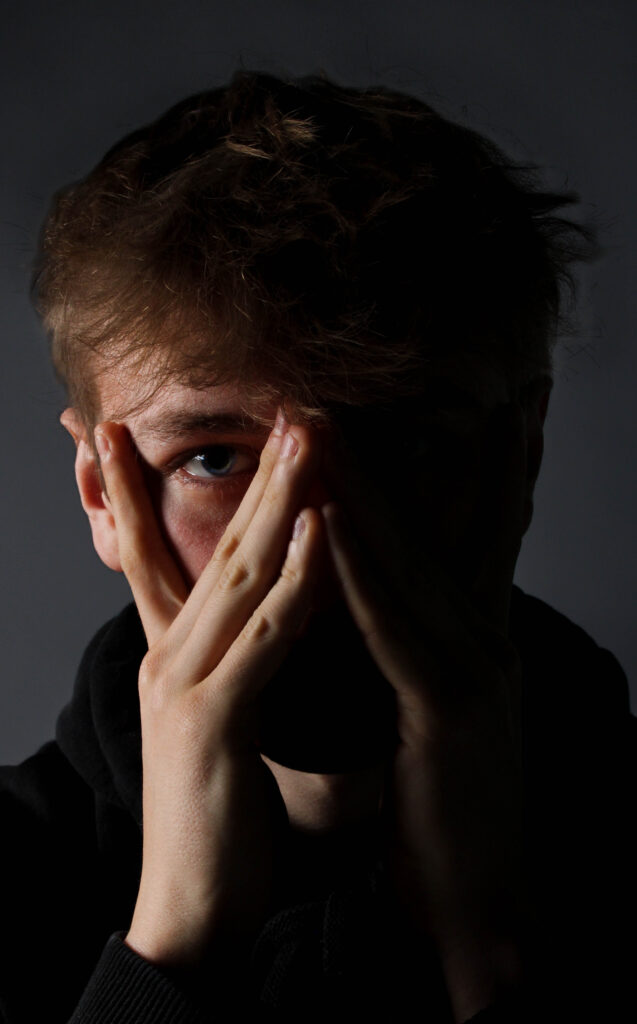
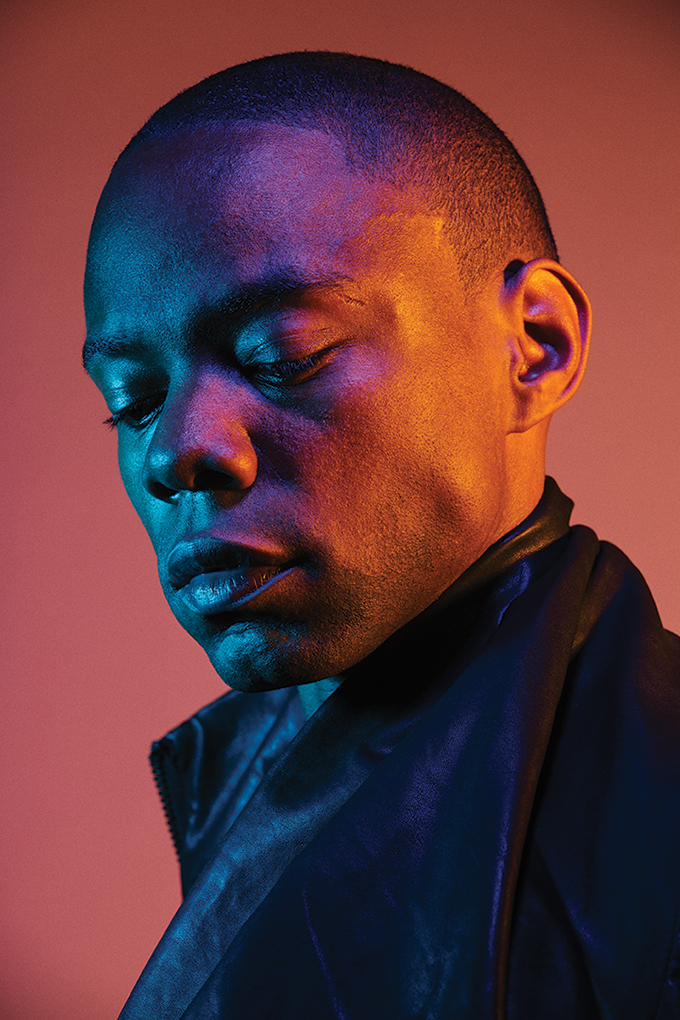
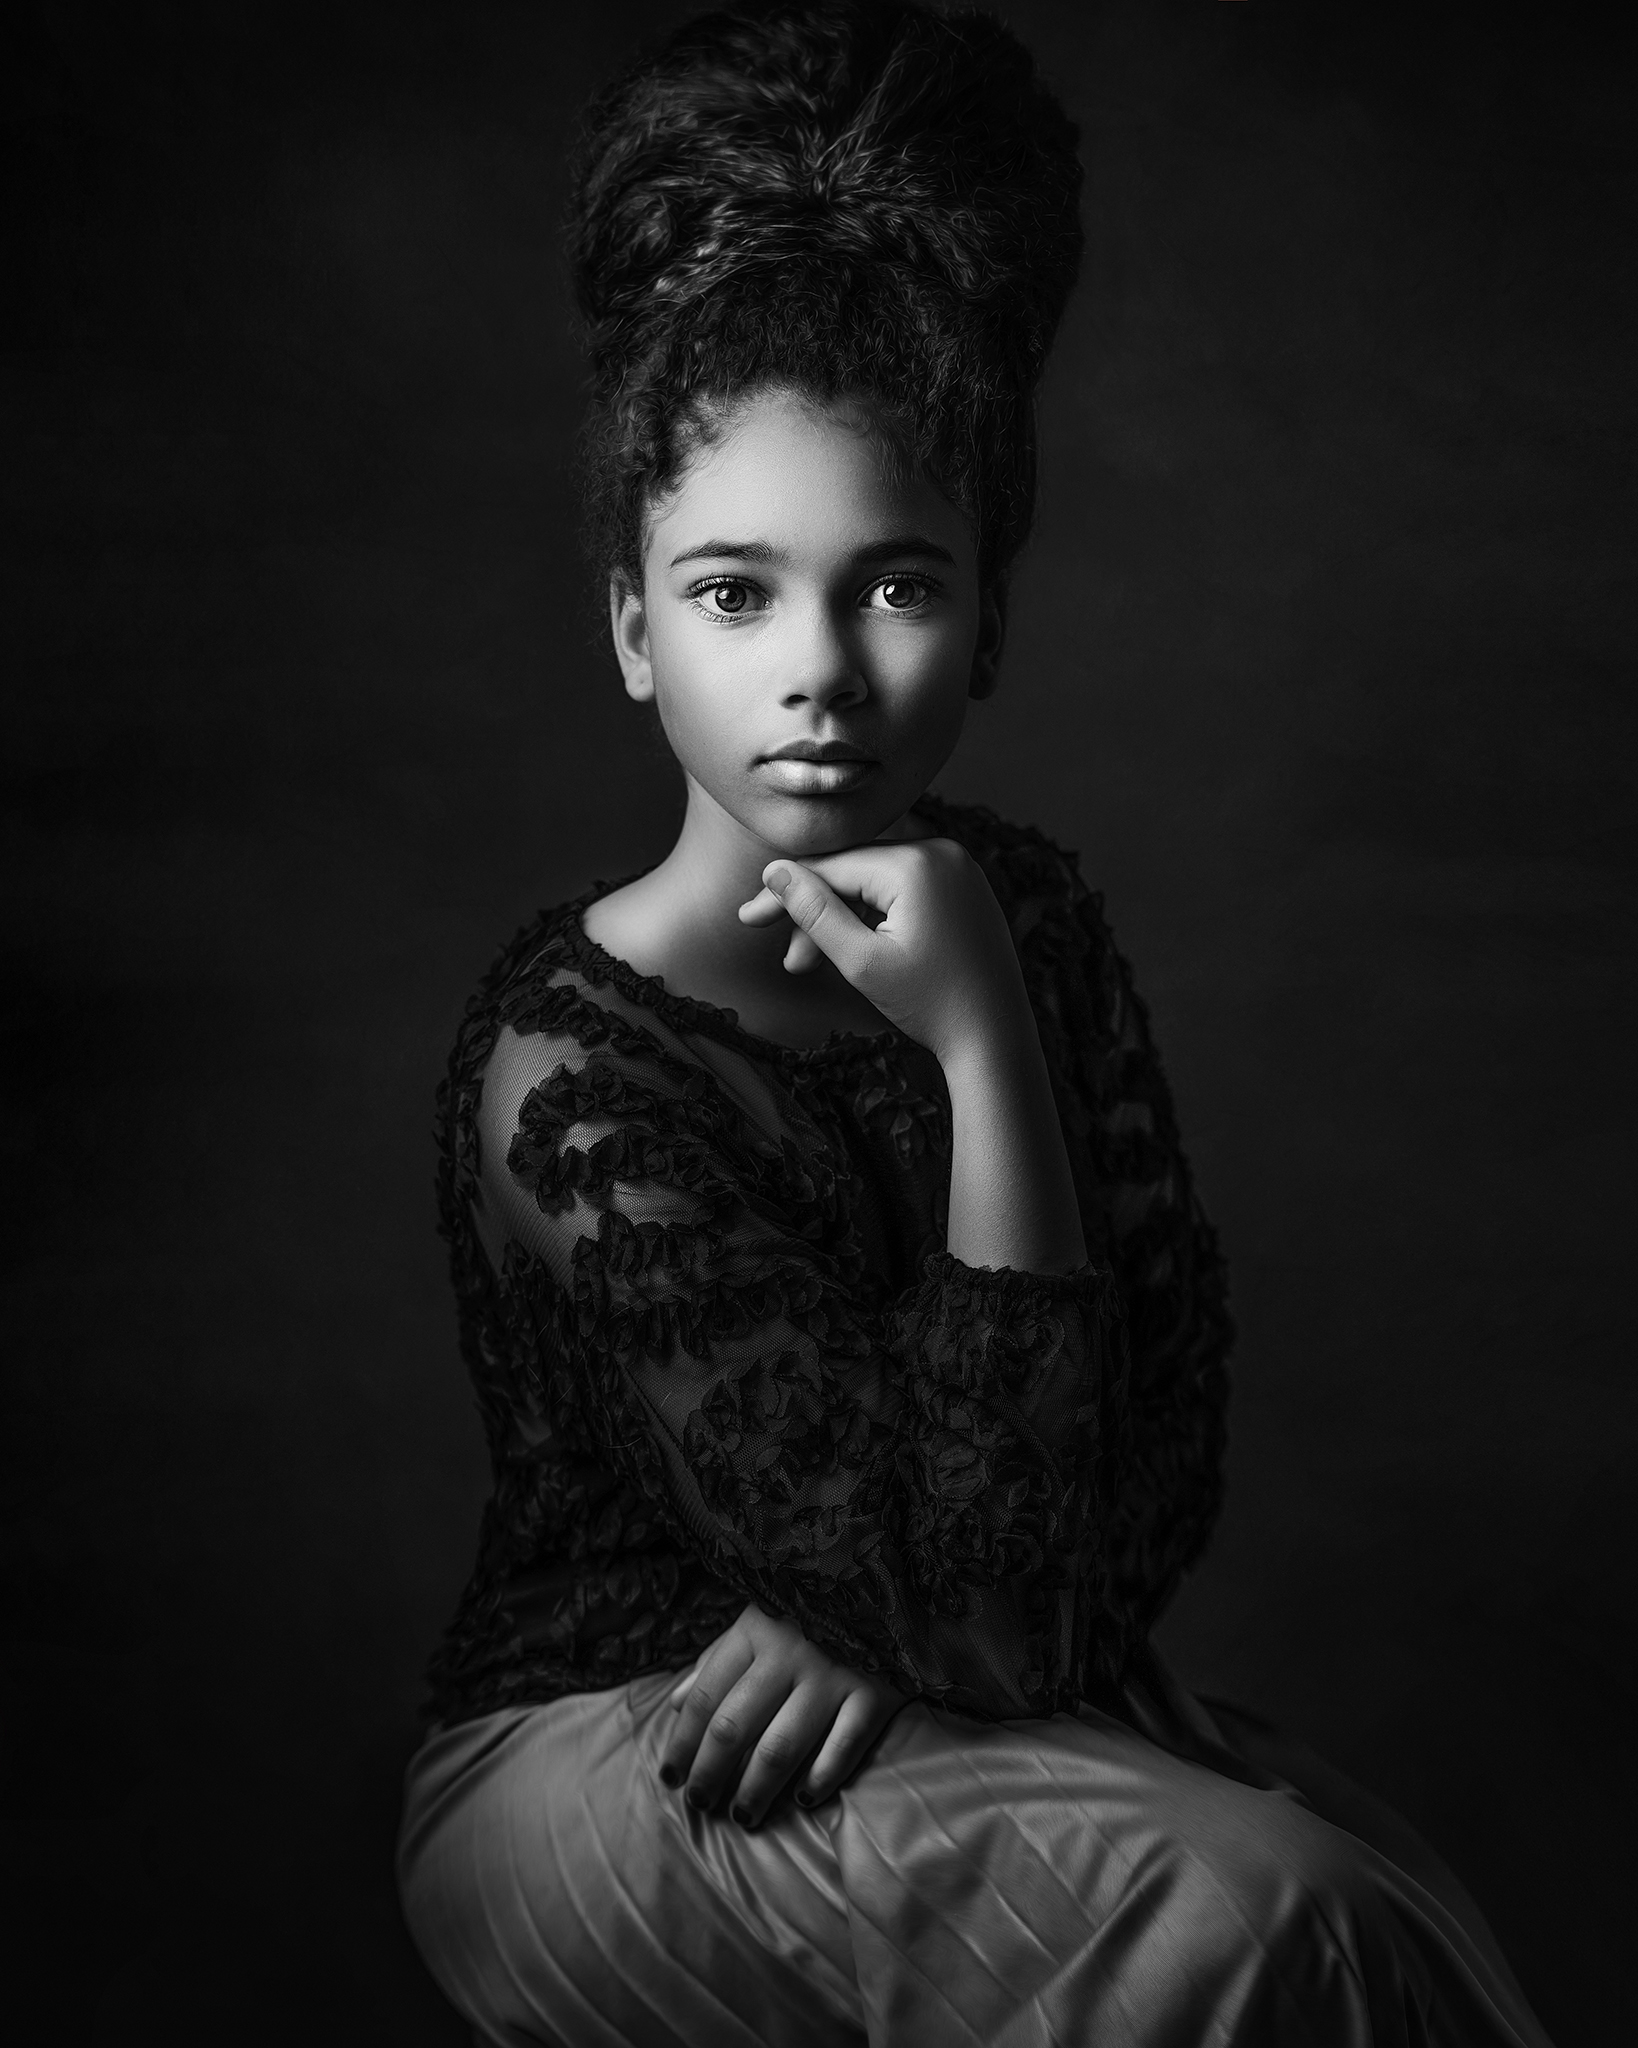
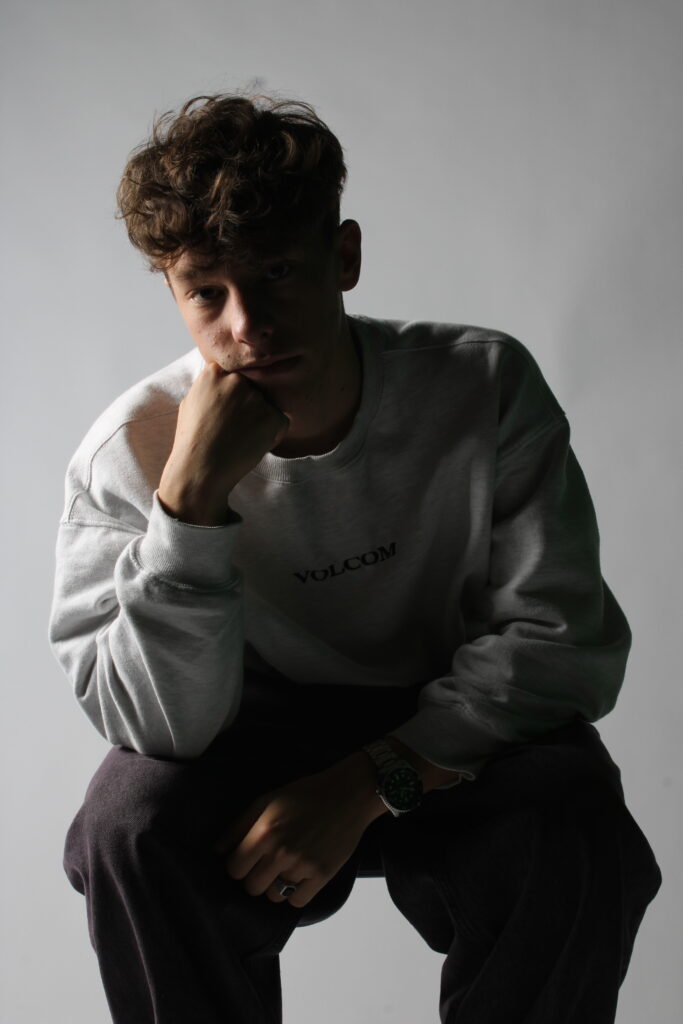
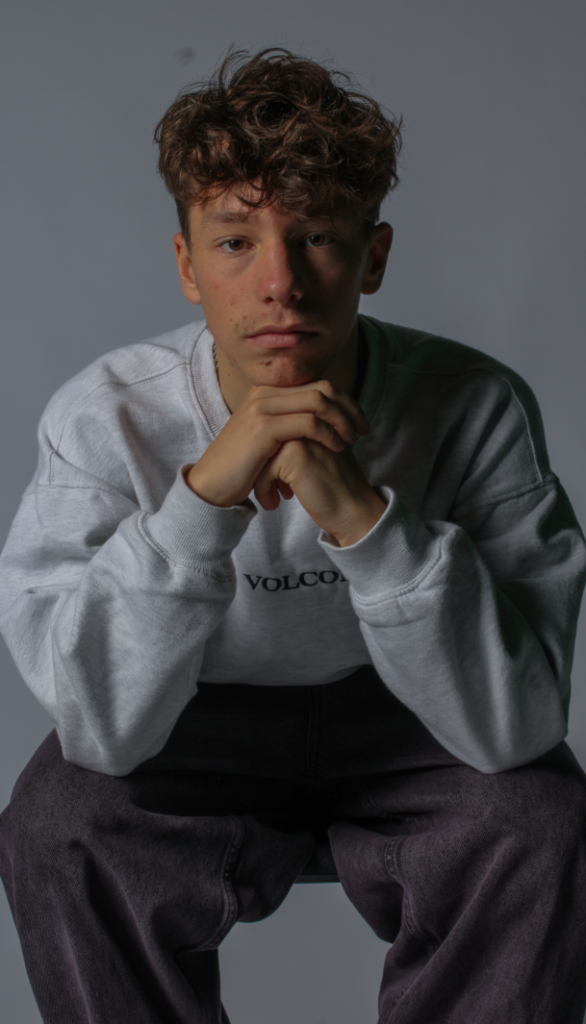
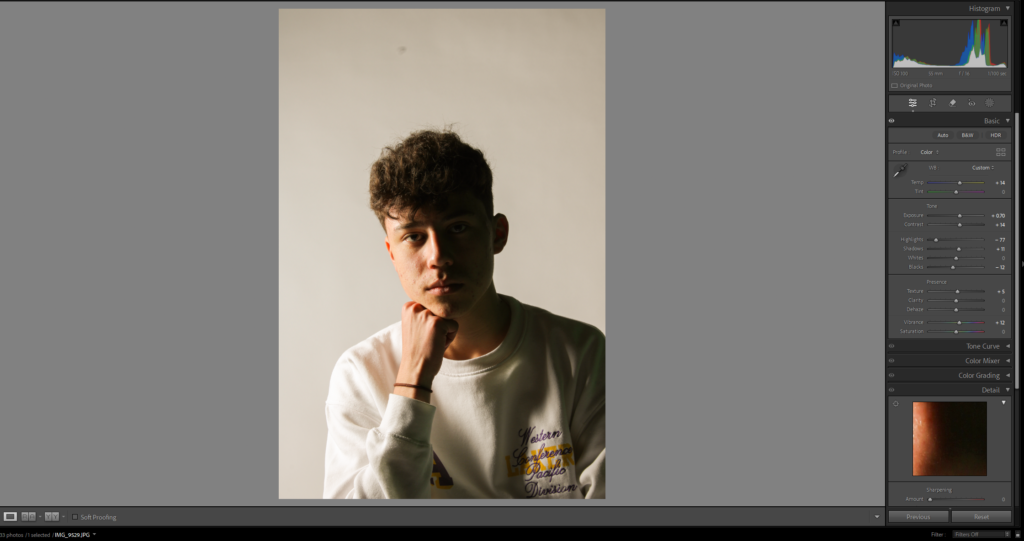
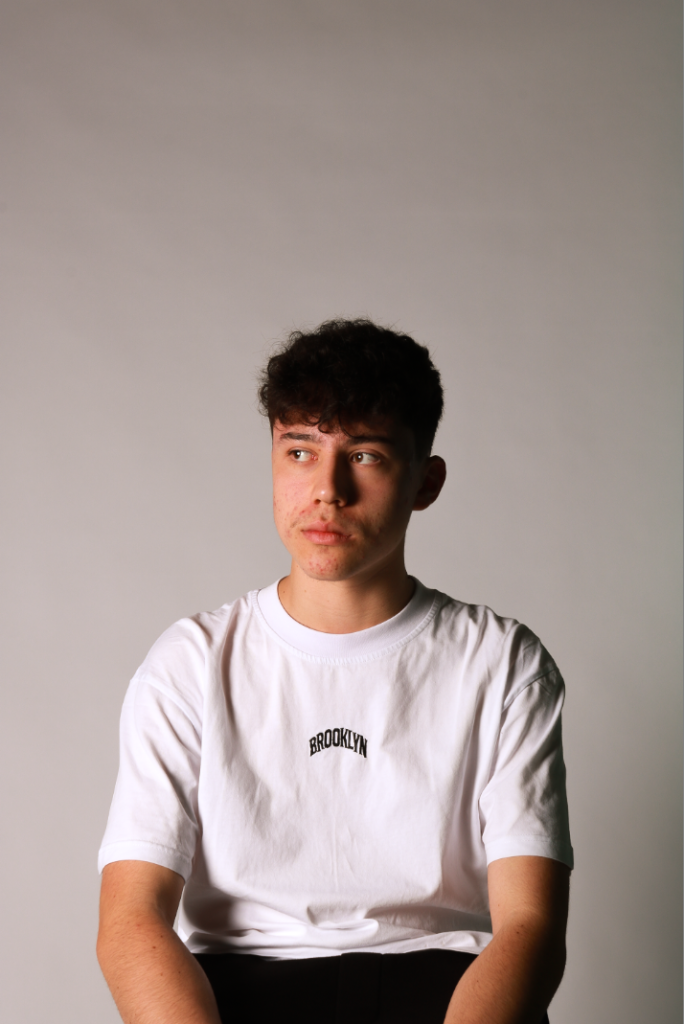
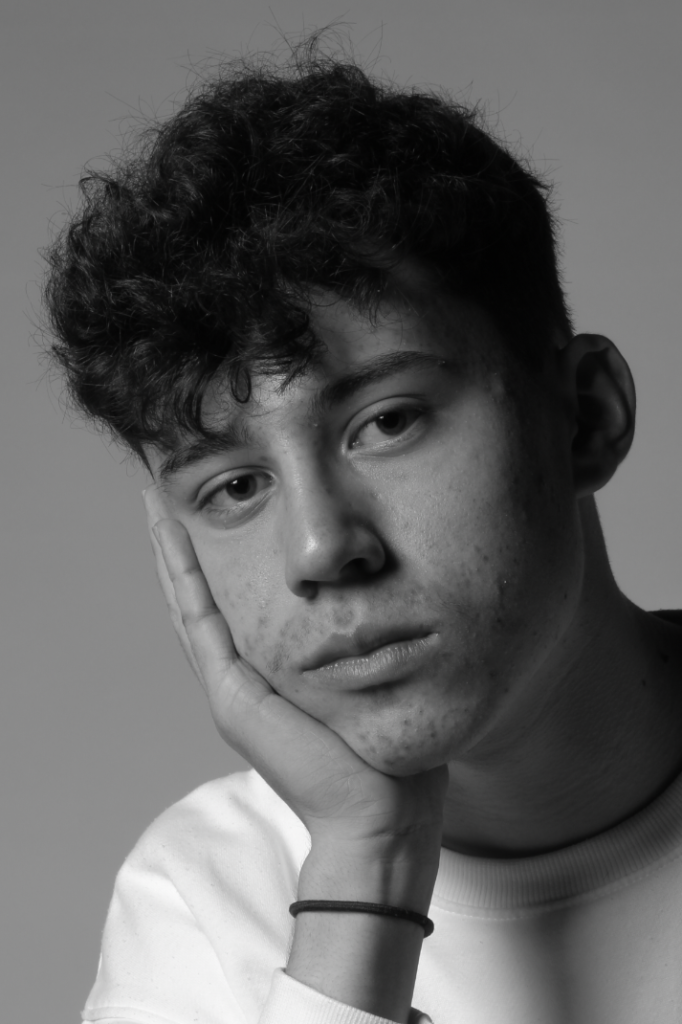
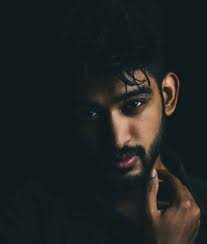
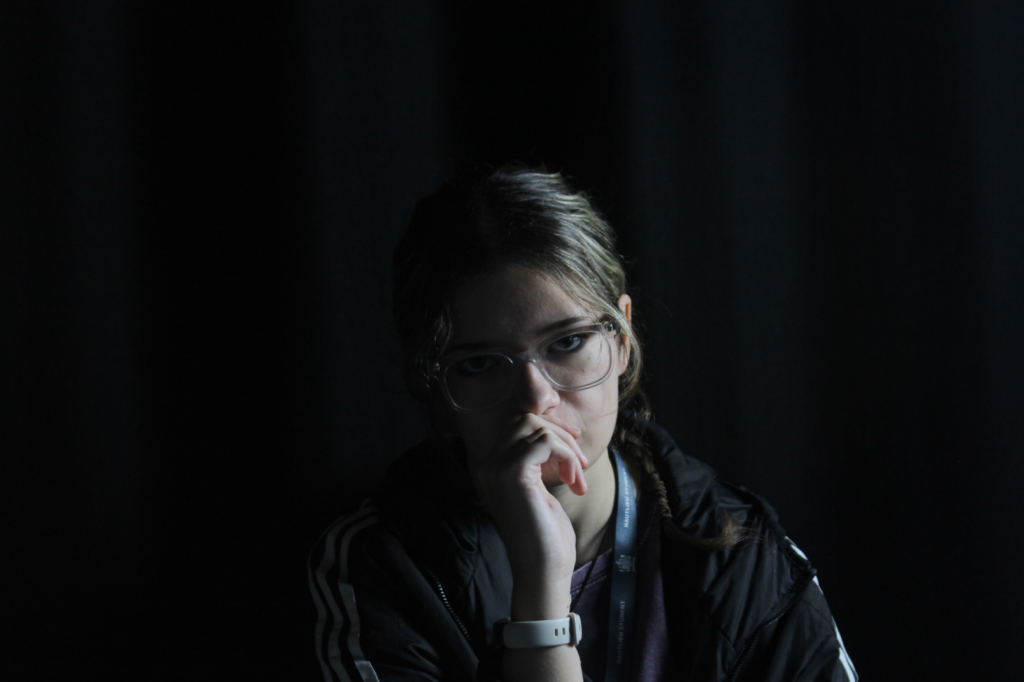
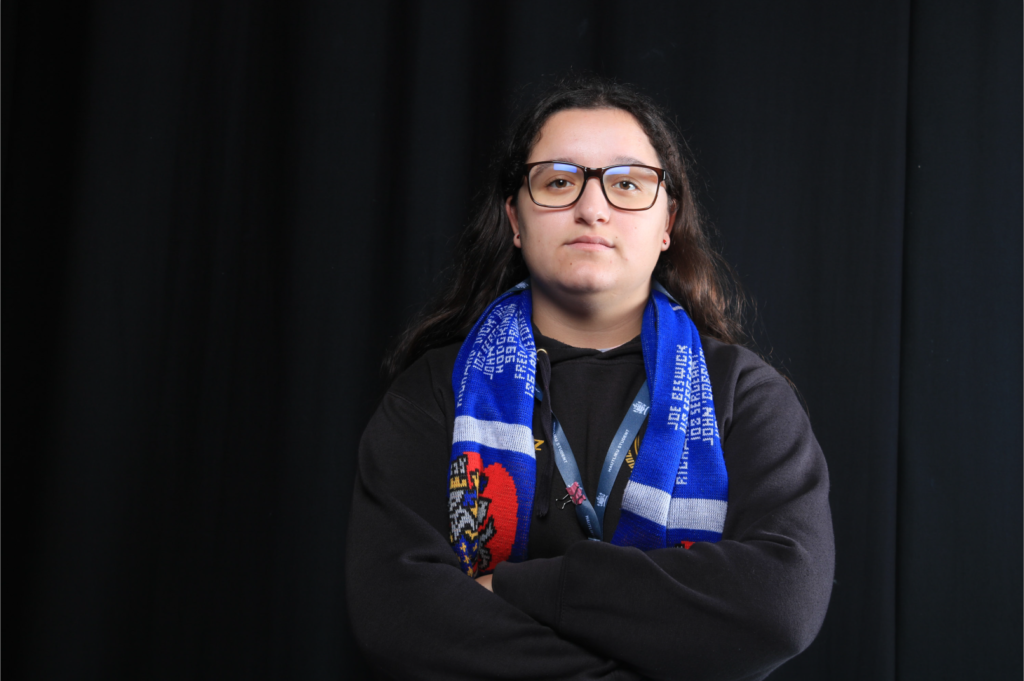
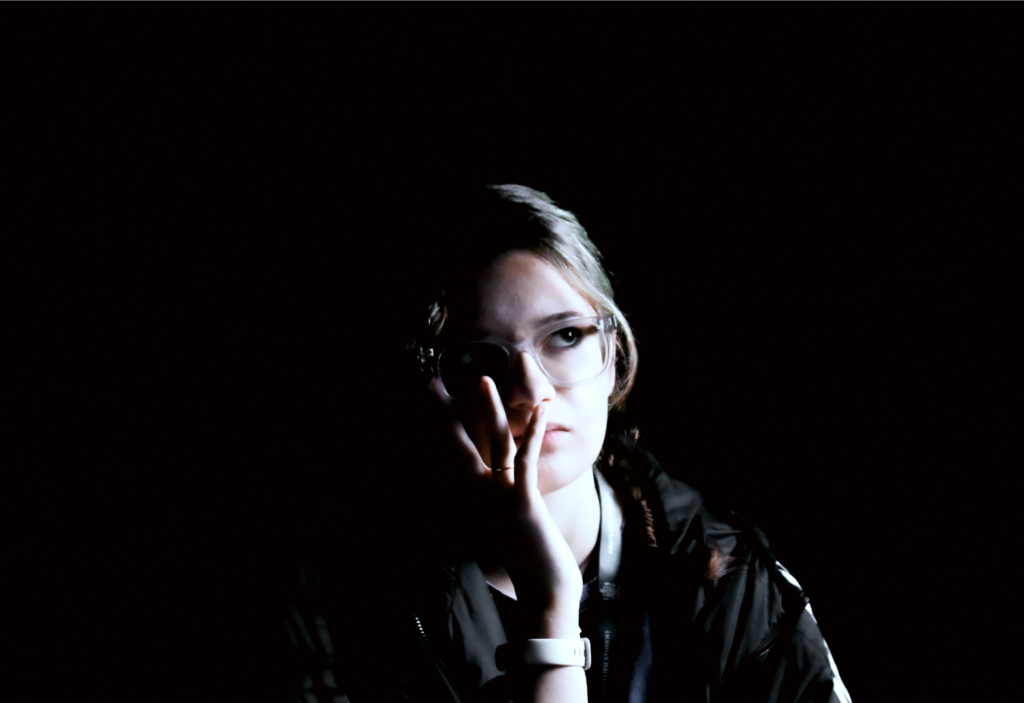
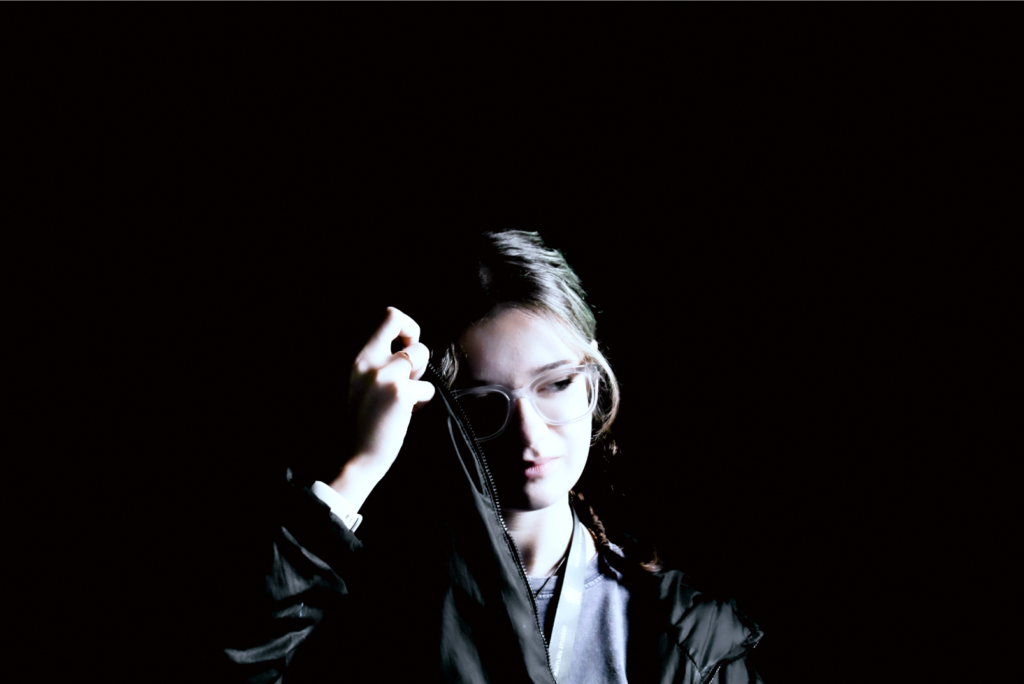
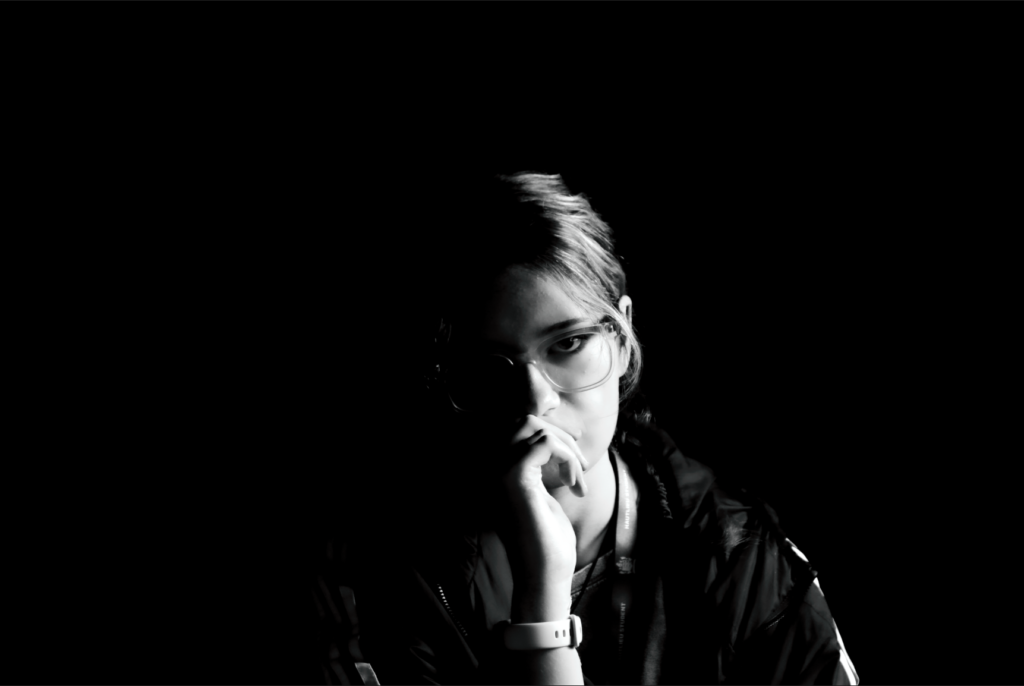
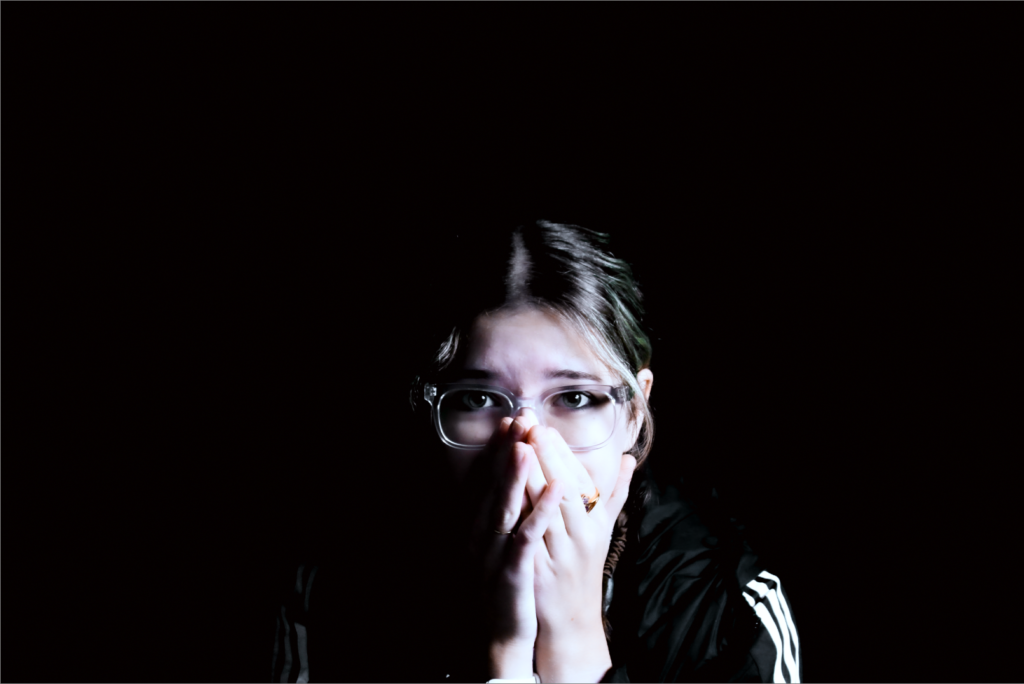
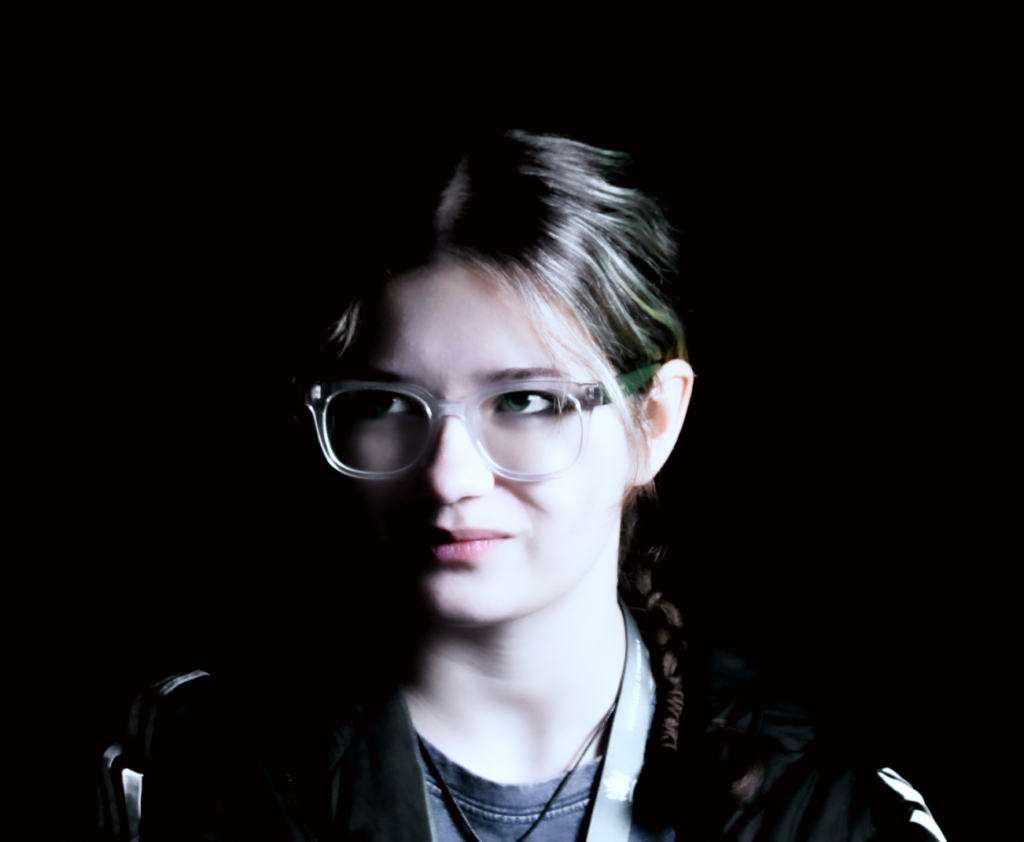
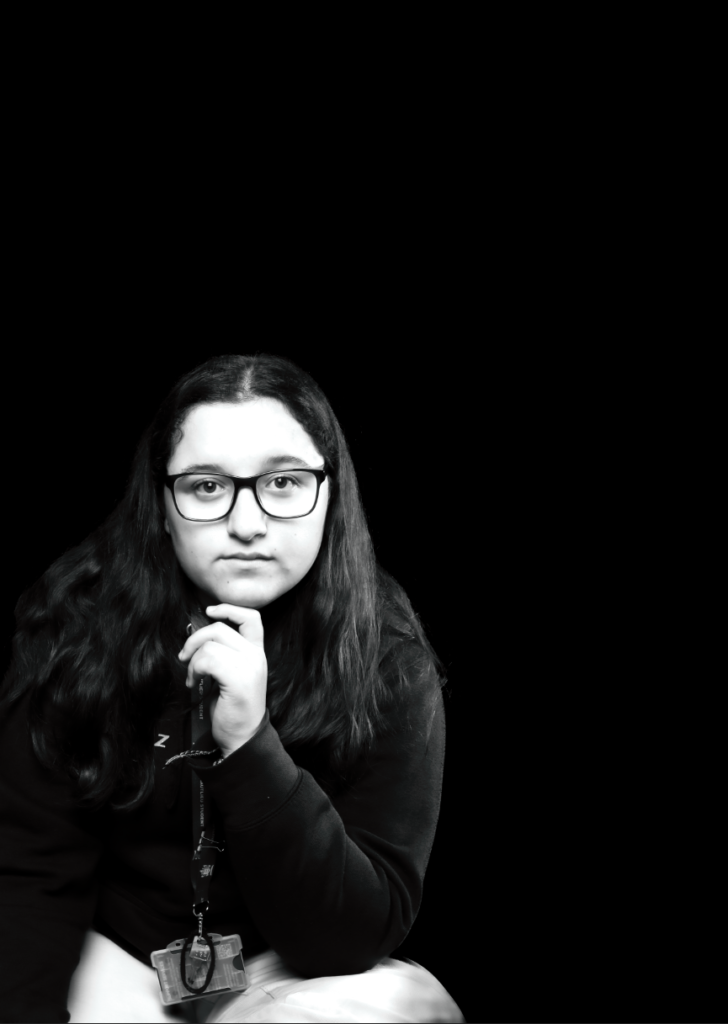
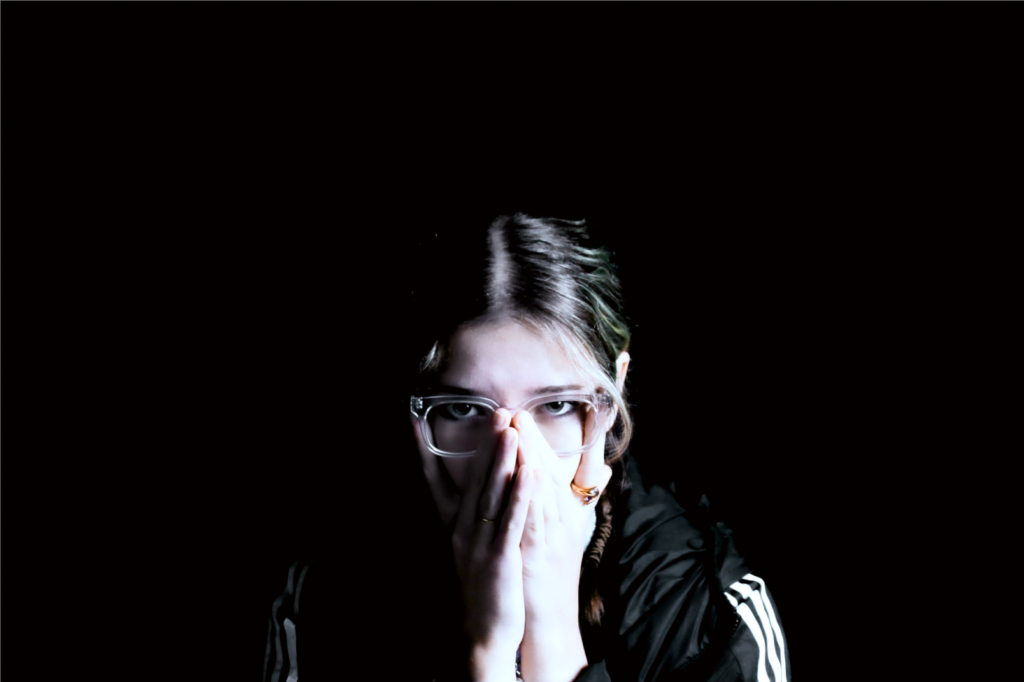
chiaroscuro –
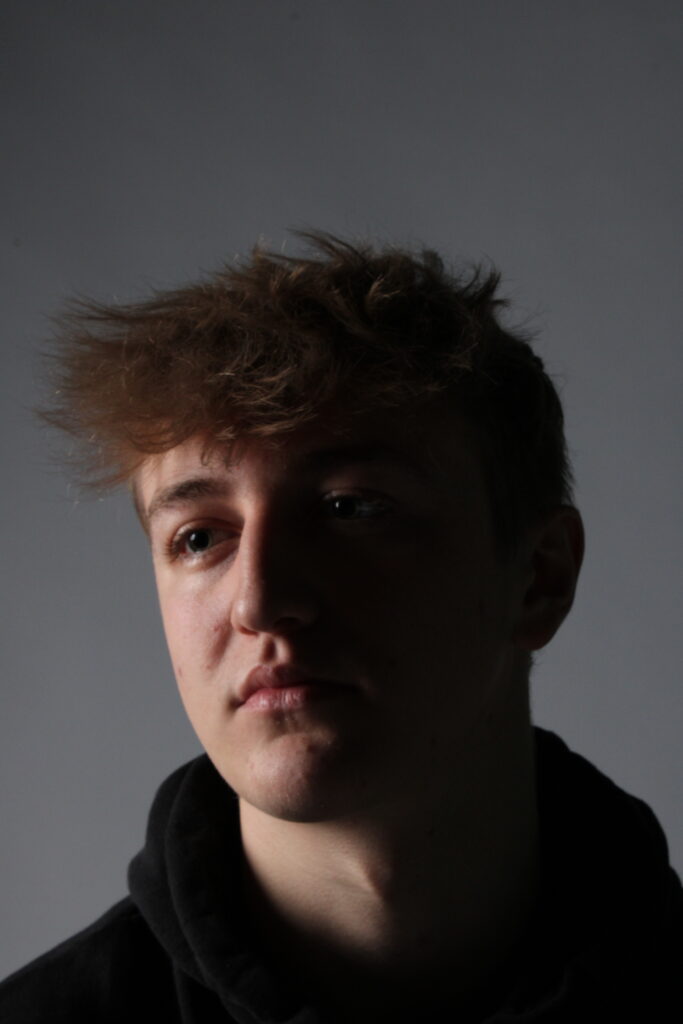
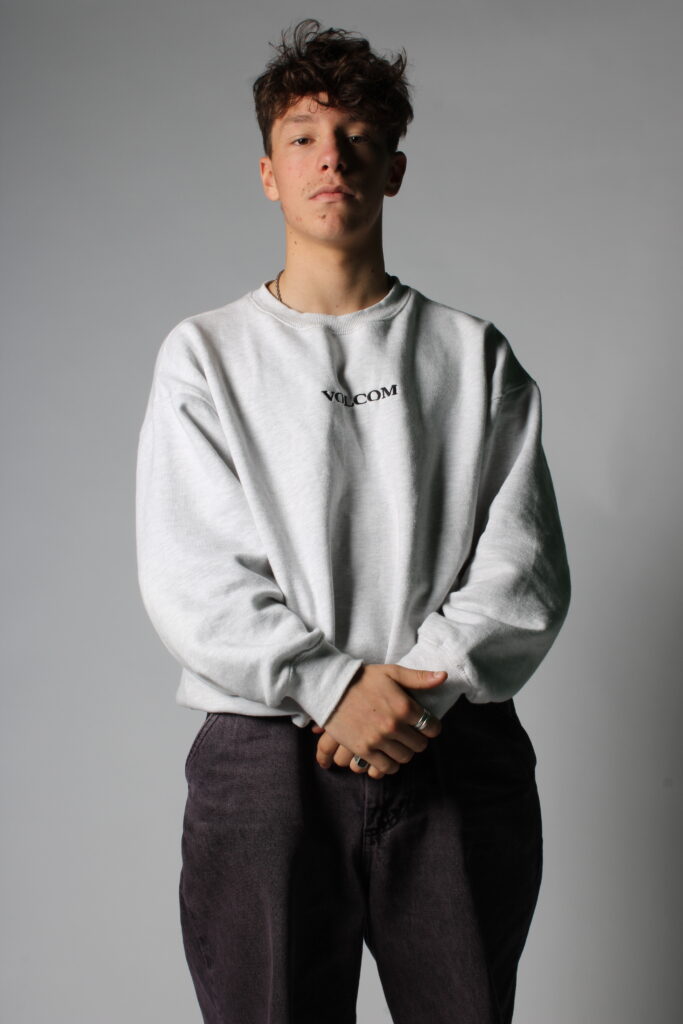
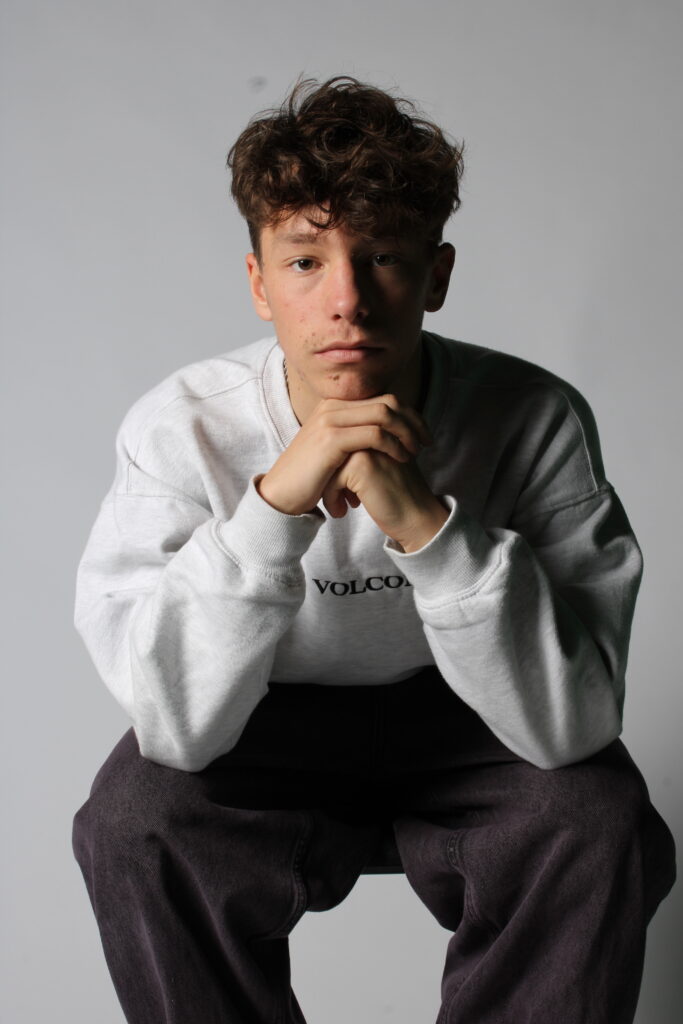
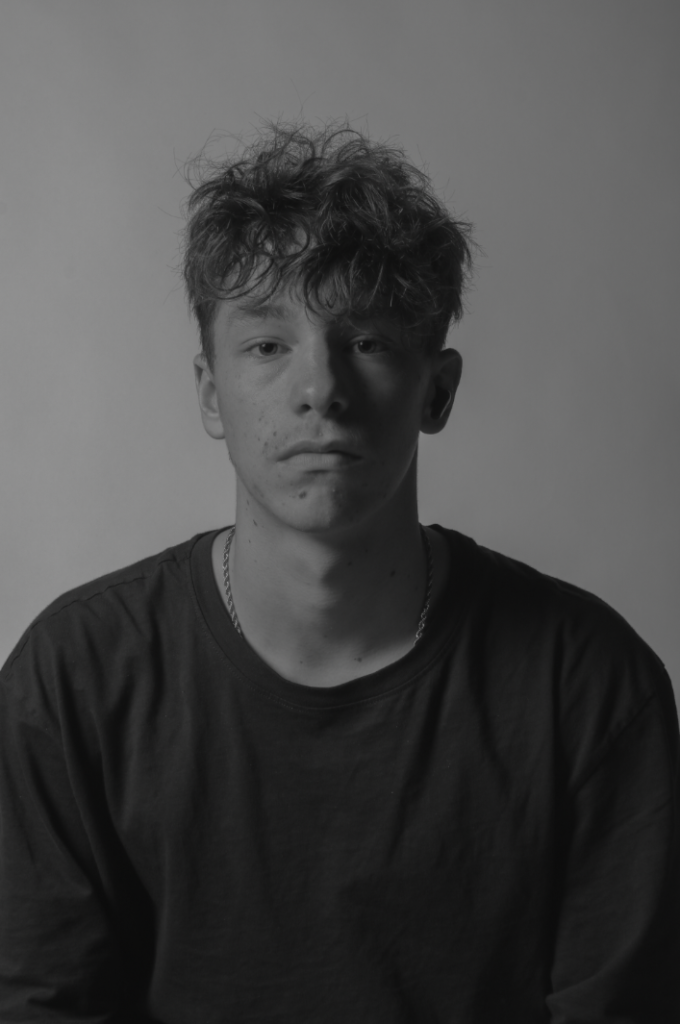
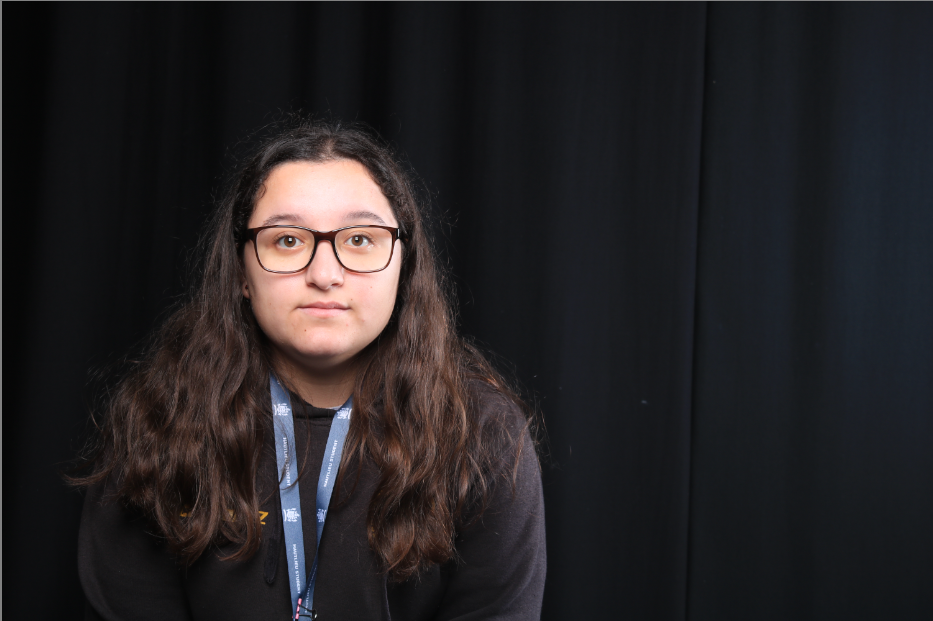
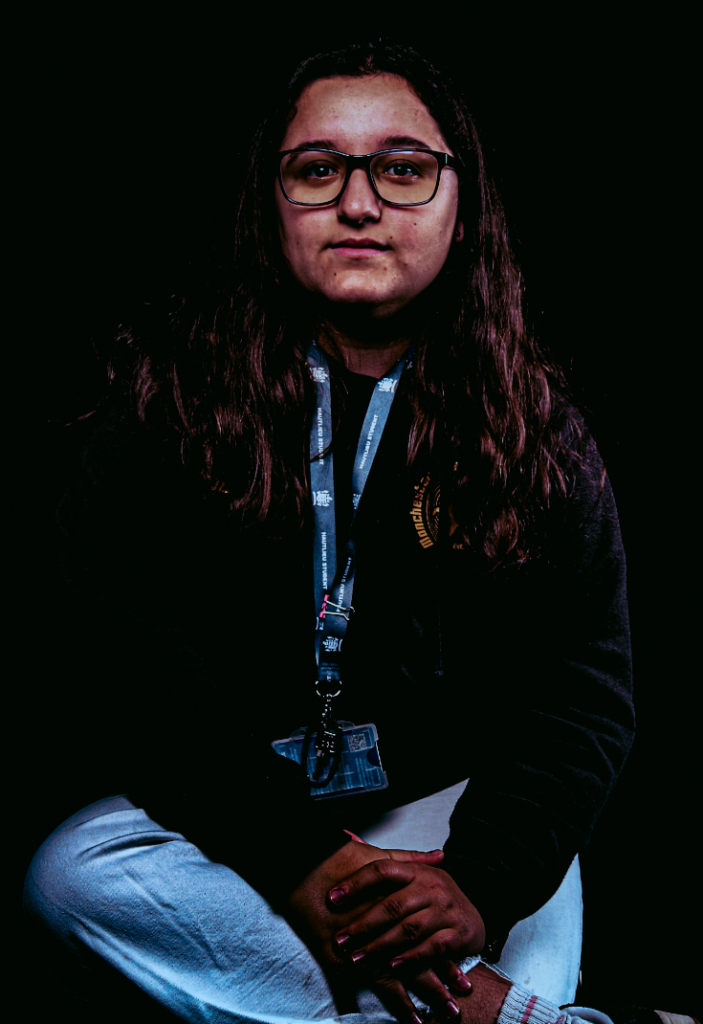
for this photo you can see that its lighting represents more so like Chiaroscuro, this is shown by that half of the face is lit up and the other half is shadow but u can still see the shadow side cause a reflector has been used.
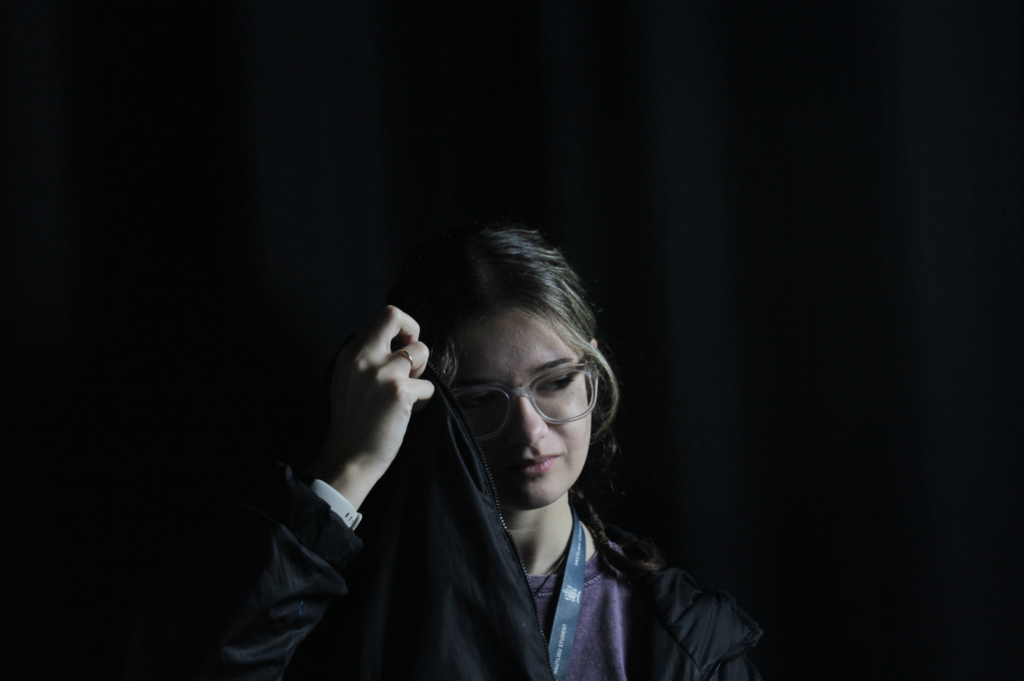
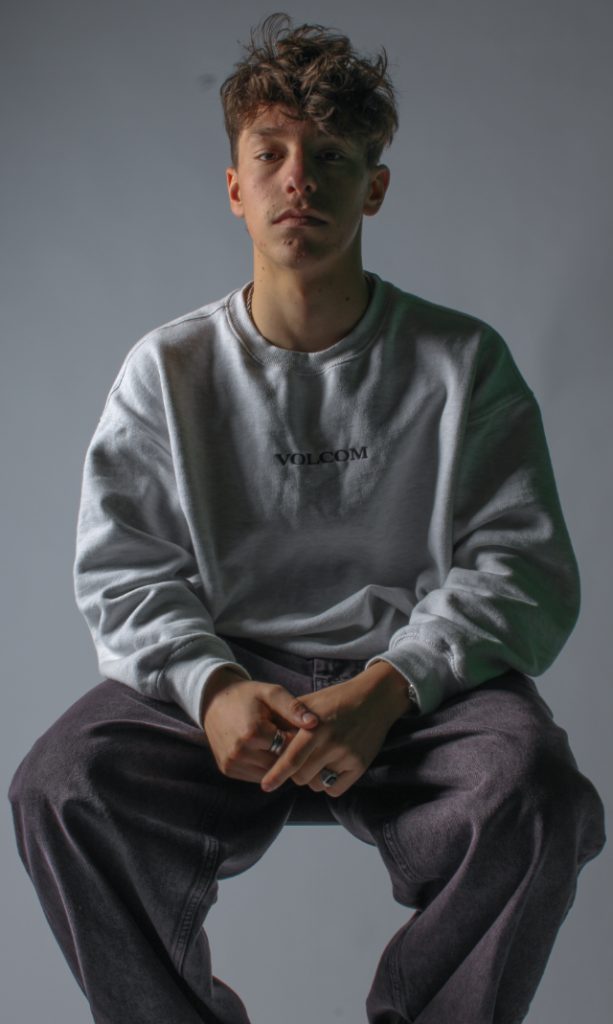
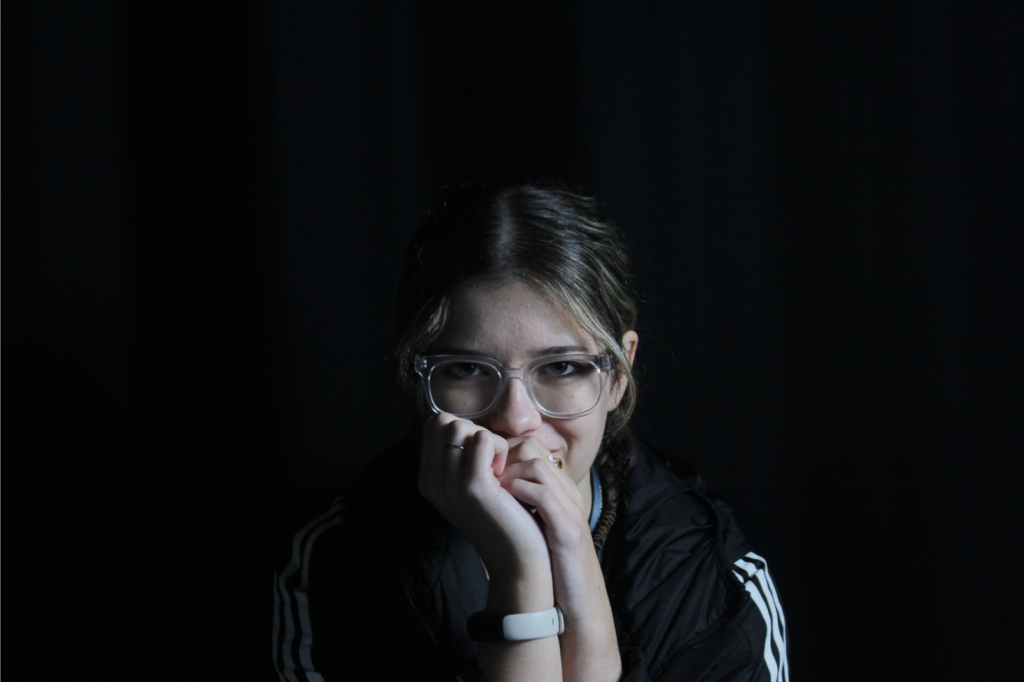
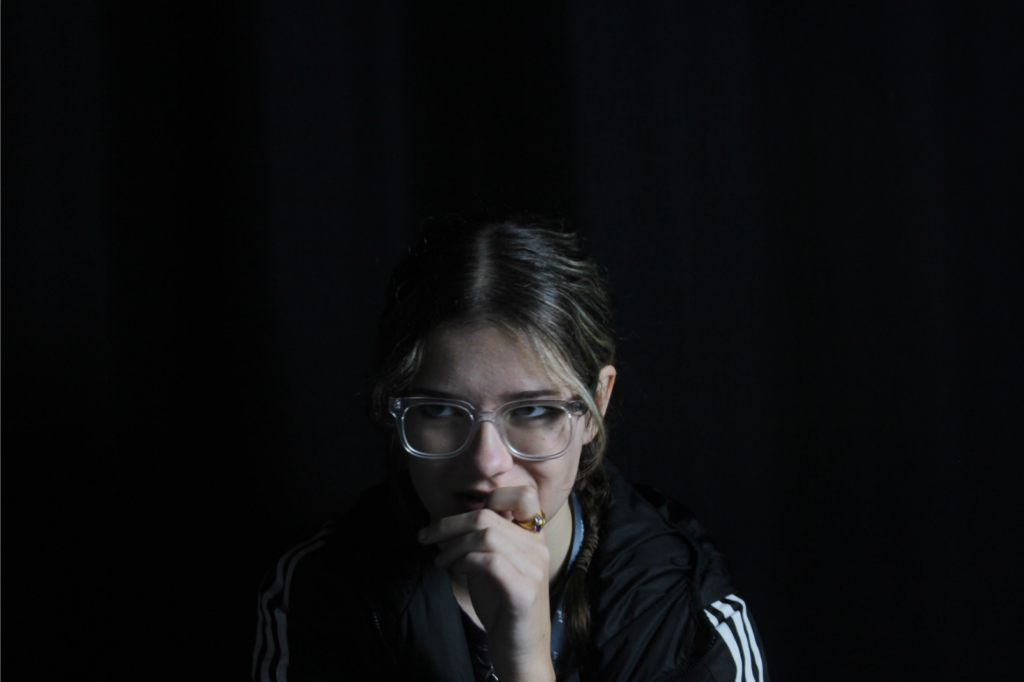
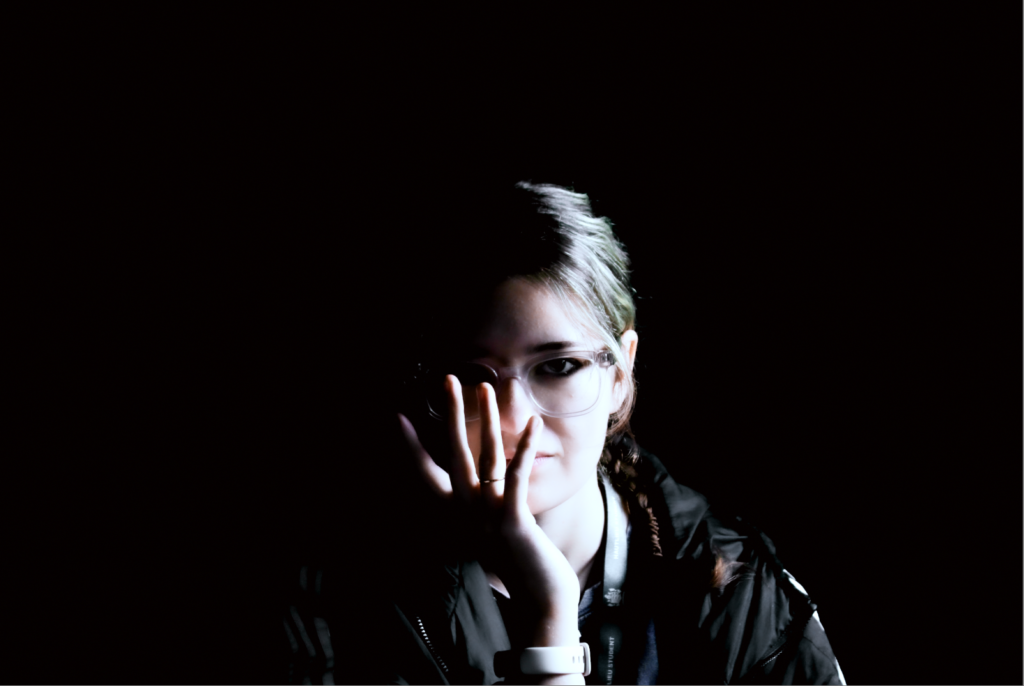
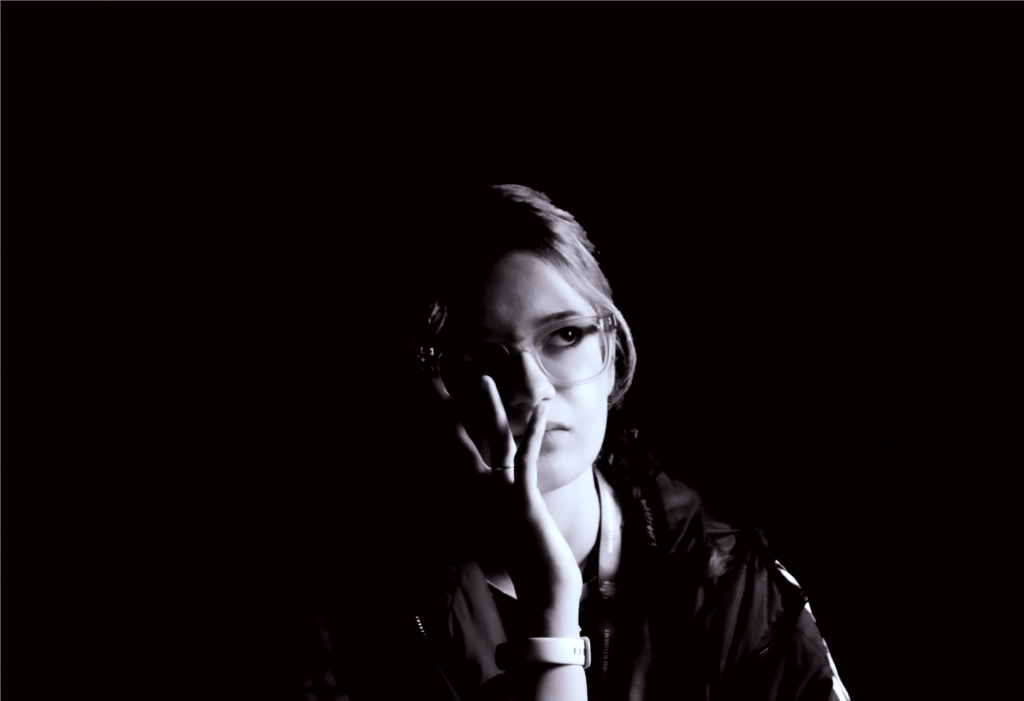
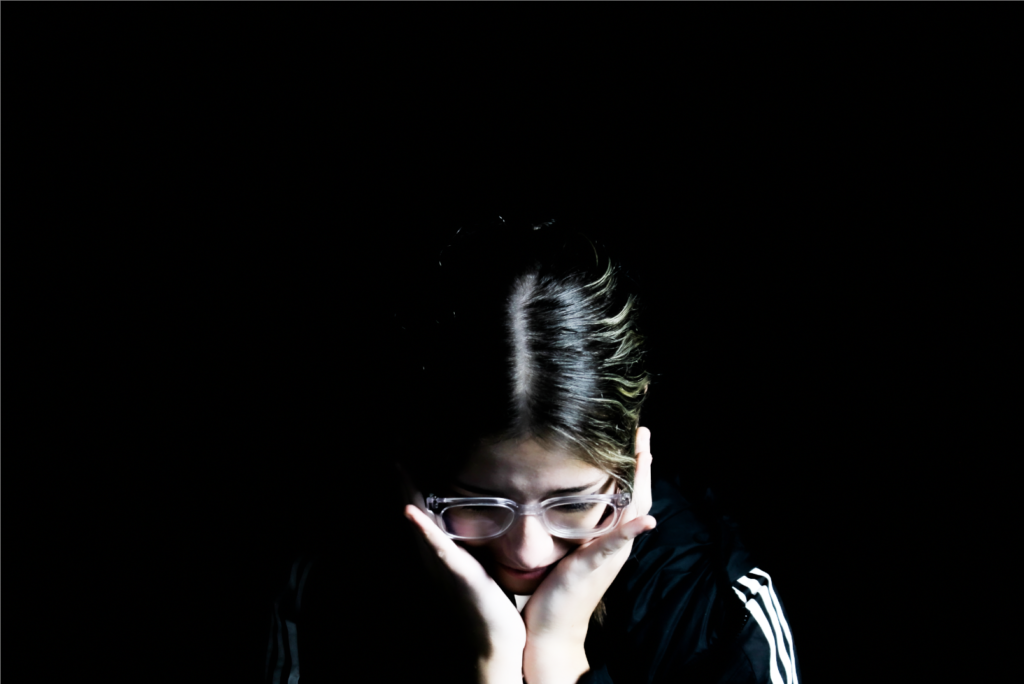
similar for this photos that it represents chiaroscuro, this is achieved by the light to be beside the model, so that the light on the face is only on one side. and again the reflector is used so that the shadow side of the face is still visible.
more chiaroscuro raw photos
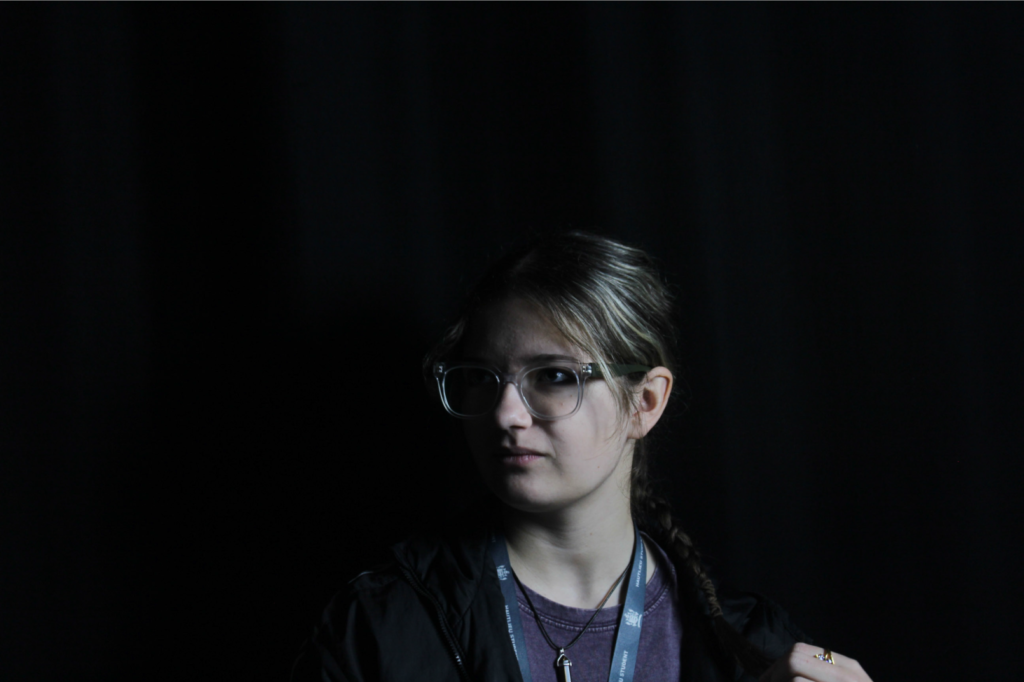
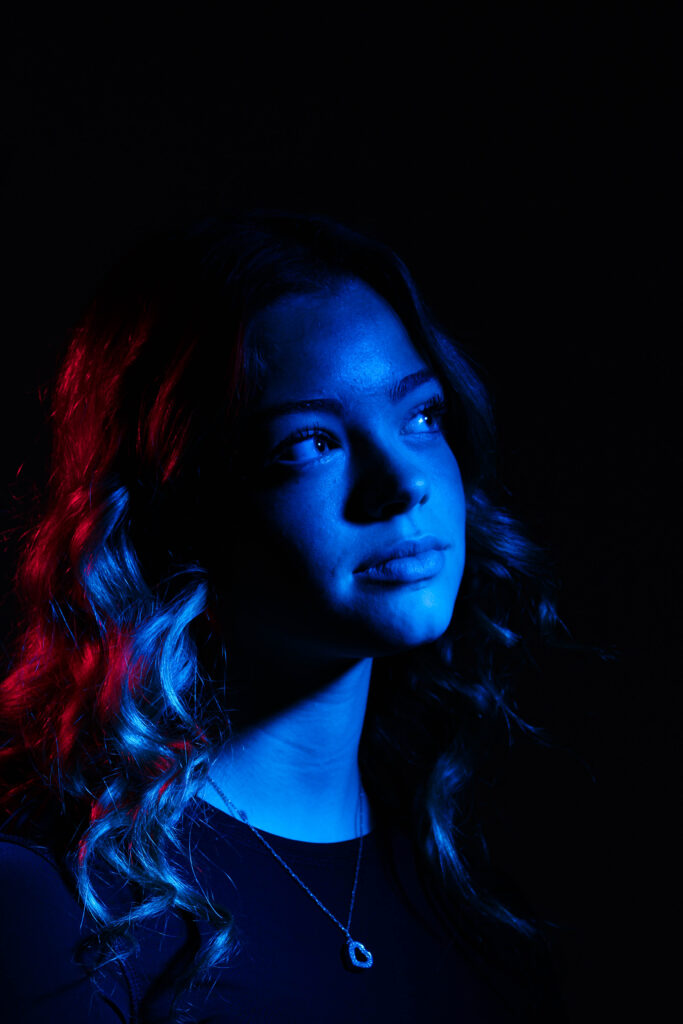
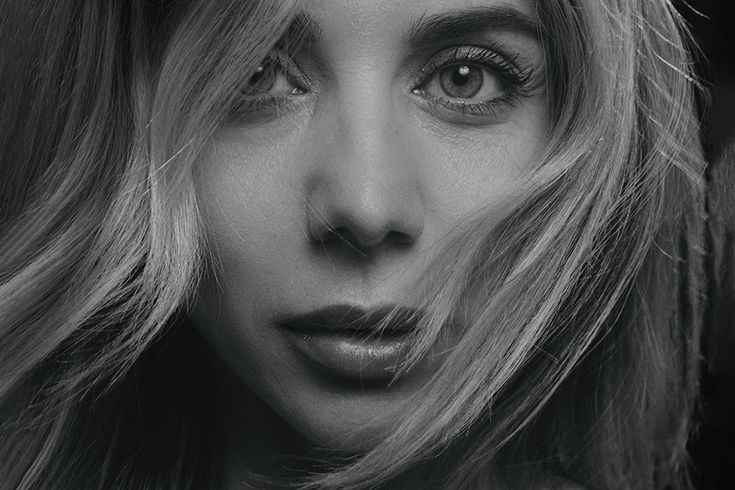
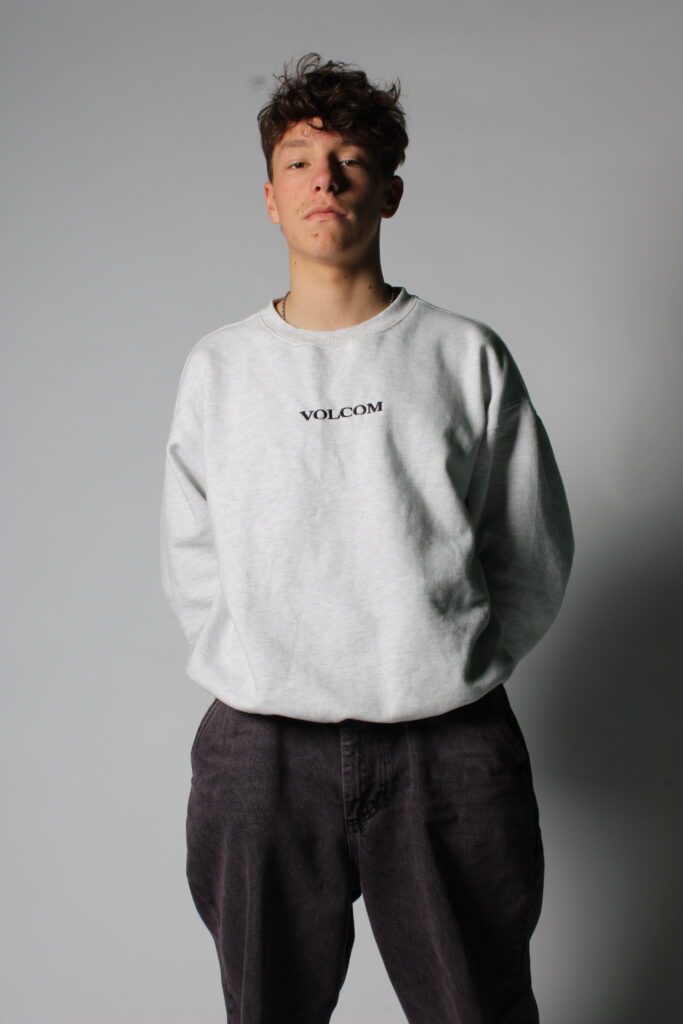
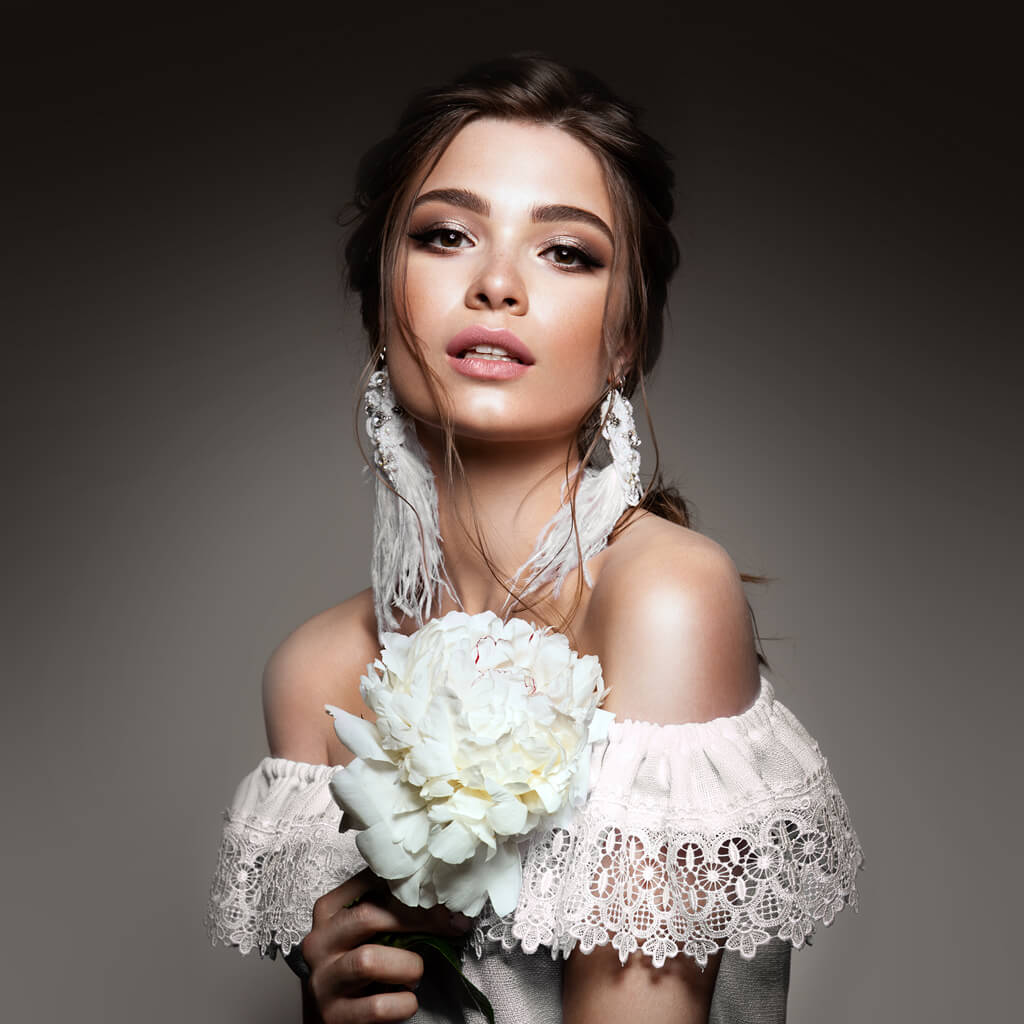
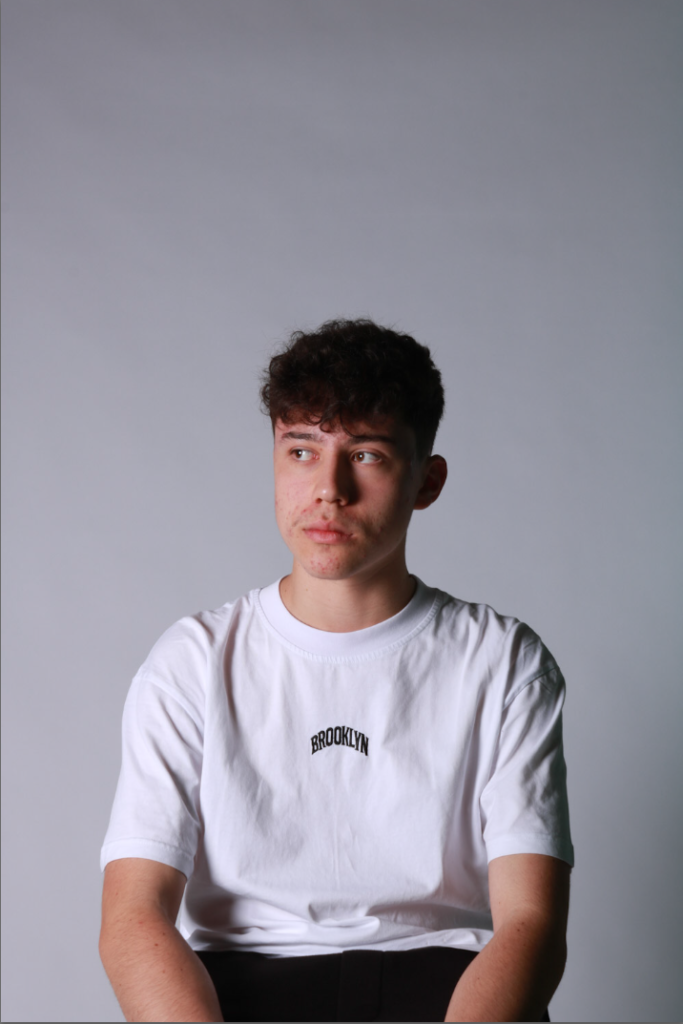
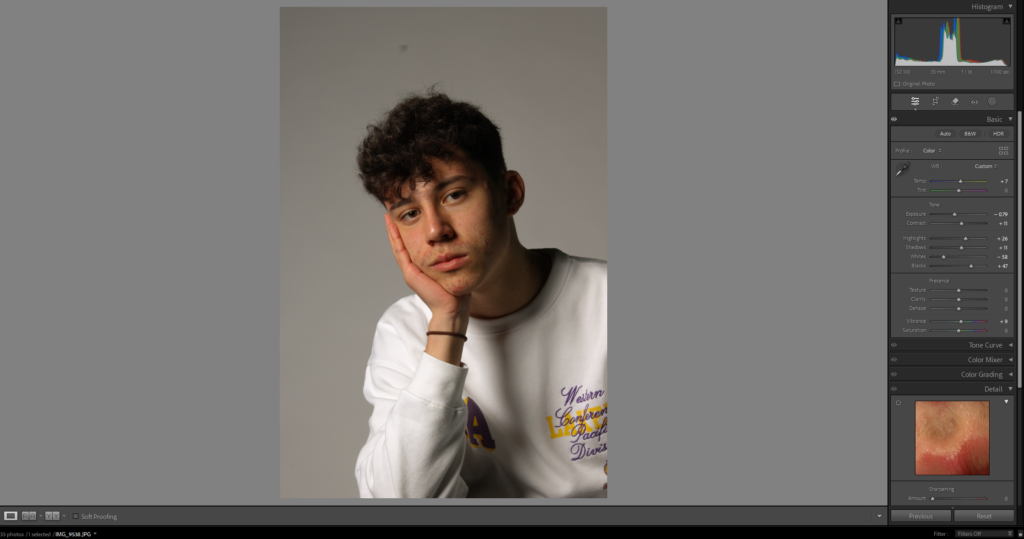
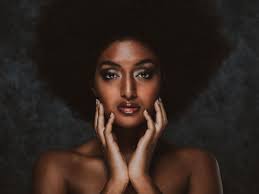
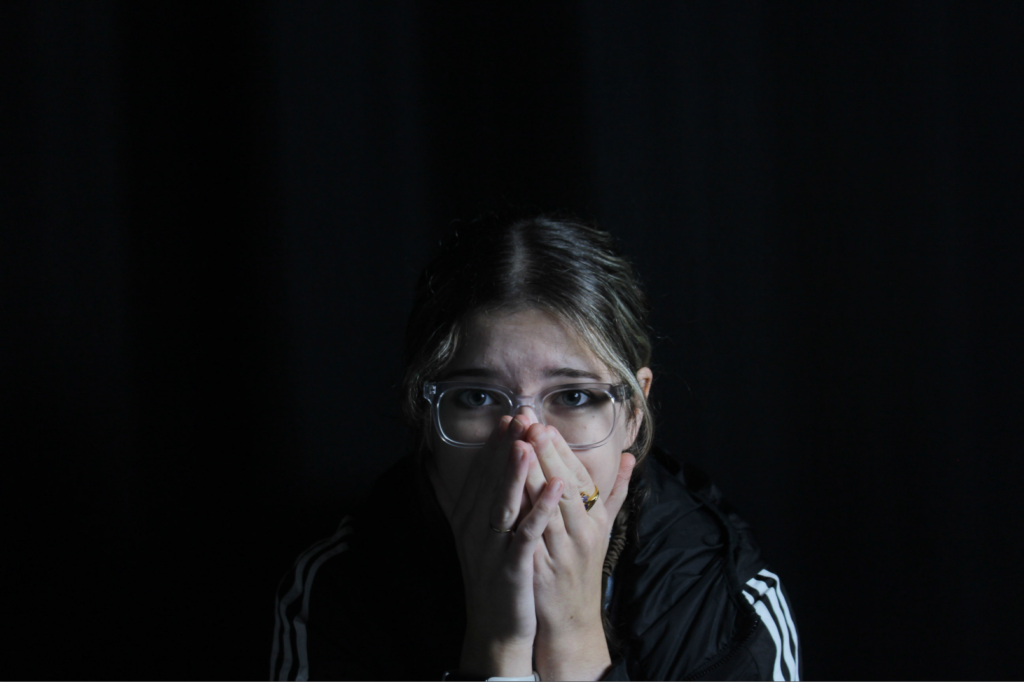
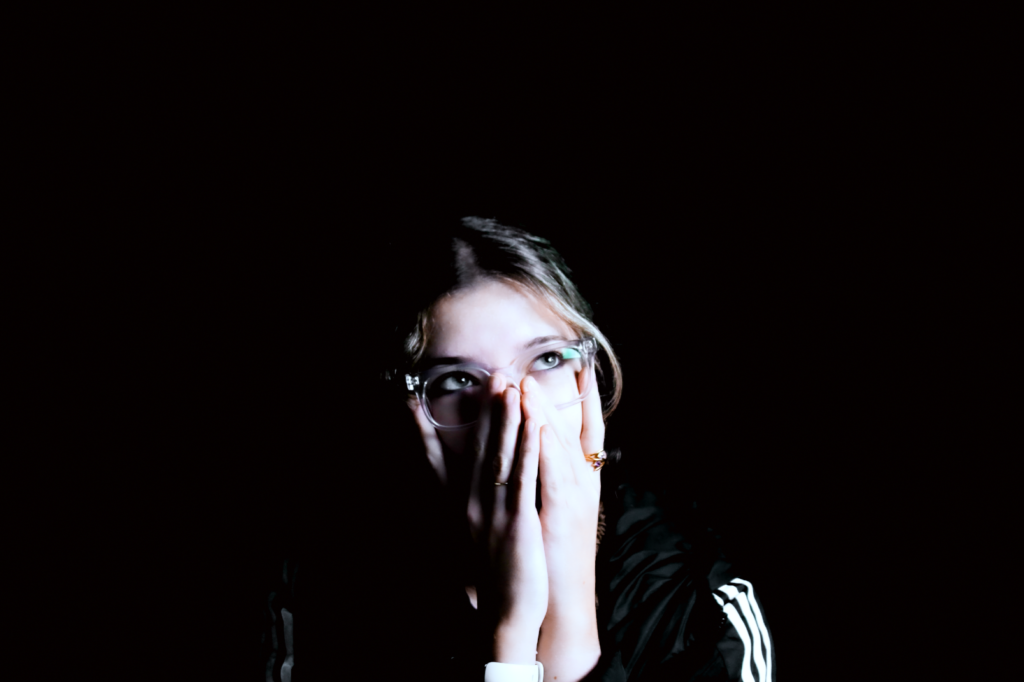
butterfly –
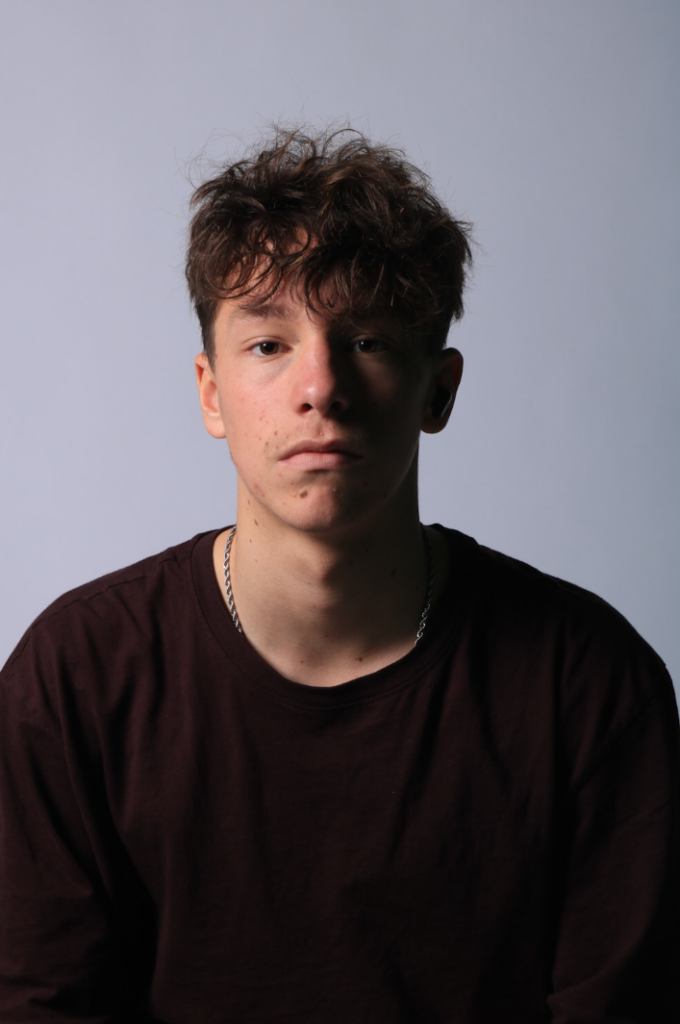
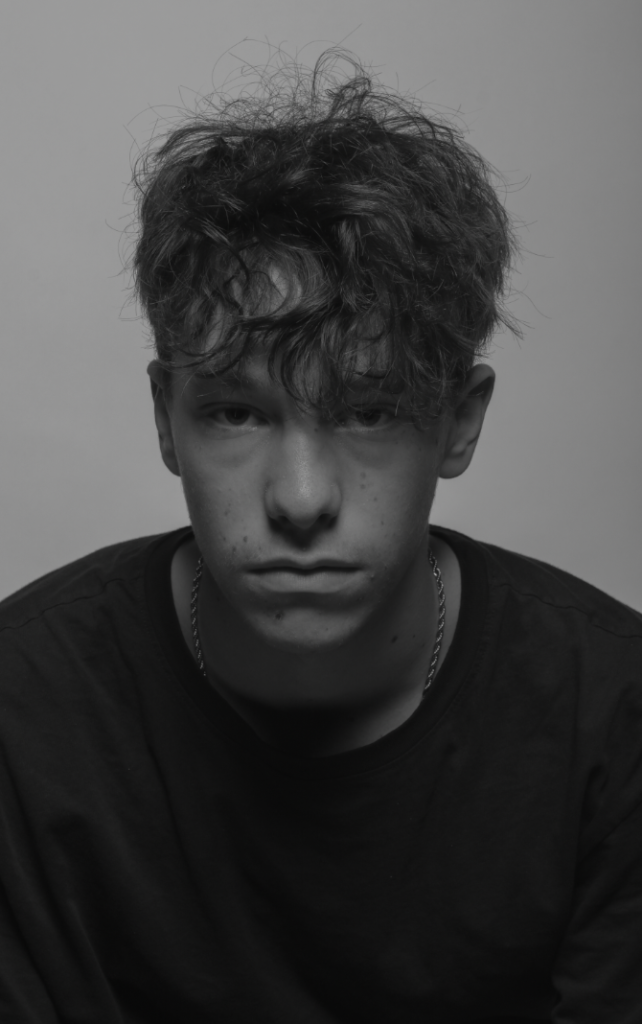
within this photo you can kinder see the shadow under the nose and the lighting is focused above the subject to give this effect.

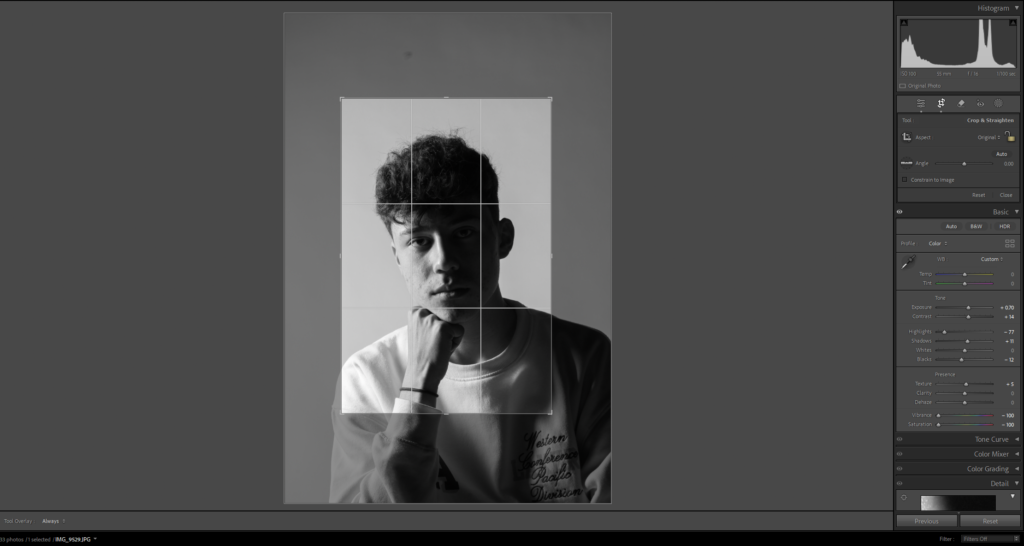
Editing –
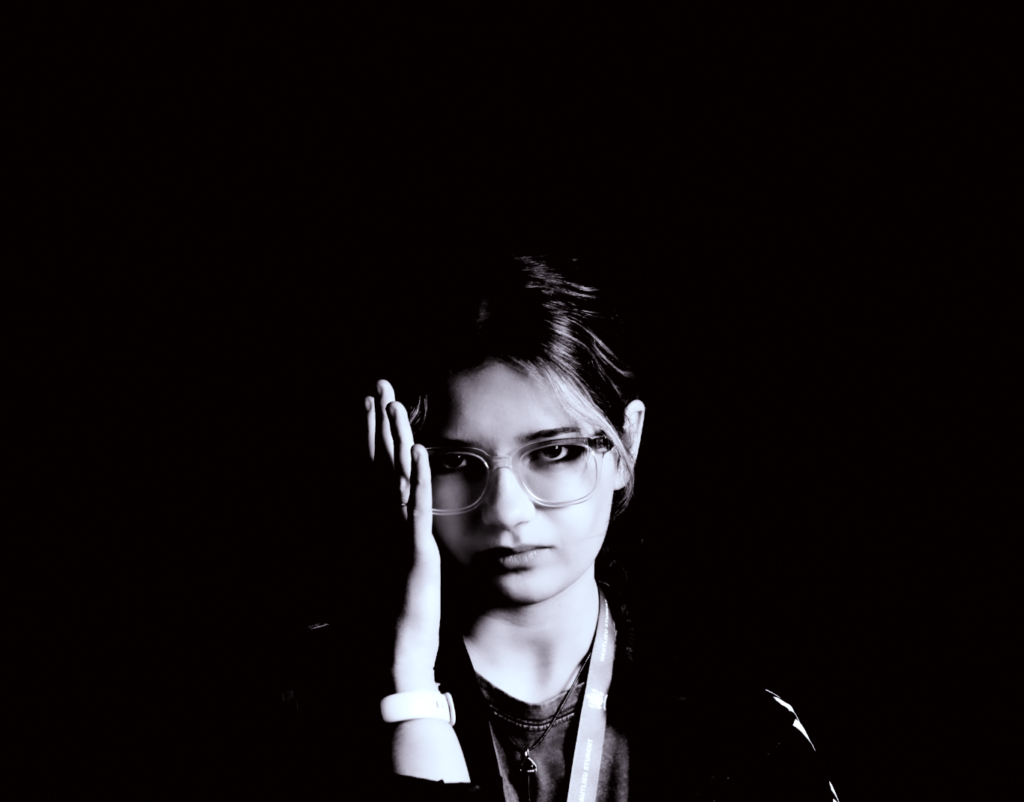
chiaroscuro –
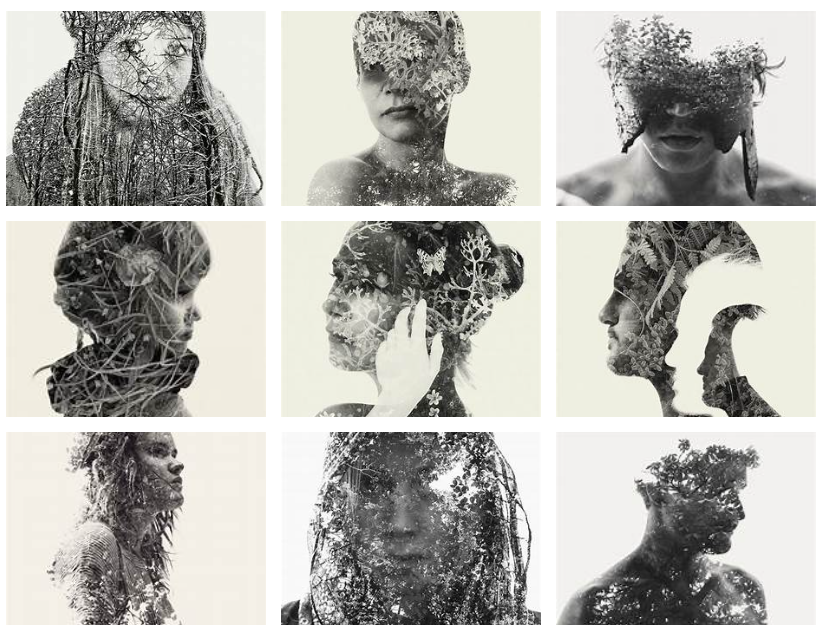
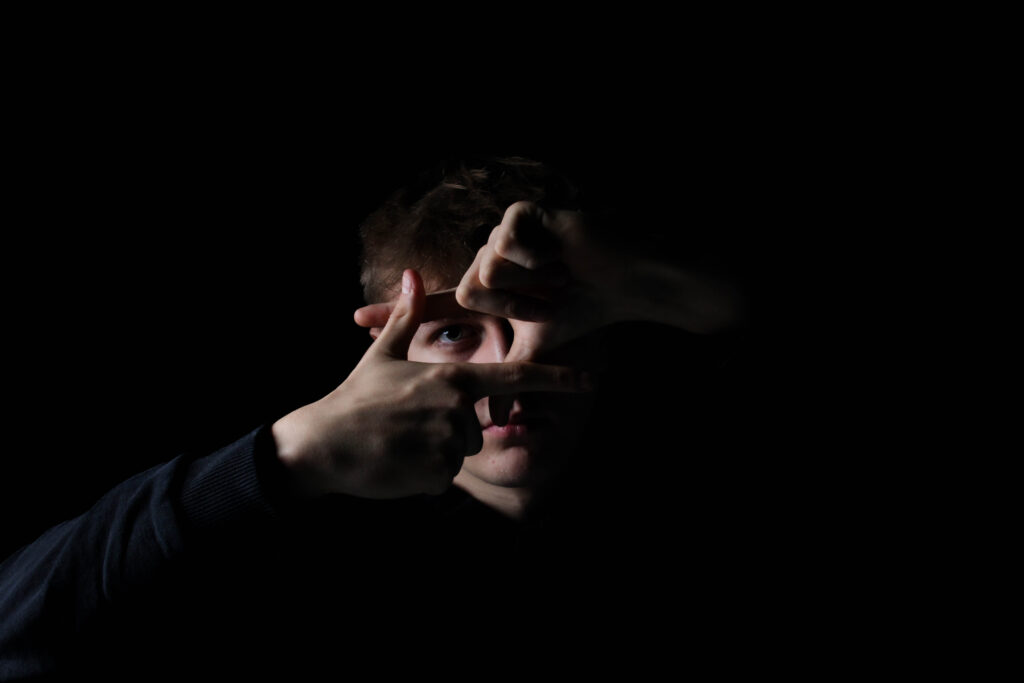
other experiments –
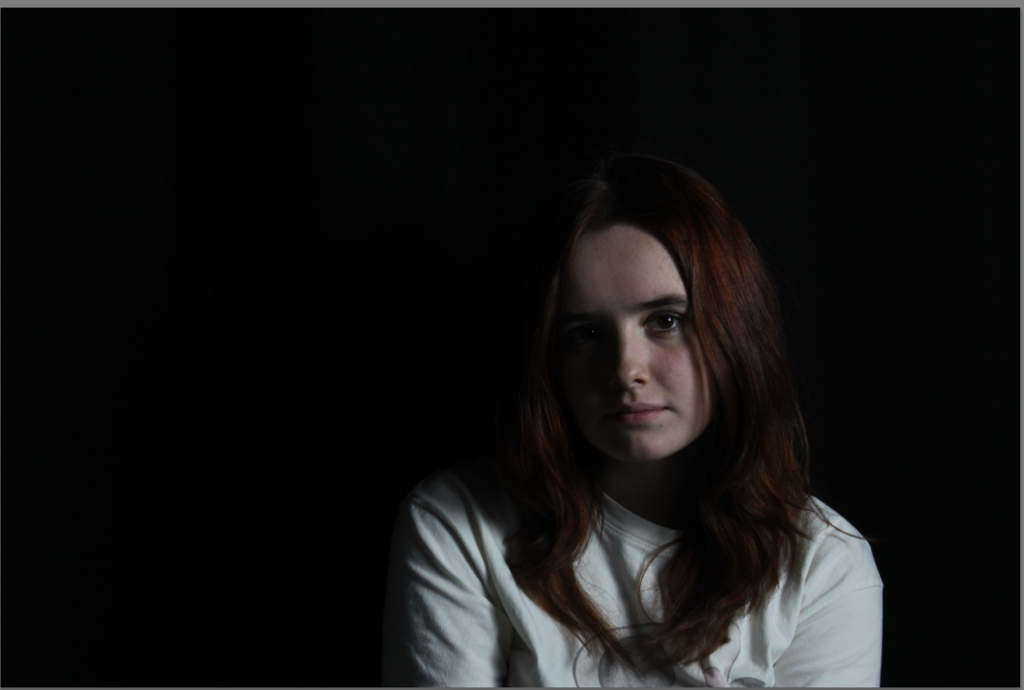
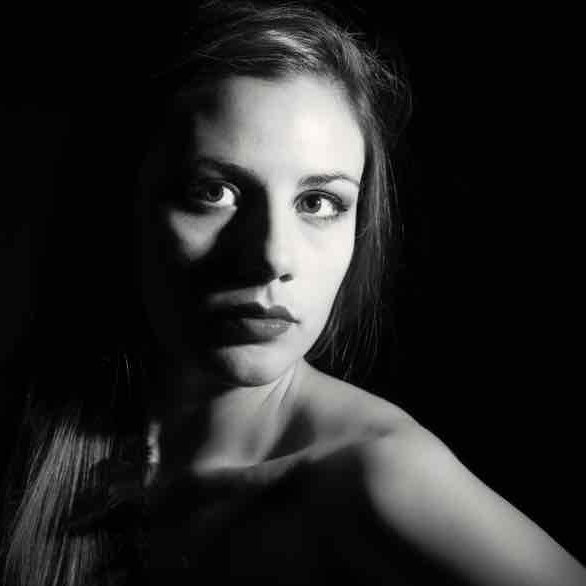
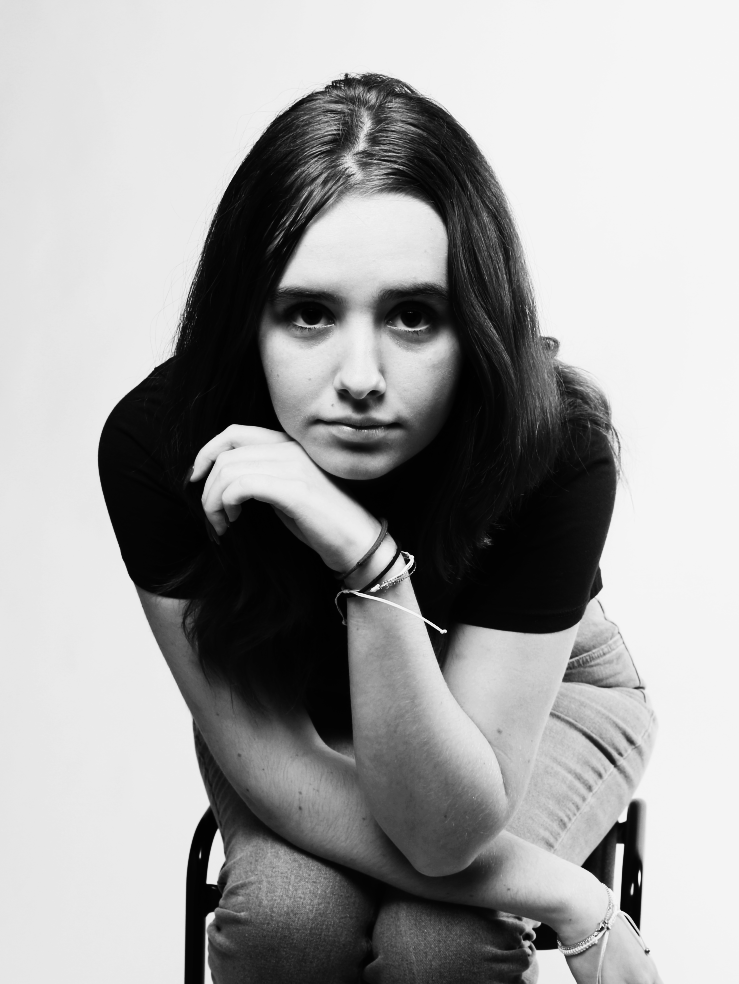
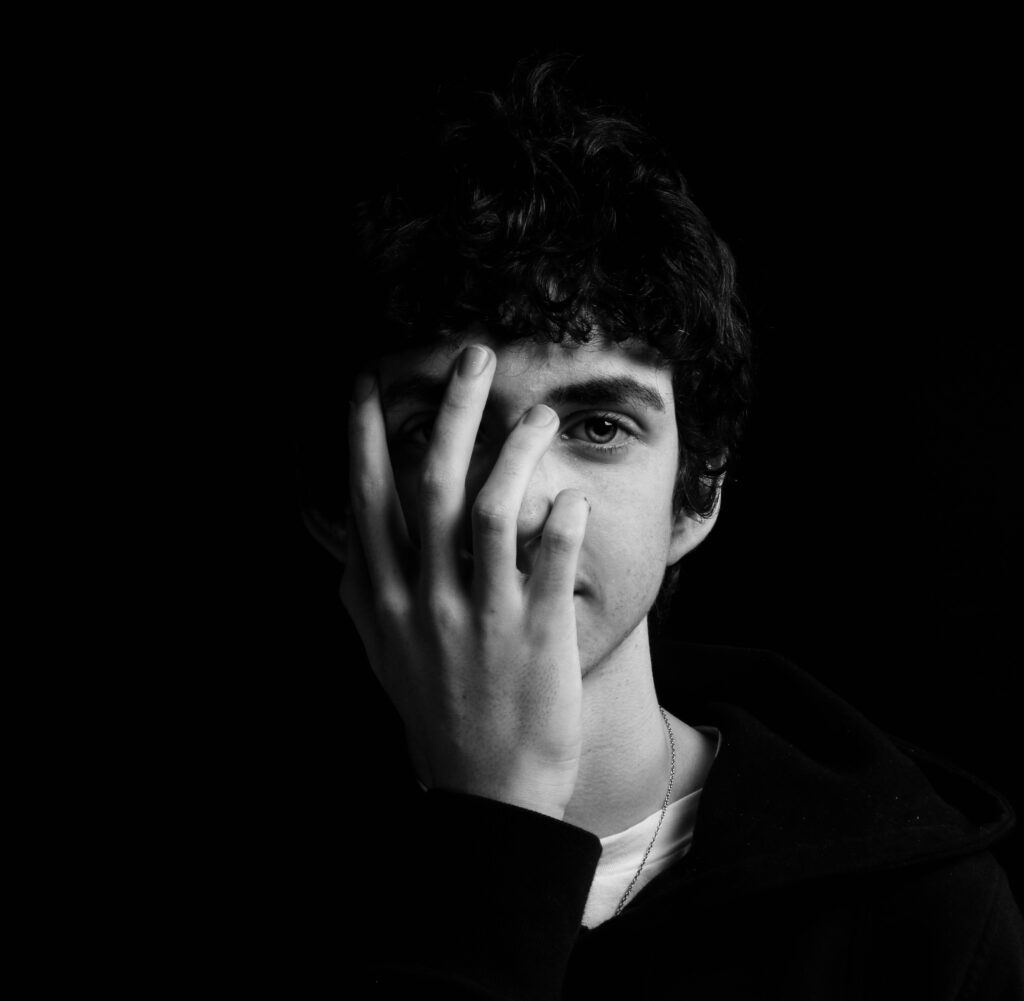
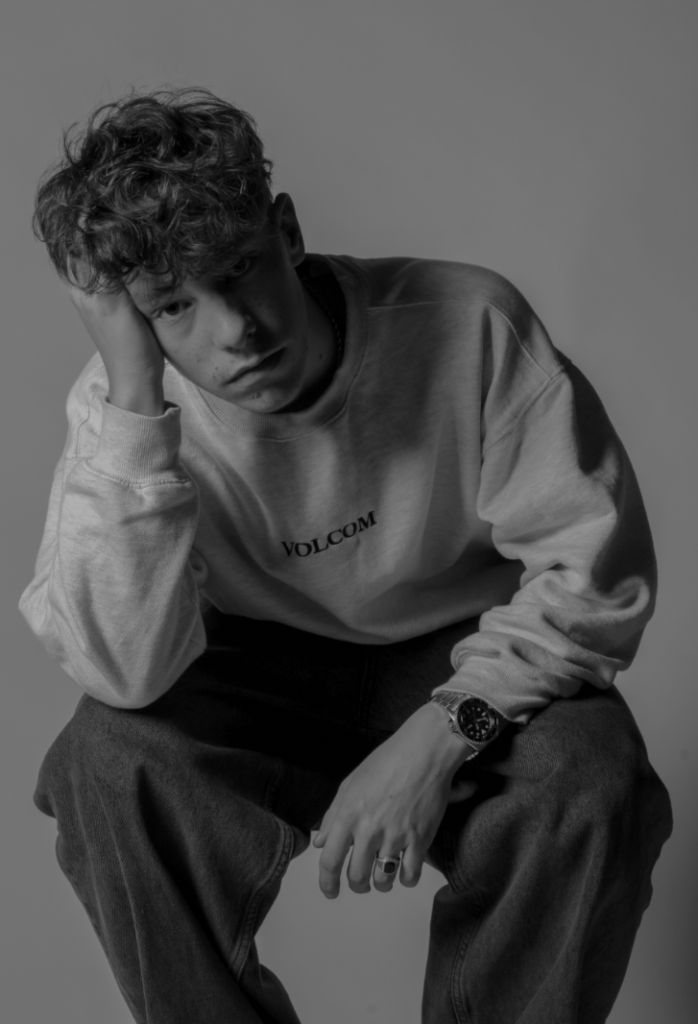
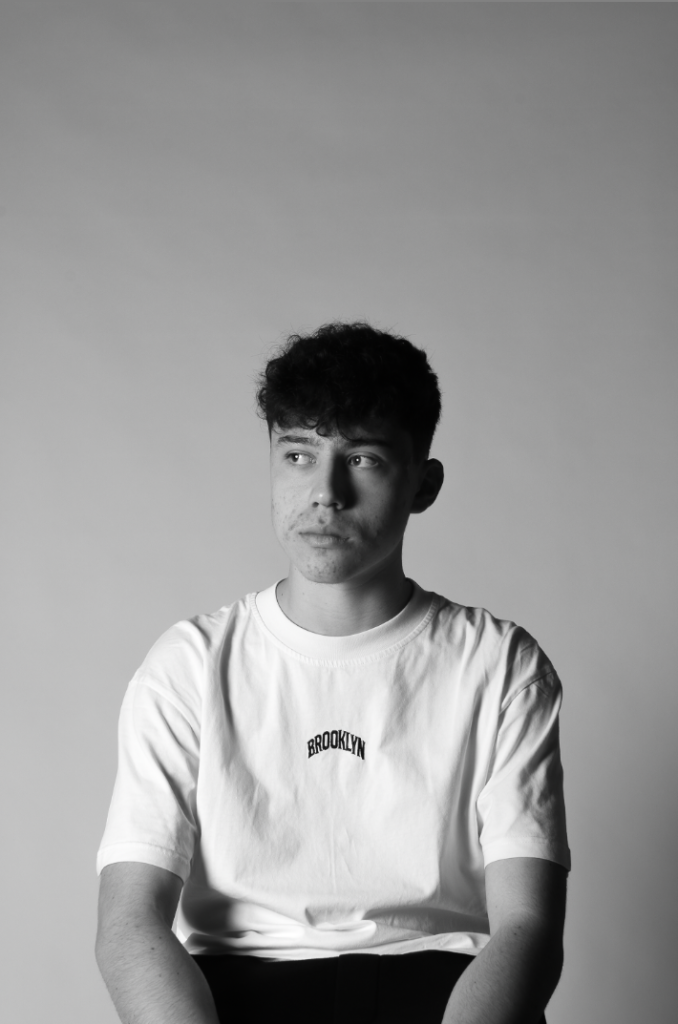
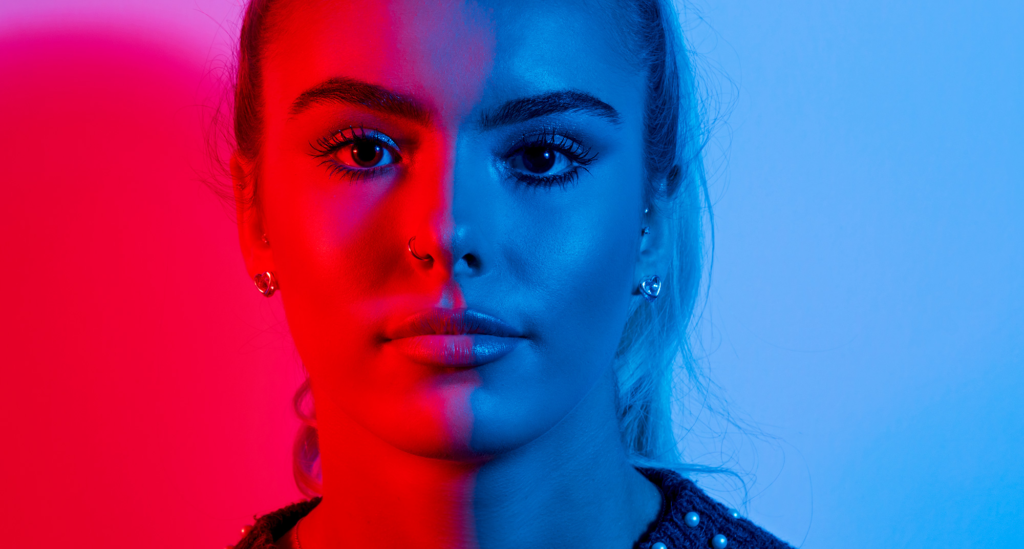
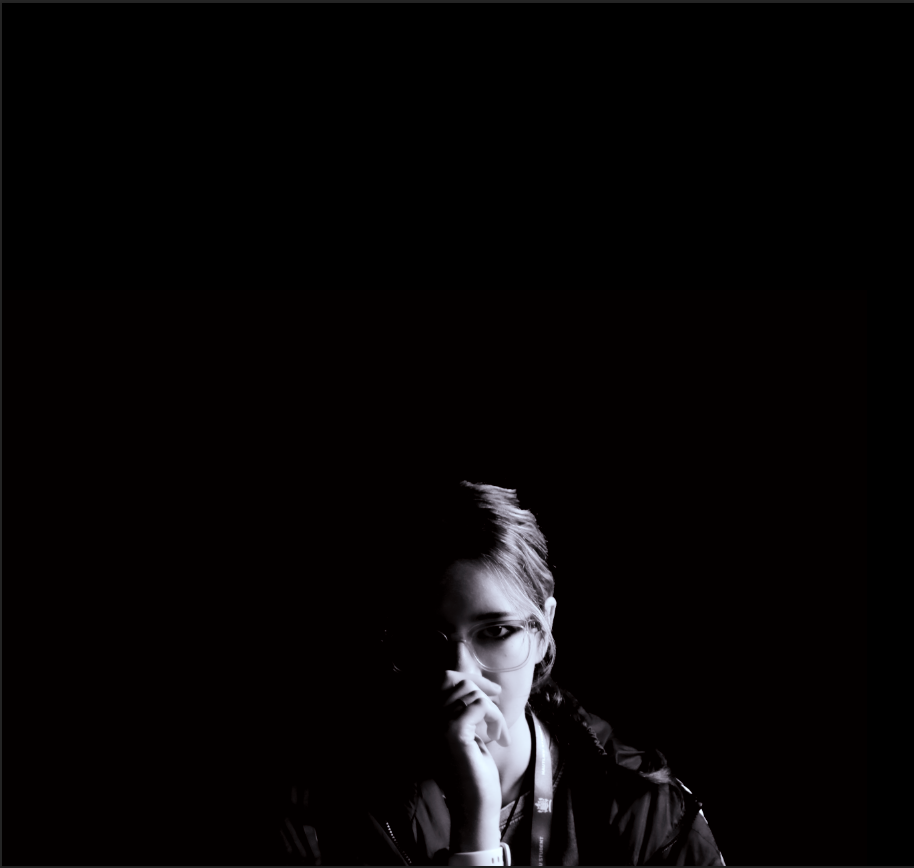
on this photo i edited it into black and white and made the brightness on one side quite bright and on the other side the shadows so that it blends into the background.
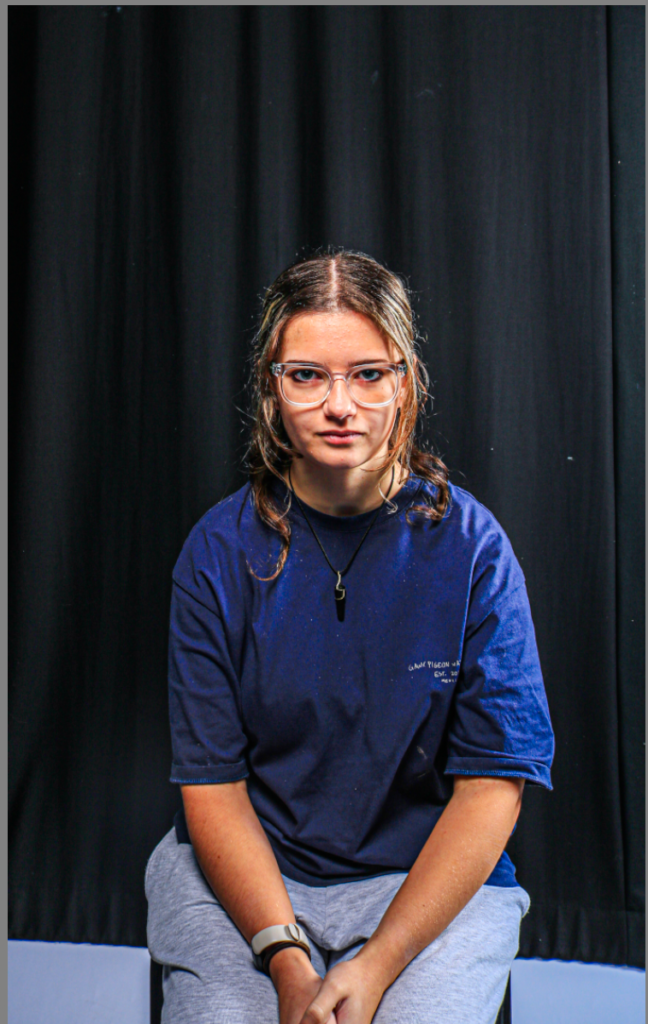
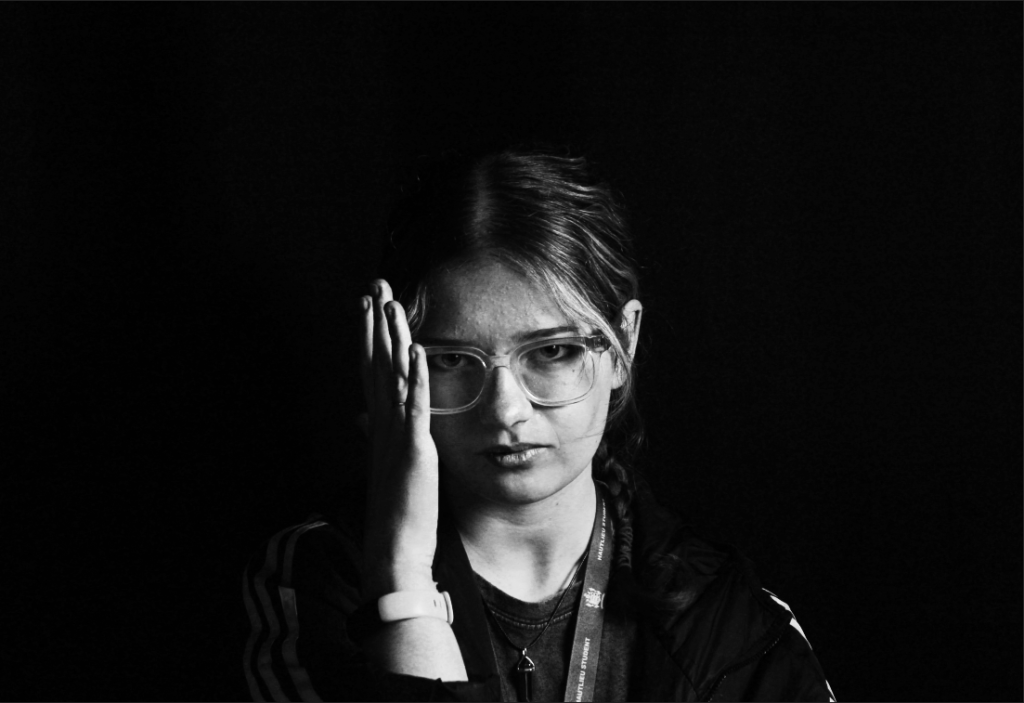
Rembrandt –


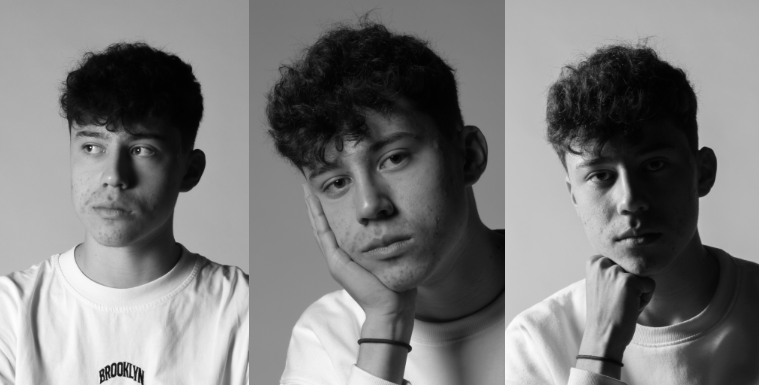
all edited main photos close up –


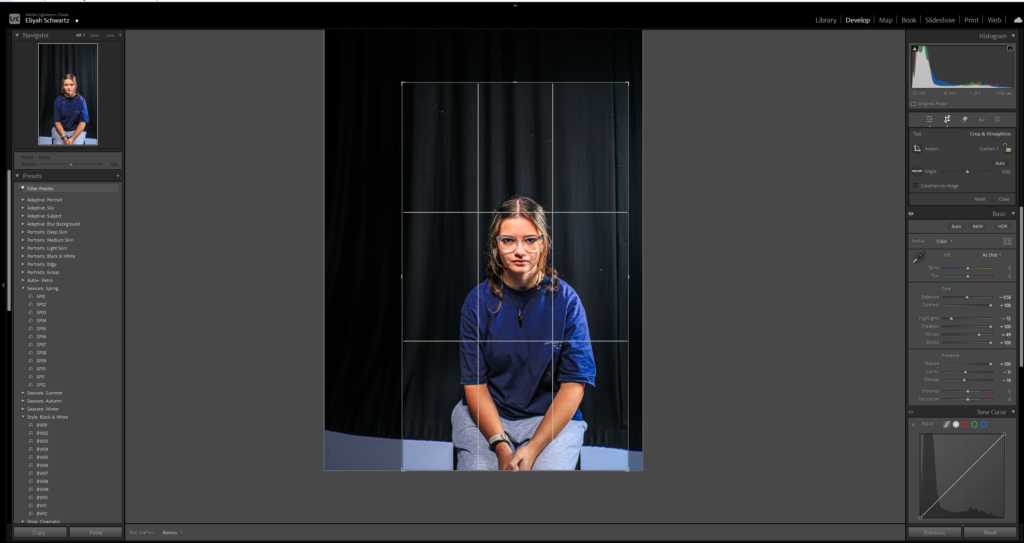
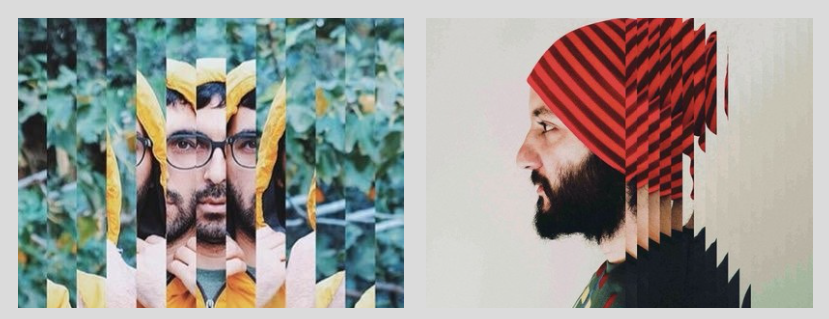
tried different experiments –
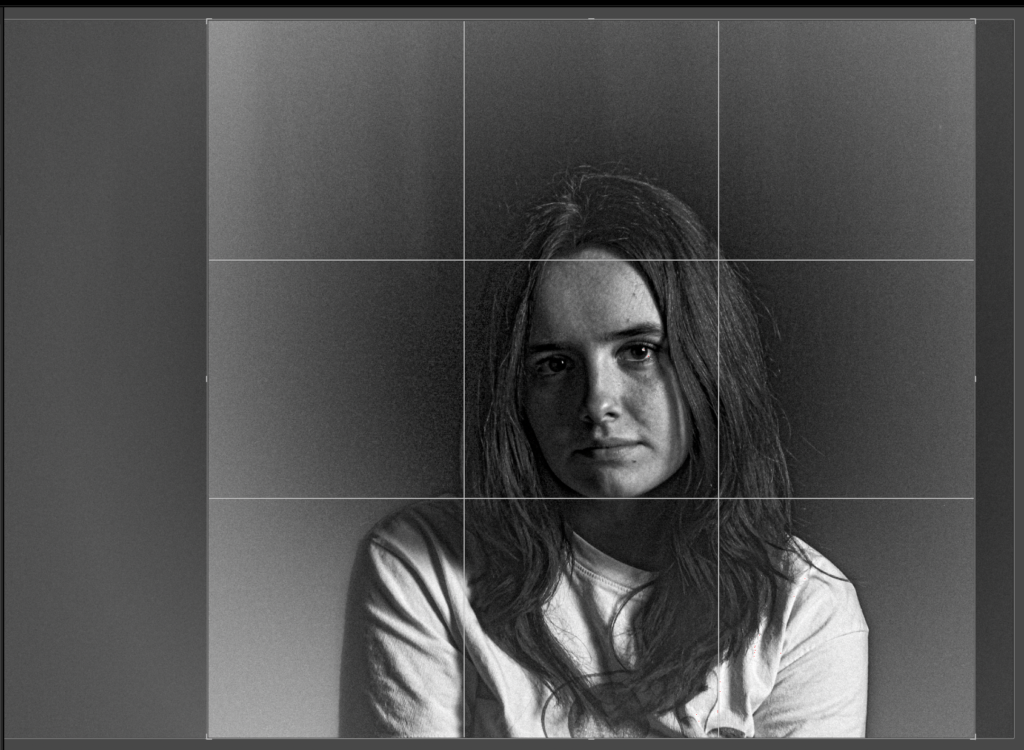
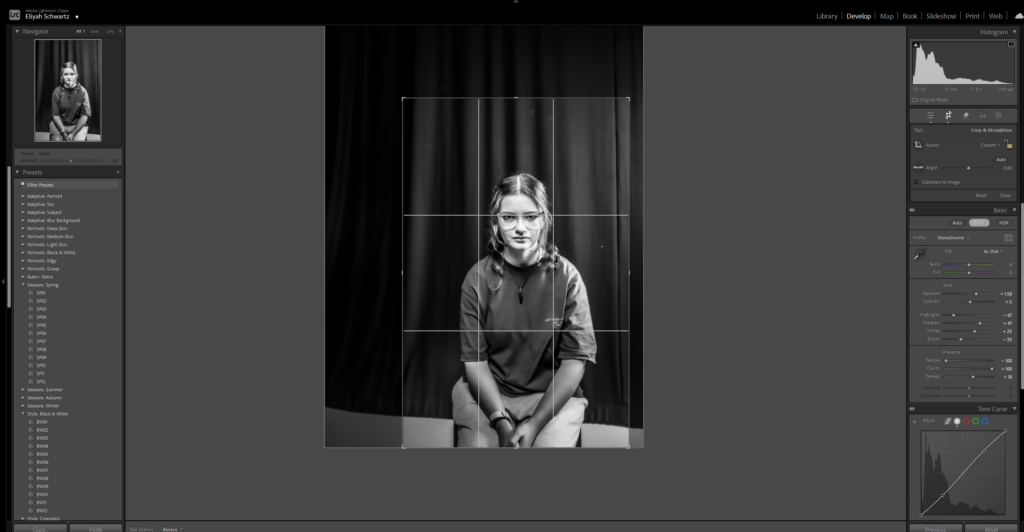
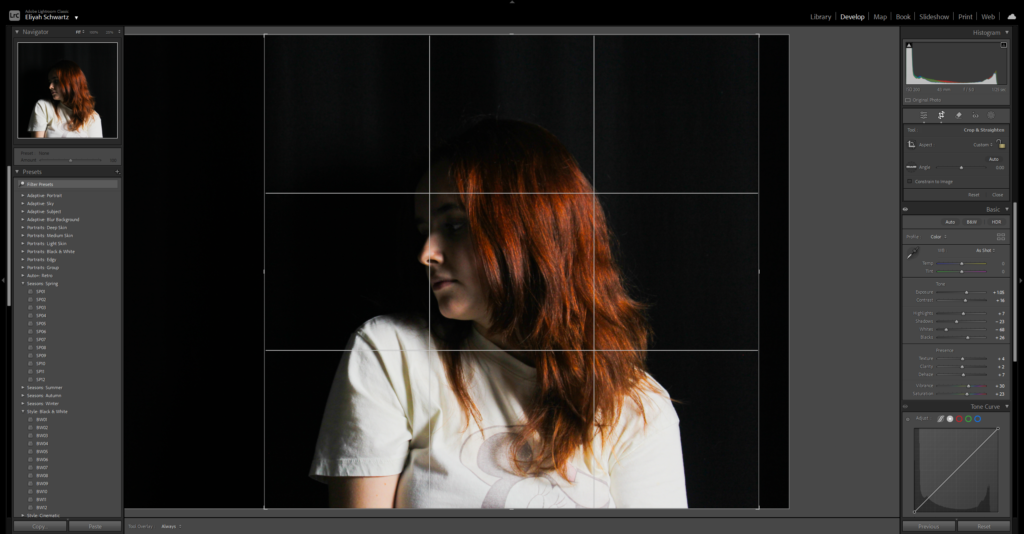
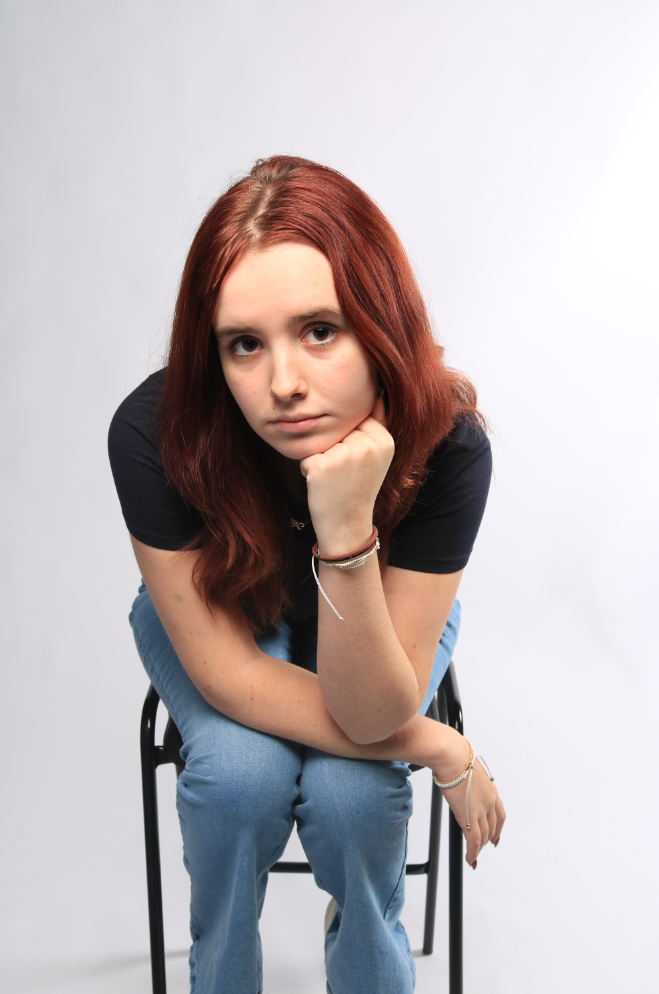
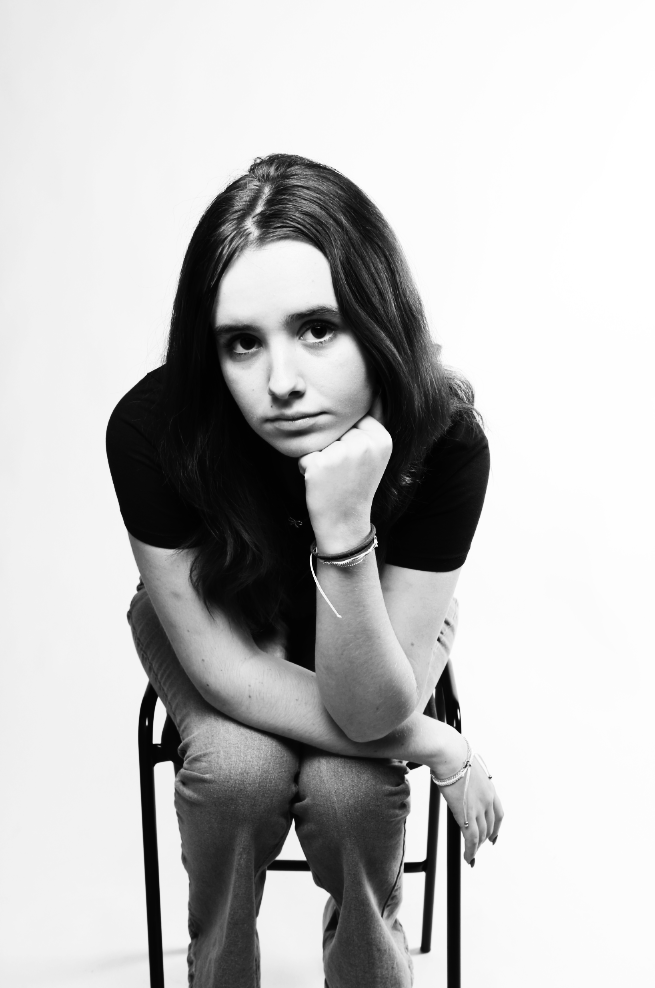
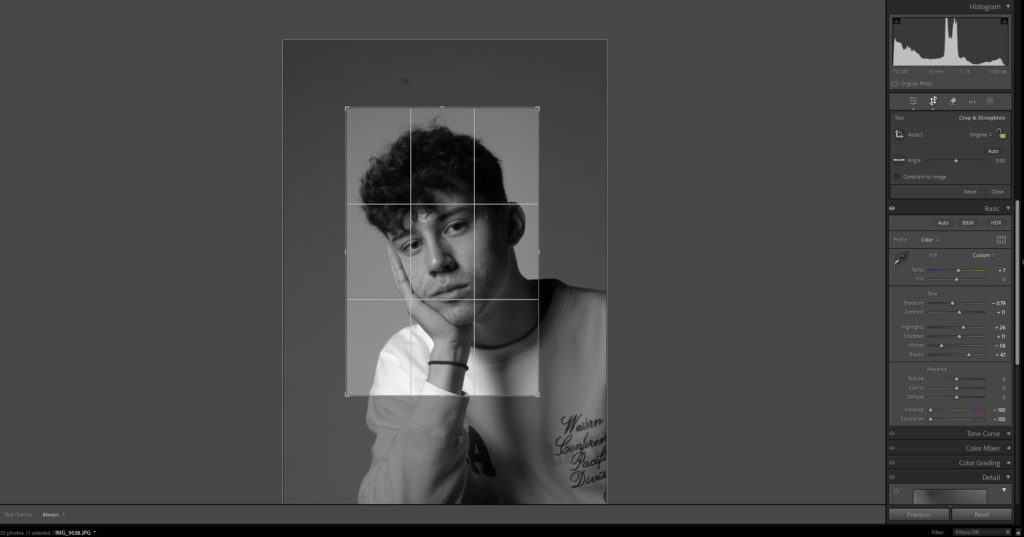
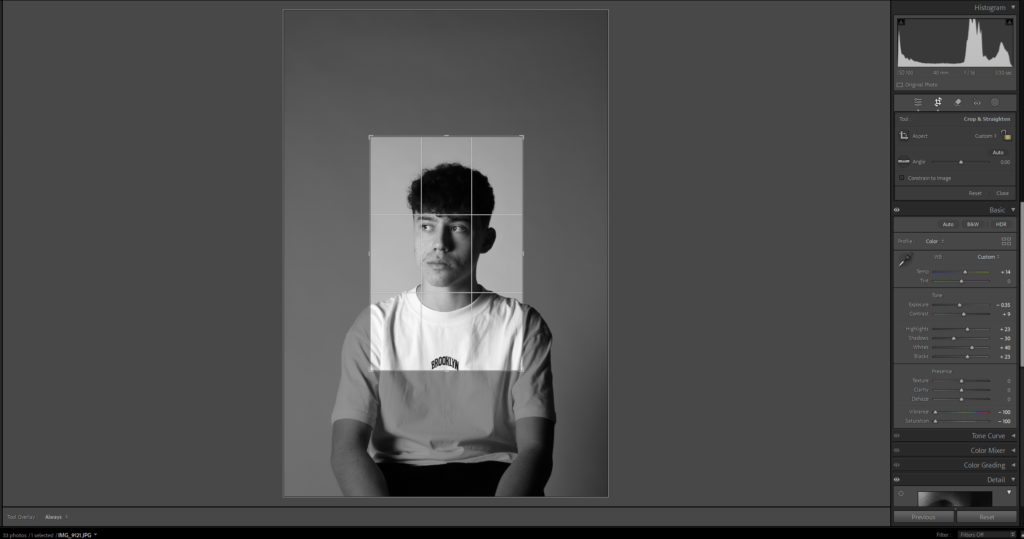
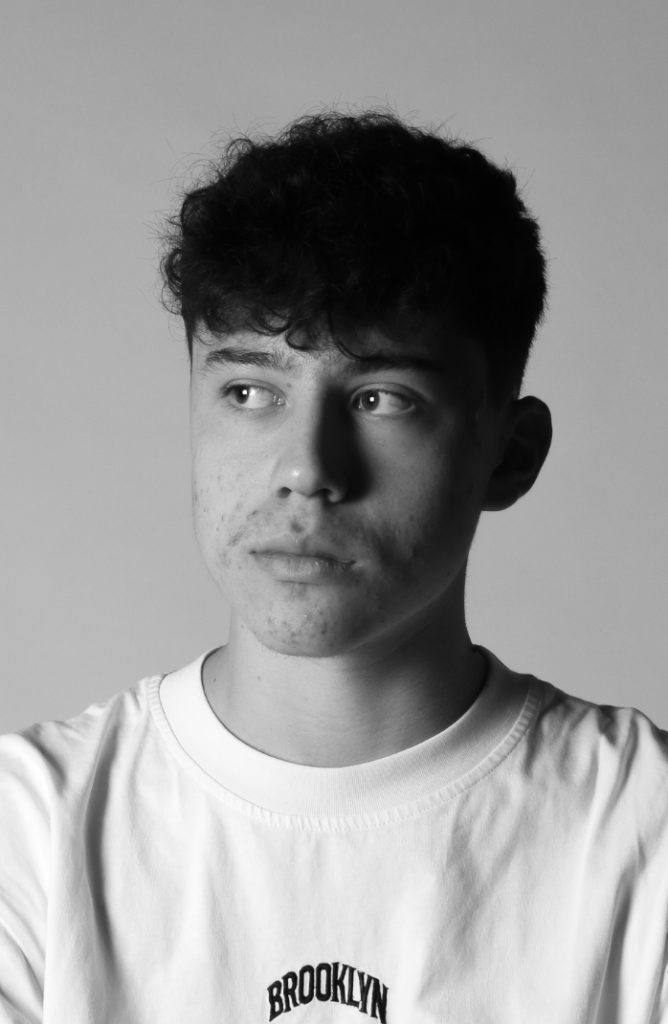
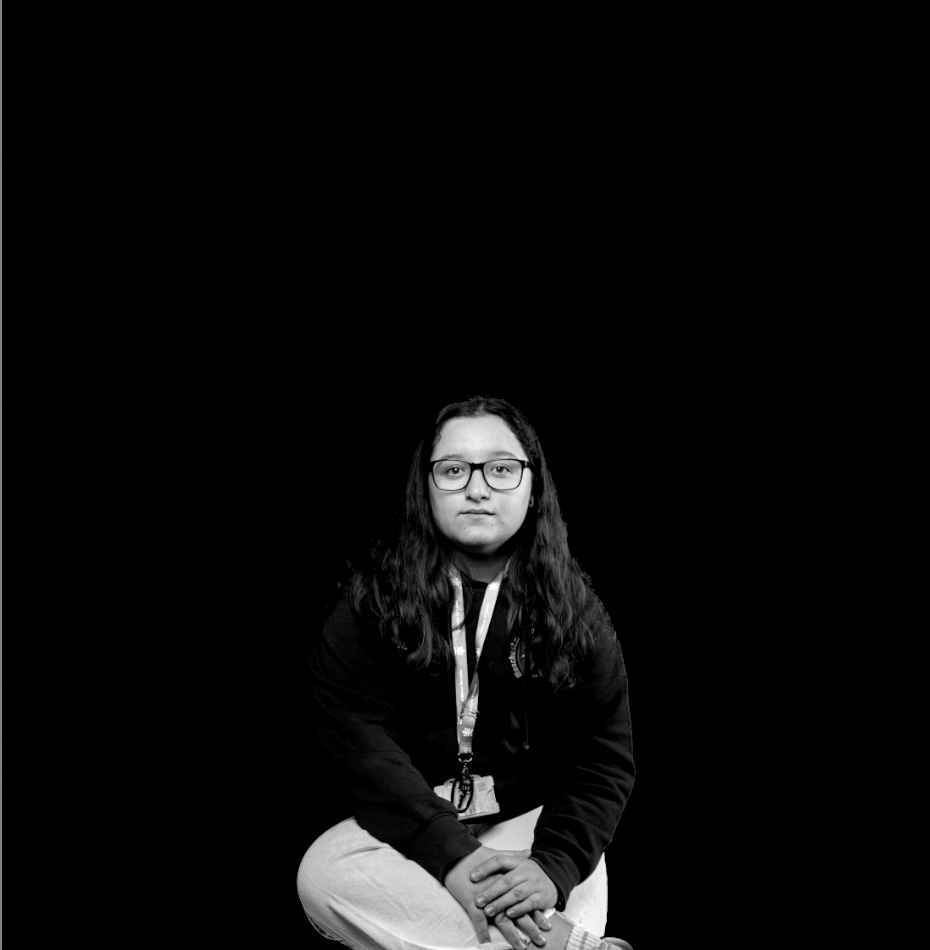
with this photo I cropped it to seem closer and focused more on the features of the subject.

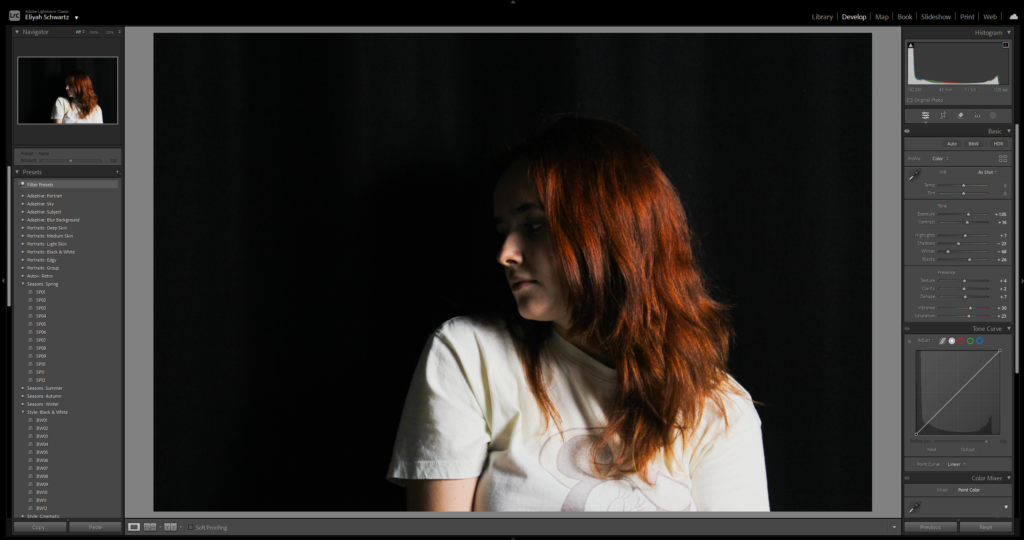
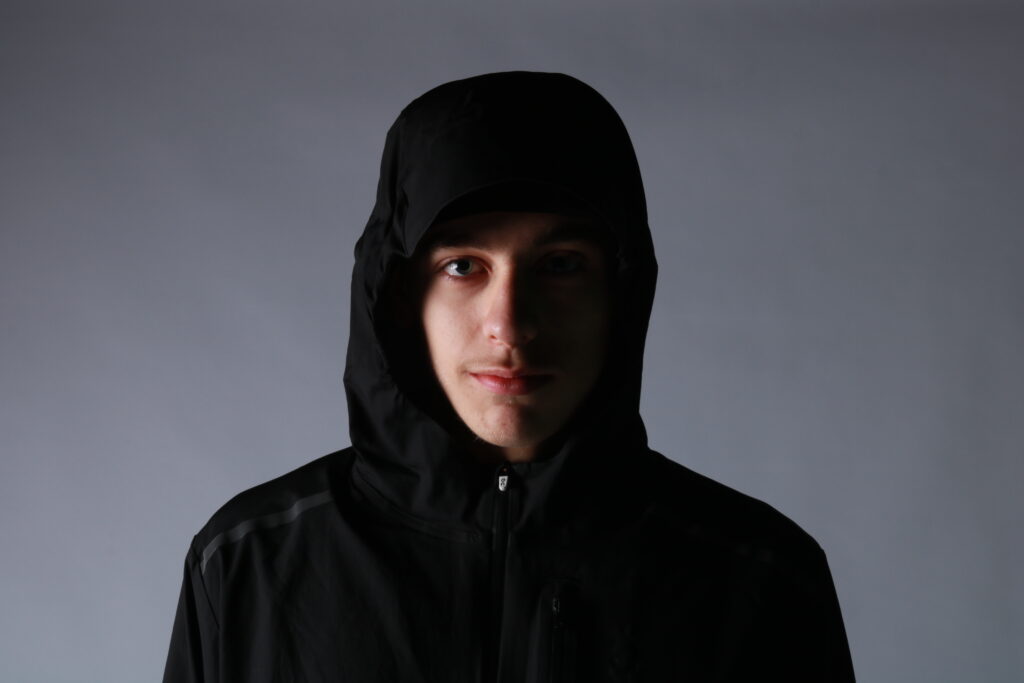
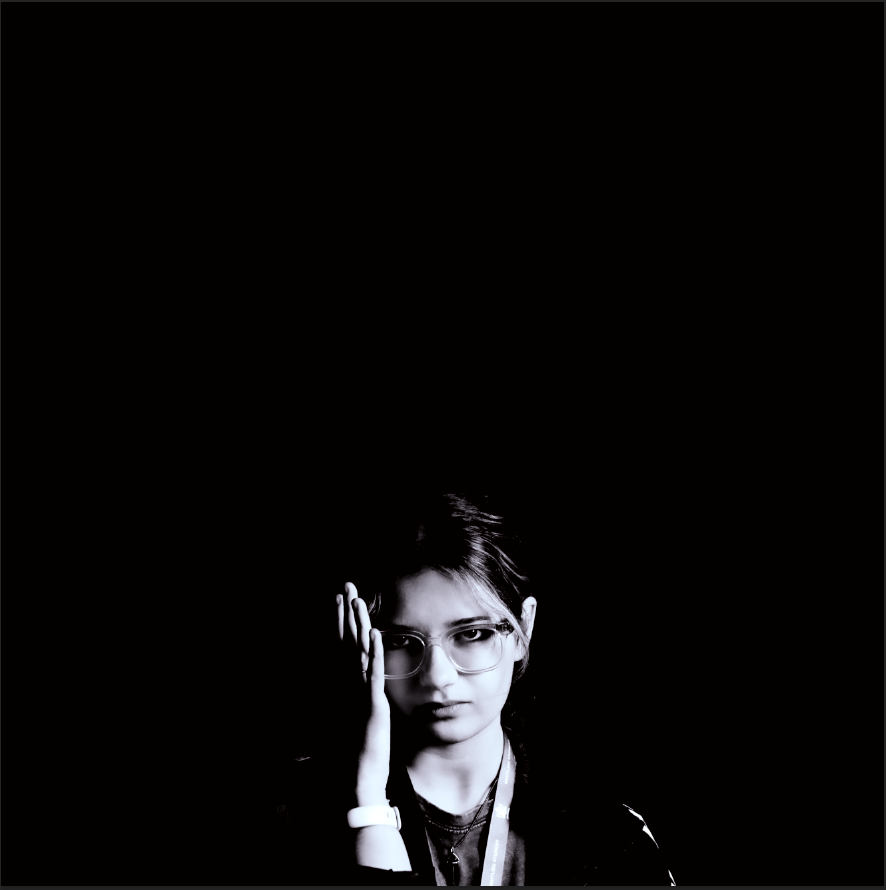
for this photo I cropped it so was more background and to make photo seem more ominous and makes subject seem really small.
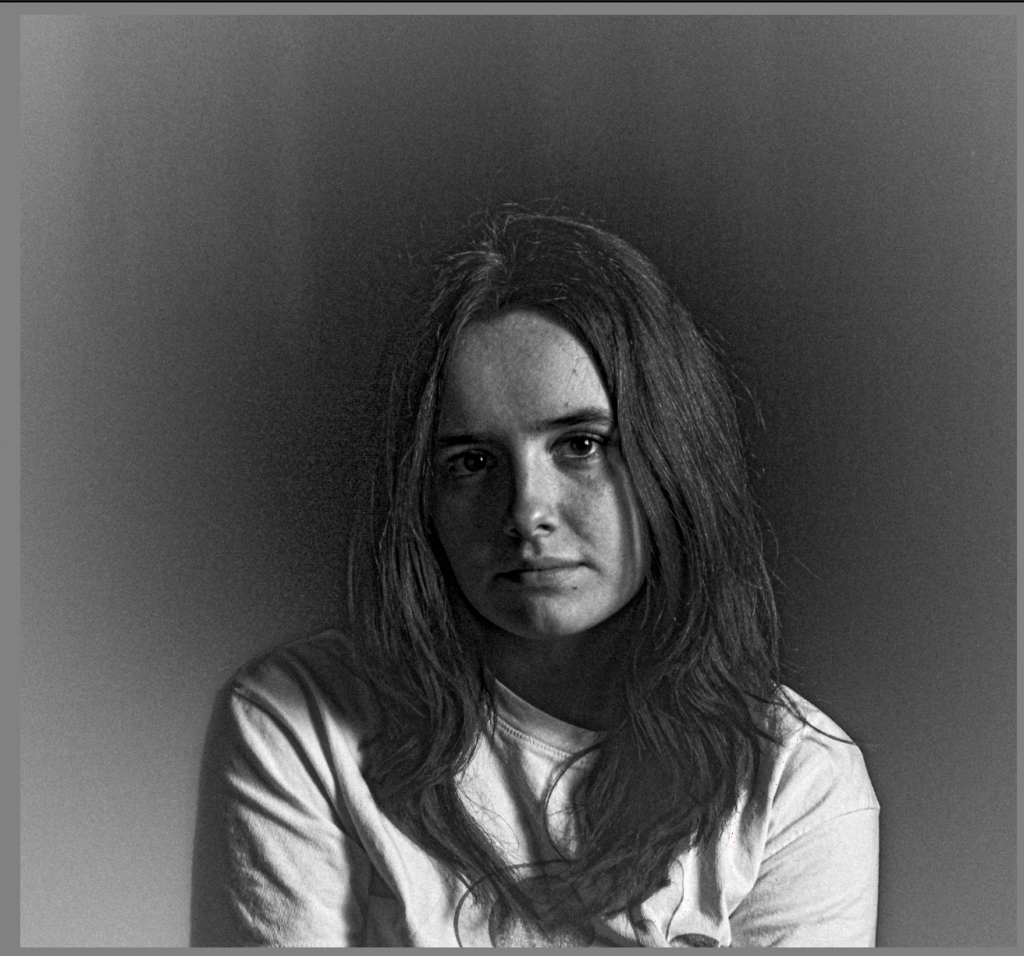
for this photo I tried to see what it would look like in black and white.

Butterfly –

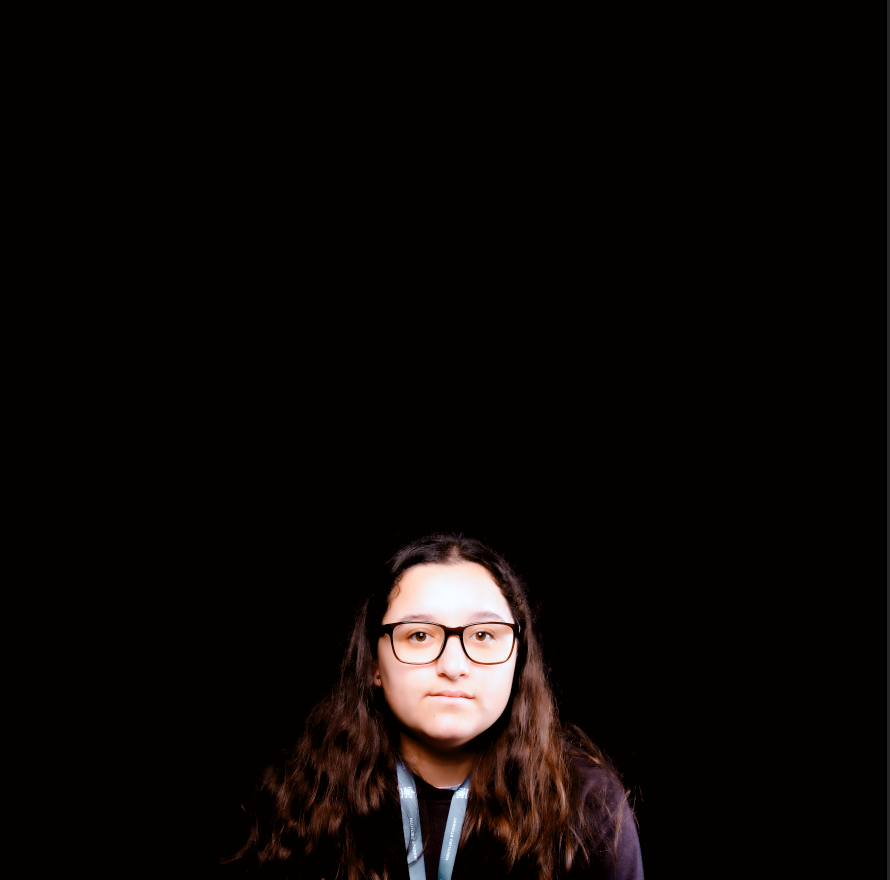
for this I cropped the photo so was made to seem like the subject is really small
with this photo I edited the background so it get rid of the texture and focused on only the subject, made it to a low exposure.
with this photo I edited it in black and white, which made the butterfly effect more obvious.
with in this photo its similar to the last but some of the texture has been taken away.
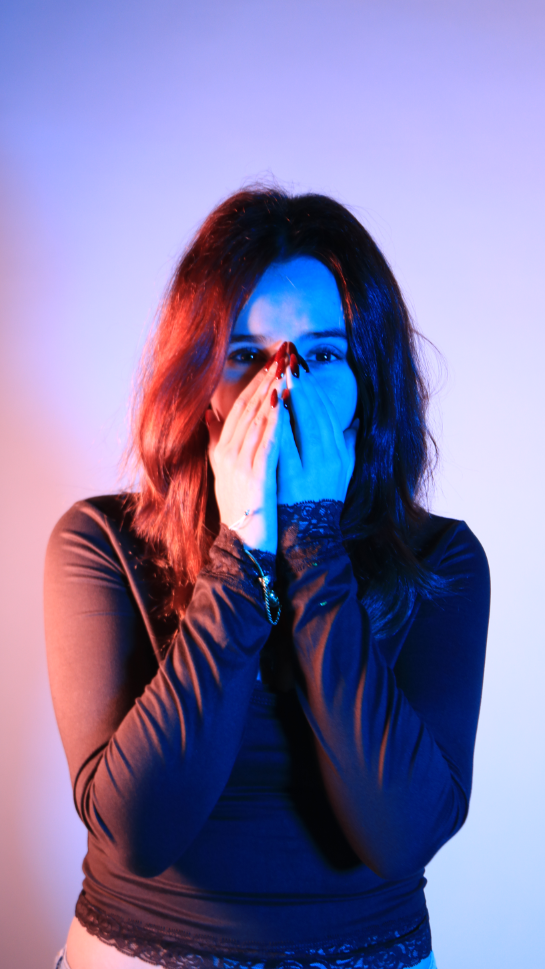
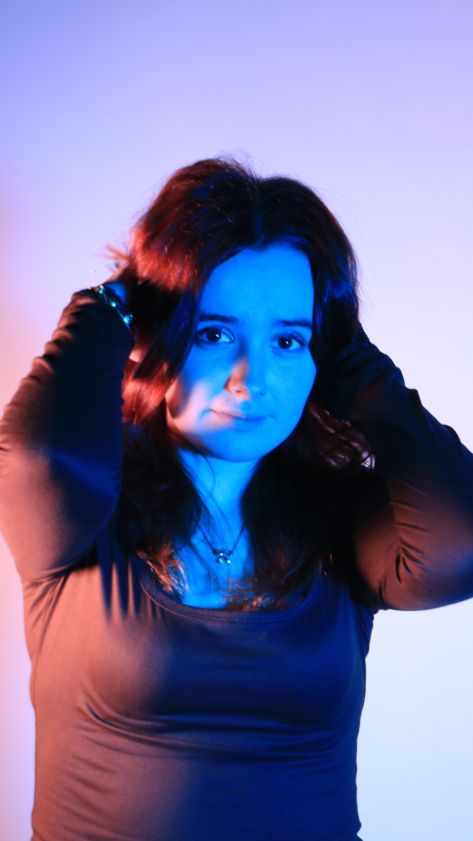
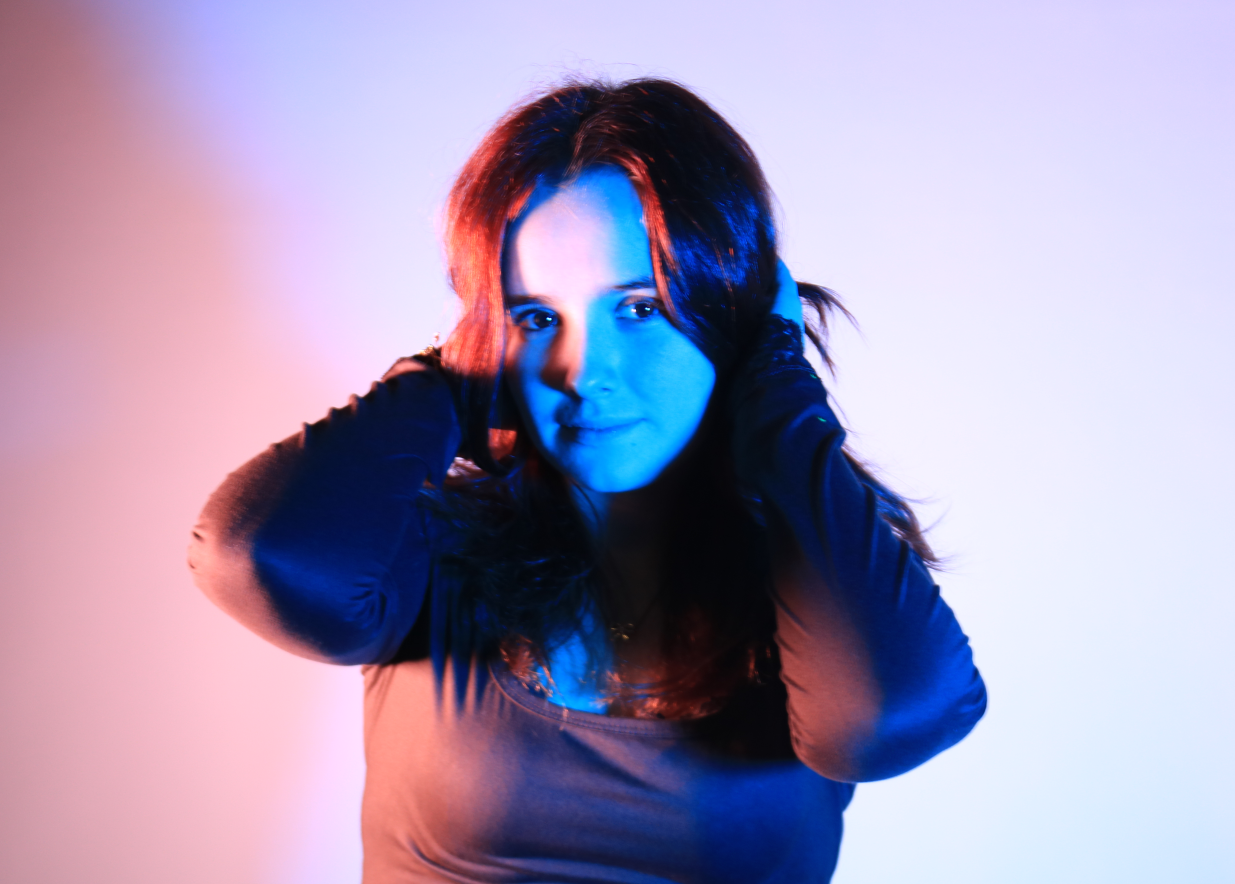
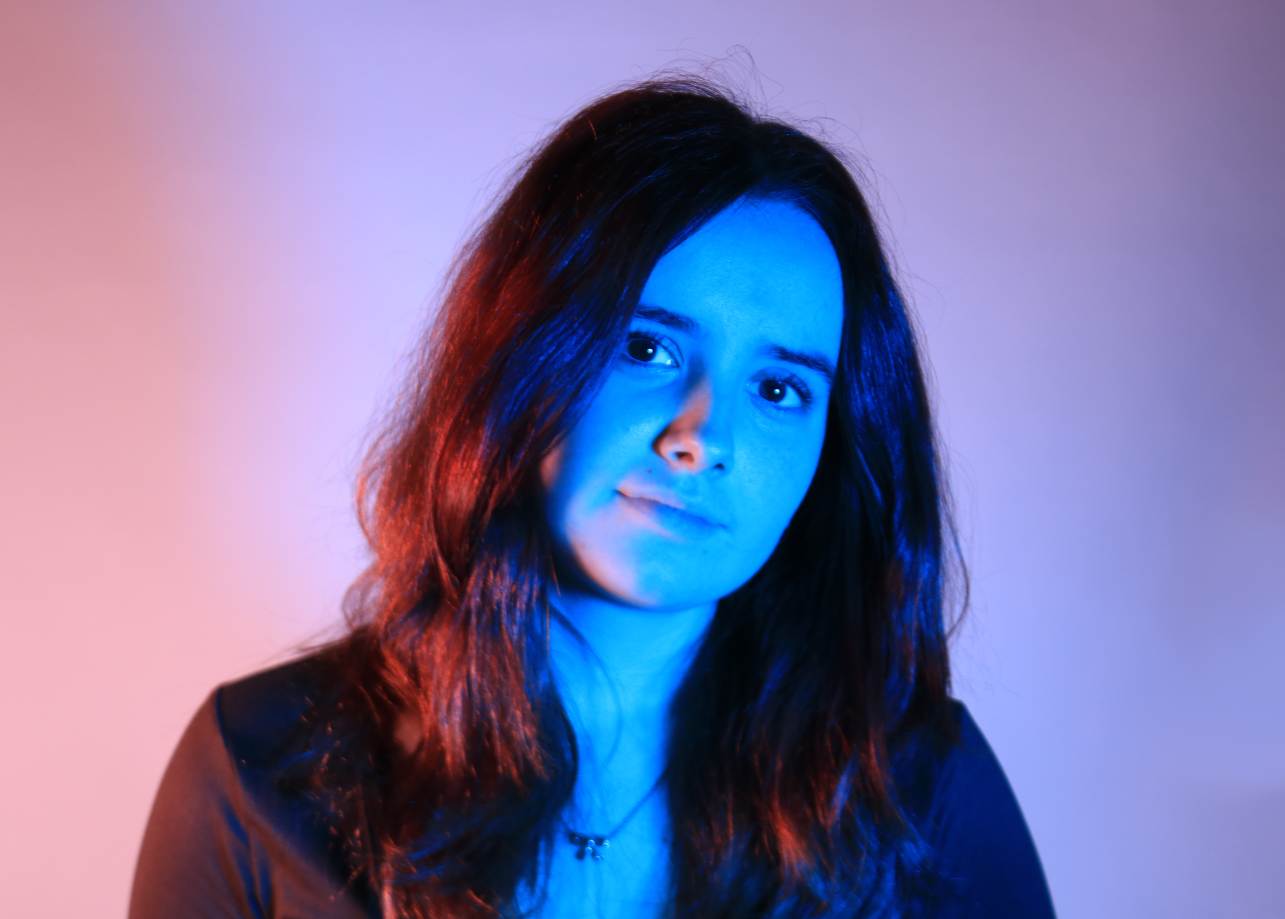
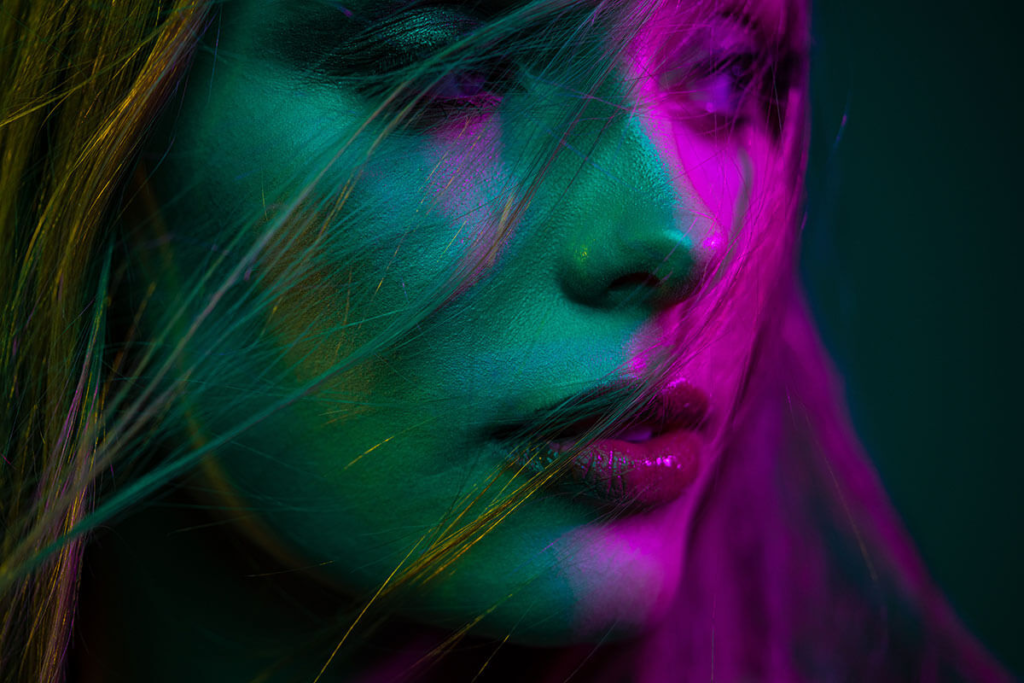
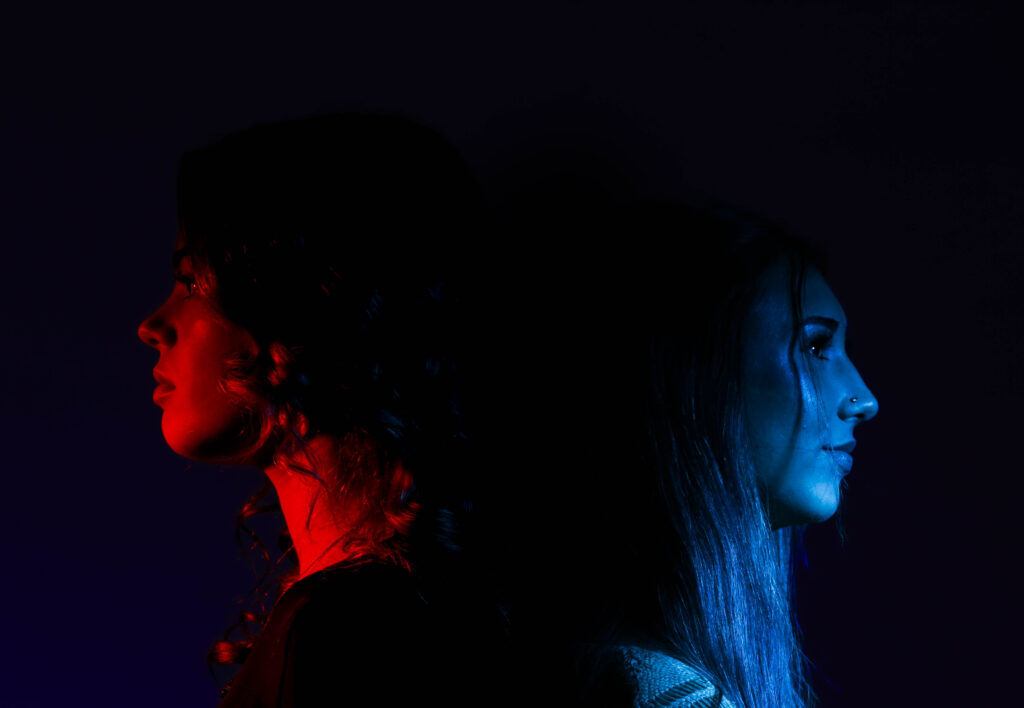
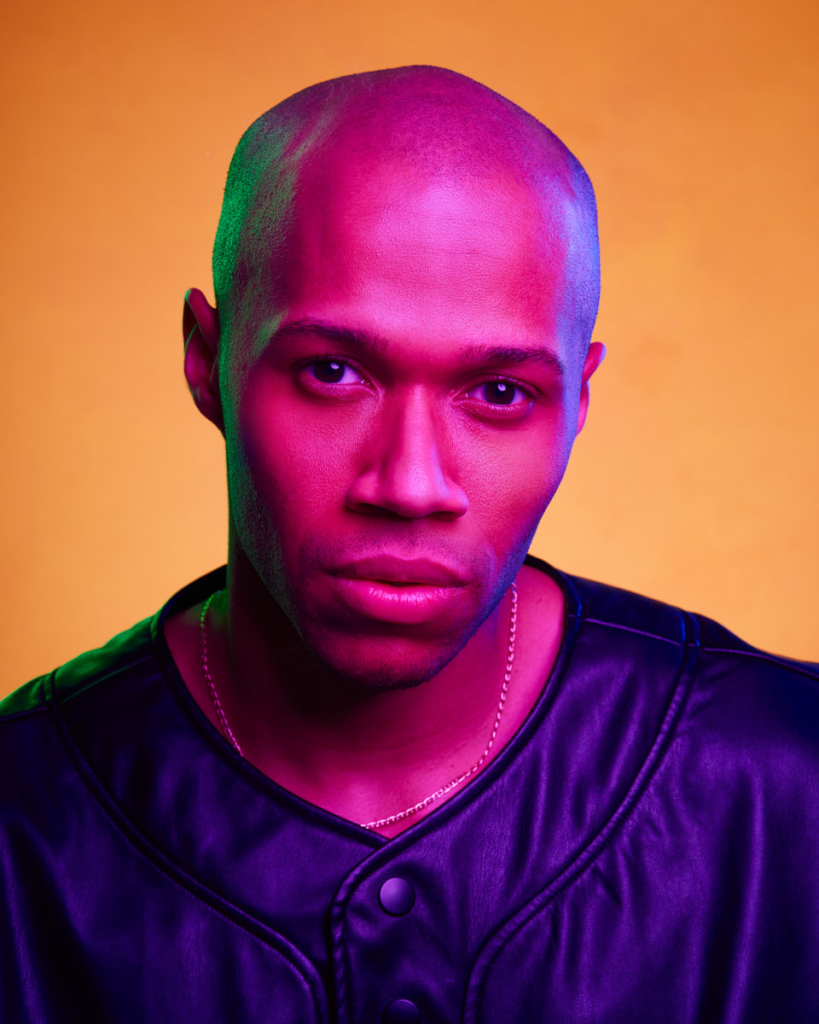
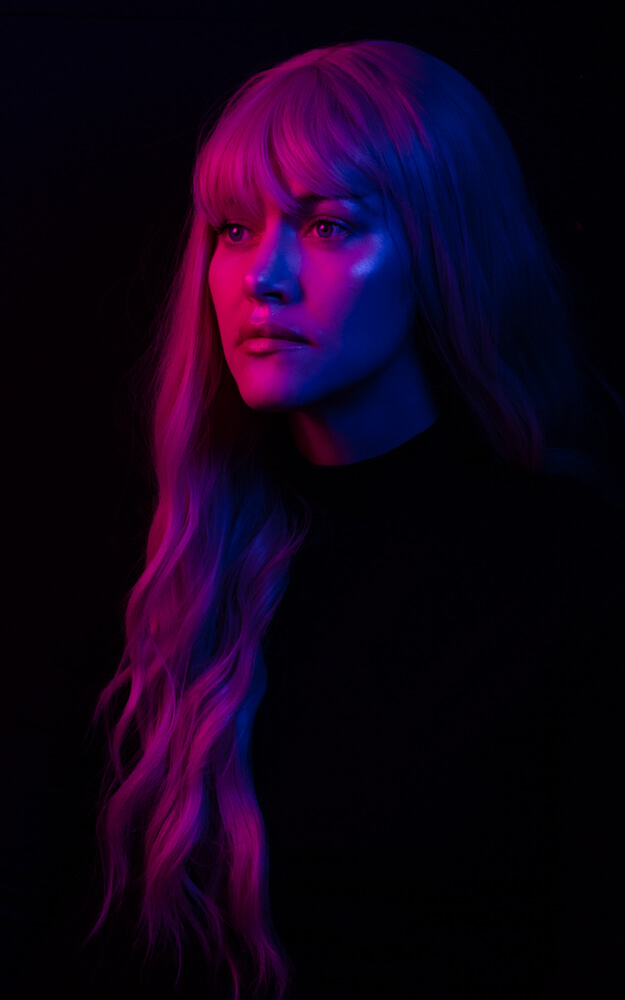
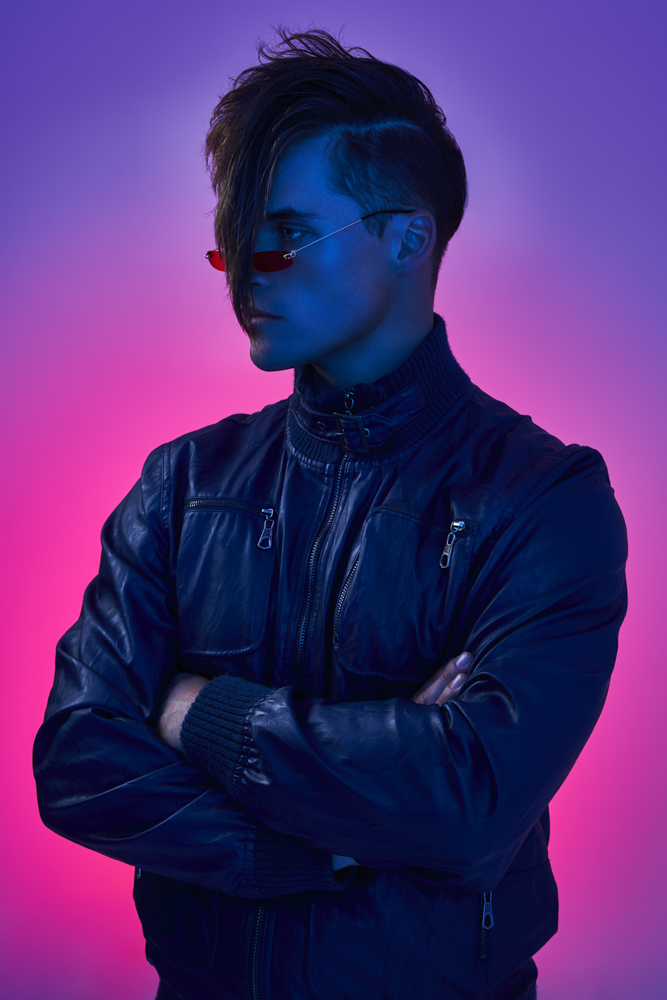
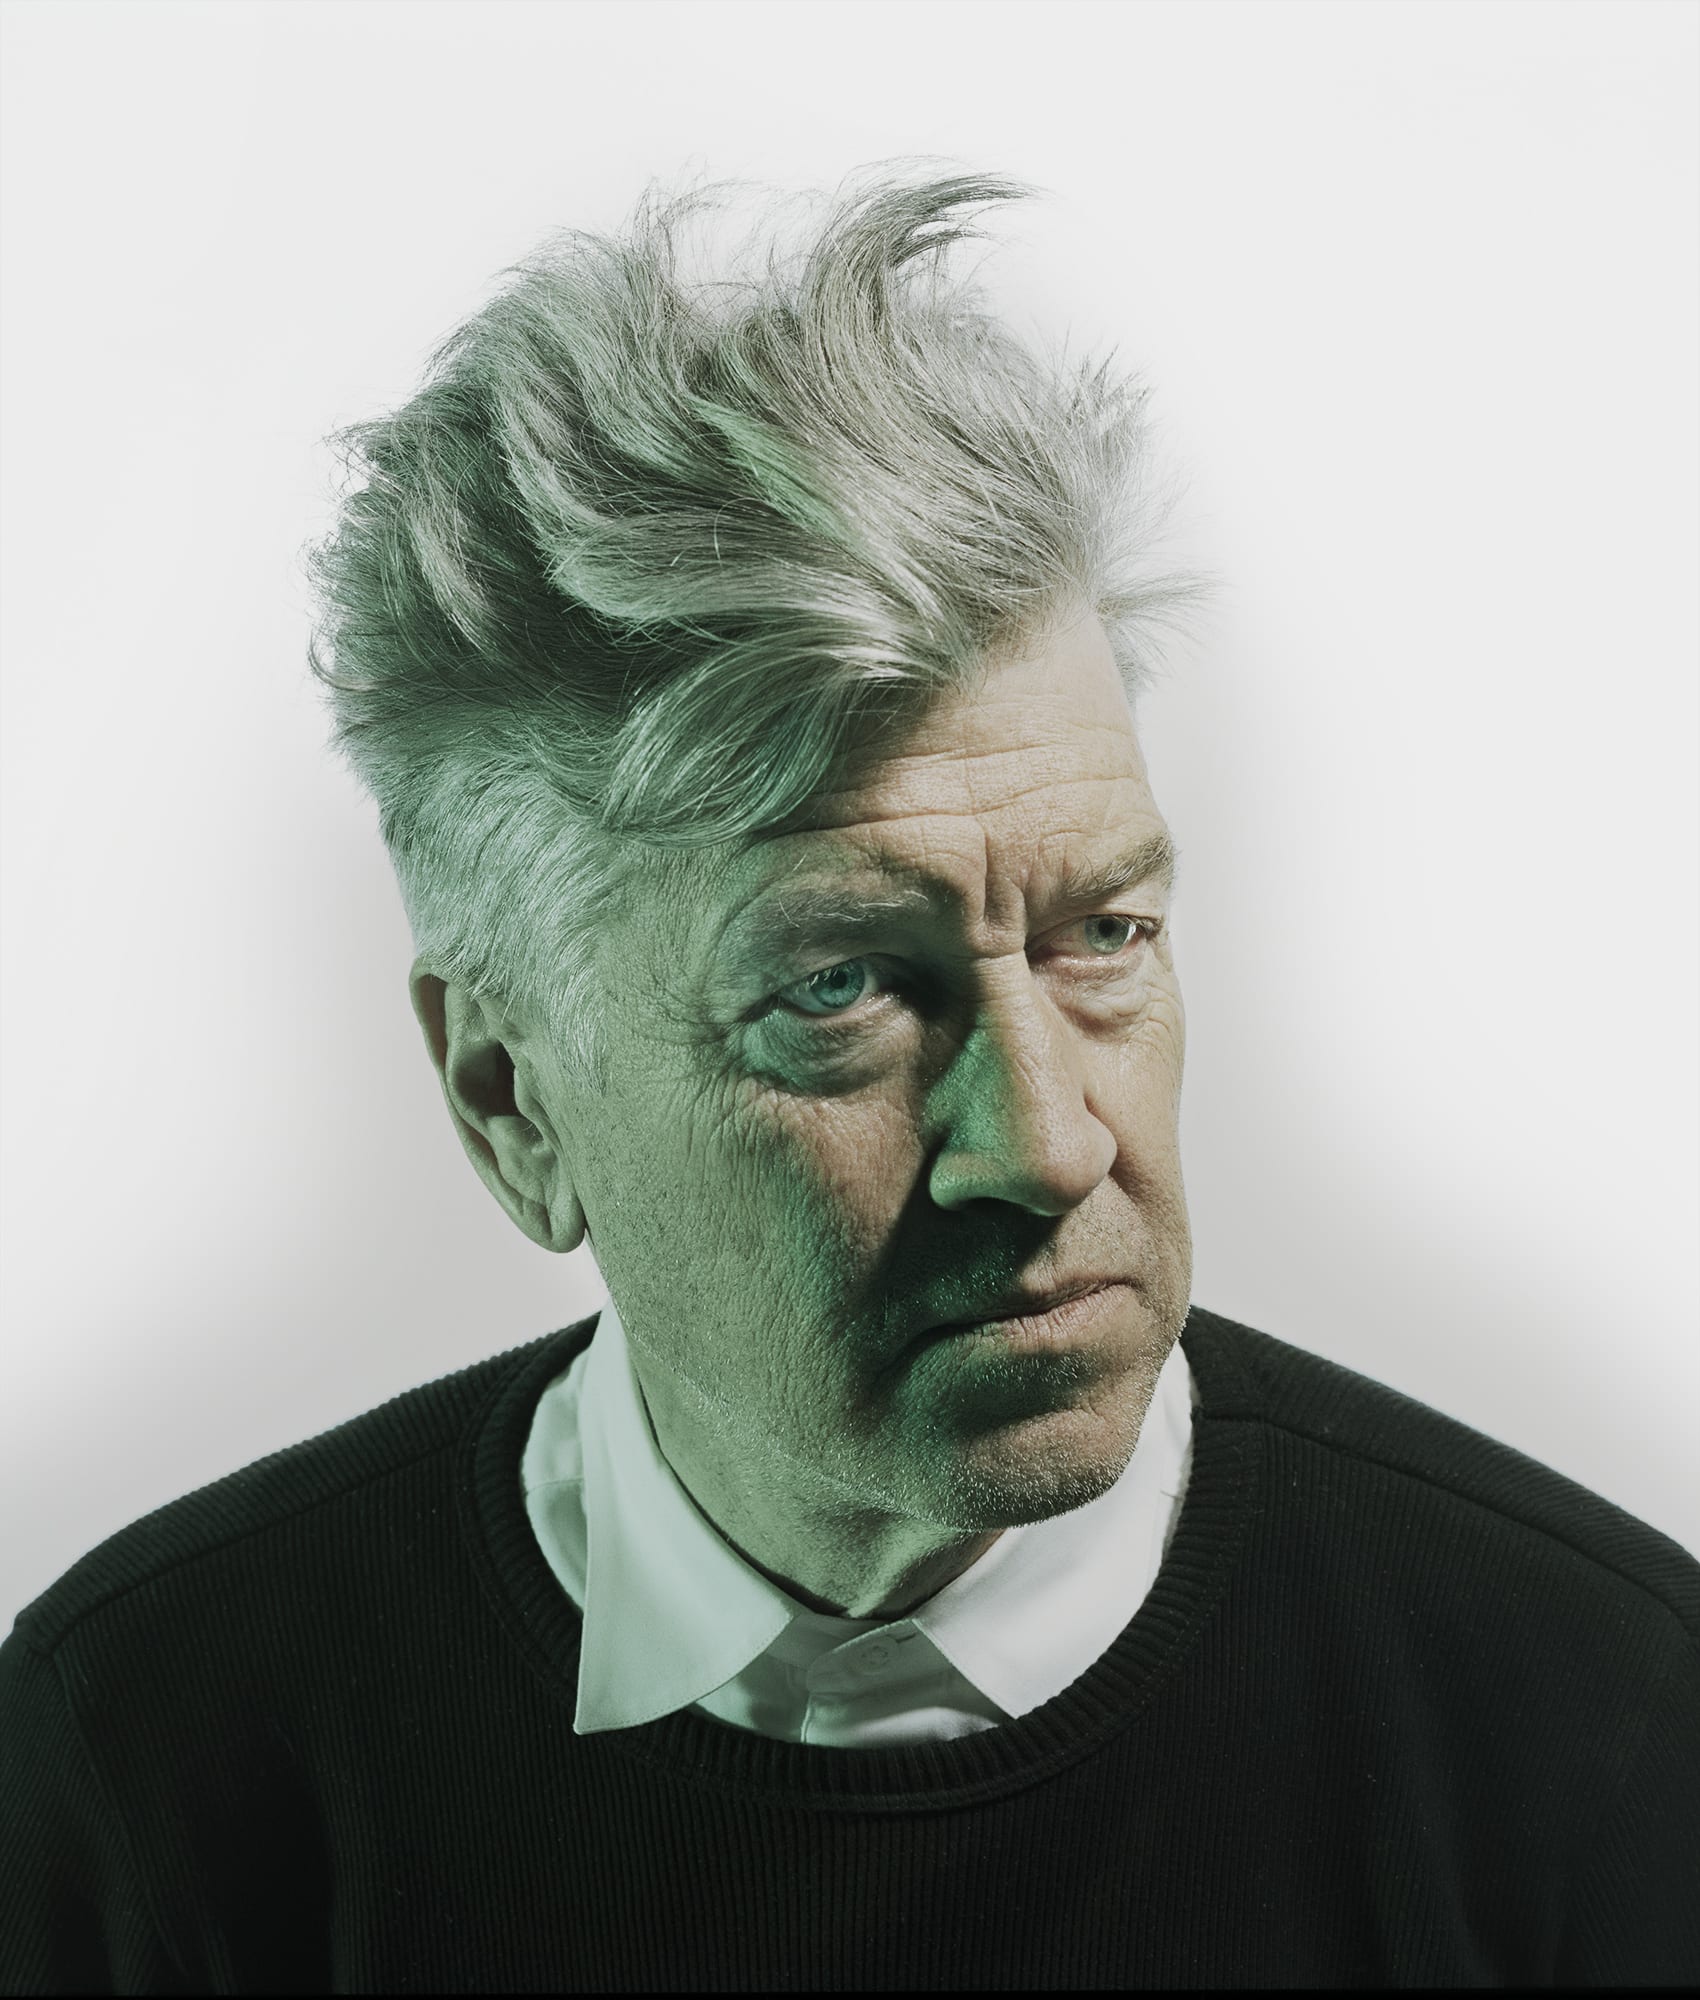
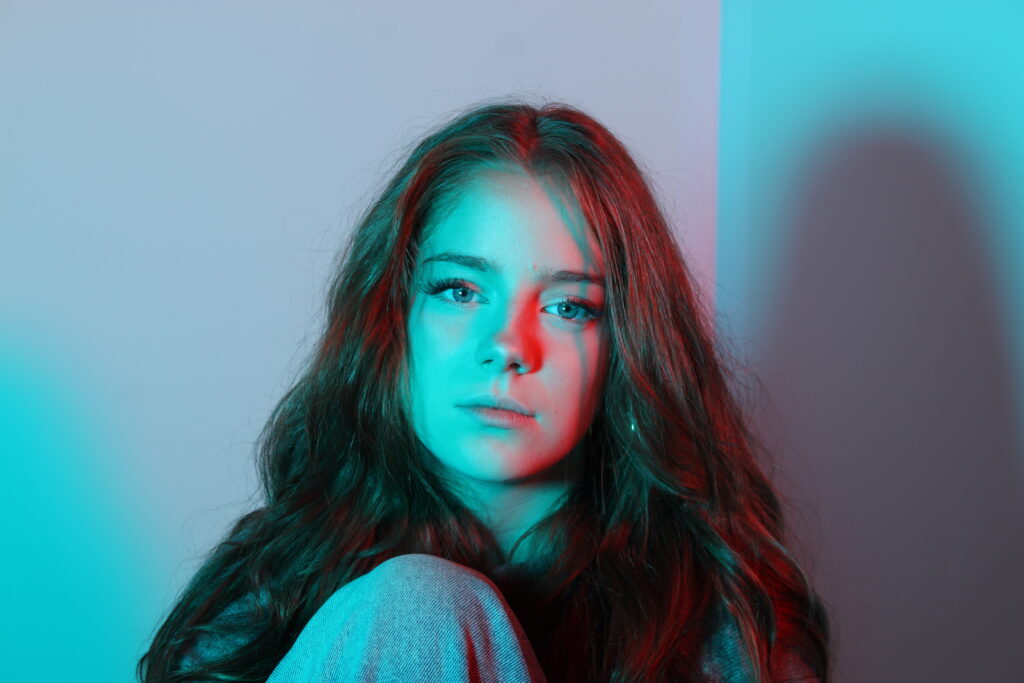
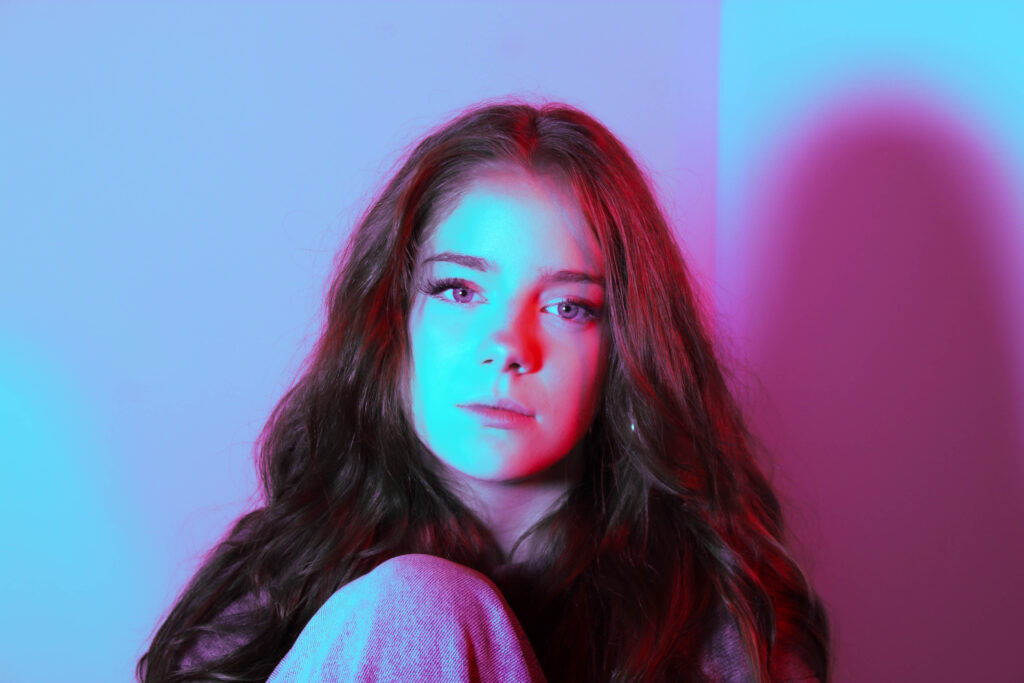
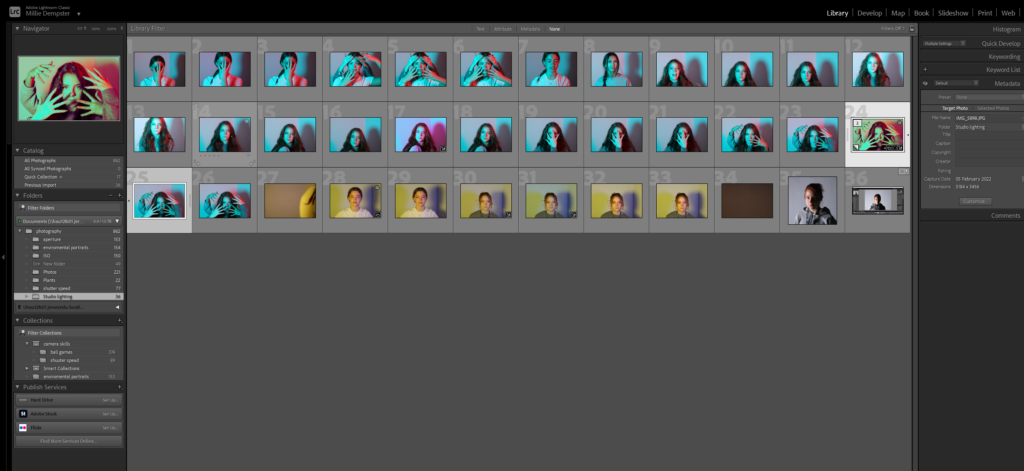
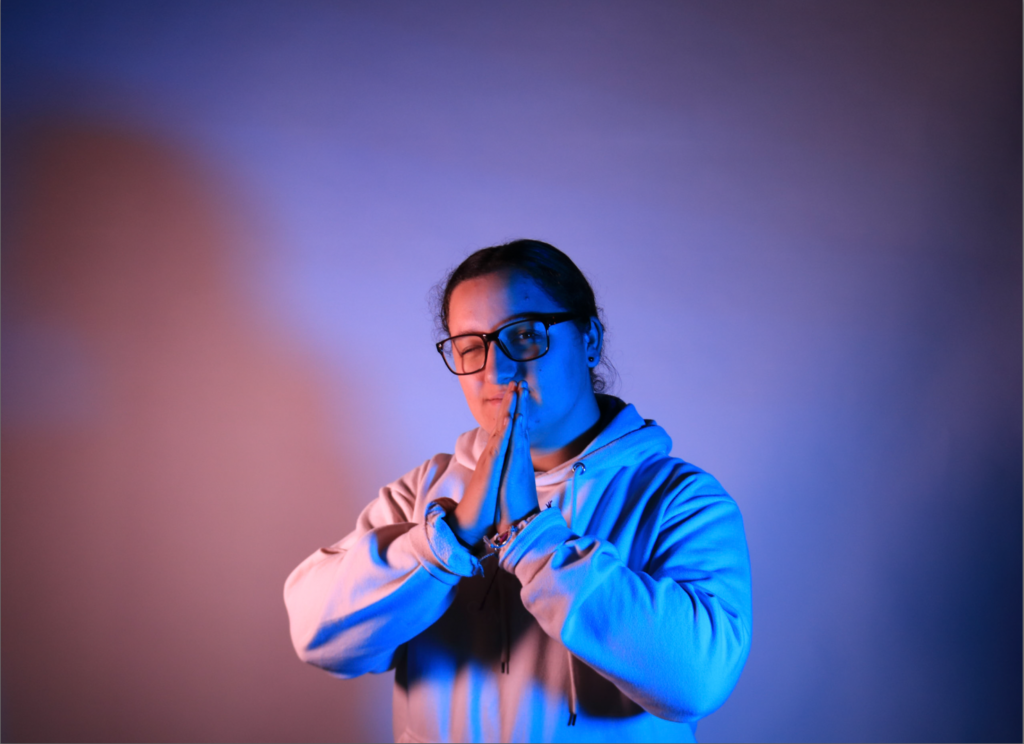
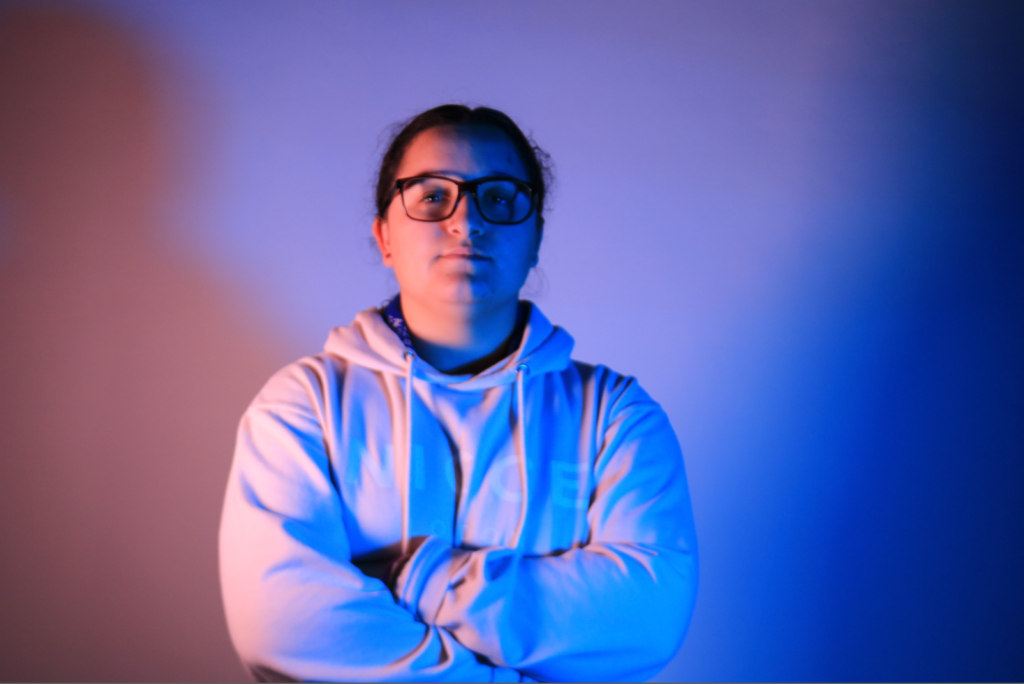
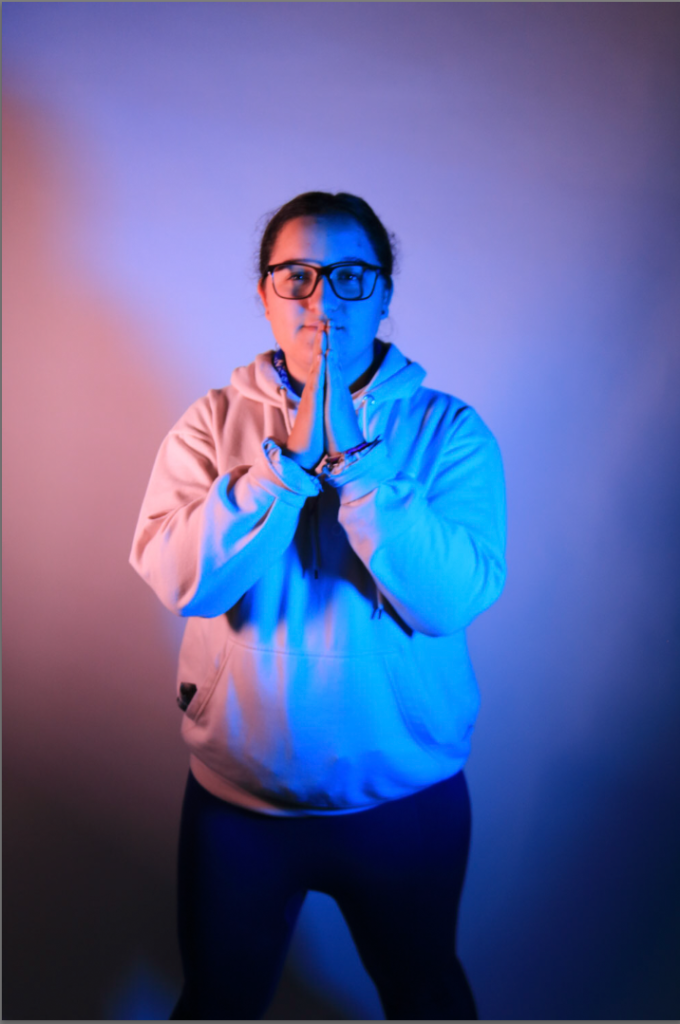
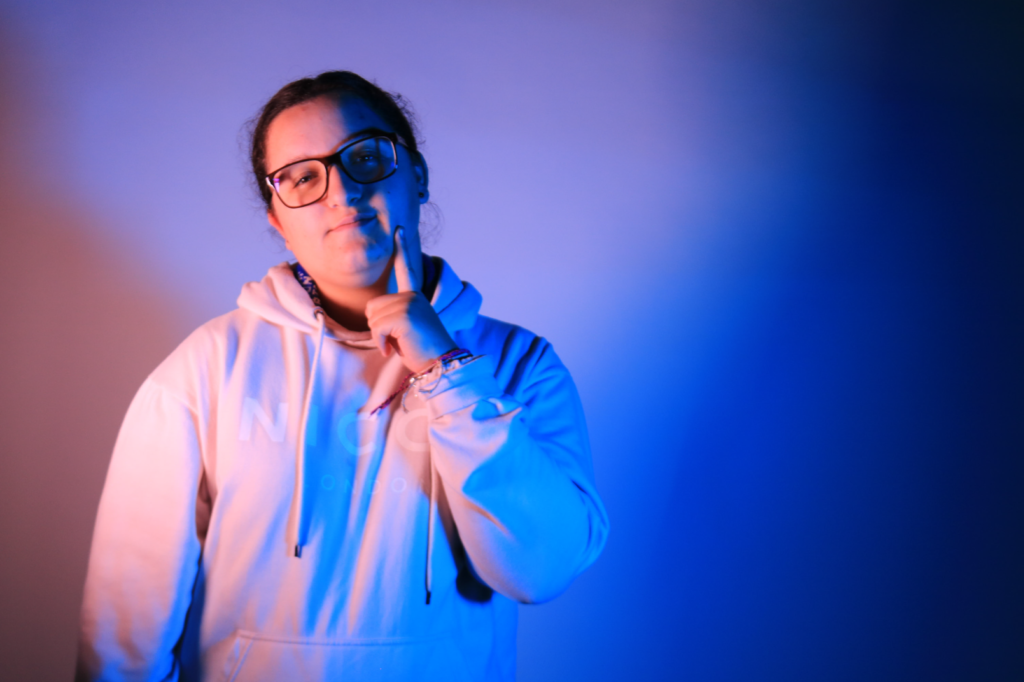
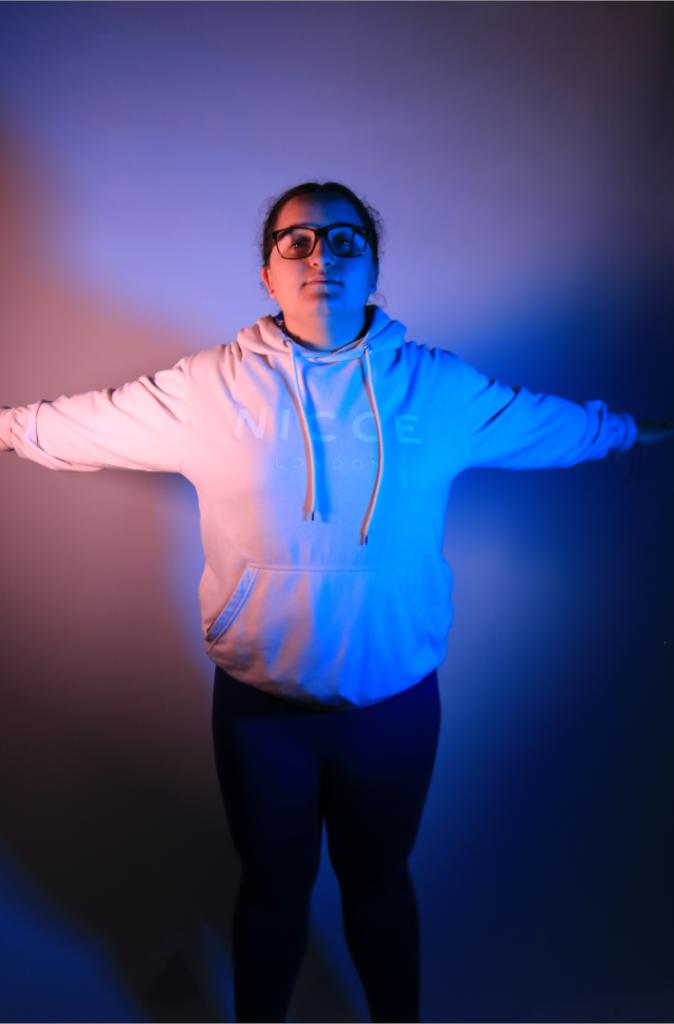
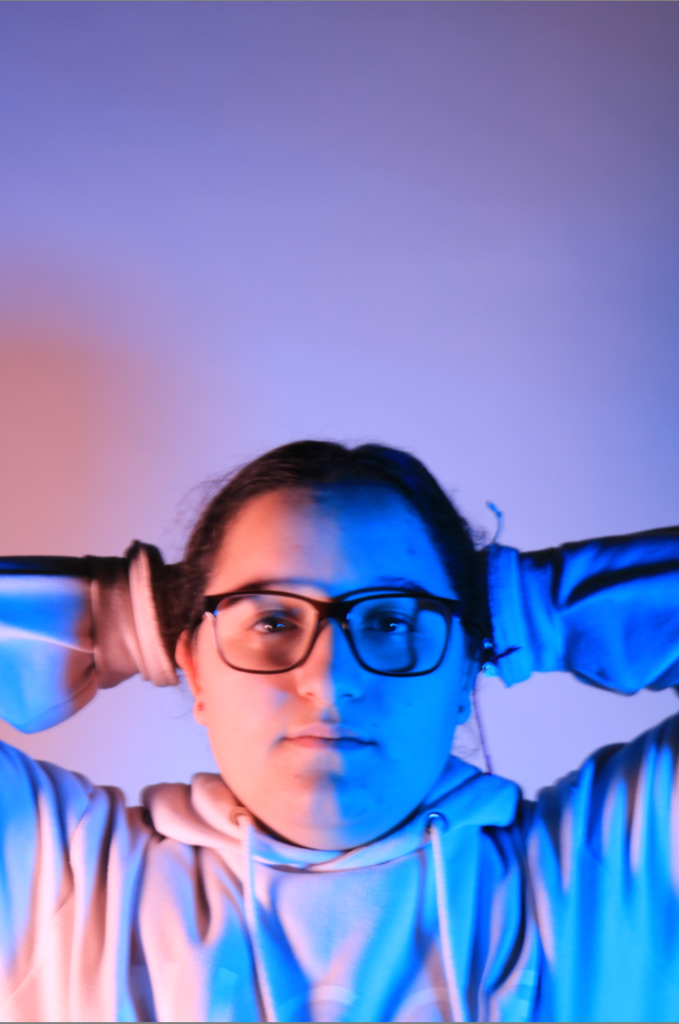
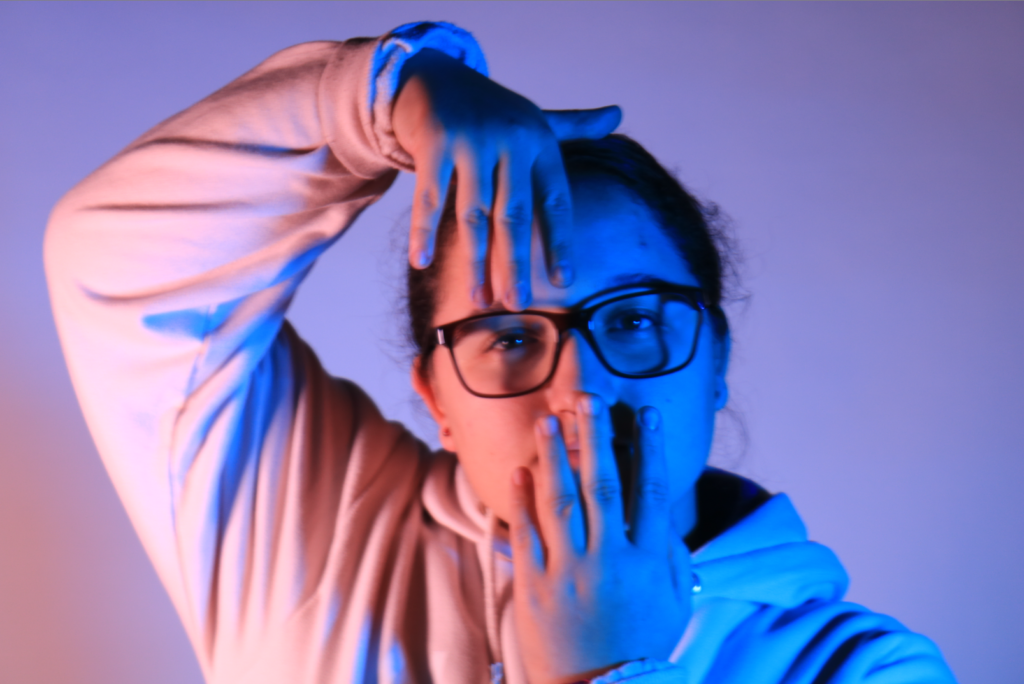
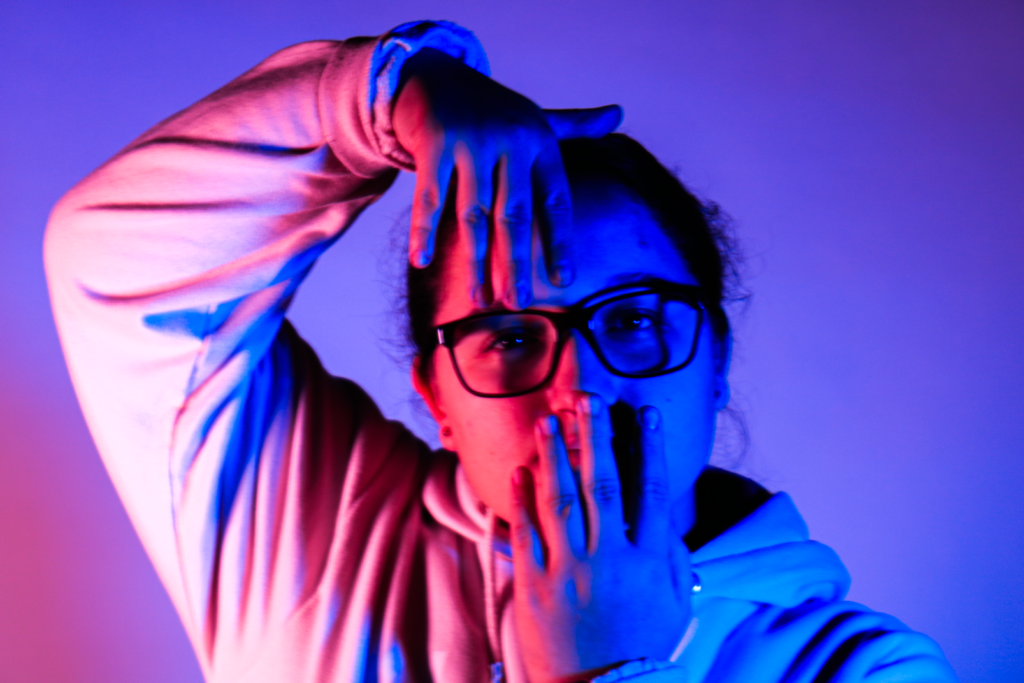
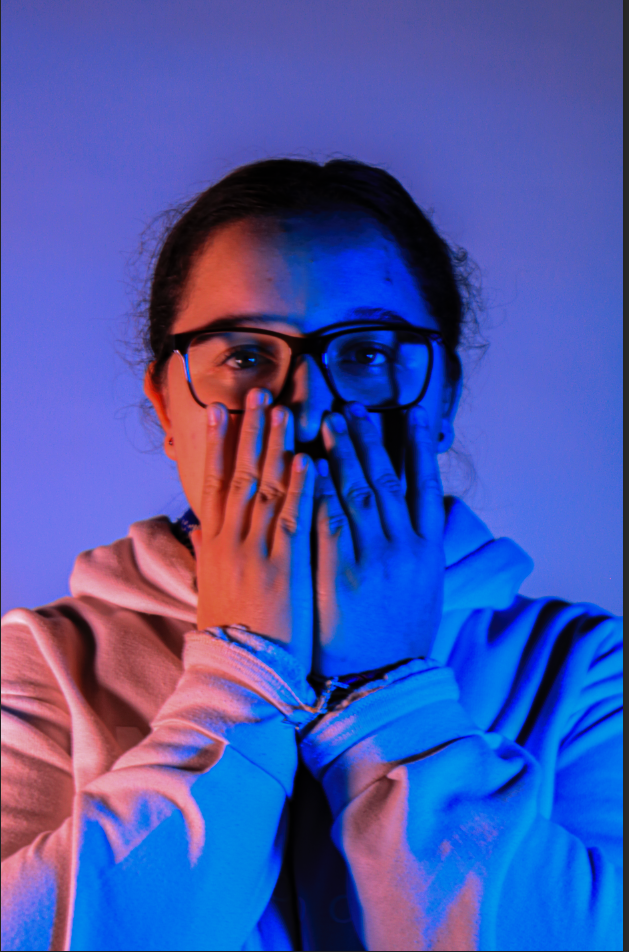
colour gel experiments
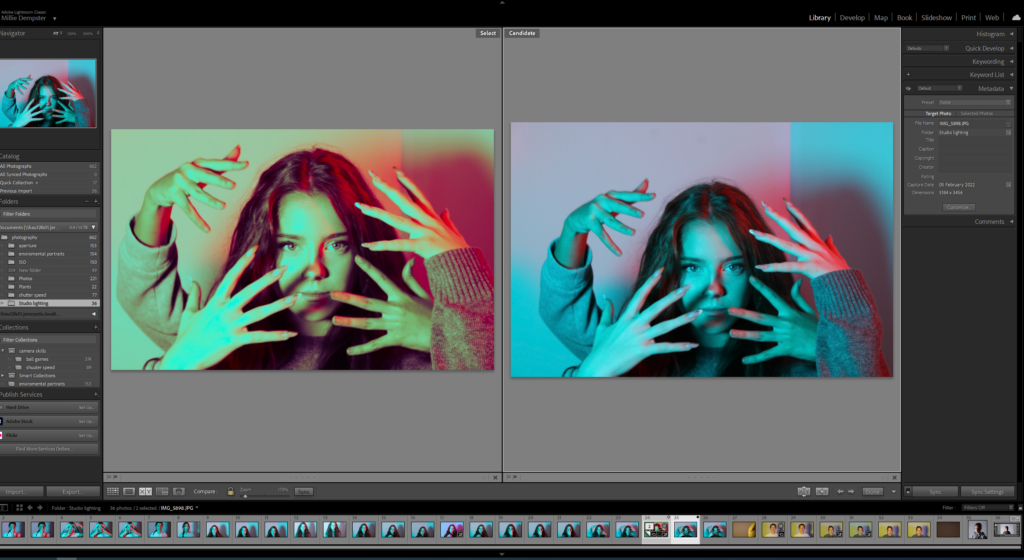
raw photos –


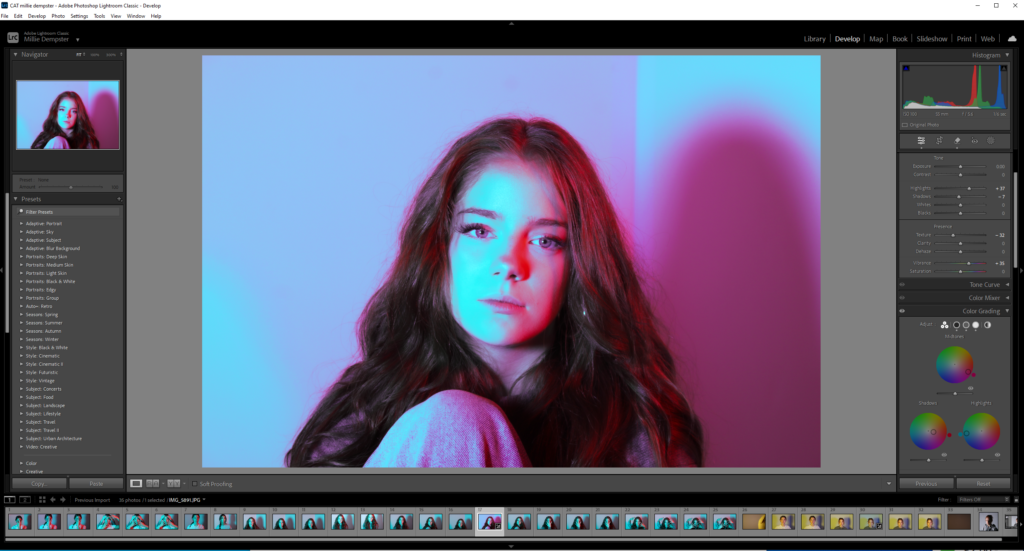
edited experiment’s –
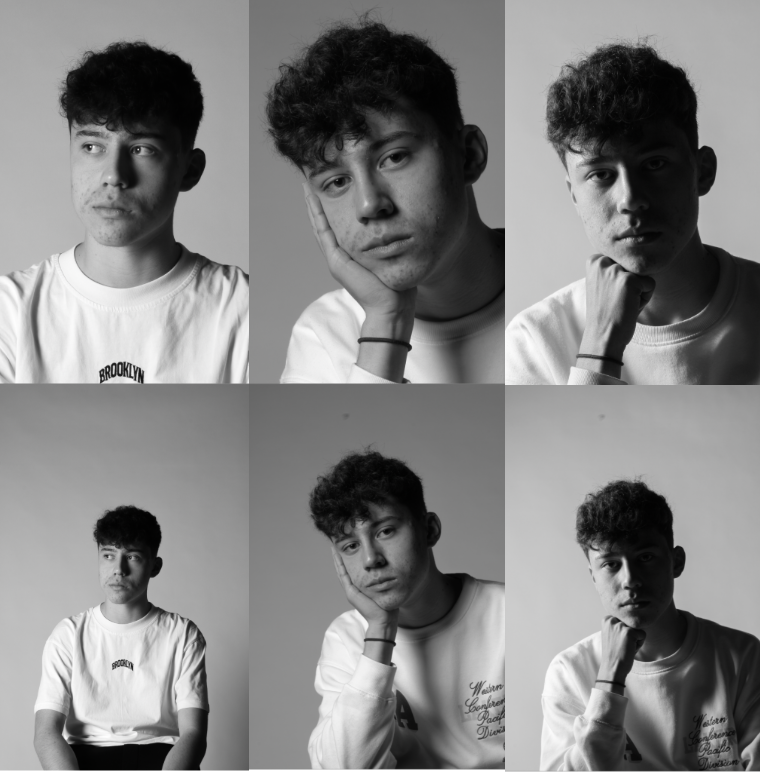
final photos –
i chose these photos because
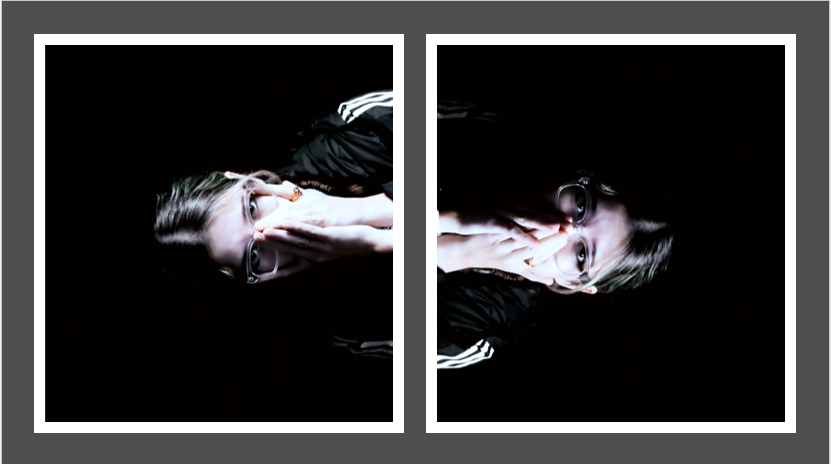
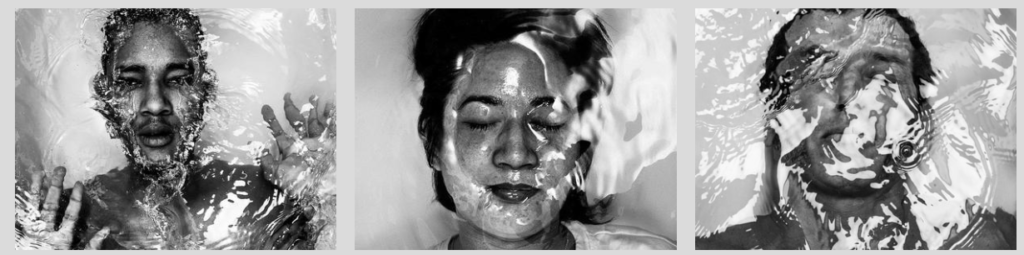
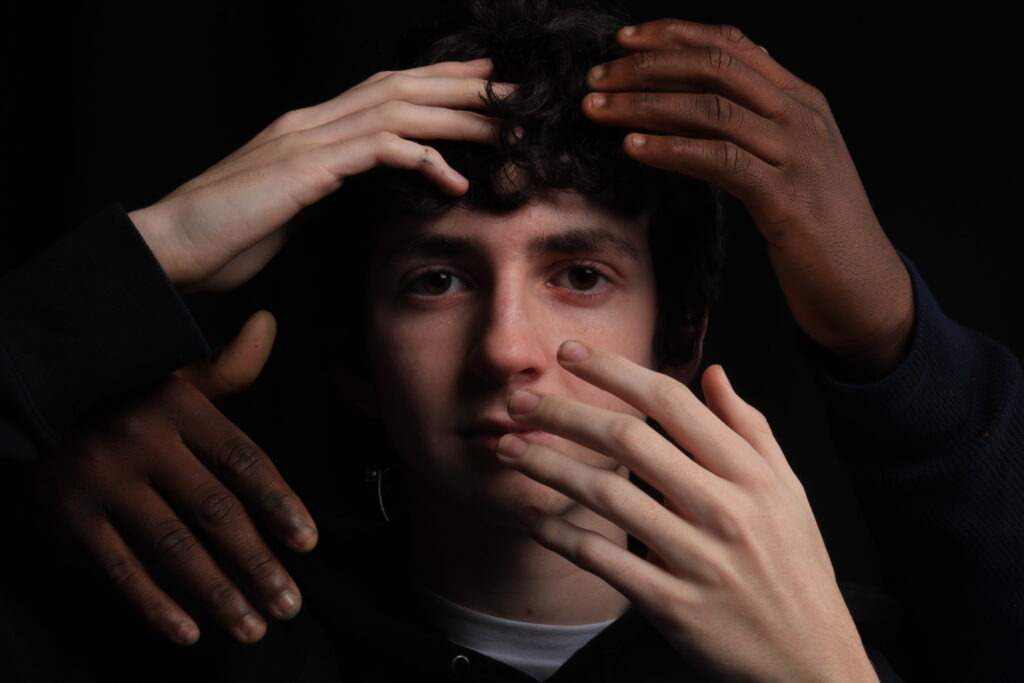
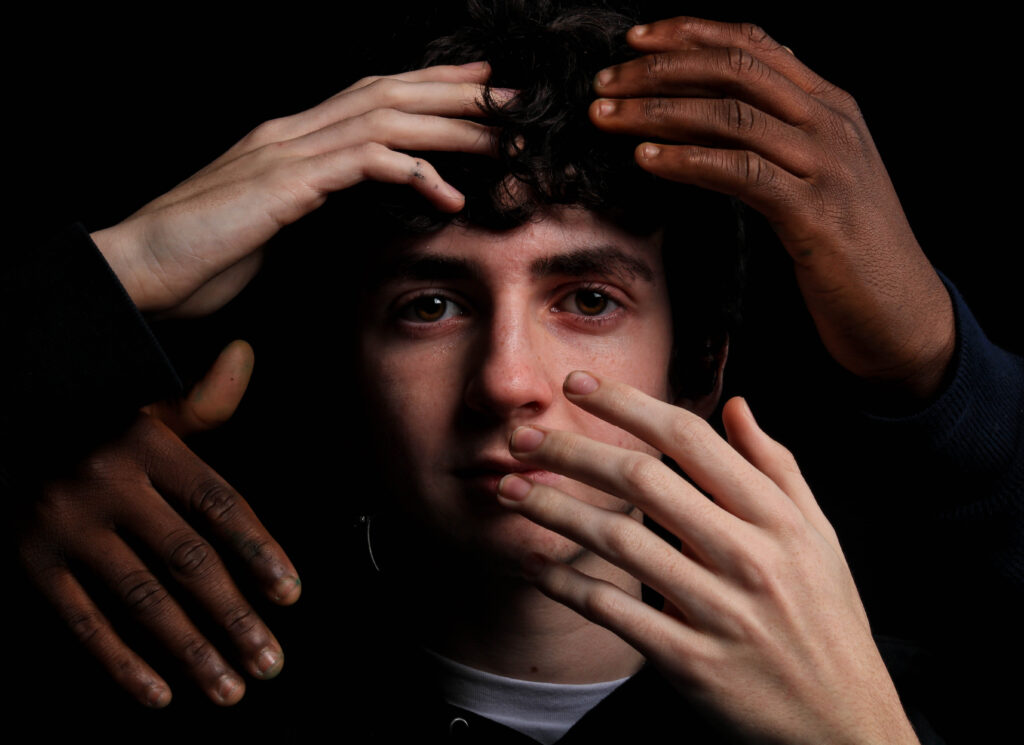
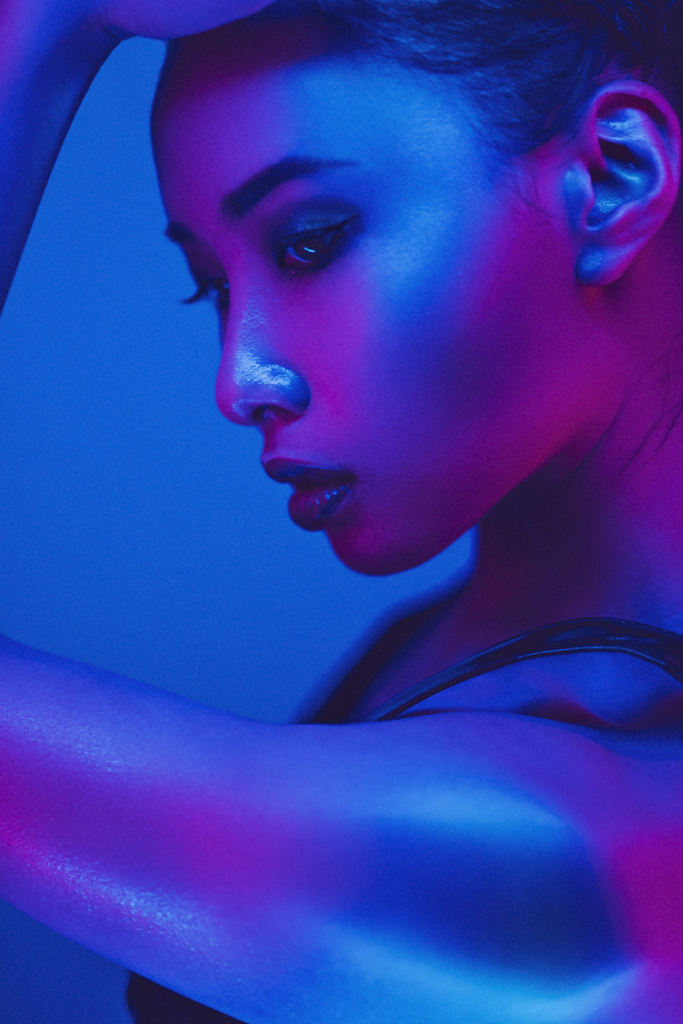
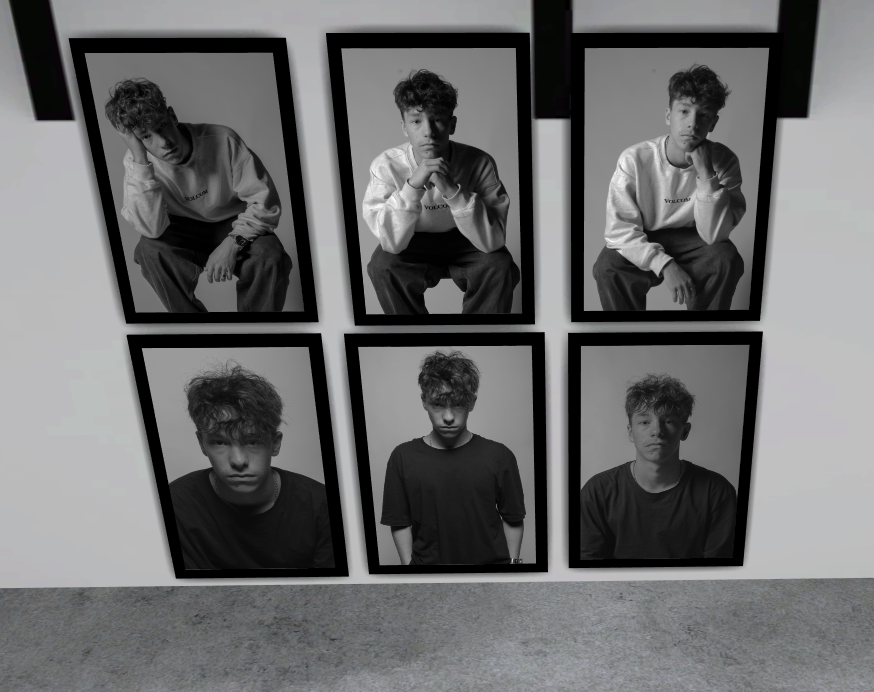
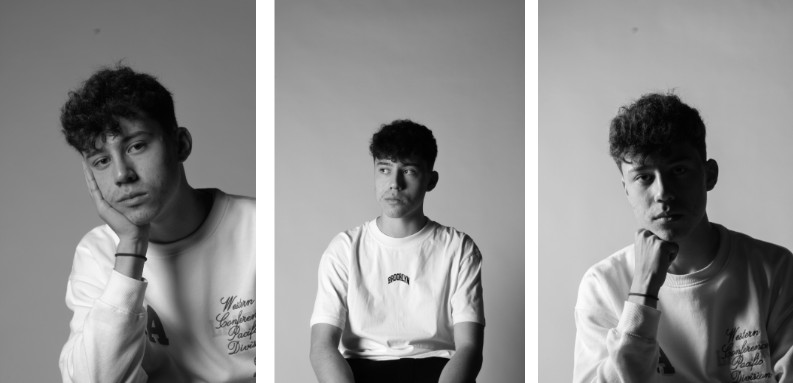
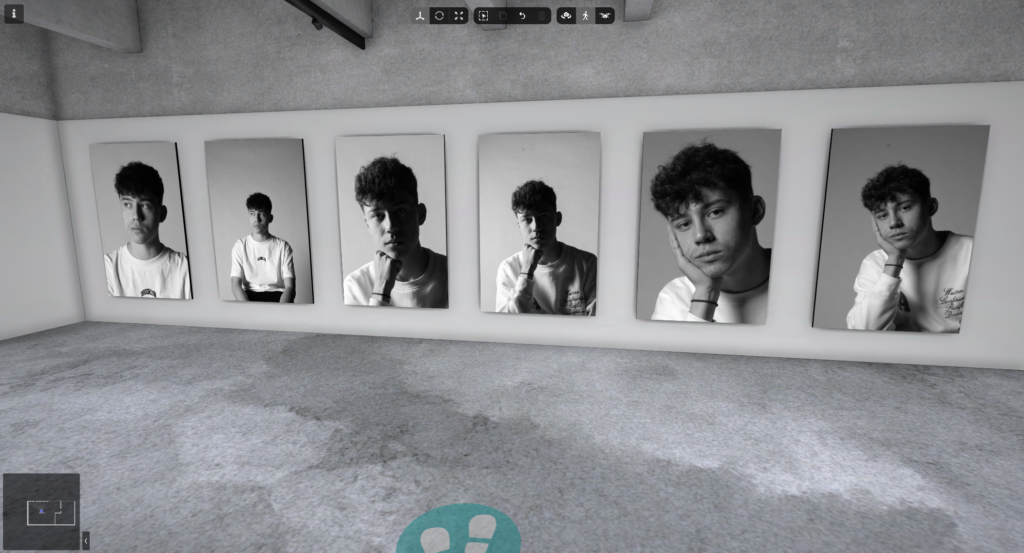
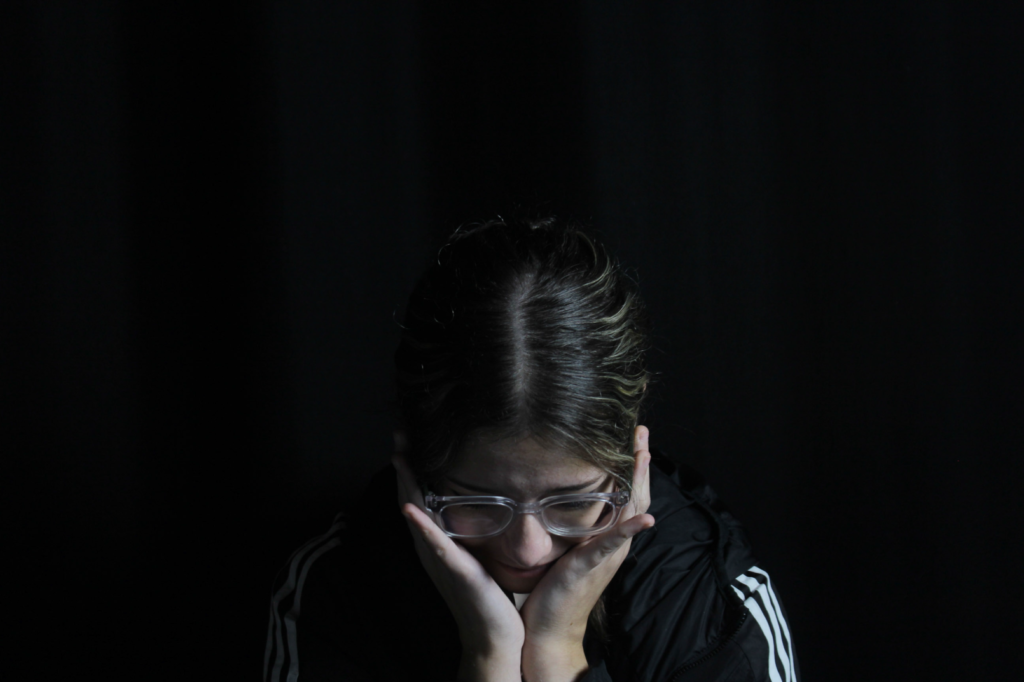
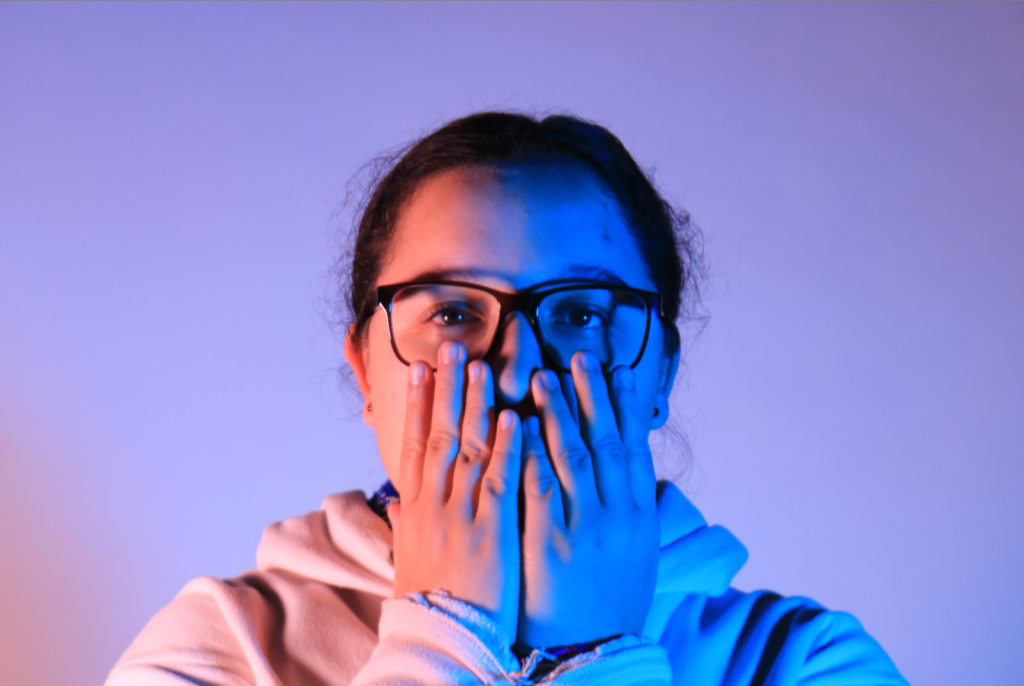
visual gallery –


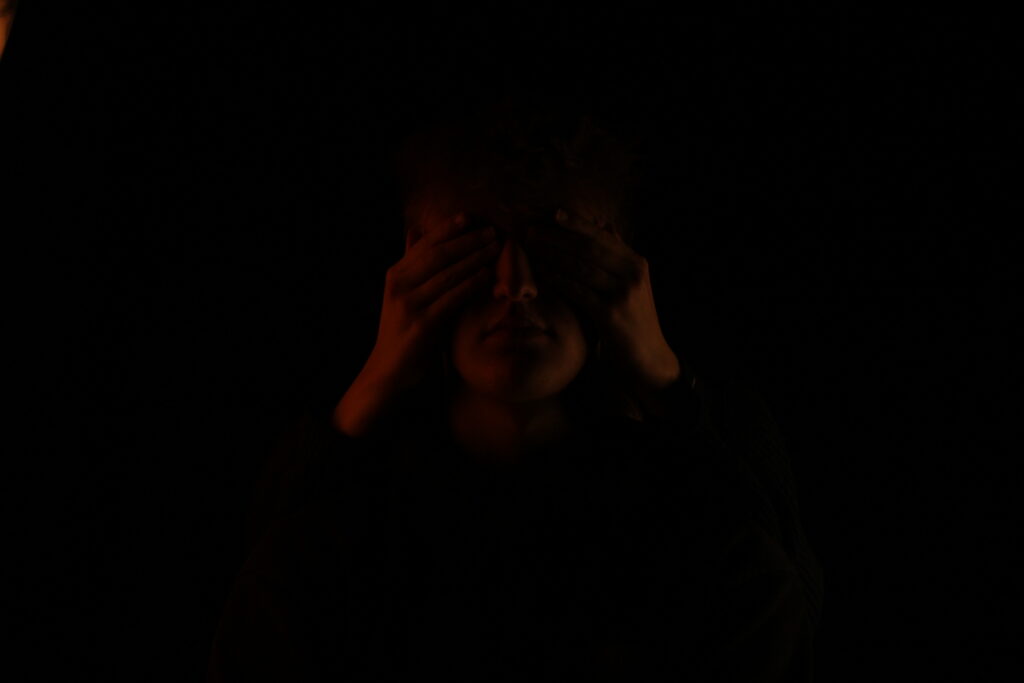
using this virtual gallery made me realize that I could change from horizontal to vertical, which vertical shows the top photos to be hiding her emotion’s and the top one showing her screaming out what’s been hiding inside. from doing this improves the took of the display of the photos in the gallery.