Artist Research – Mark Duffy
Mark Duffy is a commercial photographer who brings over a decade of graphic design experience to his photography work.
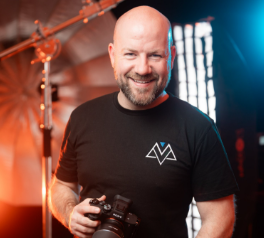
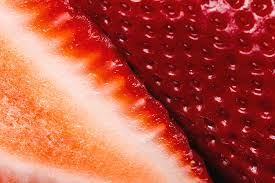
Some of his work involves close up macro photography of fruit, using effective compositions to highlight different textures on different fruits.
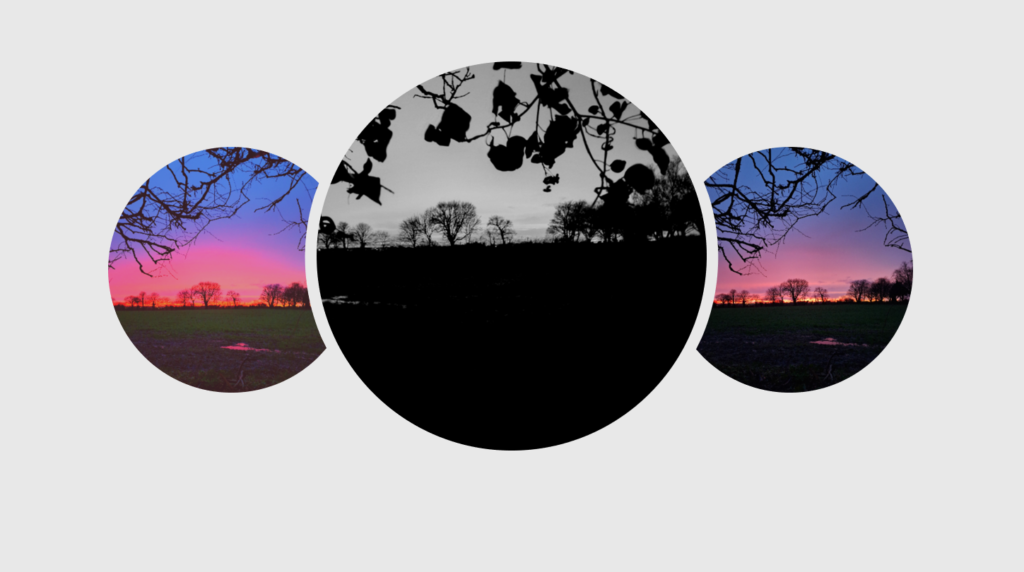
My Photoshoot
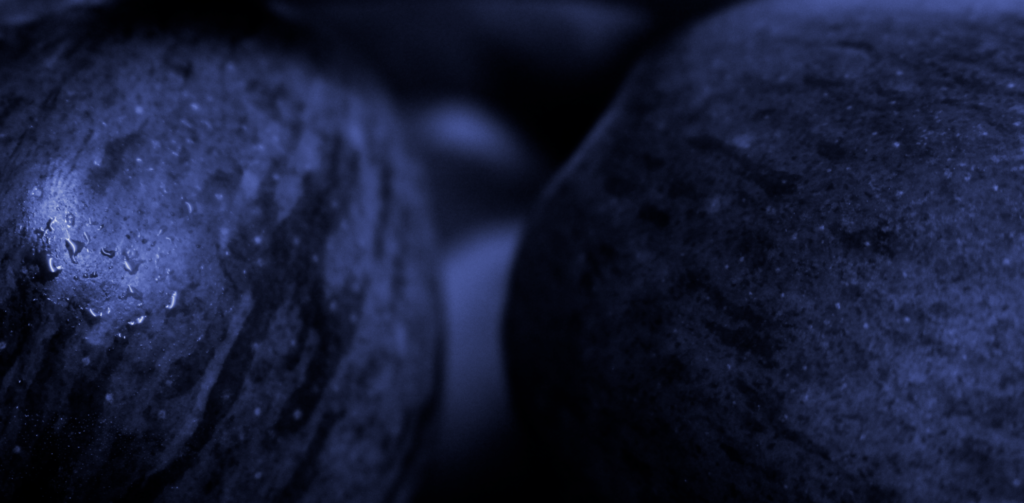
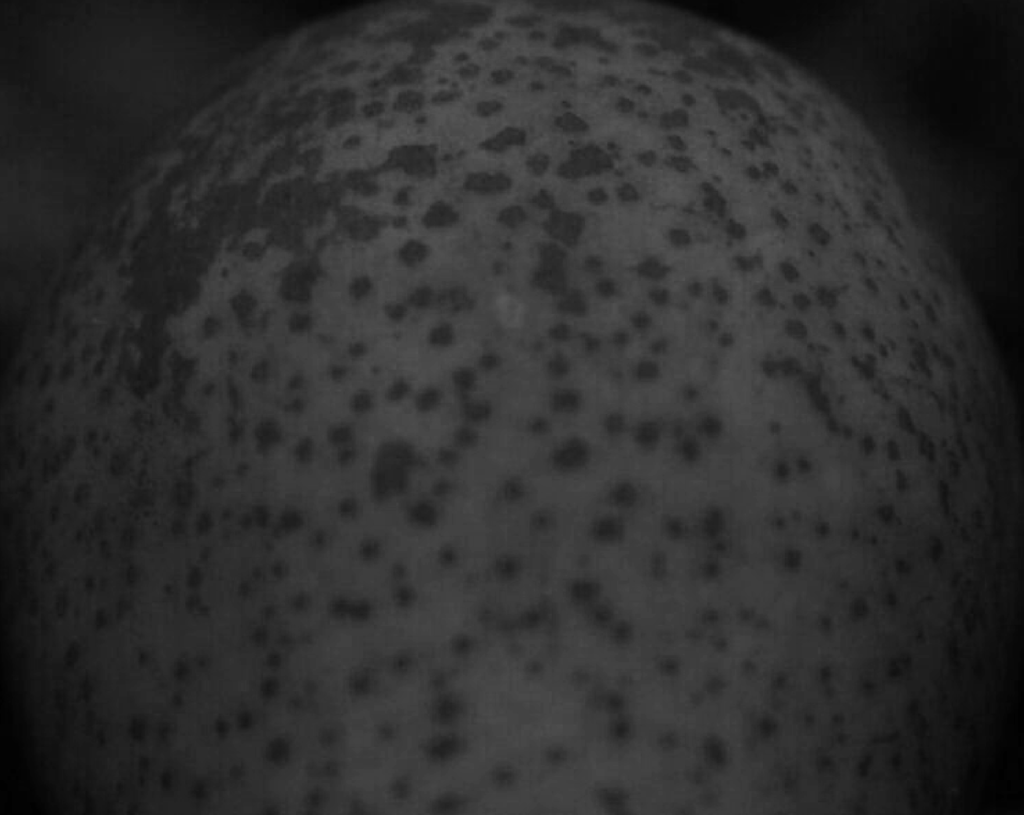
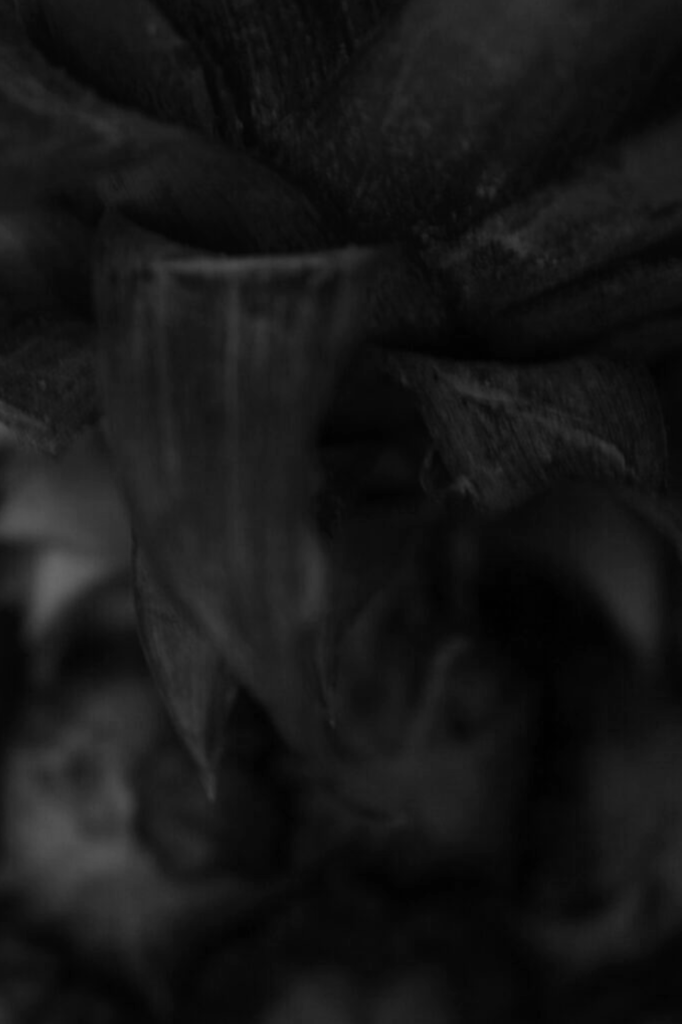
For my photoshoot on texture, I decided to photograph a wide variety of fruit and experiment with their different textures to create a range of unique, interesting images. By taking straight-on, zoomed in images similarly to Mark Duffy I aimed to highlight texture using specific compositions as well as creating clear differences in tones between different fruits.
Overall, some photos were underexposed whilst I was trying to adjust the settings manually to cope with the room’s artificial lighting but for the majority of the photos I feel I successfully captured effective images focusing and highlighting the unique textures of each individual fruit. I also used straight on shots to focus solely on the textures presented in each image, making use of formal elements such as lines and space to make them stand out further.
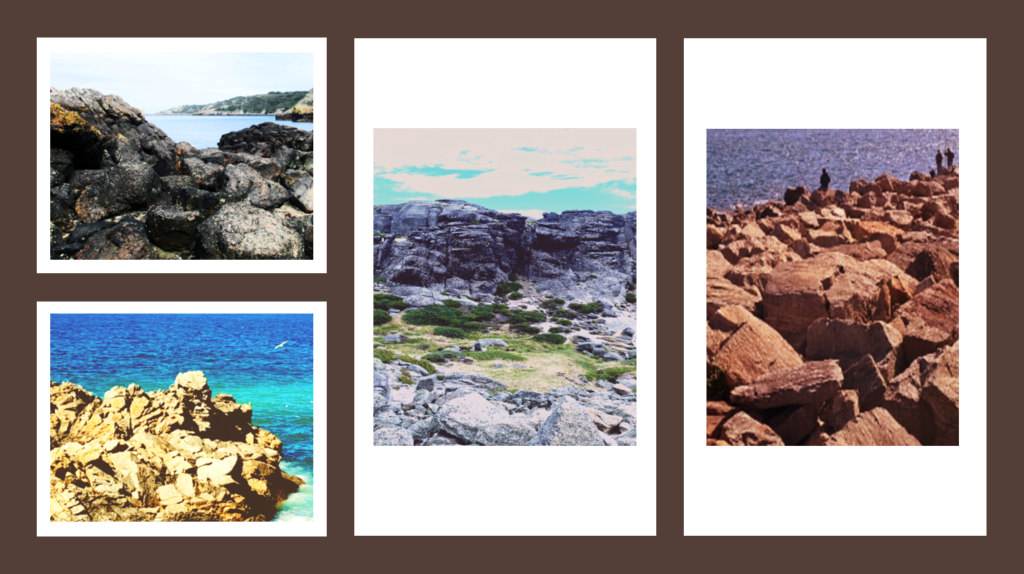
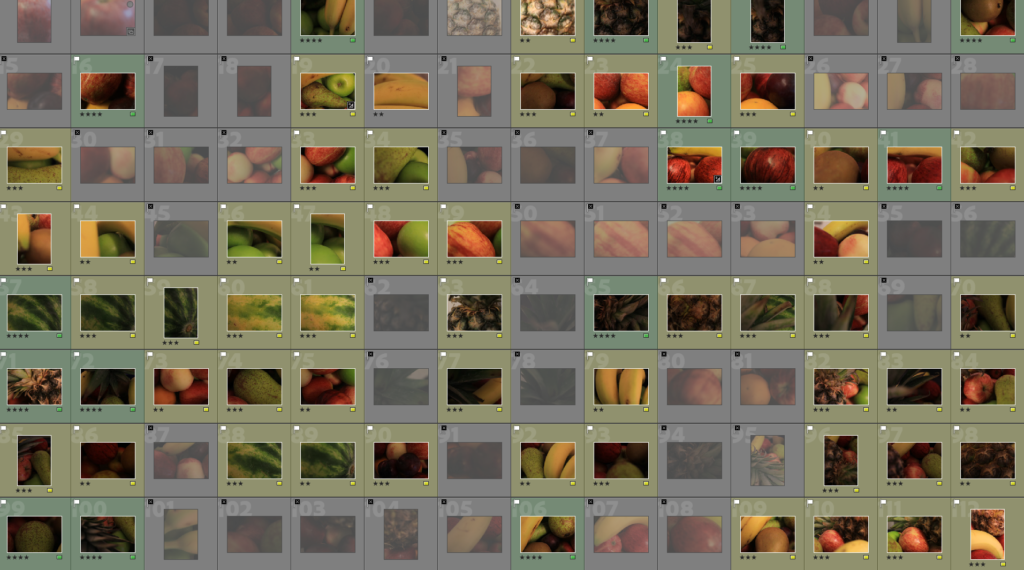
Some of my better photos


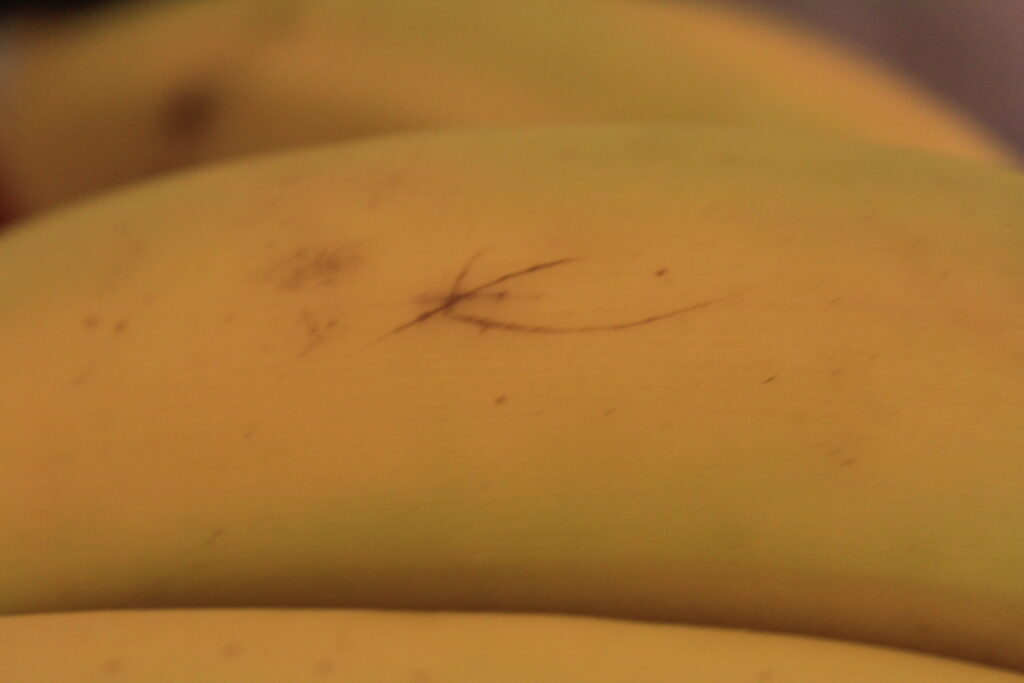


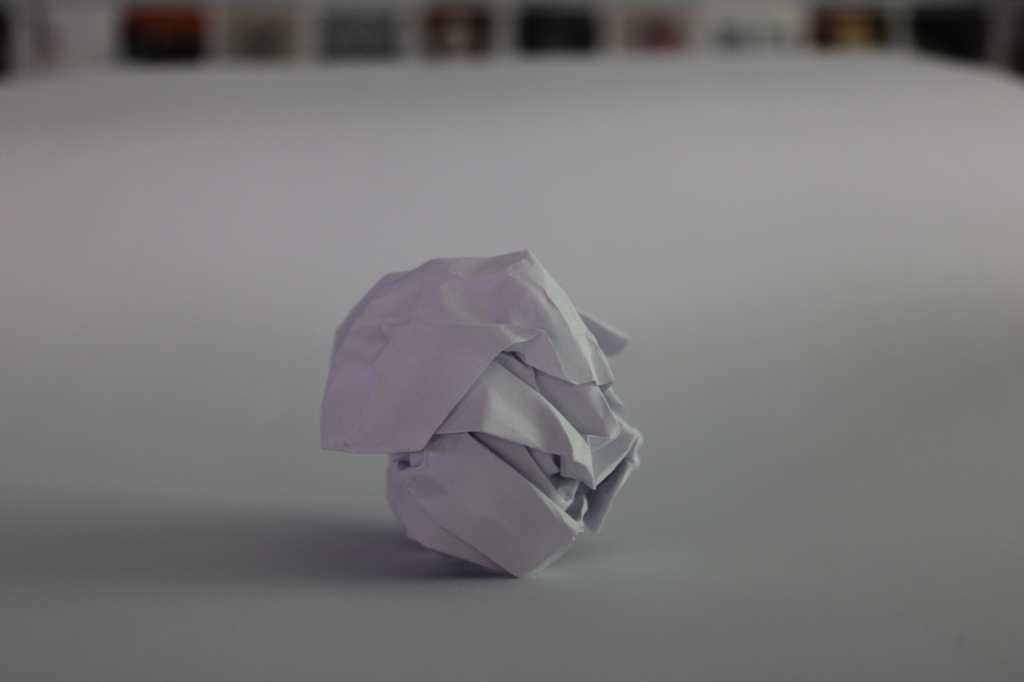
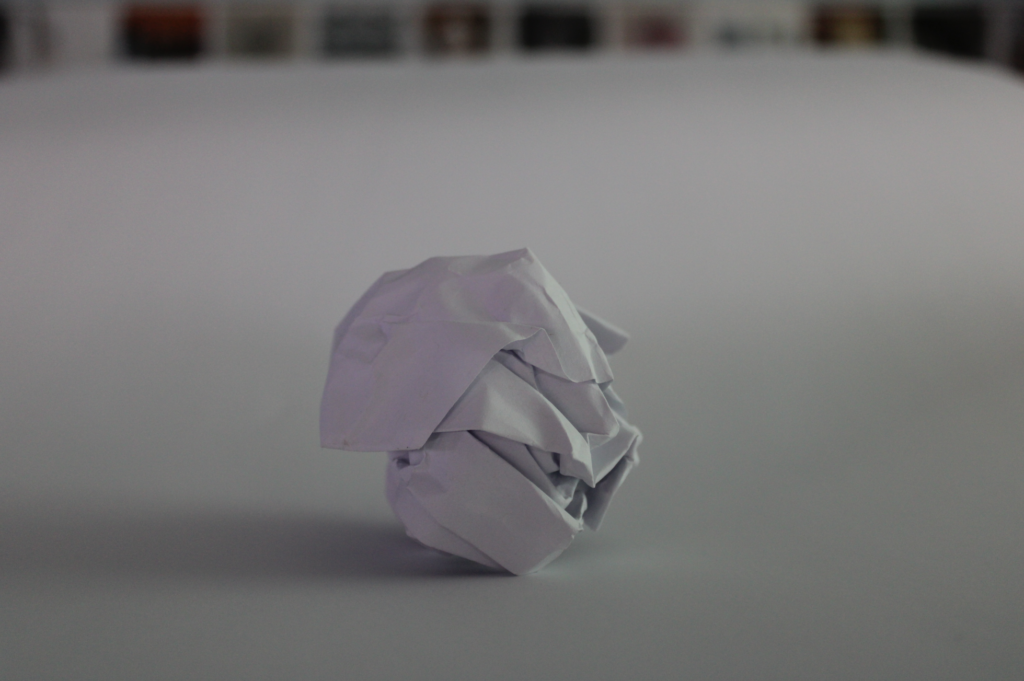
The raw photos shown above I believe have captured texture very effectively, occasionally using a soft focus to highlight certain textures as well as most textures being in the foreground combined with a low aperture to make the textures stand out even further as the image’s main focal point.
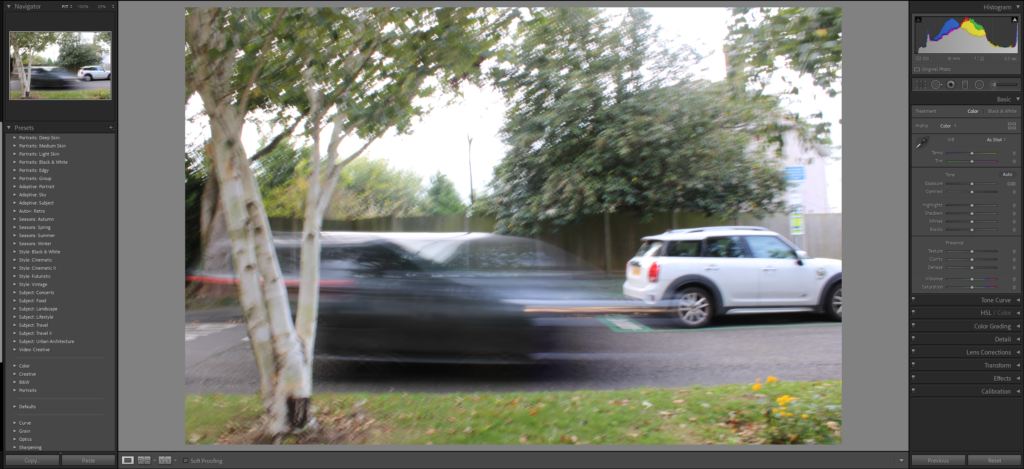
Image Editing/Experimentation
First editing phase:
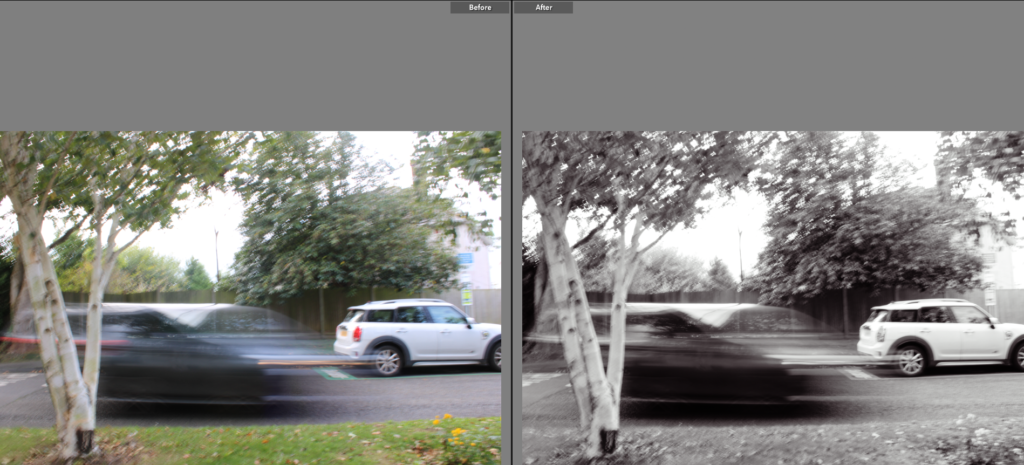
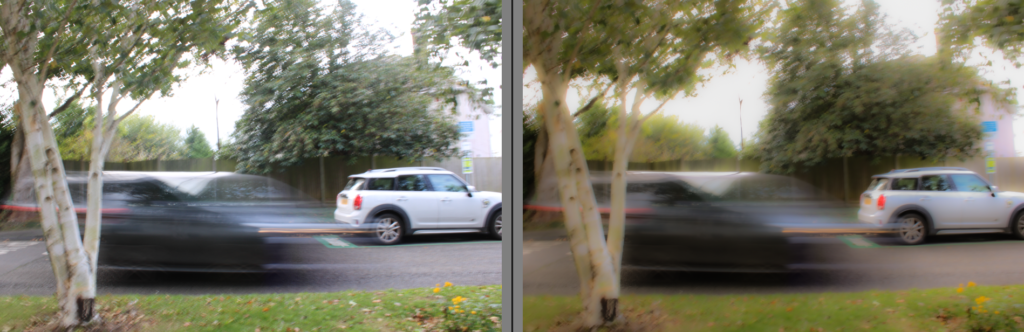
Second editing phase

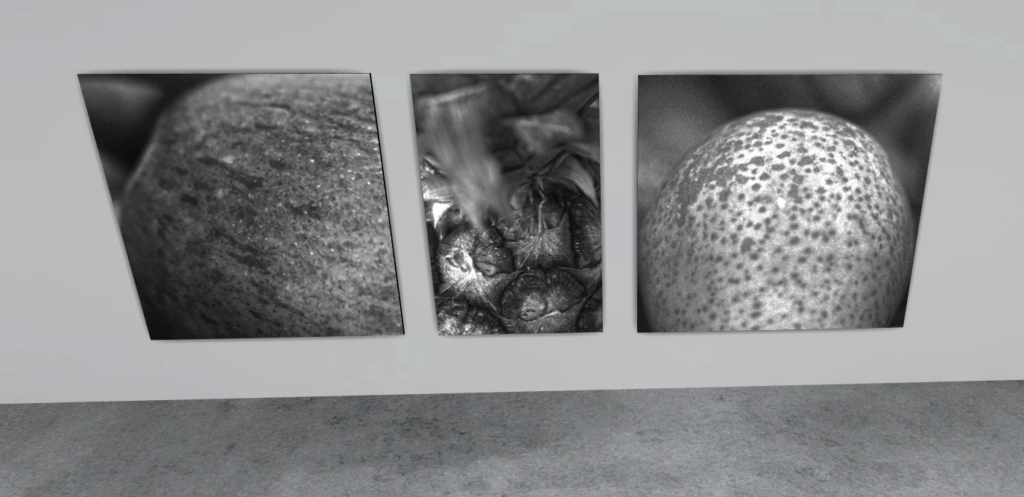
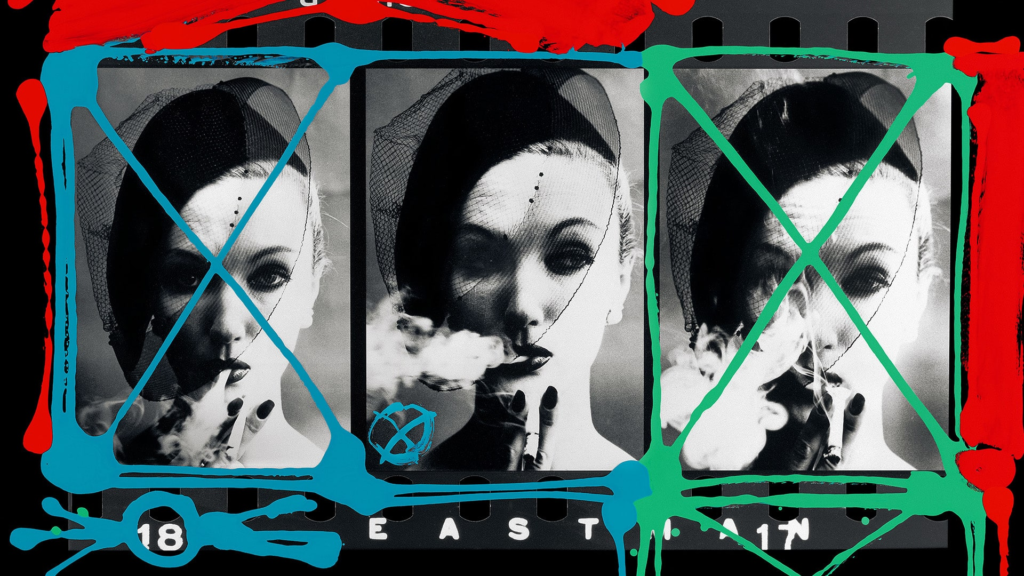
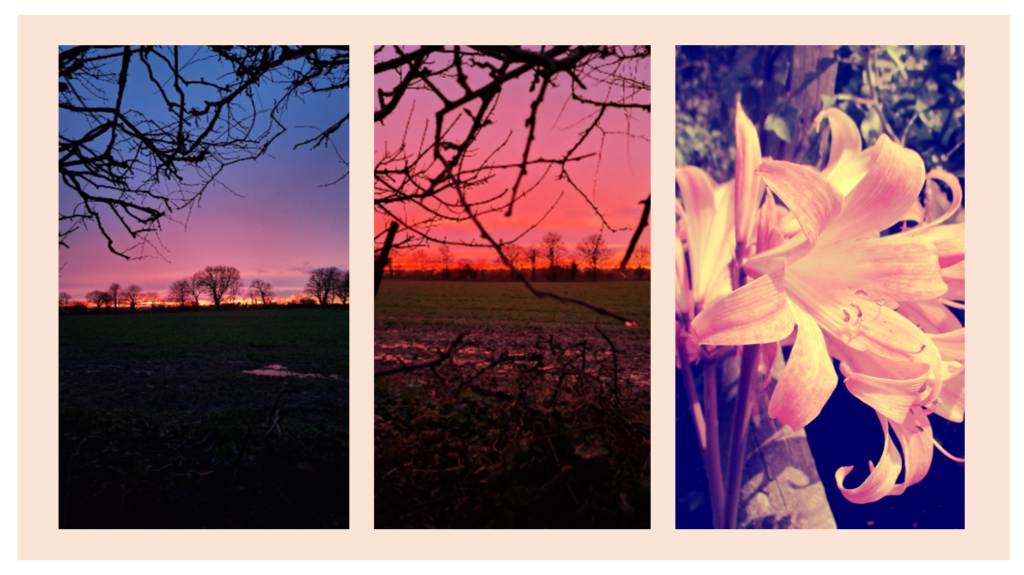
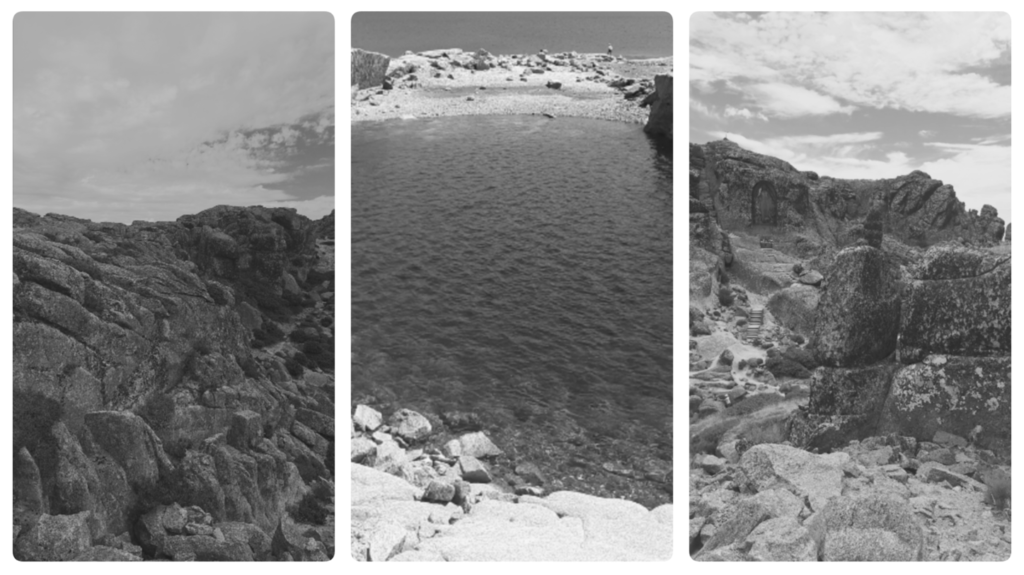
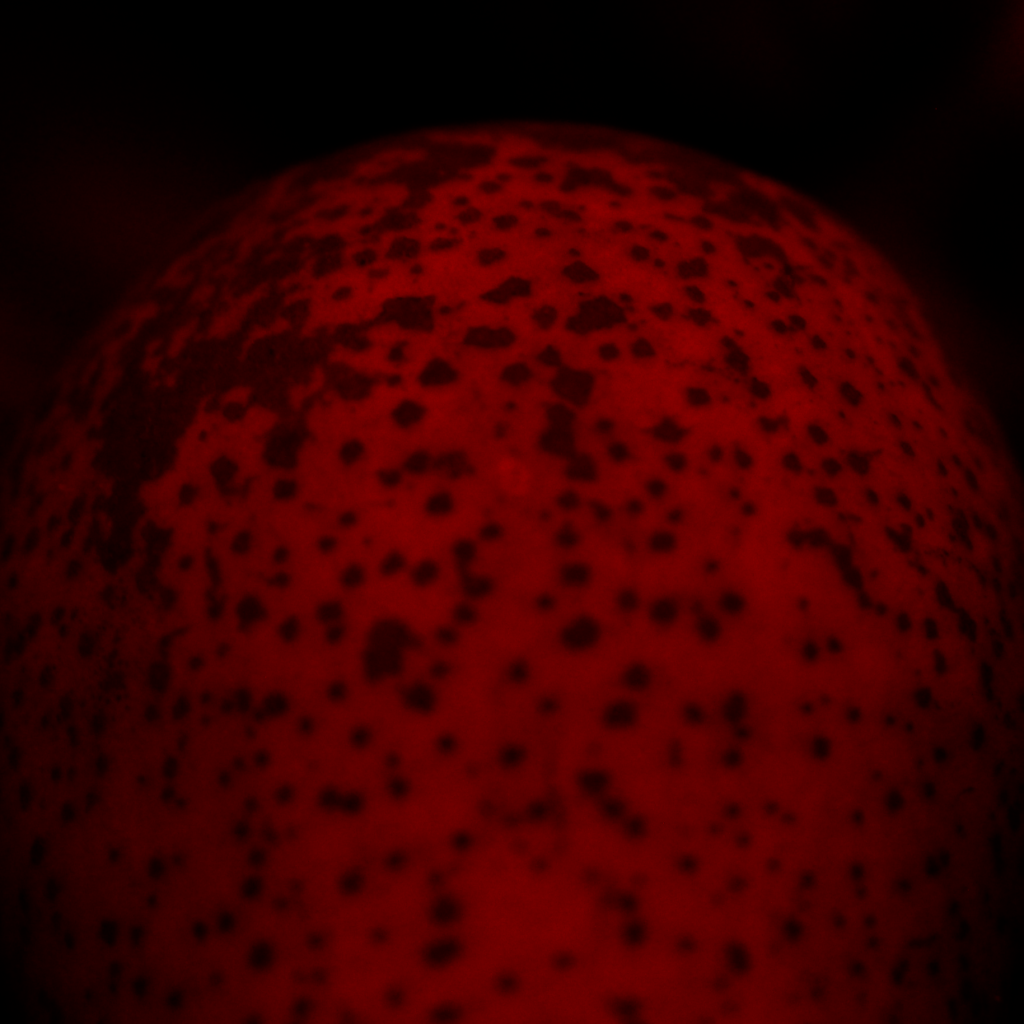
Final fruit photos


Above are my final 3 photos, presented in a triptych. I decided to crop each one similarly to the point where it removes most unnecessary negative space to focus solely on texture, as well as making them all black and white to remove colours in order to further develop the focus on texture since this was my main intention behind the photoshoot. Finally, after editing each image in Photoshop, I used Lightroom’s develop mode to manually increase presence of texture which I found extremely effective since now all my photos have a strong resemblance to Mark Duffy’s work with their minimal negative space and strong focus on textures.
Evaluation and Comparison
Above is one of my final images compared to an image from my inspiration, Mark Duffy. I think I managed to successfully take inspiration from his work and implement it into my own photos, seen clearly by both images being straight-on shots of fruit highlighting texture – however, mine has some negative space around the subject (in contrast to Duffy) and is also in black and white which I did since I think the removal of colours cuts down on distractions to focus solely on texture as well as creating a more meaningful distinction and contrast of light and dark tones. Both photos also demonstrate clear use of formal elements, with both having subtle lines to highlight the textures as well as a clear range of light and dark tones to create intrigue in the photo.
Presentation in ArtSteps