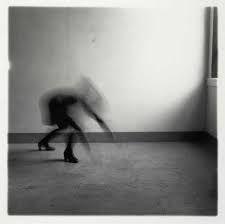
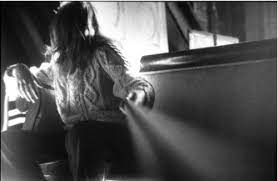
All posts by Polly O'Connor

Filters

Author:
Category:

Texture

Jaroslav Rössler was a Czech photographer. He was a pioneer of Czech avant-garde photography and a member of the association of Czech avant-garde artists Devětsil. Today he is considered an important exponent of Czech modern photography and avant-garde art. He often photographed objects against stark backgrounds, or used long exposures, to reduce subjects to their elementary lines and geometric shapes.

These are two of Jarvoslav Rosslers famous photos with paper.

In the first photo he uses paper to create geometric shapes using the shadows and the light. the lines are straight and sharp causing the photo to look neat and put together by him.

However the second photo looks more natural and has no significant shape, you wouldn’t be able to tell what it is unless someone told you.

Formal elements.
LINE:

Objects in the photograph that act as lines, they could be straight curvy, thick or thin. They could create different effects on the photograph.

this is an example of line

SHAPE:

Shape elements are often found in photography in the form of patterns. There are two basic types of shapes: geometric or regular and organic. Geometric shapes are – circle, square, triangle ect.

This is an example of when shape is represented in a photo

SPACE:

positive space is the actual subject while negative space (also called white space) is the area surrounding the subject. E.G a boat in the middle of the sea.

This is an example of when space is used in a photo, it highlights the tree as that is the boldest part of the photo

REPETITION

Repetition in photography refers to the technique of integrating recurring elements, patterns, or themes in a composition to produce a sense of rhythm and balance in an image.

In this photo, the repetition of the pillars helps makes dramatic rhythm

TEXTURE

texture helps role in adding depth and a tactile dimension to images by emphasizing the surface quality of the subject.

The detail/texture of the lizards skin makes the photo have more depth, as the image is highly focused.

COLOUR

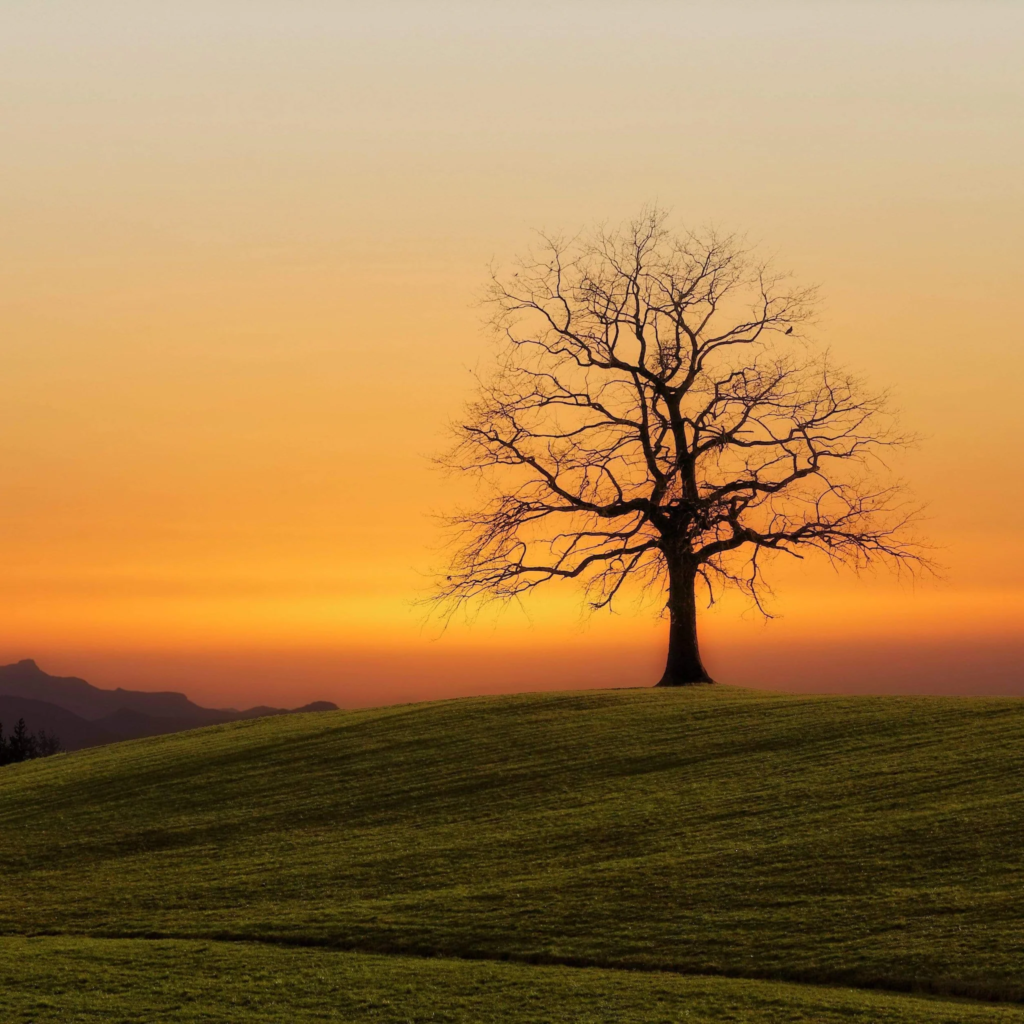
Colour in photography plays a major role in composition, affects balance, and determines the weight of visual elements. Bright colours, for example, are perceived as happy, fresh, and joyful. Dark colours may evoke sadness, fear, or repulsion.

This photo of a sunset is really nice to look at as the many different colours energise the photo. The composition in this photo helps create the mood. it also creates a lot of visual contrast.

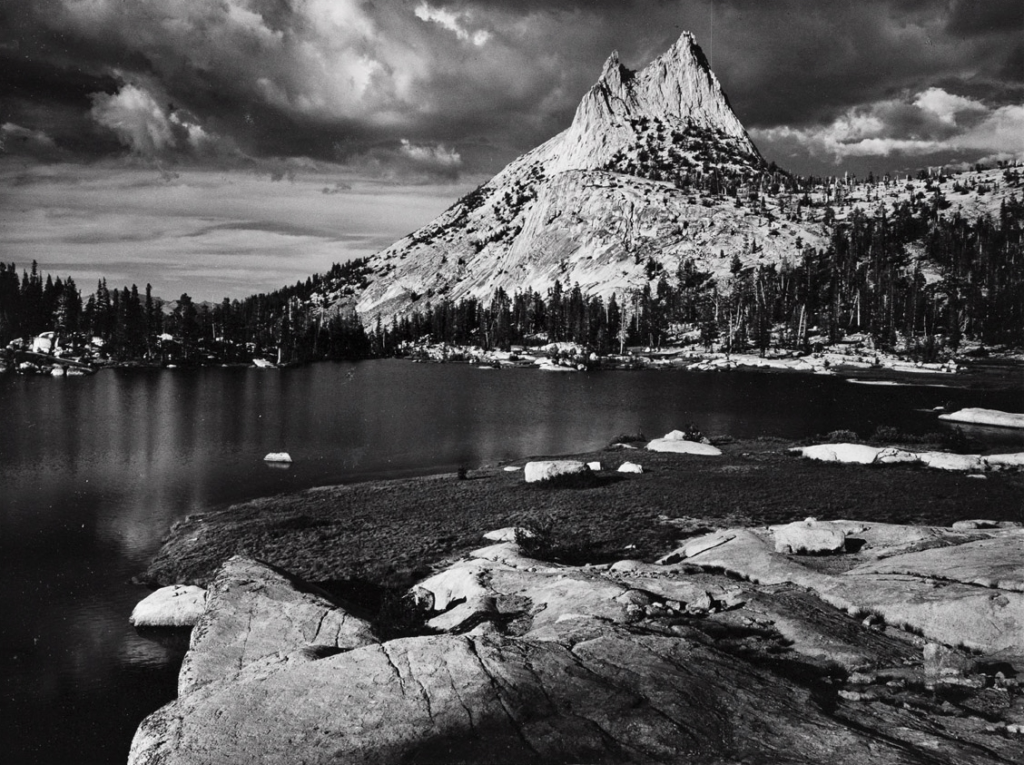
In any painting, photograph or design, the area of highest contrast between light and dark will always demand maximum attention.

As this photo would also look good in colour, the tone makes a nice silhouette of the horse and the tree, it helps highlight them in the photo. The tone also creates visual interest to engage the viewer.

My paper photoshoot

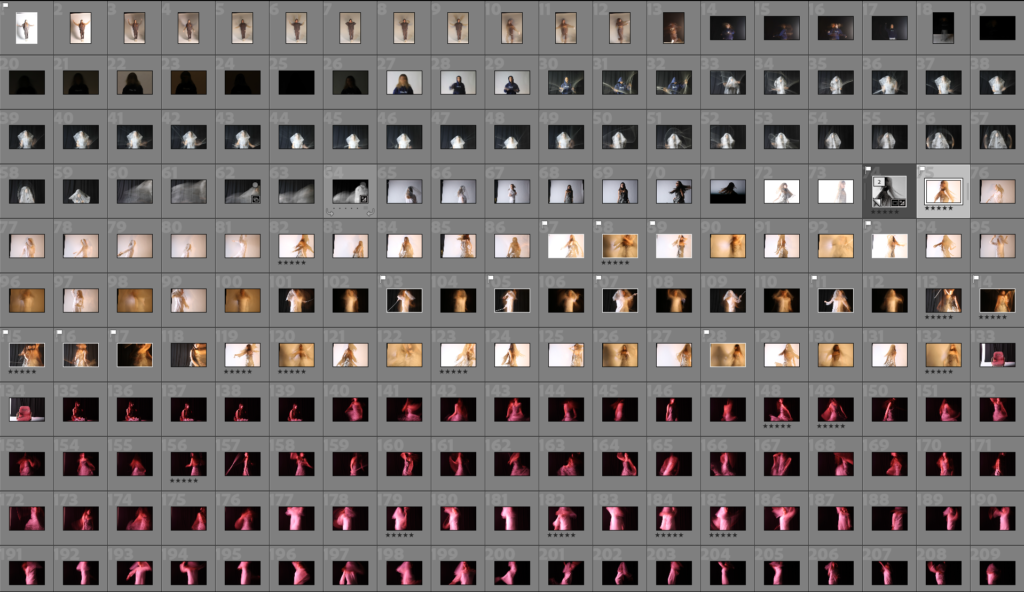
This is my contact sheet. I’ve colour coded it so I can easily find the photos which I prefer. All of these photos are taken by myself. I went into the studio and used the ring lights to help create the shadows which helps add effect to the photo. I used a table with a white background and placed my cut up paper and put it into different shapes.

This is the presets, which helped me quickly auto edit my photos.

Strongest Images:

This is my photos before editing

Editing:

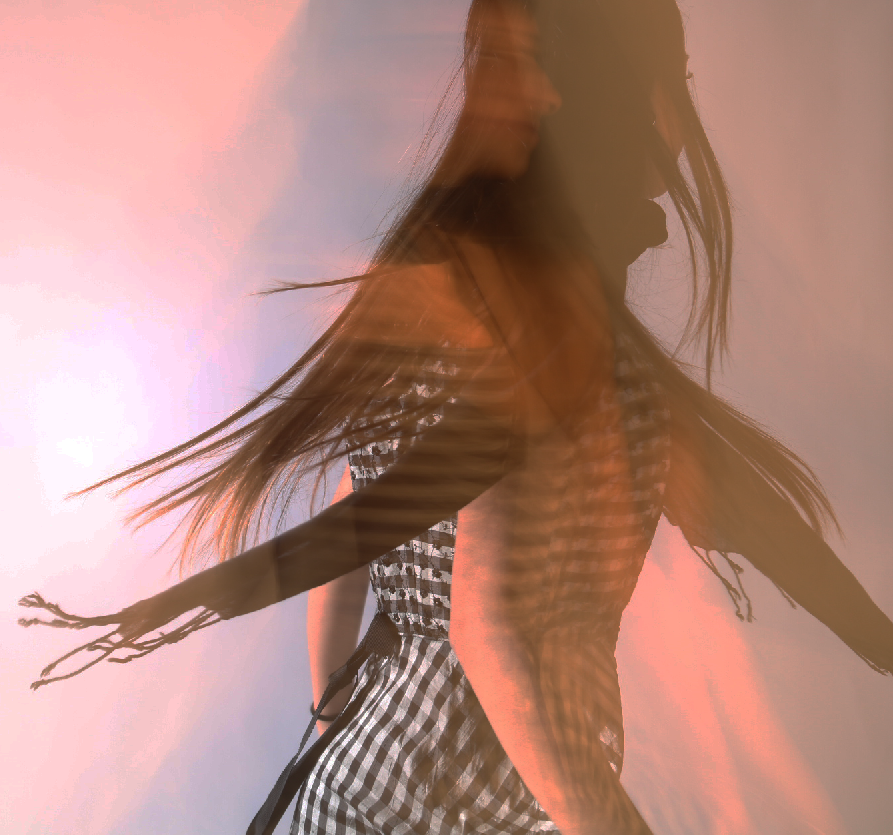
This is the before and after of my soft focus photos. I cropped both of the photos and enhanced the contrast and the tone to make it look better. the tone helps create visual interest and helps set the mood of the photo.

Editing

I edited this photo however I don’t like it as the ISO was too high, making the photo too grainy / too much noise.

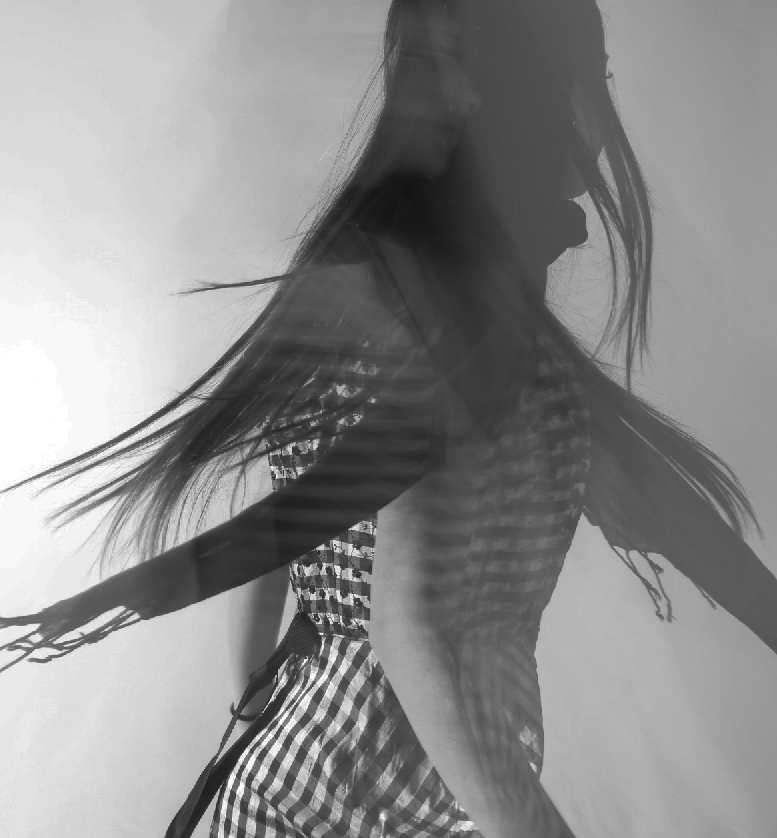
I edited this photo into black and white, therefore next to my other photos they will look neat.

I really like this photo as its clear and has no photo noise. This is before and after editing one of my photos. I have changed the colour of this photo to black and white. The variations in tone in this image also allows the elements of shape, texture, and pattern of objects to be distinguished.

My Final Photos.

TEXTURE

This is my contact sheet for texture, i added them all into Lightroom and edited my favourite ones.

Ive added a collection on Adobe Lightroom and called it natural forms texture.

This is the presets, which helped me quickly auto edit my photos.

I edited this photo 3 different times.

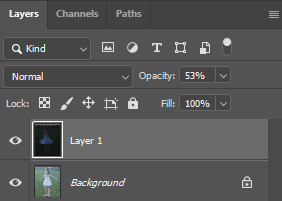
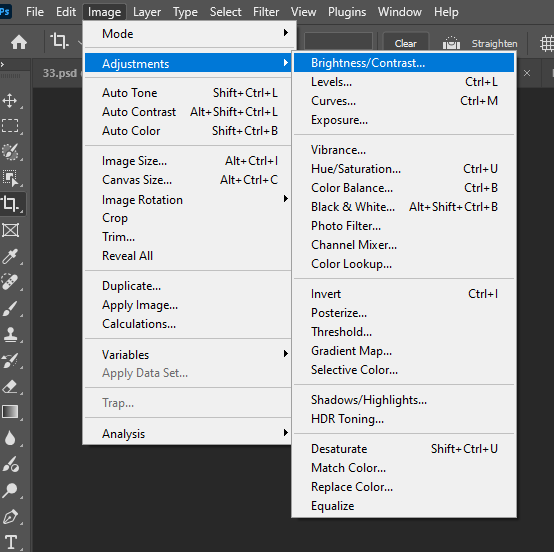
  1. the first photo I added a monotone overlay and then adjusted the brightness and saturation. The black and white stops people from getting distracted by the colour of the photo
  2. I added a gradient map, colour overlay then adjusted the contrast, brightness and saturation.
  3. On the third photo I changed the colour balance and added some blue tones, however it looks quite dark and hard to see the details.

before editing

After editing.

The line and repetition in this photo. The black and white gives the photo lots of depth and doesn’t distract the photo by the colour. however I could have made the ISO a bit too high so I could have lowered it to make the photo more clear. the texture in this photo makes the geometric shapes come more to life.

shutter speed

Fast shutter speed freezes the motion in your image. Fast shutter speed is 1/125 sec or faster. 1/1000 sec is super fast shutter speed. Fast shutter speed lets less light into your camera and will effect exposure making your images darker.

This is an example of a fast shutter speed, the photo is very precise and you can see a lot more detail than you would be able to see with a slow shutter speed.

This is example of medium shutter speed, some parts of the photo are blurred, but some are more focused

A slow shutter speed can help you illuminate a darker scene, as it allows more light through the lens. the slower your shutter speed, the more motion blur your camera will capture whilst shooting a fast moving object.

This photo was taken with a slow shutter speed, in the night with long exposure/slow shutter speed. the photographer would have had to have a steady camera

Eadweard Muybridge

Eadweard Muybridge is best known for his photographic studies of motion of humans and animals, although he was also a pioneer in landscape photography. To capture the first action shots of a galloping horse, he used multiple cameras in different positions. Their shutters were triggered by electricity, enabling a shutter speed of one thousandth of a second. 

This is one of Eadweard Muybridges photos with a high shutter speed, showing a horse galloping. The camera has photographed the moment where all four of the horses legs are not touching the floor.

My own work.

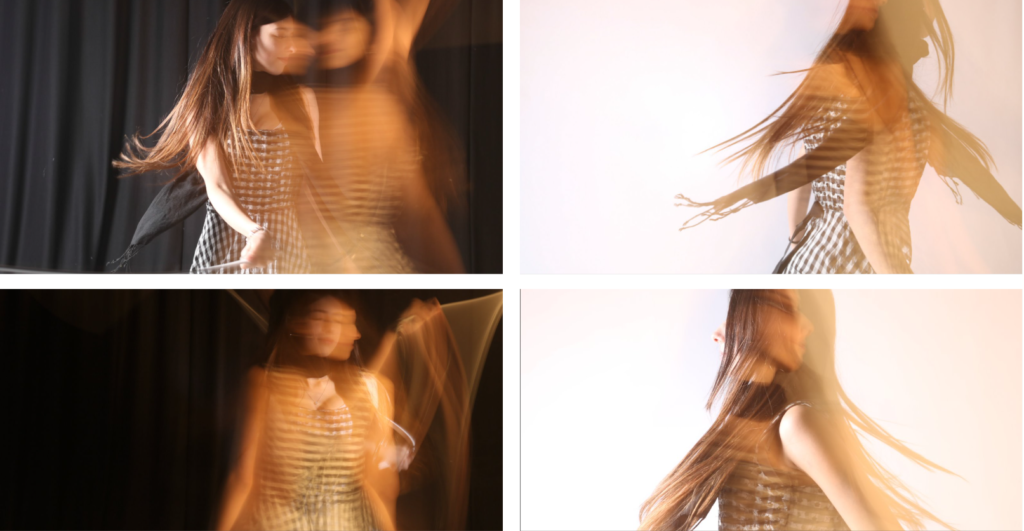
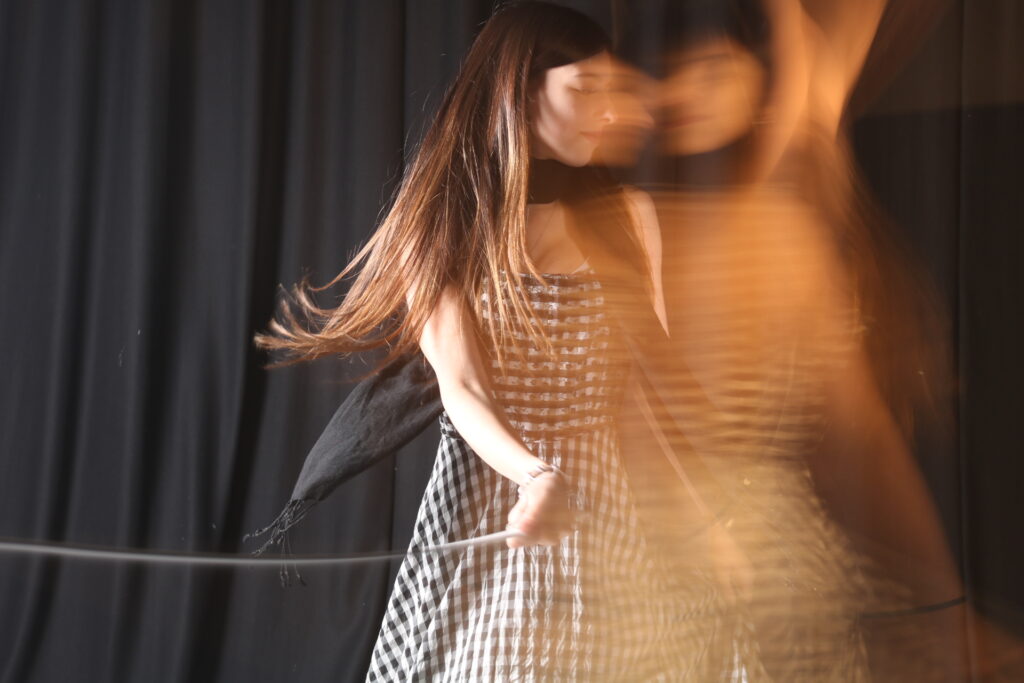
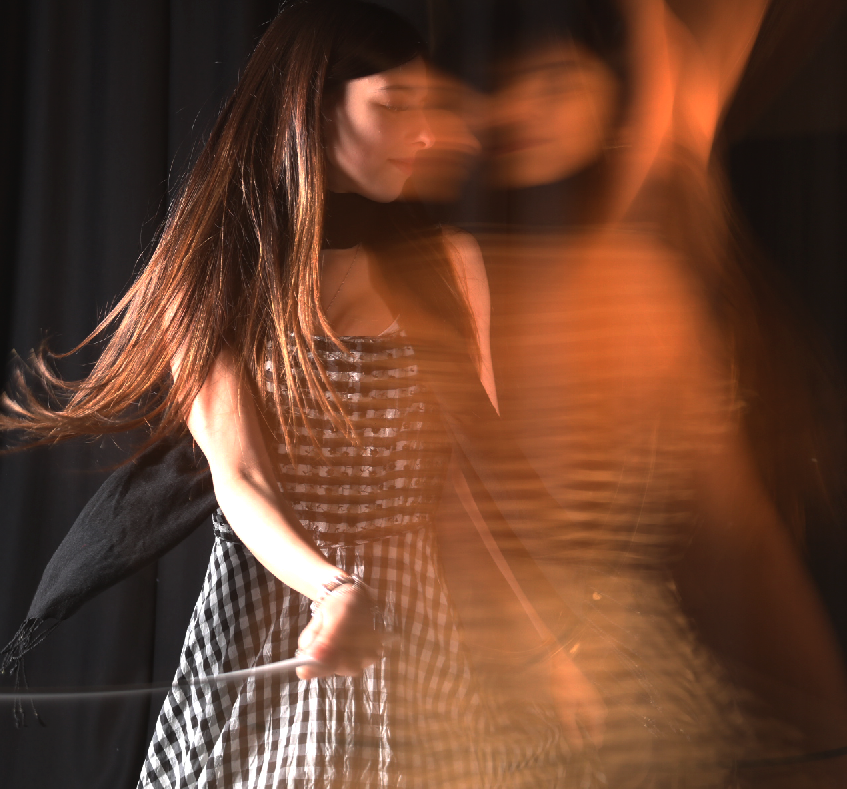
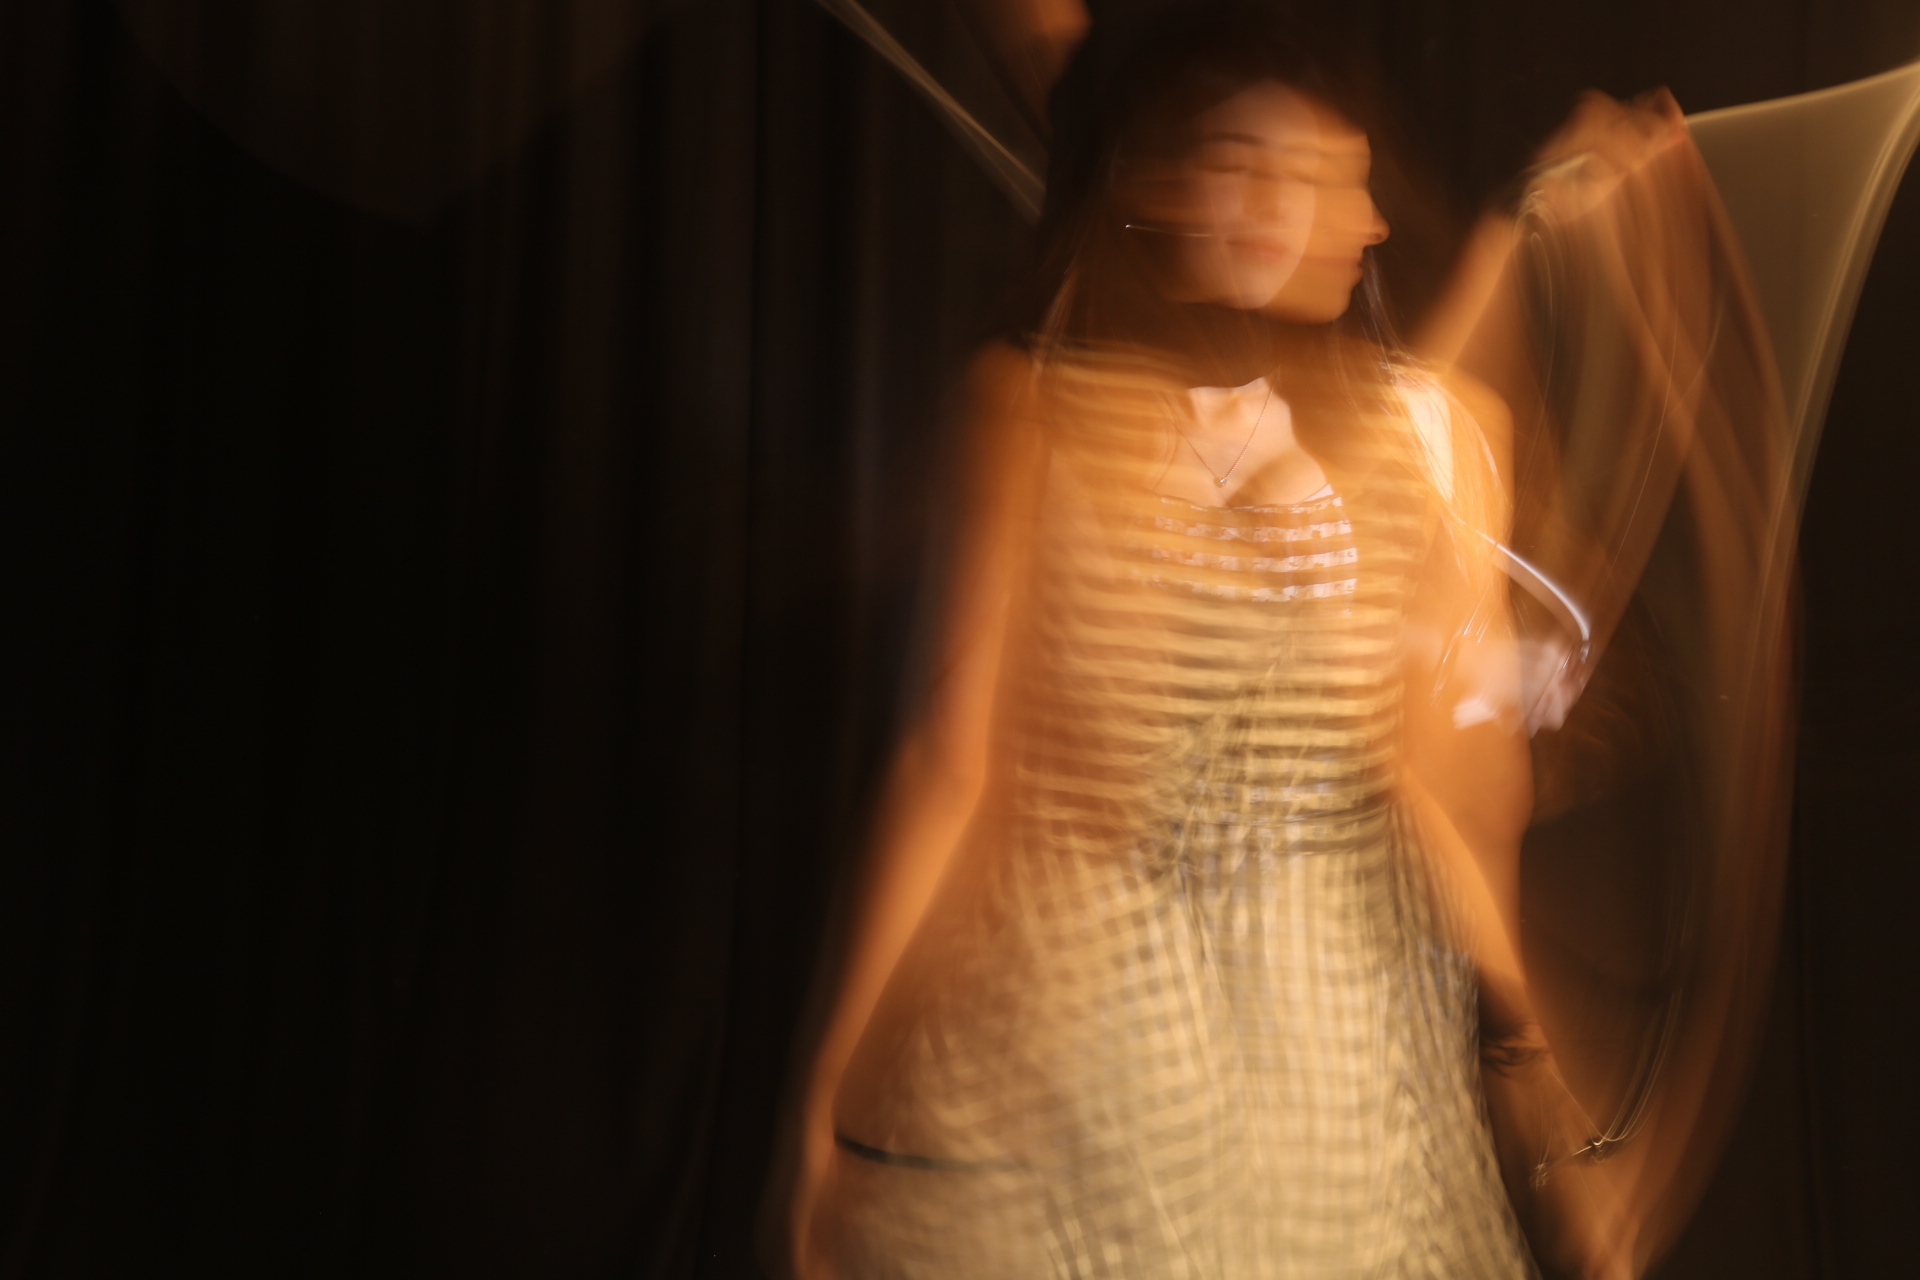
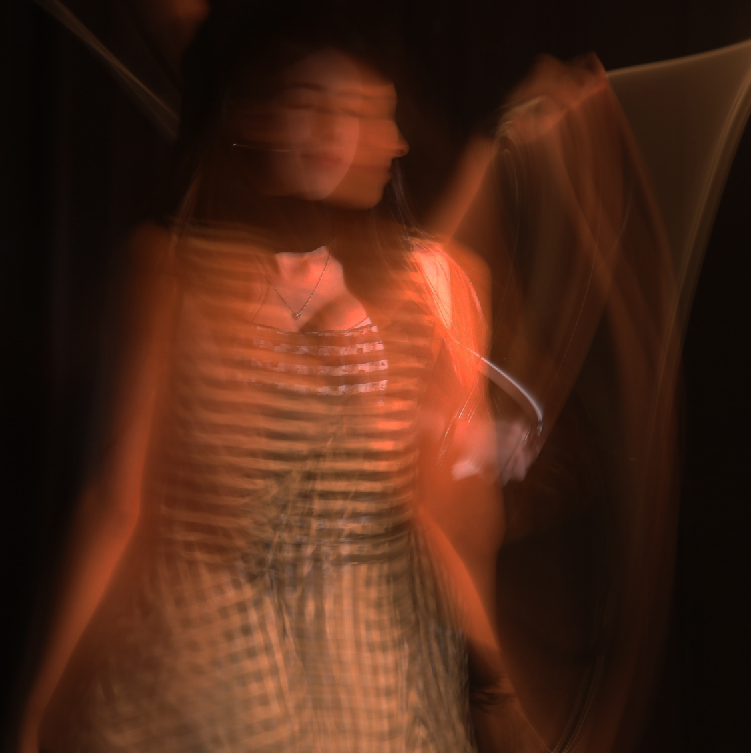
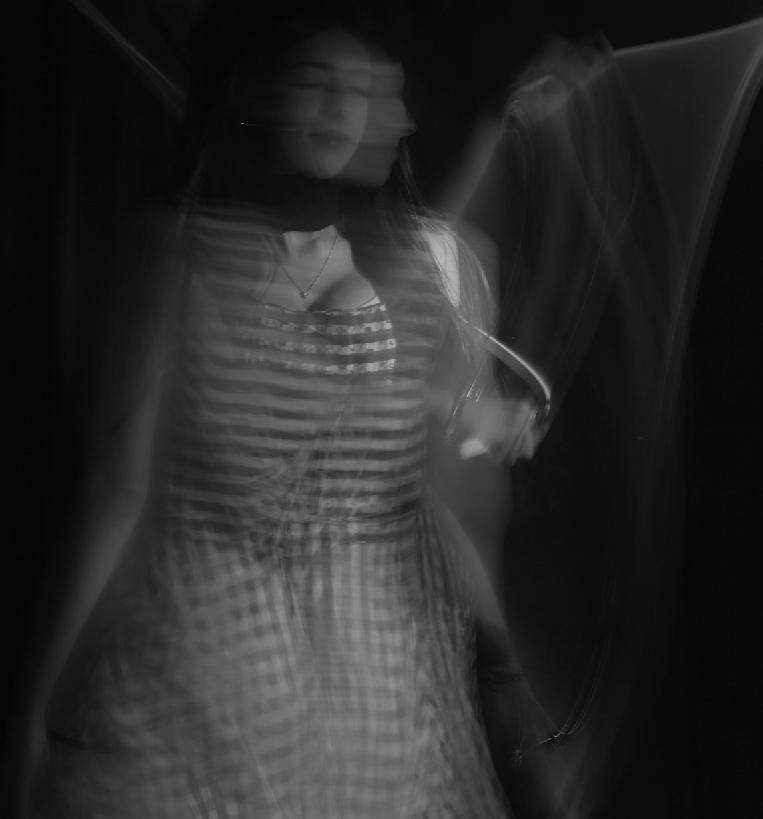
In this photo we used a slow shutter speed in a dark room to capture the lights blurring to make those shapes.

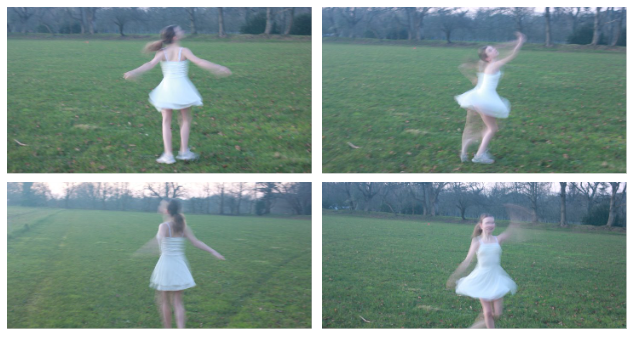
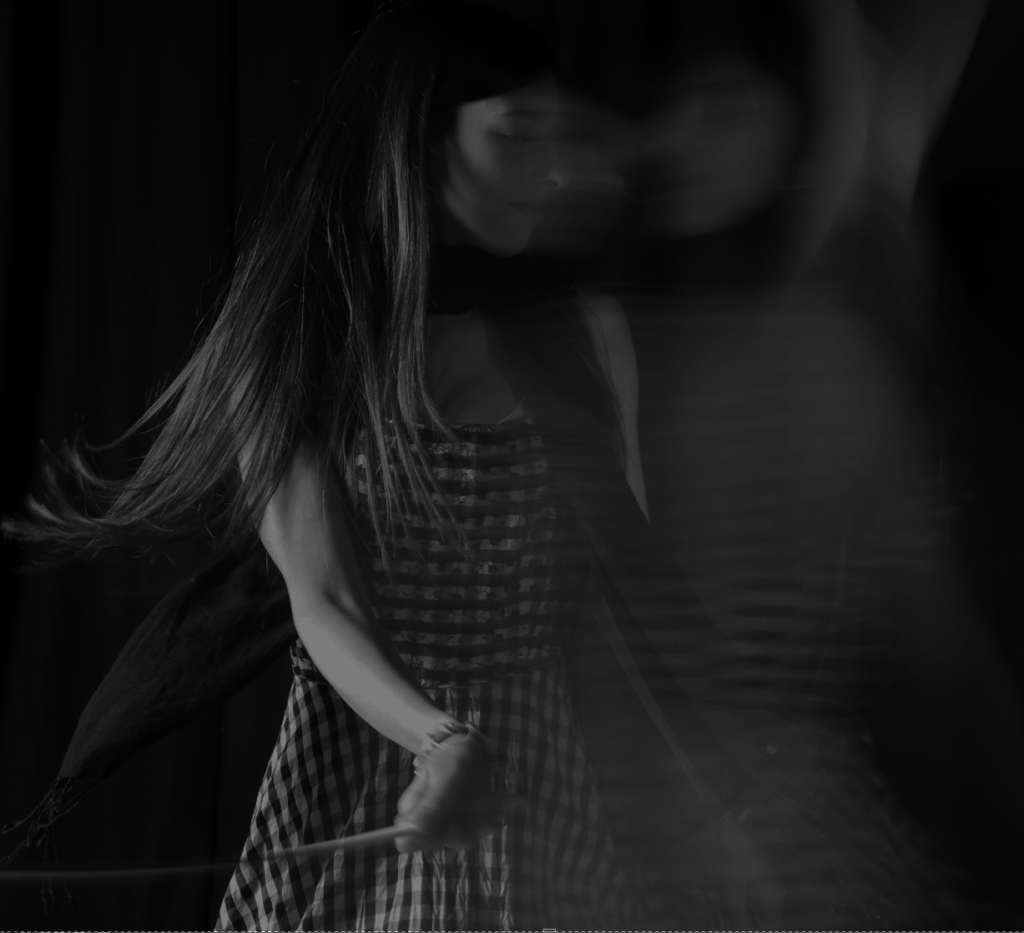
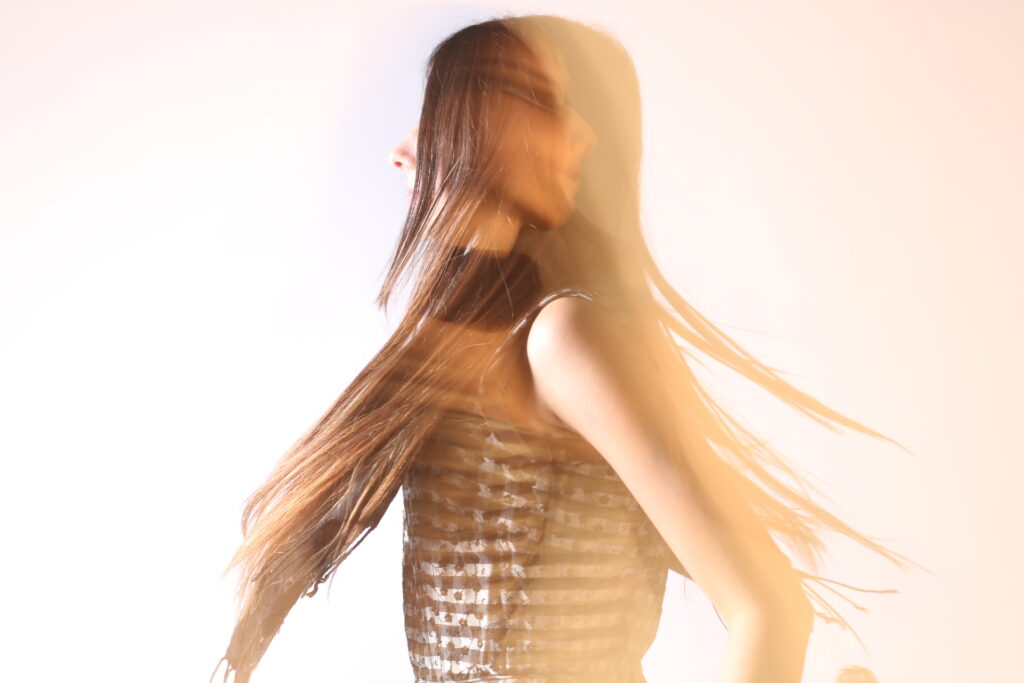
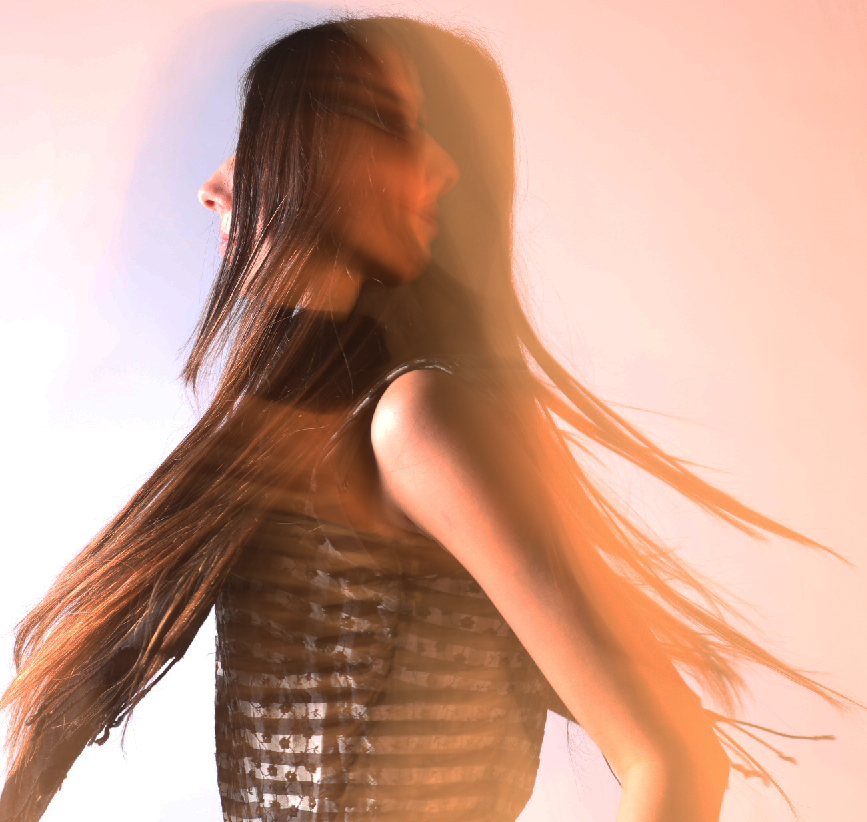
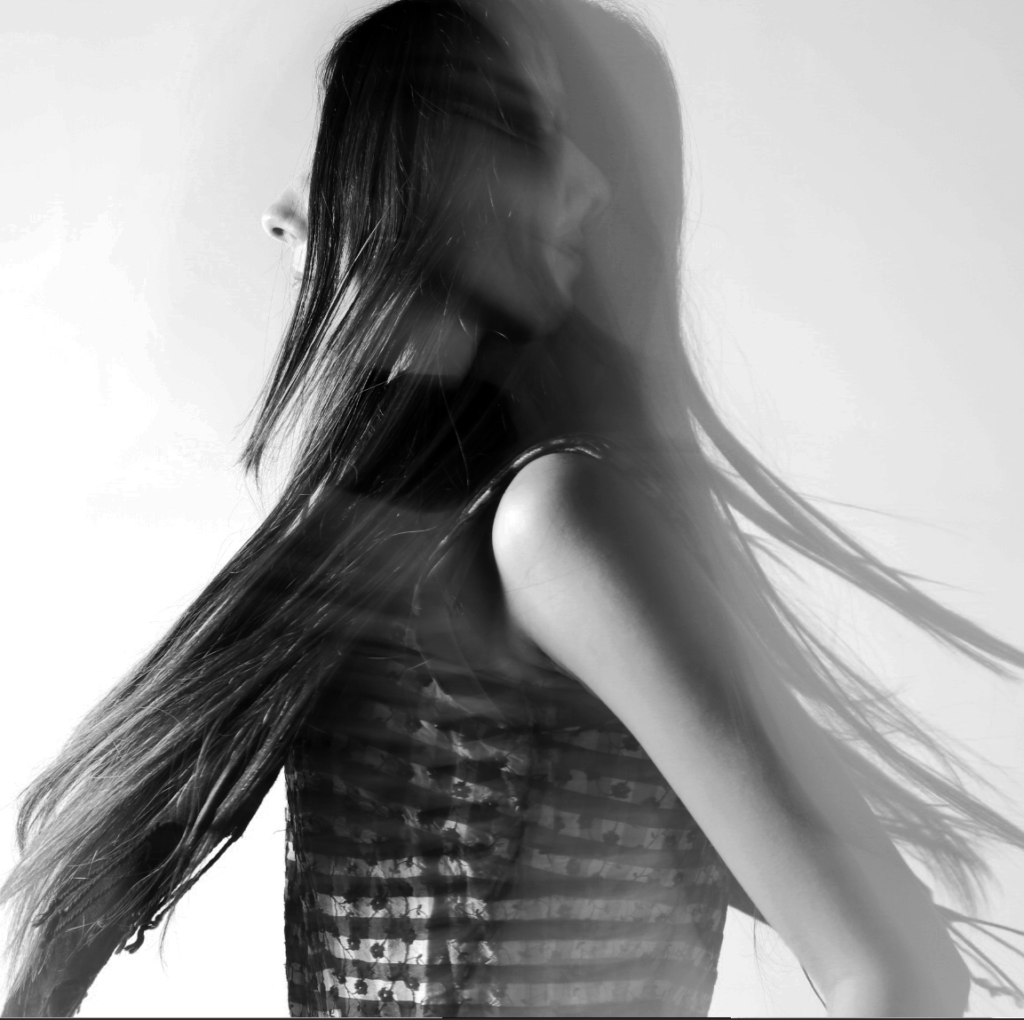
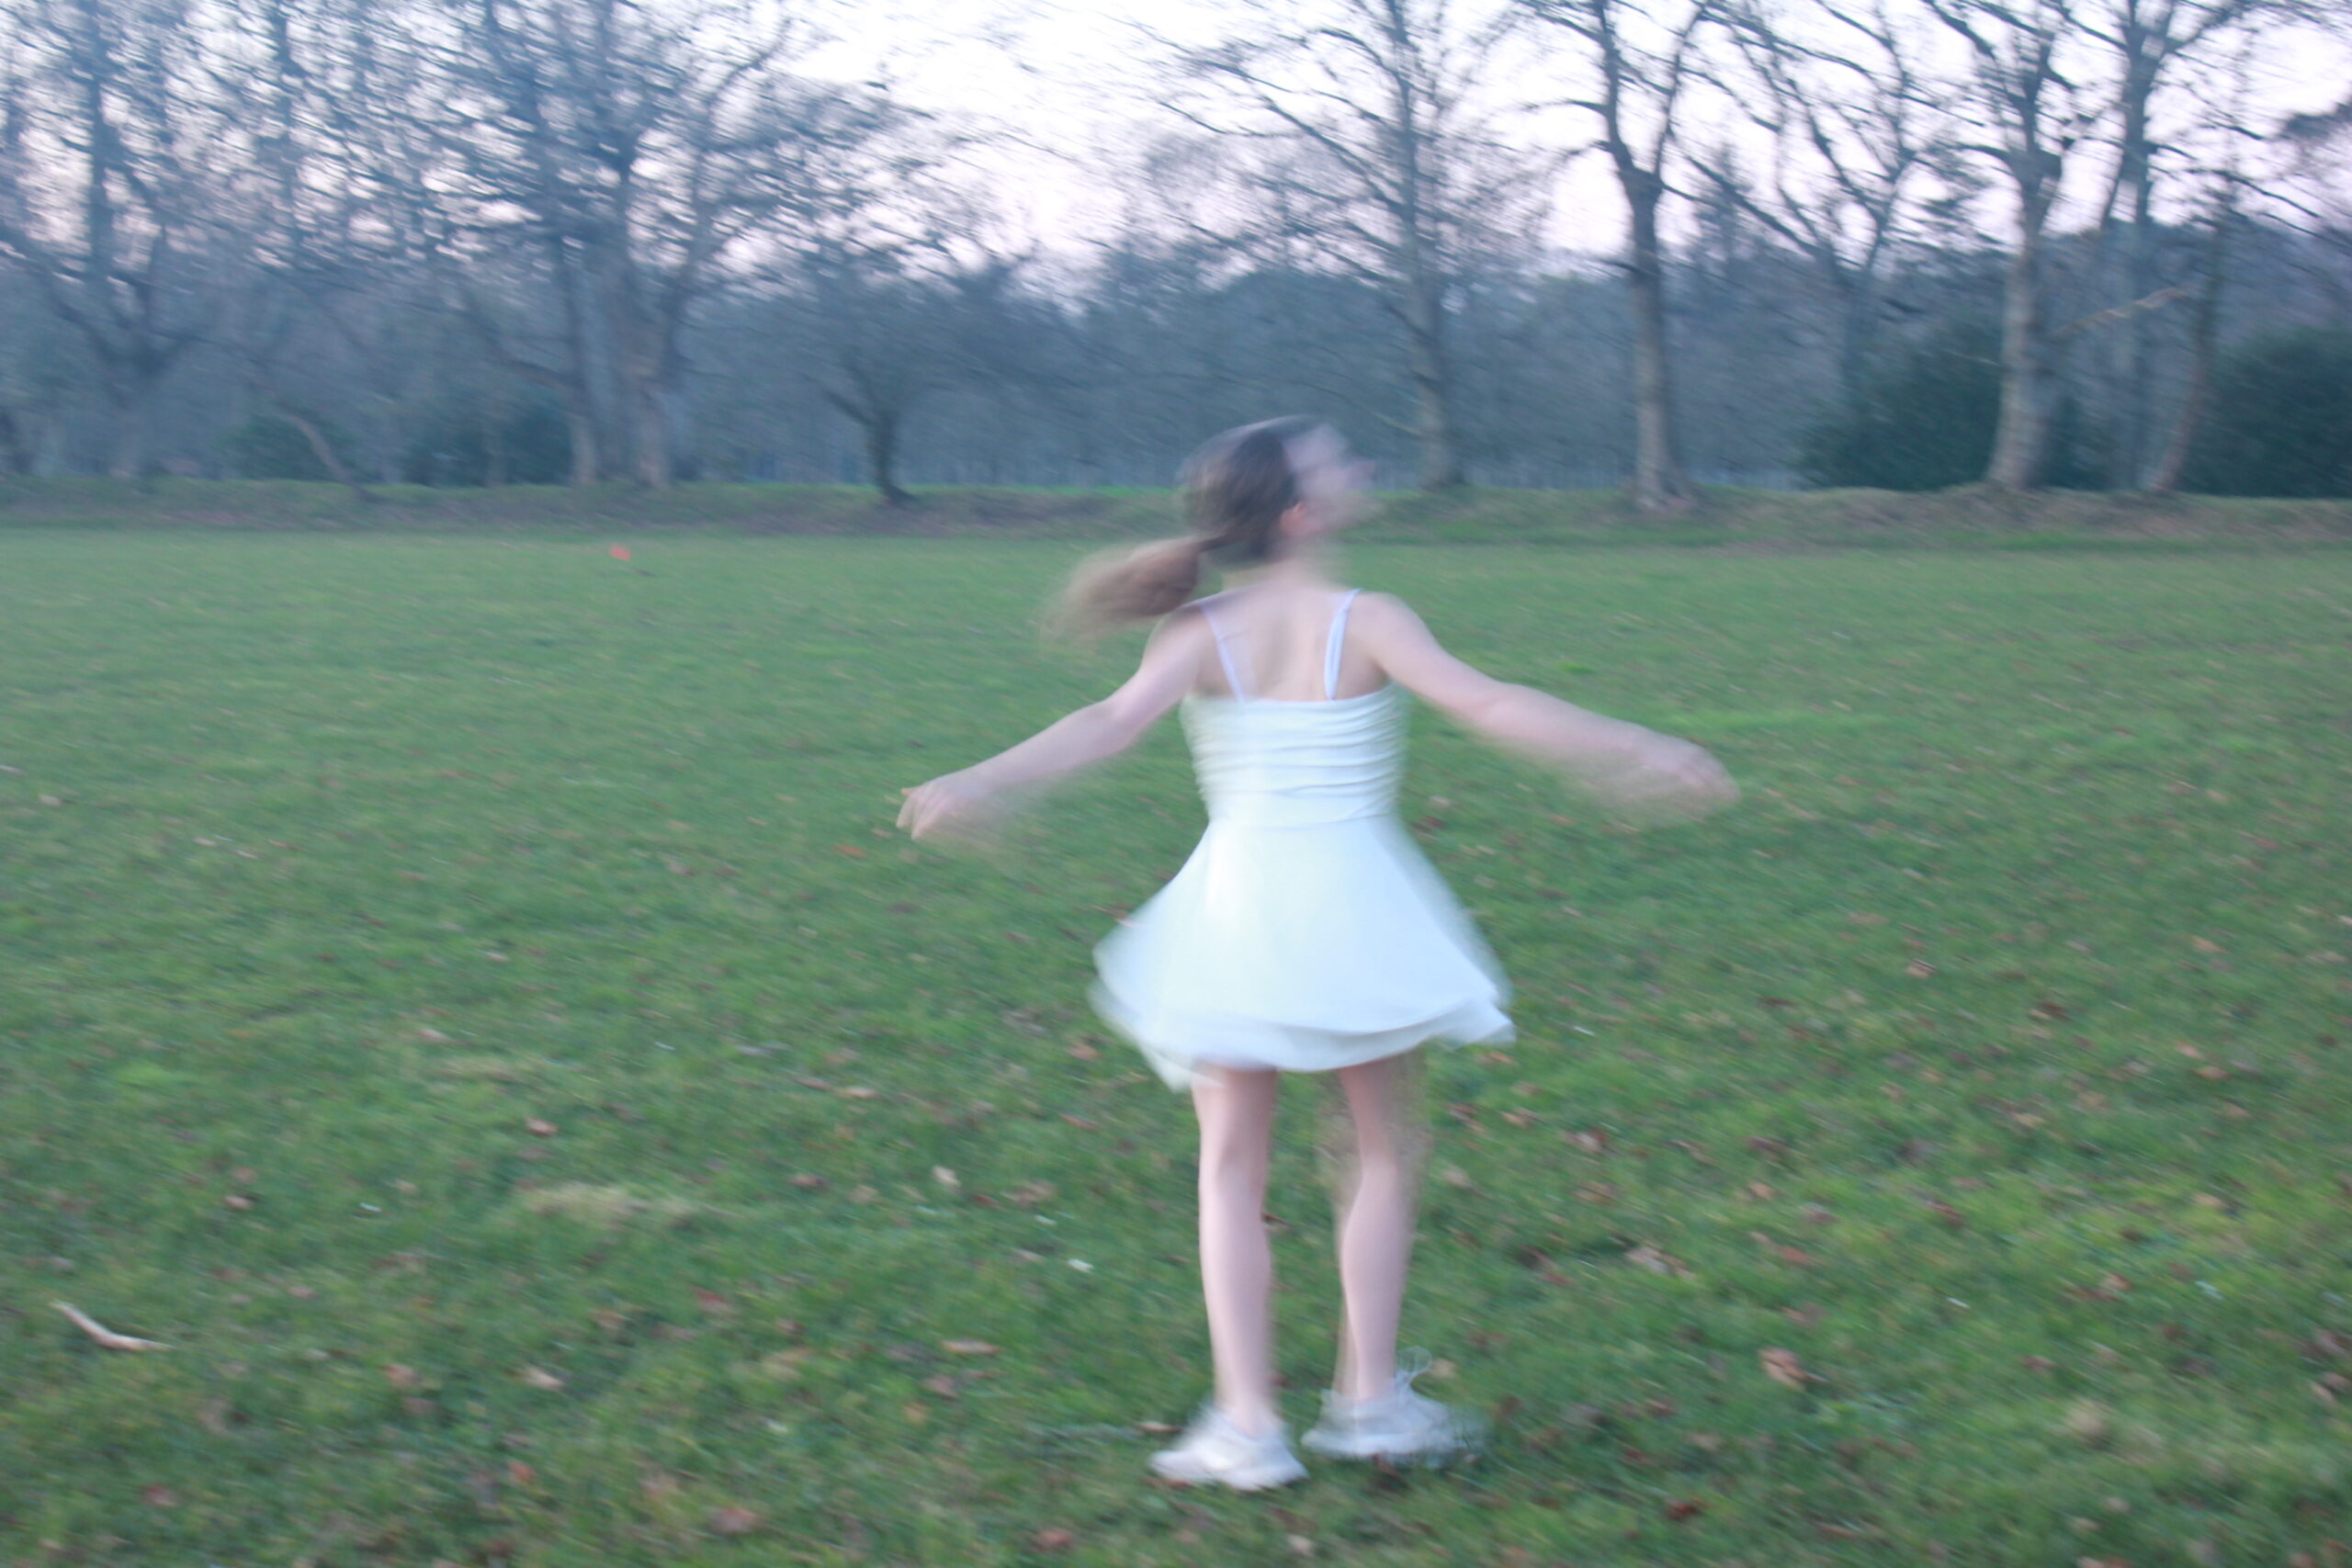
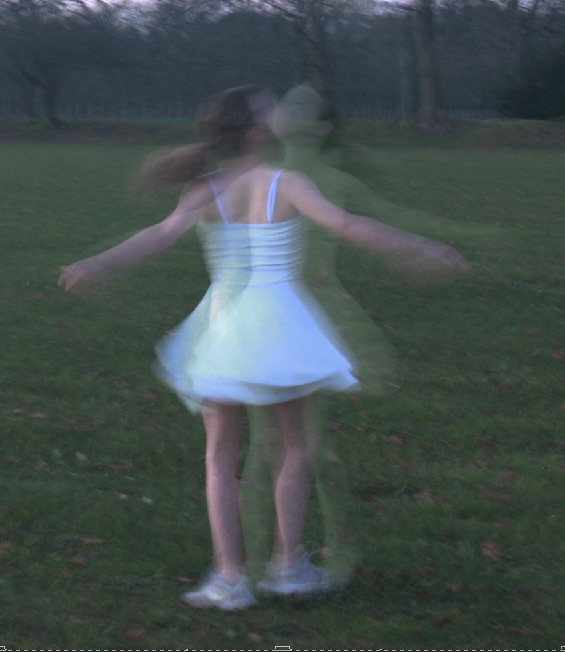
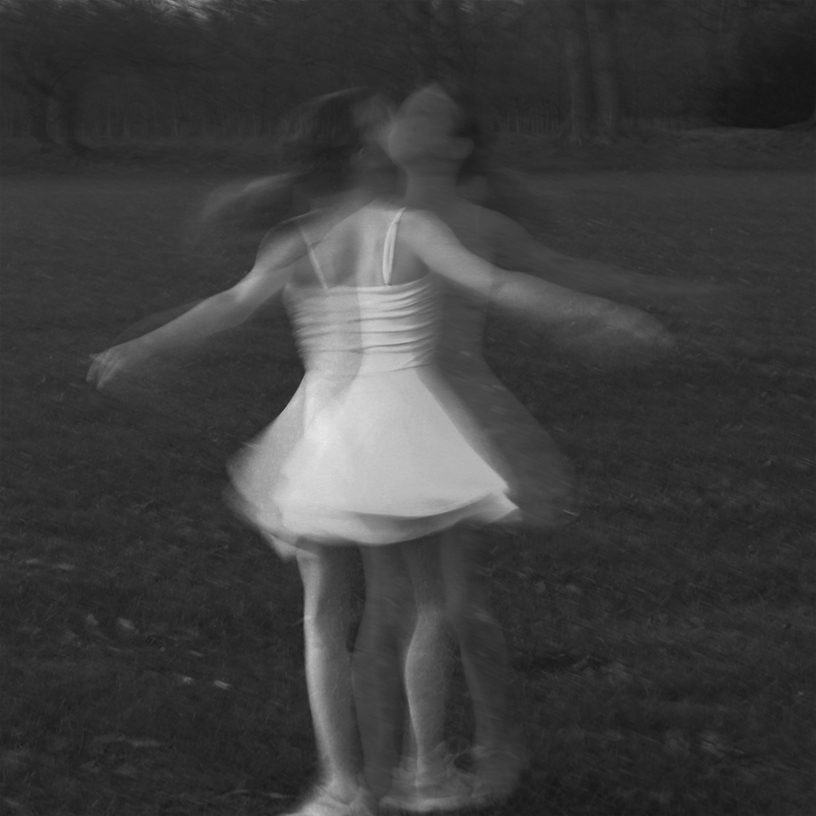
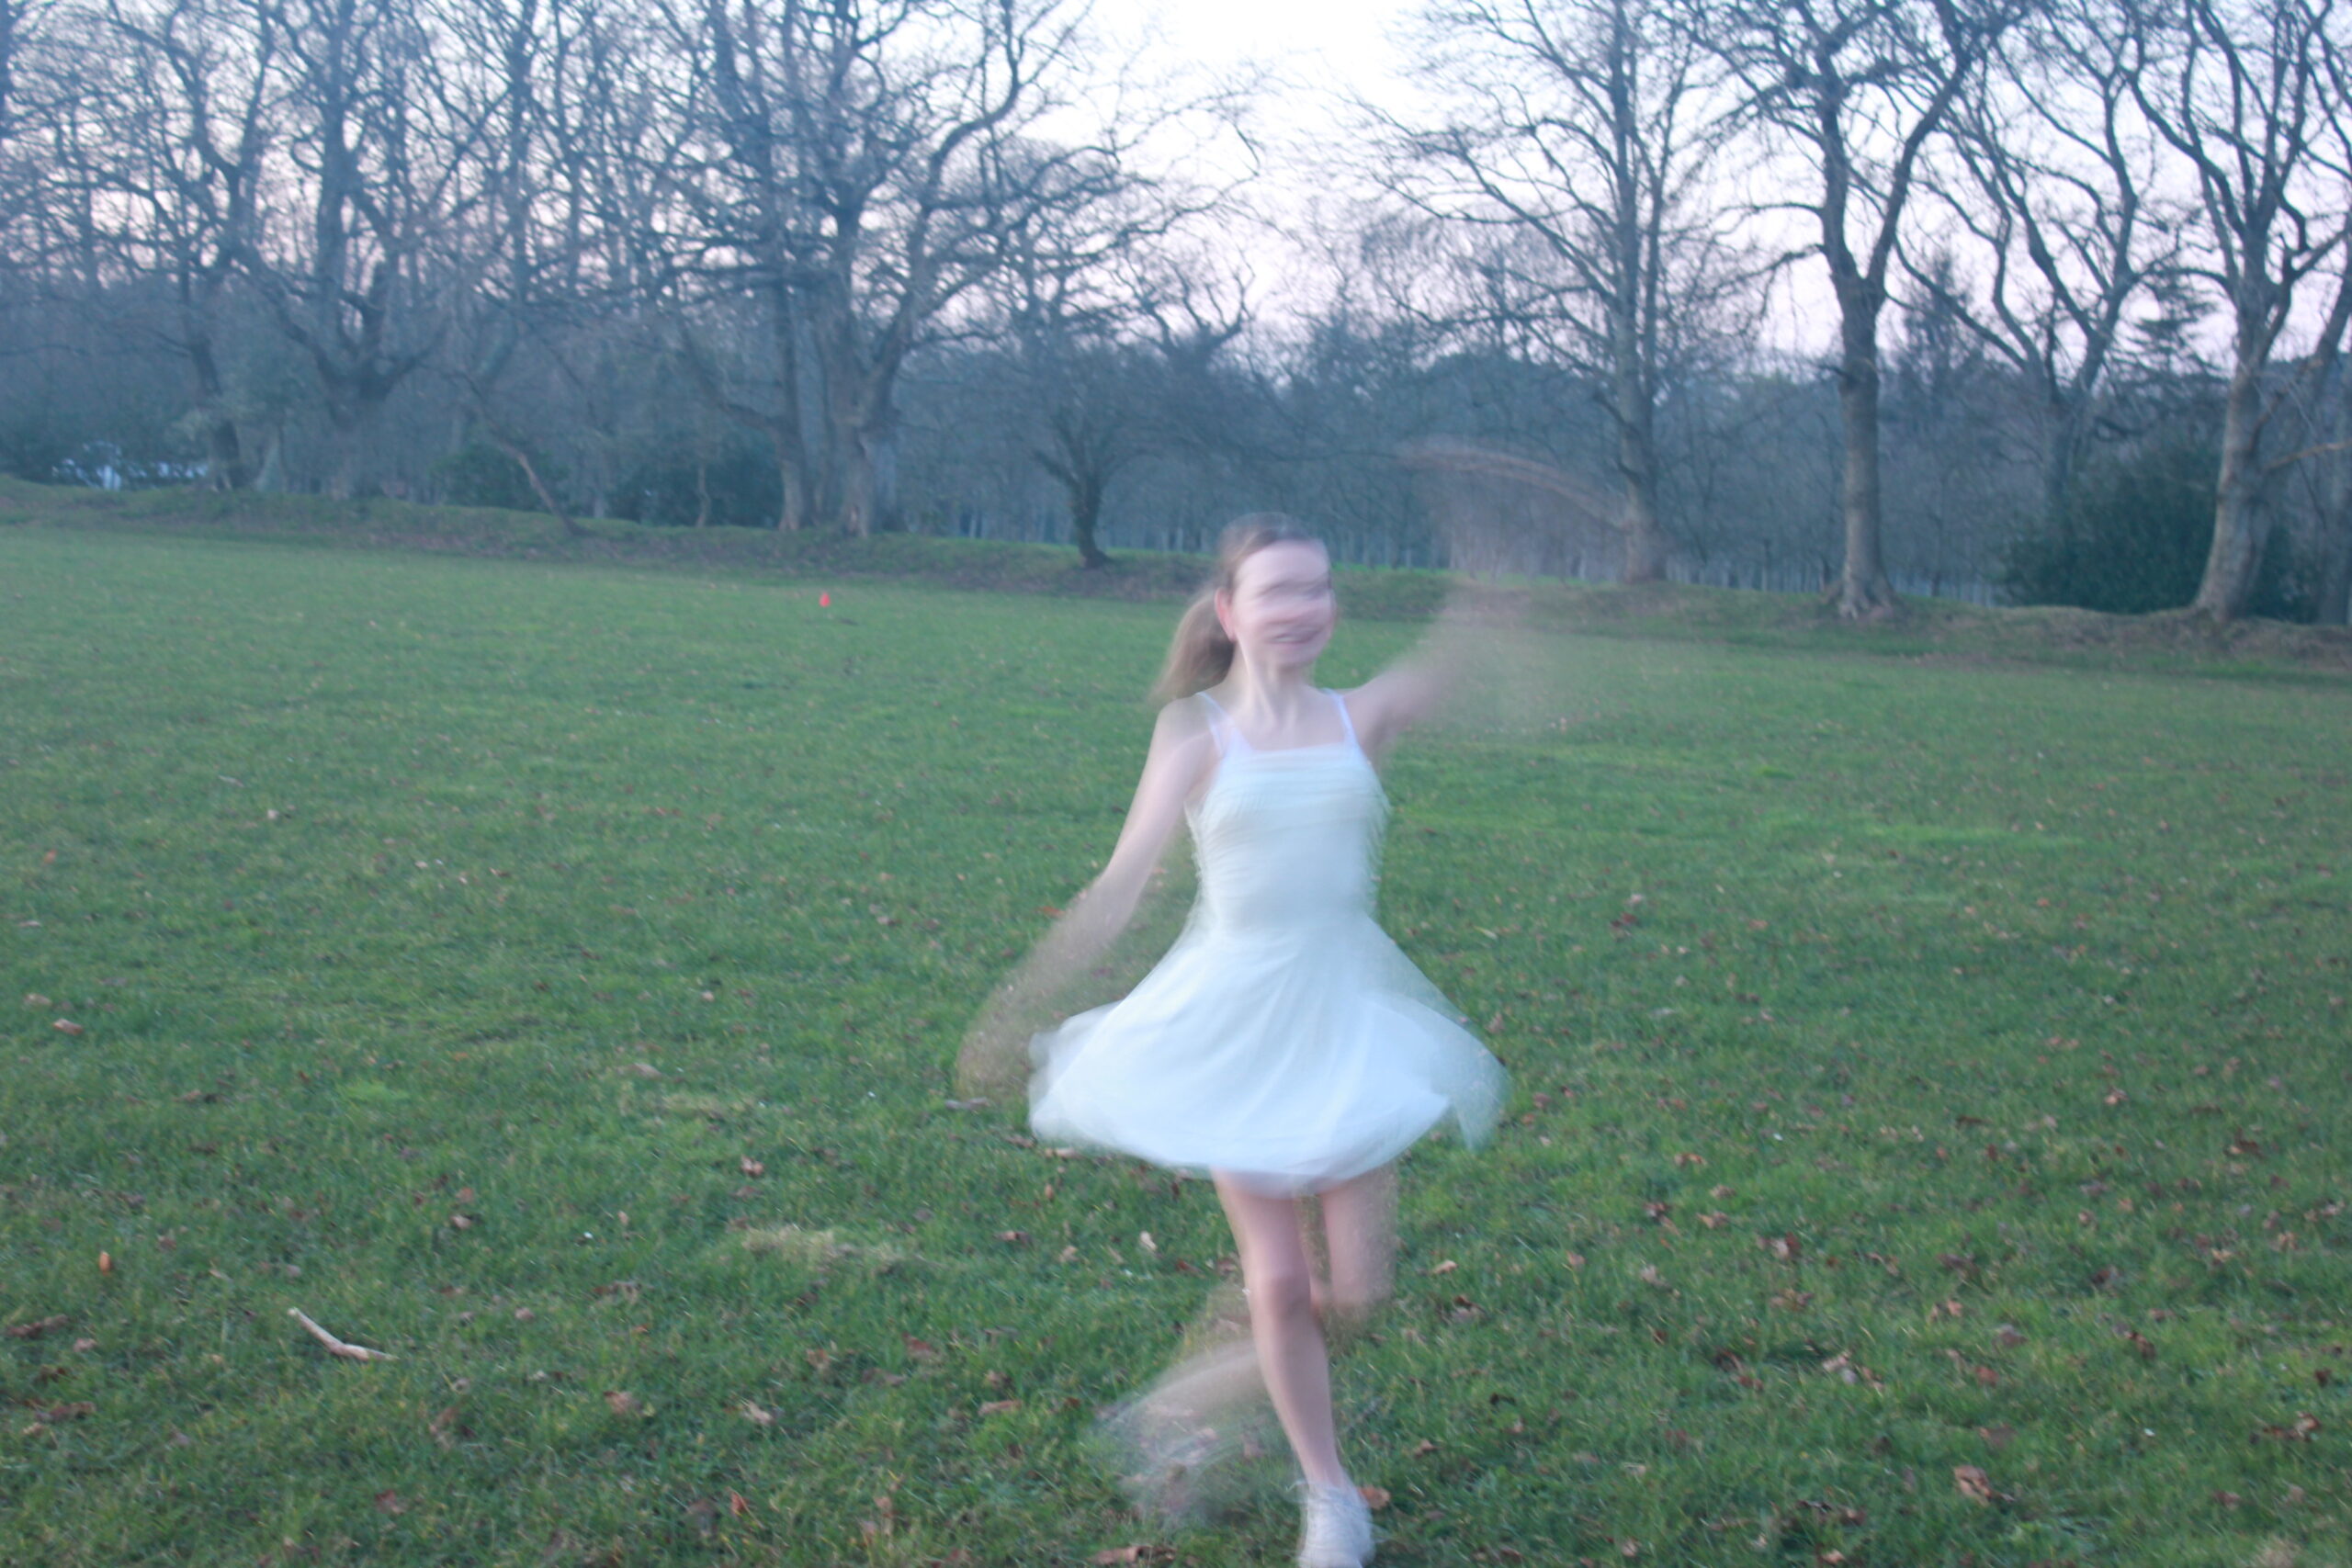
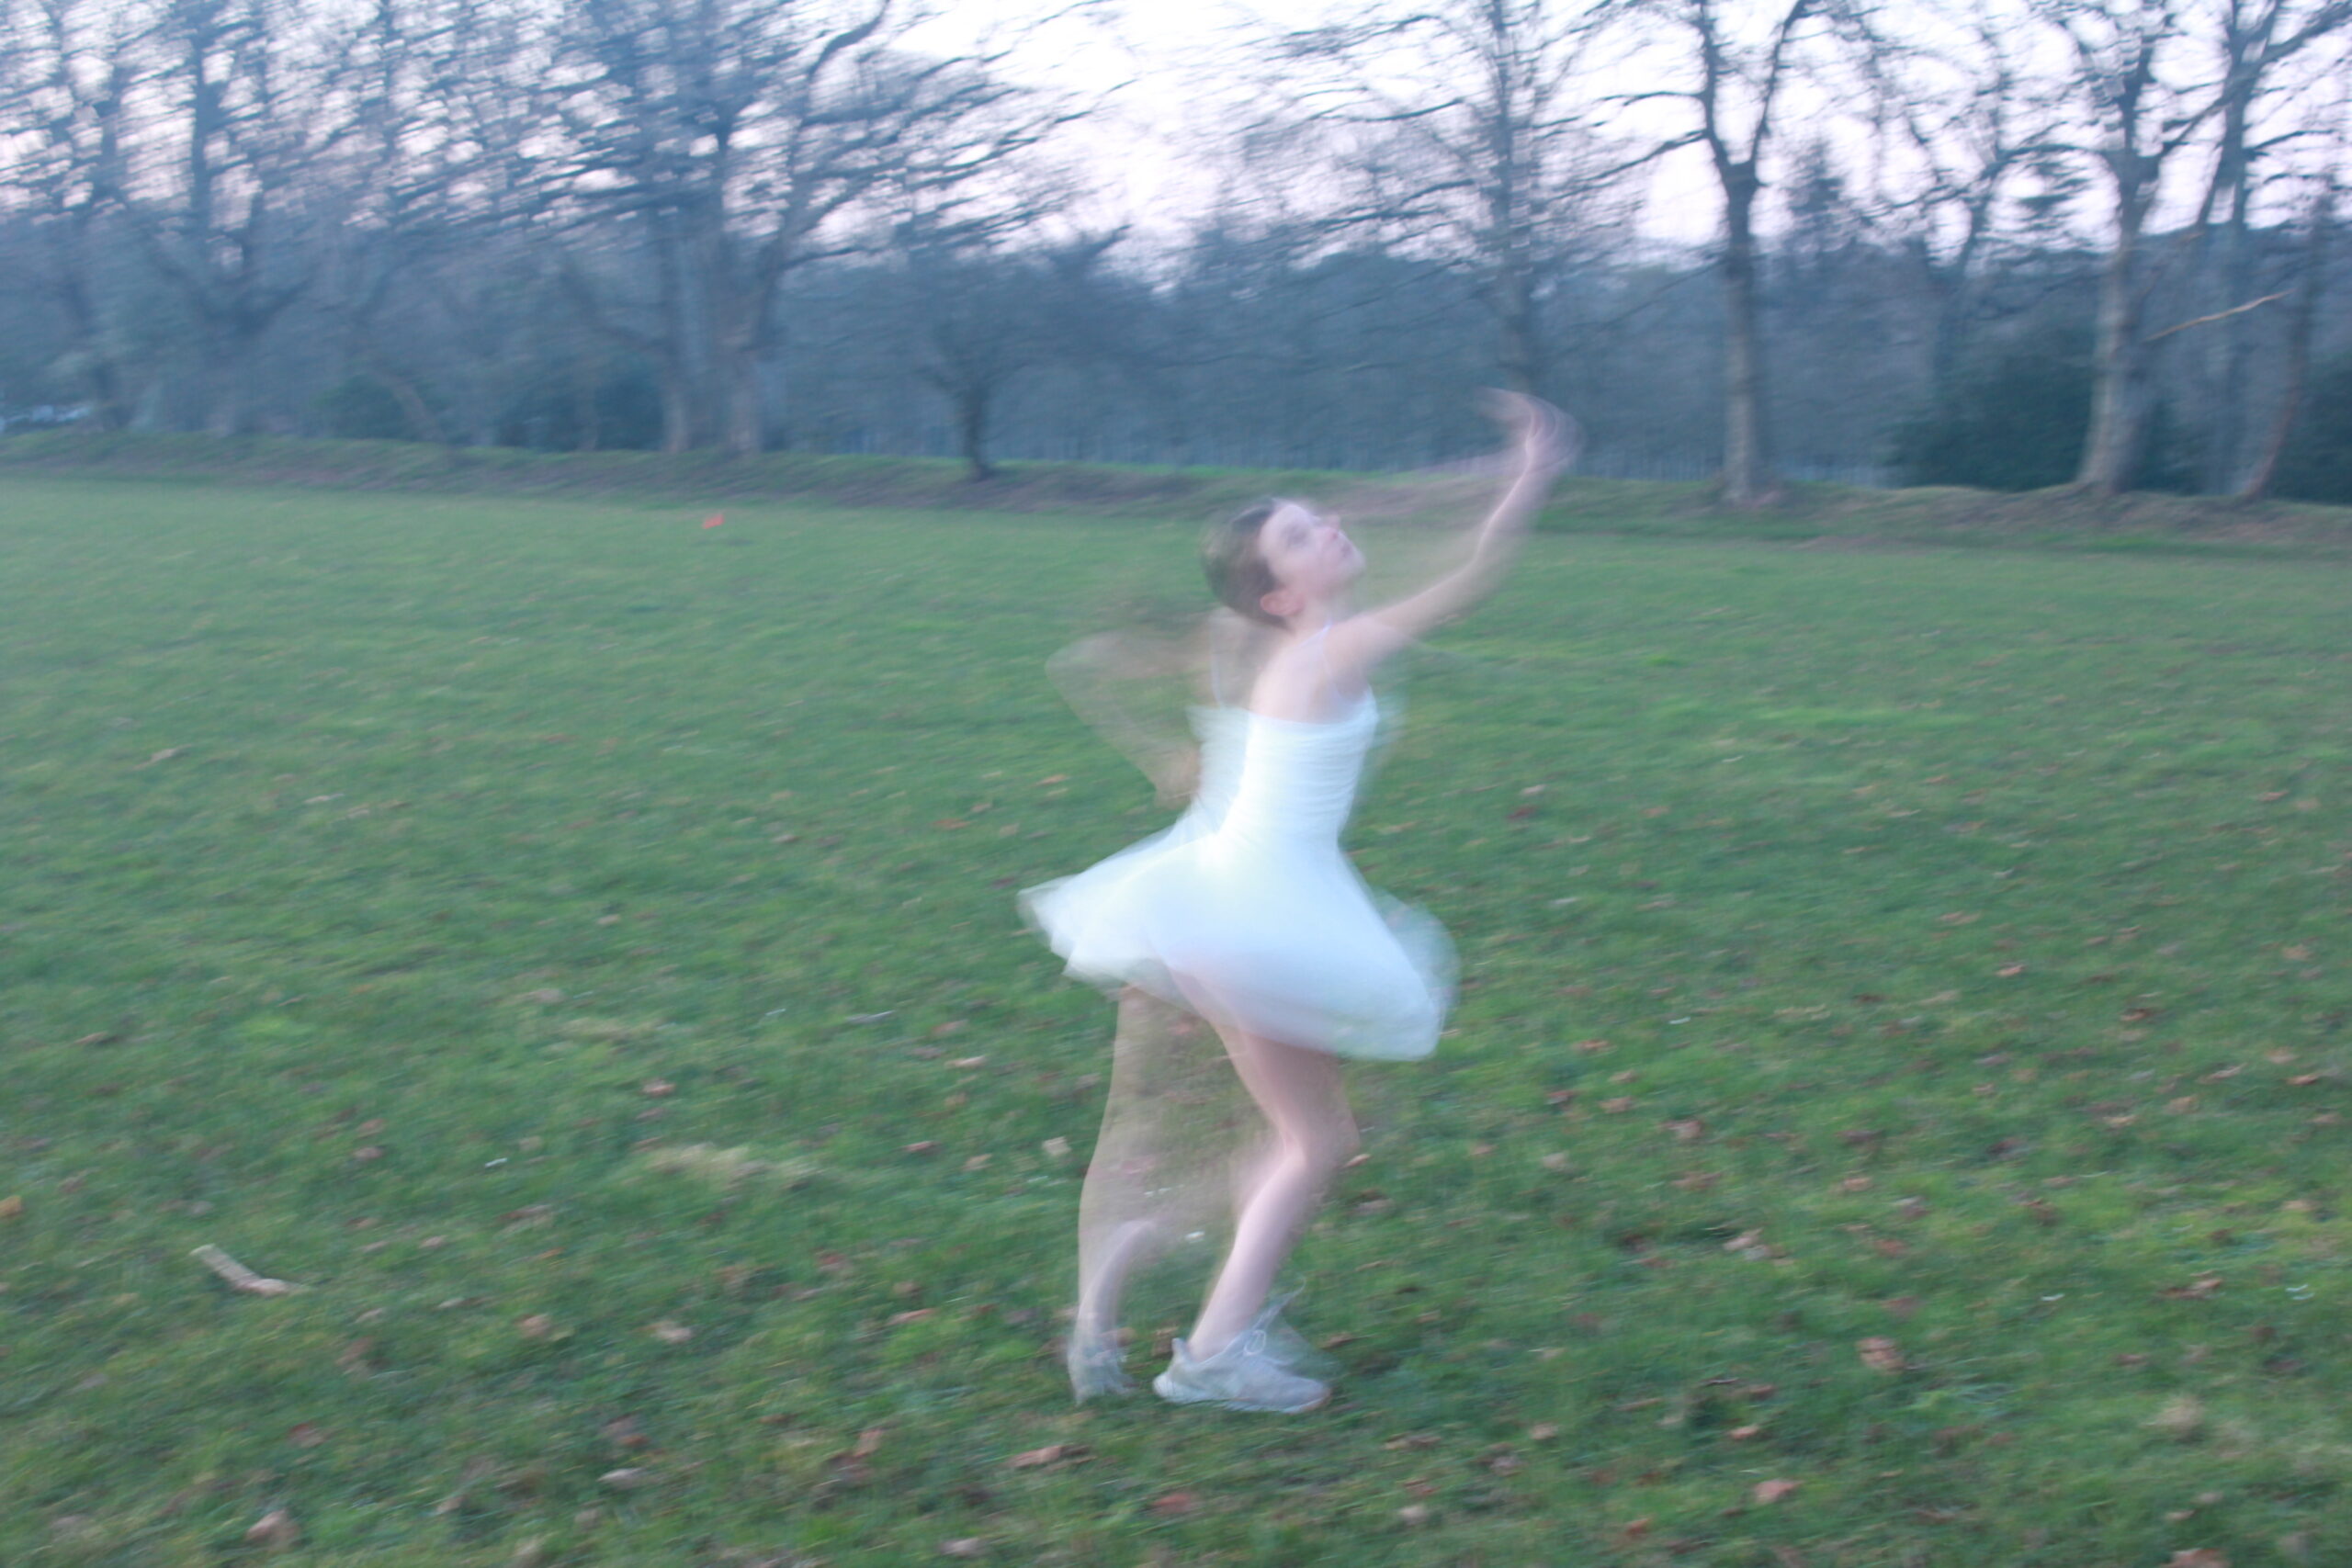
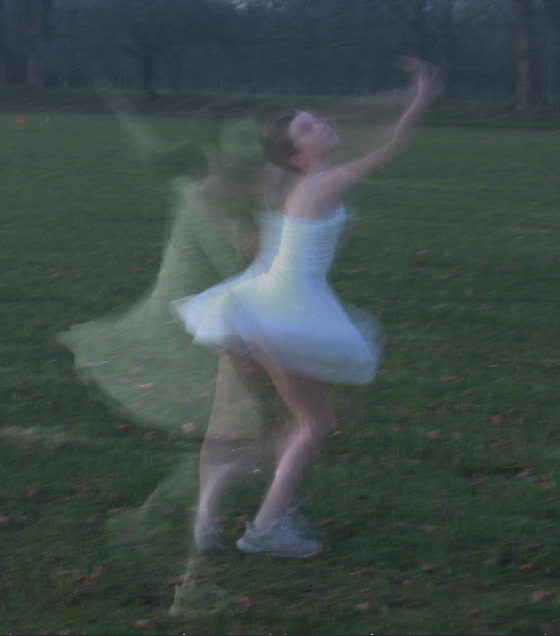
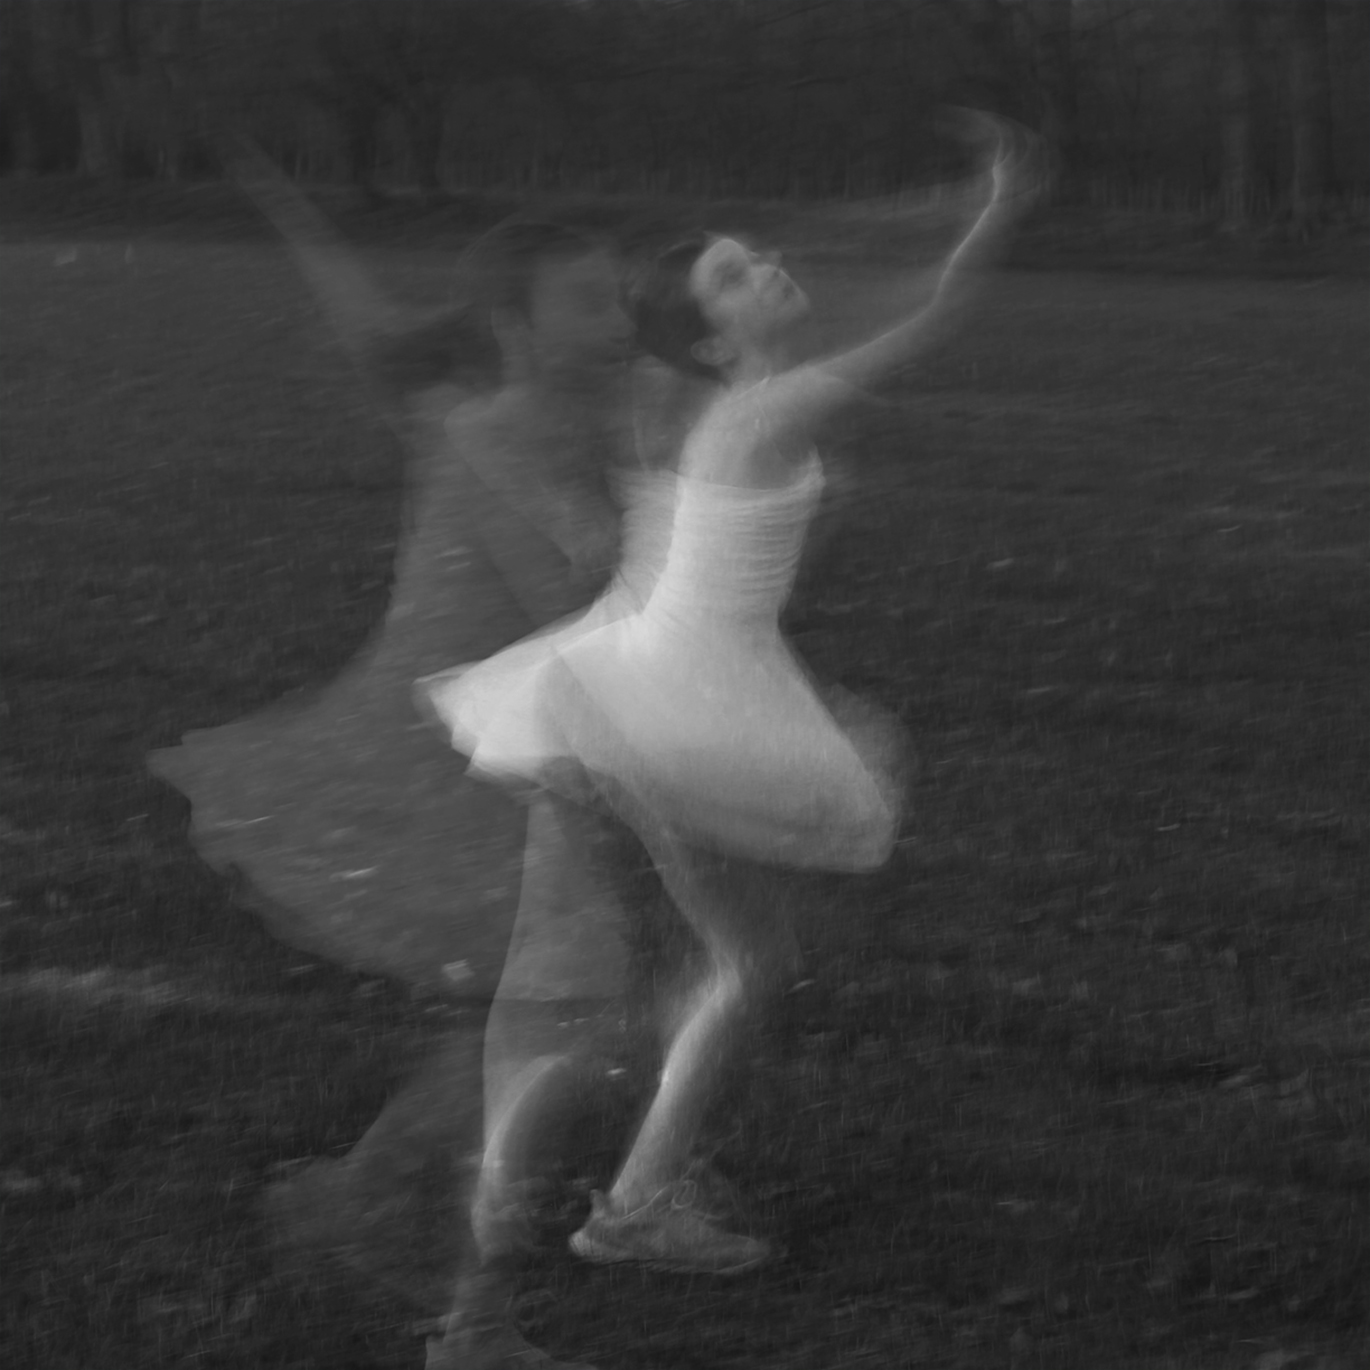
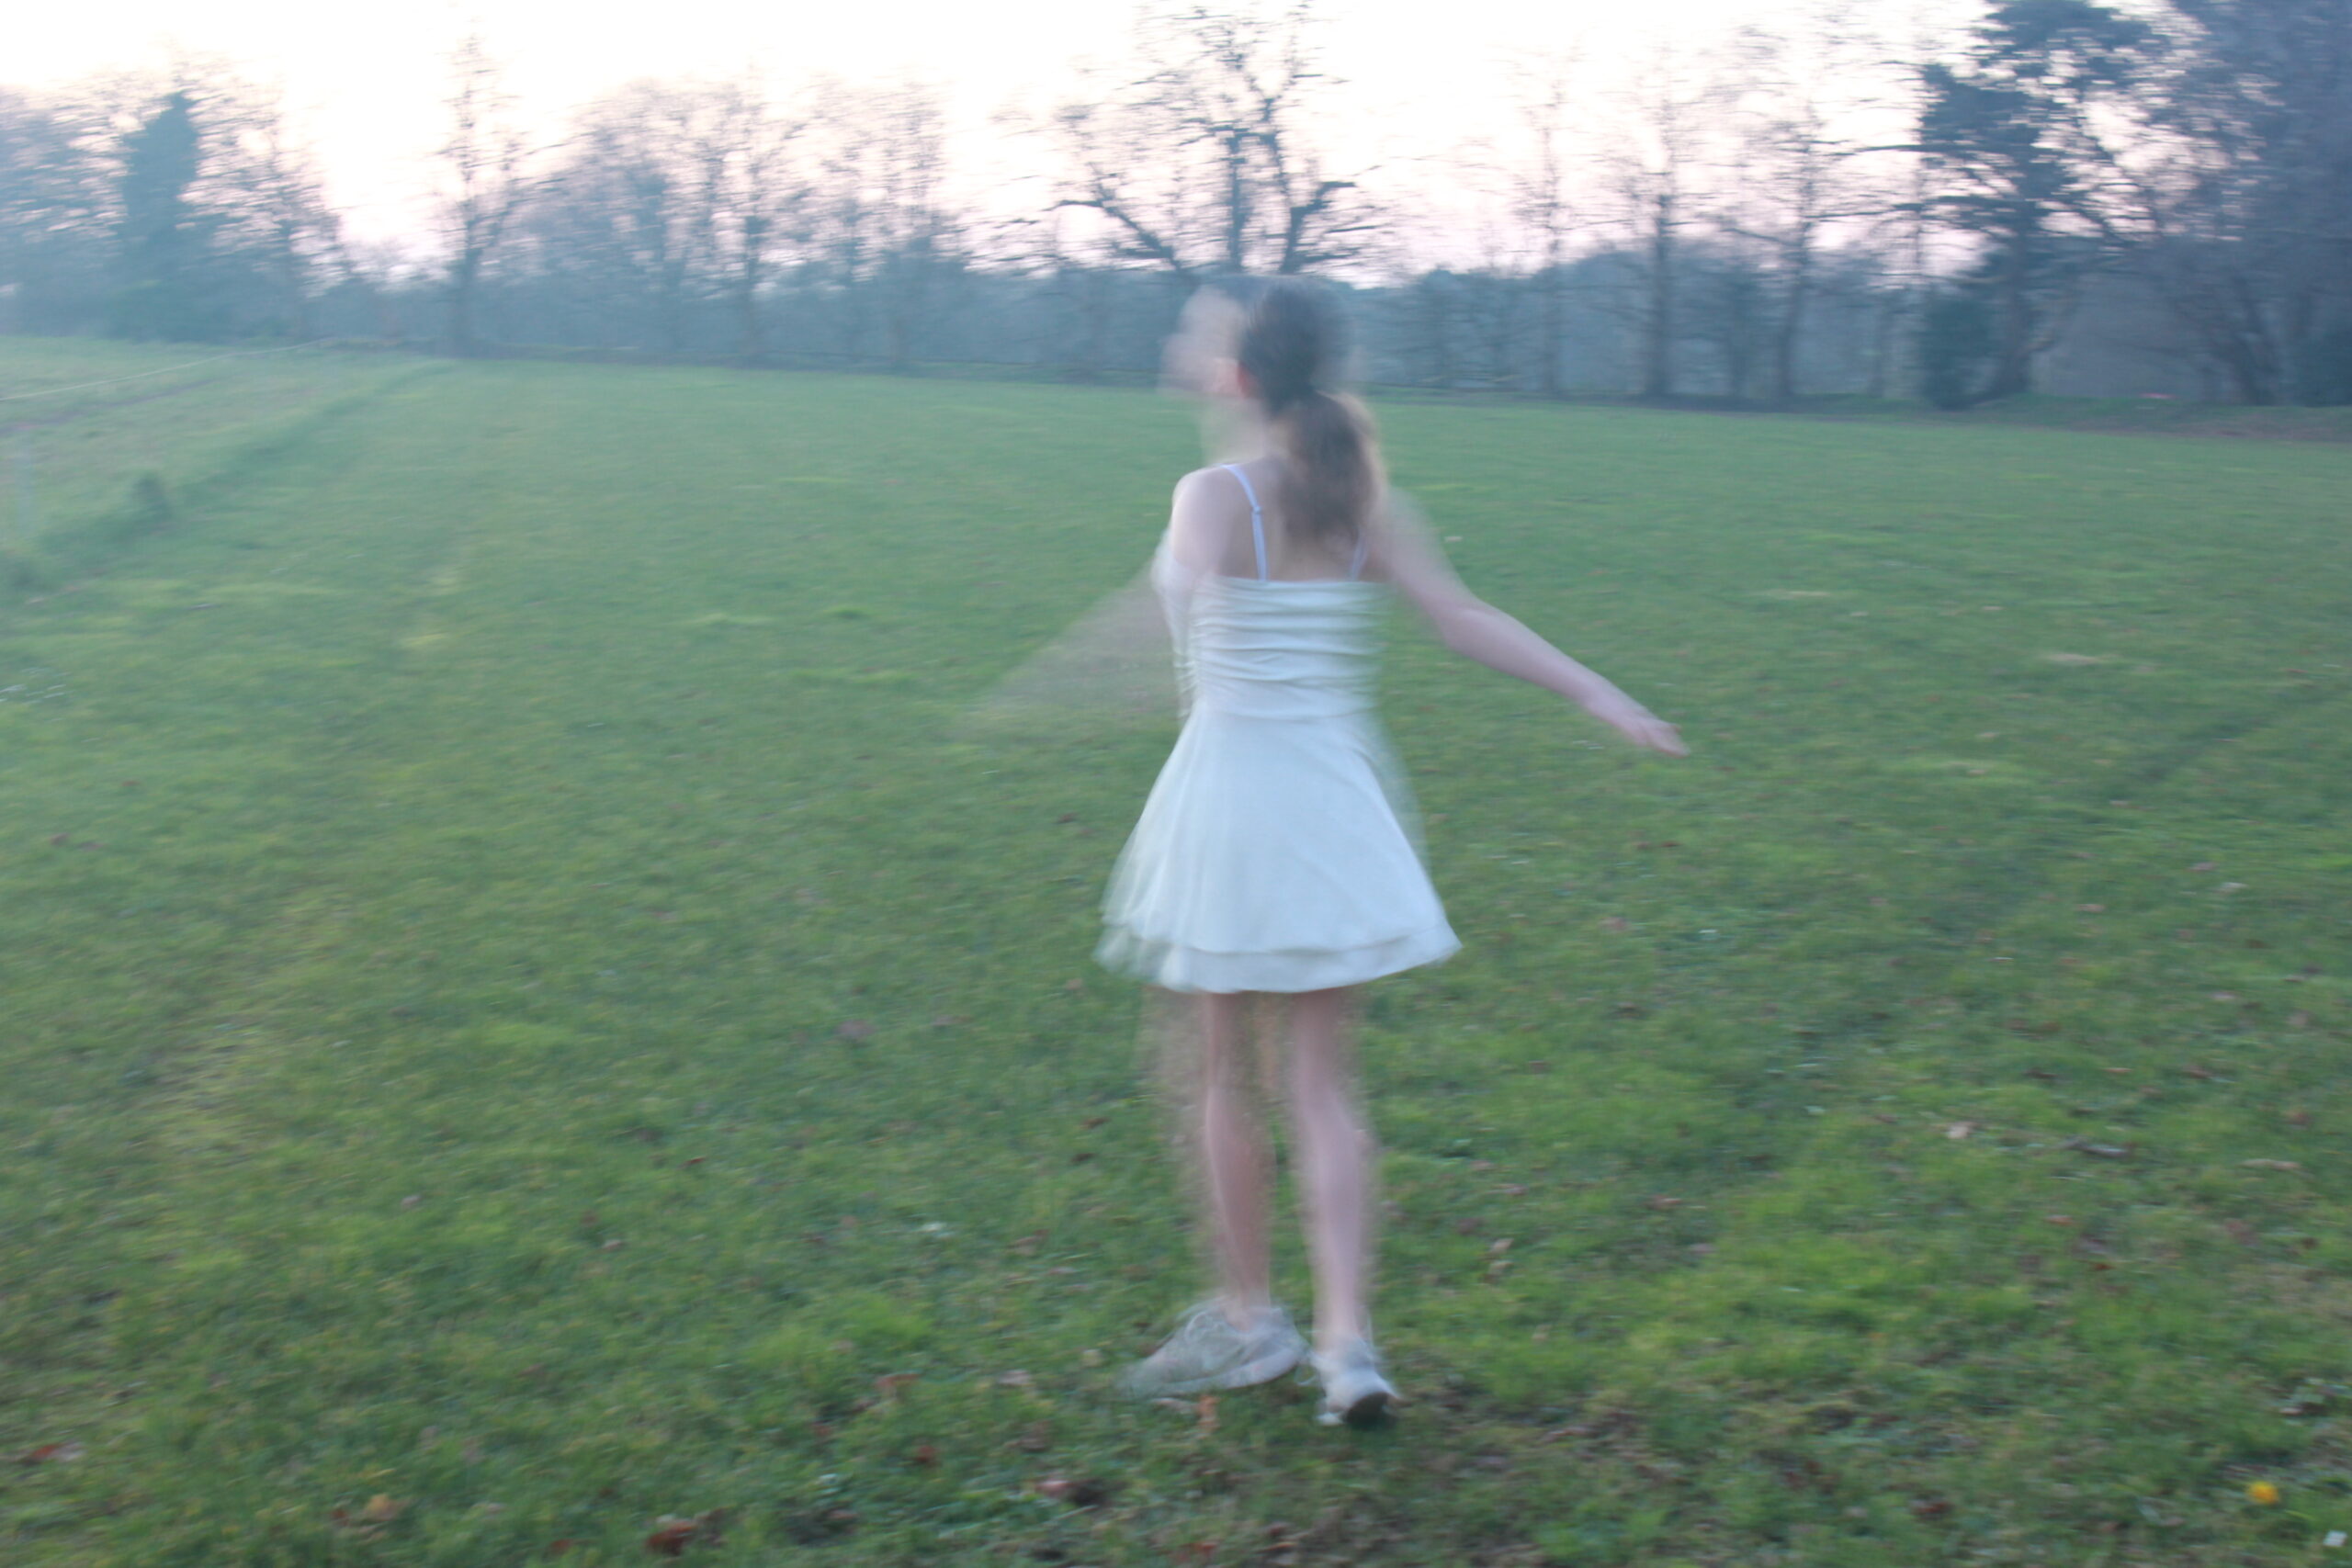
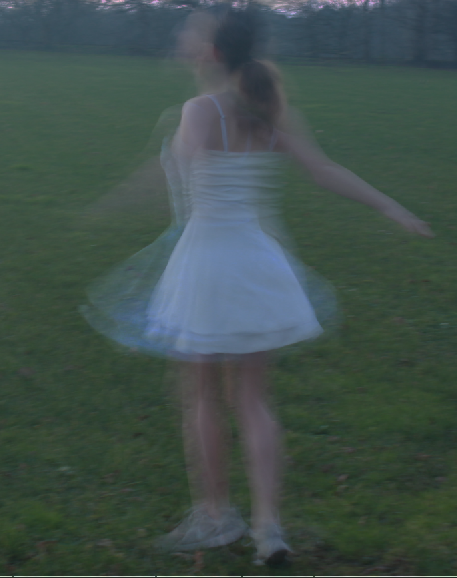
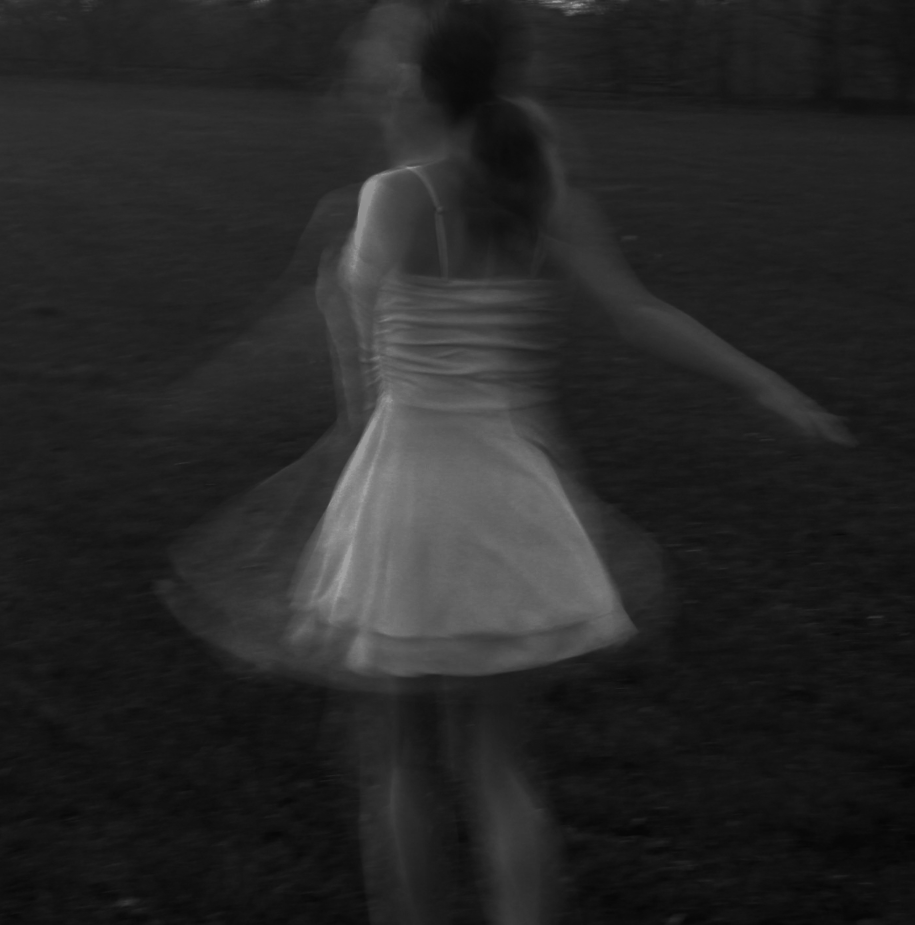
This is another example of using slow shutter speed, me and my friend span round in circles to create this photo that looks like were not in one position

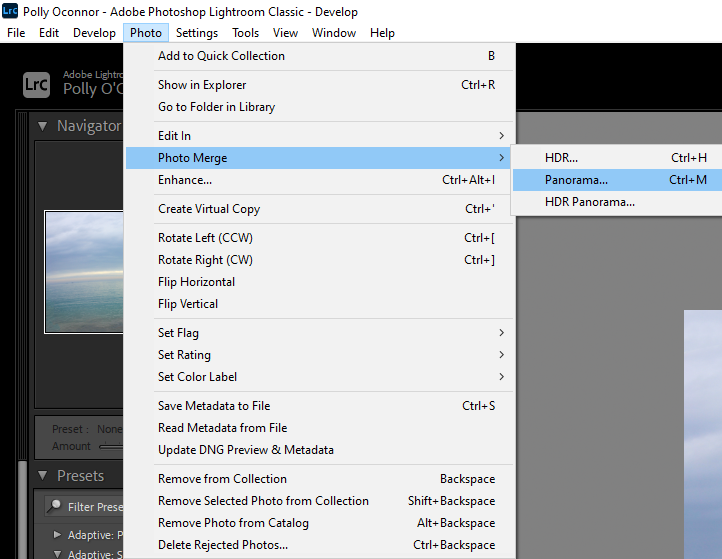
Adobe Lightroom

This is where my photos are saved in the video data drive

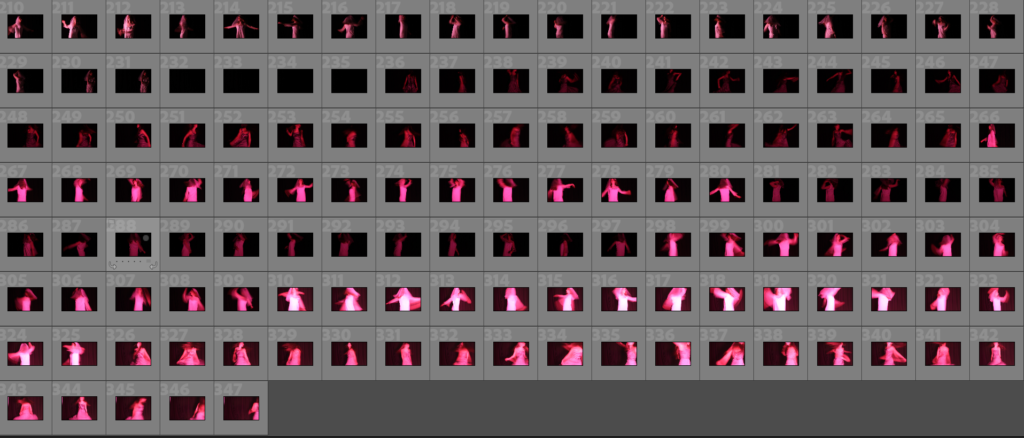
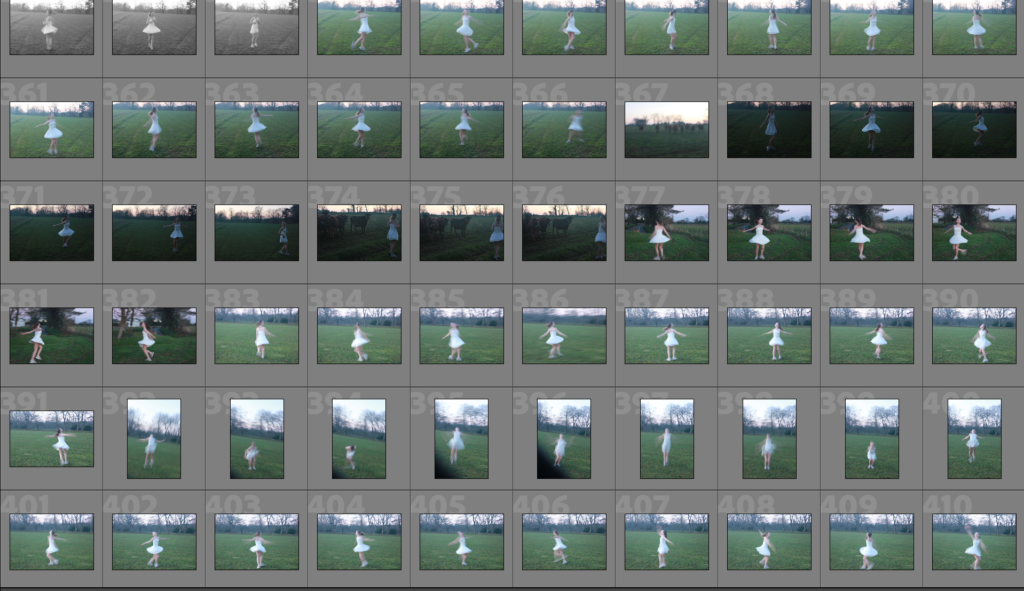
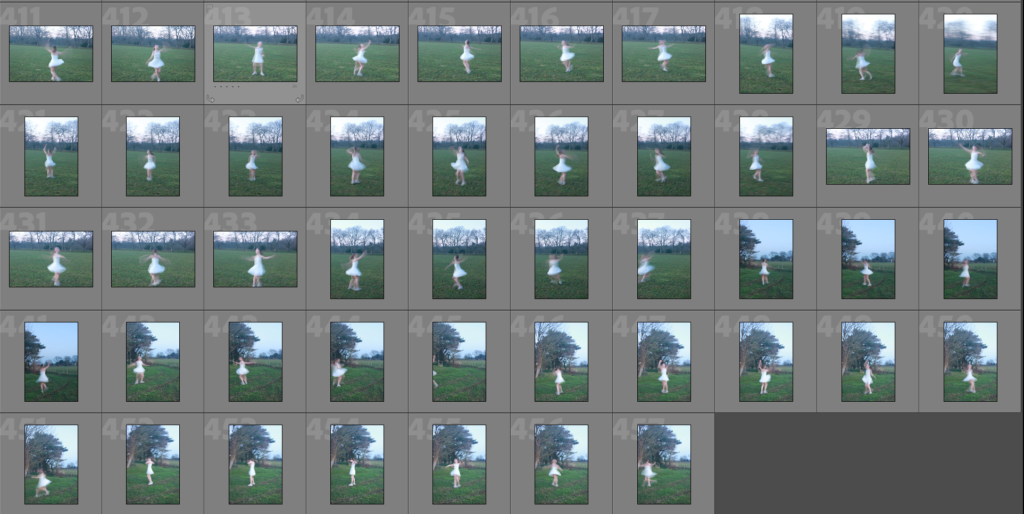
This is my contact sheet. After importing my images onto Lightroom from my documents, I now have a display of all of my images. I have flagged the photos that I prefer so its easier to find my best work.

This is my final flagged images.

I then made a folder called ‘shutter speed’ to hold all of my photos.

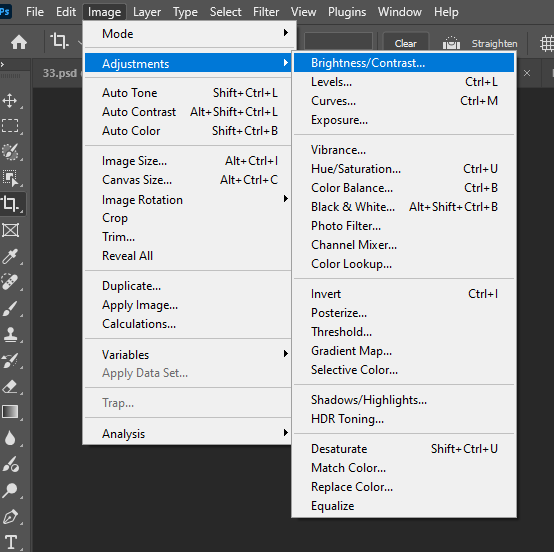
After finding a picture I want to edit, on the left side there is a ‘Presets’ option which allows me to automatically edit my pictures with settings that are all ready made.

On the right side of the screen it shows me the histogram which tells me the ISO, shutter speed, and focal length.

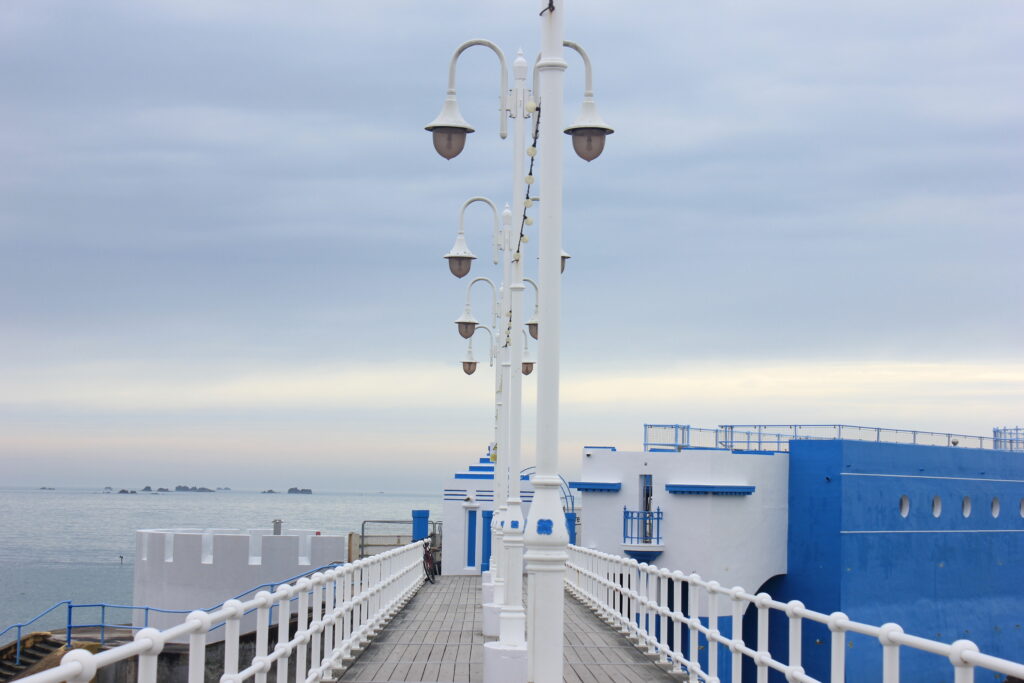
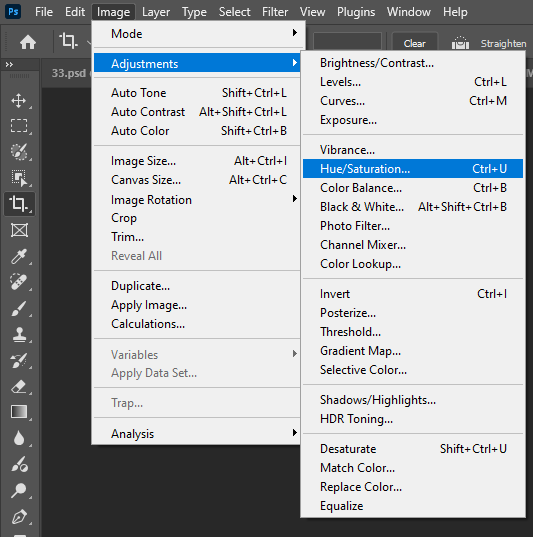
Below the histogram, there is all he filters that help edit your photos such as colour, shadowing, exposure, highlights and more.

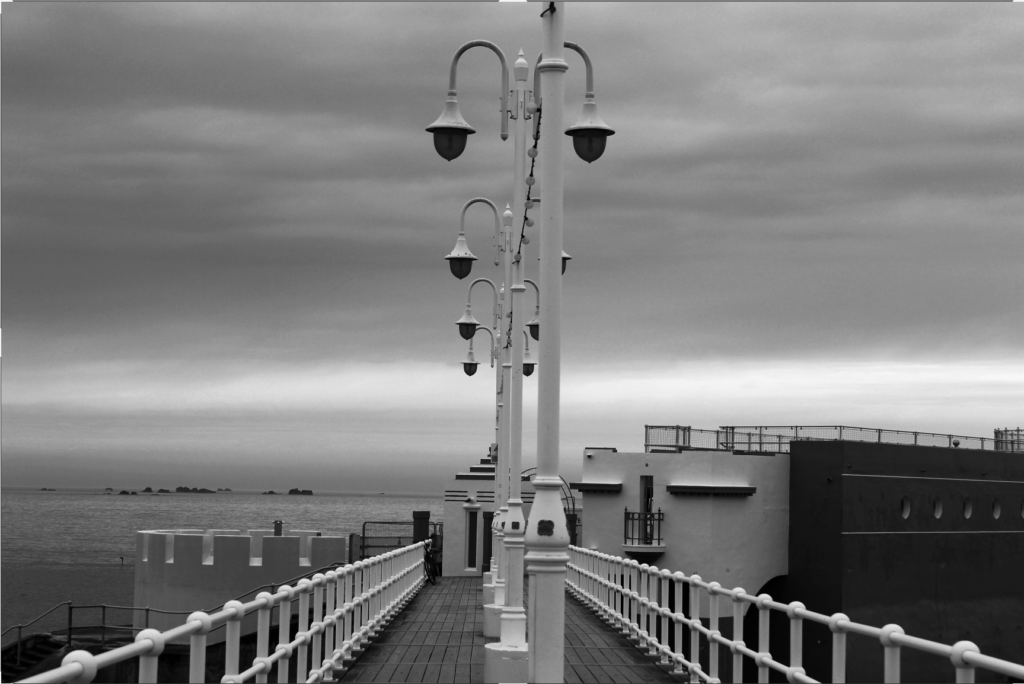
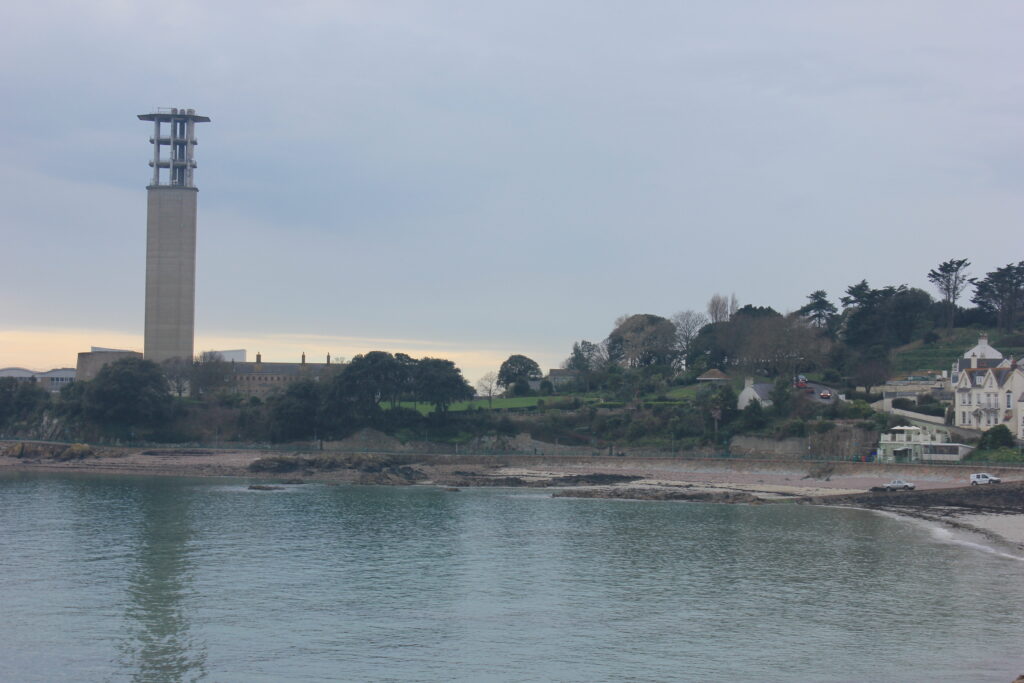
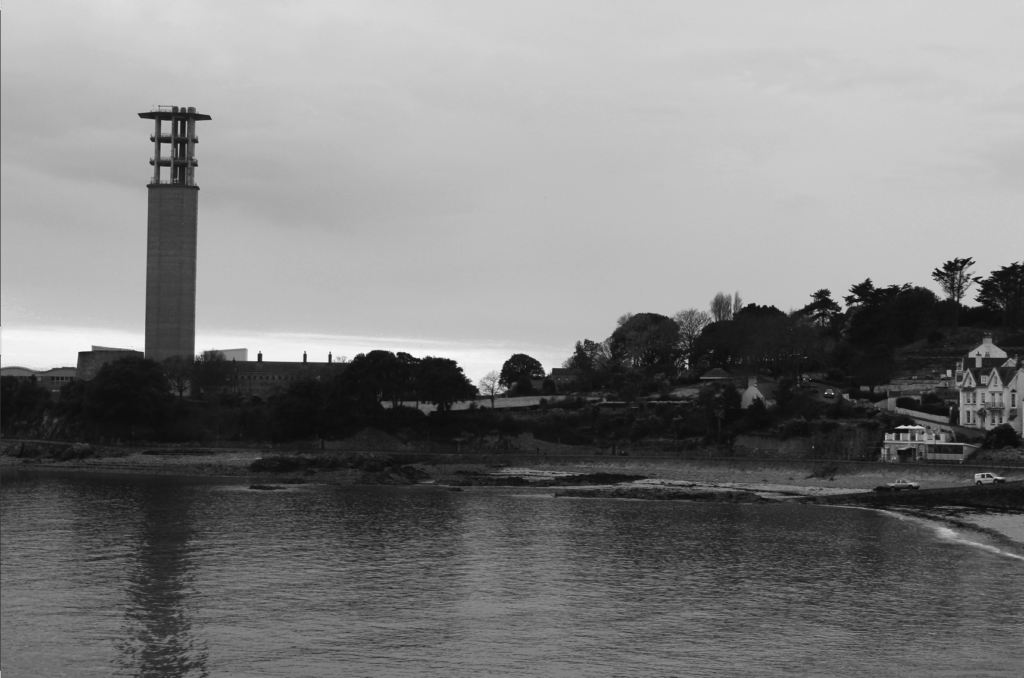
This is one of my photos that I have edited. the picture on the left is before editing and the picture on the right is after editing. I used lots of the different editing techniques on Lightroom to be able to change the colour of the photo whilst also making it more blurry.

ISO

ISO controls the amount of light your camera lets in, and therefore how dark or light your photos will be.

Low values, such as ISO 100, are best for a sunny outdoor shoot. For shooting at night — or indoors with dim lighting — use an ISO of 1600 or higher.

The lower the ISO number, the more light is needed to properly expose the image

 higher ISOs can lead to degraded image quality and cause your photos to be grainy or “noisy.”

visual noise is when the photo is grainy and is effected by bad lighting conditions

This is an example of a high vs low iso

IOS = 100

IOS = 6400

IOS = 100

IOS = 6400

These are all examples of photos i’ve taken with different ISOs. we went around the school finding different textured things

Origin of photography

Camera obscura is when the rays of light pass through a small hole into a dark space and shows an image where they hit the surface, which makes in an inverted and reversed projection of the view outside. And because this camera obscura uses a lens, which creates a relatively large aperture, you get a sharp, colourful image on the paper.  

Nicephore Niepce was the first person to make camera obscura a permanent image, which is now the oldest photograph ever made. However he was unwilling to give any specific details about how he made the photo, therefore the royal society rejected it. Then before he suddenly passed away he gave his specimens to Baure. 

  • enhanced version of Nicephore Niepces first photo

Cameraless images were another version of photography. He used a sheet of fine writing paper, coated with salt and brushed with a solution of silver nitrate, Henry Talbot found that the paper would darkened in the sun. He set a pressed leaf or plant on a piece of sensitized paper, covered it with a sheet of glass, and set it in the sun. If it was light outside the paper darkened, but wherever the plant blocked the light, it remained white. This is now called photogenic drawing.

The mousetraps are sturdy little wooden boxes with a brass tube housing a lens at one end, and a sliding wooden panel at the other. Into the wooden panel at the back Talbot would stick a piece of normal writing paper that he had made chemically sensitive to light. On some you can still see the traces where successive pieces of paper have been stuck in place.

However, While Talbot quietly continued his experiments, he discovered that he had a rival. In January 1839, Louis Daguerre was finding own method for fixing the shadows.

Daguerreotype is a direct-positive process, creating a highly detailed image on a sheet of copper plated with a thin coat of silver without the use of a negative. The process required great care. The silver-plated copper plate had first to be cleaned and polished until the surface looked like a mirror. The daguerreotype process made it possible to capture the image seen inside a camera obscura and preserve it as an object. It was the first practical photographic process and ushered in a new age of pictorial possibility.

Richard Maddox invented lightweight gelatine negative plates for photography in 1871.  photographers could use commercial dry plates off the shelf instead of having to prepare their own emulsions in a mobile darkroom. Negatives did not have to be developed immediately.

Photography summer task

Ernst Hass was a colour photographer born in
march 1921 in Vienna and died on 12th September
1986.


Just after the war Hass took up
photography. After being recognised
he started photographing for LIFE,
Vogue, and Look.
Ernst Hass’ parents always encouraged him to pursue his
creative talents and gave him confidence to start his career in
photography. He saw the world in colour, and refused to copy
most photographers back then so started taking photos in colour.
He bought his first camera at the age of 25 and since then he became an avid
documentarian. He was the first person to publish a colour photo essay for
LIFE in 1953 on Returning Prisoners of War. After that he joined the circle of
celebrity photographers. They helped him to pursue his dreams.

Aperture and depth of field

AF (auto focus) is more typically used when taking photos as the camera will focus its self. MF (manual focus) is more effective when trying to get a specific light or focal point.

the aperture setting controls the size of the lens opening that allows light into your camera. You can blur the foreground and background that bracket your subject (known as shallow depth of field) by opening up the aperture with a low f-stop number; alternatively, you can keep your photo sharp from the foreground through to the background (known as wide depth of field) by closing the aperture down with a high f-stop number.

The photographer can change the settings on the camera in order to alter the amount of light entering the lens. This directly affects the depth of field of the subject being viewed

deep depth of field

medium depth of field

shallow depth of field

Ralph Eugene Meatyard was a visionary photographer known for his dreamlike black & white photographs of family members in masks, elegant portraits of bohemian friends and radical experiments in abstraction. As he had an interest in Zen Buddhism it guided his intuitive process for making photographs