the difference in their approach to image-making in the streets.
William Klein is considered one of the most influential street photographers of all time. He had a ‘no non-sense’ attitude to street photography and liked to confront people. He rebelled against many of the contemporary styles of photography during his time, especially that of Henri Cartier-Bresson and other “classic” street photographers. Klein experimented with lots of different focal lengths during his career– but he is most well-known for his up-and-close and personal work with a wide-angle lens.
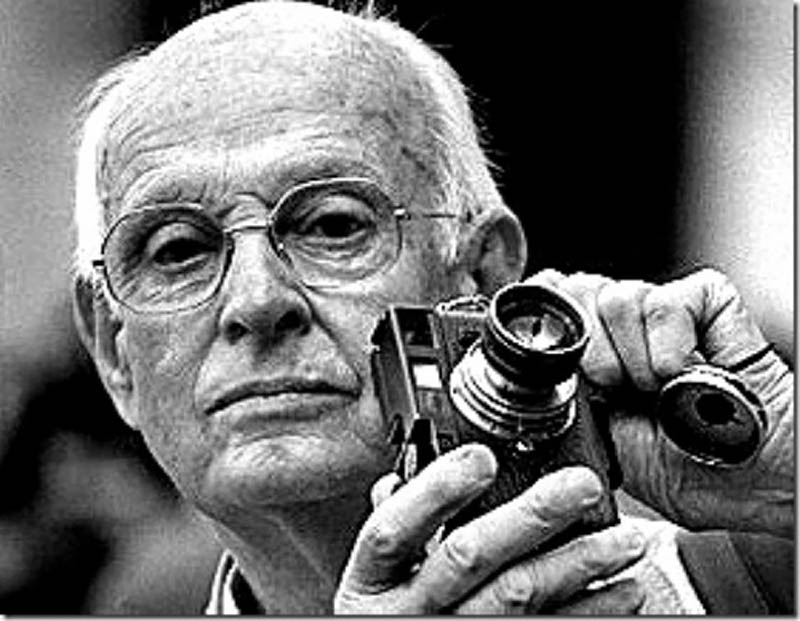
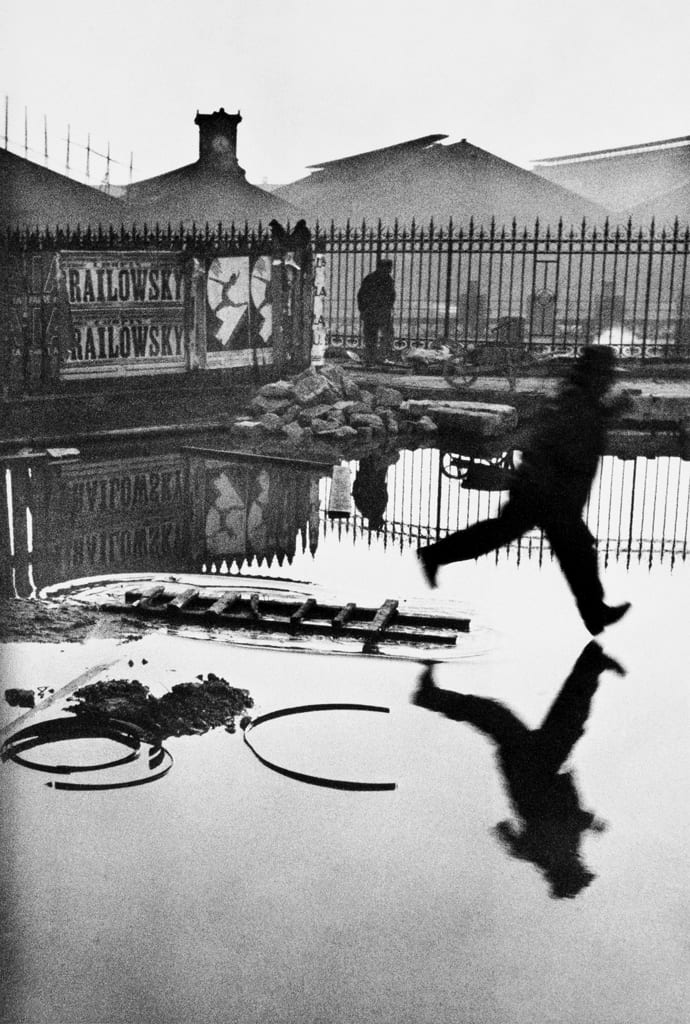
Henri Cartier-Bresson is a French photographer who is considered to be one of the fathers of photojournalism and masters of candid photography. He wanted to capture the ‘everyday’ in his photographs and took great interest in recording human activity. he used geometry, symmetry, and structure in his photography. he used Wide-angle lenses, close and intrusive. He believed in being invisible, using small Leica cameras, and never cropping his photos. he took photos of everyday life, street scenes, politics, and human behaviour and often captured candid photos across the world. he also took photos of major historical moments. when he took his photos he avoided using the flash, he avoided manipulation the photo or staging the photo. he would wait for the perfect moment to take the photo as back then you could only take a certain amount so he didn’t want to waste them.
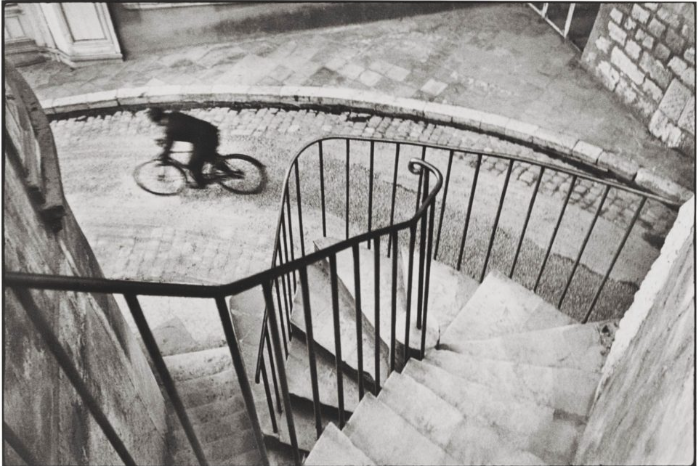
Henri Cartier Bresson photo
visual
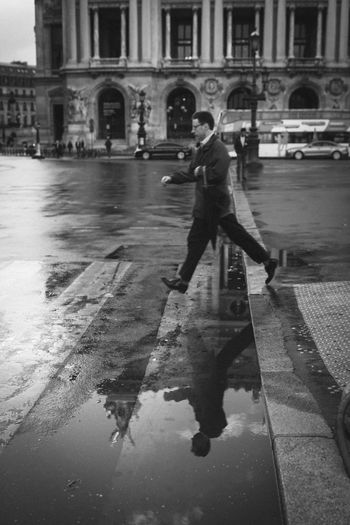
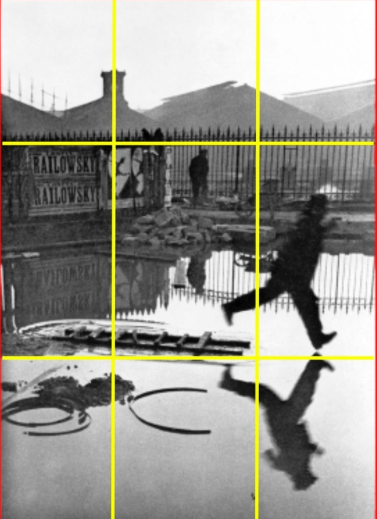
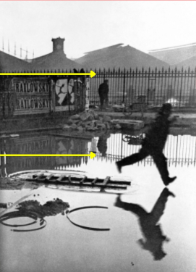
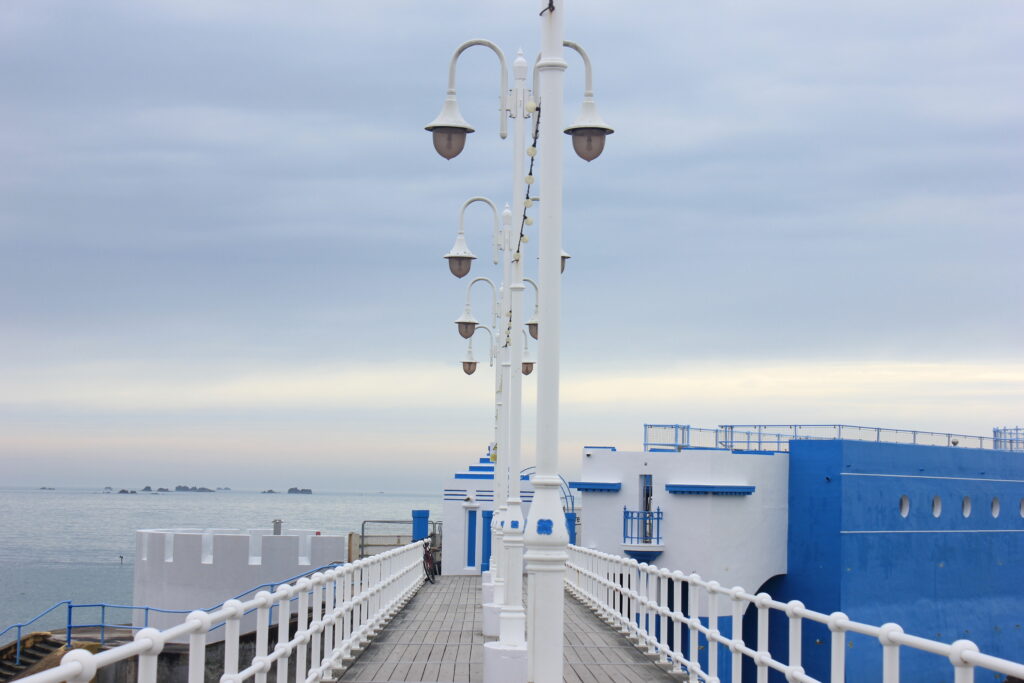
The photograph is a brilliant study of shapes and lines: the circular wheels echo the curves of the steps, while the straight edges of the wall and stairs create a contrast. The boy and his bike are positioned in such a way that they seem to be part of the architecture, integrating human activity with the urban environment.
The image plays with light and shadow, enhancing the 3D effect of the surfaces. Cartier-Bresson captures the boy mid-motion on the bike, freezing an everyday moment of play and freedom.The timing creates a sense of rhythm and flow, consistent with Cartier-Bresson’s “decisive moment” philosophy.
technical
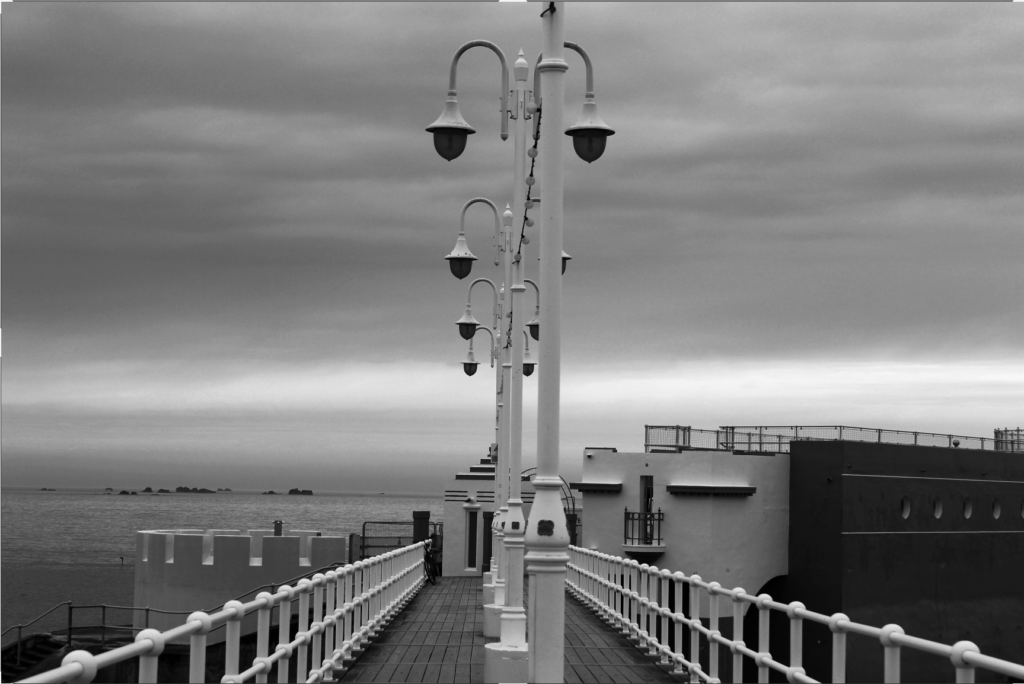
The photo has high contrast — the dark silhouette of the bike and boy stands out against the lighter background of the steps and wall. This contrast sharpens the image’s graphic quality and draws the eye immediately to the subject.
conceptual
The boy’s presence introduces a narrative of childhood, movement, and life in the town. The everyday nature of the moment lends authenticity and spontaneity. The photo exemplifies Cartier-Bresson’s ability to blend human subjects with their environment, showing the poetry of urban life. It transforms a simple scene into an artistic composition, highlighting beauty in the mundane. The image reflects Cartier-Bresson’s deep respect for geometry, light, and timing, combining all these to create an iconic street photograph.
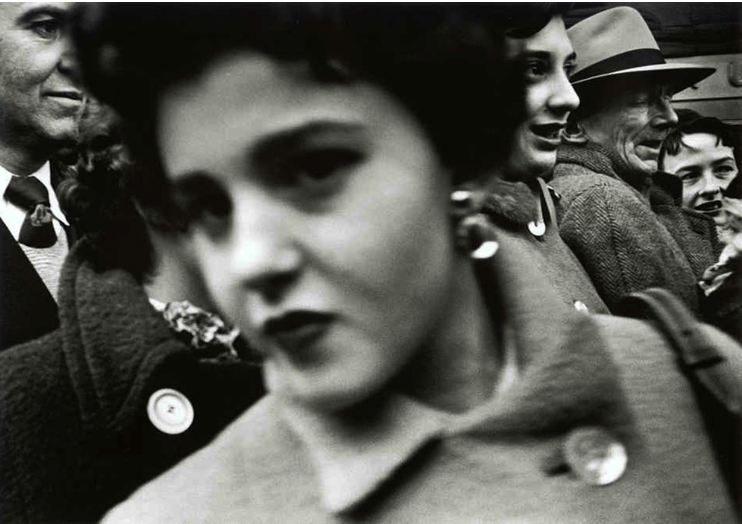
William Kleins photo
this photo is very up in the ladies face, compared to Henris photo which doesn’t have anyone’s face in it and the person doesn’t know their being photographed. William Kline didn’t really give people personal space, he was very confrontational and didn’t mind going up to people. He favoured chaos, blur, grain, and distortion.
when he took his photos he Used wide-angle lenses, close-ups, and high contrast to create intense, often confrontational images, this could often make the public uncomfortable. however when he took photos you could feel the presence in the photo.
in most of his photos there was a sense of Urban chaos, fashion, and most of all street life especially in cities like New York, Tokyo, and Paris.
Broke all the rules of conventional photography, he was intrusive to people but also had a unique photographing method
his photos are in black and white which makes takes away the distractions of colour, this lets the viewer to focus on the composition, contrast, and emotion which is shown through light and shadow. the photo has a high contrast due to it being dark shades of black and white. he has also created a motion blur, in the photo the background is more in focus than the foreground.
this is a very crowded photo as there are many people, the main focus point is the woman however the people in the background are also important as they help create the scene of the picture.