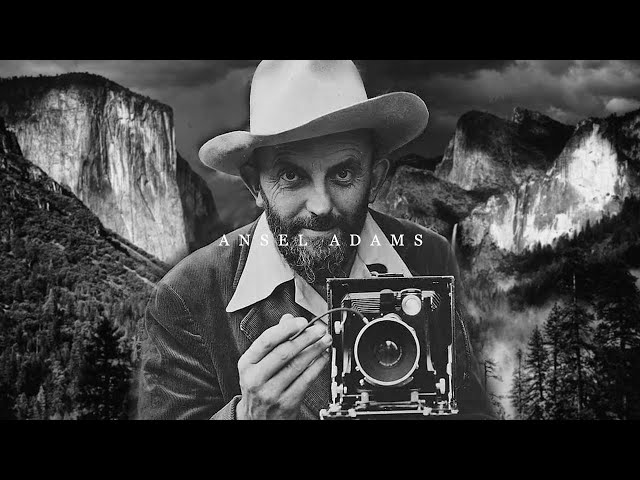
ANSEL ADAMS
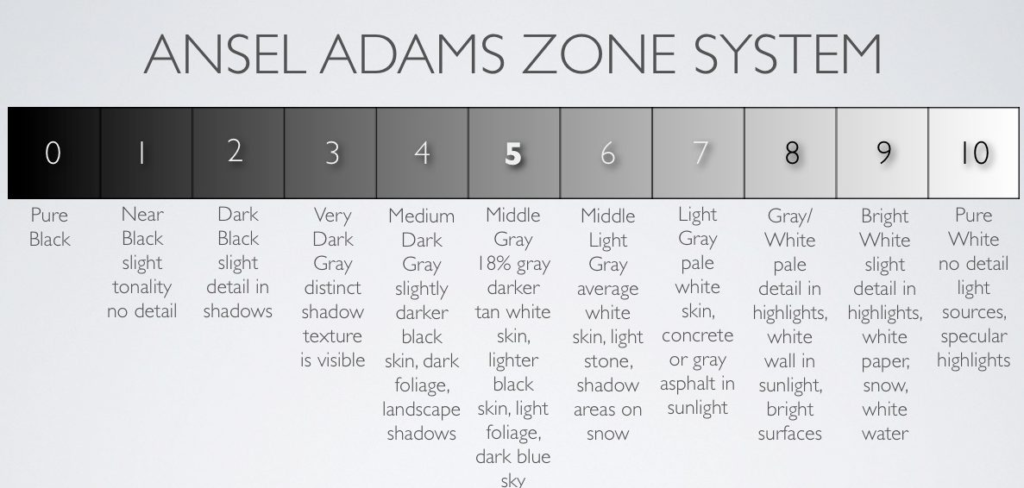
Ansel Adams was an American landscape photographer and environmentalist, widely known for his black and white images of the American West. He was a co-founder of Group f/64, an association of photographers advocating for “pure” photography. This approach emphasized sharp focus, a full tonal range, and precise attention to detail. To achieve this, Adams developed the Zone System, a technique designed to ensure all tonal values were represented in an image ; from pure black to pure white, with 11 shades of Gray in between.
Beyond his contributions to photography, Adams was a passionate advocate for environmental conservation. His work in national parks helped to highlight the beauty and power of nature, reinforcing the importance of preservation for future generations.
His Photography
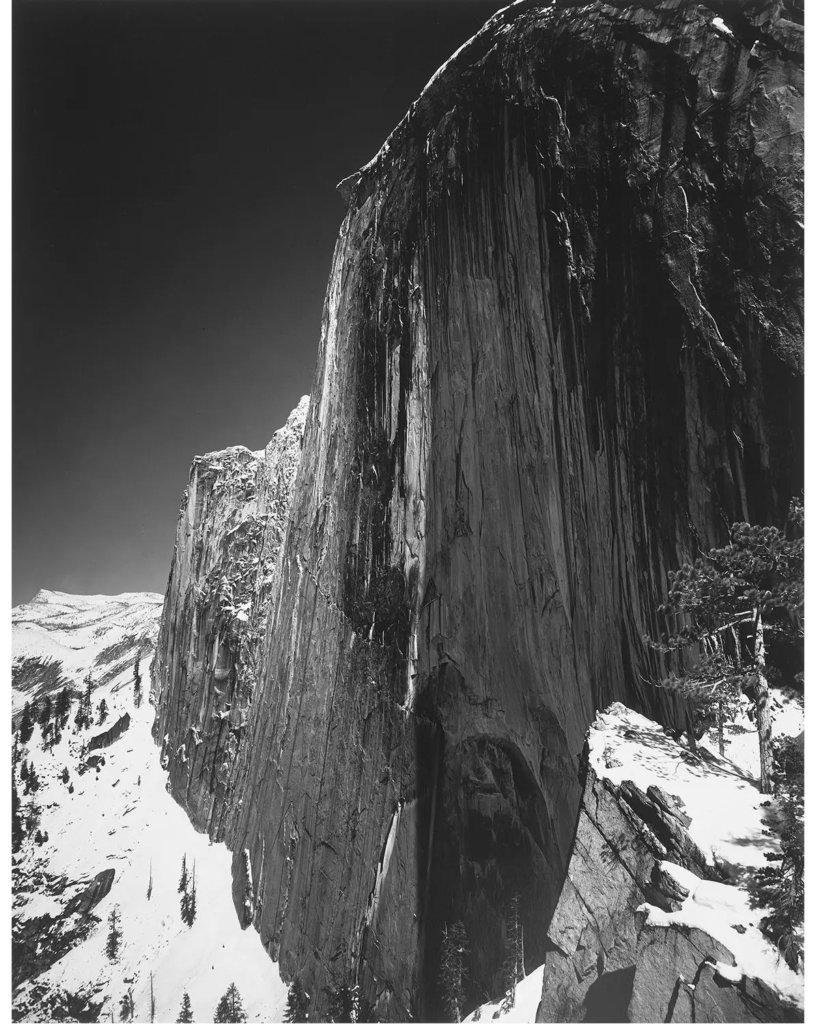
Ansel Adams’ photographic style is characterized by its sharp focus, exceptional detail, and dramatic use of light and shadow. He sought to capture the grandeur and beauty of the natural world, emphasizing the importance of preserving these pristine landscapes.
One of Adams’ key compositional techniques was to position the horizon about two-thirds up the frame. This choice placed emphasis on the landscape rather than the sky, enhancing the sense of scale and drama in his photographs.
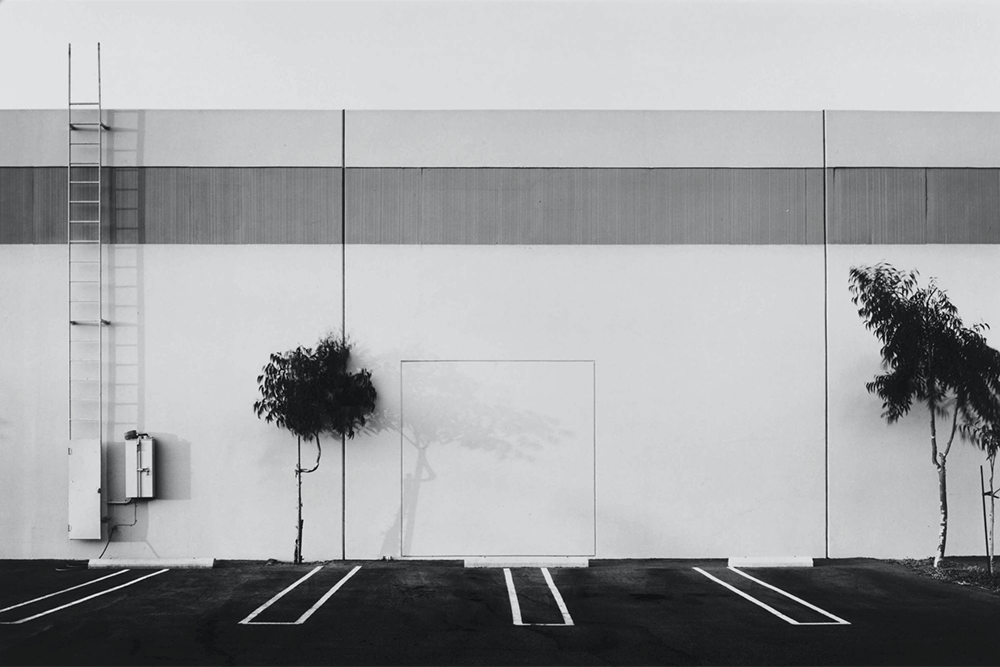
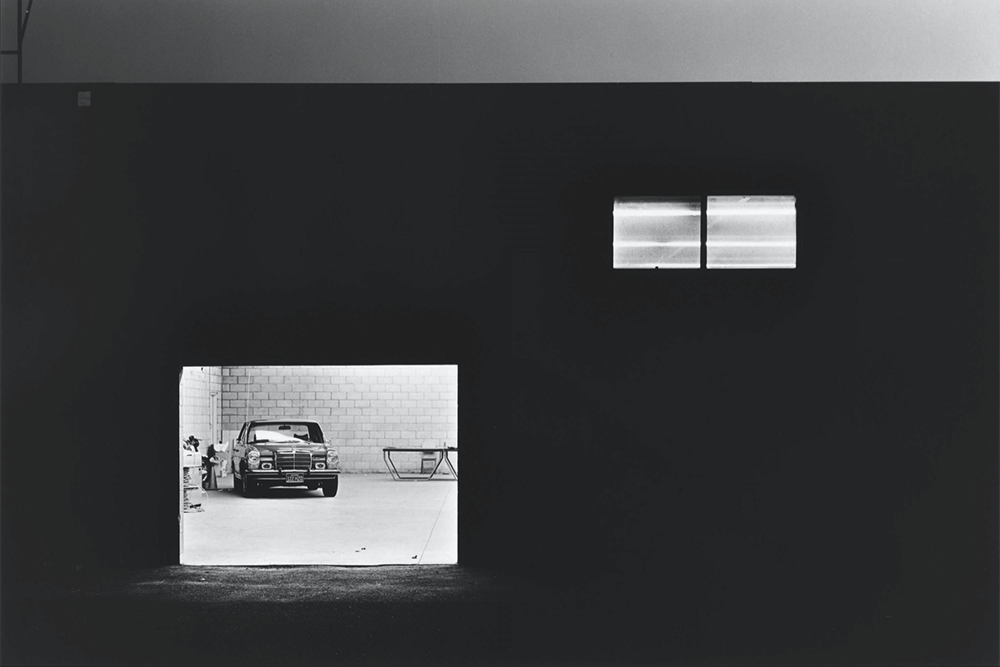
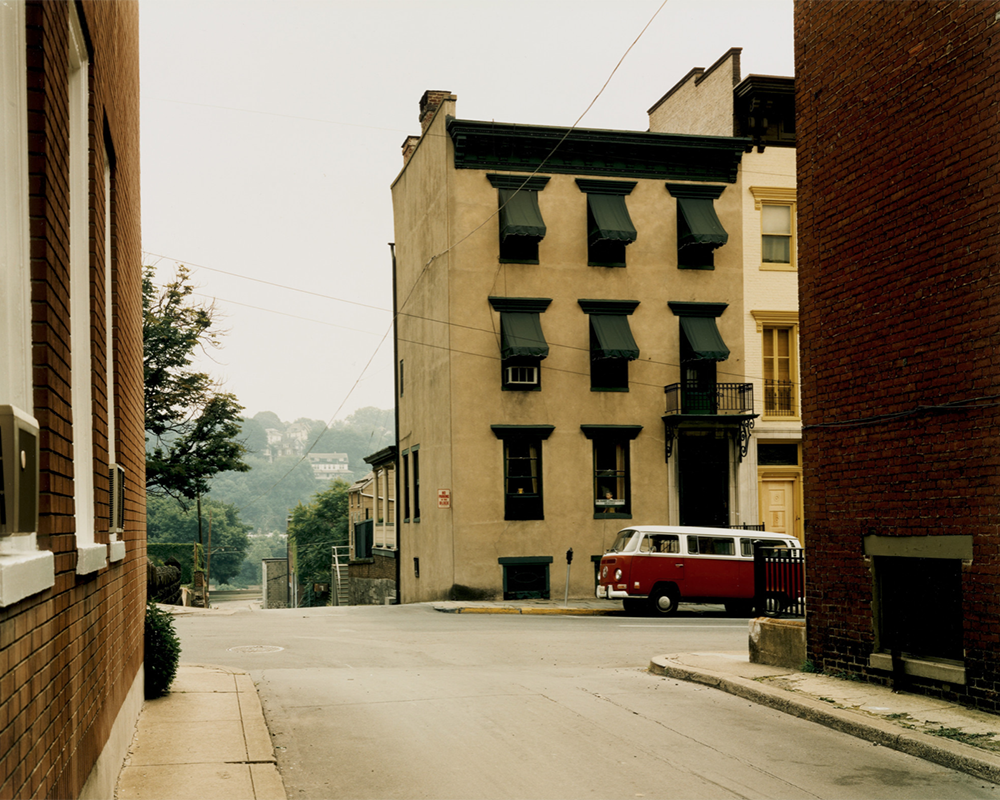
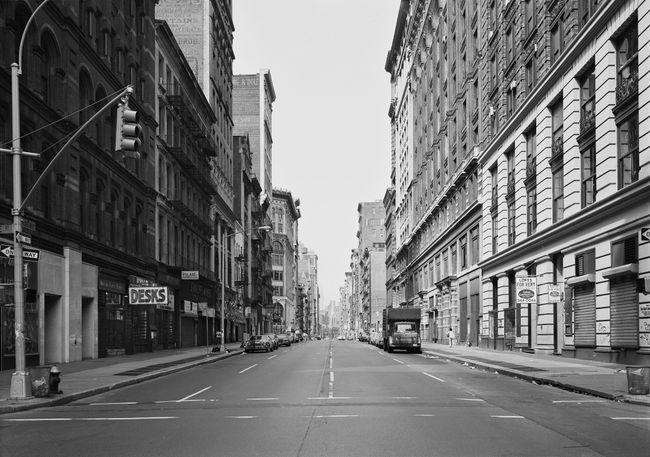
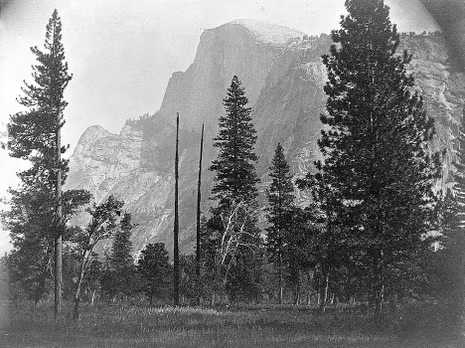
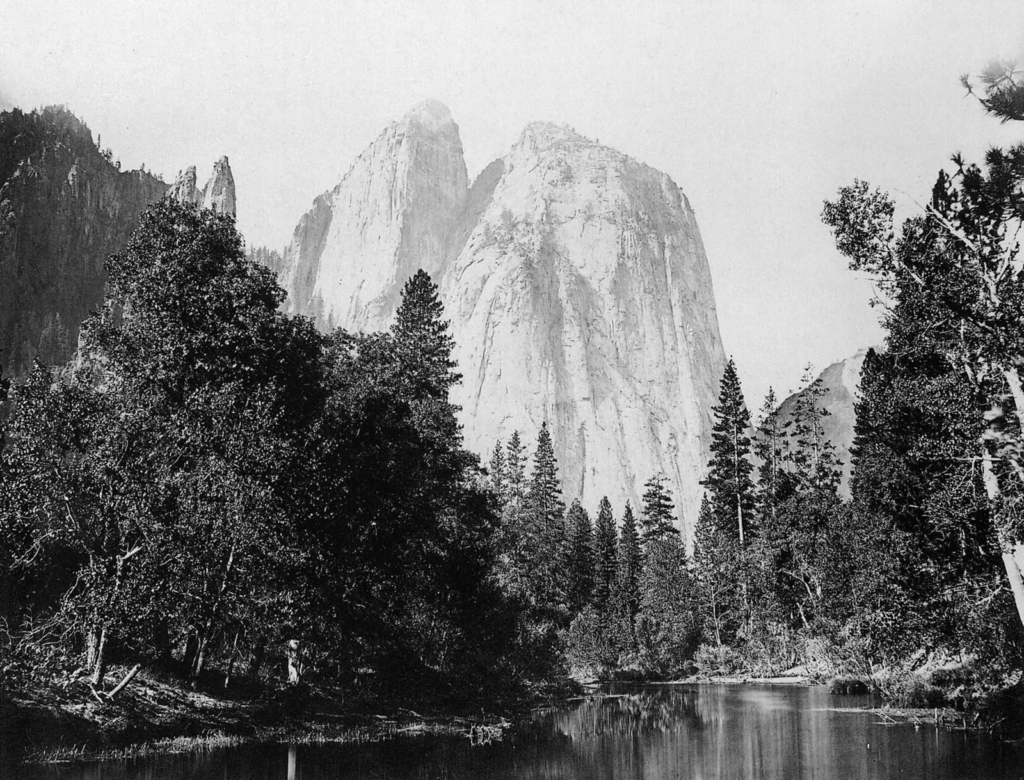
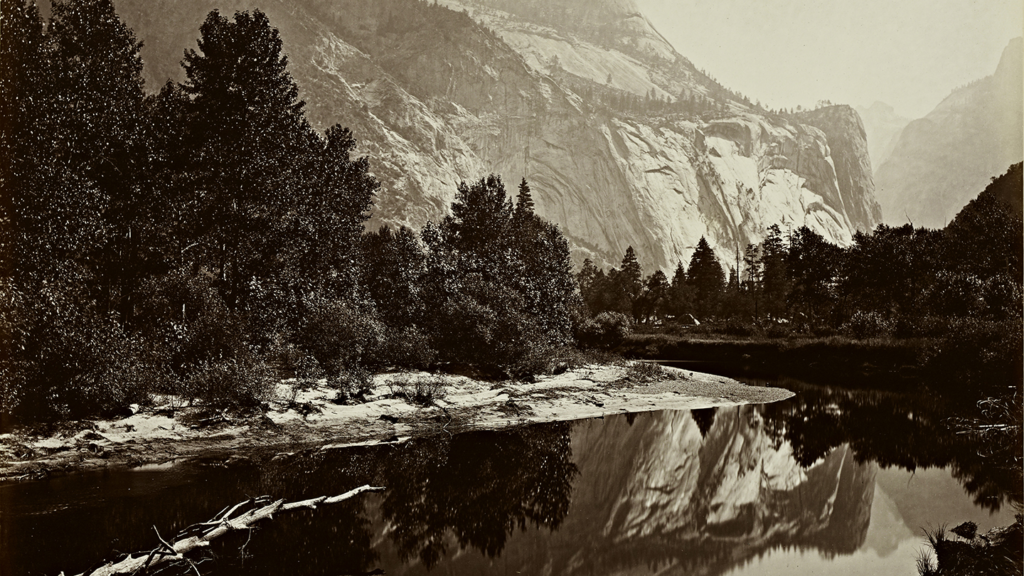
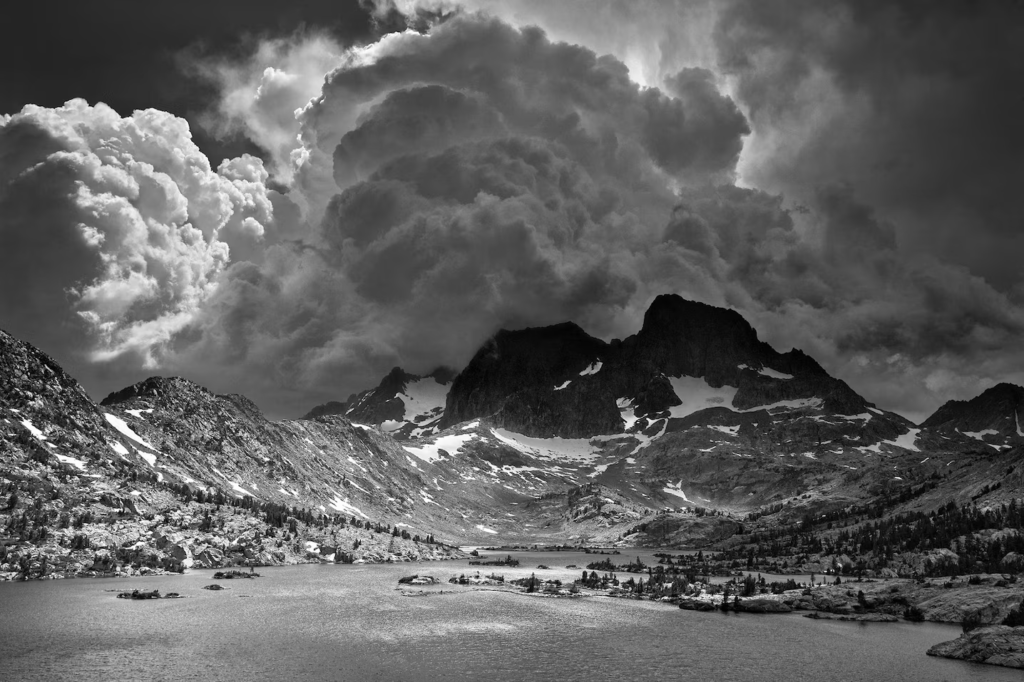
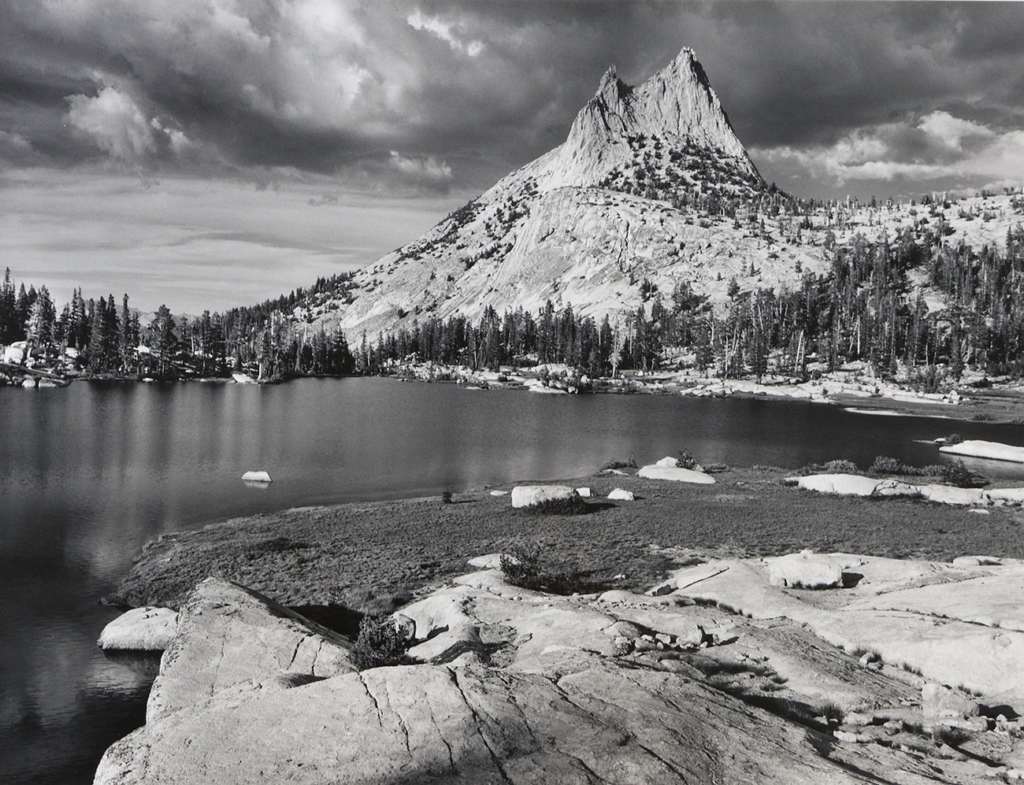
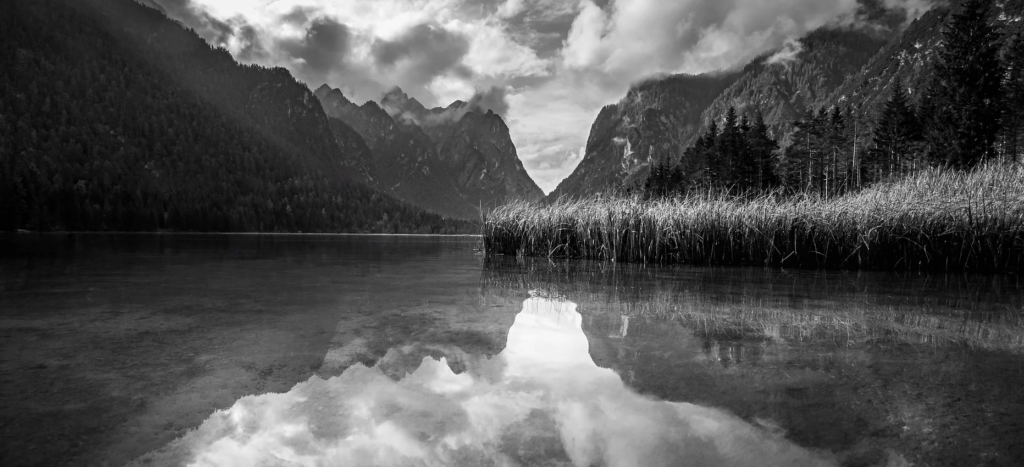
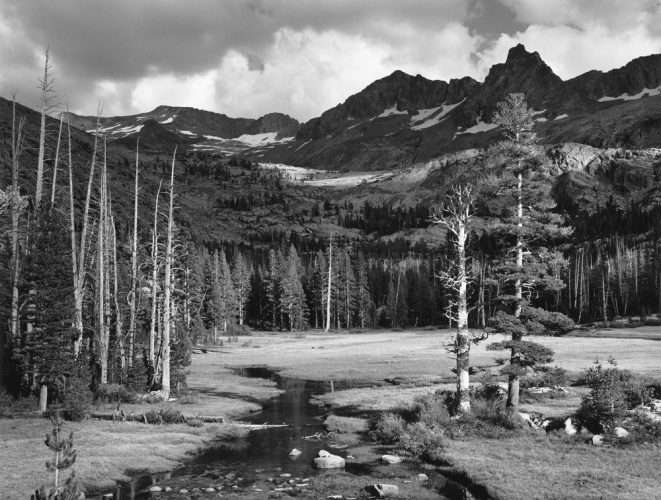
Ansel Adams Photography Mood Board
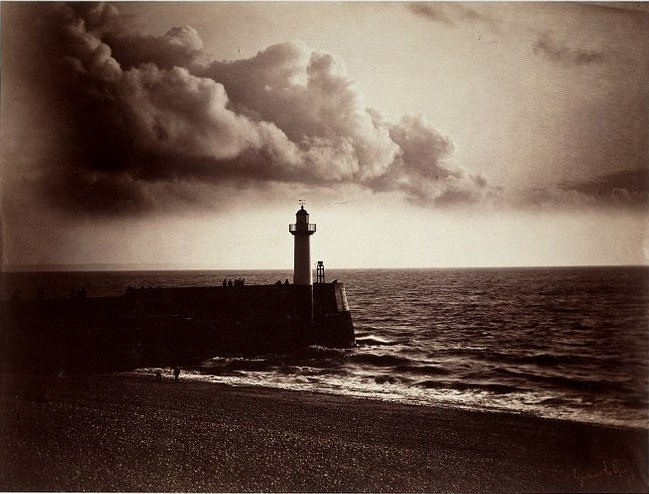
Ansel Adams Photo analysis
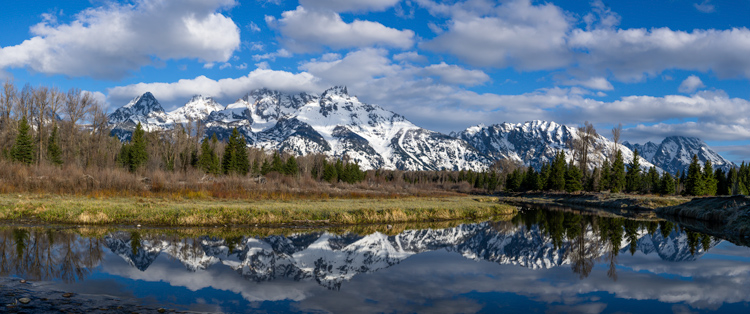
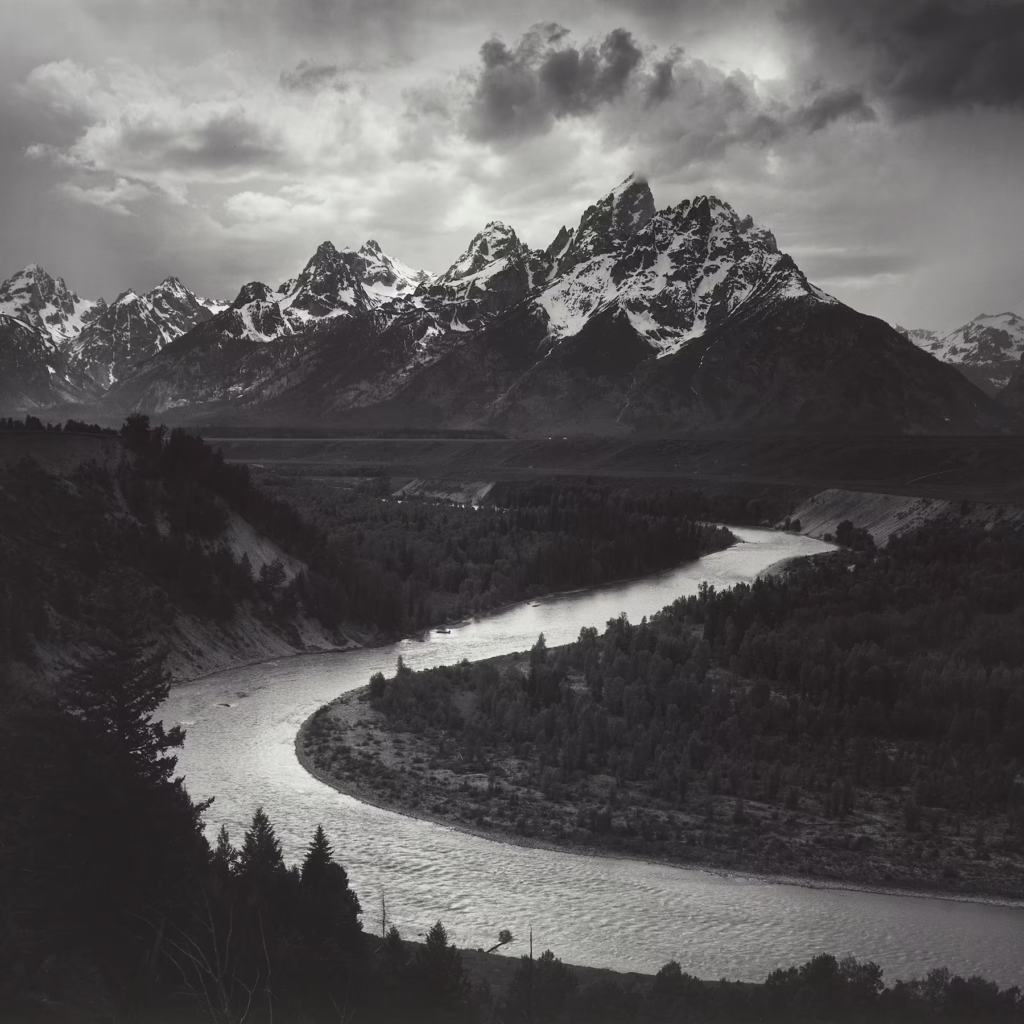
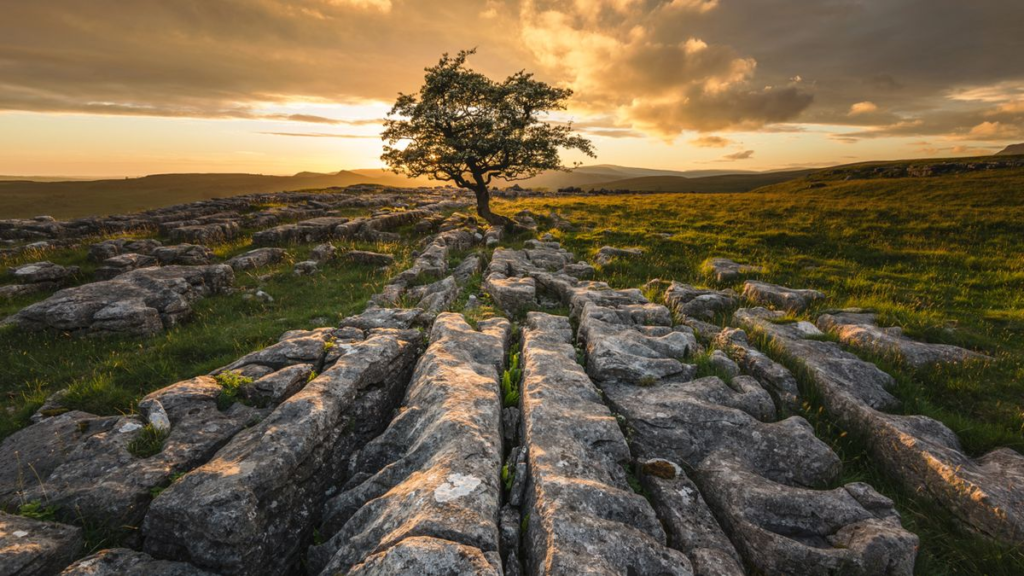
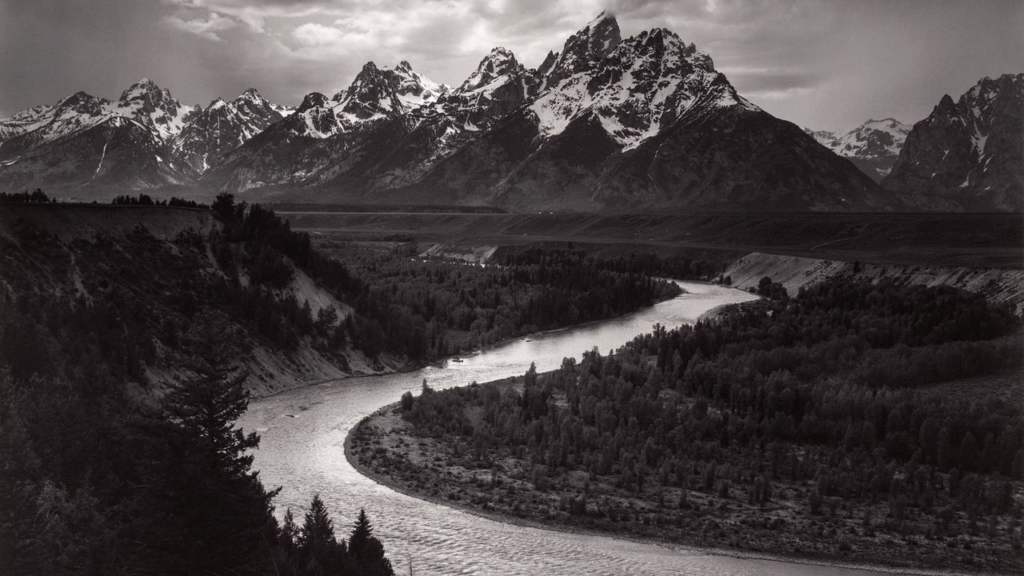
The Tetons – Snake River
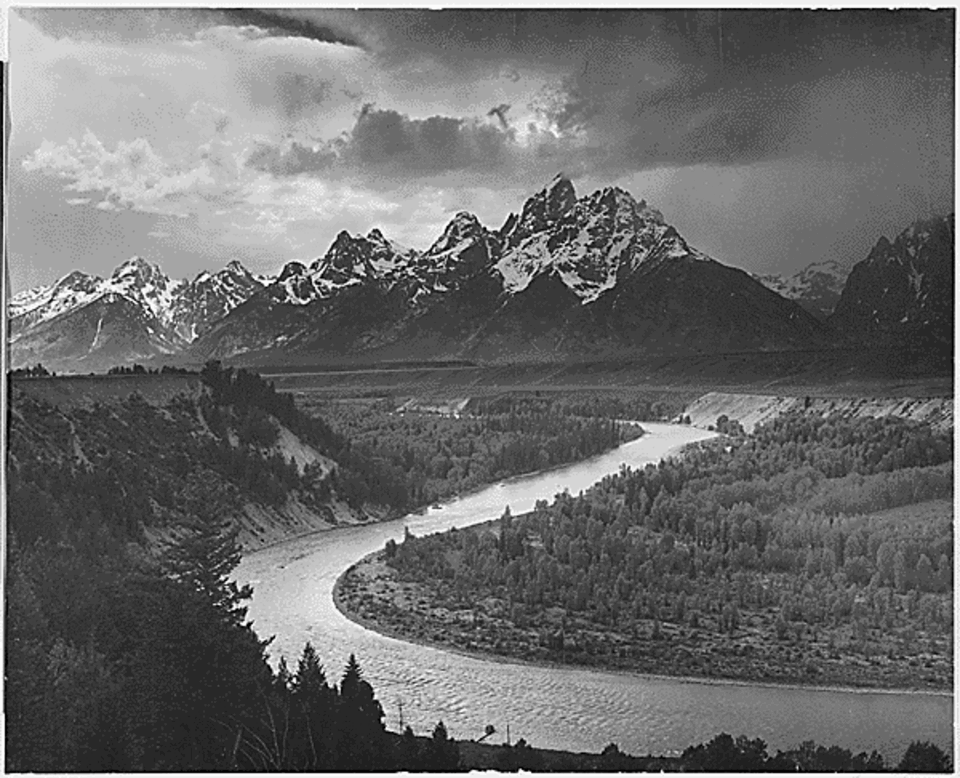
Technical Analysis
Lighting: The image features natural lighting, with strong contrasts between highlights and shadows. The light emphasizes the rugged texture of the mountains and the flowing river.
Aperture: Likely a small aperture (high f/stop), ensuring deep depth of field so that everything from the foreground to the distant mountains appears sharp and clear.
Shutter Speed: Given the clarity of the image, a fast shutter speed was likely used to prevent motion blur in the river and trees. likely above 1/200.
ISO: Likely low ISO to maintain fine detail and minimize grain, enhancing the crispness of the photograph. ( eg 100 iso)
White Balance: The black-and-white palette emphasizes tonal contrast rather than colour .
Visual Analysis
Colour & Tone: The monochrome scheme highlights the tonal range, from deep blacks in the trees to bright whites in the clouds. Which can be linked back to Ansel Adams zonal system.
Texture & Shape: The rough textures of the mountains contrast with the smooth curves of the river.
Pattern & Line: The winding Snake River creates a leading line, guiding the viewer’s eye through the landscape and into the mountains.
Composition: The river serves as a strong focal point, creating depth and movement in the image. The placement of the mountains follows the Rule of Thirds, while the sky and clouds add visual weight to the upper part of the image.
Contextual Analysis
Historical Context: Taken in 1942, this image is part of Adams’ work for the National Park Service, promoting conservation and appreciation of America’s natural beauty. It was also a period when photography was being used to document and preserve landscapes.
Personal Context: Ansel Adams was deeply committed to environmental conservation. His work played a role in shaping public perception of national parks, influencing conservation efforts.
Visual/Conceptual Contexts: This image aligns with the traditions of early landscape photography but elevates it through Adams’ mastery of composition and darkroom techniques. His use of the Zone System ensured precise control over contrast.
Cultural/Social/Political Contexts: The image embodies the American ideal of untouched wilderness, reinforcing the significance of national parks. At the time, the U.S. was involved in World War II, and Adams’ work offered a sense of peace and national pride.
Conceptual Analysis
Meaning & Idea: The photograph captures the scale and majesty of nature, emphasizing the power and beauty of the American landscape.
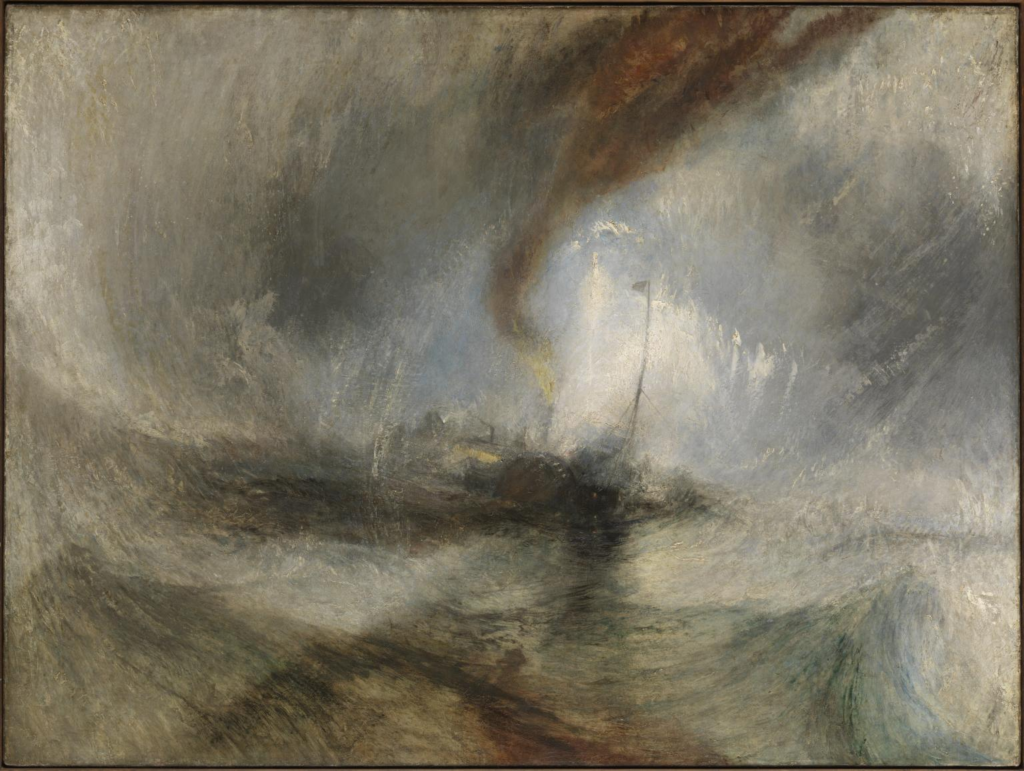
Theoretical Construct: Adams’ work is rooted in the philosophy of environmentalism and the idea that nature should be preserved and appreciated. His approach contrasts with the New Topographics movement, which documented human-altered landscapes in a more detached manner.
Early Life
One of Adams’ earliest memories was witnessing the devastation of the 1906 San Francisco earthquake. At just four years old, he was thrown face-first into a garden wall by an aftershock, leaving him with a broken nose that remained crooked for the rest of his life.
In 1907, his family moved to a home near Seacliff, just south of the Presidio Army Base, with a striking view of the Golden Gate and the Marin Headlands. As a child, Adams was hyperactive, frequently ill, and prone to hypochondria. He had few friends but found solace in nature. He spent much of his time exploring Lobos Creek, Baker Beach, and the rugged coastline of Lands End; an area notorious for shipwrecks and landslides. These early experiences in the natural world would later influence his lifelong passion for landscape photography and conservation.
Comparison of Ansel Adams and Edward Weston
Ansel Adams and Edward Weston were both pioneers of American photography, yet their artistic approaches, techniques, and subject matter were distinctly different. The Photo Literacy Matrix provides insight into their contrasting styles through the uses of technique, composition, subject, and their philosophy.
Influence and Approach to Nature
Adams on Weston’s Influence:
“I can’t tell you how swell it was to return to the freshness, the simplicity and natural strength of your photography … I am convinced that the only real security lies with a certain communion with the things of the natural world.” -Letter from Edward Weston to Ansel Adams, 1936.
While both photographers were deeply inspired by nature, Weston’s approach was more intimate and abstract, focusing on form and texture. Adams, on the other hand, sought to capture vast landscapes with unparalleled precision. This letter reflects Adams’ appreciation for Weston’s minimalist style and direct relationship with nature.
Adams on His Own Technique (Zone System)
“I developed the Zone System as a way to create consistency and accuracy in the photographic process. It was about controlling exposure and development to produce the exact tonal range I wanted. I wanted the photographs to be as precise as possible.” -Ansel Adams
Adams’ Zone System was a highly technical method, allowing photographers to control exposure and tonal values with scientific precision. In contrast, Weston was more intuitive, relying on his eye and emotional response rather than strict technical guidelines.
Weston on Adams’ Work
“There is a grandeur in Adams’ work, an extraordinary definition, but it is more than that – it is the clarity with which he sees, the care with which he interprets, and the immense patience with which he waits for the perfect light.” – Edward Weston
Weston admired Adams’ meticulous craftsmanship, patience, and ability to capture nature’s grandeur. This highlights the contrast between Adams’ structured approach and Weston’s more spontaneous, emotional engagement with his subjects.
Critical Perspectives on Adams and Weston
“Ansel Adams captured the majesty of the American West with unparalleled clarity and precision, while Edward Weston’s work transcends documentary, transforming simple forms into complex works of art that explore the depths of human experience.” -Photography Critic
This comparison underscores Adams’ reputation for technical excellence and breath-taking landscapes, while Weston is celebrated for his abstract, intimate compositions that evoke deeper artistic and emotional responses.
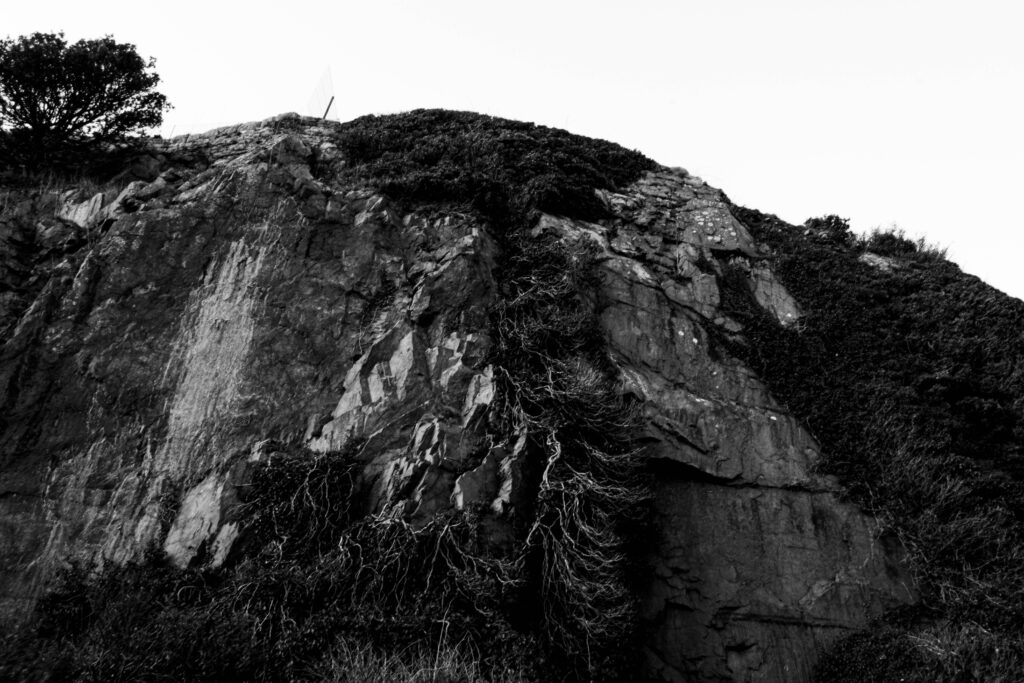
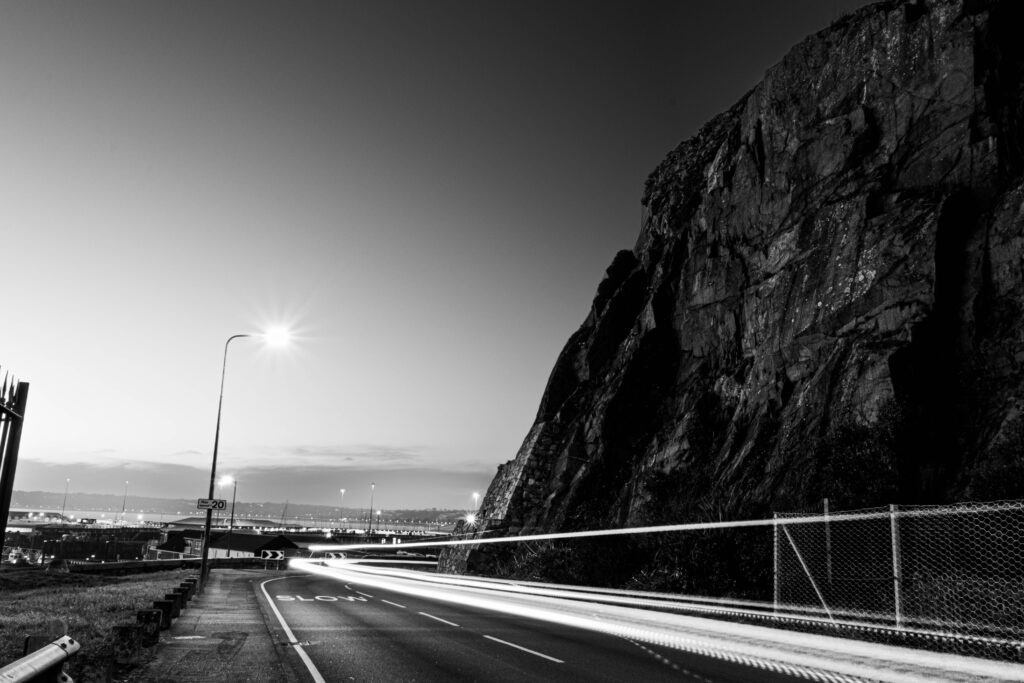
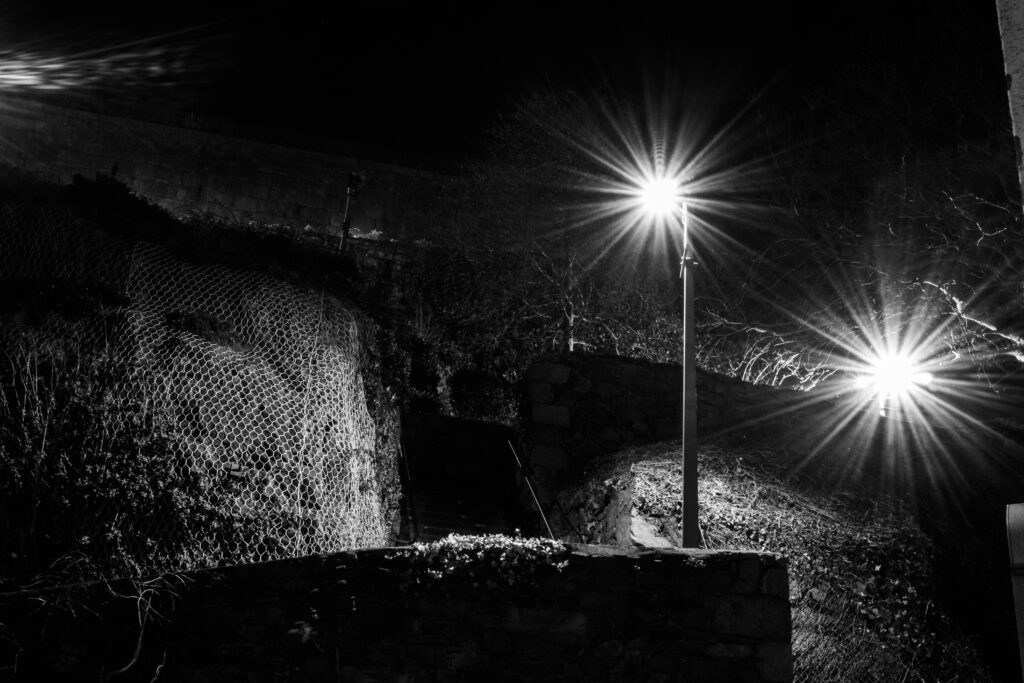
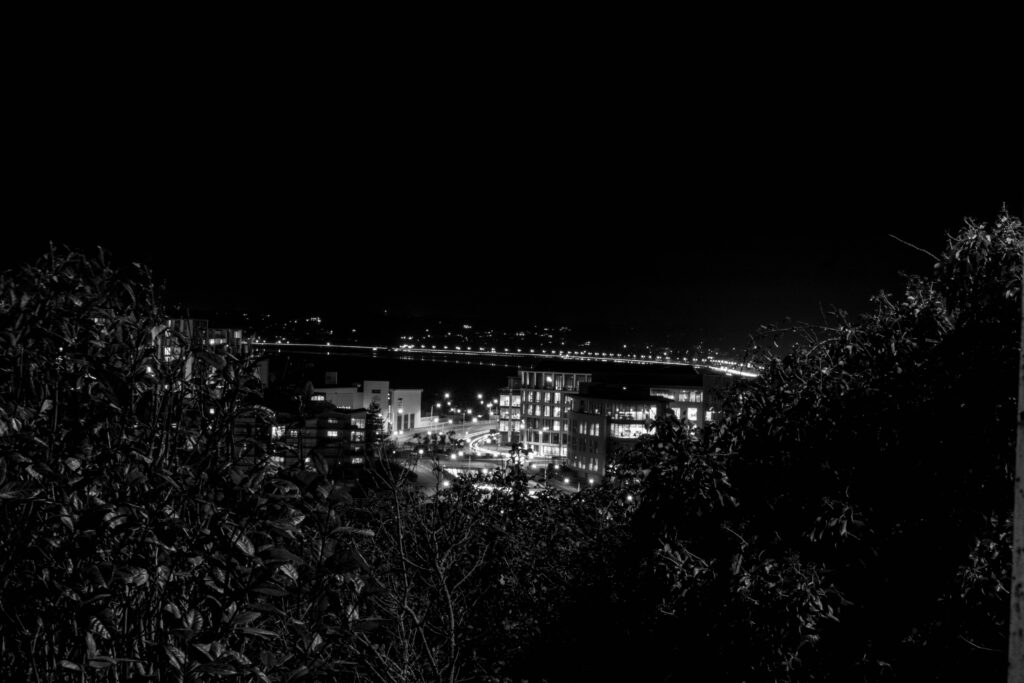
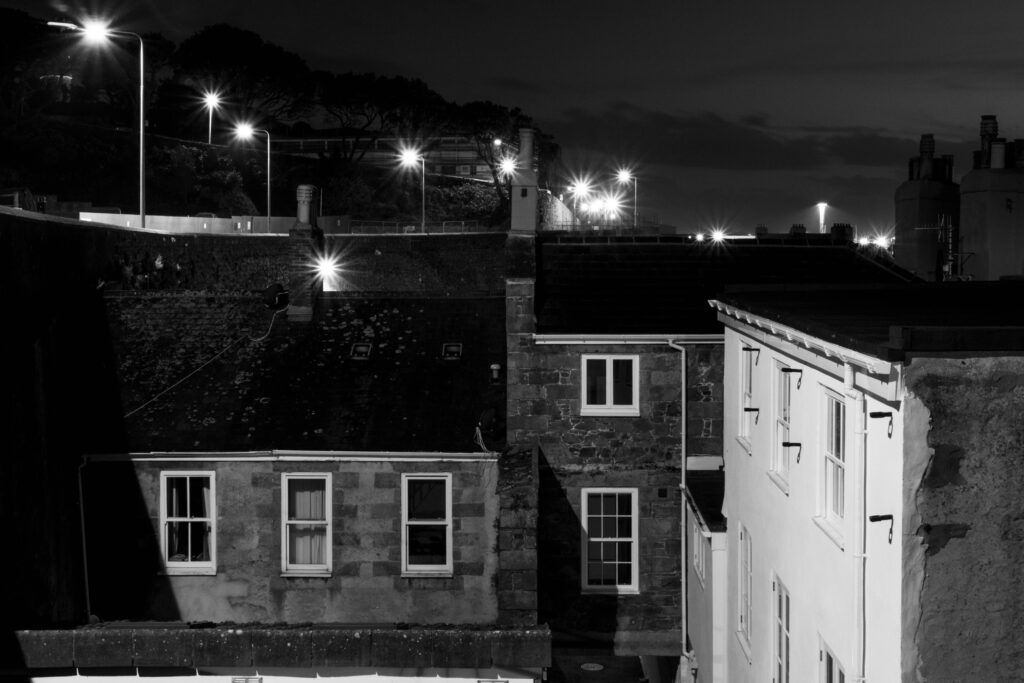
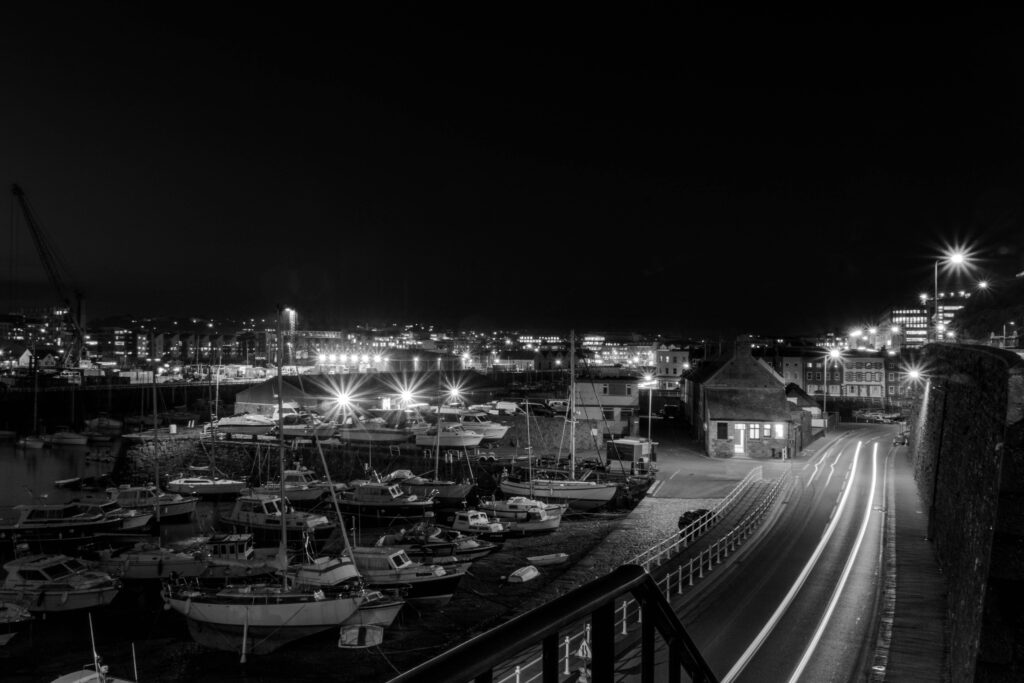
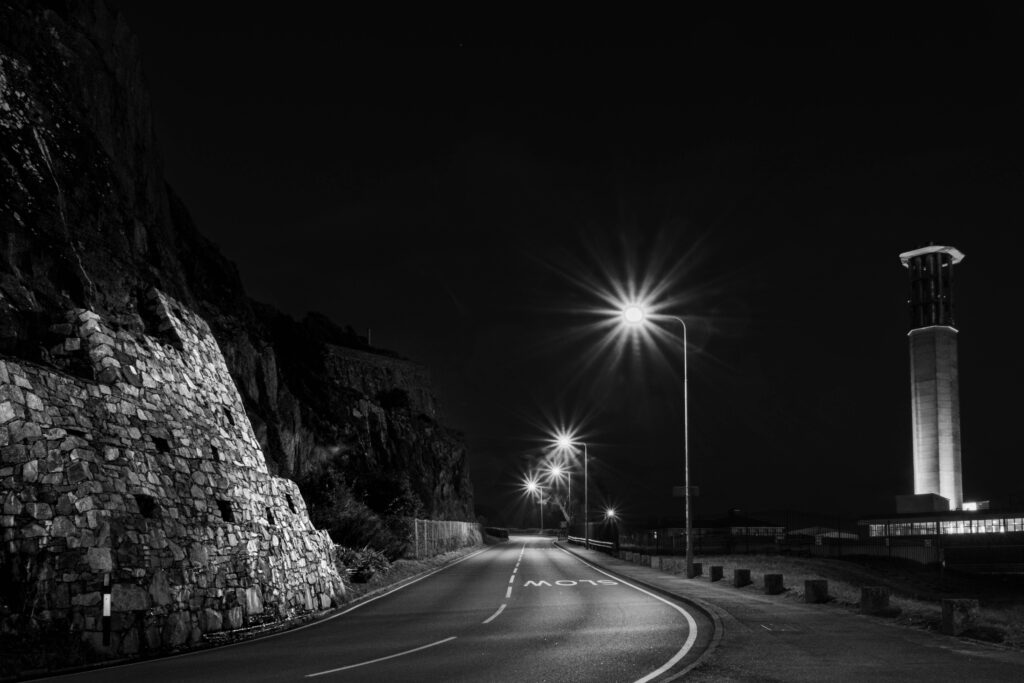
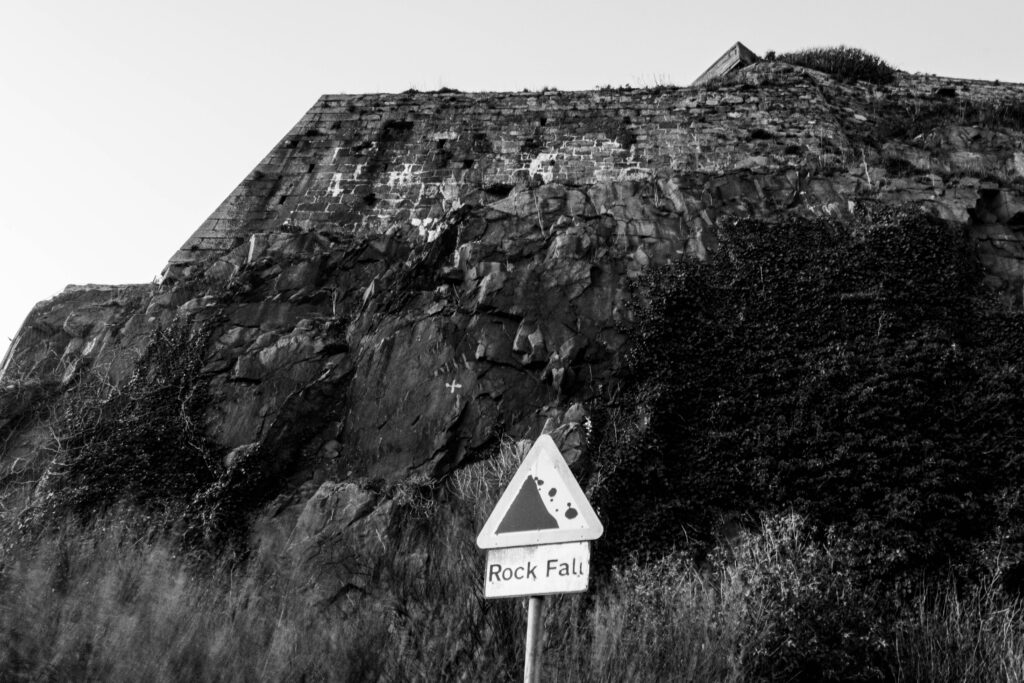
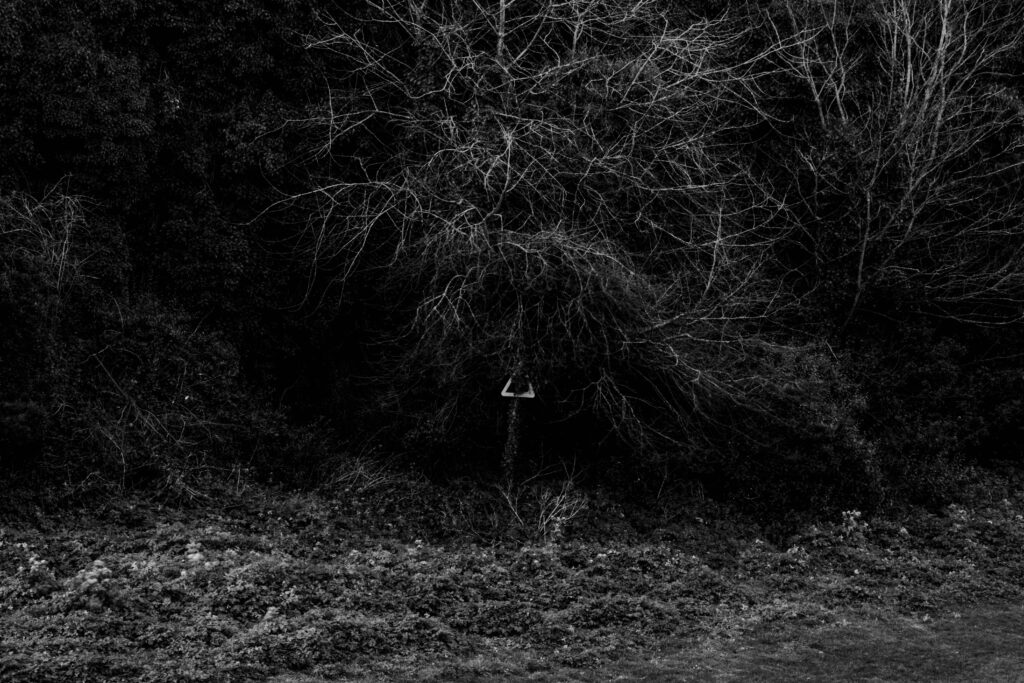
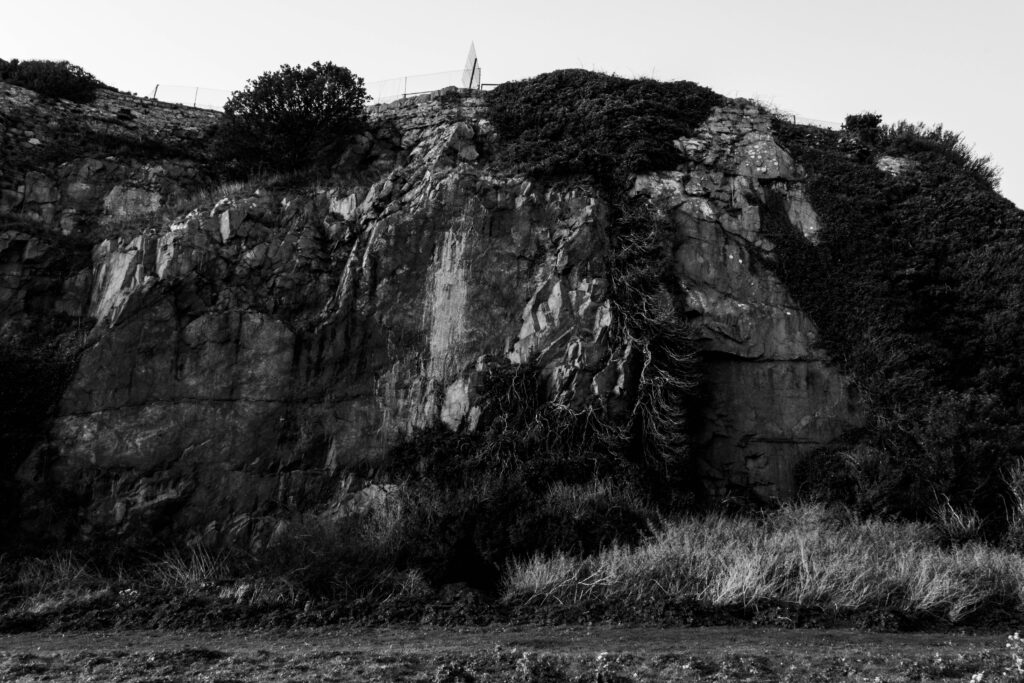
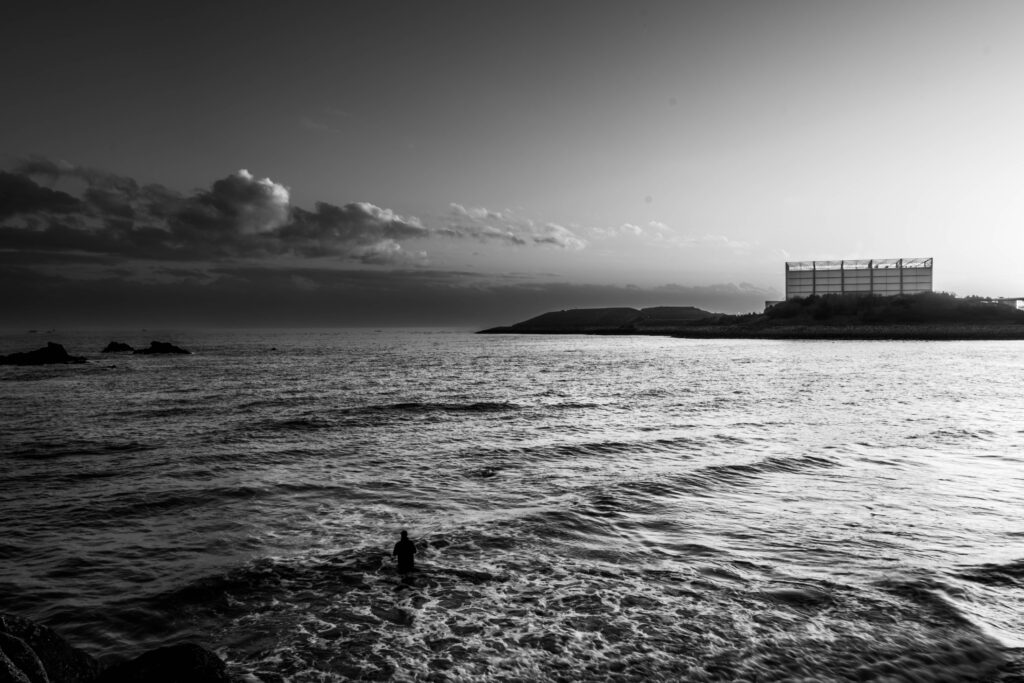
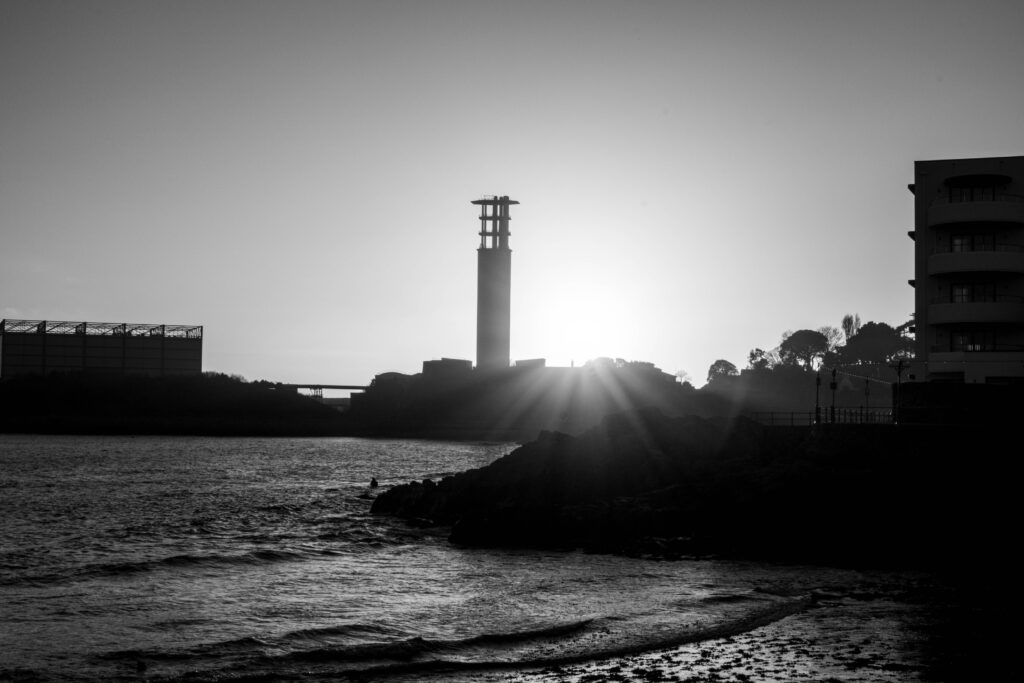
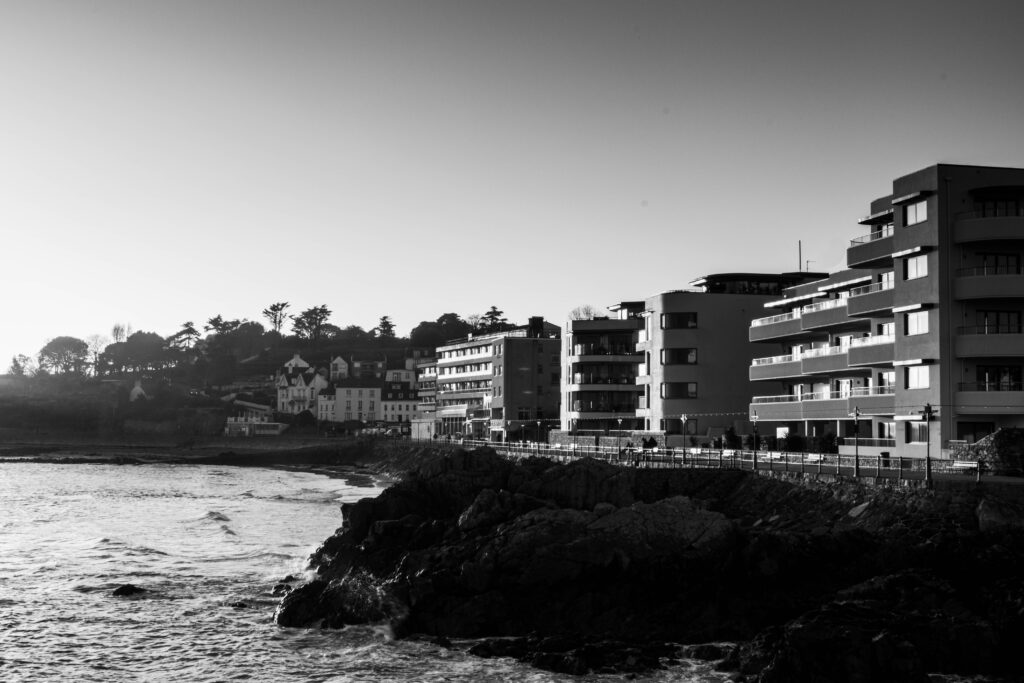
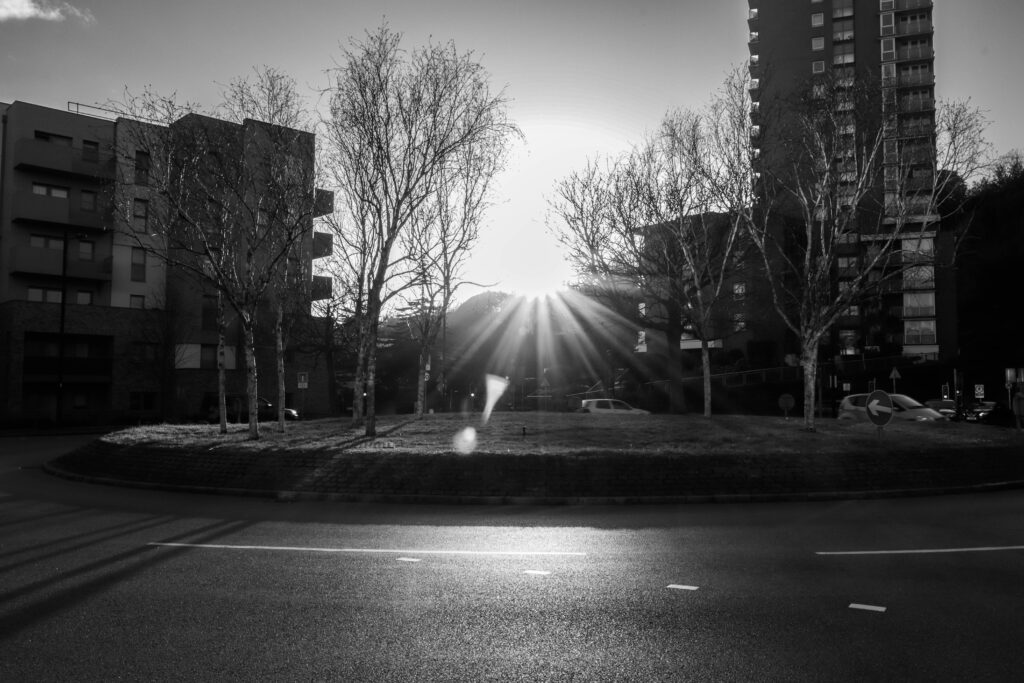
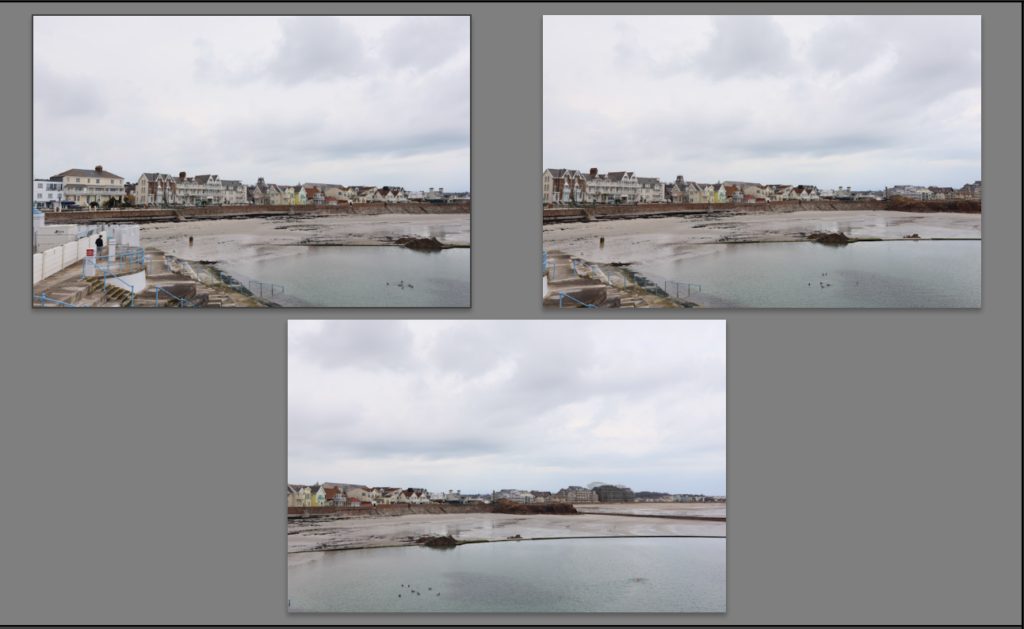
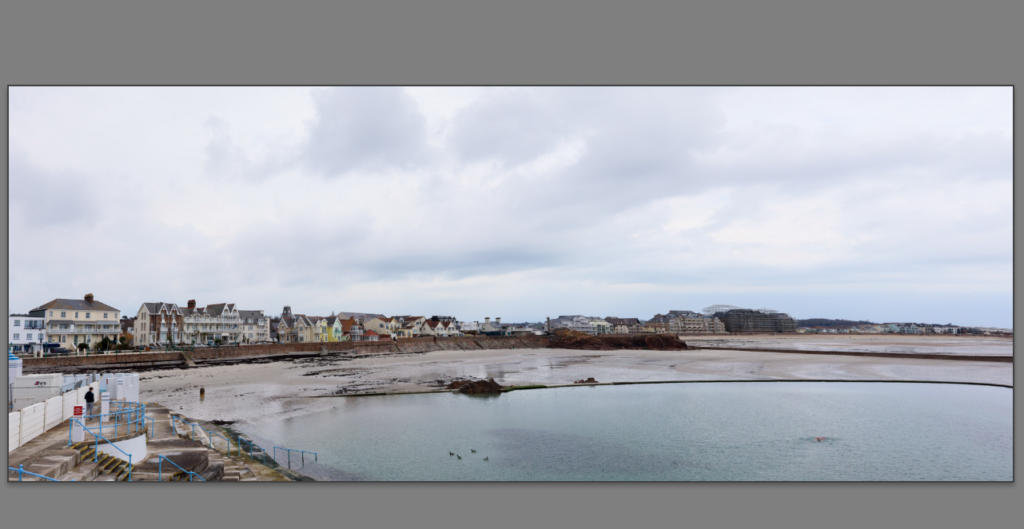
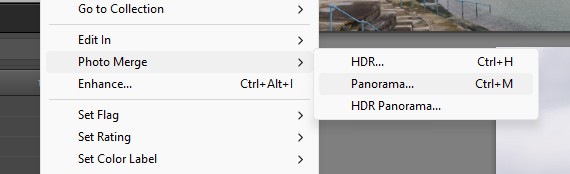
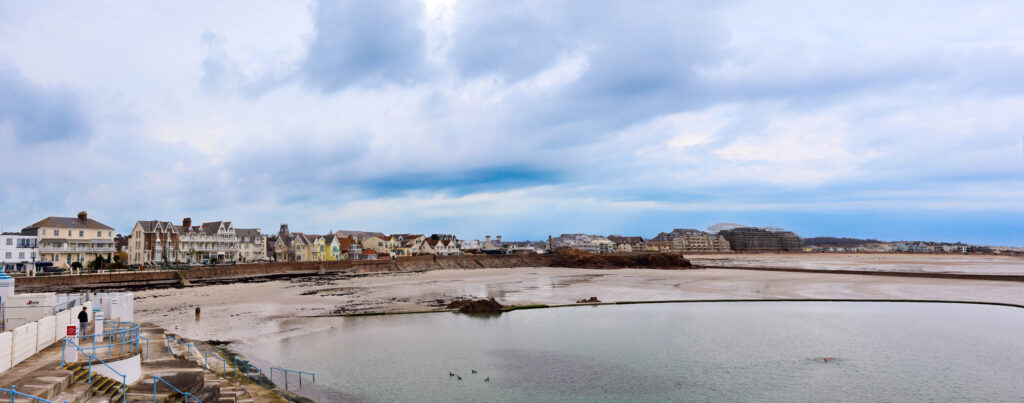
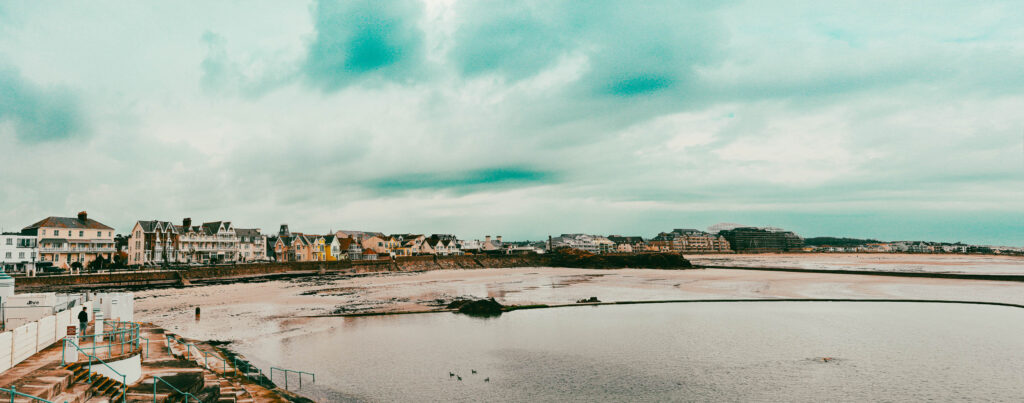
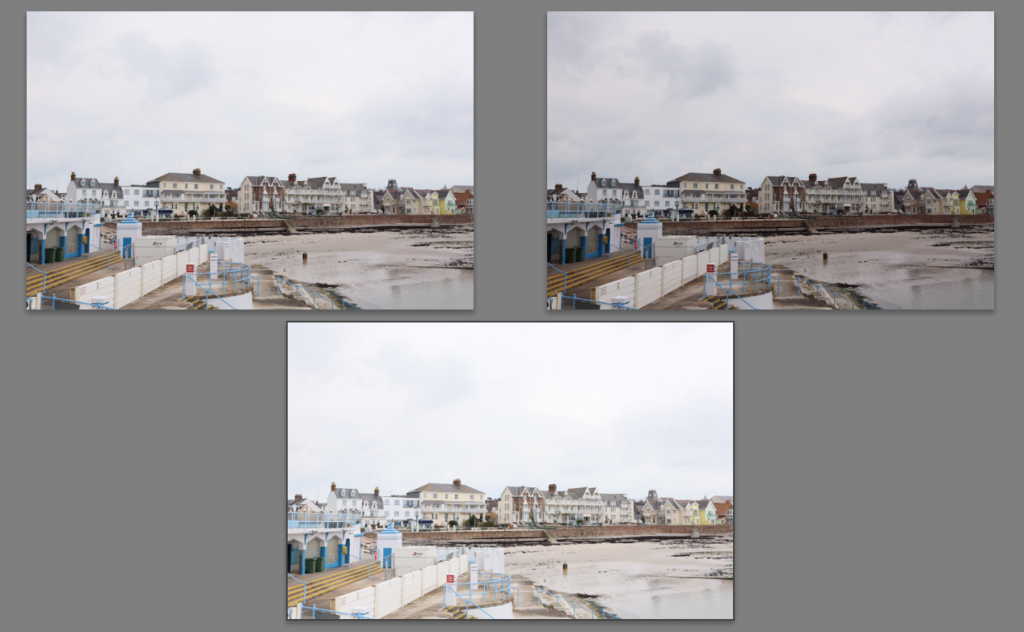
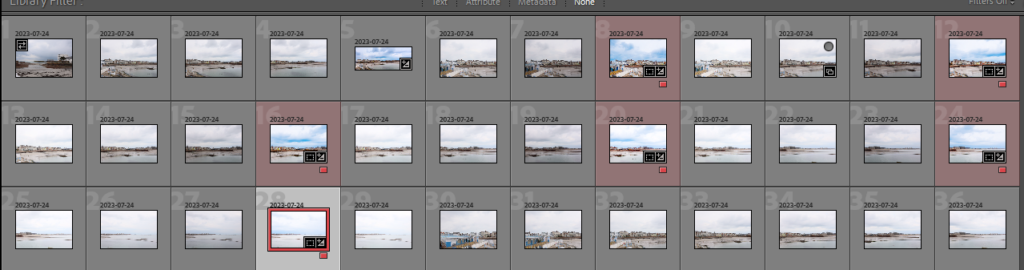
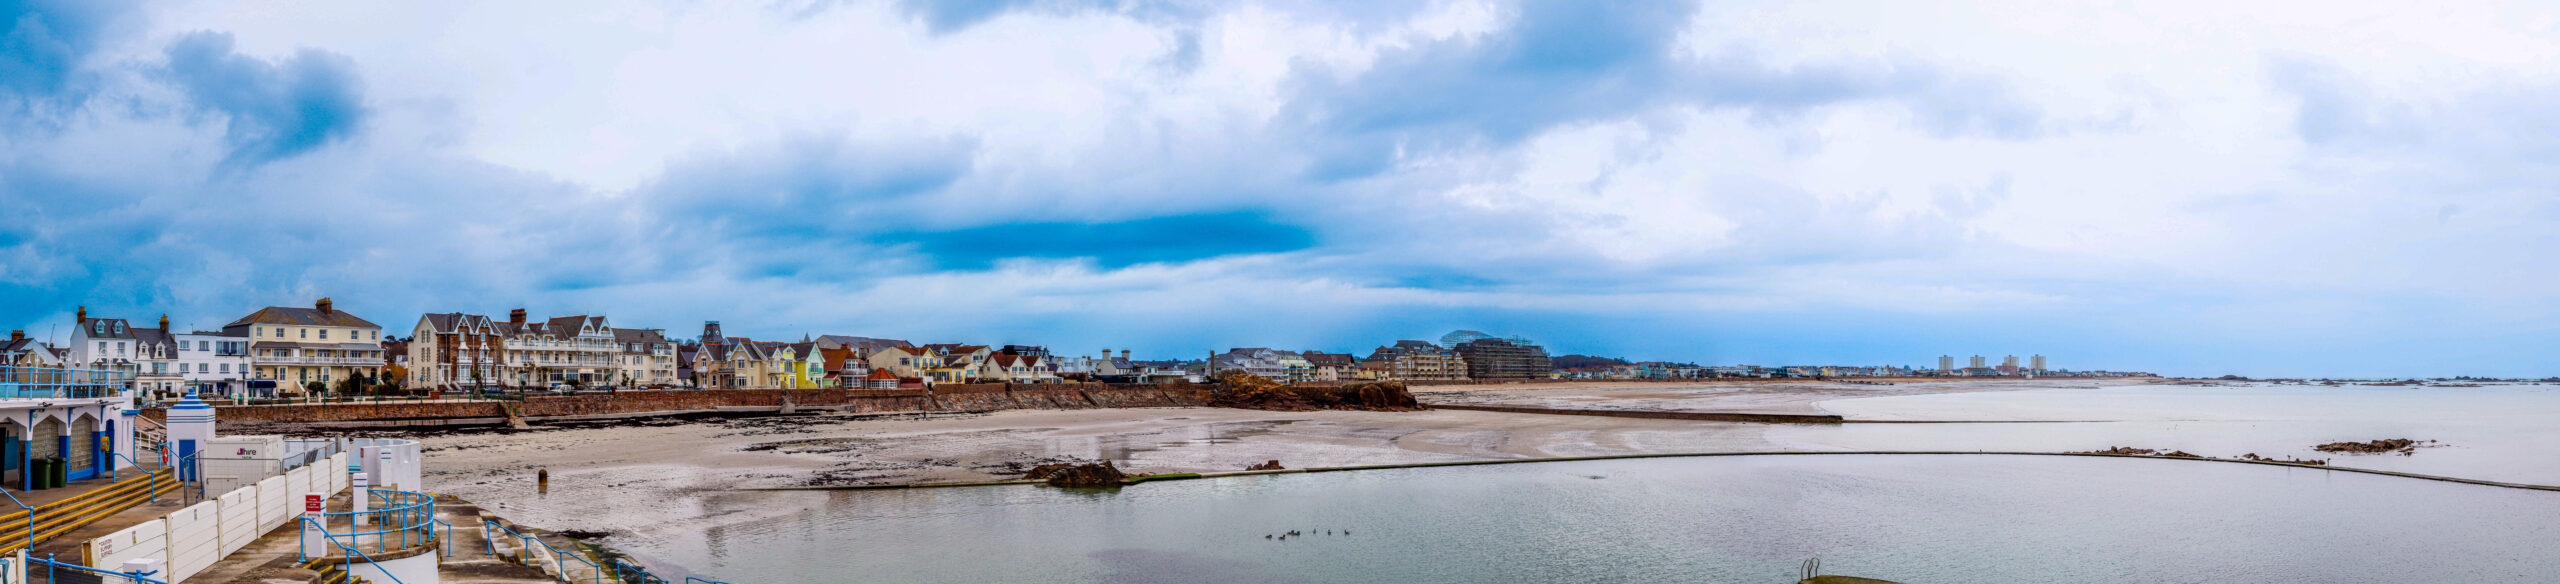
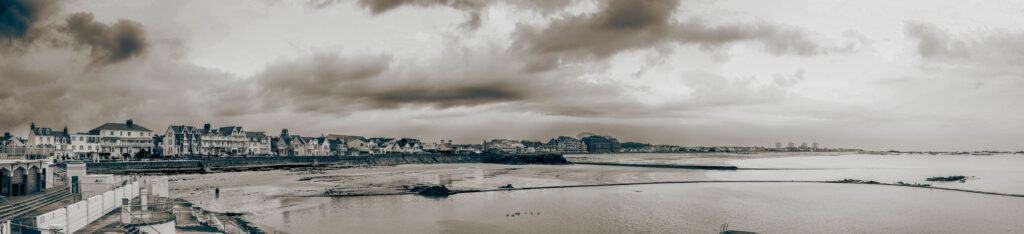
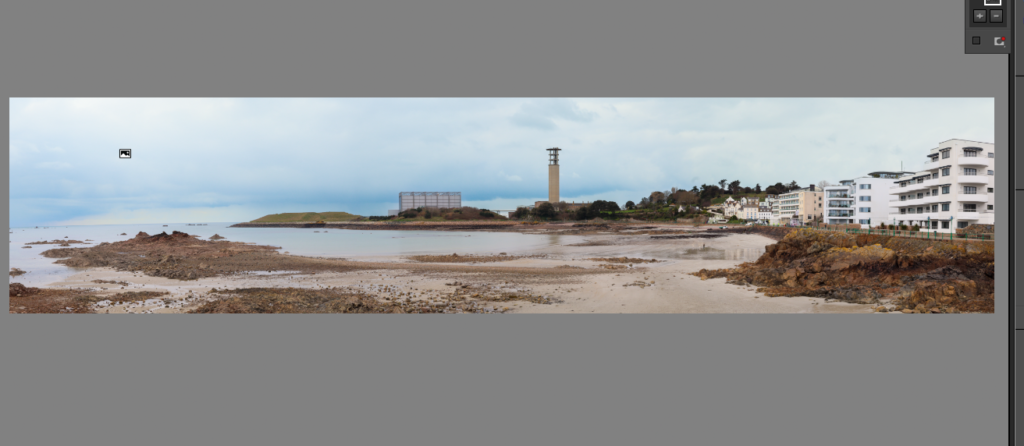
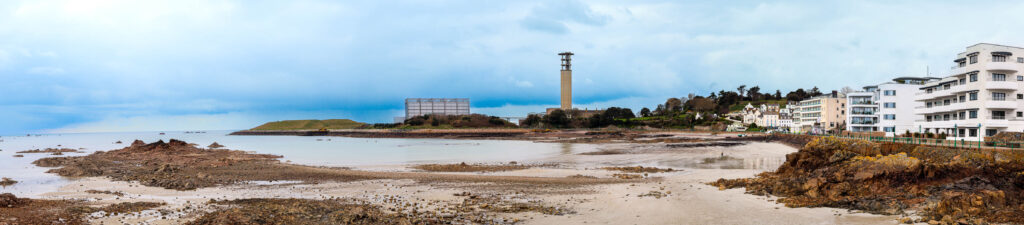
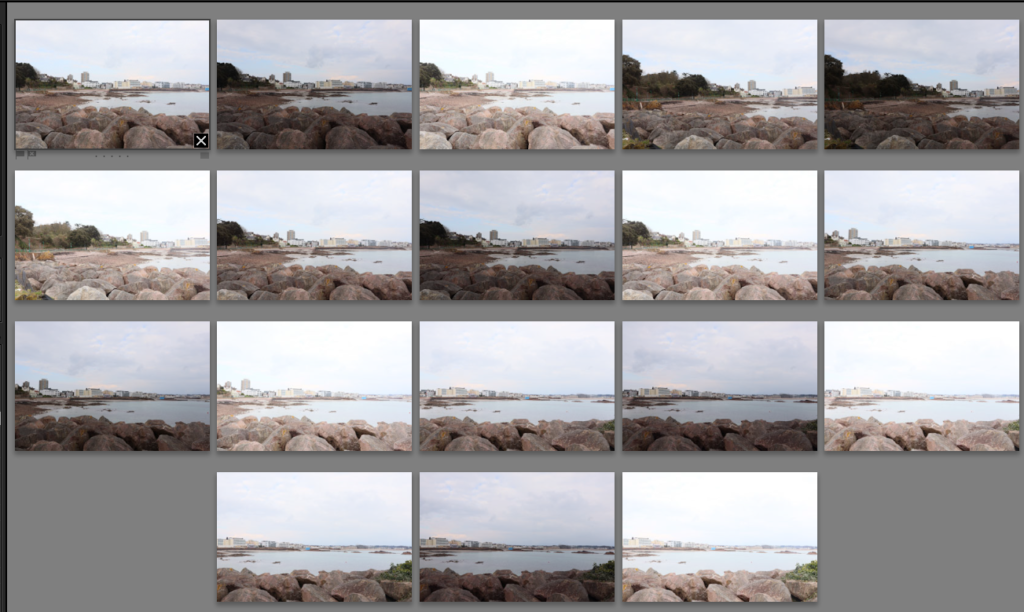
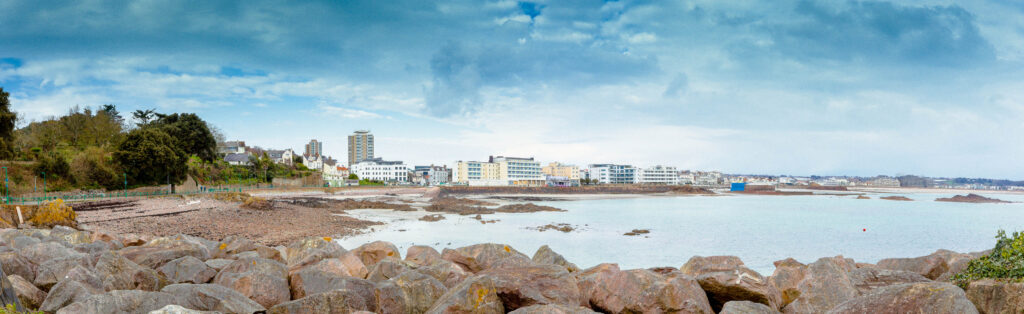
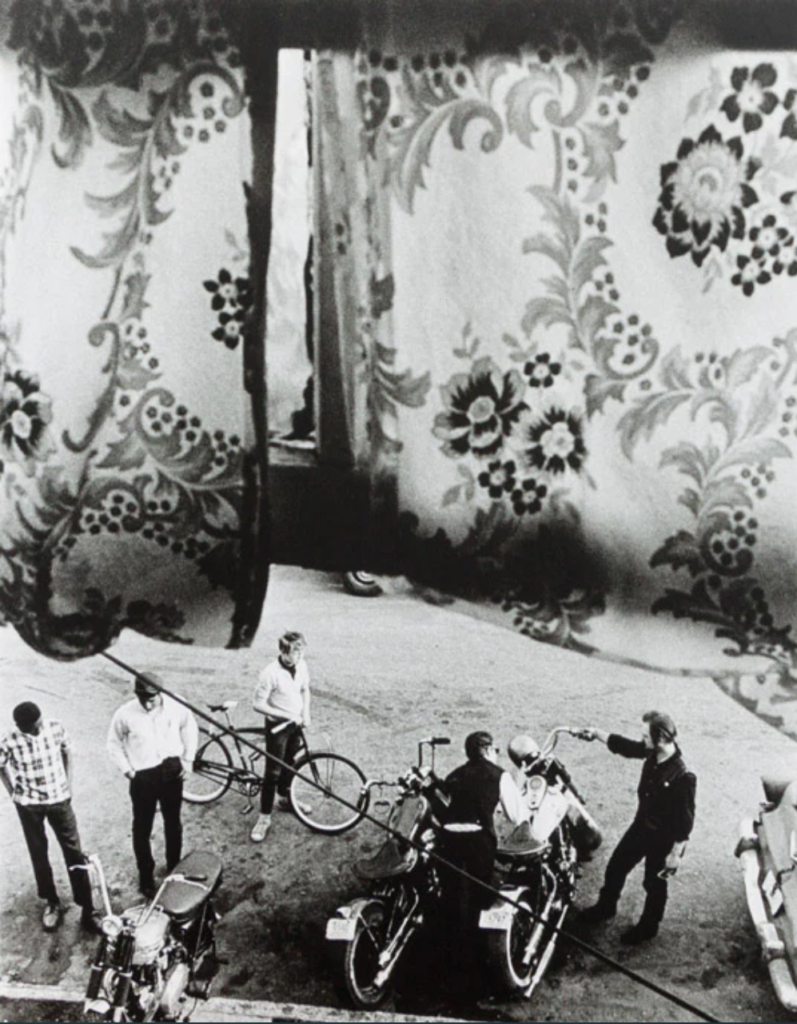
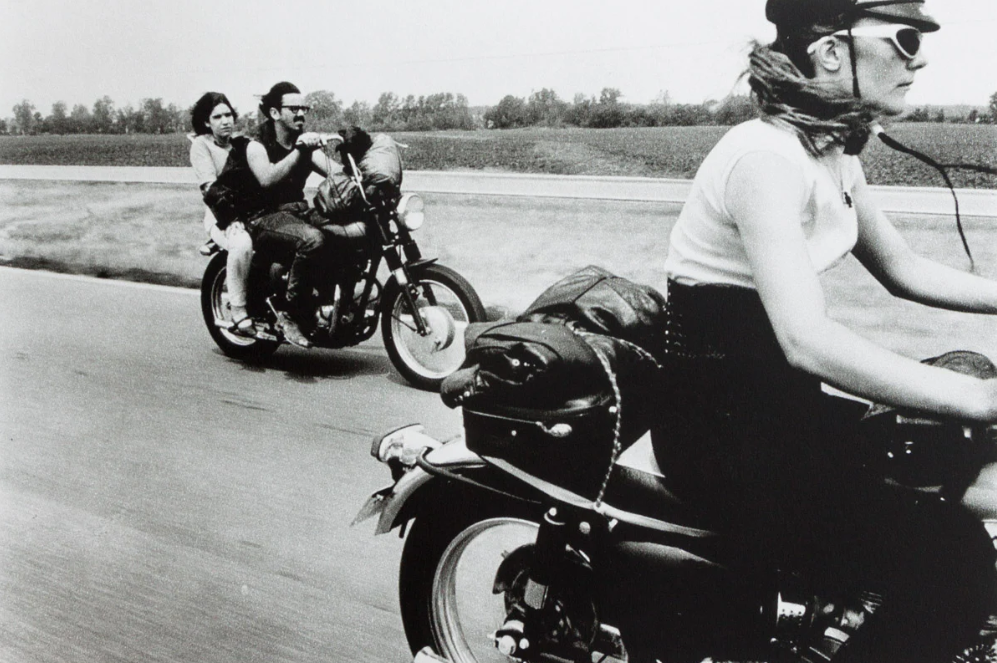
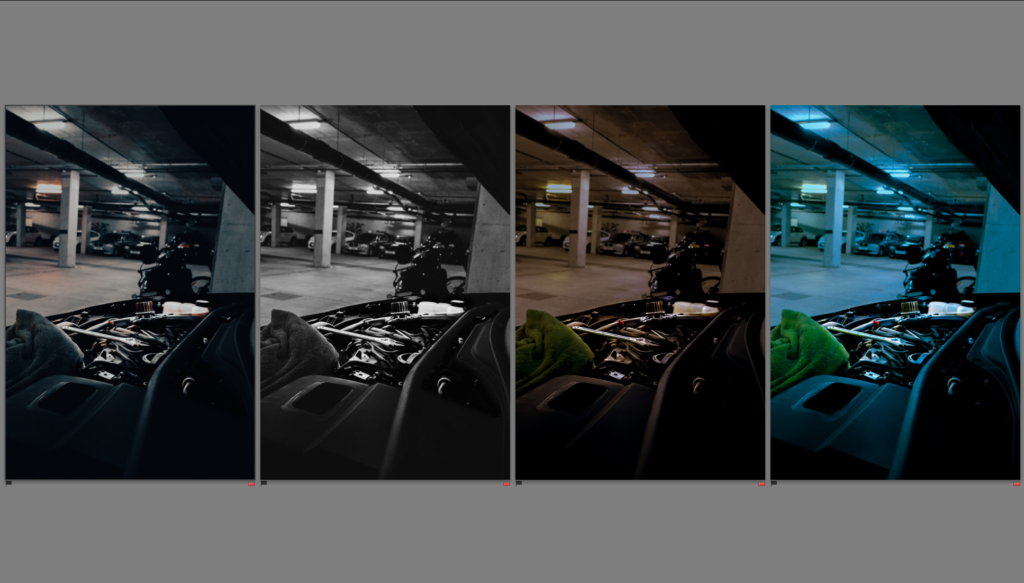
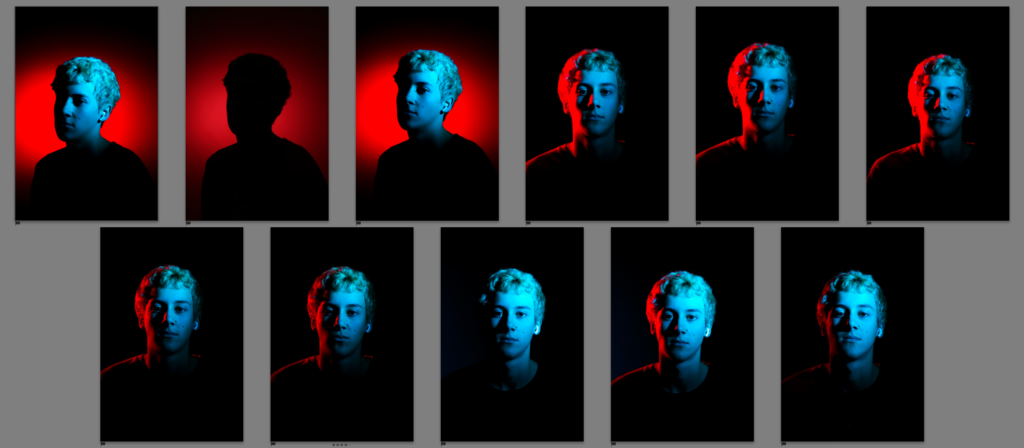
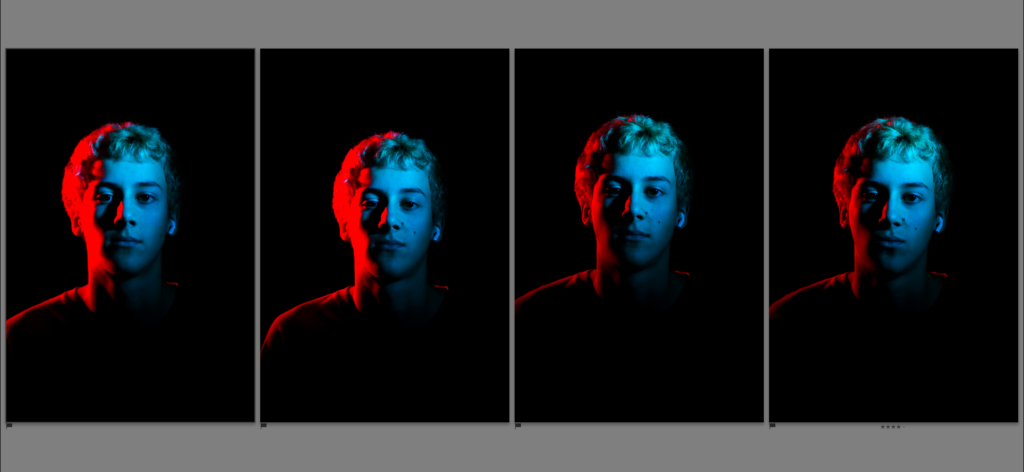
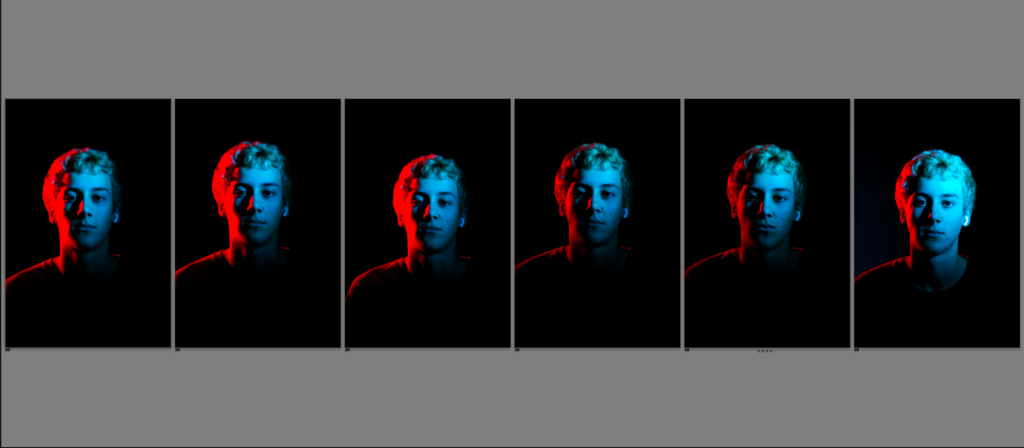
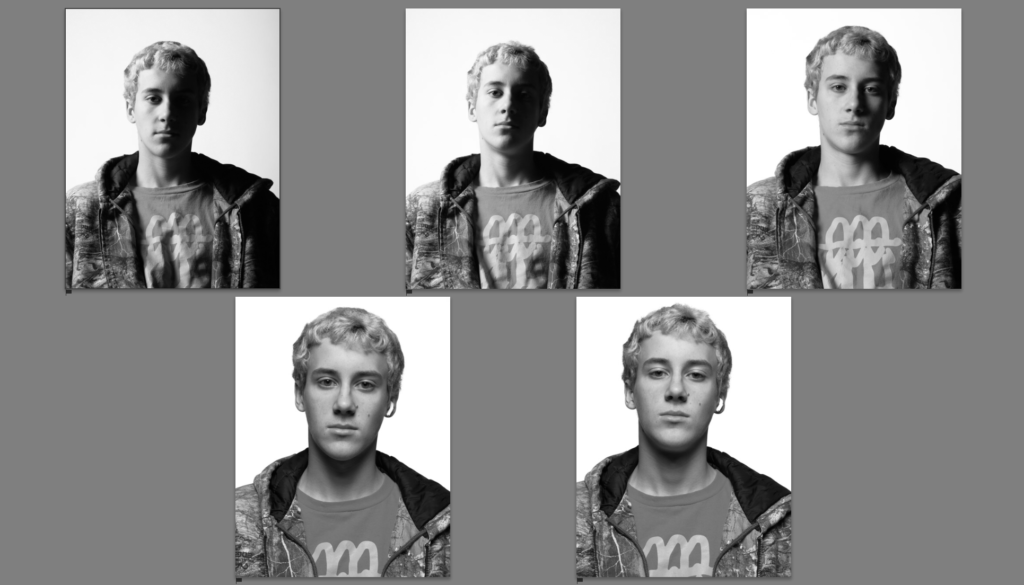
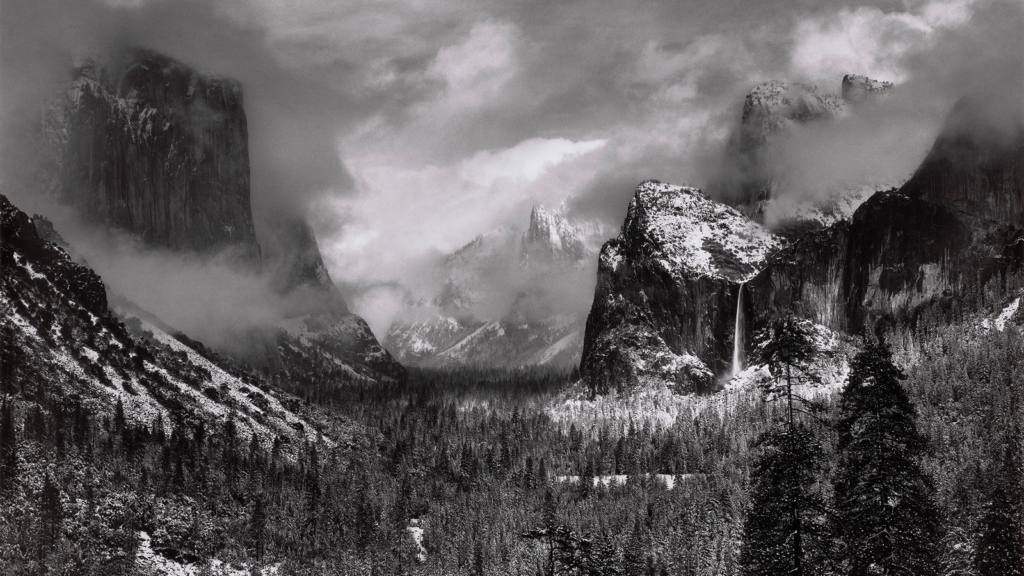
ANSEL ADAMS PHOTOSHOOT