All posts by Nicha Brennan

Filters

Author:
Category:

Auto Focus VS Manual Focus

Auto Focus VS Manual Focus

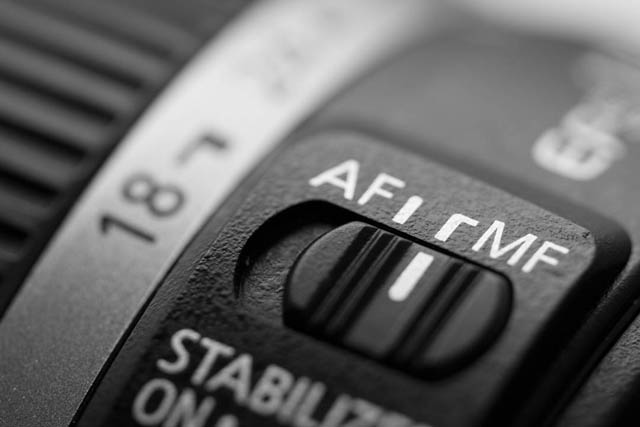
Auto focus is the function in a camera that allows the camera to automatically focus on a subject whilst manual focus is the function in a camera that allows the photographer to adjust the focus manually, instead of the camera. Manual focus is useful for many reasons such as having more control on the image composition. This allows the photographer to have control and freedom to choose the preferred focal point. Additionally, manual light works well in low light situations unlike auto focus. This is because it is difficult for auto lenses to keep focus on the subject in little lighting and a shallow depth of field.

Ralph Eugene Meatyard

Ralph was an optician who practiced photography. Ralph spent three months looking through an unfocused camera in order to learn to see ‘no focus’. He began this project due to his attraction to the out-of-focus backgrounds in some of his…

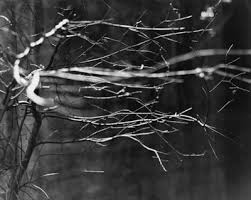
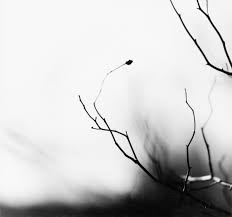
One of ralphs photoshoots know as ‘zen-twigs’ had a strong focus on experimenting the focus on branches and twigs. He achieved this by using a very large aperture, creating the background subjects to be blurred and the branches to be the main focus.

Focal Length

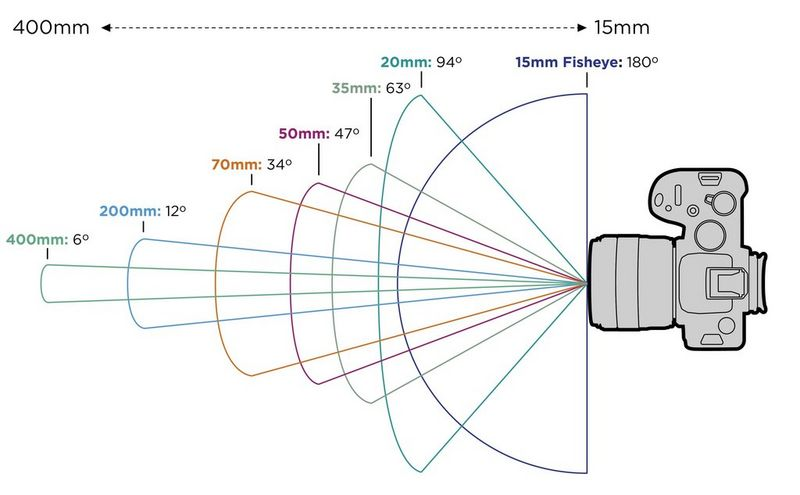
The focal length tells us the angle of view determining how much of the scene will be captured as well as the magnification. It is the optical distance from the point where the light meets inside the lens to the cameras sensor and is usually measures in mm.

Lenses that have a shorter focal length will have a larger depth of field.

55mm

35mm

24mm

55mm

35mm

24mm

18mm

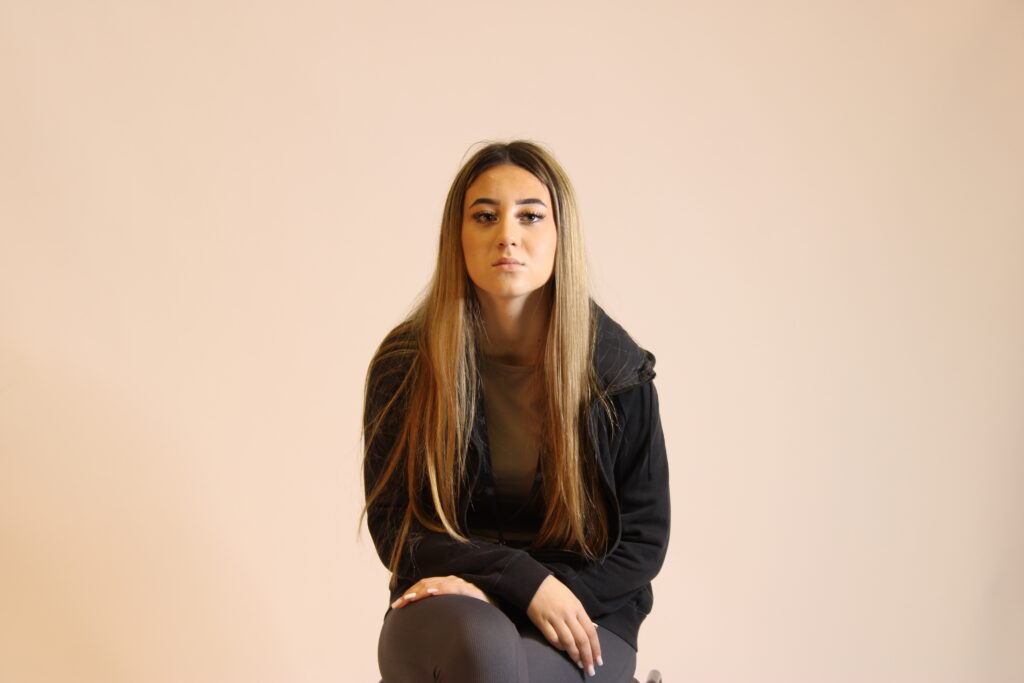
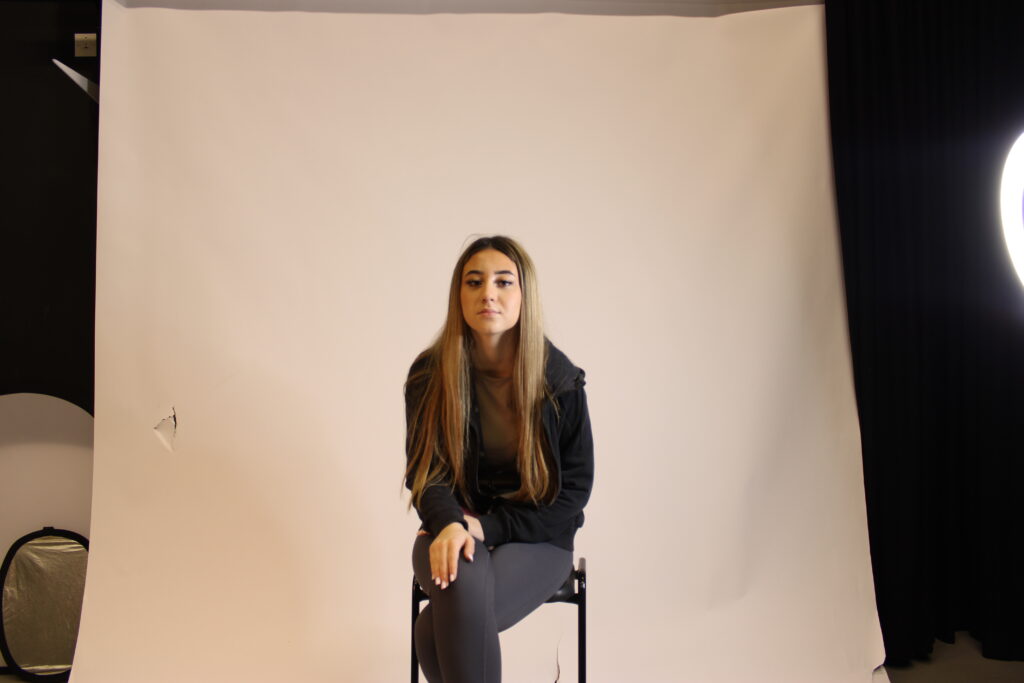
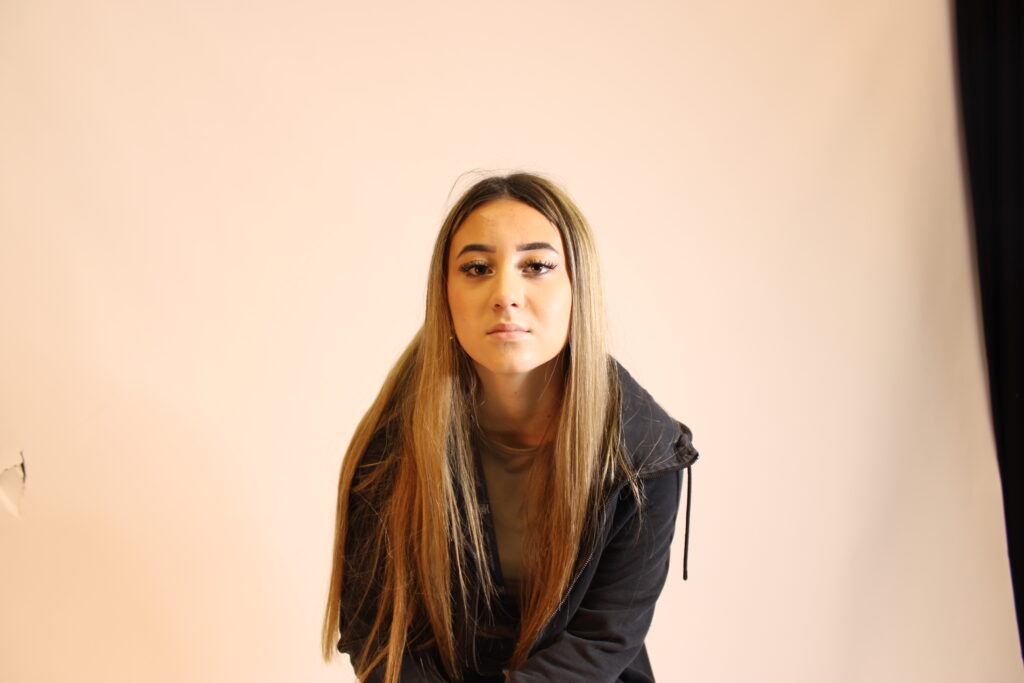
All of these photos were taken in the exact same position with a tripod, making the only difference in these photos the focal length. 55mm was the longest focal length available on the camera. As you can see from the photos the pictures taken with the focal length of 55mm more of the scene was captured showing jasmine and all of the background. As the focal length gets shorter such as 18mm there was less of the scene captured making jasmine the main subject with less background.

Visual elements

A visual element is any characteristic that we can see. This includes:

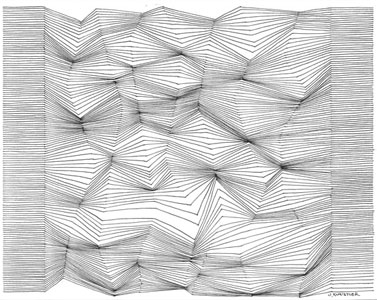
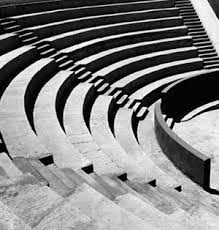
Line: Lines are the foundation of pictures. There are a vary of different lines including curved lines, horizontal lines, vertical lines or even jagged lines. Lines can express different qualities of an object/picture such as a curved line suggesting comfort and ease or thin lines expressing delicacy.

Shape: Shapes come in a variety of ways. Shapes can be 3D, 2D, natural or man made, flat, regular or irregular. Shapes establish a focal point. They can be used to control feelings within the composition within a shape.

Space: Space is the area in, around and between objects. Space can be useful to emphasize the subject.

Repetition: Repetition communicates a sense of rhythm, balance, contrast and harmony. This includes patterns, shapes and colours.

Colour: colour has the strongest effect on our emotions as this creates the mood/ atmosphere of a photograph. It draws attention to the photo.

Texture: Texture is the surface quality such as the roughness or smoothness of the material. This adds interesting features within the object and picture.

Value/Tone: Tone is the lightness or darkness of a colour. tone can be used in many ways like to create a contrast of light and dark, a dramatic atmosphere or a sense of depth and distance

paper experiments shoot

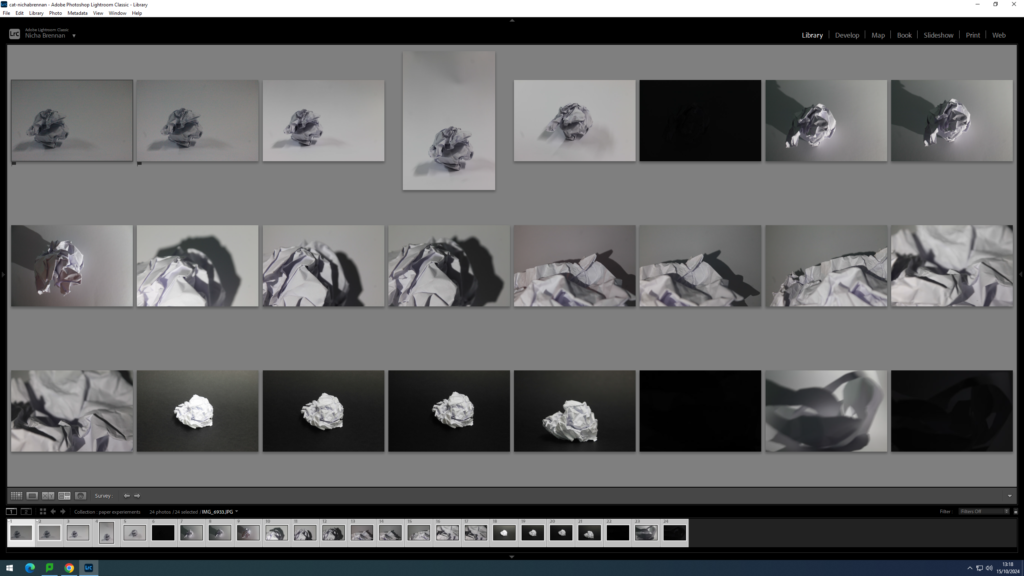
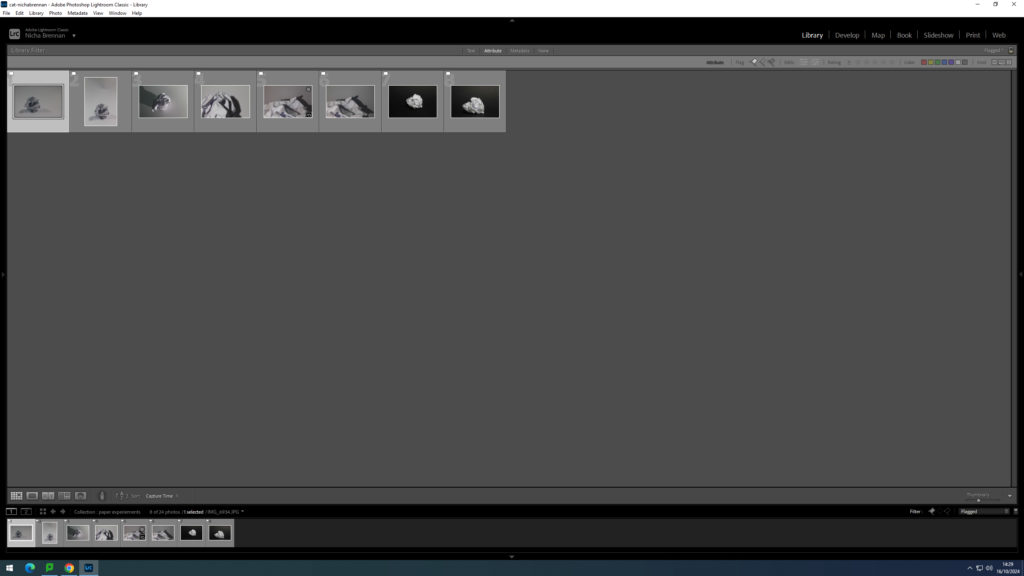
I imported a selection of photos I took of paper texture onto adobe Lightroom. I the went through the photos and narrowed my selection to the ones I thought were the best.

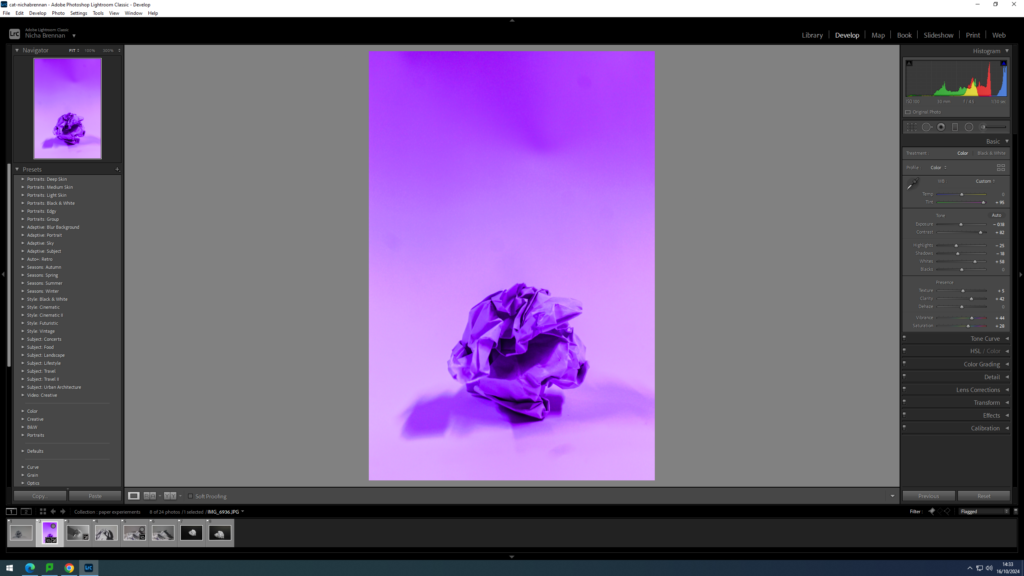
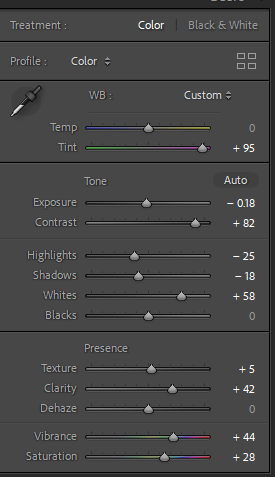
For this experiment I scrunched up a piece of paper into a ball to make a boring plain piece of paper into a creative shape that includes irregular patterns and repetitions of lines and shadows. In the process of taking this photo I used artificial light in order to intensify the shadows within the scrunched up paper ball. Before editing this photo it was white with average shadows so in order to develop this photo further I intensified the saturation, vibrancy, temperature, tint and shadows which gave the paper a purple tint and deepen the shadows within the piece of paper to make this photo more interesting. The purpose of this exercise was to explore both the visual elements but also the key functions of the camera and the lighting system.

For taking this photo I As the exposure is 0 it shows that this photo is balanced.

Instead of editing colour into this photo, I made it black and white to make tones and shadows the main subject of this photo. There are many different tones within the lines and crevices of the piece of paper, some light tones and some darker tones adding depth and help define this shape.

ISO

ISO ( ) is a number that represents how sensitive your camera sensor is to light therefore effecting how bright or dim your photos will be.

A high ISO is suited to be taken in low light situations since the sensitivity is so low meaning you need a less amount of light to take a picture.

A low ISO is the opposite, and should be used in situations where the lighting is better since a low ISO means less sensitivity to light. Using low ISO in these conditions will reduce the amount of background noise in the photo leading to a high quality photo.

This photo was taken with a low ISO in dim lighting. This caused the image to become lower quality making it more grainy and resulted in more noise in the photo.

Fixing the shadows

Camera Obscura

The camera obscura is a darkened box with a convex lens that projects the image of an external object to a screen inside. The way it works is when its bright outside light enters through the hole and projects an upside down image onto a wall opposite the hole, therefore only focusing and reflecting light instead of capturing it. This was the starting point leading to all photography. In the 1600’s the camera obscura was developed with larger openings, allowing more light available to come through which created brighter, higher quality images. This was useful for capturing perspective such as accurately representing the 3D world into a 2D flat surface.

Henry Fox Talbot

Henry was well known for being the inventor of the calotype. In 1884 henry discovered that images could be made through the action of light and chemistry on paper. He discovered that from the use of different silver salt and a developing agent brings out an invisibility slight on exposed paper. This photographic process made it possible to obtain multiple positive images on paper from a single paper negative. This was a step up from the camera obscura as images could now be captured. However, this still had some downsides due to  the paper fibres blurring the printed image.

Daguerreotype Process

The daguerreotype process was invented in 1837 by Louis Jacques Daguerre. The daguerreotype process links back to the camera obscura as it allowed the image seen inside a camera obscura to be captured and preserved as an object. This process is a direct positive process which means no negative is made unlike the calotype discovery. The process of making a daguerreotype is by plating a thin sheet of silver onto a copper sheet. Then it is sensitized into a lightbox containing iodine and bromine vapours until its surface turns yellow creating a reaction producing light sensitive silver iodine. it is then inserted into a camera where the exposure is made and then development happens when the plate is placed face down over a source of heated mercury fumes until the image appears. This made it possible for a portrait to be made with exposure in around a minute. However, this process meant the daguerreotypes were mirrors images of their subjects.

Richard Maddox

Richard Maddox was an English physician who is known for inventing lightweight gelatin negatives plates for photography in 1871. There were many advantages to this dry plate such as making it easier for photographers. This is because it allowed photographers to use dry plates off the shelf instead of having to prepare their own emulsions in a mobile darkroom. In addition to this, cameras were small enough to be handheld.  These dry plates is what led to cinematography from snapshot photography.

George Eastman

George Eastman, an American entrepreneur who was born in 1854 and founded in the Eastman Kodak company. In the 1880’s, made improvement leading to flexible, roll film and photo processing and printing done by mail order. He created a convenient method of preparing ready to use plates. Eastman His business had 4 basic principles which included focusing on the customer, creating mass production at low cost, achieving worldwide distribution and extensive advertising. He achieved this with the help of his slogan ‘you press the button, we do the rest’. His first camera the ‘Kodak’ was first offered for sale in 1888. The Kodak is considered the first camera brand and was so successful due to the company heavily investing in campaigns creating widespread awareness of the Kodak

Kodak Brownie

The kodak brownie was a popular series of cameras formed by the Eastman Kodak company. This camera ultimately revolutionised photography due to the cameras being affordable and simple to use. Also, the kodak enabled anybody to create photography with a press of a button.