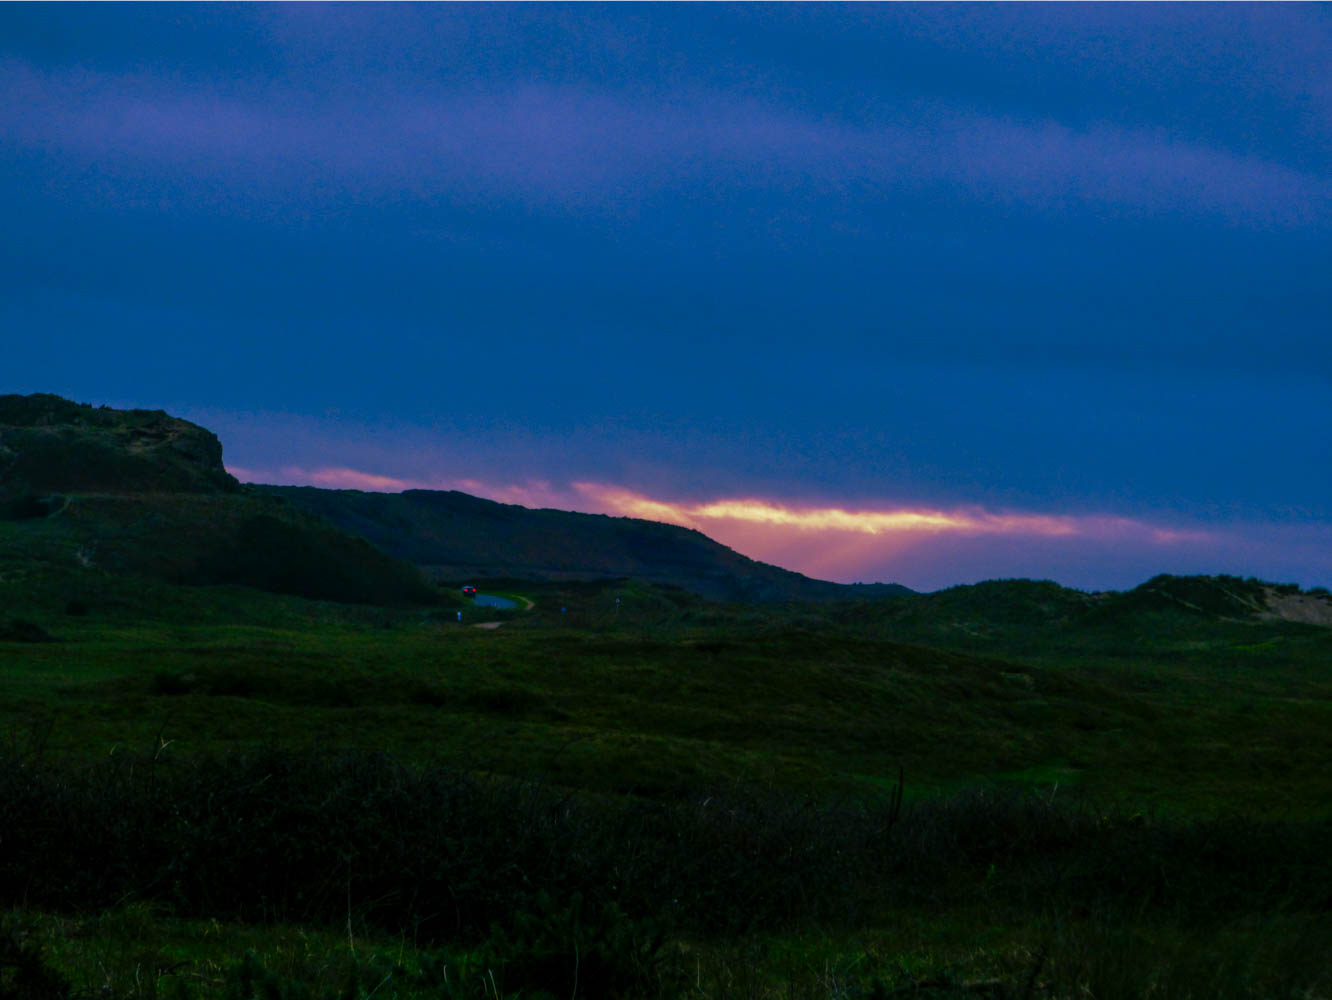
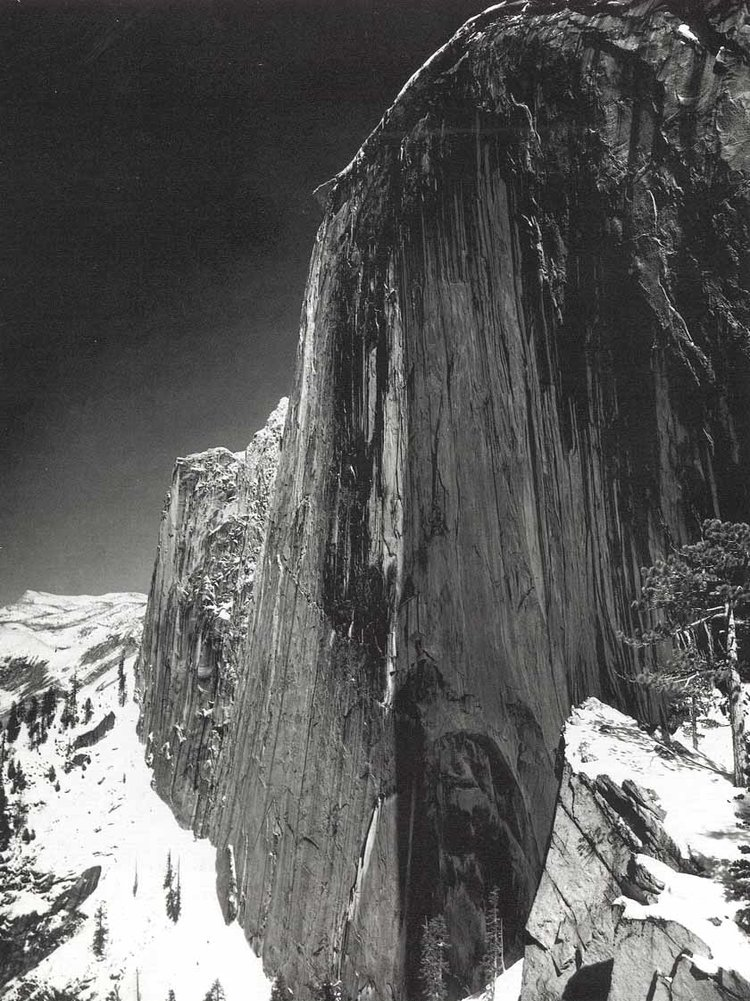
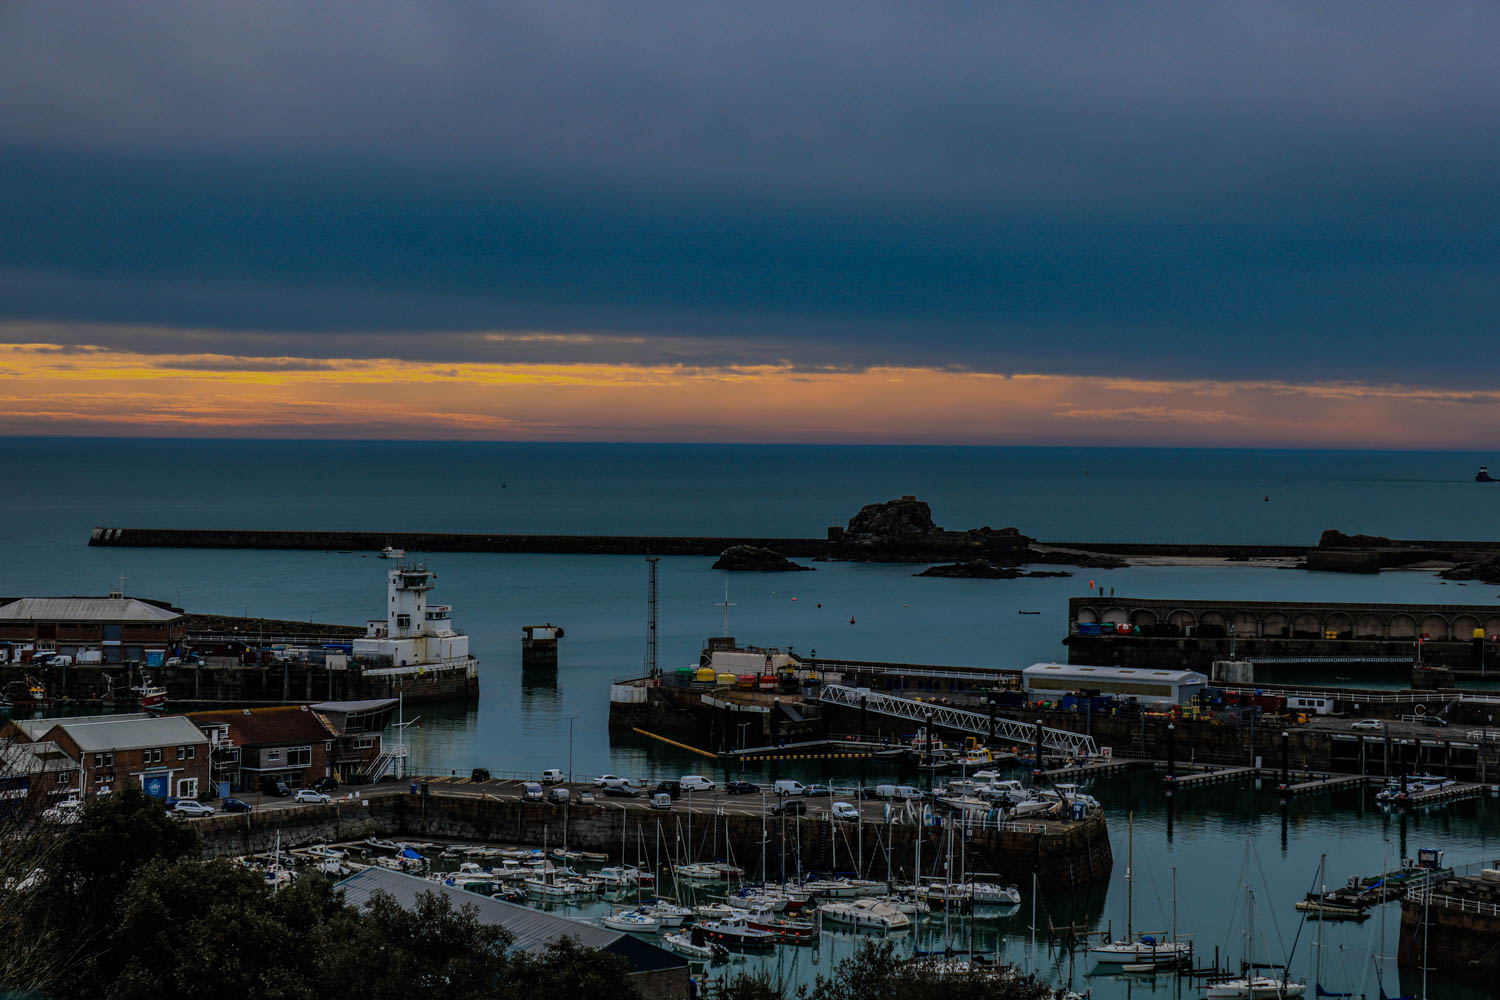
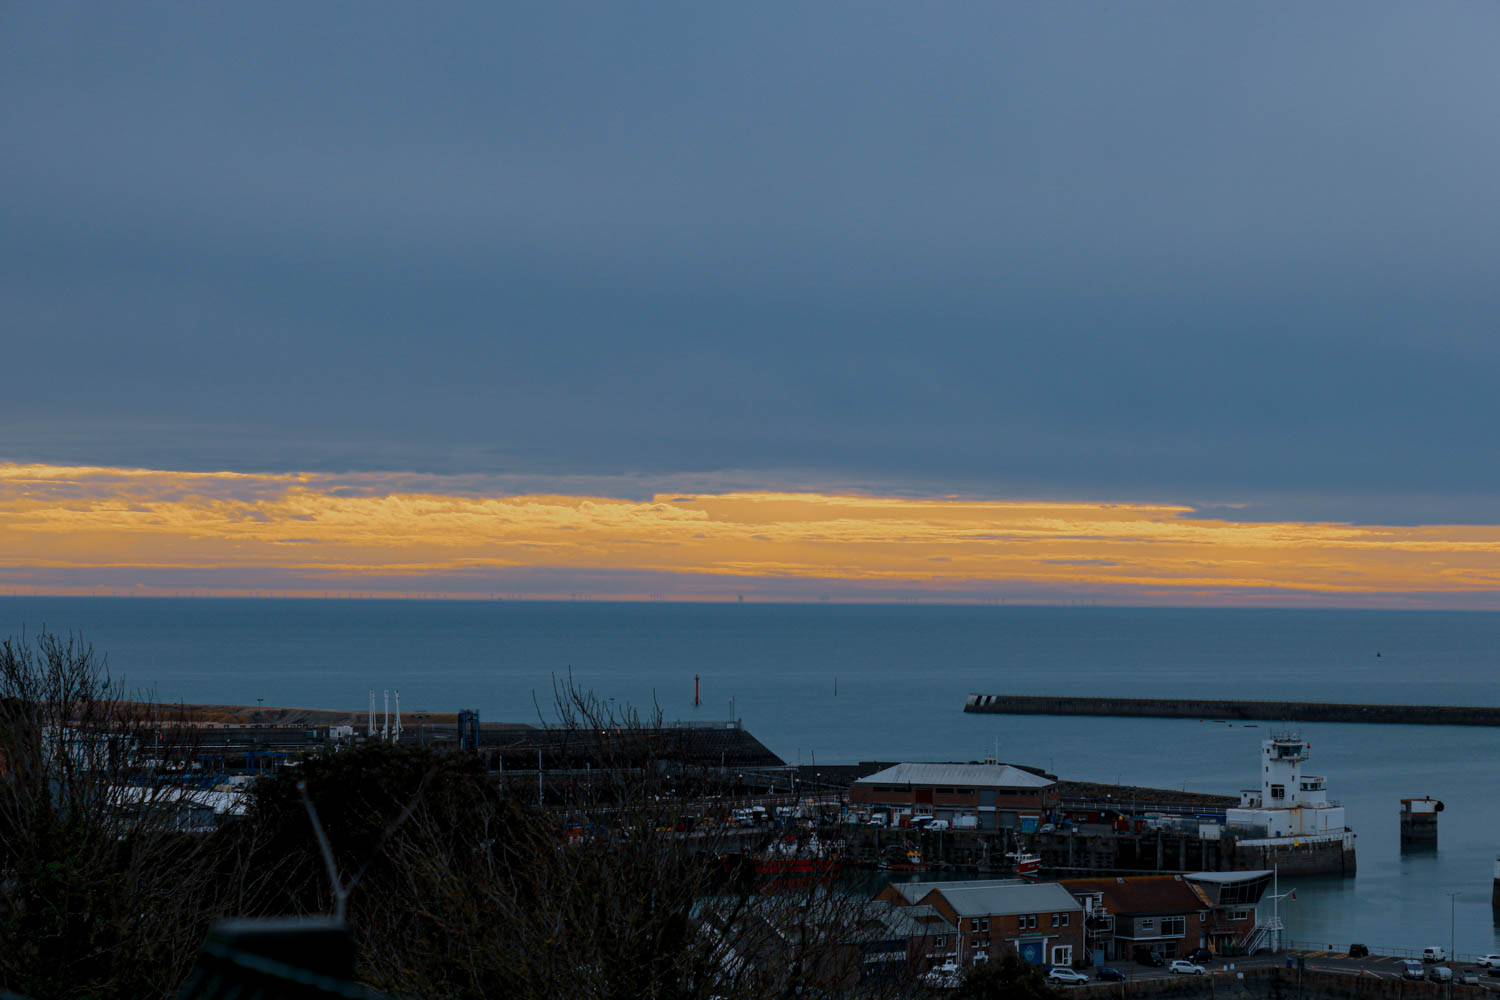
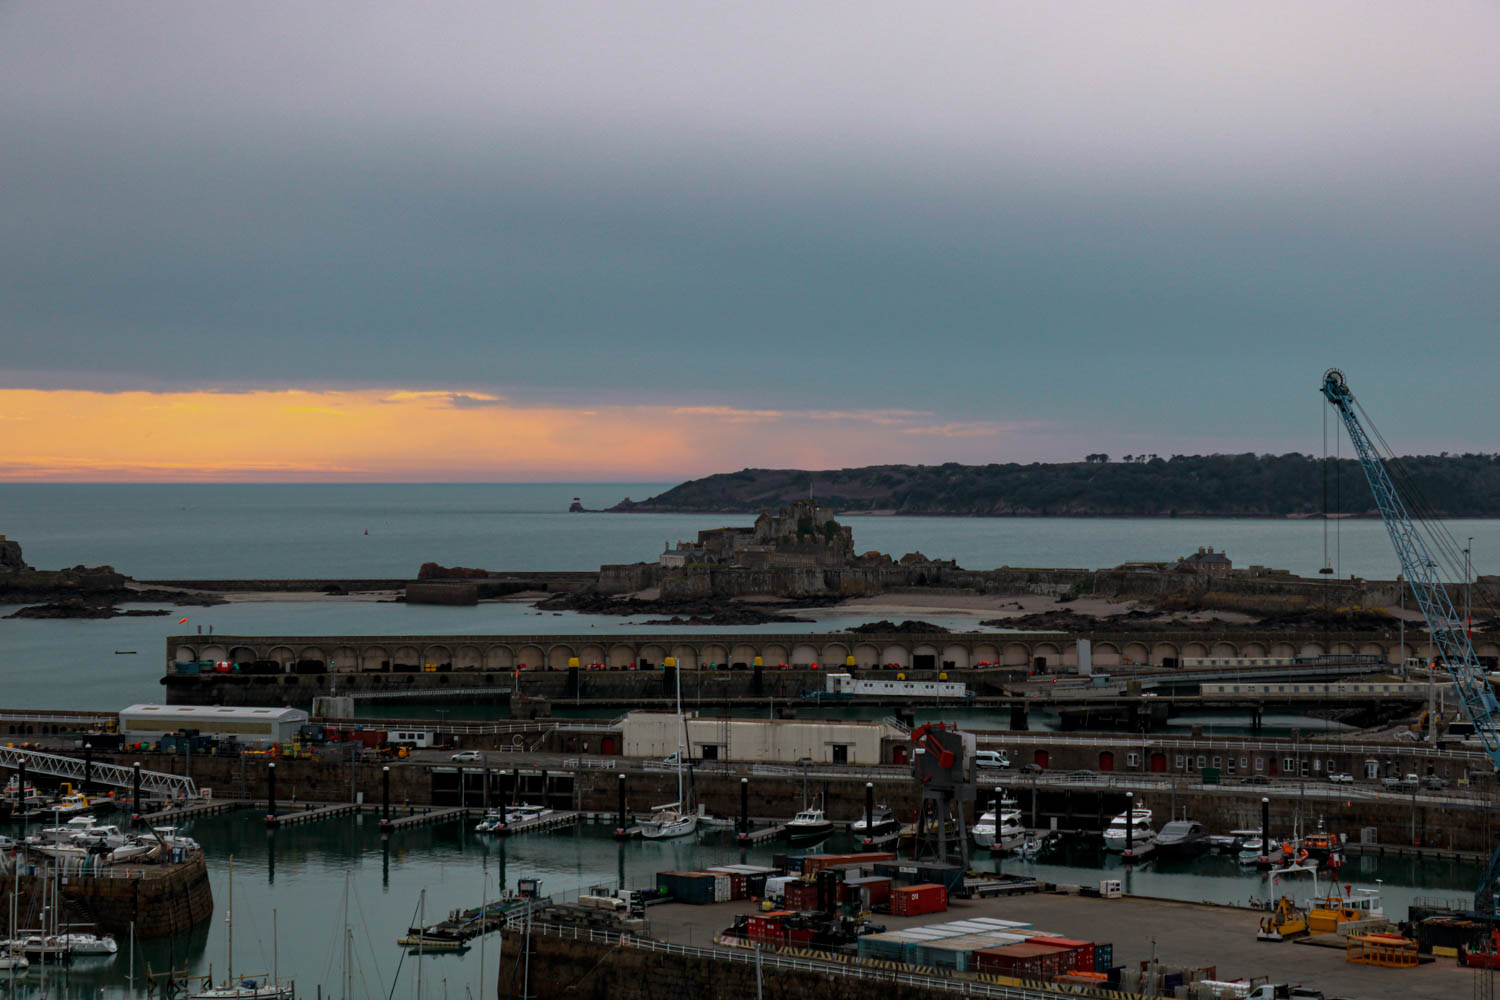
Mood board
What are typologies –
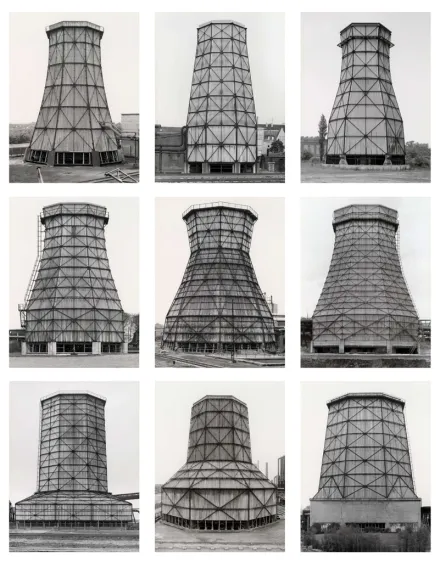
The term ‘Typology’ was first used to describe a style of photography when Bernd and Hilla Becher began documenting dilapidated German industrial architecture in 1959. The couple described their subjects as ‘buildings where anonymity is accepted to be the style’.
—
Dictionary definition –
– A system used for putting things into groups according to how they are similar.
Case study – Bechers –
—
Quote –
Quote – “Our camera does not produce pretty pictures, but exact duplications that, through our renunciation of photographic effects, turn out to be relatively objective.”
—
Questions in relation to the Bechers and their concept of Typology –
—
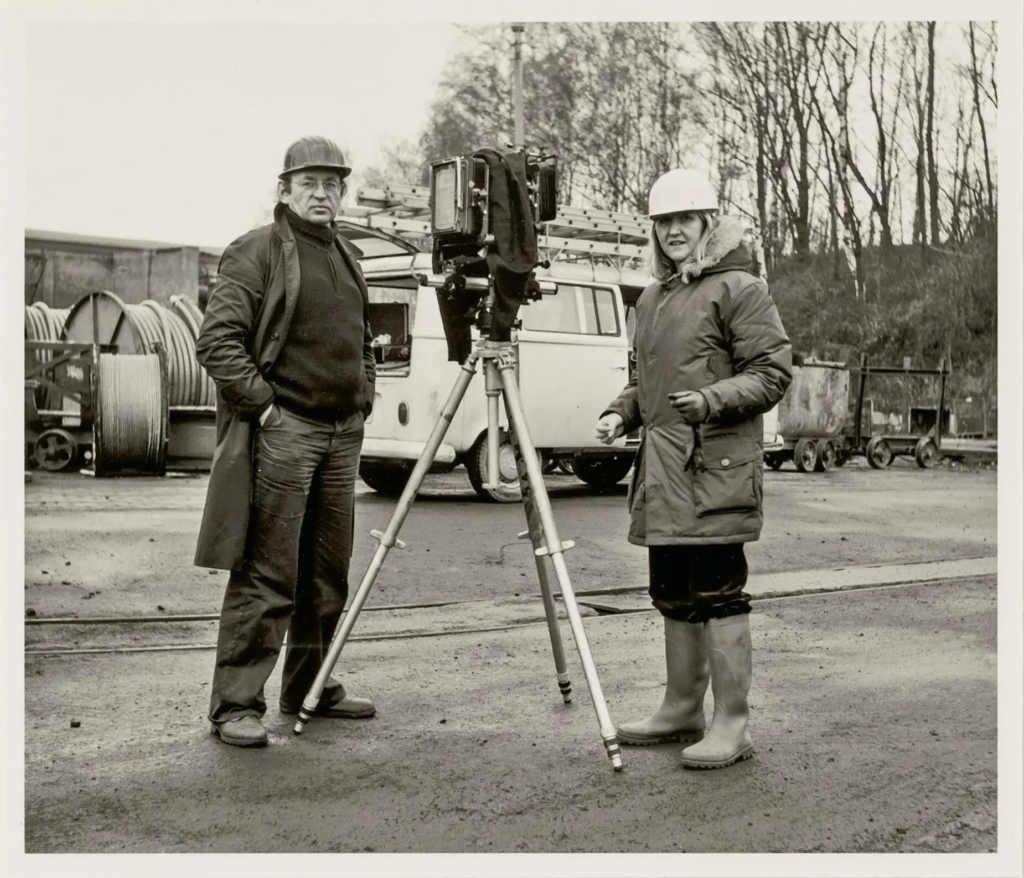
1. How did they first meet? – As students at the Kunstakademie Düsseldorf in 1957, Bernd and Hilla Becher first collaborated on photographing and documenting the disappearing German industrial architecture in 1959. The Ruhr Valley, where Becher’s family had worked in the steel and mining industries, was their initial focus.
—
2. What inspired them to begin to record images of Germany’s industrial landscape? – The first area they went to was the first abandoned place in Germany that was going to be demolished so they wanted to preserve the architecture that was slowly disappearing at the time.
—
3. How did the Bechers explain the concept of Typology? – She explained how while she was in this abandoned area she saw similarities between things like cooling towers and water towers, she said while they look similar they all had small differences which was easy to see in a format like a typology, like a flipbook. They needed to wait for clouds or a darker day to ensure that the object in the image was separated from the background. She said the best images for typologies are geometric objects.
—
4. Which artists/ photographers inspired them to produce typology images? – German photographers like Karl Blossfeldt, August Sander, and Albert Renger-Patzsch.
—
5. What is the legacy of the Bechers and their work? – changed the course of late twentieth-century photography. Working as a rare artist couple, they focused on a single subject: the disappearing industrial architecture of Western Europe and North America that fuelled the modern era.
—
notes –
– They used a large format camera, means you have to take time with taking images as it takes time and money just for one shot.
– They photographed every single structure in the abandoned area from 8 different angles.
– opposed other movements like romanticism and stuck to realism as closely as possible.
—
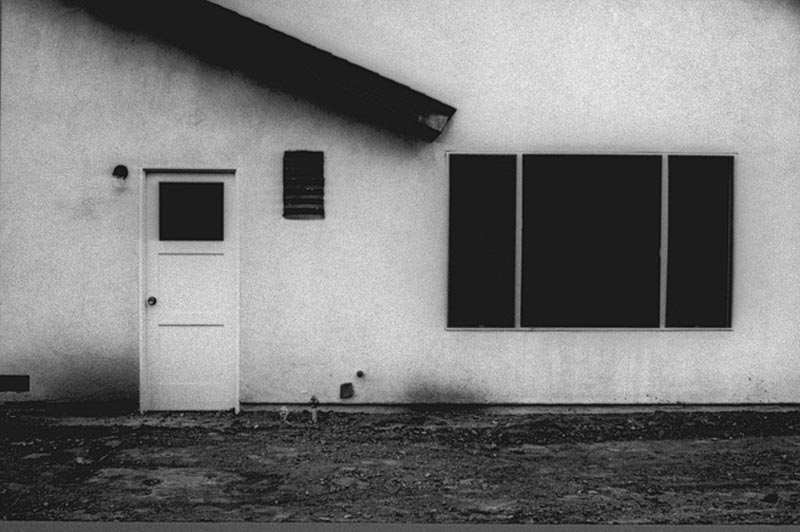
Image analysis –
—
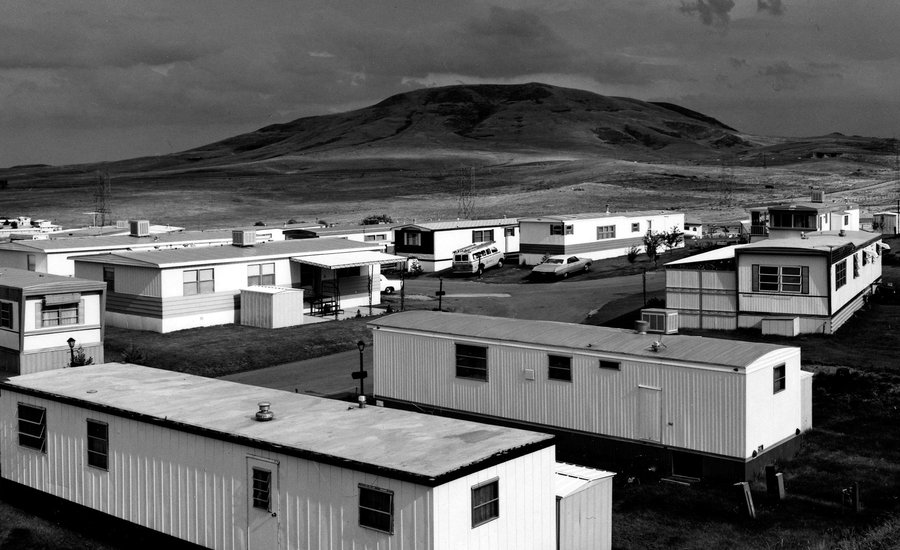
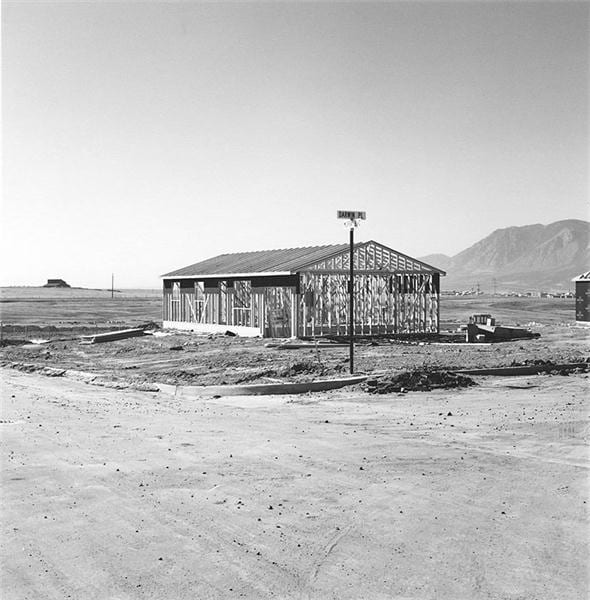
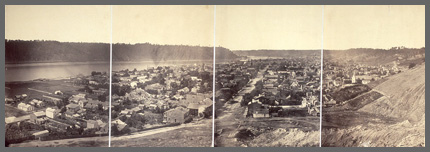
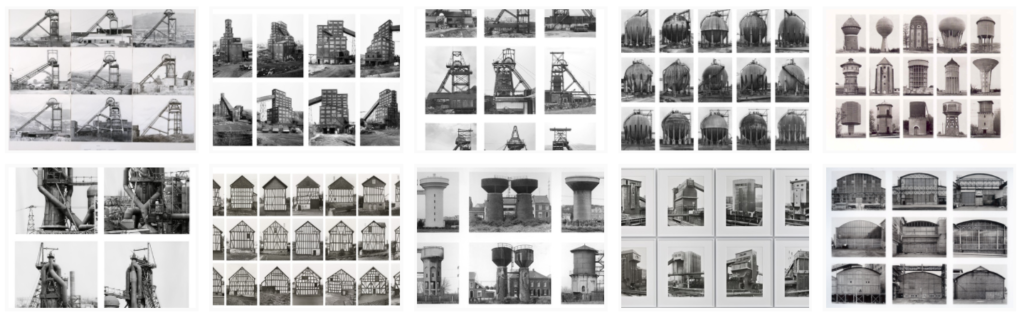
As you can see in the image above the image has been presented in the typographic style with all very similar looking buildings with small differences lay out in a grid pattern. Each of the images had been taken on a large format camera with a 400 mm lens, which isn’t typical for this type of photography but was used to give the subject of the image more of a flat look. Each image is taken in black and white in sharp focus on a cloudy day which in this black and white format allows the subject of the image to stand out better than it would against a blue sky. Each subject in the image is a geometric shape which is what is usually seen in typology’s. The idea behind these images was from the creators of the typology style who wanted to capture the architecture that was slowly disappearing at the time and help to solidify it as an image.
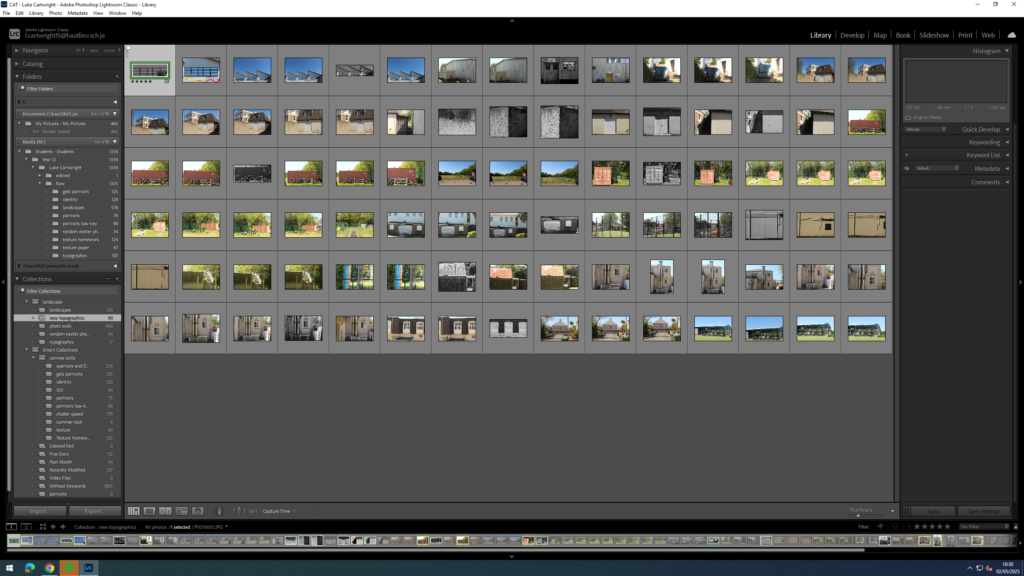
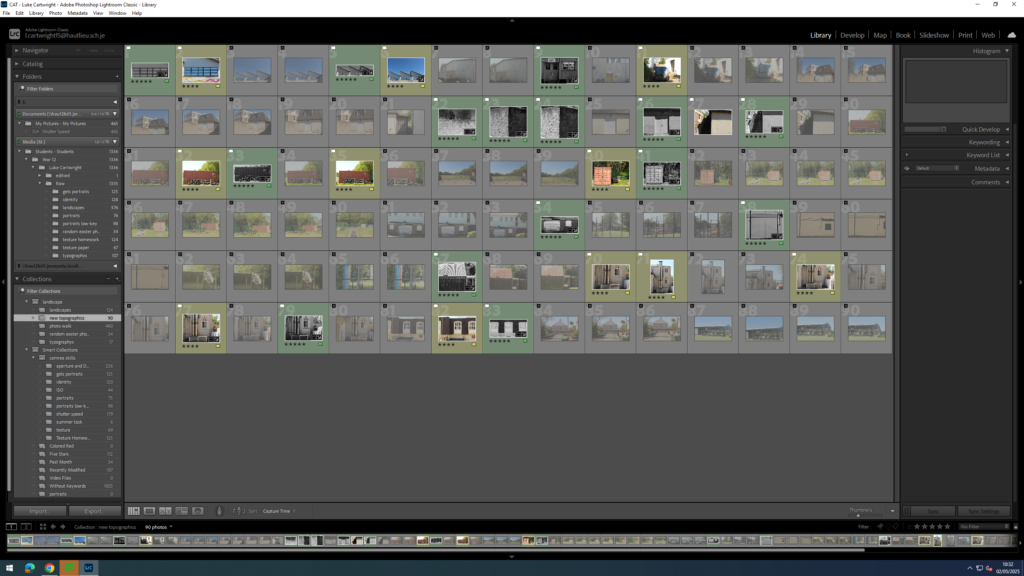
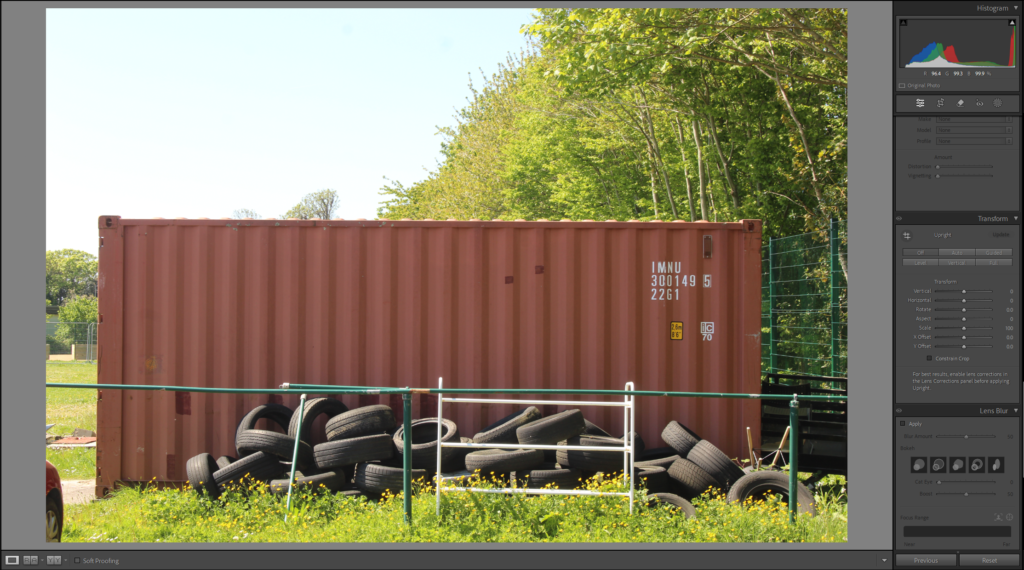
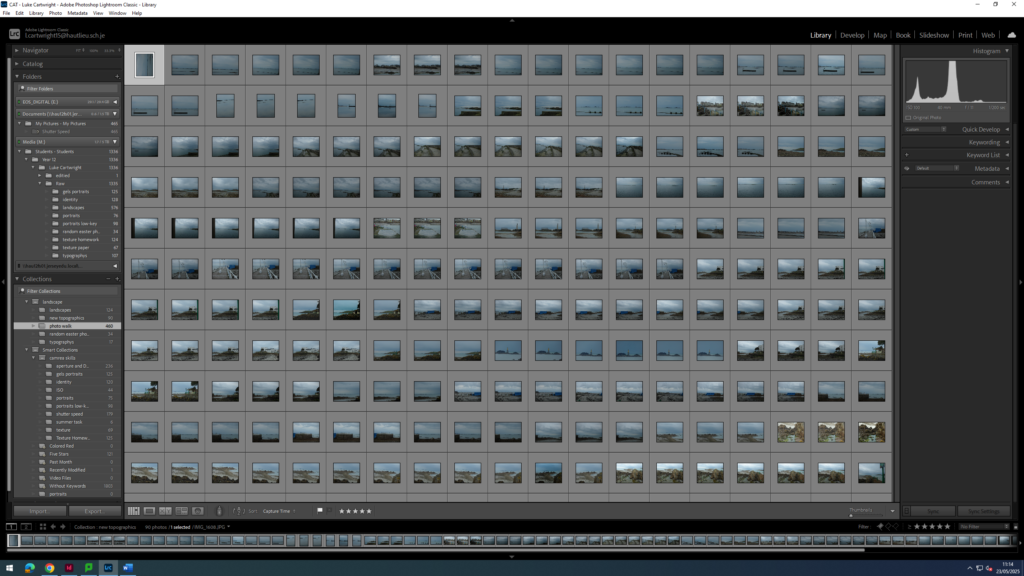
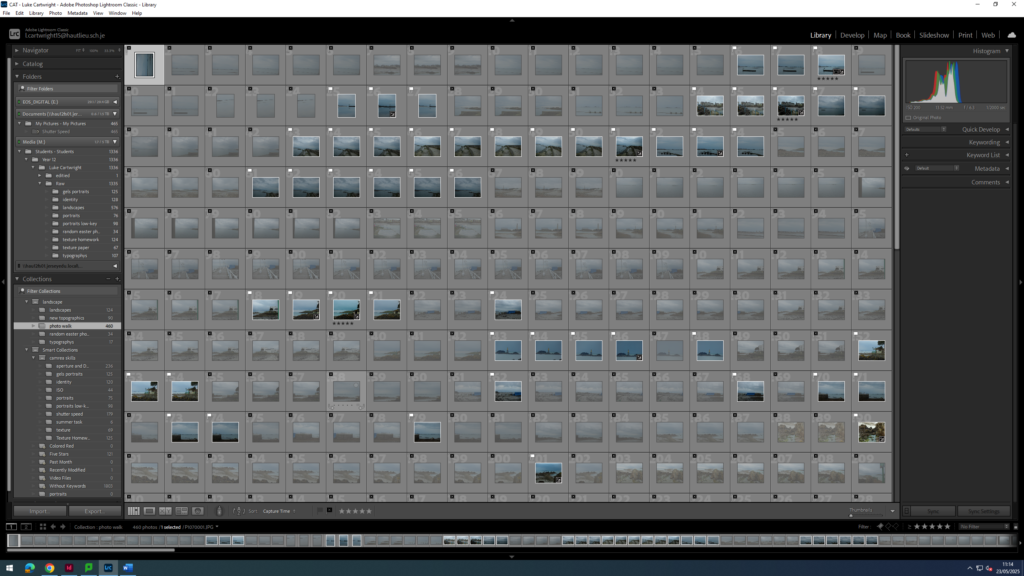
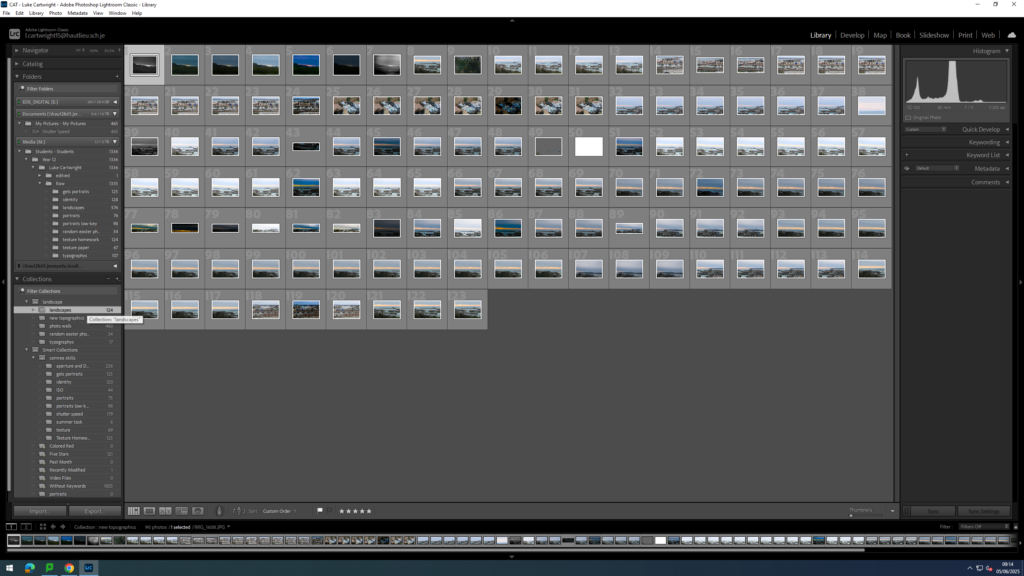
Contact sheet
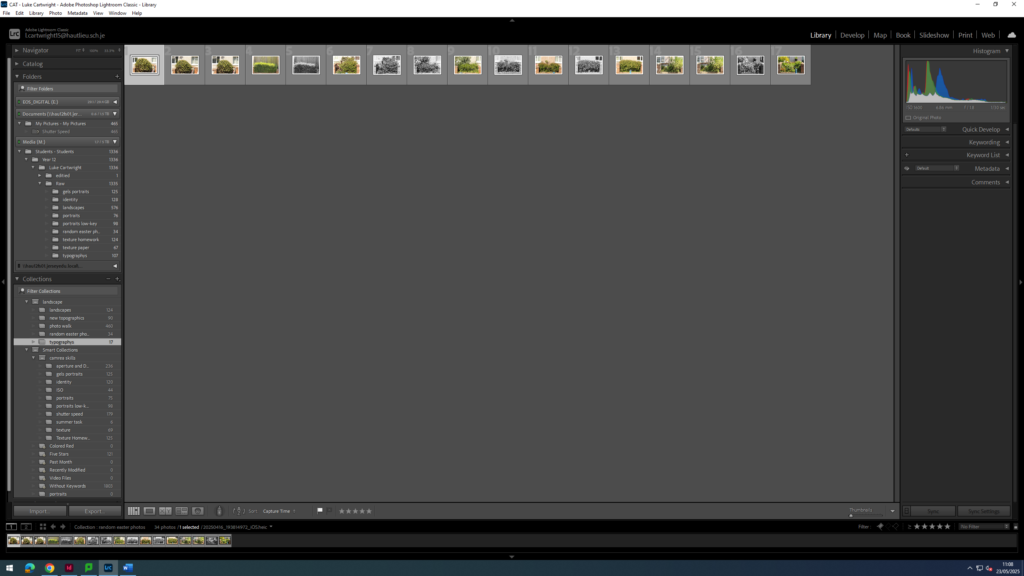
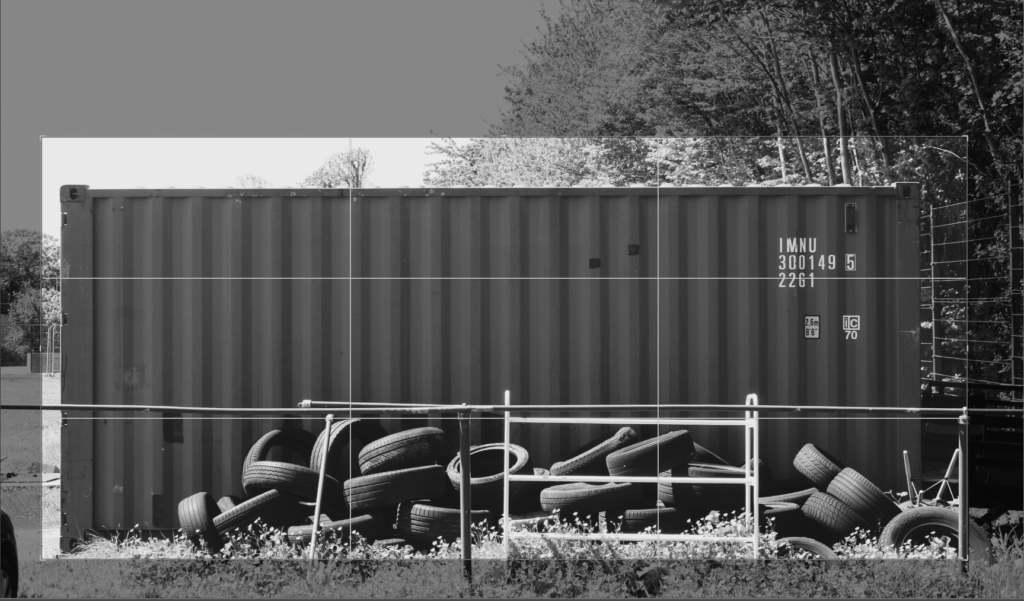
selection process
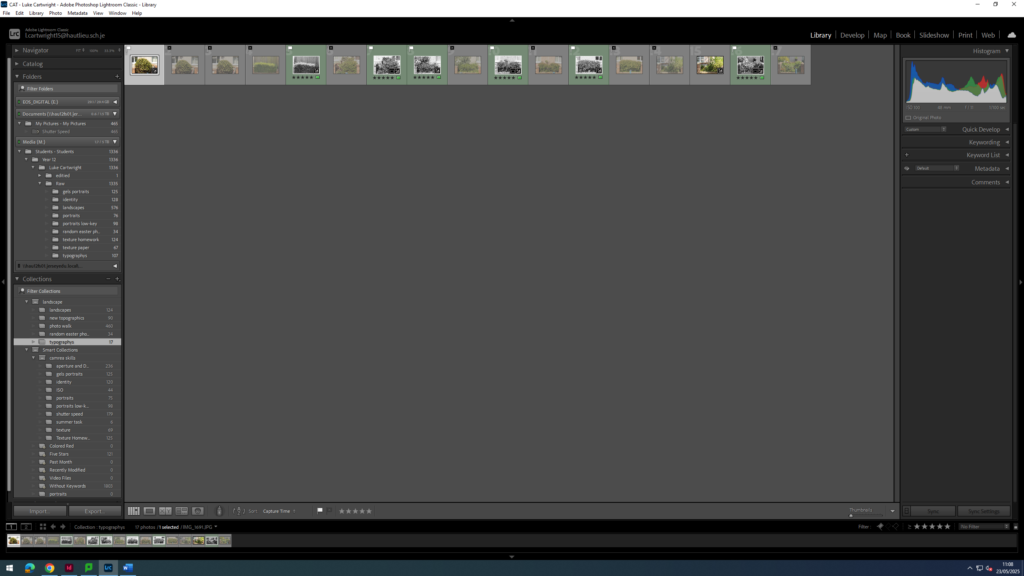
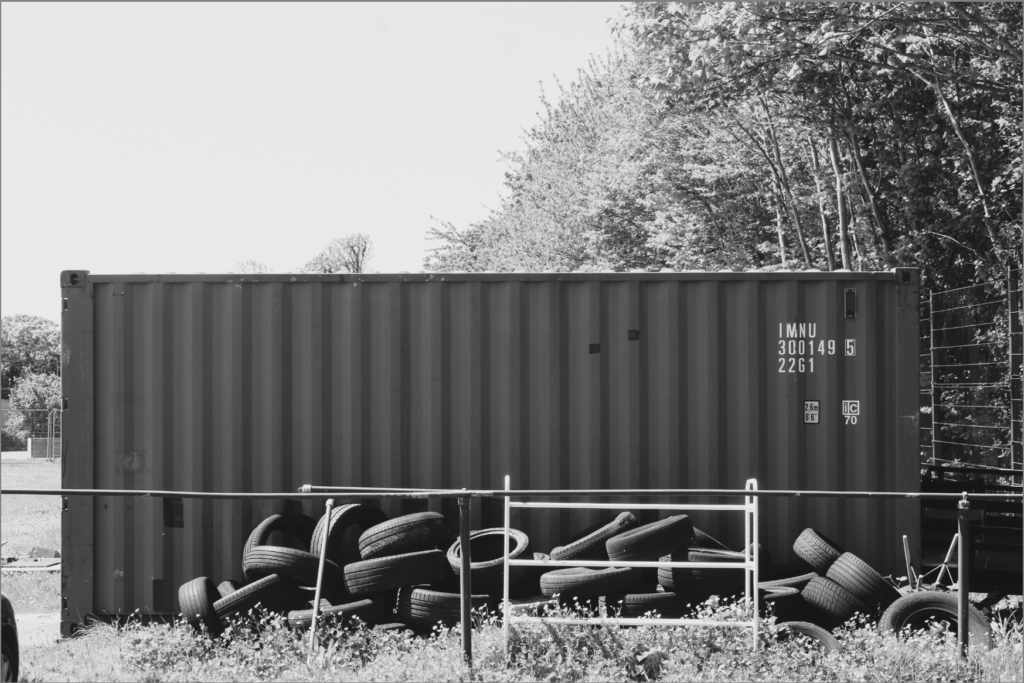
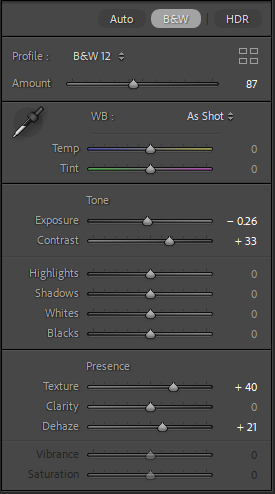
as you can see above I used P and X to flag my images to filter out the bad ones from the ok and good ones, next I rated these images 4 or 5 stars as 4 being ok ones and 5 being good ones, finally I gave them the colour yellow or green, green being the best and yellow being good. I will now edit these images that I selected and present them bellow along with the raw images.
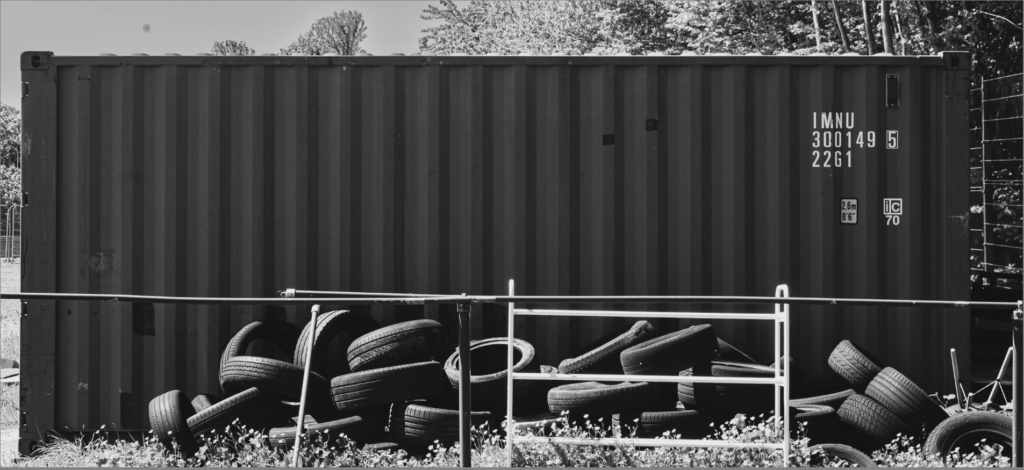
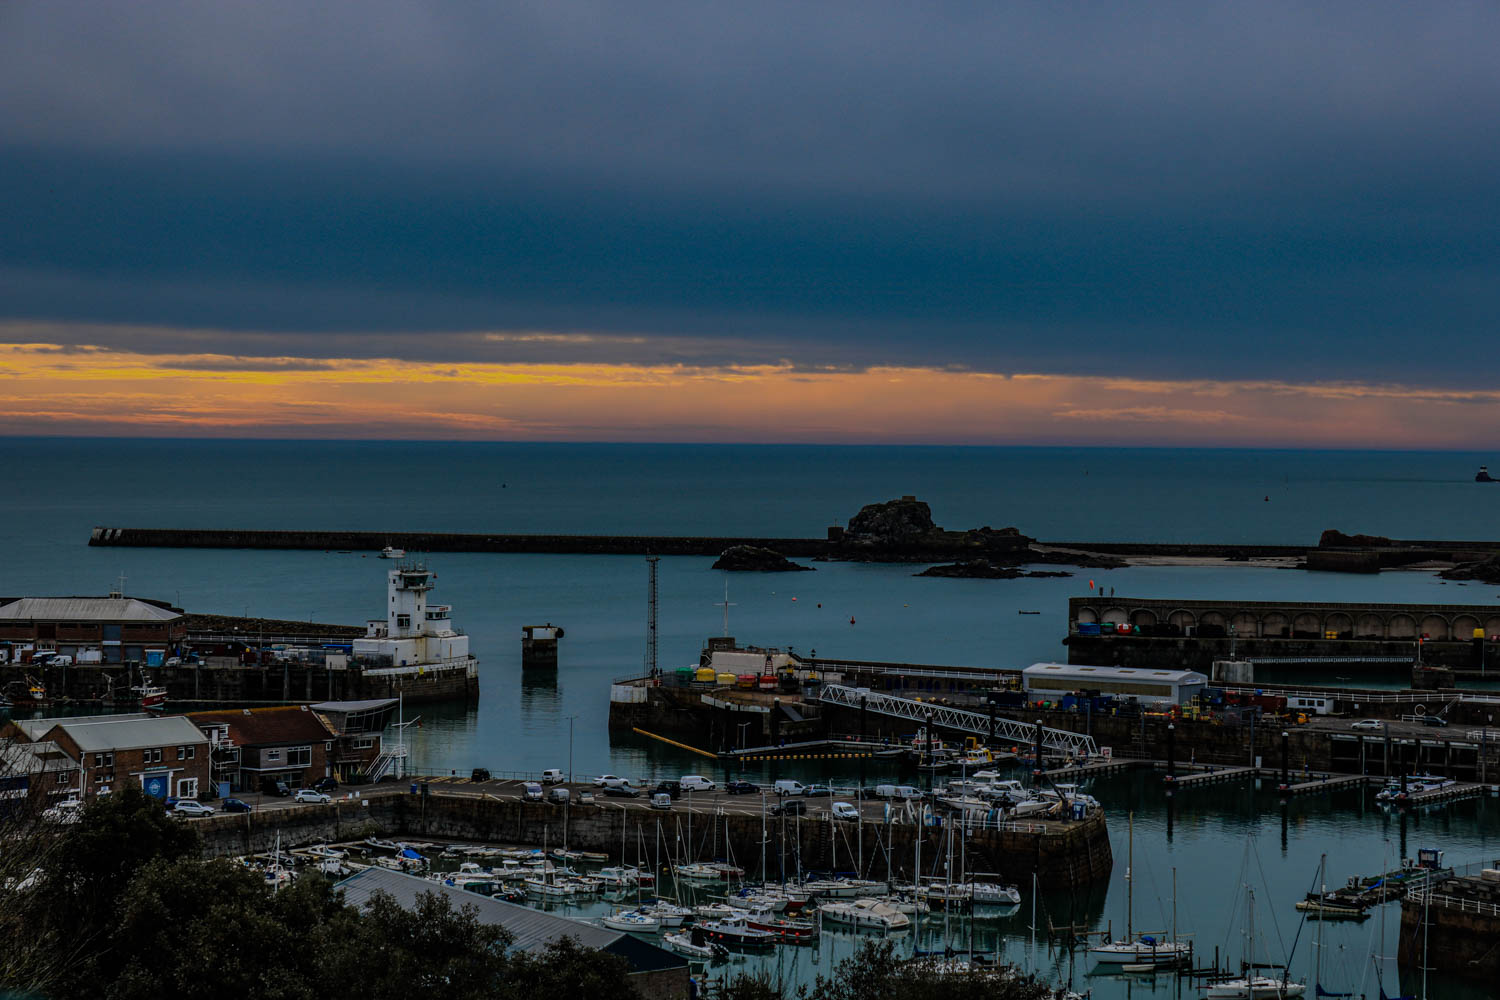
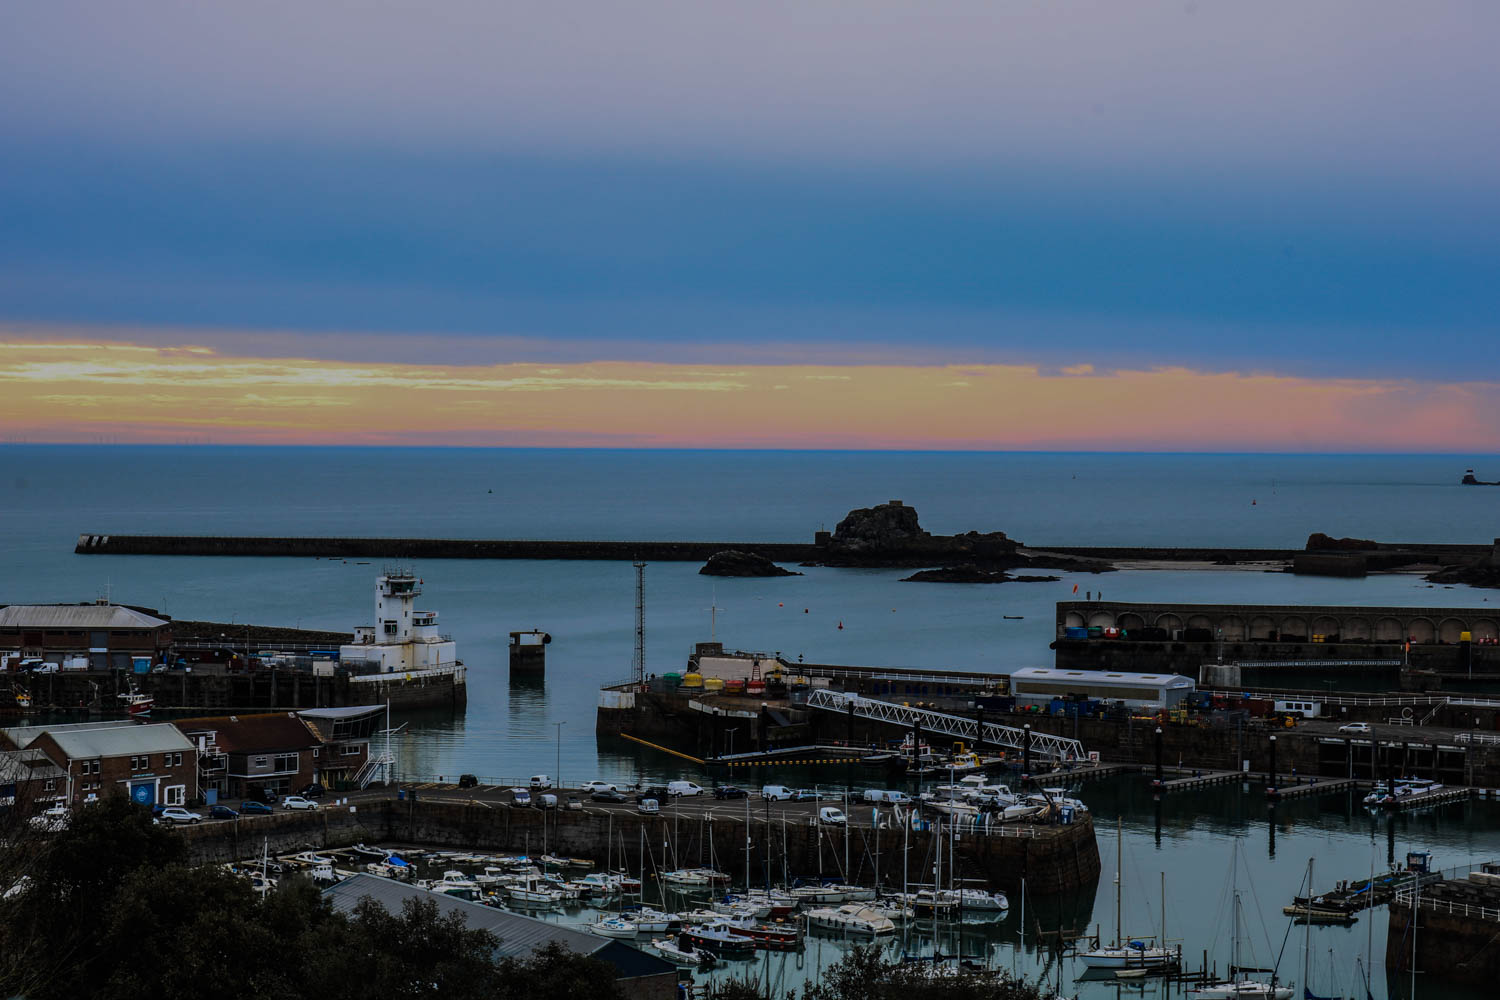
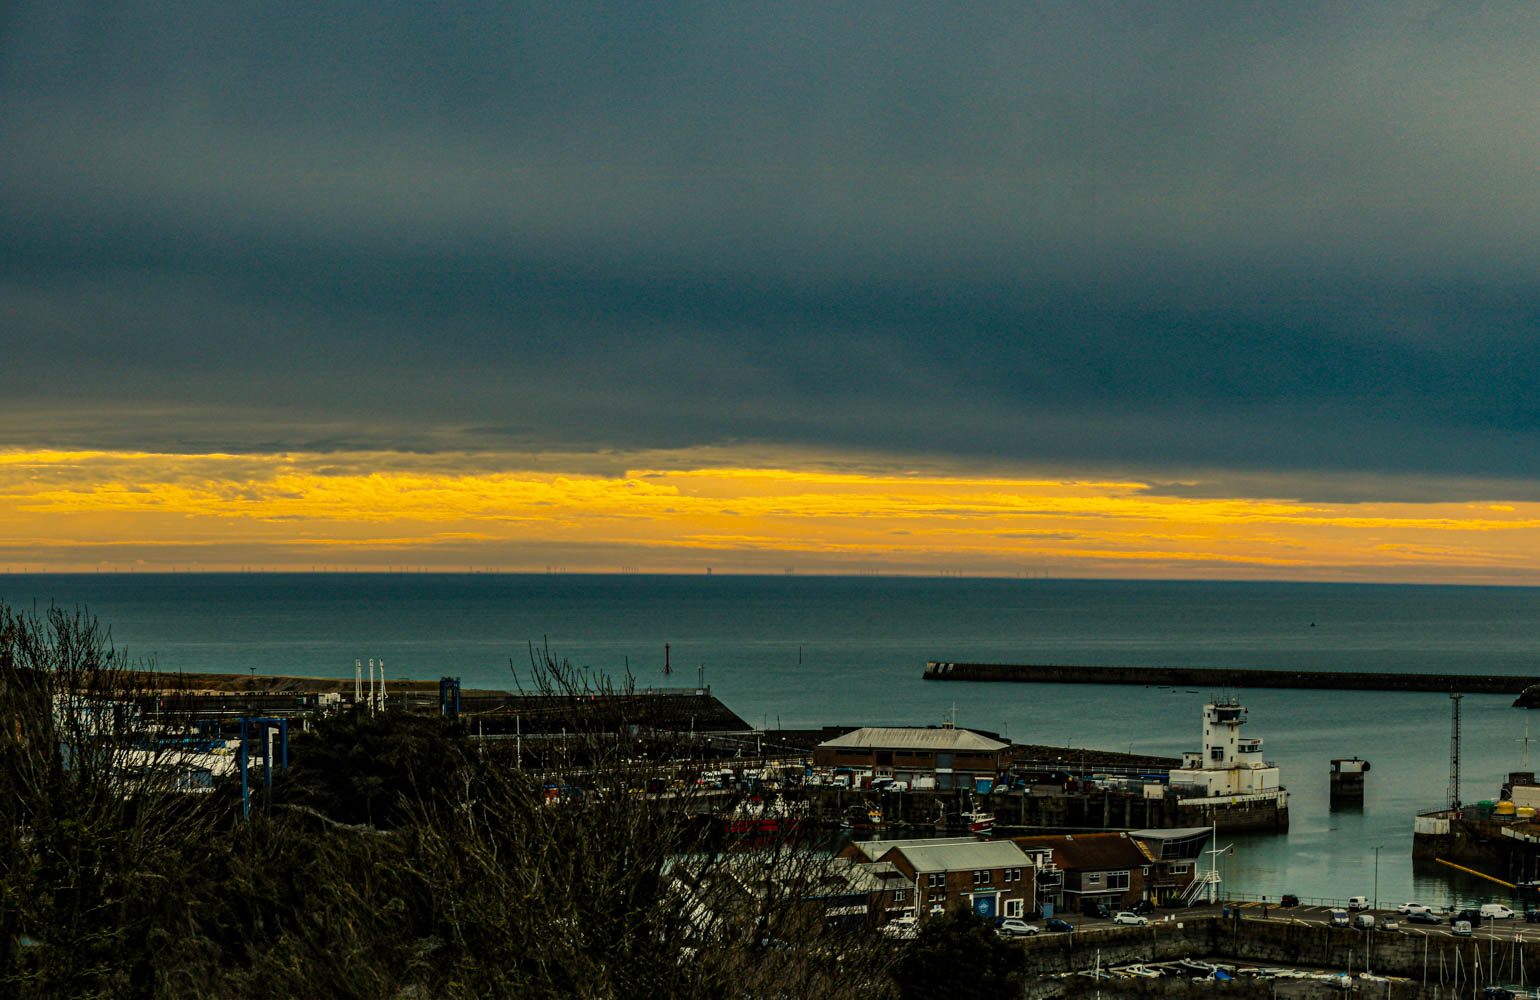
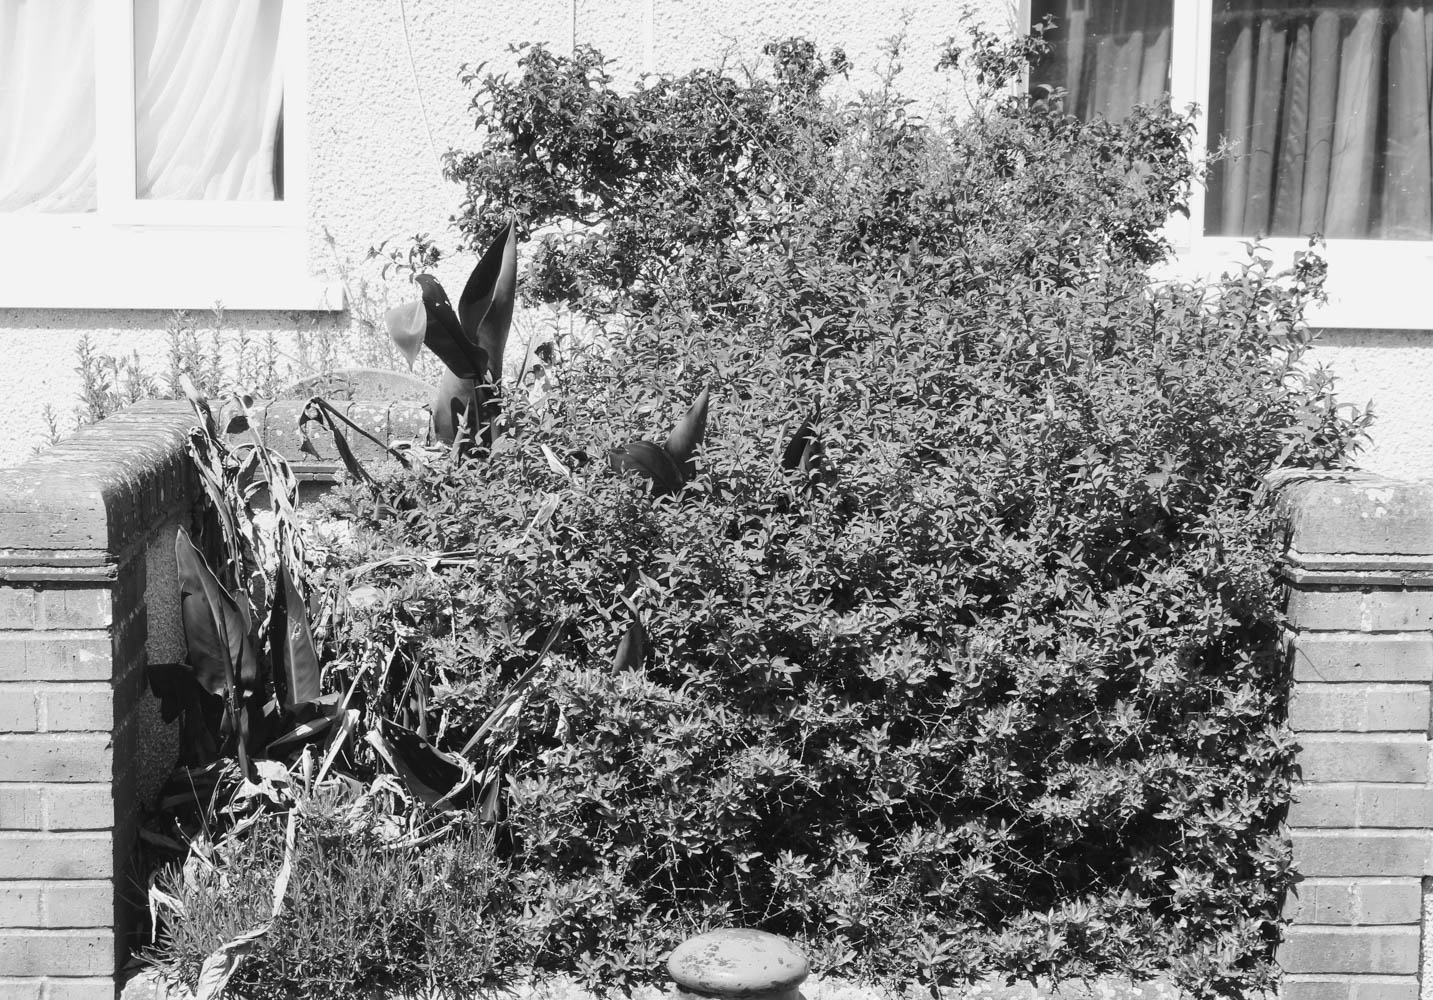
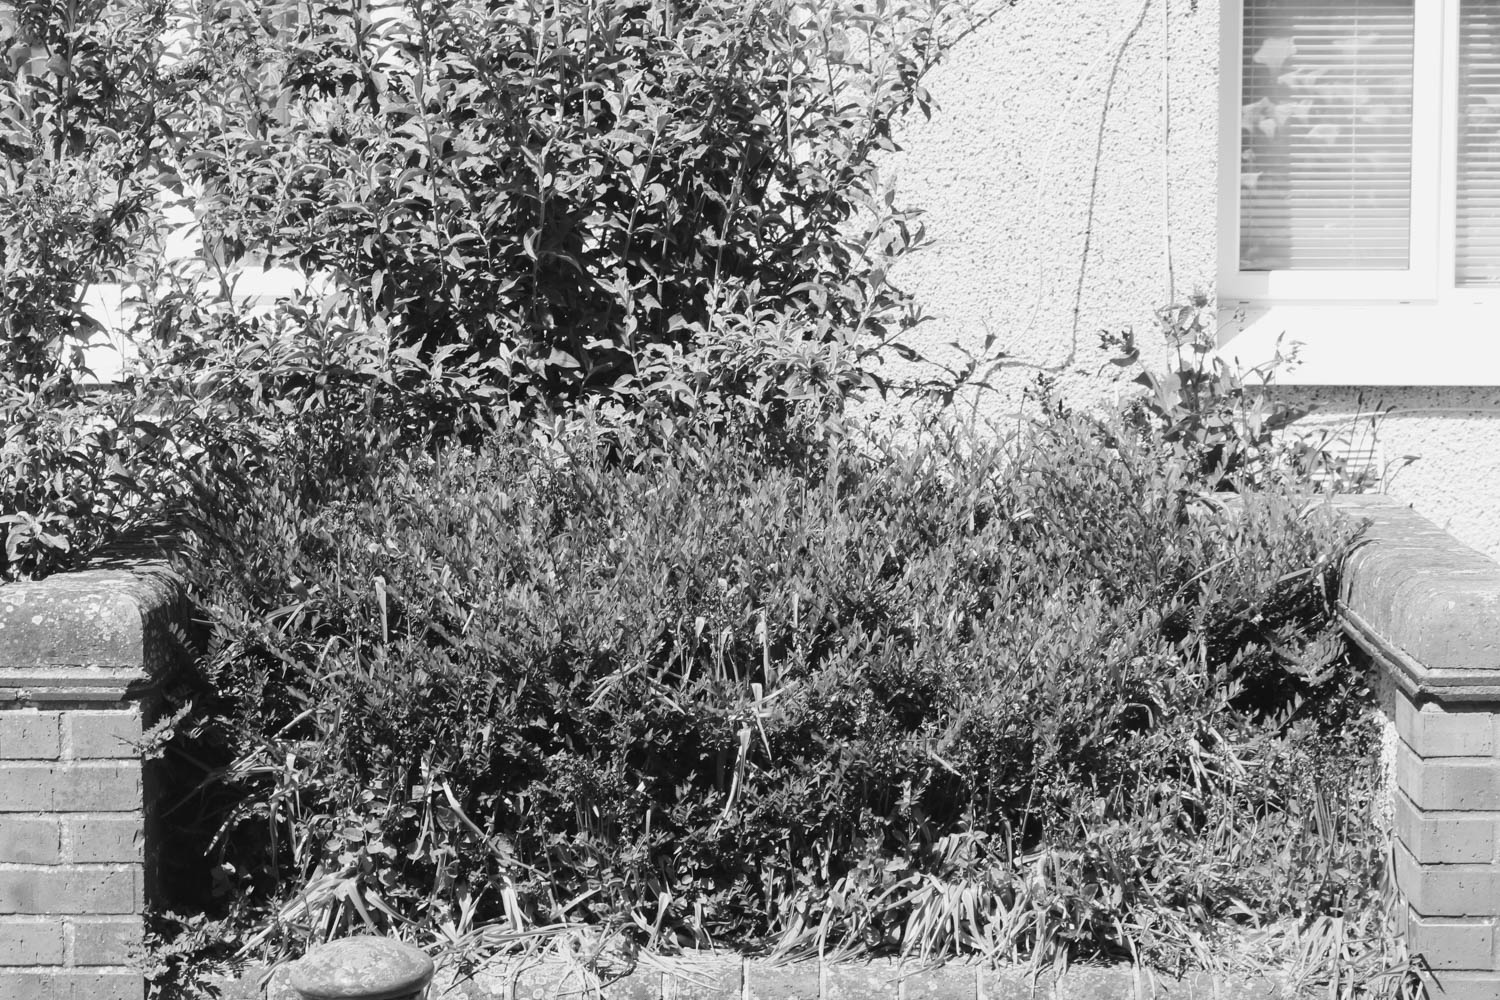
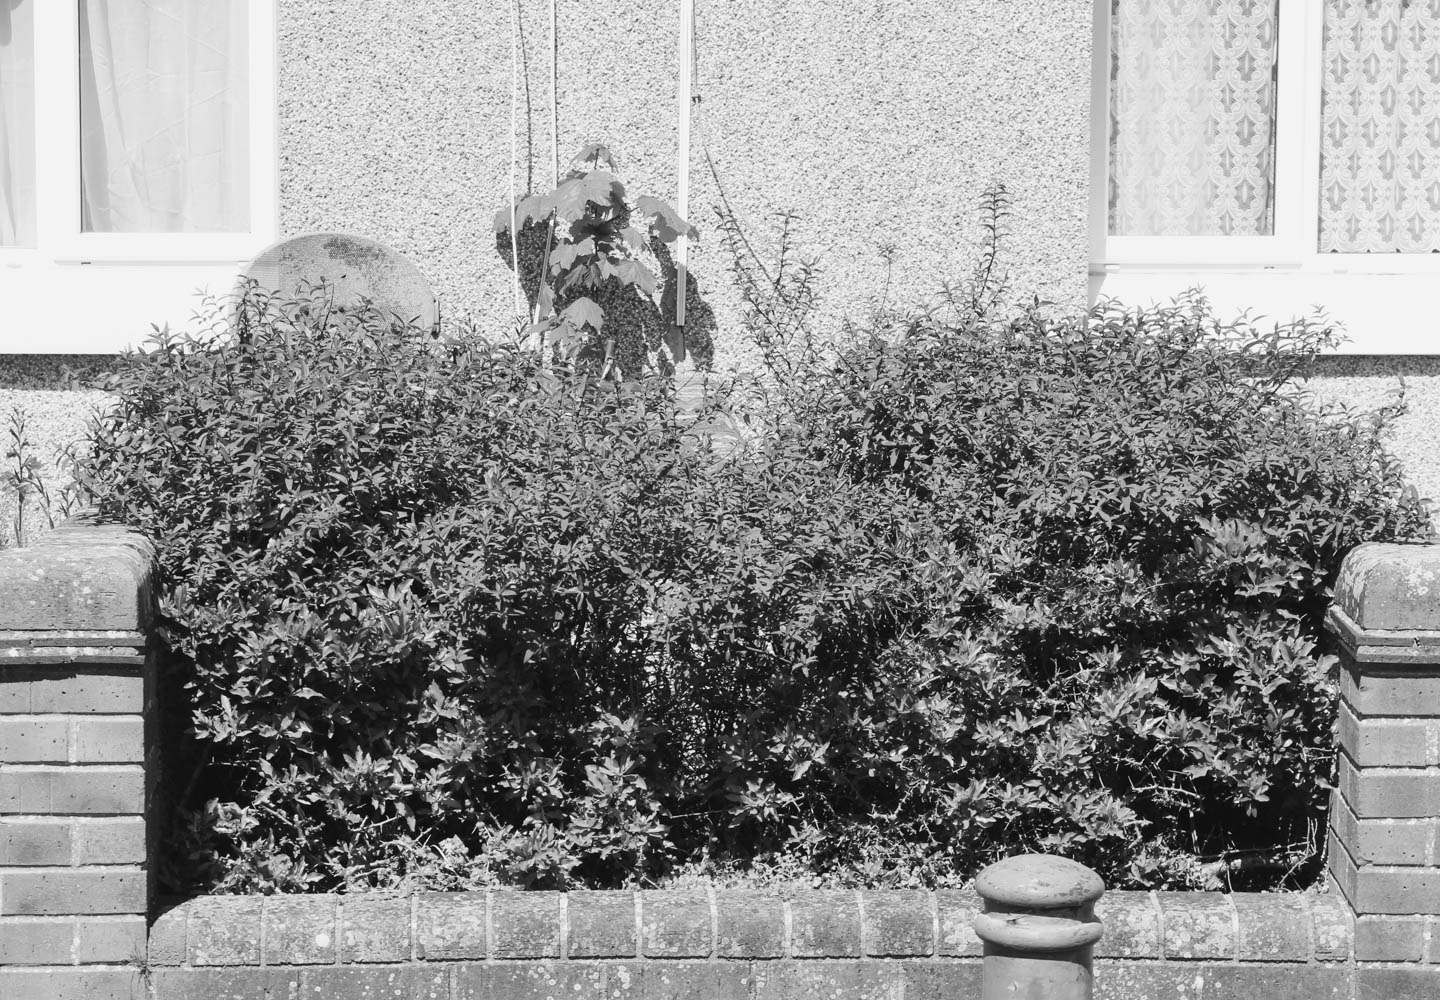
final images
—
–
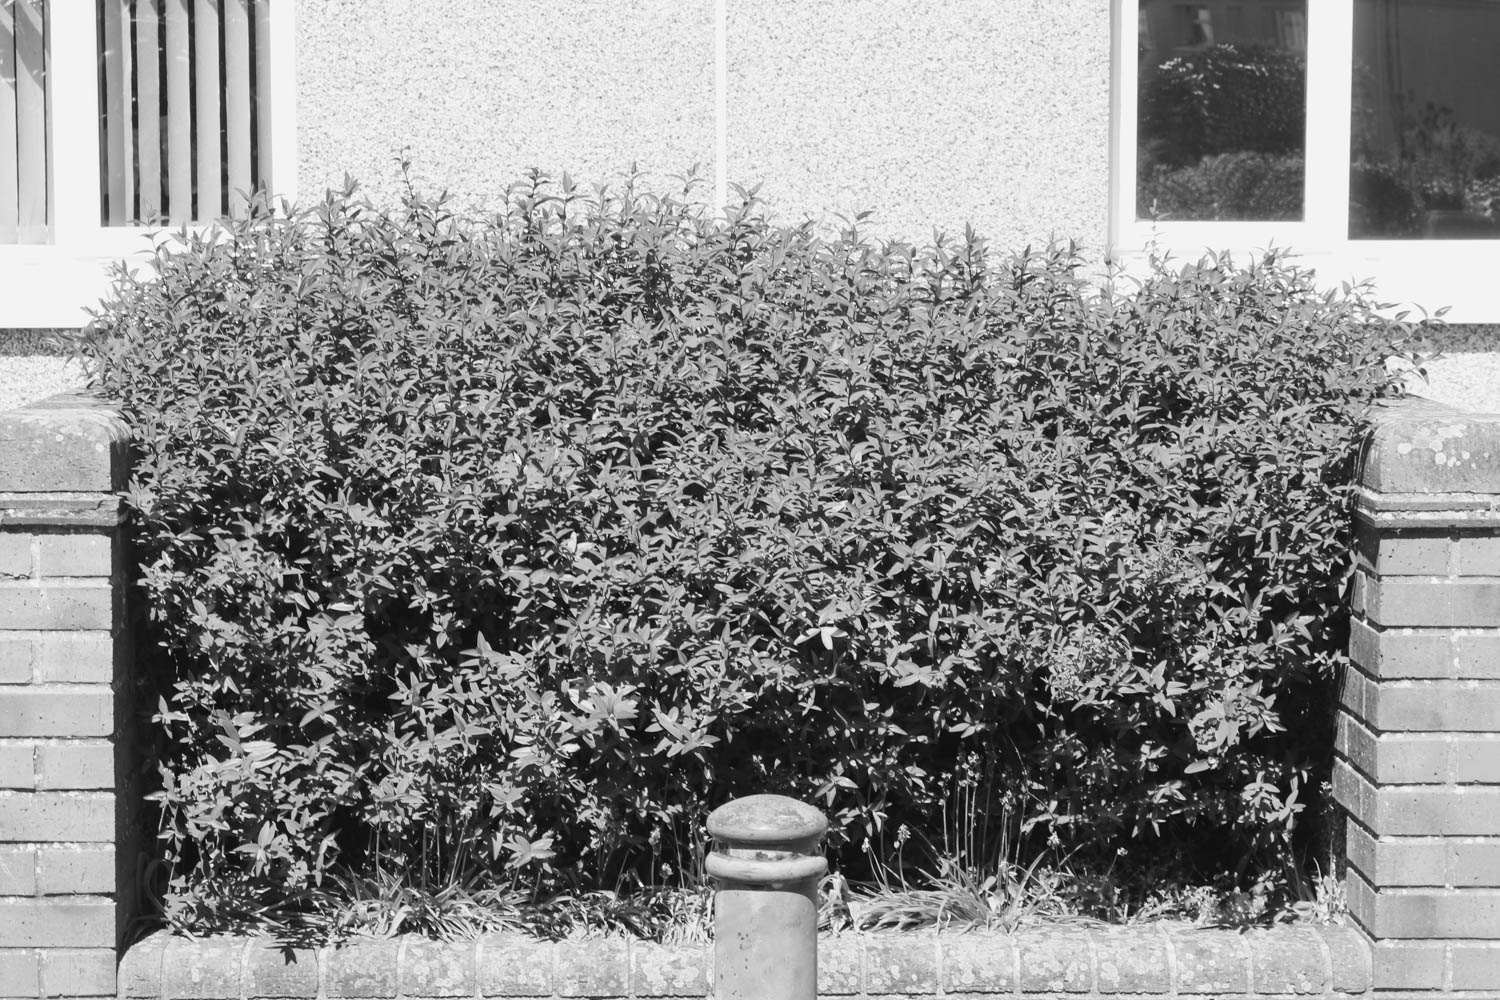
Evaluation
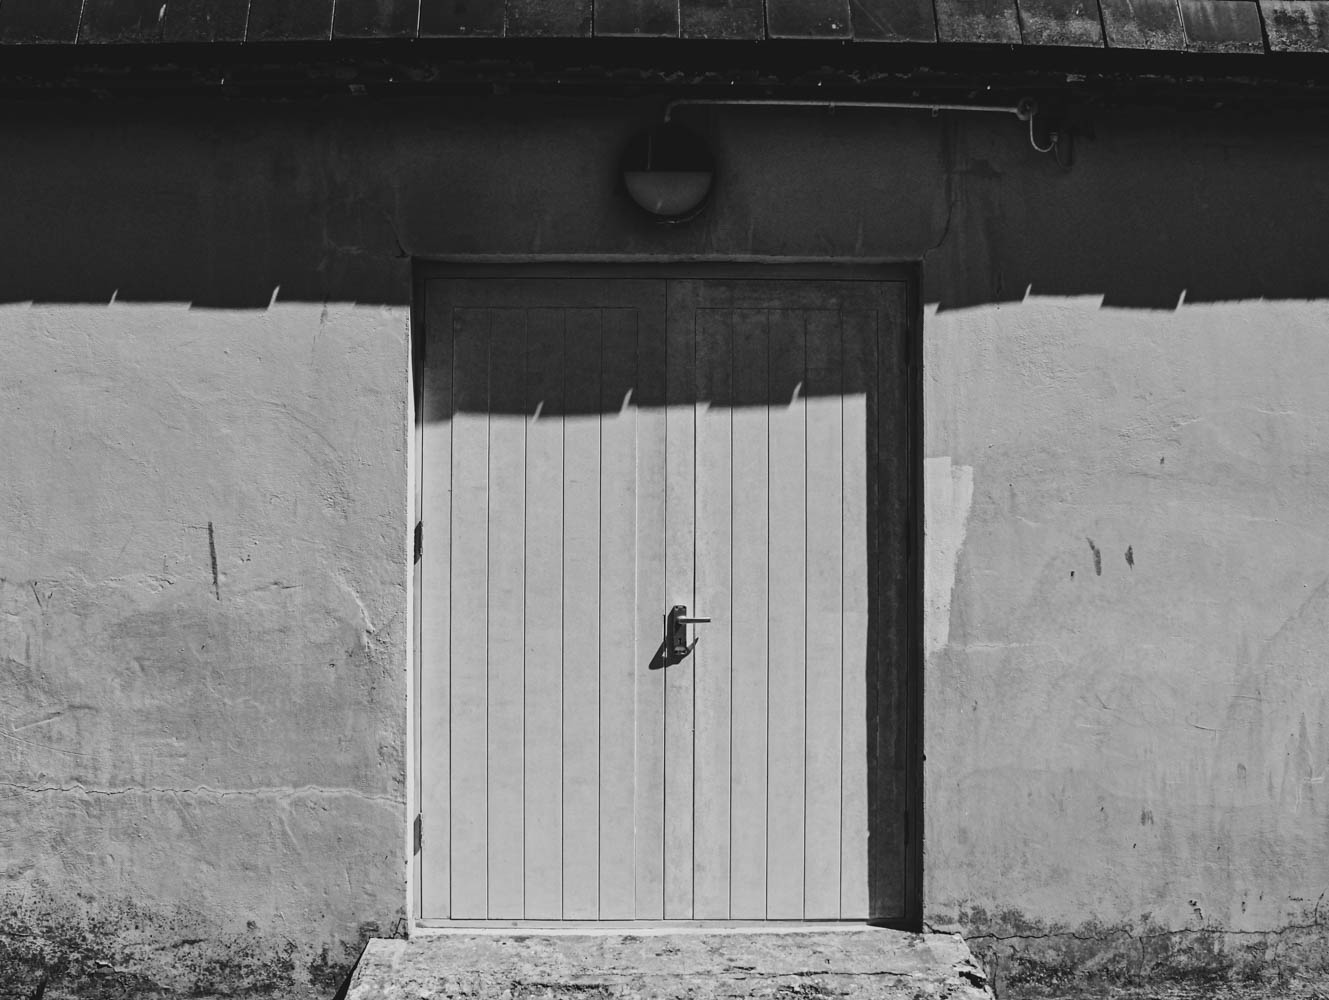
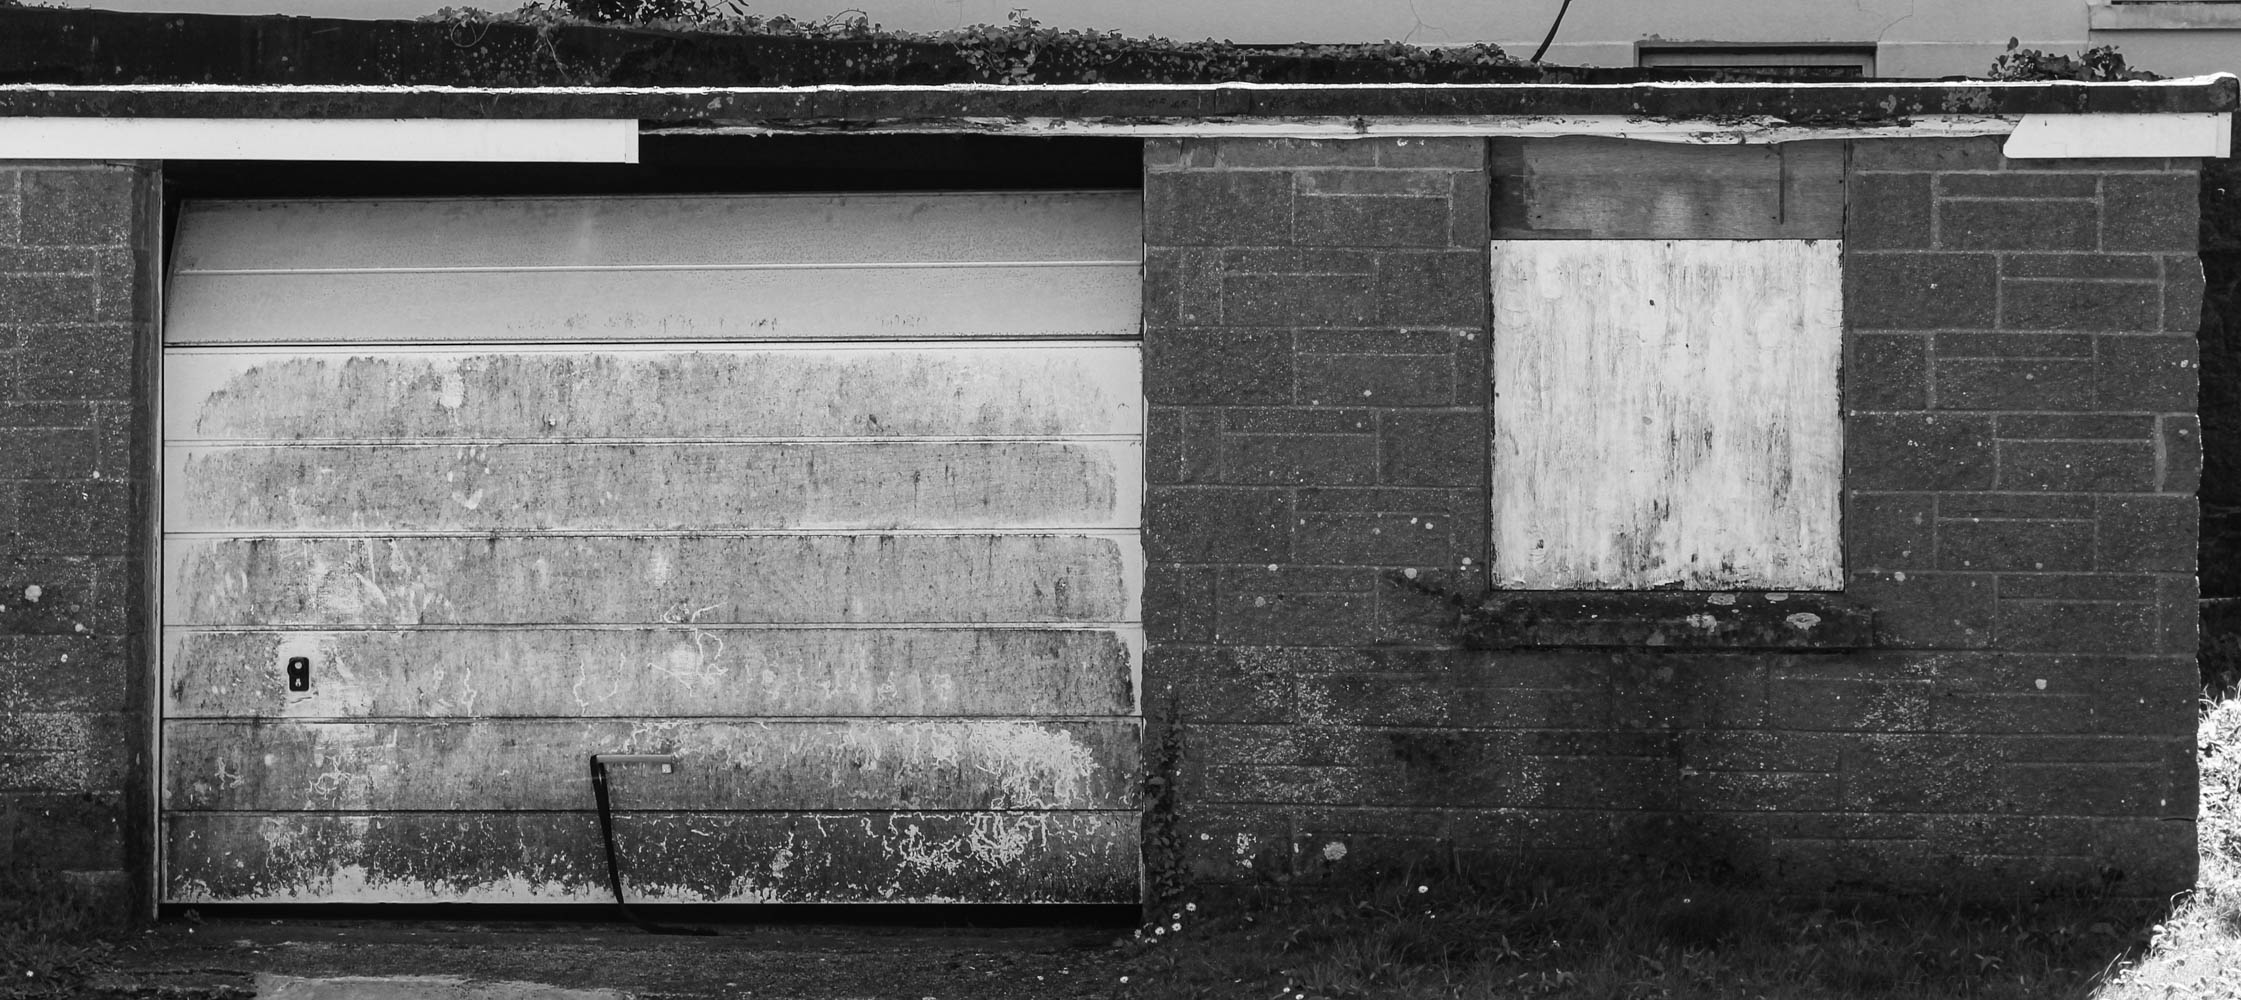
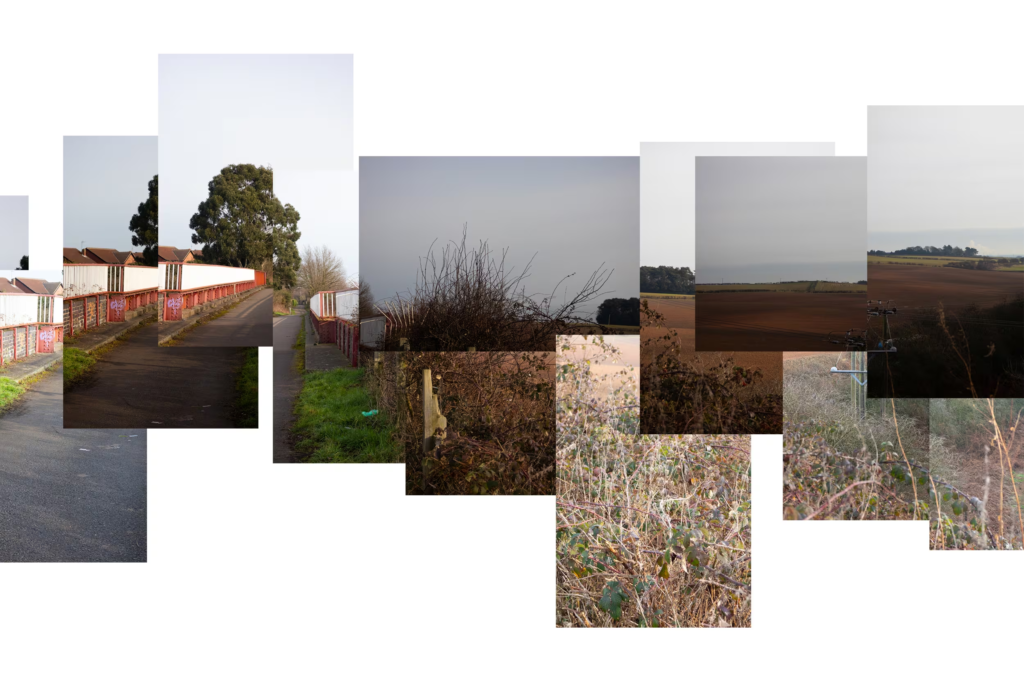
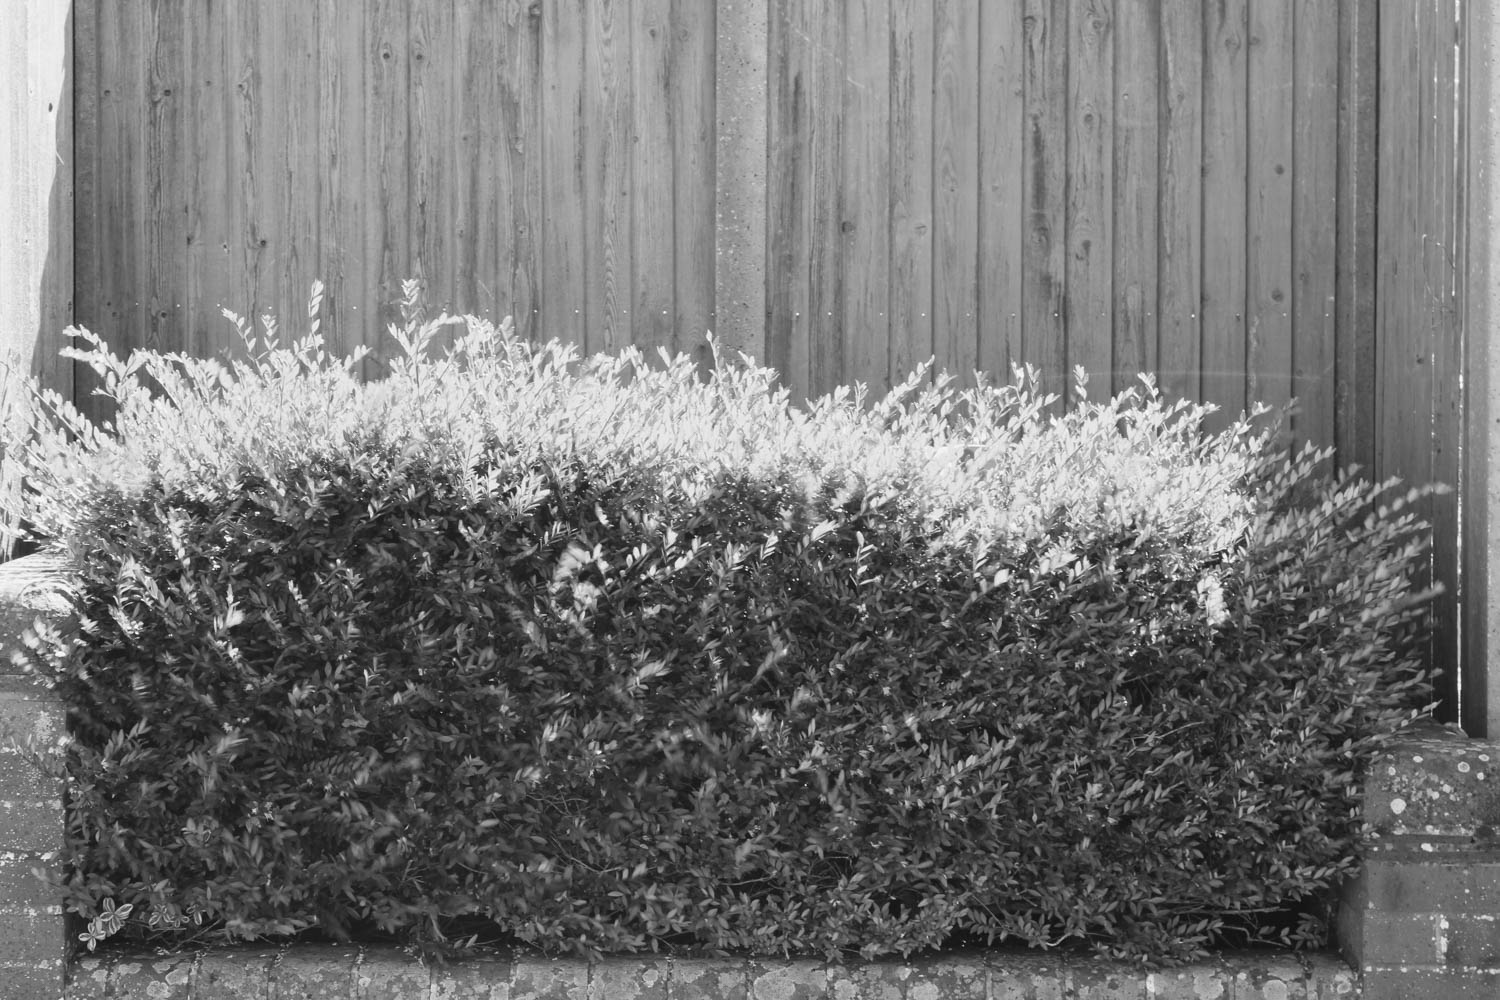
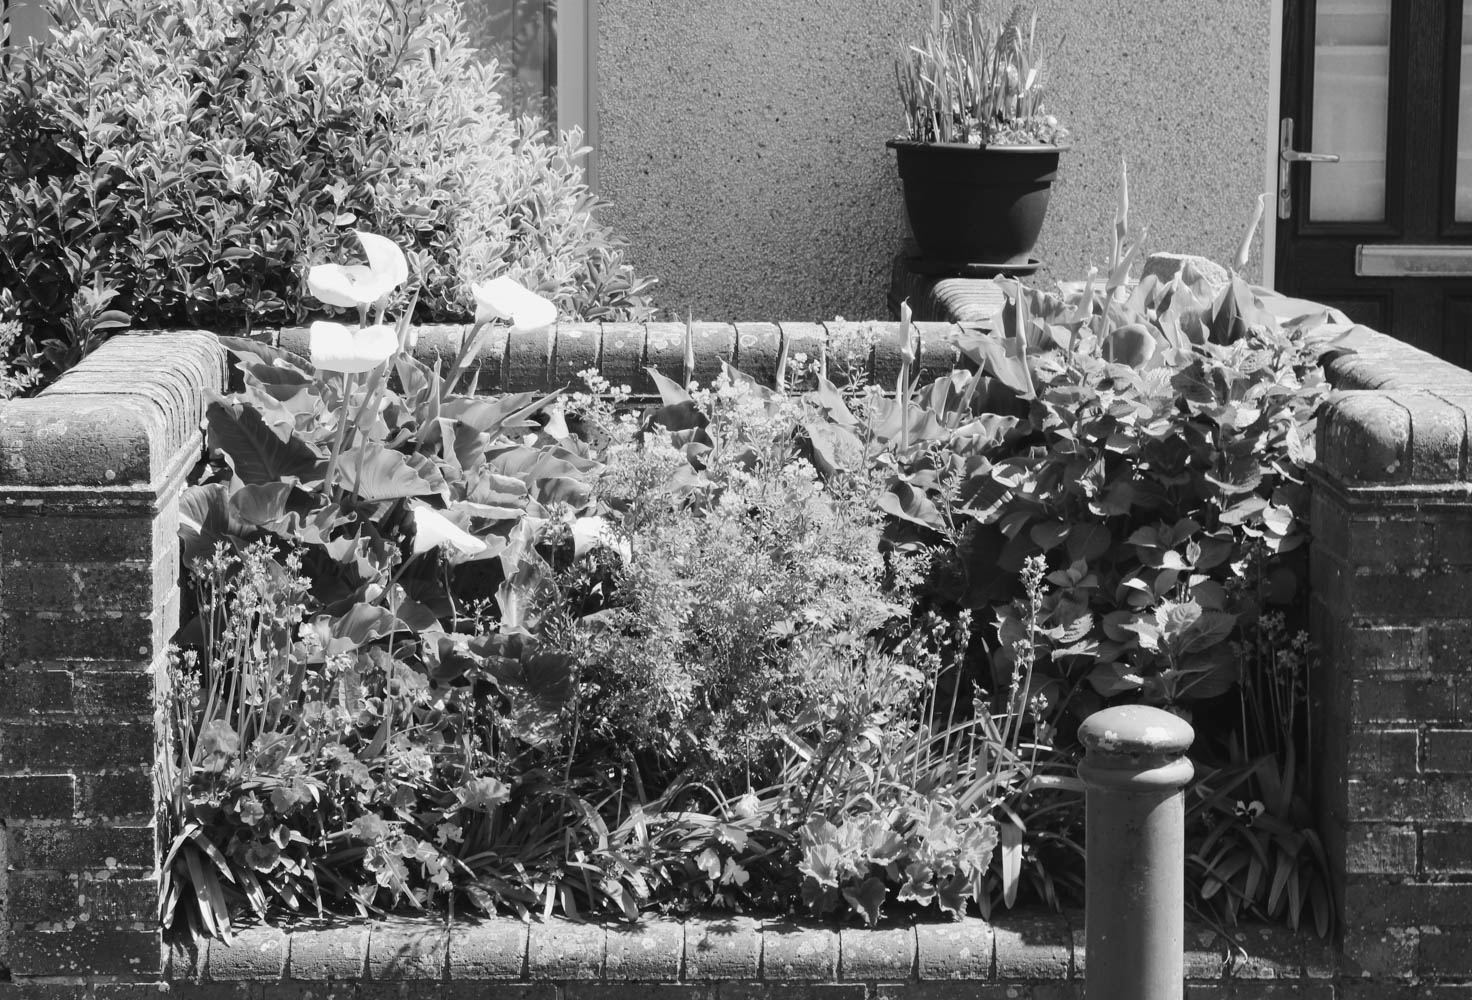
As you can see in the 6 images above they have been lay out in a grid pattern and they all have very similar features while being slightly different, this is all typical of the typology genre, these images where all taken on a housing estate which I explored and when I noticed the pattern consisting of the bushes, wall and bollards I photographed them with a similar deadpan frame and edited them to be monochrome images to remove and colour differences in the images, this meant that when I lay them out in this grid pattern they would be similar and different at the same time much like the Bechers did with there images.