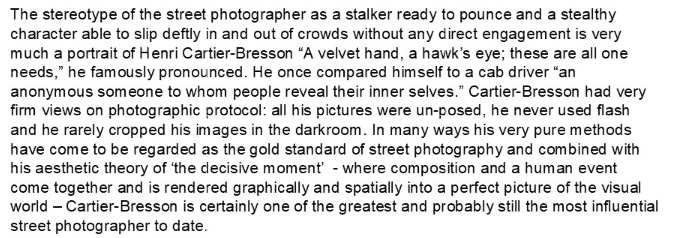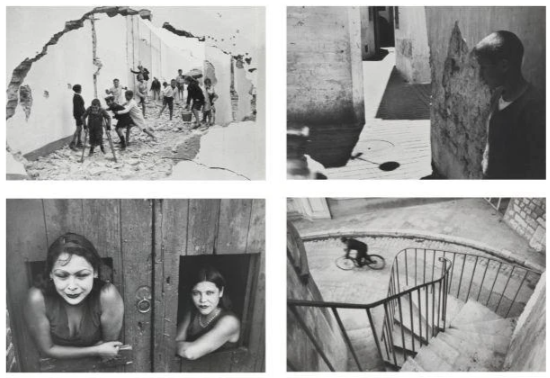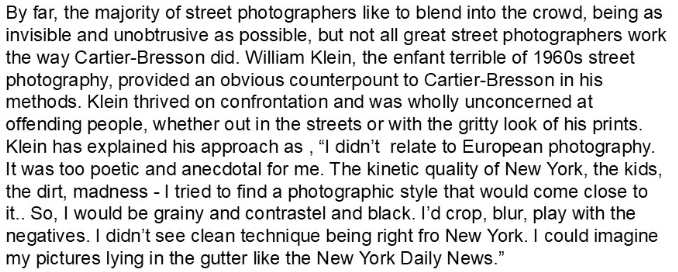
‘Be yourself. I much prefer seeing something, even it is clumsy, that doesn’t look like somebody else’s work.’ William Klein.
William Klein is an American photographer born on the 19th of April, 1928, he his ironic approach to both media and his extensive use of unusual photographic techniques in the context of photojournalism and fashion photography. Born in New York, he grew up as a Jewish boy in an area where anti-Semitism was common. He frequently visited the Museum of Modern Art, and he studied at the City College of New York before enlisting in the Army. In 1948, he left the United States and travelled to France, where he studied painting with Fernand Léger and later enrolled at the Sorbonne.
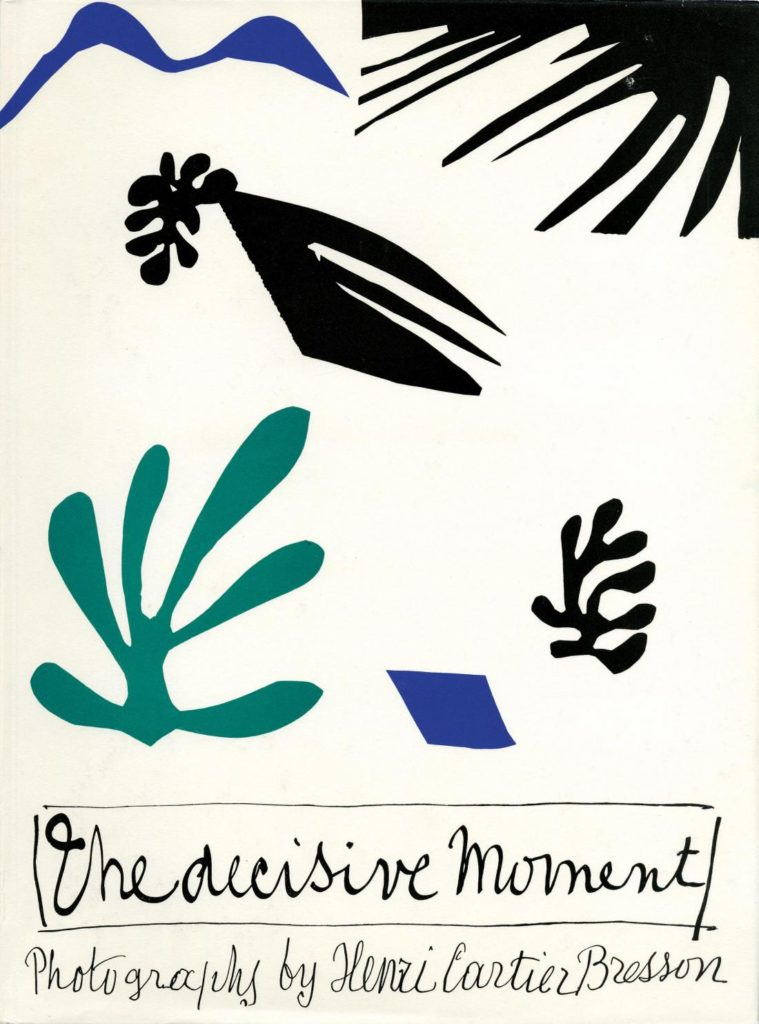
‘I was very consciously trying to do the opposite of what Cartier-Bresson was doing. He did pictures without intervening. He was like the invisible camera. I wanted to be visible in the biggest way possible.’ William Klein.
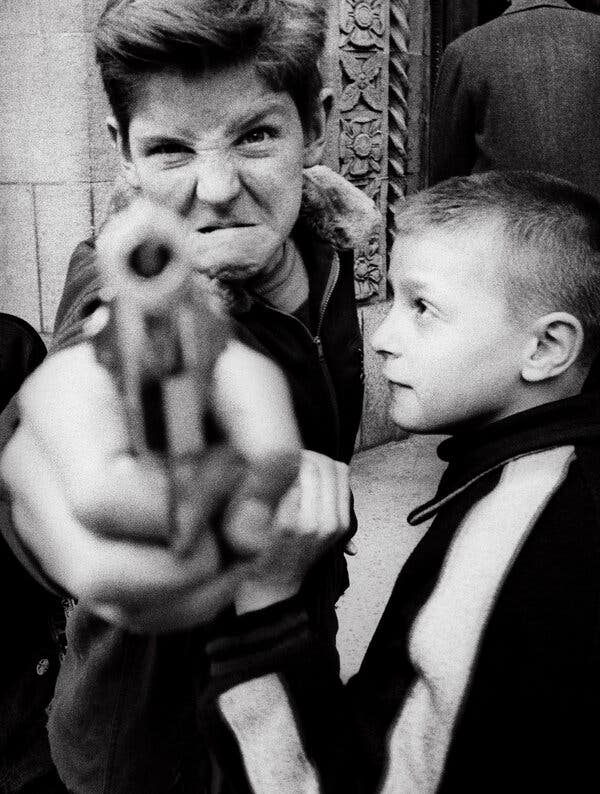
‘Sometimes, I’d take shots without aiming, just to see what happened. I’d rush into crowds—bang! bang! … It must be close to what a fighter feels after jabbing and circling and getting hit, when suddenly there’s an opening, and bang! Right on the button. It’s a fantastic feeling‘ William Klein.
Image analysis
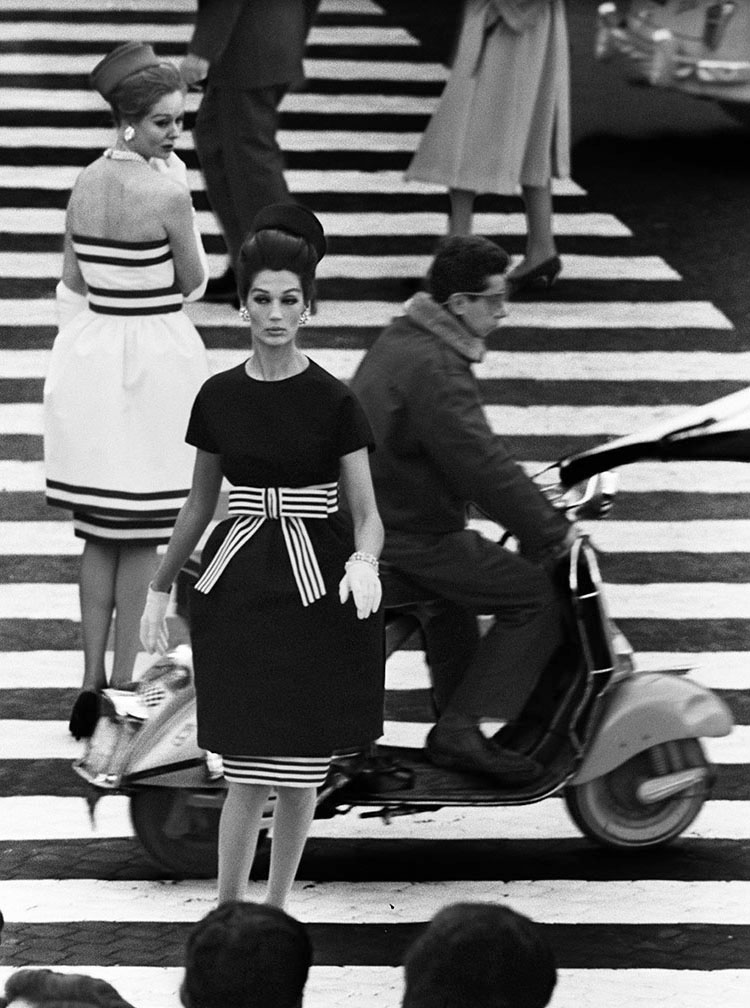
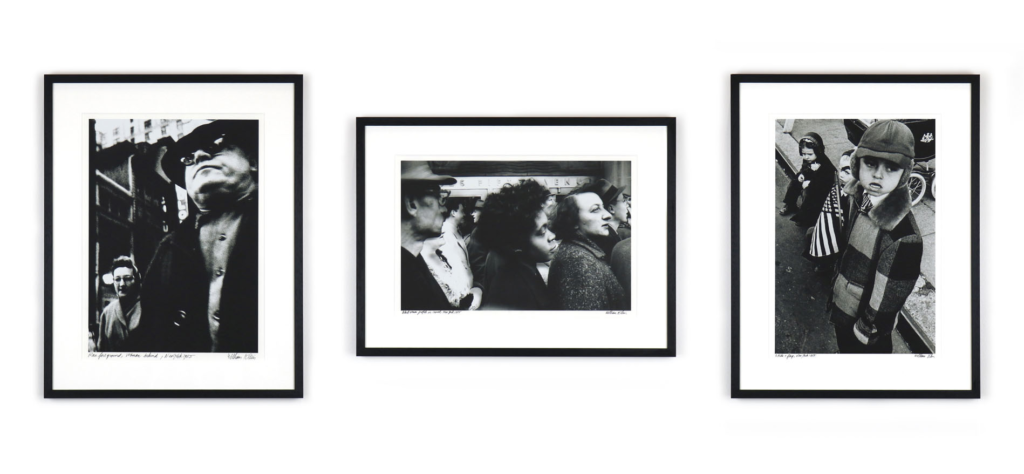
“Nina + Simone, Piazza di Spagna, Rome (Vogue), 1960
Visual:
William Klein’s “Nina + Simone, Piazza di Spagna, Rome (Vogue), 1960” is a black and white photograph that captures the dynamic energy of urban life and fashion. In the images there are two models, Nina Devos and Simone Daillencourt walking across a crossing in Pizza di Spagna in Rome while people walk or drive move around them.
Conceptual: I think the idea behind it is to combine fashion and normal life, fashion is often seen as an expensive, unreachable area and to show two models wearing expensive and beautiful people in the middle of normal pedestrians brings a feeling of normality to fashion, but also the models sand out in the picture you can tell that they are the focus and what you should be looking at, which in a way makes the fashion industry come back to the idea of expensive, unreachable area