Who is he?
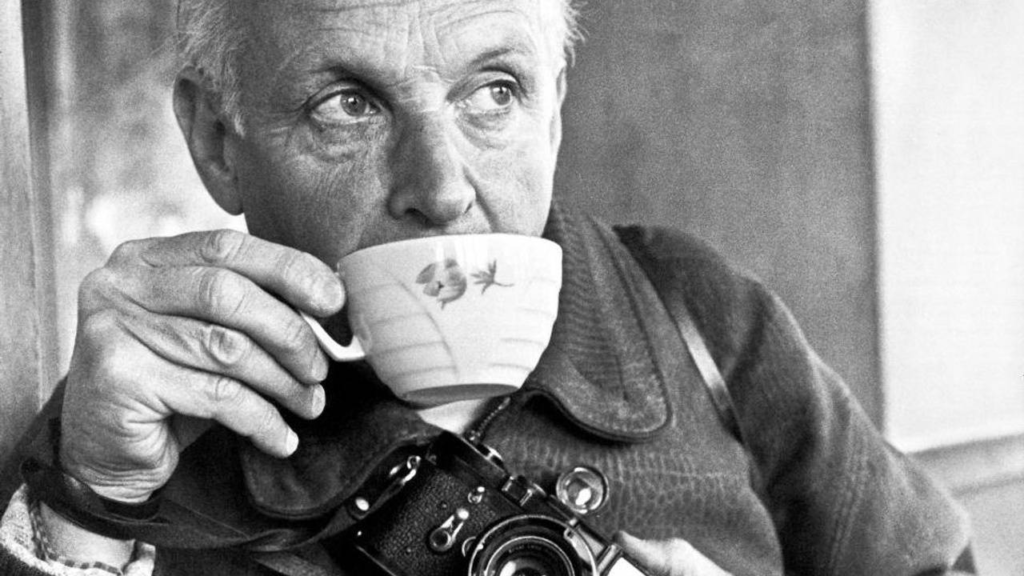
William Klein was an American-born French photographer and filmmaker noted for his ironic approach to both media and his extensive use of unusual photographic techniques in the context of photojournalism and fashion photography. He was born in New York (1926-2022). He studied sociology at City College of New York, but dropped out a year before graduation and joined the postwar Army.
He joined the US army during the second world war and was stationed in Germany and then France, where he permanently relocated after his service. By 1948, Klein was studying painting under Fernand Léger at the Sorbonne in Paris, but turned to photography after winning his first camera in a poker game. William Klein’s celebrated career encompasses street photography, fashion photography, abstract photography, filmmaking, and painting.
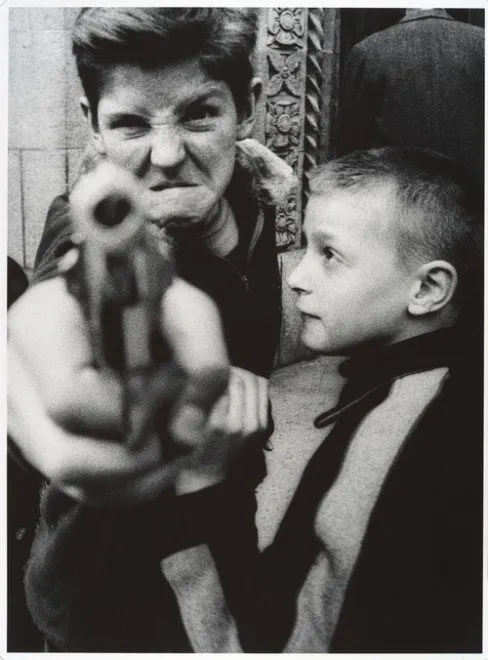
Often using telephoto shots, Klein’s social documentary photography spans across the streets of New York, London, Paris, Tokyo, Moscow, and Rome. He often used wide-angle lenses, capturing vast scenes and producing distorted, dynamic compositions. His images are filled with bold contrasts, grain, and blur, embracing what was considered technical ‘flaws’ to create highly expressive images.
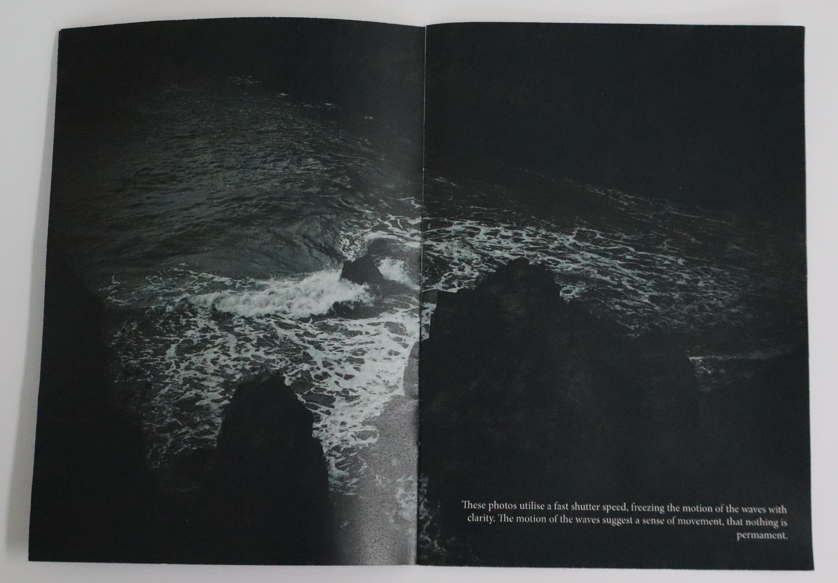
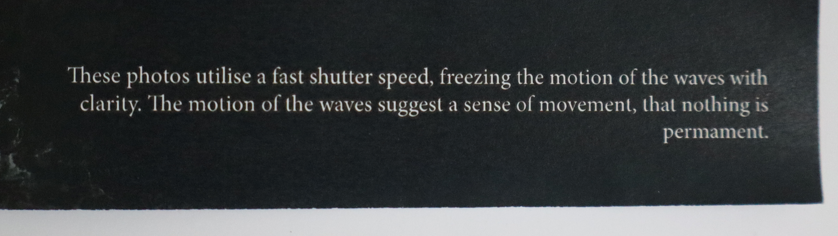
Image Analysis
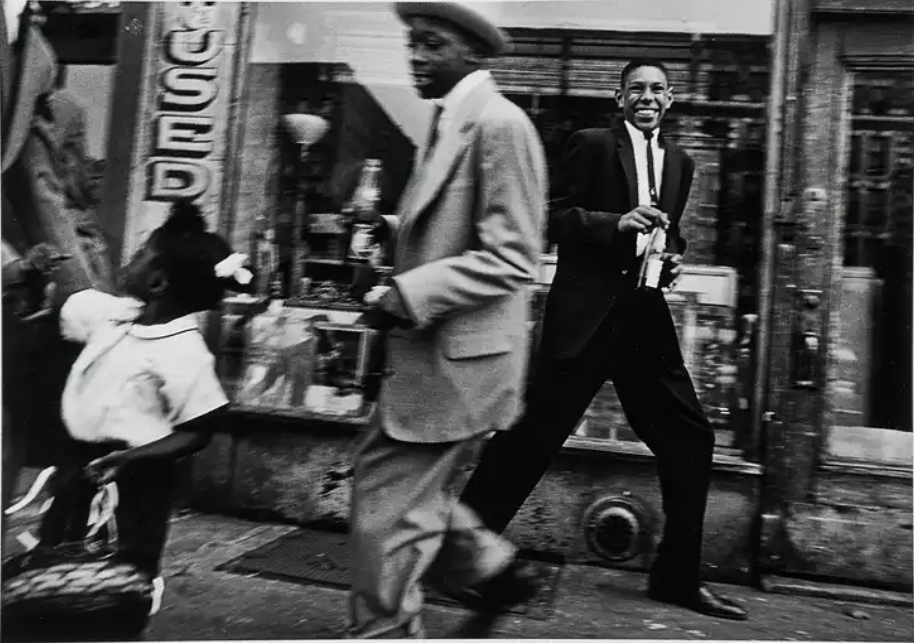
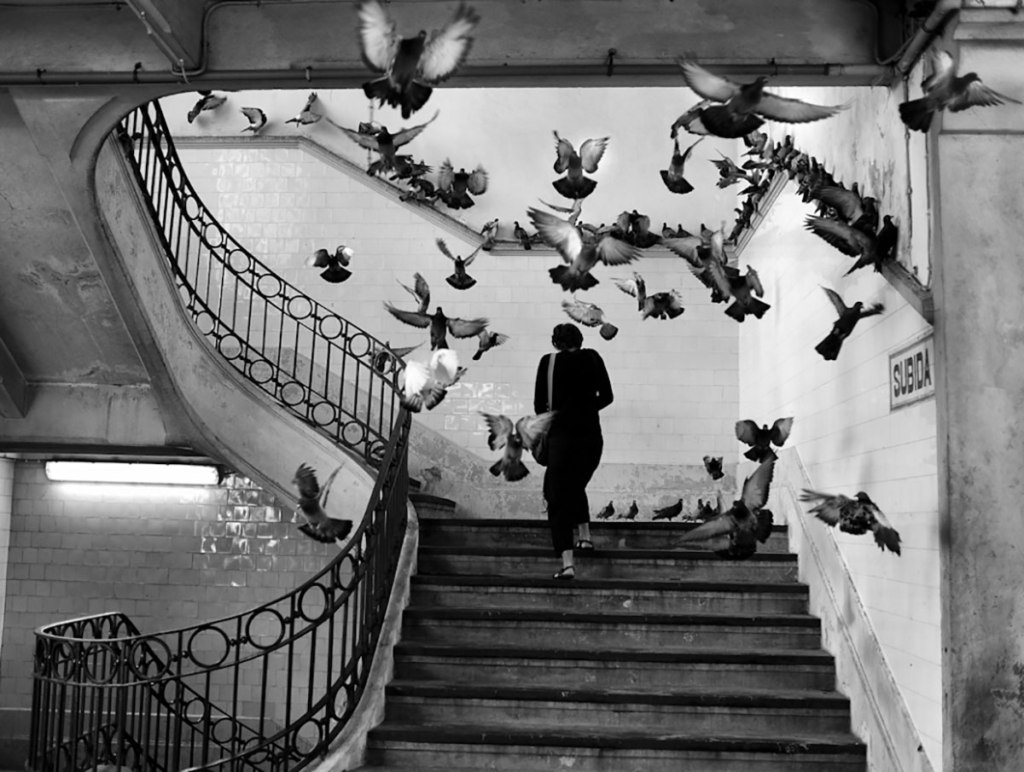
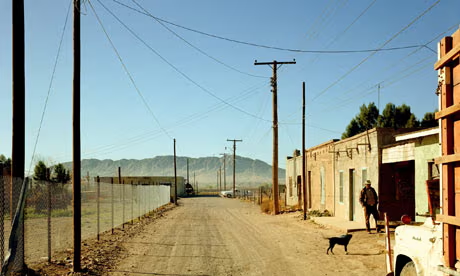
In the foreground, there is a young girl with another man who is cut out of the image which symbolises that it is busy in the area and crowded, and another man walking next to her. the main focus is the man in the background as he is more in focus and he is making direct eye contact. It gives a sense that the photographer is in the scene and part of the commotion. the sense that people are walking in different directions adds to the chaotic nature.
This photo seems to have a slow shutter speed to capture a motion blur and seems to create a sense of movement in the image. It is in black and white which emphasises the drama and the details in the image. It increases the brightness, contrast and the texture.
Moves and Pepsi, Harlem, New York, 1955. William Klein’s unconventional approach to photography helped expand the aesthetic boundaries of the medium and paved the way for street photography. Harlem, a neighborhood in New York City, was a lively and vibrant place in the 1950s. During this time, it was known as the center of African American culture. The streets were filled with music, art, and a strong sense of community.
The image captures the everyday street life showing people interacting in an urban setting. The presence of ‘pepsi’ in the title makes you look closer at the bottles in hand, adding a layer of commercial and cultural context, highlighting consumer i n the post-war America.
True to Klein’s style, the photo likely features raw, candid moments with dynamic composition, reflecting the energy and complexity of city life.
The photo is a part of Klein’s exploration of social realities in their city, portraying harlem not just as a backdrop but as a living, breathing environment full of movement and human stories.