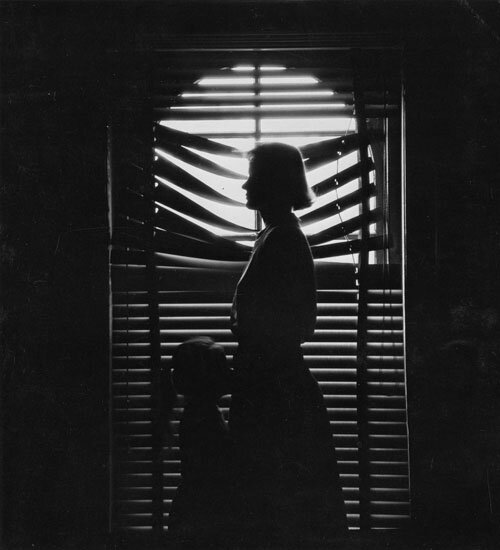
Environmental portraiture – An environmental portrait is a portrait executed in the subject’s usual environment, such as in their home or workplace, and typically illuminates the subject’s life and surroundings. The term is most frequently used of a genre of photography. The purpose of an environmental is to to tell a story through props in an image that reveals the background or information about a character.
Analysis
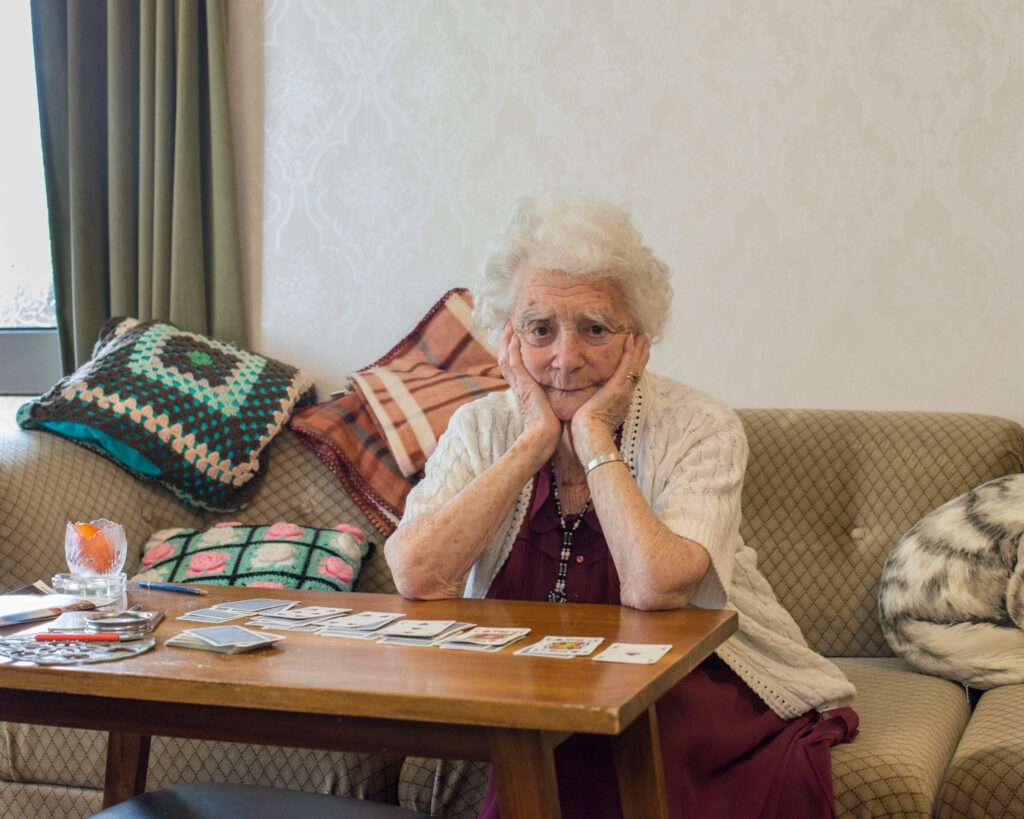
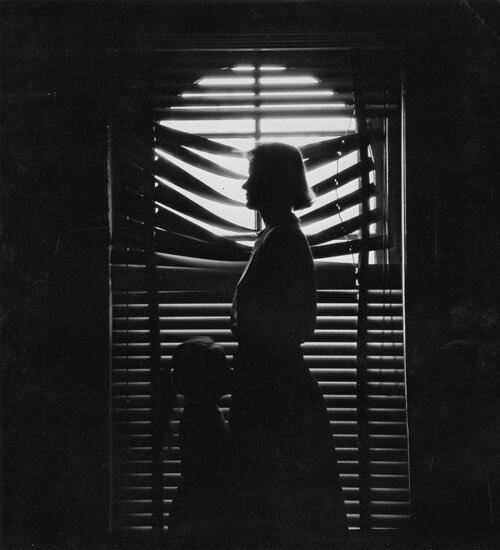
The details of this photo leaves Easter eggs into the life for example:
- Lighting ; natural soft lighting cast from the side
- Environment ; in her home in her living room , lower middle class , use of personal items such as cards , cushions and jewellery
- Framing – half body , deadpan
- Approach – posed but neutral facial expression
- Gaze – eye contact , engagement with camera
- Camera setting: standard lens
Laura Pannack
Short biography :
Born in 1985 , Laura Pannack is an award winning British photographer based in London
Pannack works commercially and on self initiated personal projects, her subjects often being “young people and teenagers”. Her work has been a feature in magazines
Her personal projects include The Untitled, Young Love and Young British Naturists, For her personal work Pannack largely uses a film camera, at one time a Bronica 645 medium format camera and more recently a Hasselblad 6×6.
In 2011 Pannack was included in Creative Review’s Ones to Watch list and in 2013 in The Magenta Foundation‘s Emerging Photographers list
-wikipedia
Her photographs
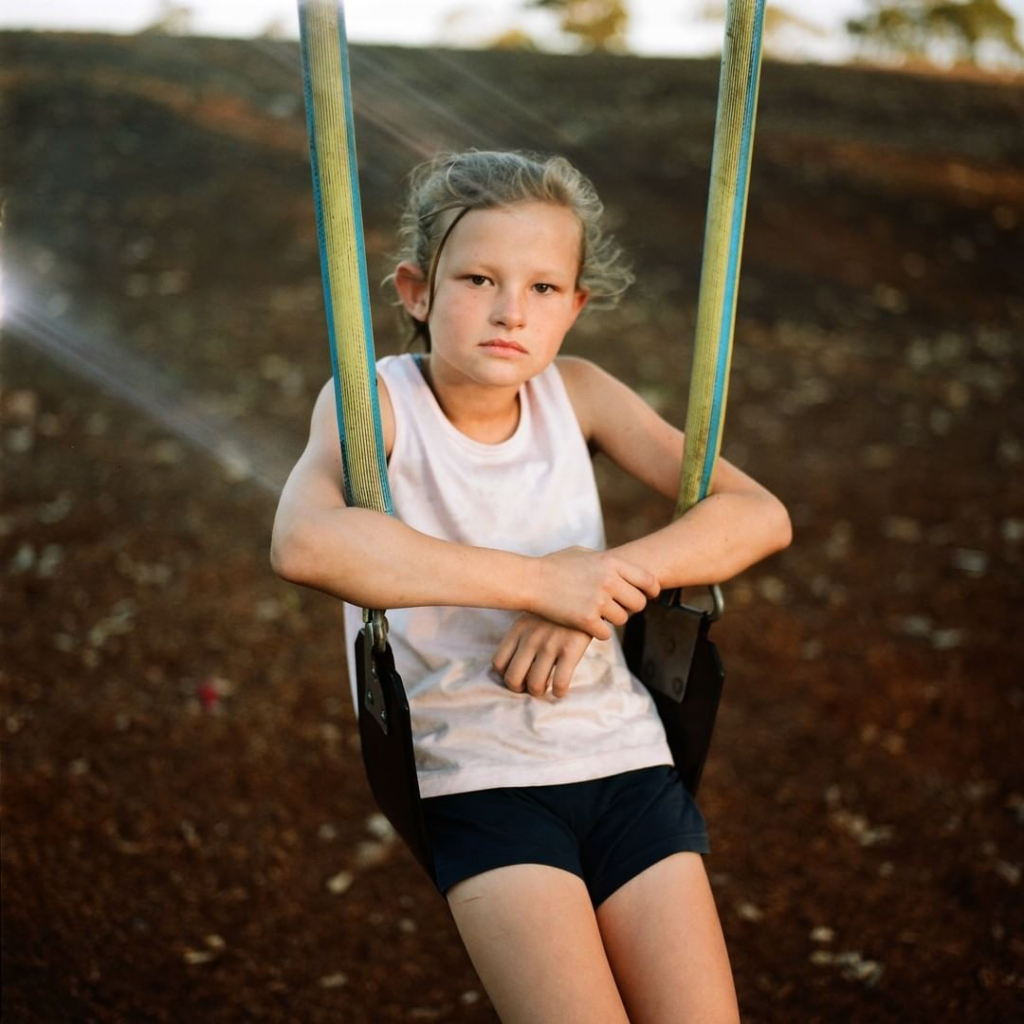

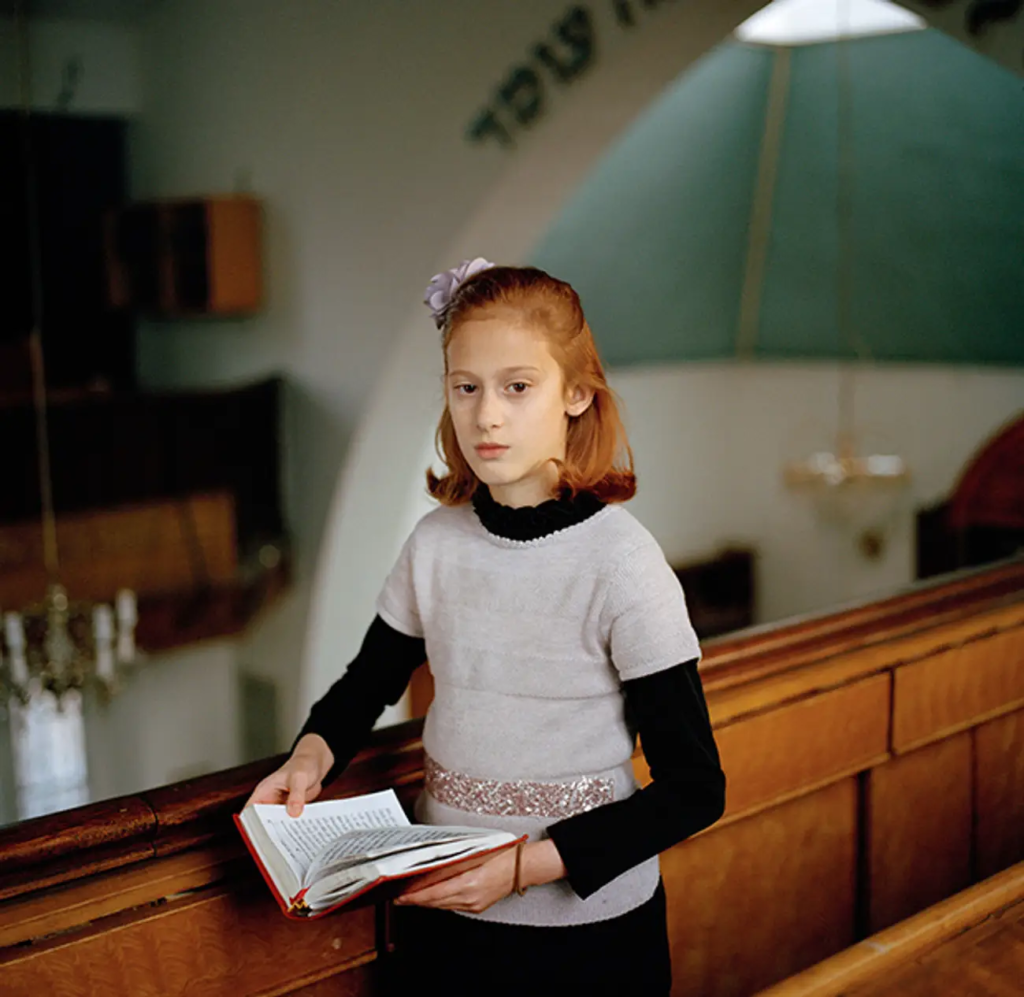


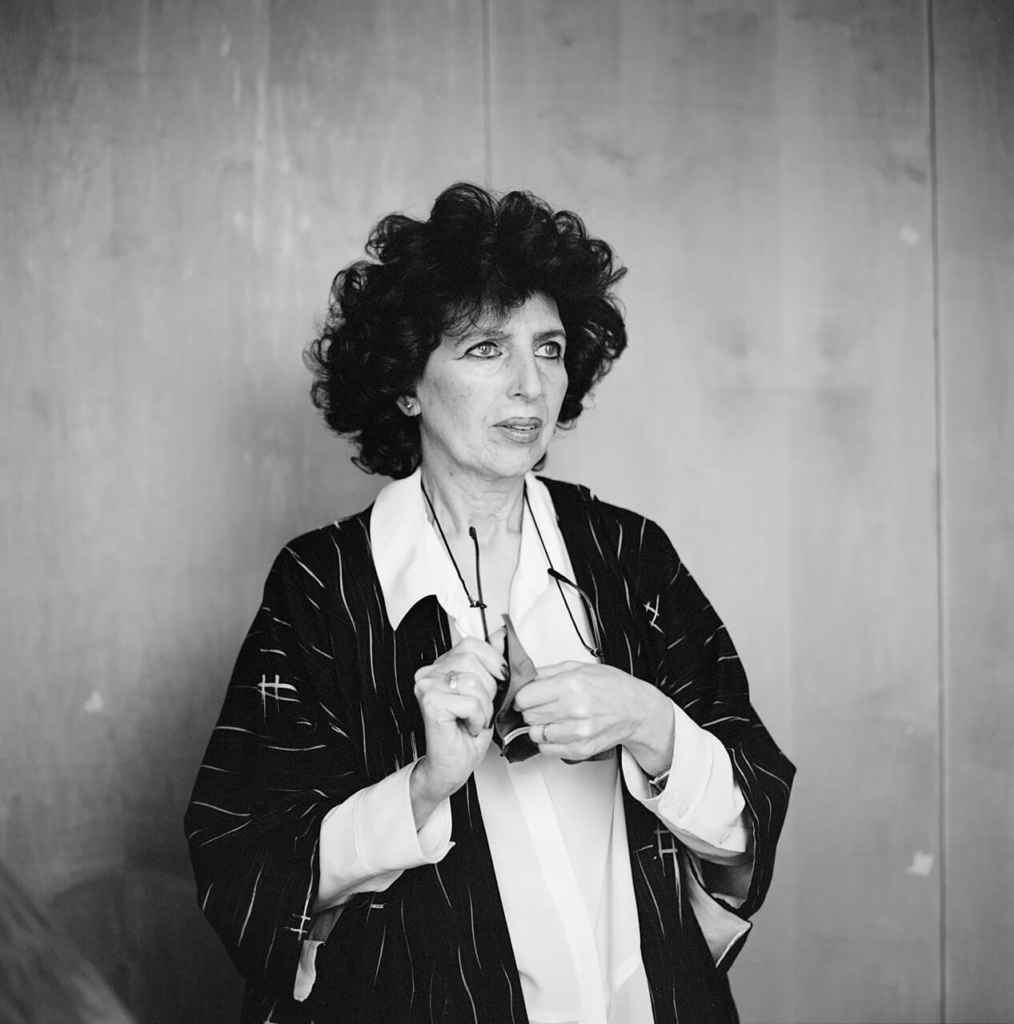
Pannack was born in Kingston upon Thames, southwest London.
She gained a degree in editorial photography and studied a foundation course in painting
When asked about her influences she stated:
“Too many to mention … I assisted Simon Roberts and he’s been a mentor to me, an epic support and an inspiration. I’ve also always been influenced by Taryn Simon, Philip-Lorca diCorcia, Gregory Crewdson, Joel Sternfeld, Sally Mann and Vanessa Winship.”
– Laura pannack
Chosen image
The image i have chosen to analyse is titled : A wondrous child Erja ( born to be free)
27th June 2023

Watching Erja was a release – Laura Pannack describing her image and the experience that came with it.
The image consists of a young girl in a white dress and trainers seen in the foreground , we can tell she is young by her size , she is quite small and this is even further exaggerated by the trees that surround her.
- Lighting : natural lighting , outdoors , sunlight cast from above , hard light creating contrast.
- Environment : Next to a pond of water in amongst trees and nature , suggested to be a forest of sorts , social class unknown as setting doesn’t directly link to subjects wealth although it could be argued that ‘Erja’ is of lower class hence why she is outside in the wilderness rather than playing inside in a provided safe area.
- Framing : Full body , deadpan
- Approach : Formal , Erja is posed crouching down close to the ground looking out towards the lake
- Gaze : Averted Gaze , looking away from the camera
- Technical (CAMERA SETTING):
< Focal length : standard lens (50mm)
< Movement : shutter speed settings : fast , no tripod used
< ISO : outdoors : crisp image > low ISO > 100-400 ISO
< White balance > outside daylight
August Sander and Typologies
Brief Introduction : Typology is a type of photograph which had its ultimate roots in August Sander’s series of portraits in 1929, titled “Face Of Our Time”. The term ‘Typology’ was first used to describe a style of photography when Bernd and Hilla Becher began documenting old and broken down German industrial architecture in 1959.
August Sander
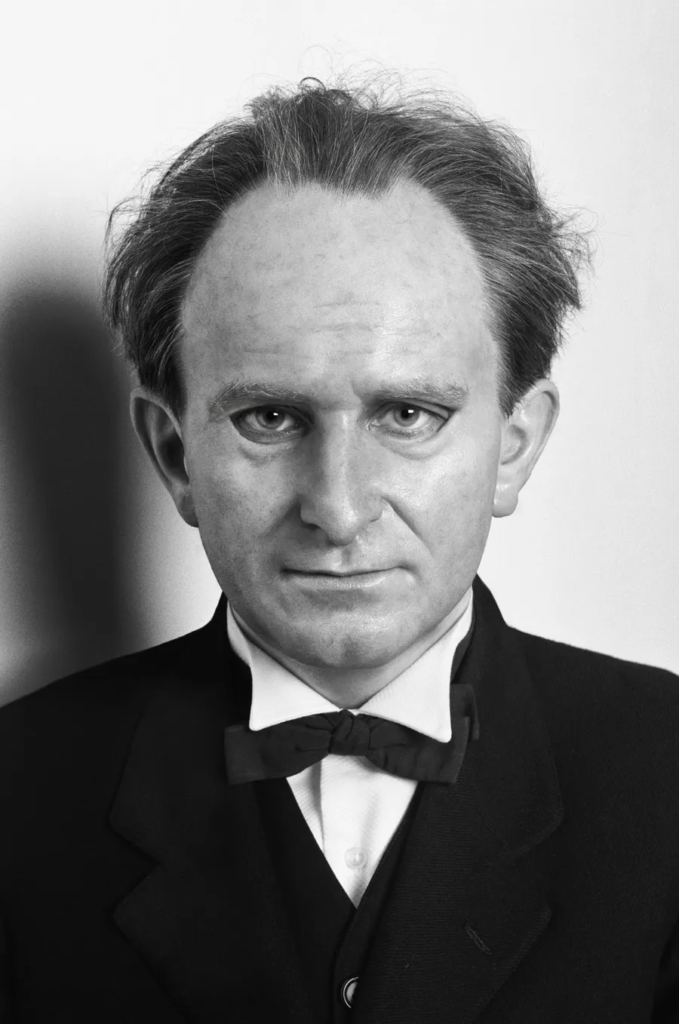
Sander has been described as “the most important German portrait photographer of the early twentieth century“. Sander’s work includes landscape, nature, architecture, and street photography, but he is best known for his portraits, as exemplified by his series People of the 20th Century.
Short Biography
August Sander was born in Herdorf on the 17th of November 1876 , his father was a carpenter working in the mining industry who had 6 other children.
August was introduced to photography during his time assisting a photographer from Seigen who , like Sanders father , worked for a mining company.
In order to buy is own photography equipment, Sander borrowed money from his uncle , Sander then continued to set up his own darkroom.
Some of his work
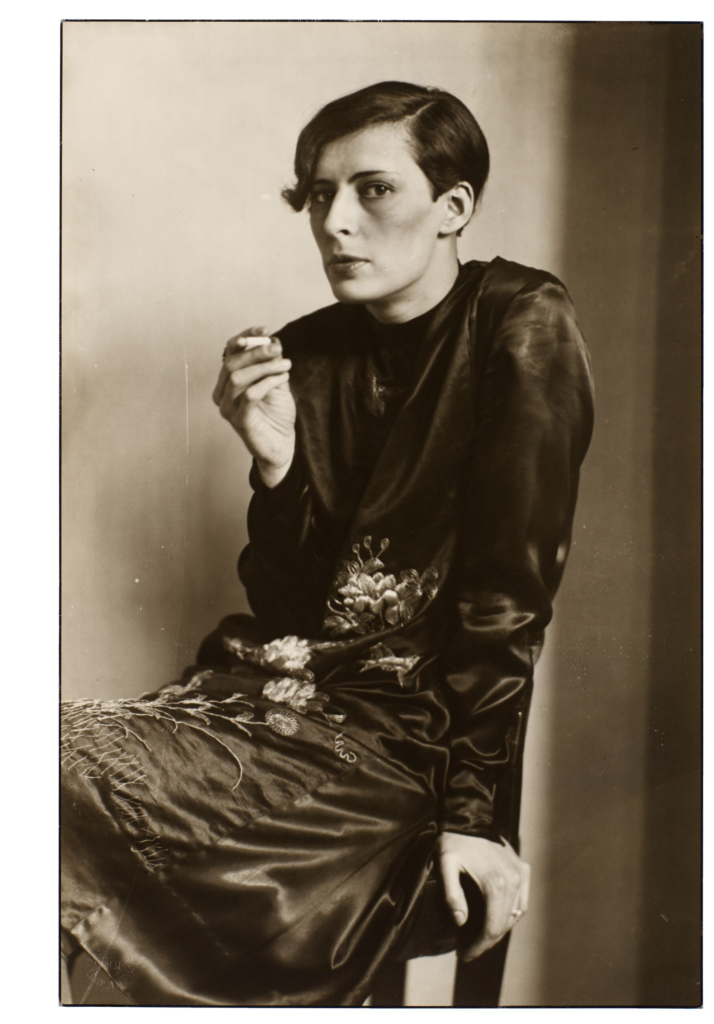
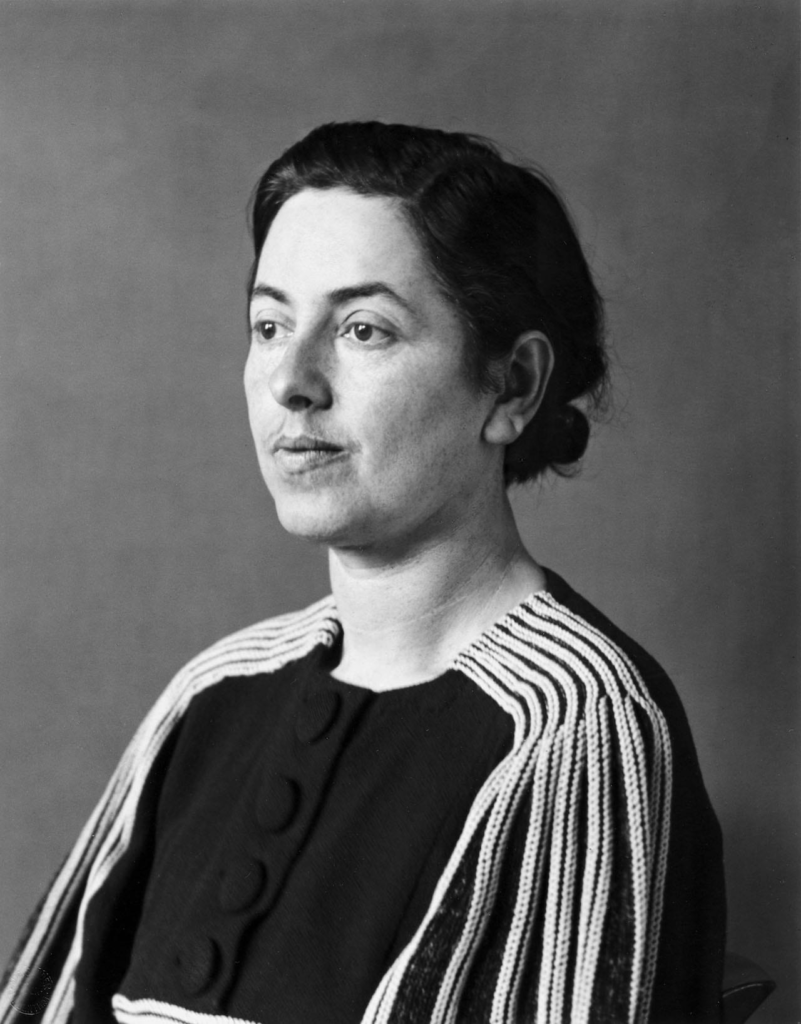


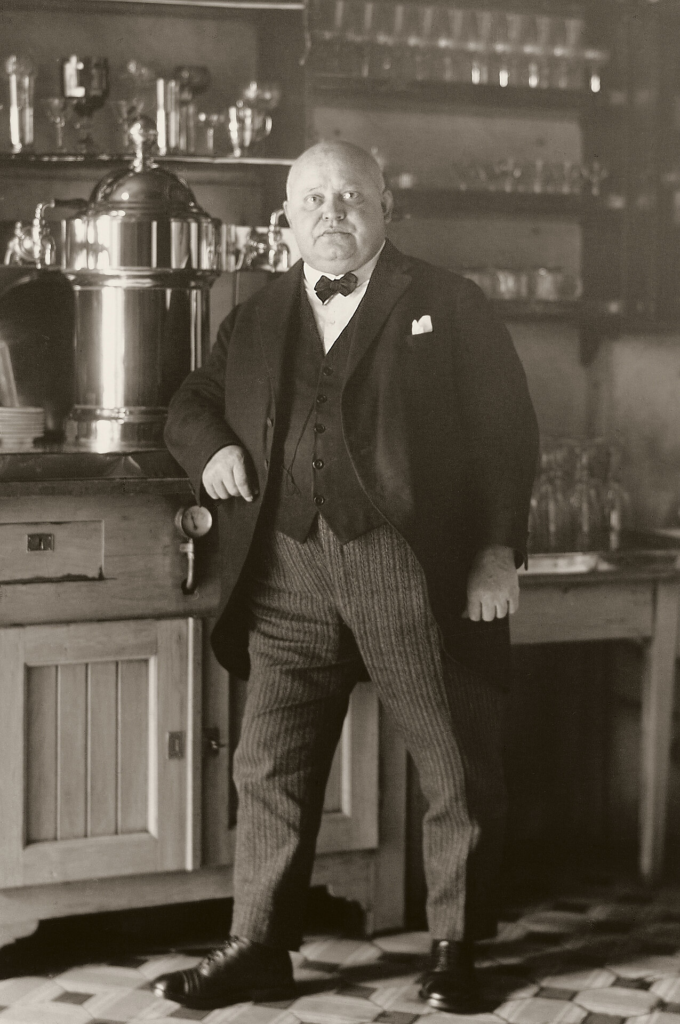


Augusts main goal was to document the society he lived in , he was committed to ‘telling the truth’ and in order to do this he would photograph straight on , in natural light with information about the subject subtly hinted to through props in the image. These props could consist of clothing , setting , pose and any objects shown in the photo.
More information
In 1911 Sander began his first series of photographs titled : ‘People Of The 20th Century’ , his aim was to show the diversity amongst the population during the Weimar Republic
He split this series into 7 sections :
- The Farmer
- The skilled tradesman
- Woman
- Classes and Professions
- The Artists
- The City
- The Last People
Sander came in contact with a radical group of artists called the Cologne Progressives in the early 1920s , this group was linked to the workers movement who:
“sought to combine constructivism and objectivity, geometry and object, the general and the particular, avant-garde conviction and political engagement, and which perhaps approximated most to the forward looking of New Objectivity “
– Wieland Schmied
Analysis

Kunsthändler [Sam Salz] was among the portraits who comprised the fourth group of Sanders collection Citizens of the twentieth Century , ‘Occupations’, under the subgroup ‘Teachers’.
Salz is in a stylish herringbone coat, confidently leaning against a grand entrance, framed artwork hanging in the background. In his hands is a publication rolled to strategically reveal an Art Deco illustration of a young fashionable woman, an emblem of Germany’s gilded era. This print, among the earliest by Sander to come up for auction, offers an intimate glimpse into the great talent of Sander, the established success of Salz and a brief period of Germany’s artistic flourishing between the Wars.
Visual –
- subject is stood up and leaning against an industrial looking doorframe
- negative space behind the subject gives the photo an eerie feeling and
- subjects central
- subject is leaning to the side of the image , hands overlapping eachother standing straight up – calm but alert/aware
Technical –
- Lighting – could be natural or ariticial as the lighting is soft but its not clear if the subject is standing in the doorway to the outside or just to another room
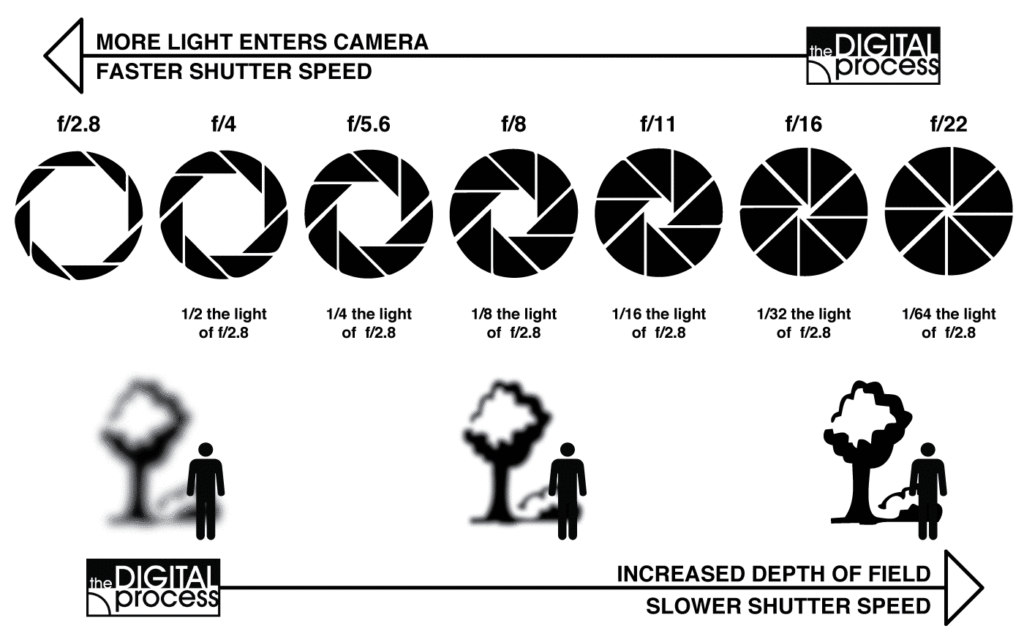
- Aperture – background is out of focus leading me to believe the aperture is lower possible f/1.8 or f/2
Contextual –
- subject -Sam Salz
- Born 1894 , Poland
- Left home age 17 moving to austria and later france
- Opened his own gallary in early 1920s despite his aspirations to be an artist
Concept–
- Sander took a liking to Slaz
- Both eschewing traditional norms
- Salz was the the subject to many other photographers and artists
Typologies
Definition – A photographic typology is a study of “types”. That is, a photographic series that prioritizes “collecting” rather than stand-alone images. It’s a powerful method of photography that can be used to reshape the way we perceive the world around us.
A photographic typology is a body of work that visually explores a theme or subject to draw out similarities and differences for examination.
An example of the use of Typologies is ” The People Of The 20th Century” as each image is classed by age, occupation ,class etc.

Photoshoot
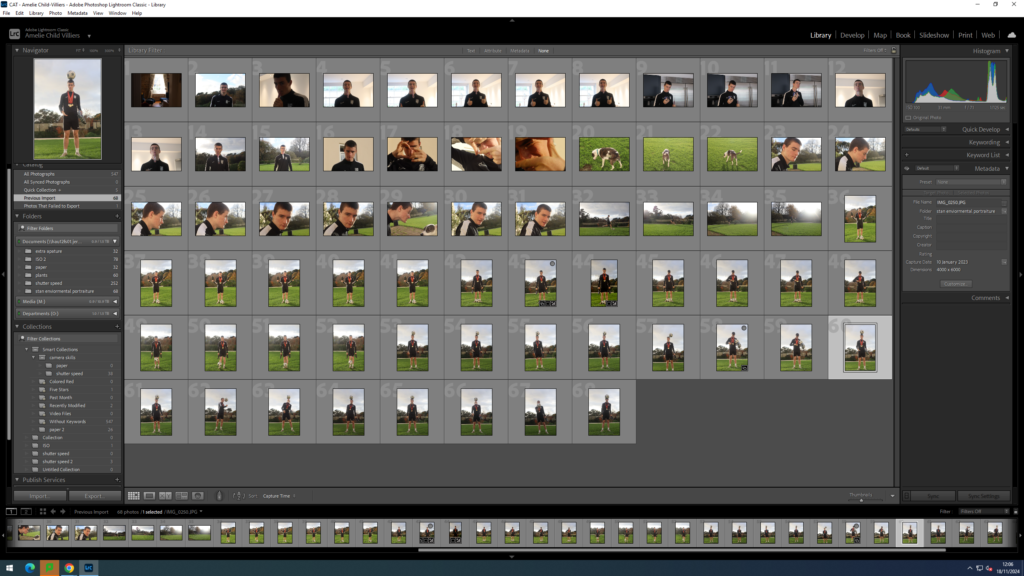
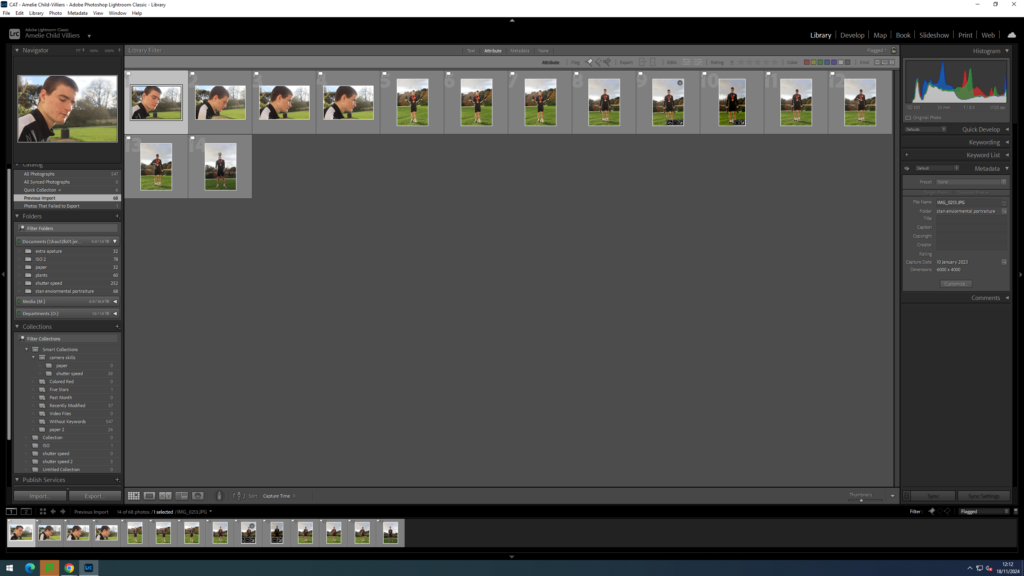
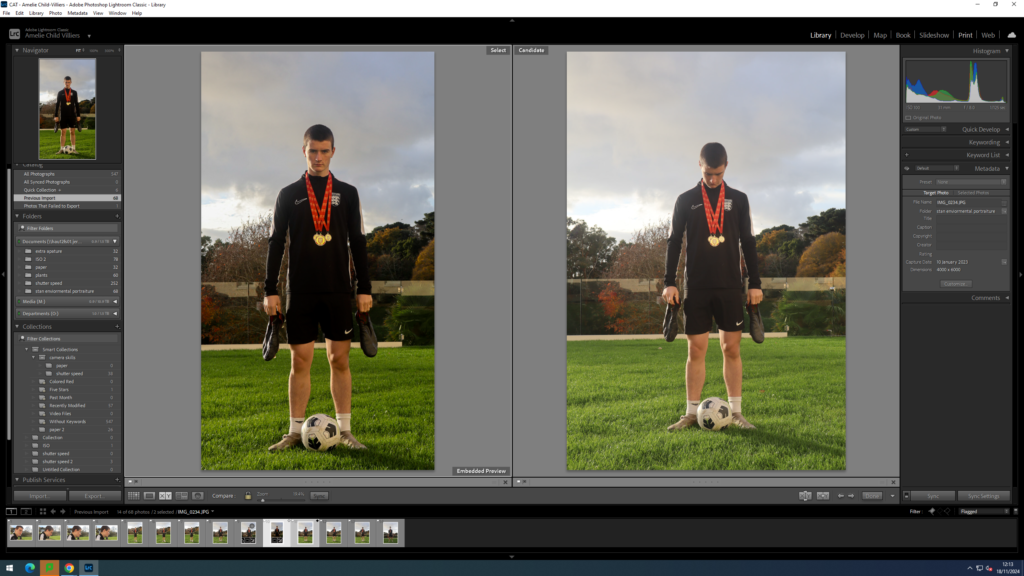
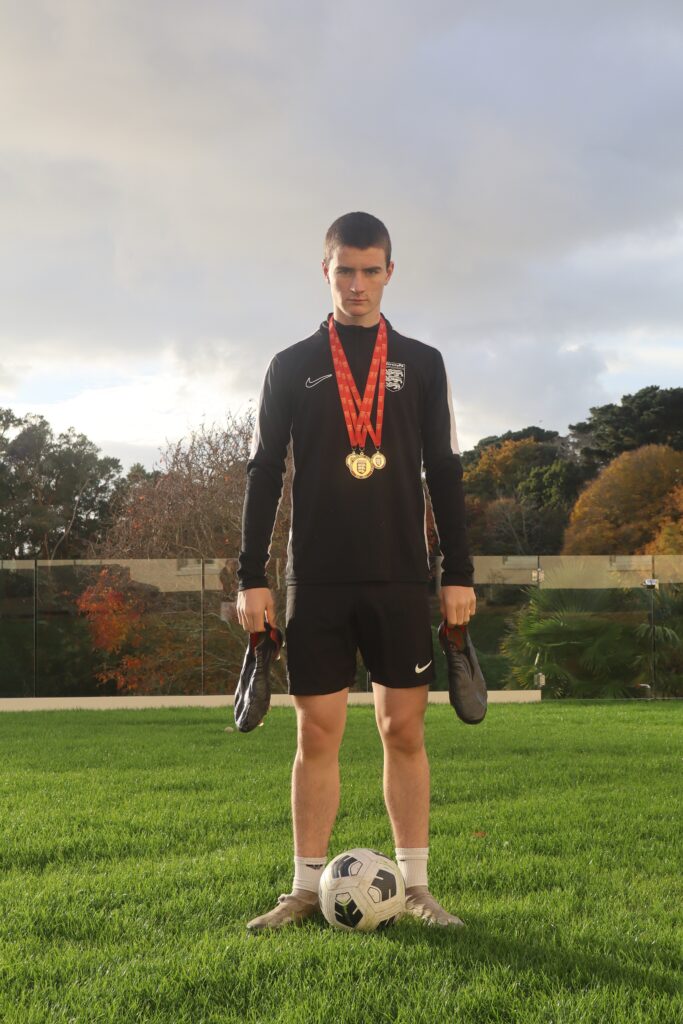
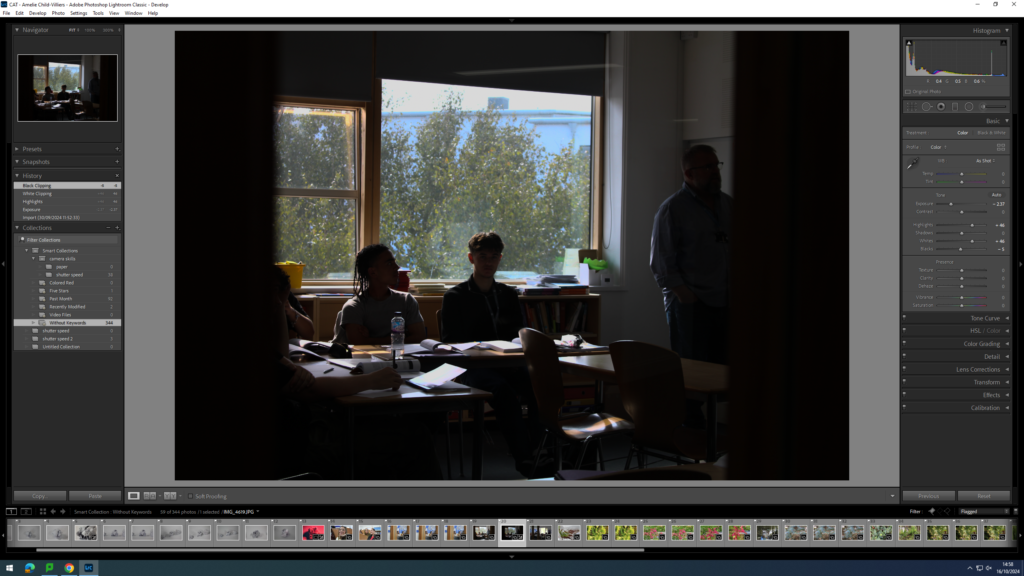
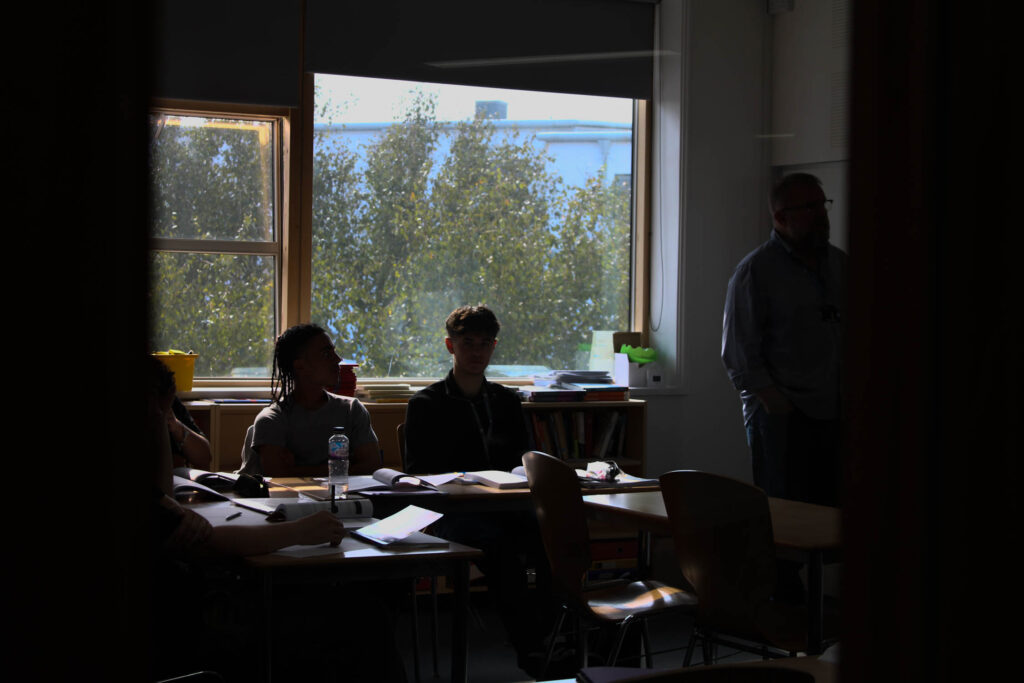
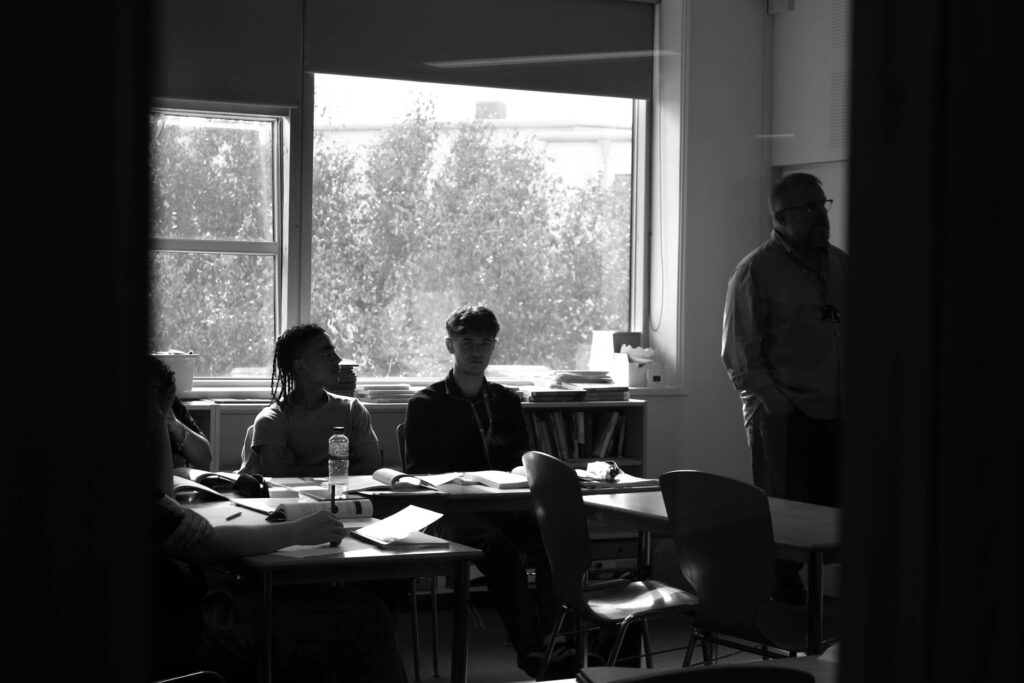
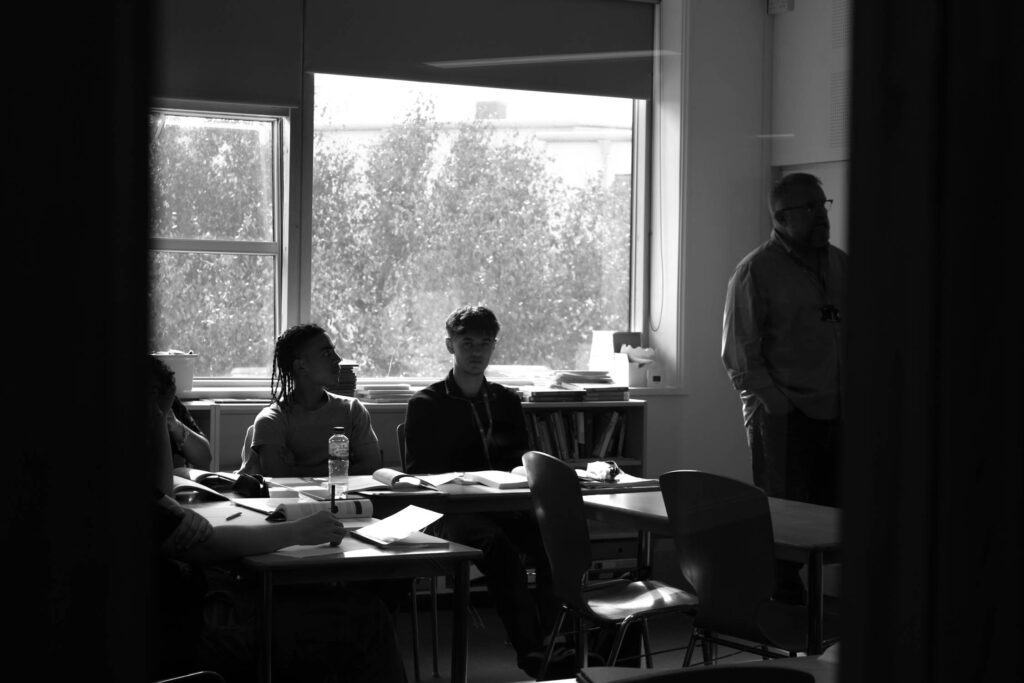
I didn’t like the over exposure in the background where the sun is positioned and the colours in the image felt dull , i wanted to dramatizes the image to create a more serious feel.
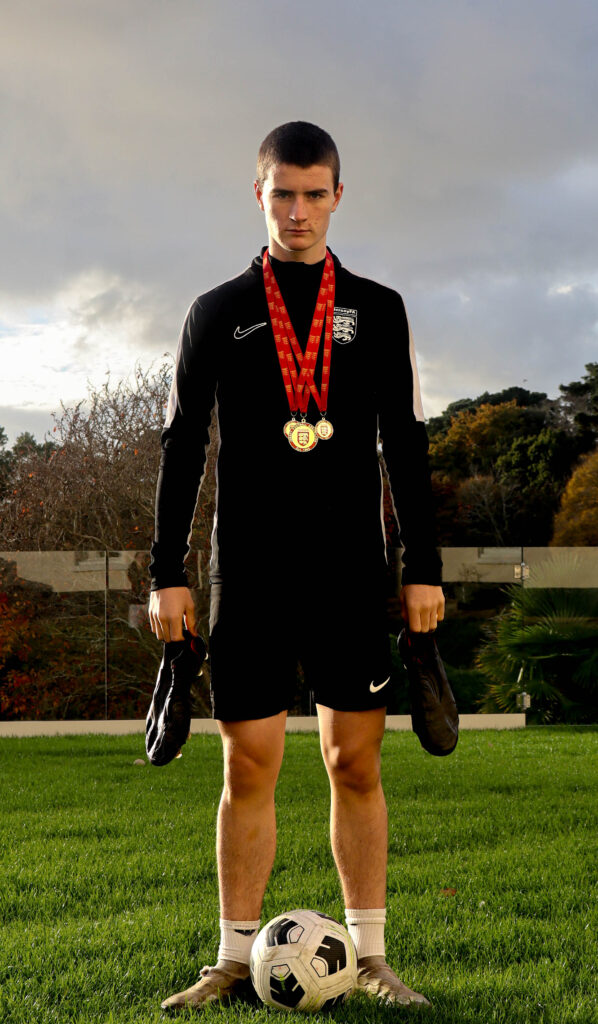
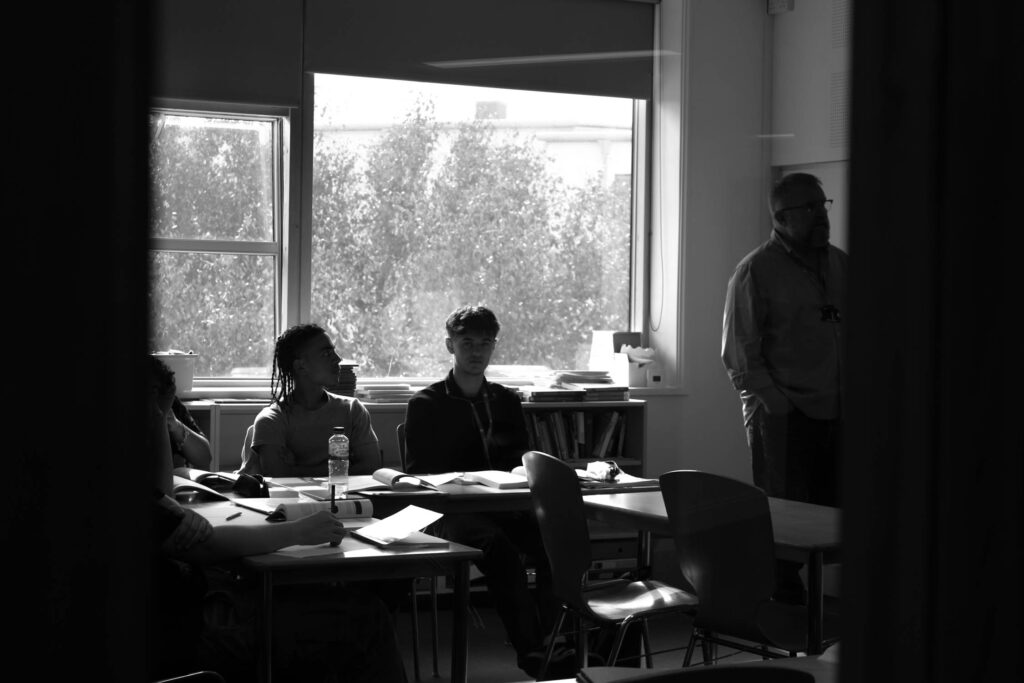
I then decided to create a black and white version to add dimension and atmosphere to the photo.
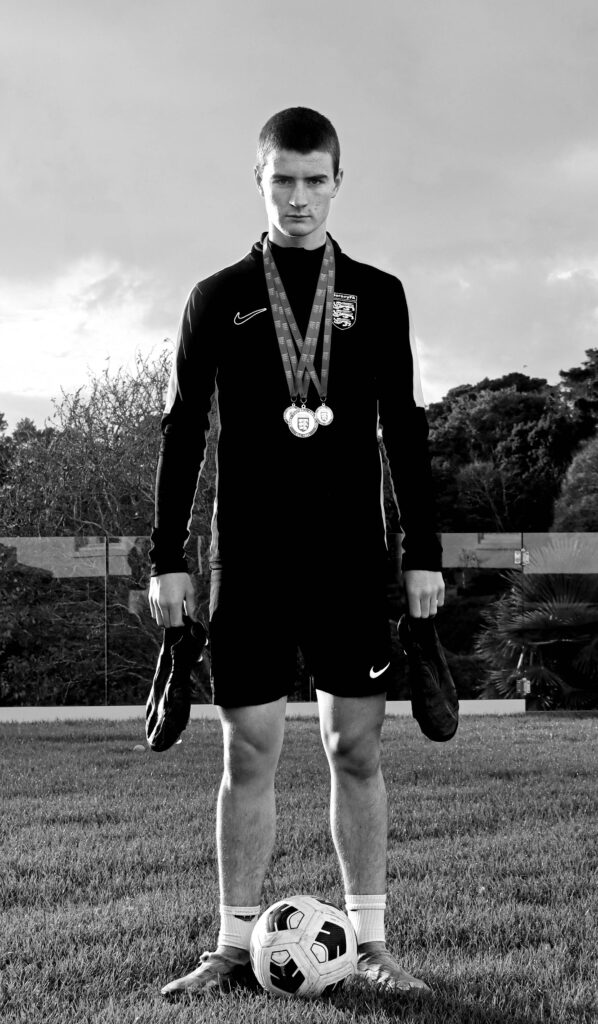
Comparison
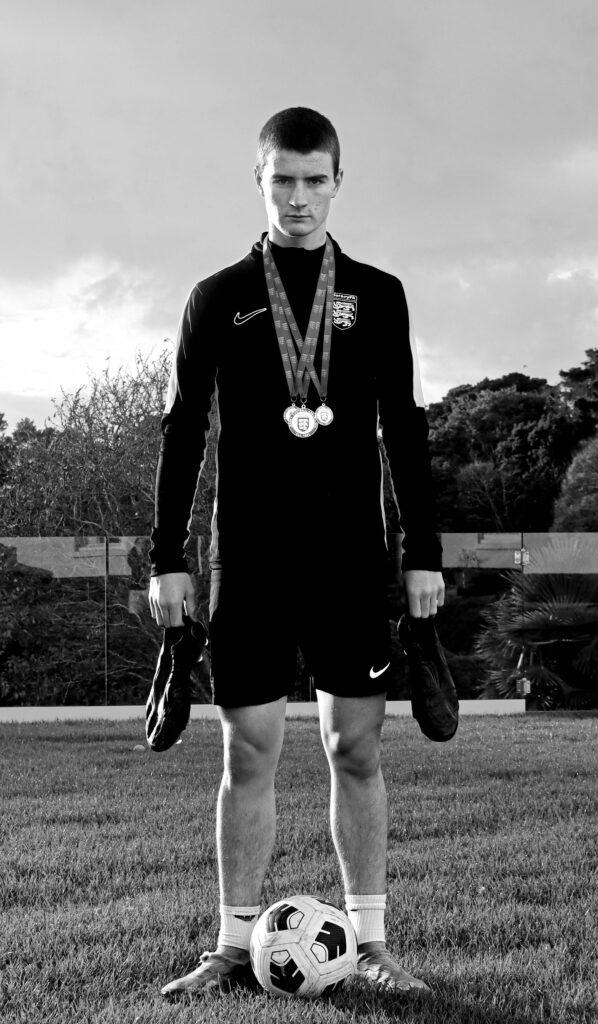
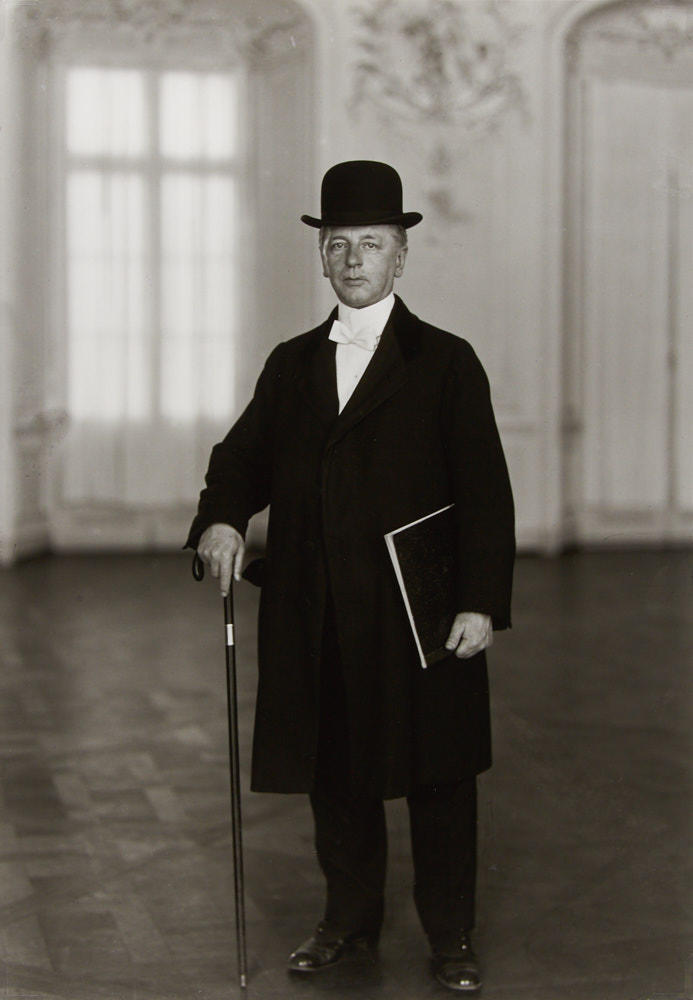
When comparing the two images it is clear that Sander uses a more warmer filter , i aimed to position the subject somewhat similar to the character in Sanders image , both images use side backlighting whilst also using natural lighting , however the lighting is cast on different sides of the face.

