Contact Sheet
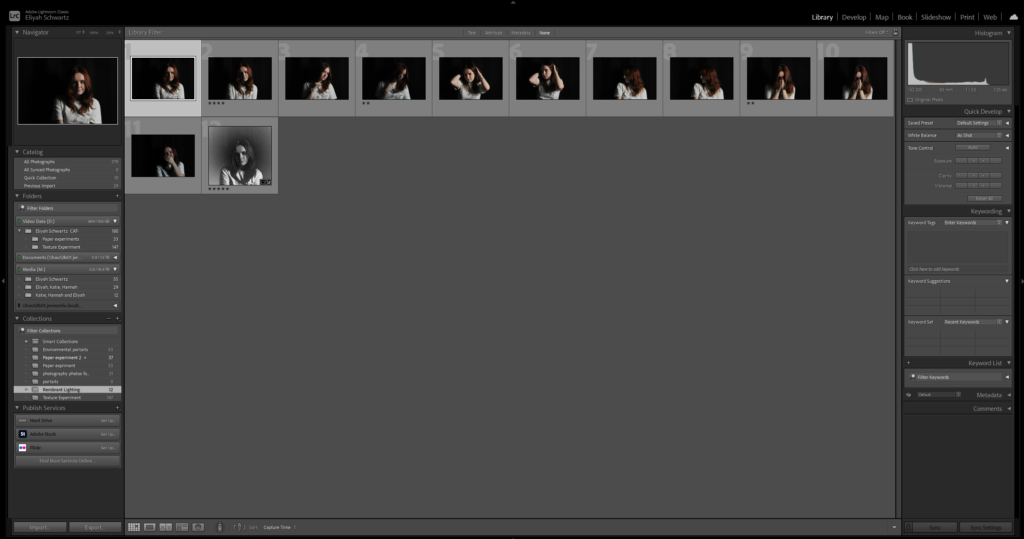
Image Selection
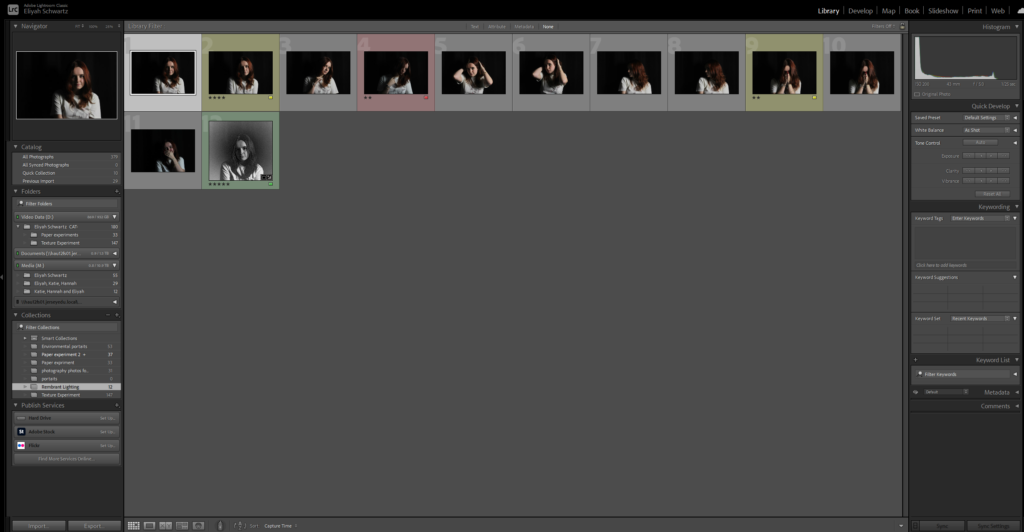
Above you can see above I used P and X to flag my images to filter out my worst ones from the ok and good ones, next I rated these images 4 or 5 stars as 4 being ok ones and 5 being good ones, finally I gave them the colour yellow or green, green being the best and yellow being good.
Image Editing
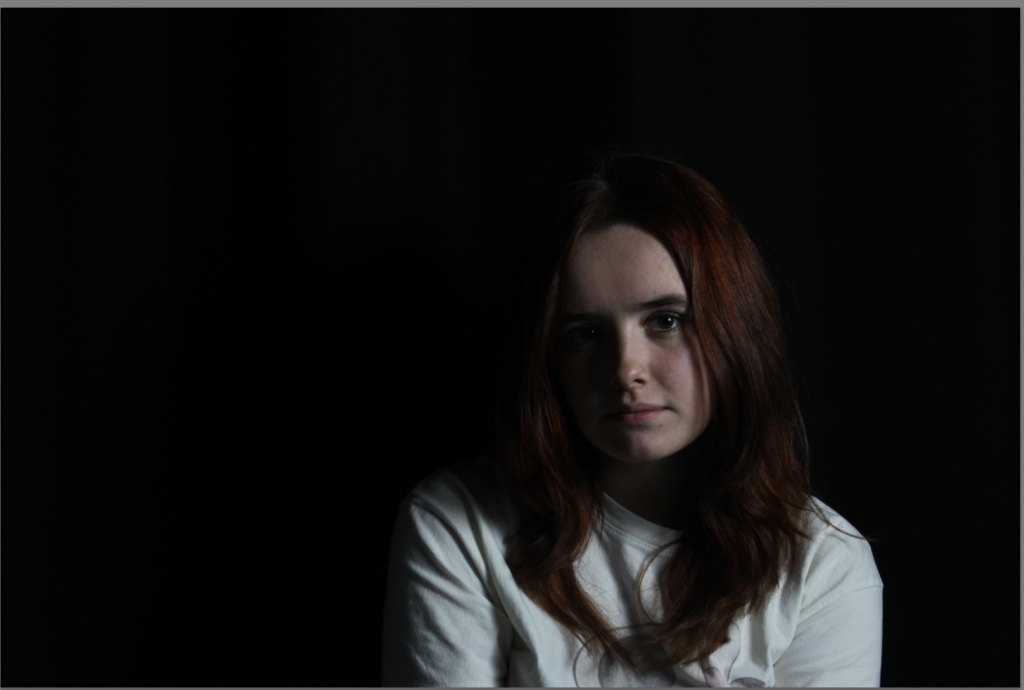
This is one example of Rembrandt lighting due to a triangle present under the left cheek, Which resembles Rembrandt lighting. In this photo there is an intense shadow. On the right of the image you can see all I have done is makes some slight adjustments to the texture and contrast and many other things like that.
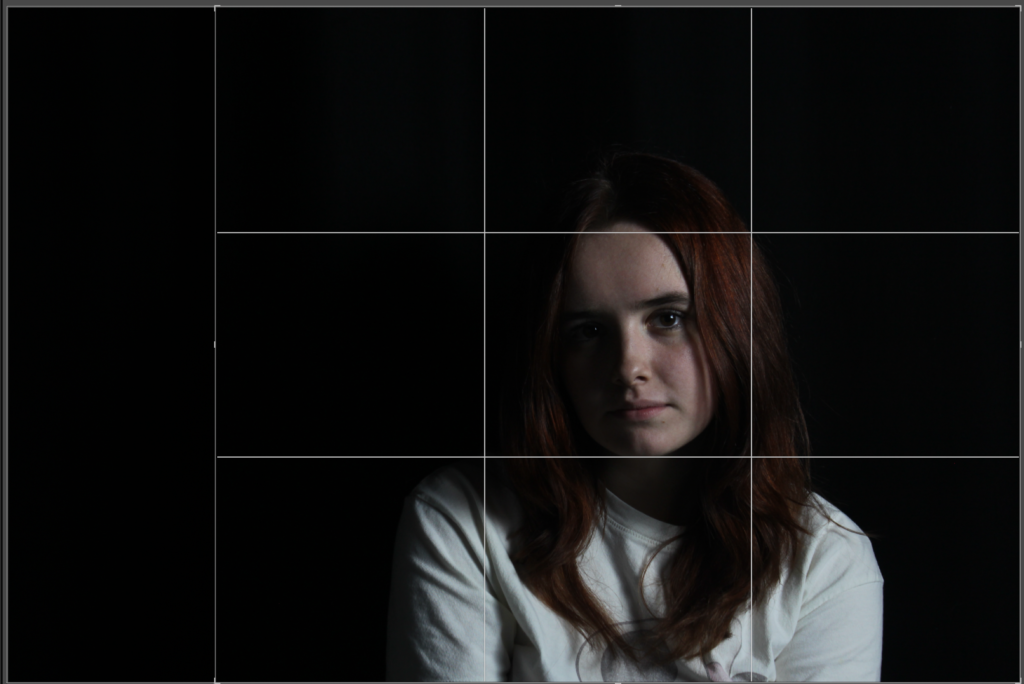
This is the same image cropped due to lots of negative space on the left side, which will create an unbalanced photo and I decided to crop the image to centre the subject a bit more.
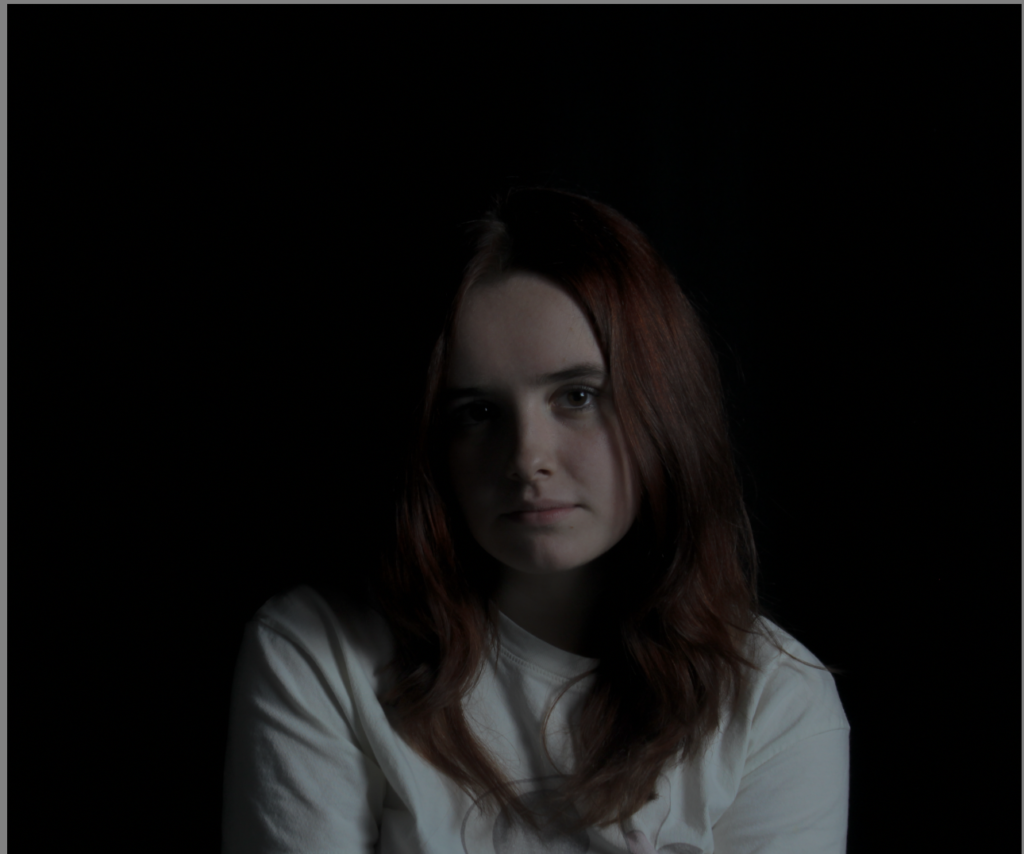
This is the same photo that has been cropped and slightly edited to enhance the Rembrandt lighting more. By being edited the image looks much more clearer.
Contact Sheet
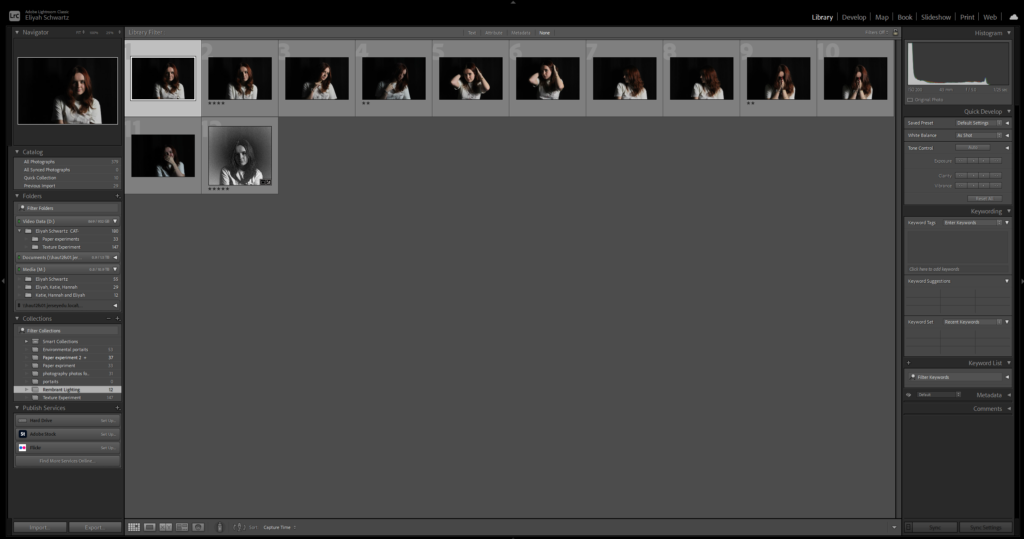
This is my contact sheet for Rembrandt lighting.
Image Selection
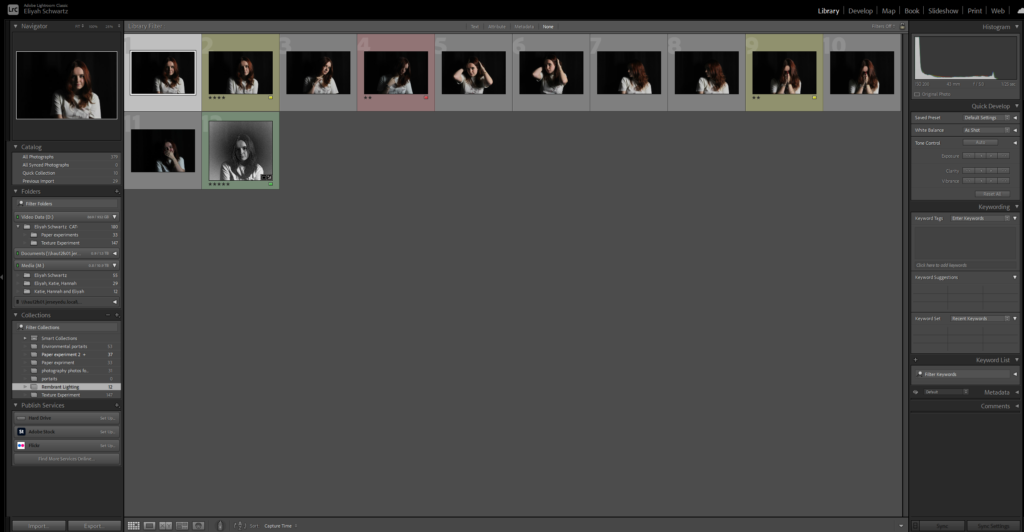
Above you can see above I used P and X to flag my images to filter out my worst ones from the ok and good ones, next I rated these images 4 or 5 stars as 4 being ok ones and 5 being good ones, finally I gave them the colour yellow or green, green being the best and yellow being good.
Original Image
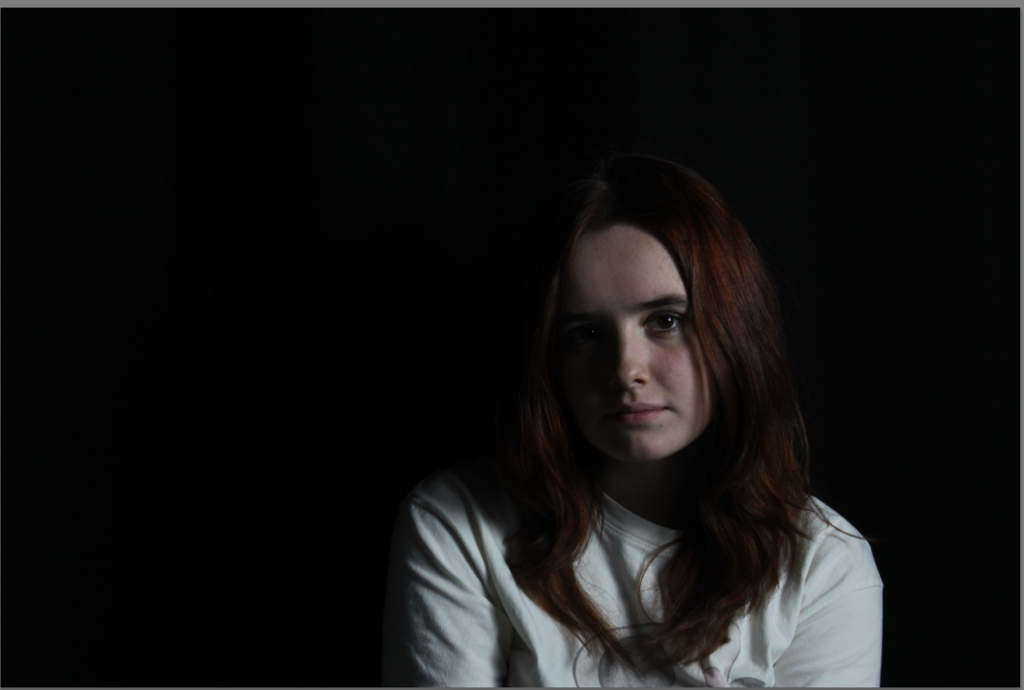
This is one example of Rembrandt lighting due to a triangle present under the left cheek, Which resembles Rembrandt lighting. In this photo there is an intense shadow. On the right of the image you can see all I have done is makes some slight adjustments to the texture and other things like that.
Black and White Image
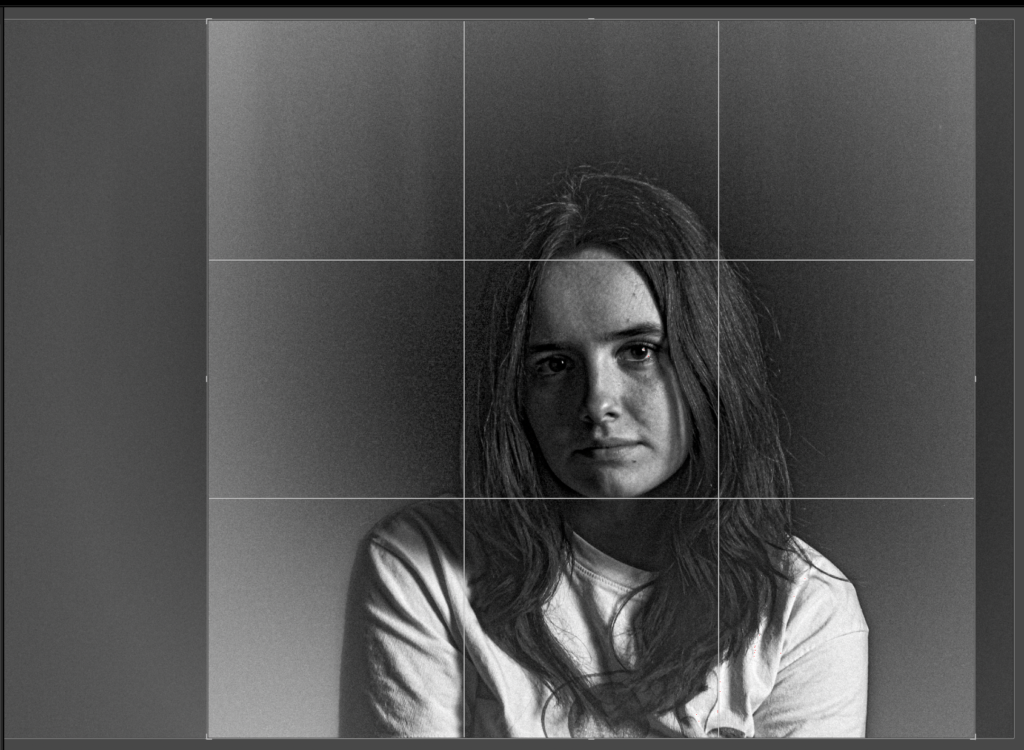
This is the same image cropped due to lots of negative space on the left side, which will create an unbalanced photo and Next you can see I decided to crop the image to centre the subject a bit more.
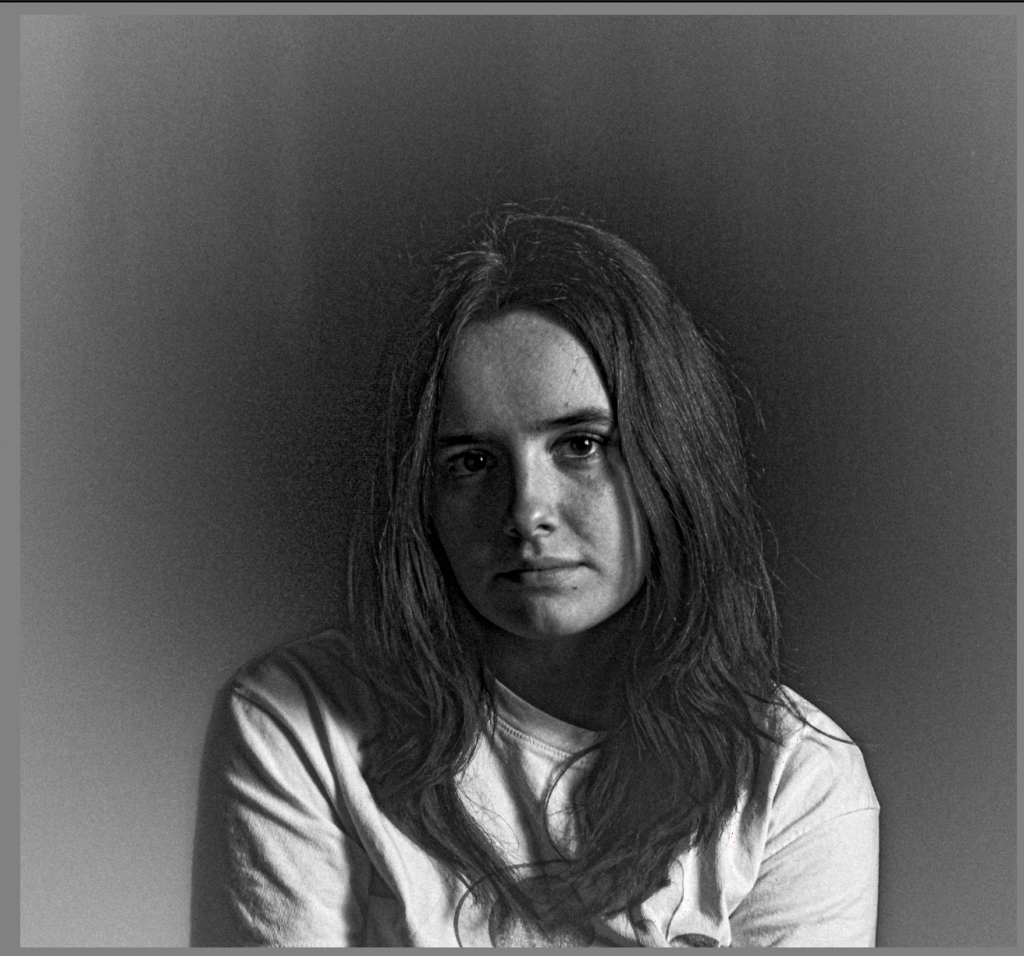
This is the final black and white image. This is the same photo that has been cropped and slightly edited to enhance the Rembrandt lighting slightly more. By being edited the image looks much more clearer and concise .
Butterfly Lighting
Contact Sheet
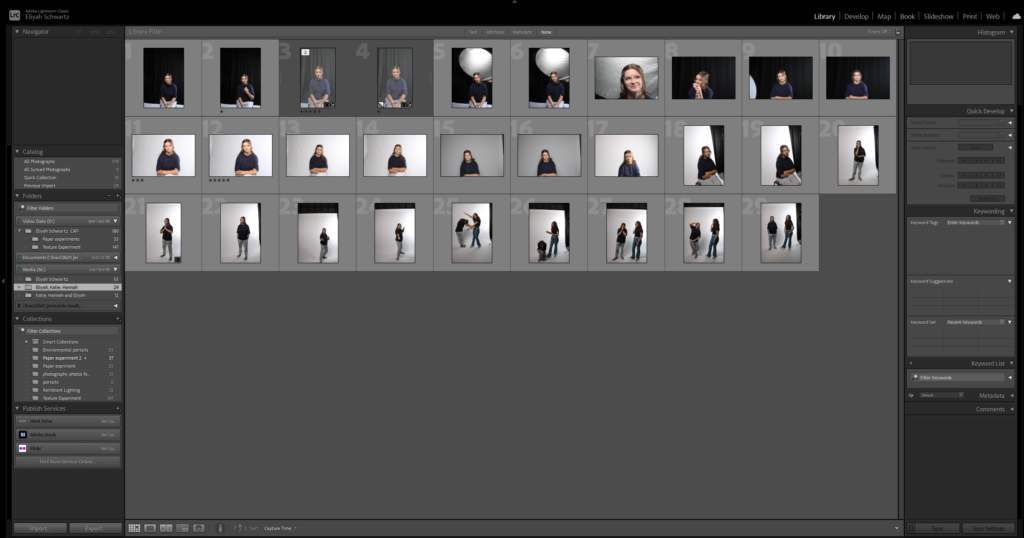
Image Selection

Above you can see above I used P and X to flag my images to filter out my worst ones from the ok and good ones, next I rated these images 4 or 5 stars as 4 being ok ones and 5 being good ones, finally I gave them the colour yellow or green, green being the best and yellow being good.
Image Editing
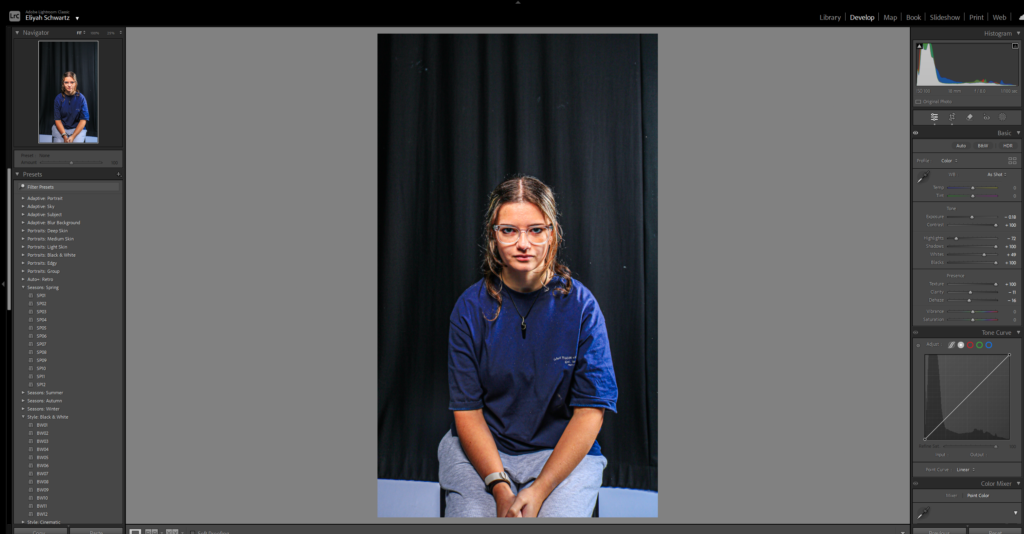
I have done some slight editing to enhance the contrast, texture ,whites and black.
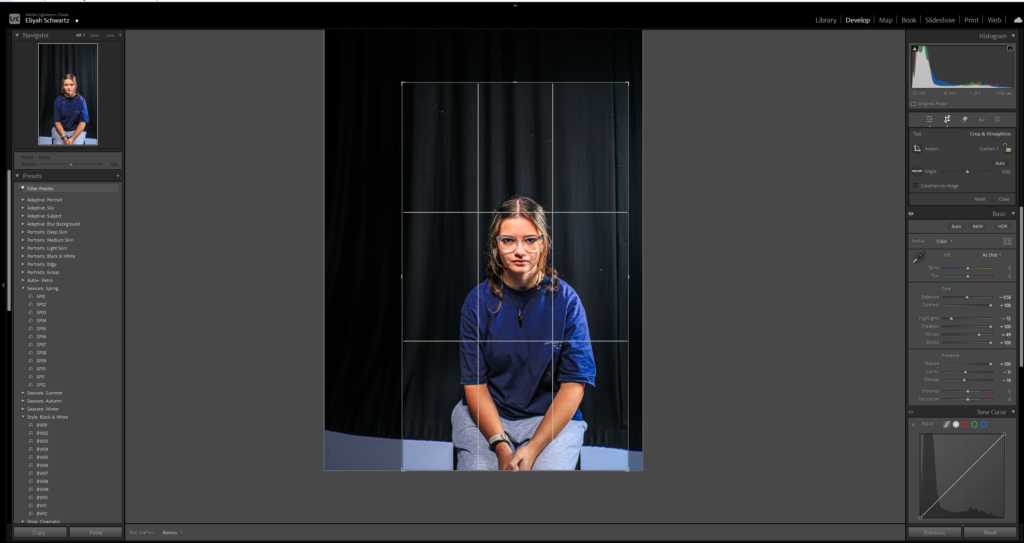
Next ,I’ve decide to crop the image to decrease the negative space on either side , so the photo can looked balanced . I have also cropped the image make the subject more centred.
Final Outcome
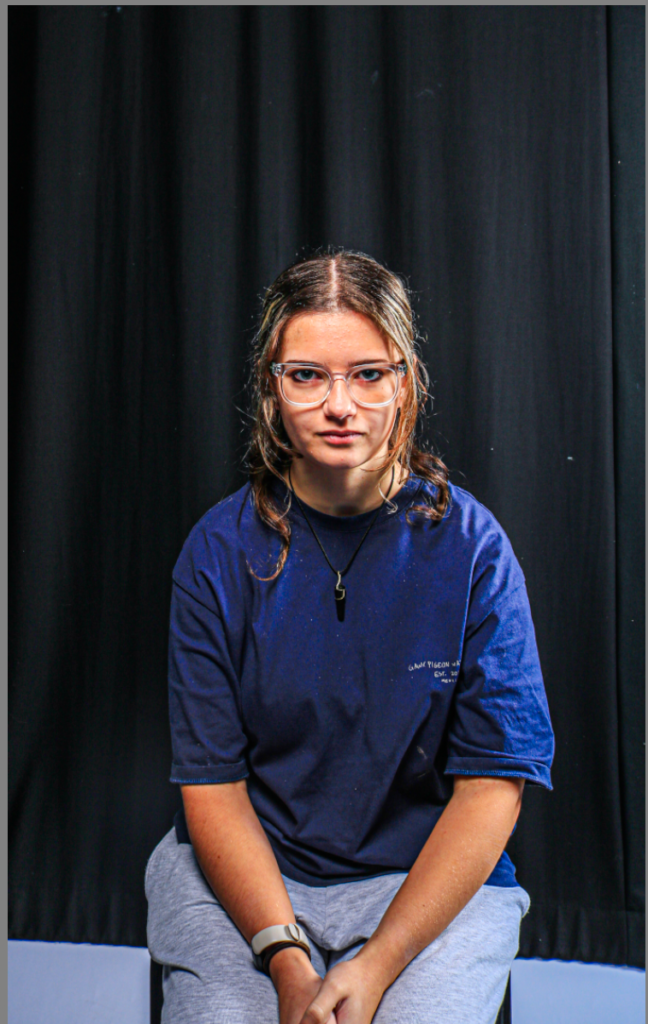
Black and White
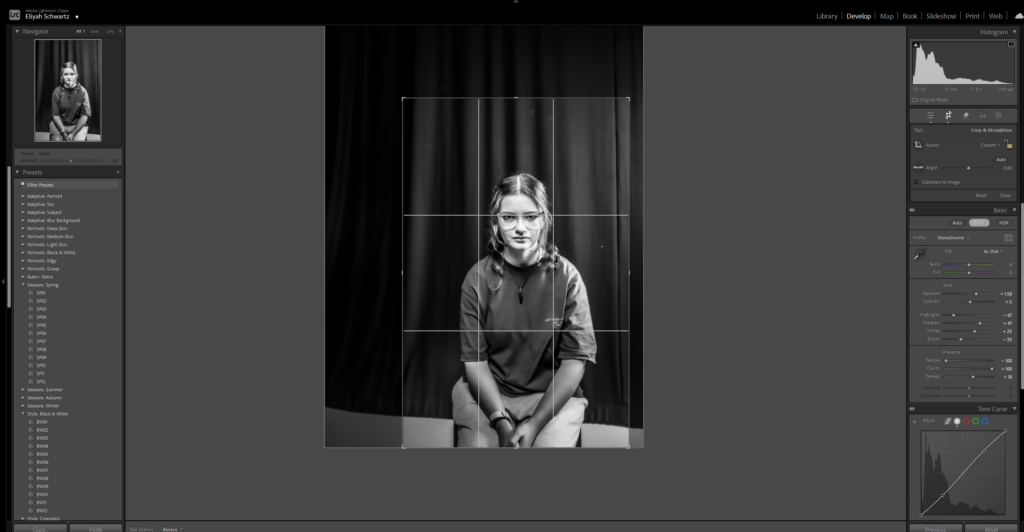
This is the same image cropped due to lots of negative space on the left side, which will create an unbalanced photo. Next you can see I decided to crop the image to centre the subject a bit more.
Final Photo with an Evaluation
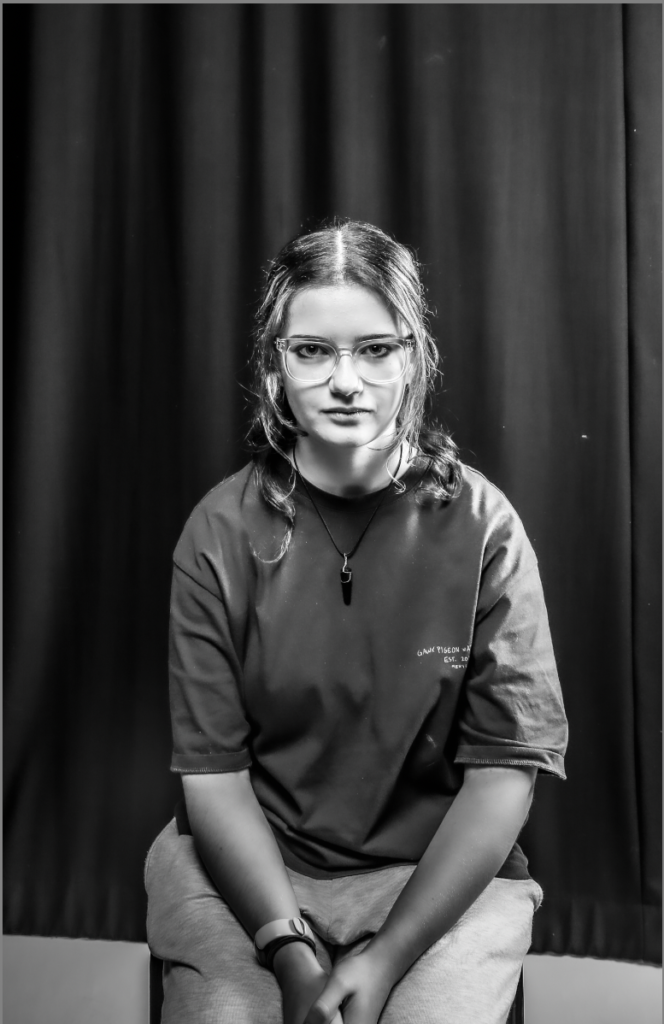
This is the final black and white image. This is the same photo that has been cropped and slightly edited to enhance the butterfly lighting slightly more. The butterfly lighting is present under the frame of her glasses . By being edited the image looks much more clearer and concise .
Spilt Lighting
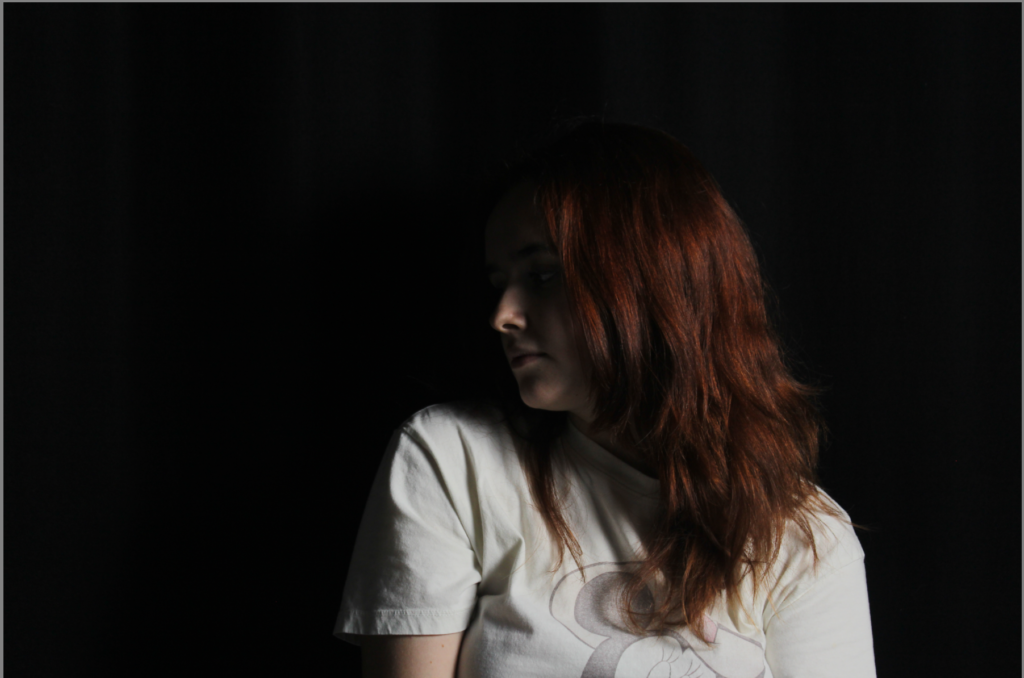
Image Editing
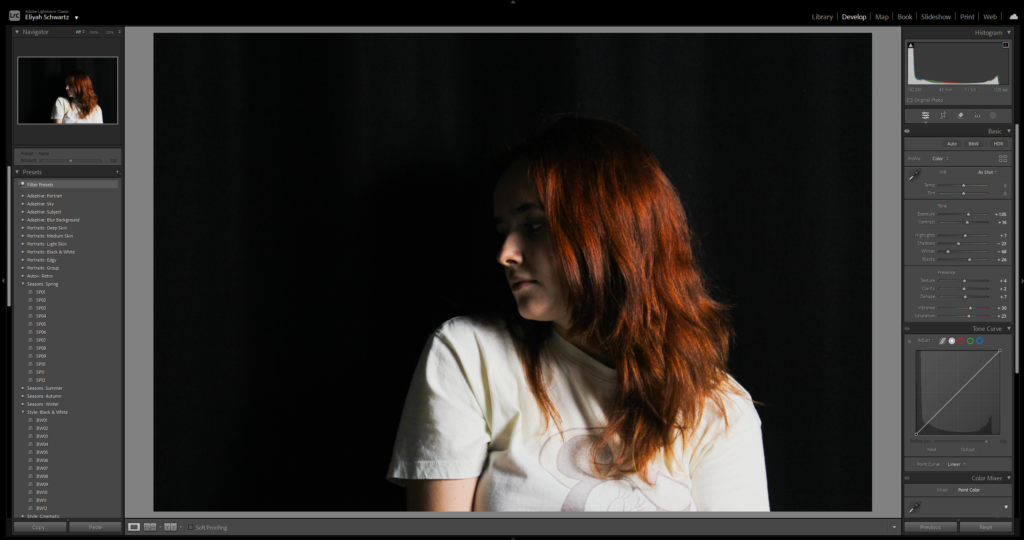
In this photo, I have some slight editing. I have edited the texture, highlights, black and the shadows.
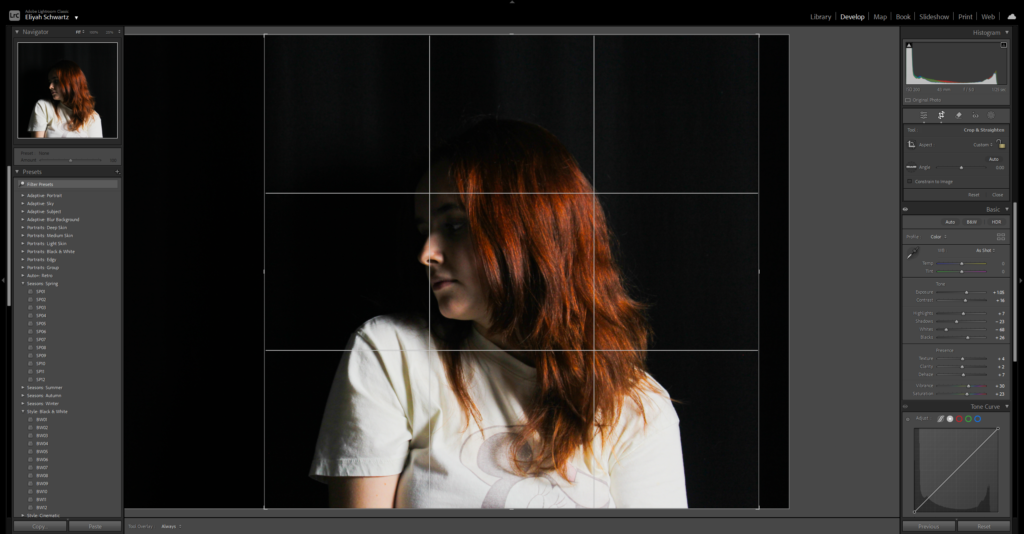
I have cropped the image due to there being to much negative space on the left side .I have done this because it might ruin the photo and the photo will be unbalanced. I also cropped it to ,make the subject much more centred.