- Open your photo in photoshop
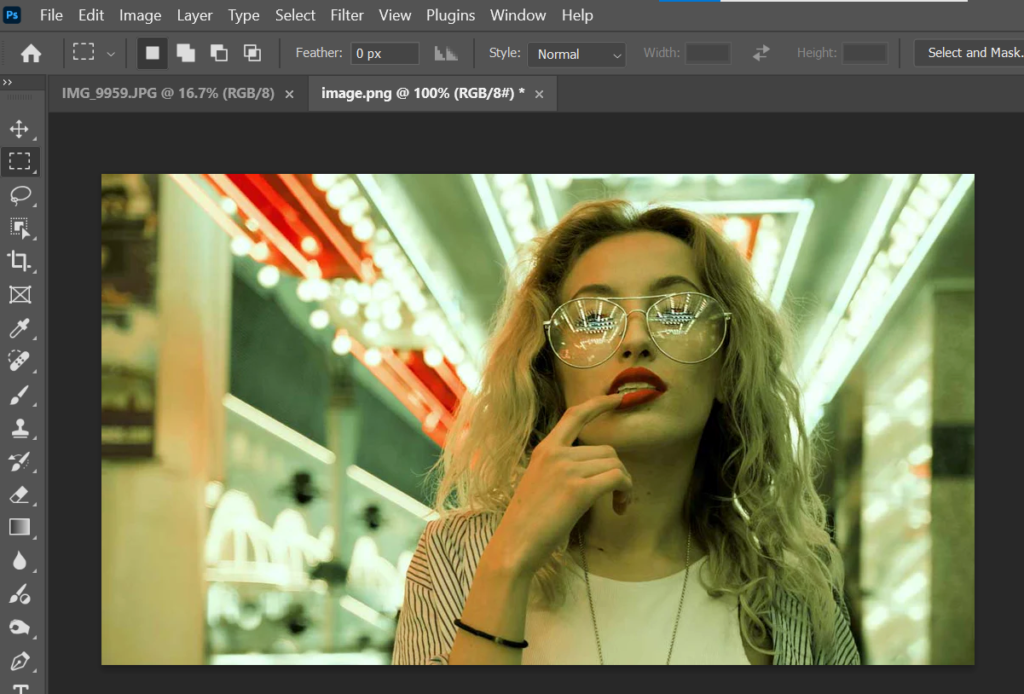
2. Select the Crop tool

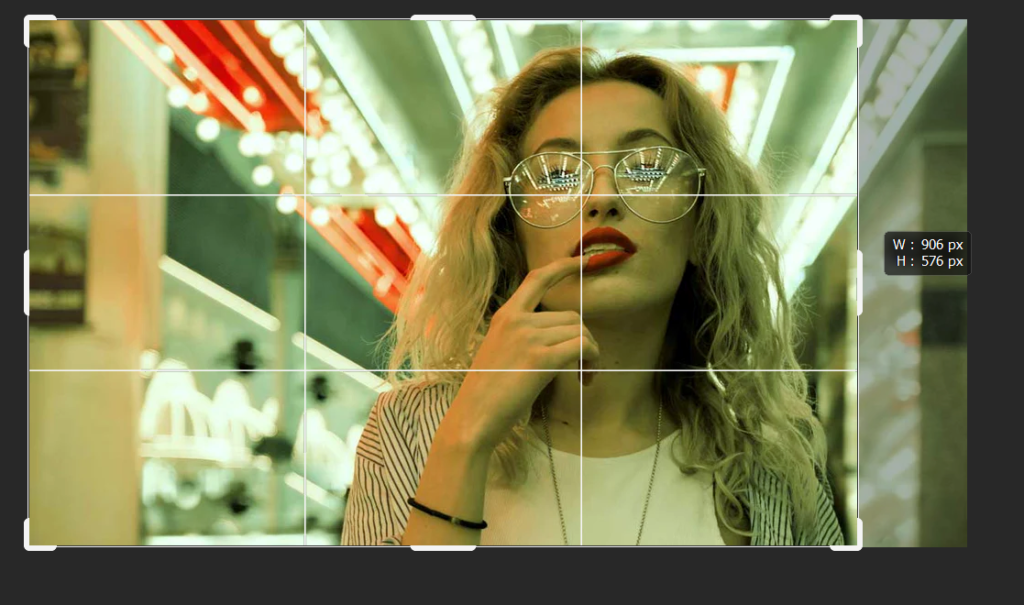
3. I recommend de-selecting the icon that says ‘Delete Cropped Areas’ (or the image that looks like a bin and a crop tool)… You will find this icon along the top toolbar when crop is selected. If this icon is selected, the areas you crop will be deleted and you wont be able to get them back.

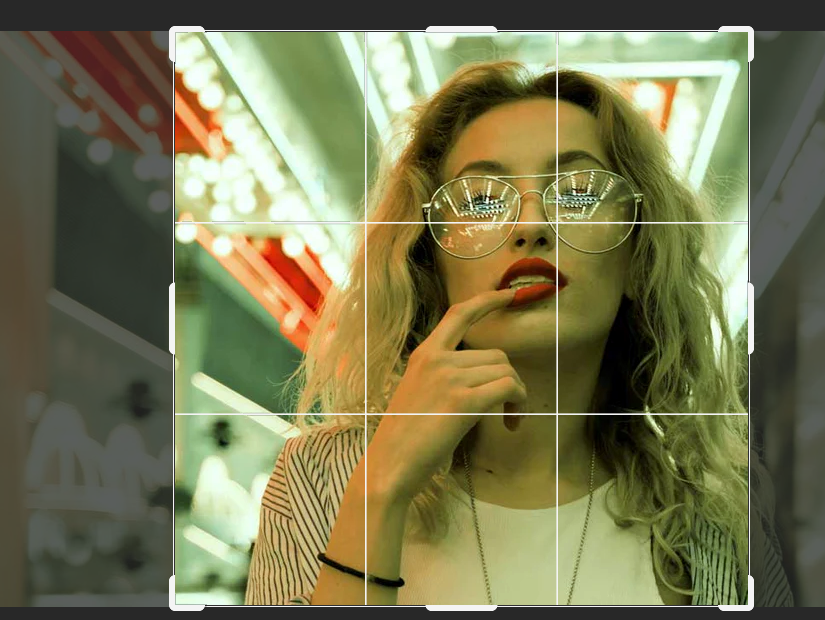
4. Drag the corners or edges of the crop marks to make your selection. Press enter when you are happy with your selection.
Square Cropping
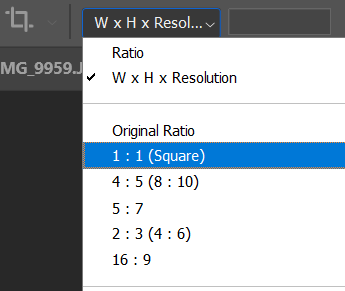
5. If you want to crop to a square. Select the crop tool, then you can change the ratio selection in the top left corner. This will automatically snap the crop box to a square shape.
Circular Cropping
6. Before we get started with this step… we need to create a new layer that goes under your photo layer.
To do this, go to Layer (along the top menu)> New Layer.

7. With the new layer created, go to the layers panel, unlock your photo layer by clicking the padlock.
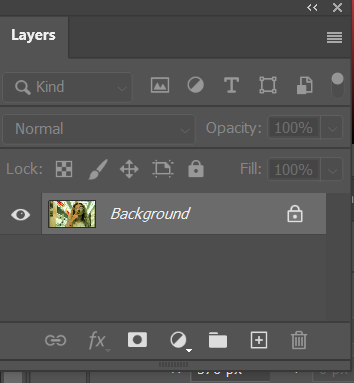

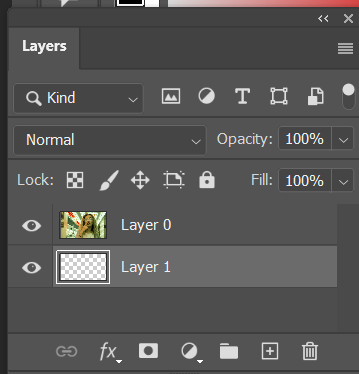
8. Drag your new layer below the photo layer
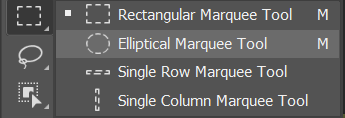
9. Photoshop doesn’t have a circular cropping function. However, you can still create a similar effect using the elliptical marquee tool.
The elliptical marquee tool is located in the left toolbar. You may need to hold down the rectangular marquee tool to reveal it in a drop down menu.
10. With the Elliptical Marquee Tool selected, click and drag a circle over your photo.
Tip: If you hold Alt on your keyboard while you use the elliptical marquee tool, it will grow from the centre.
TIP: If you also hold down shift while you use the elliptical marquee tool, it will maintain a perfect circle shape
If you need to deselect and start again, you can either go to Select (on the top menu)>Deselect…. Or you can click Ctrl + D on your keyboard.


11. You should now see a dotted line in the shape of a circle.. Now you want to delete the background, so you have to make photoshop select the area outside of the circle, instead of the area inside of the circle.
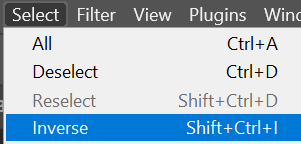
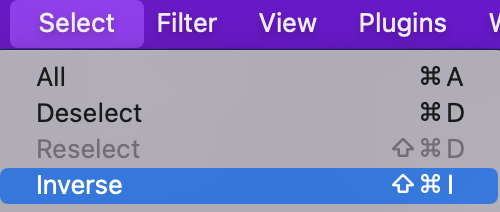
To do this, go to Select (along the top menu)>Inverse
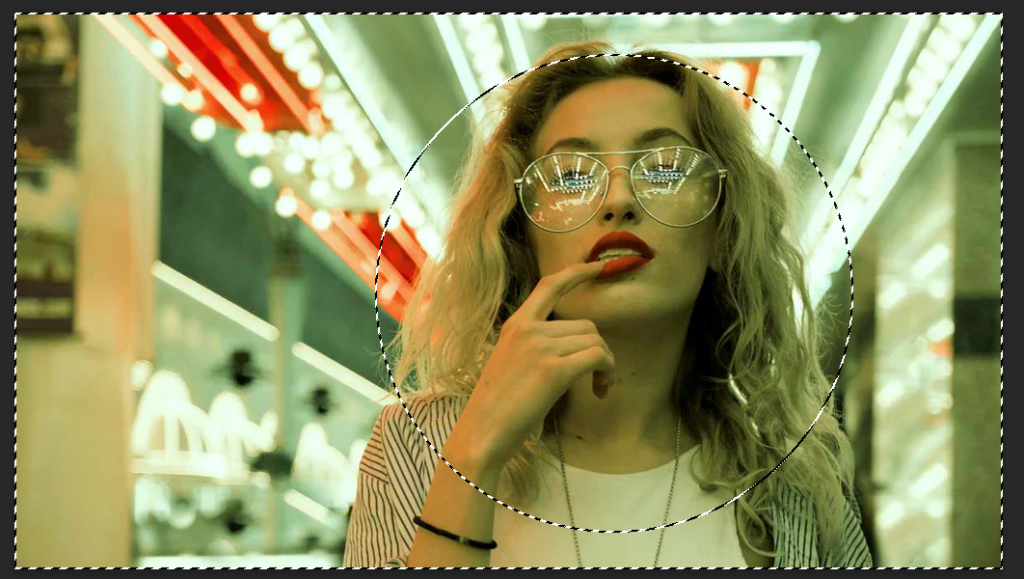
You will see additional dotted lines appear around the edge of your image.
12. Make sure your photo layer is selected in the layer panel and not your new empty layer…. Now press delete on your keyboard.
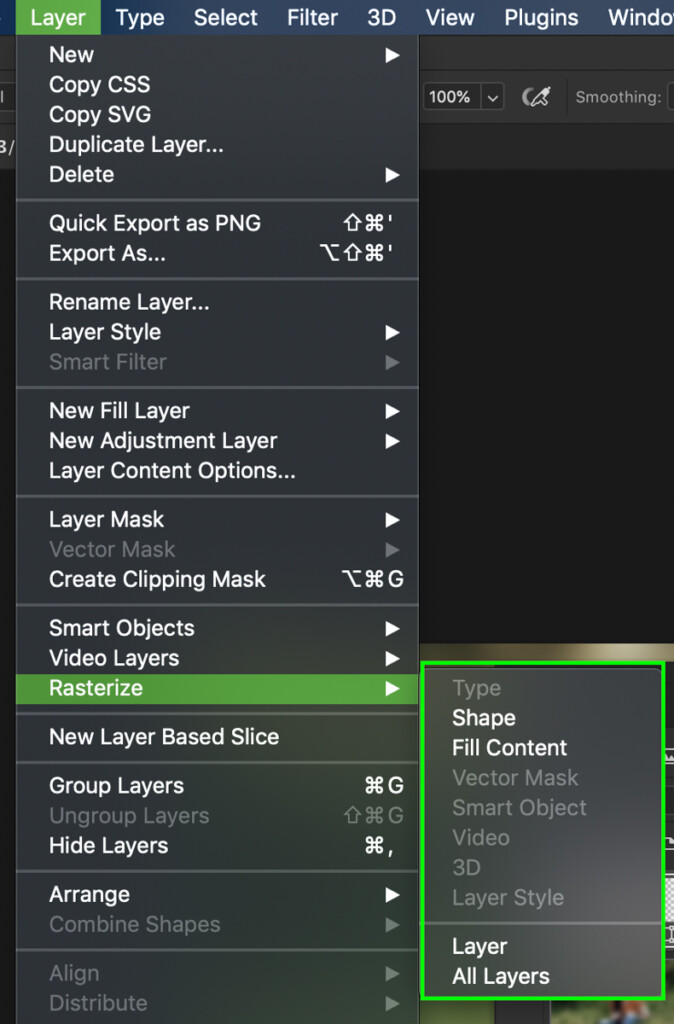
Note: If you get a message saying your layer isn’t directly editable you need to convert it to a smart object. Go to Layer>Rasterize>Smart Object
13. Change the background colour by selecting your Empty Bottom Layer in the Layers Panel.
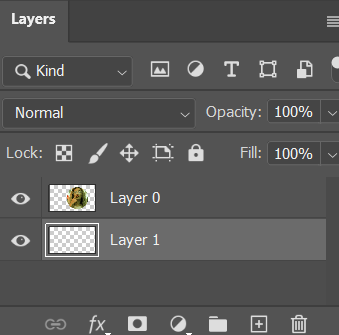
Then select the fill bucket in the left toolbar (sometimes you have to hold down the gradient tool to reveal the paint bucket).

Select the colour you want at the bottom of the toolbar (I recommend sticking with white).

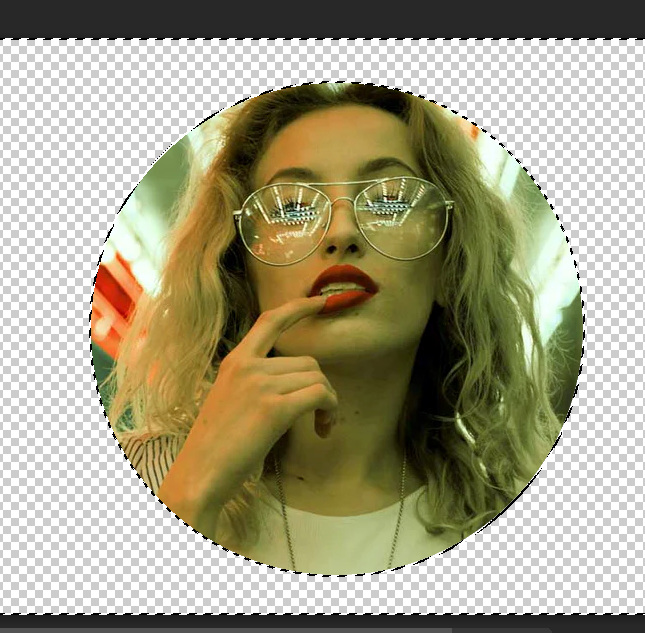
Your image is now cropped as a circle

Triangular Cropping
14. Before we get started with this step… we need to create a new layer that goes under your photo layer.
To do this, go to Layer (along the top menu)> New Layer.

15. With the new layer created, go to the layers panel, unlock your photo layer by clicking the padlock
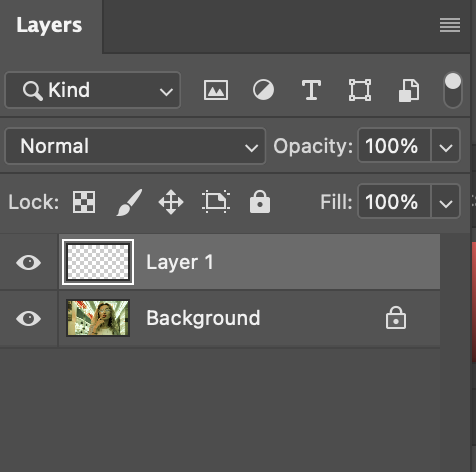

16. Drag your new layer below the photo layer

.
17. With your photo in photoshop, select the triangle shape tool from the left toolbar

15. Click and draw your triangle over your photo
If you want to rotate the triangle, click CTRL + T on your keyboard. This activates free transform. Hover over the corners of your shape until the rotation symbol appears, click and drag your shape to rotate. Press enter when you are happy with the position.
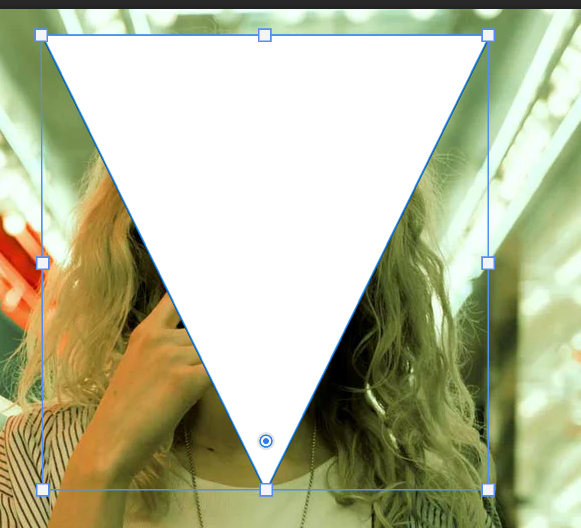
16. This shape is just a guide, like a stencil for us to select this area. We now need to select the Quick Selection Tool from the left toolbar

17. With quick selection selected, click and drag within the triangle until a dotted line appears inside the whole shape.
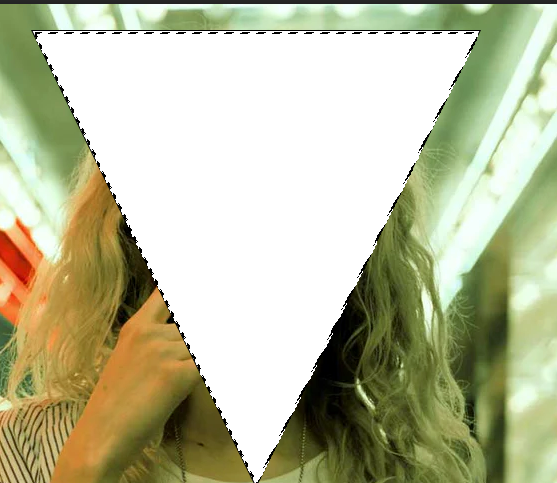
18. Click the eye next to your triangle layer to hide it.
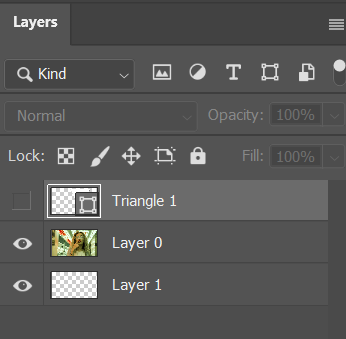
19. Then Click onto your photo layer in the layers panel
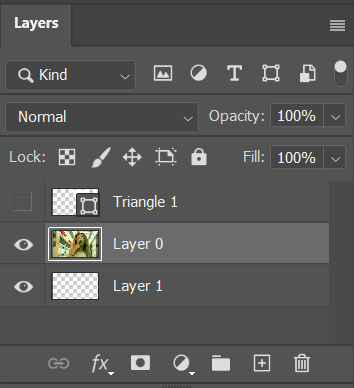
19. If we click delete now it will delete the inside of the photo. Instead, you have to make photoshop select the area outside of the triangle.
To do this, go to Select (along the top menu)>Inverse

20. Press delete on your keyboard
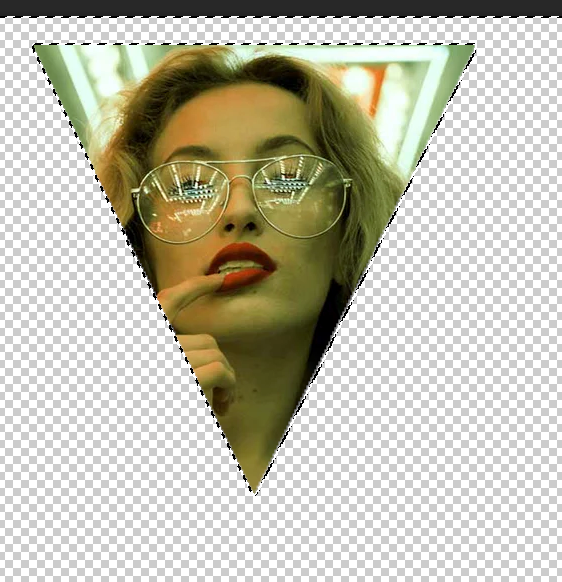
Note: If you get a message saying your layer isn’t directly editable you need to convert it to a smart object. Go to Layer>Rasterize>Smart Object

21. Change the background colour by selecting your Empty Bottom Layer in the Layers Panel.

Then select the fill bucket in the left toolbar (sometimes you have to hold down the gradient tool to reveal the paint bucket).

Select the colour you want at the bottom of the toolbar (I recommend sticking with white).

Your image is now cropped as a triangle

Alternative Triangle cropping / Polygon cropping
1. Open your photo in photoshop.
2. Create a new layer: Layer>New>Layer
3. If your photo layer is locked in the layer panel (If it’s locked it has a little padlock), click the padlock to unlock it.
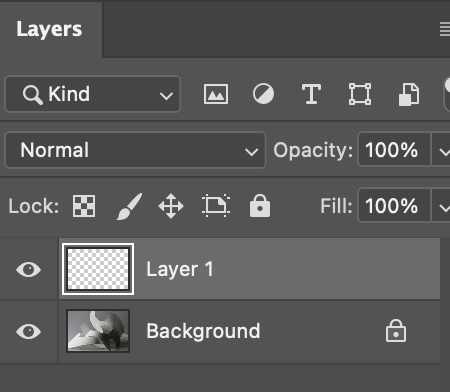
4. Click onto the new (top layer). Fill your new layer white using the paint bucket tool

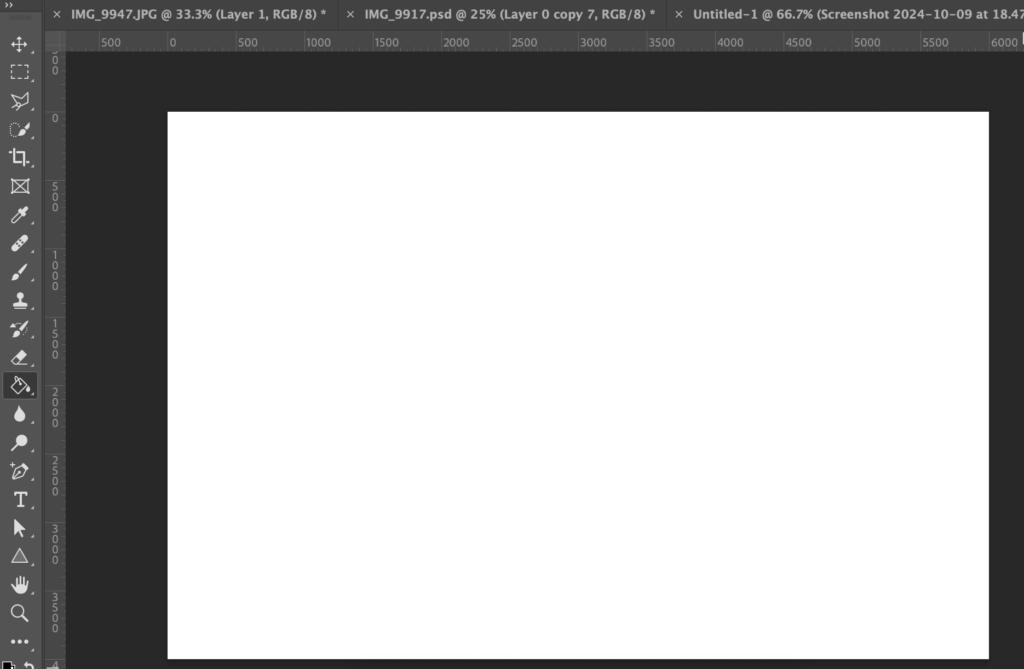
5. In the layer panel, drag your white later below your photo layer
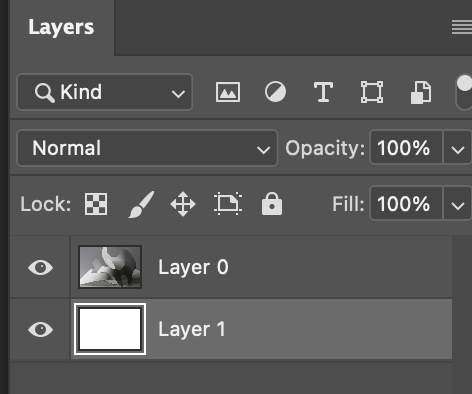
6. Click on your photo layer in the layer panel
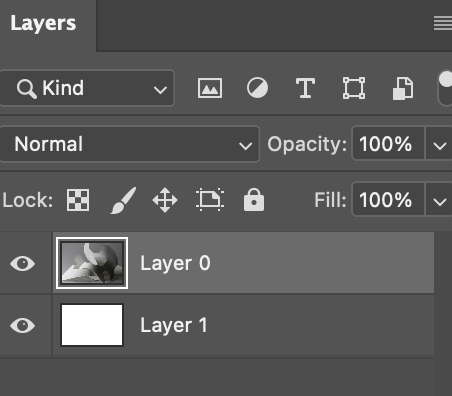
7. Select the polygonal lasso tool

2. Draw the shape you want to crop over your image. If you want to draw a triangle, you can hold shift to snap the lines to either vertical, horizontal or 45 degrees.
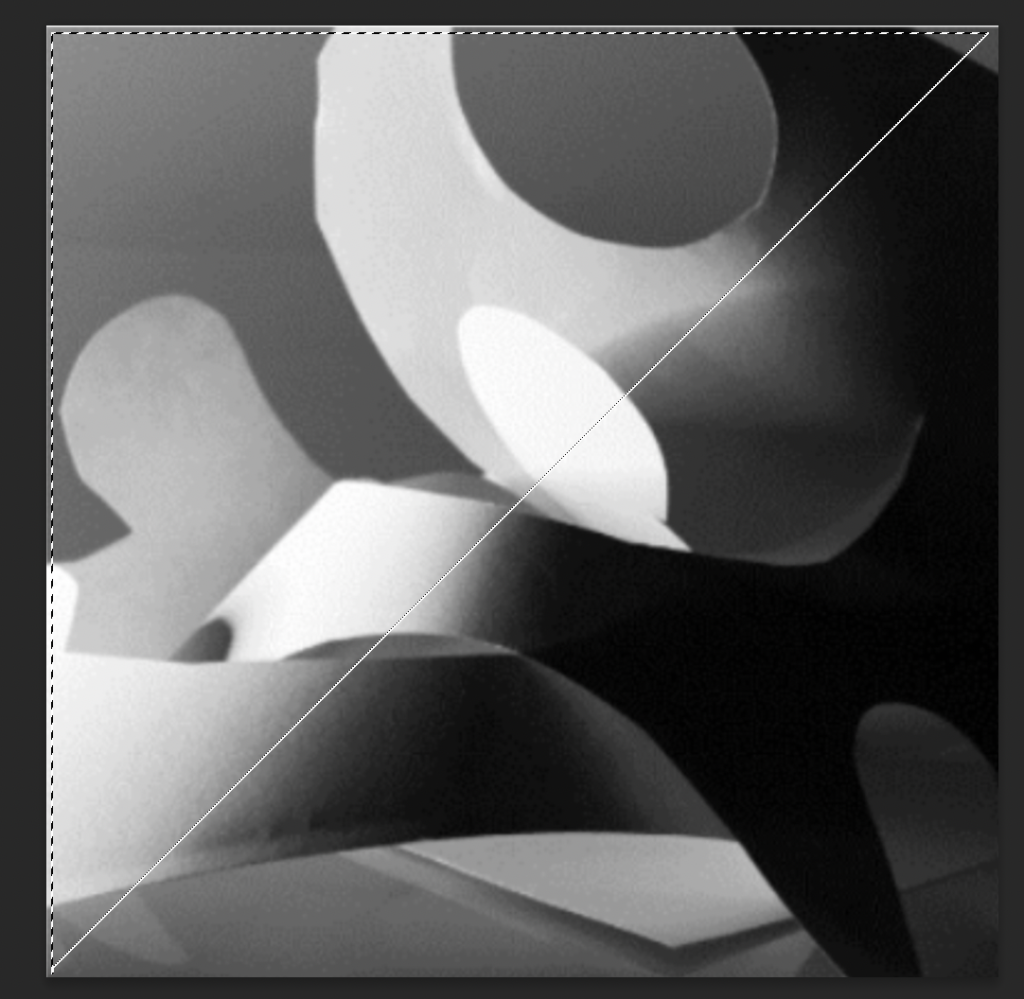
3. With the area you want to crop selected, you now need to go to Select (Along the top menu) > Inverse. This tells photoshop to inverse your selection and so it selects the area outside the shape you have drawn.
4. Now you can press delete on your keyboard and it should delete your background.
If you get a notice saying that your layer isn’t directly editable, go to Layer: Rasterize Layer: Smart Object… then try again.

5. To deselect, click CTRL + D on your keyboard.
6. You can repeat this process with multiple images and layer the cropped images
