I began by transferring my shutter speed images into Lightroom, as you can see below, where I pressed ‘import’ at the very bottom and picked which images to upload into Lightroom.

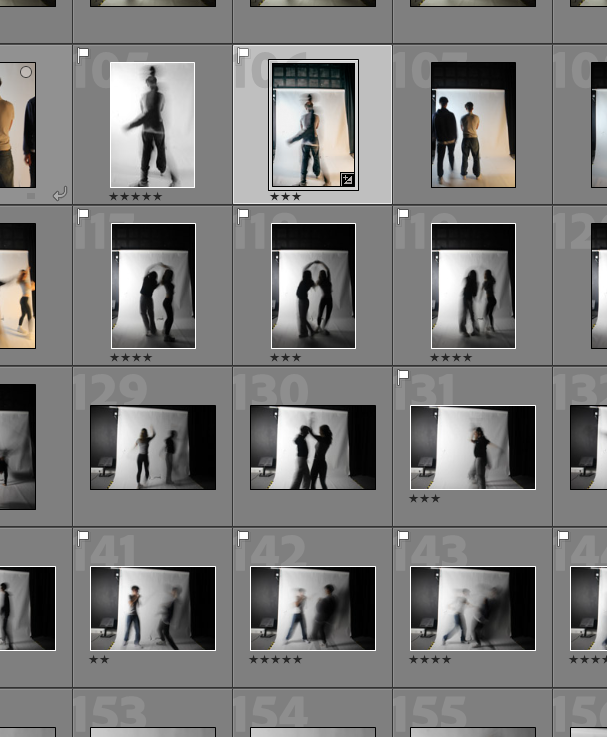
After moving my images, I learnt how to flag the photos I wanted to keep, and leave the others blank that I decided I wasn’t going to use. I also discovered how to rate my images by using stars (1 being the worst and 5 being g the best) to show which ones I liked the most.


Here’s an overall view of both the flags and ratings:
Then I discovered how to colour code my images to make them more noticble and easier to detect when I edit my images in photoshop so I know which ones to edit.
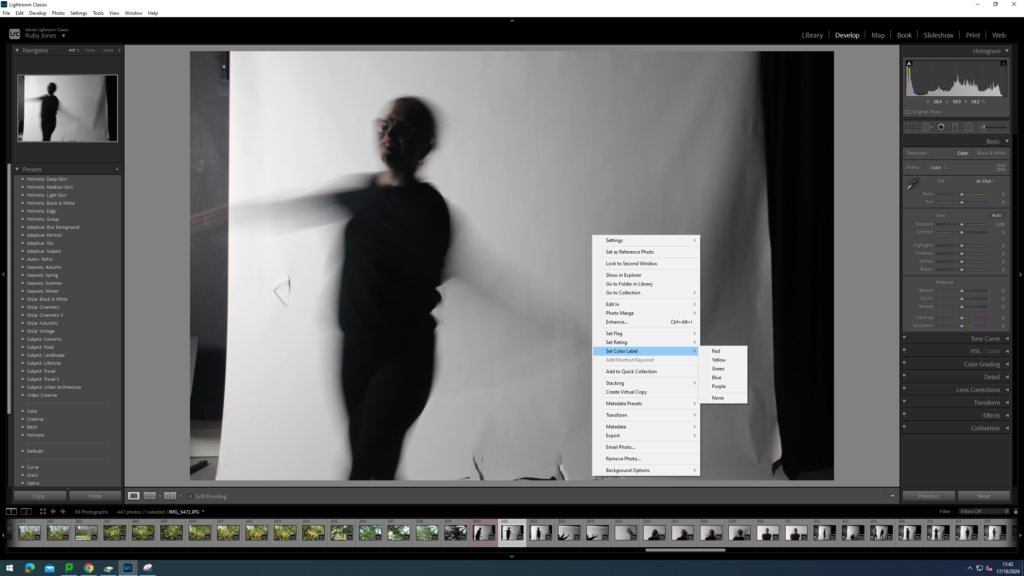
I started off with an image then right clicked it as you can see below, then I clicked on ‘code rating’ so I have the option to colour them ‘red’ ‘yellow’ or ‘green’, they also have blue and purple as an option, but I decided to stick to these three as it is easier to organise.
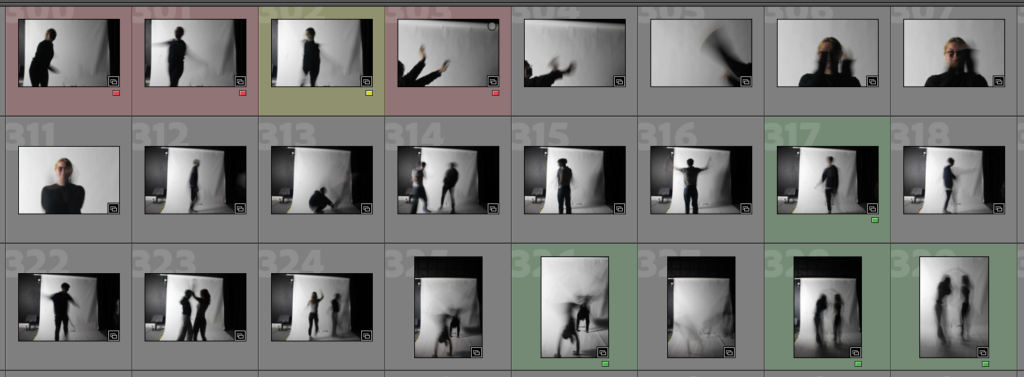
Once I did a few, I decided to show what it looks like and as you can see below, it is easier to see which ones are good and which aren’t.
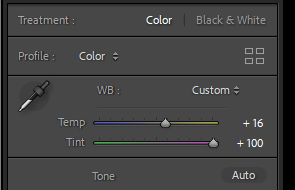
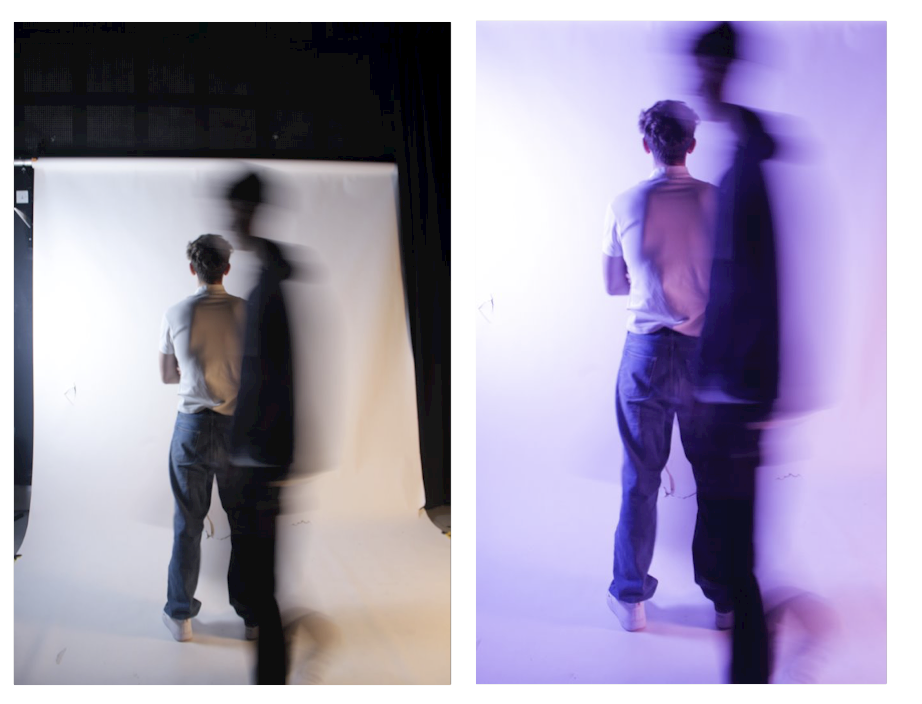
I also wanted to experiment and see what I could do, so here’s a before and after of this image where I cropped it, and adjusted the ‘temp’ and ‘tint’ to brighten and exaggerate my image to make the slow shutter speed more noticable.
You can find the ‘temp’ and ‘tint’ by looking on the far right ride of the screen when you are on the image, and you should see this image below:
