Purpose of Lightroom
Lightroom is typically used for selection, rating and editing of many images, contrary to Photoshop which is typically only used for high levels of editing on one or few images. After a photoshoot, you could use Lightroom to organise your photos into a collection and rate them based off numerous factors (e.g. what you photographed, quality of photograph) to pinpoint your best photos, after which you can edit them all at once on Lightroom and/or select the best few to edit thoroughly using Photoshop.
Creation of Catalogues
When I first opened Lightroom, I had to create a personal catalogue – I named this catalogue my name and saved it in the video data drive.

Importing Images
I then had to import some of my images into Lightroom, using the import button on the bottom left of the interface.
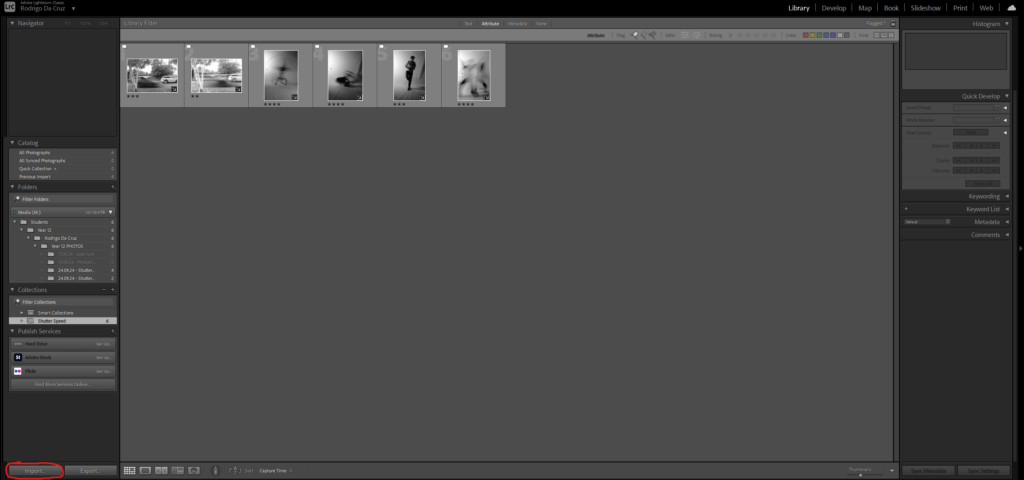
Once I selected import, I then had to choose a path to import my images from, which in my case was from the media drive.
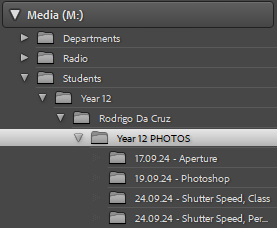
Once I had selected this path, all my images appeared and I could choose which ones to import into Lightroom.

Creation of Collections
Next, I made a collection specifically for my shutter speed photography. To do this, I clicked the plus sign next to collections to create a new collection, titled it Shutter Speed and dragged and dropped the images I had imported into this collection.

By doing this, I can sort my large gallery of photographs into smaller groups, for example instead of having all my photographs in one area making it hard to differentiate and identify them I can split them into unique collections (e.g. a collection for aperture, another for shutter speed etc.)
Selection Functions
I then had the option to select and rate my images in different ways – one thing you can do is flag your images as good or bad using either the P key (for good) or the X key (for bad), allowing you to then filter out which images you want to see using the flagged filter which removes the images you marked as bad from view. You can also rate your pictures from 1-5 stars and then filter them by these star ratings.


Develop Mode
After learning how to import images, create collections and rate/filter images in library mode I then learnt how to use develop mode. This mode is used when you need to do major editing on one particular image (similar to Photoshop), unlike library mode which can be used to make small quick adjustments to multiple images.
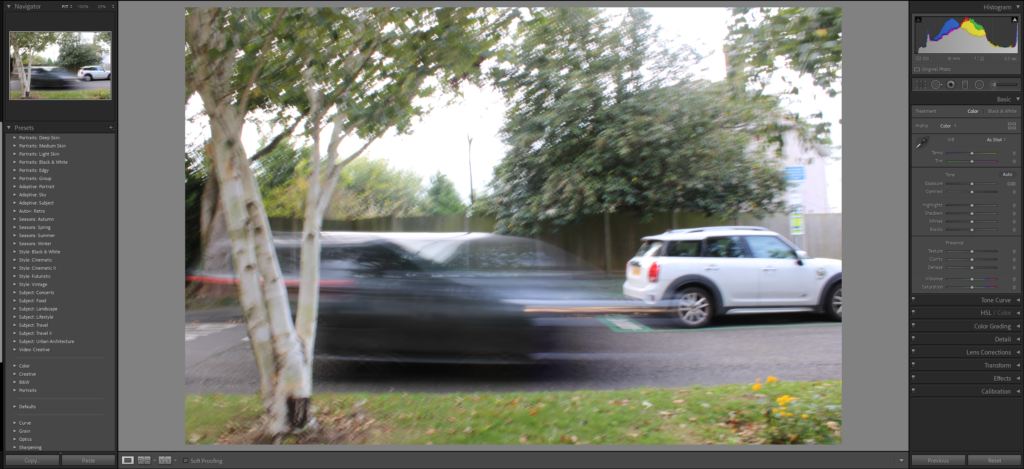
At the bottom, there is a before and after view option which I could use to compare my edited image to its original version and identify strengths and weaknesses of both images, then make further adjustments if needed.
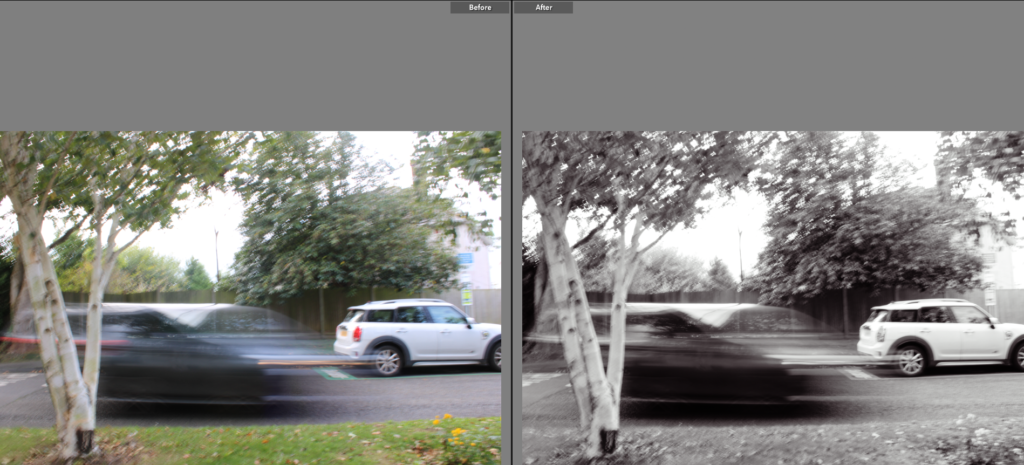
Develop mode has many presets which can be used to make quick edits of your images (an example is above where I have used the black and white PB02 preset), or you can make lots of adjustments manually to really transform the image into a successful one you like. I spent a while using the manual developing features, and then produced an edited version of my image which I am satisfied with.

Contact Sheets
A contact sheet is like a photo gallery of all your raw (unedited) images – using a contact sheet, you can colour code and organise your images to highlight the successful/unsuccessful ones as well as grouping your images to show the intention and thought process behind your work.

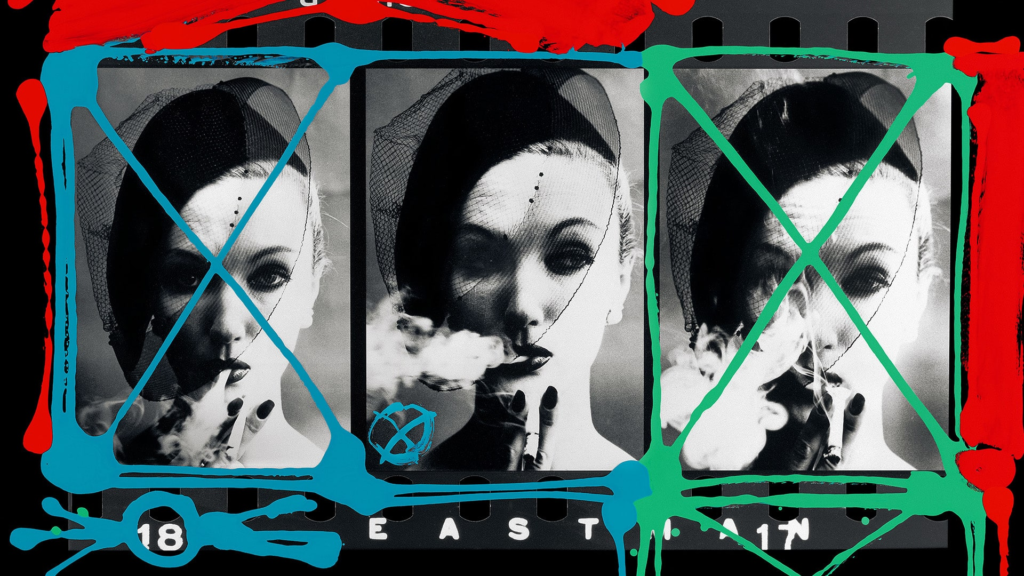
William Klein
William Klein was a photographer well known for his unique contact sheets where he drew over and colour coded images to identify and group them, showing his thought process behind his pictures and clearly identifying what he considered his strongest work. This unique, almost artistic approach to contact sheets and photographer was ultimately what made him stand out and be unique compared to other photographers of his time.
