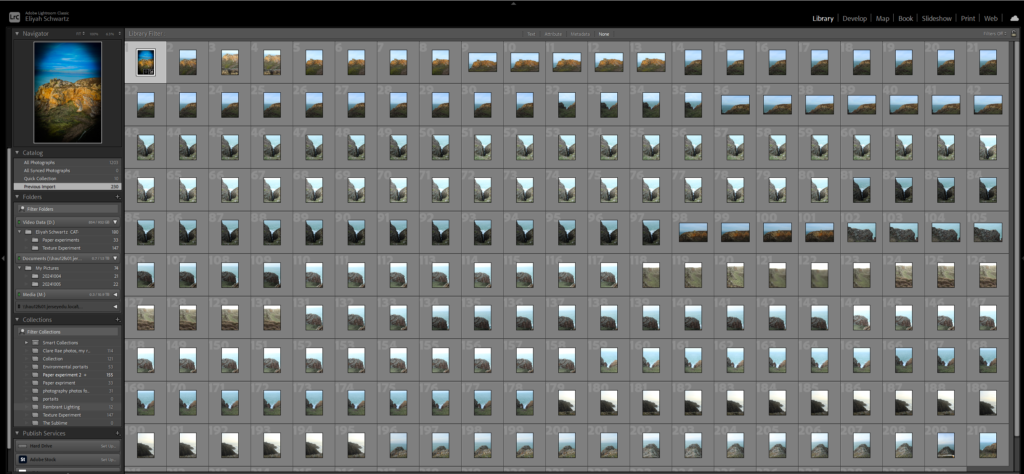
Contact Sheet
For my photoshoot, I mostly captured cliff faces that are along the coast.
Image Selection


These are the images I have picked to edit due to having a range of light and dark tones through out the images.
Editing
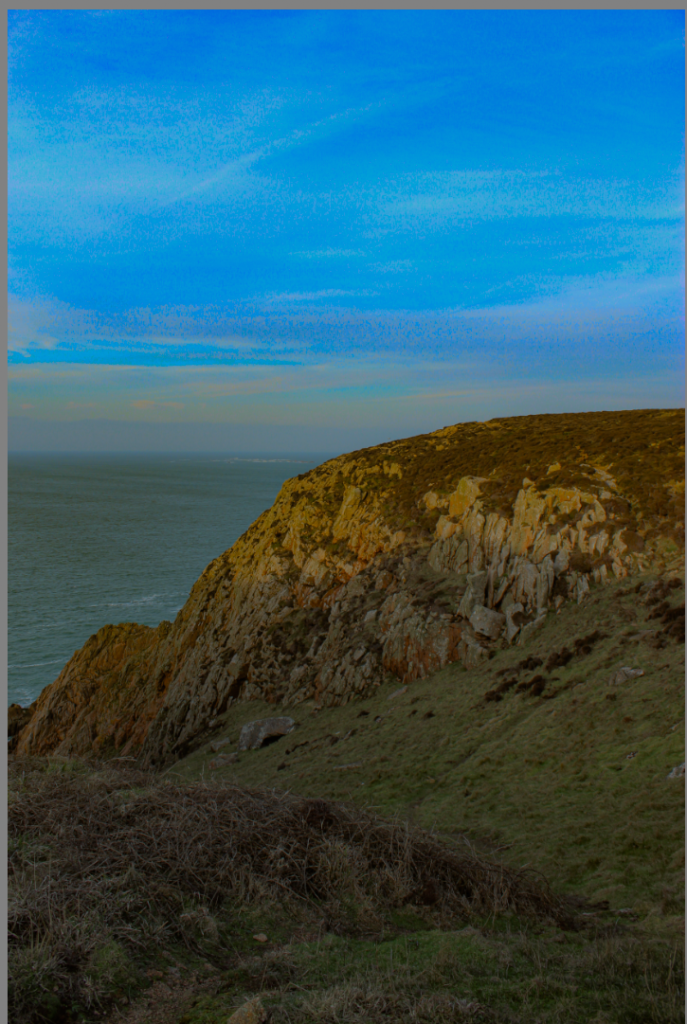
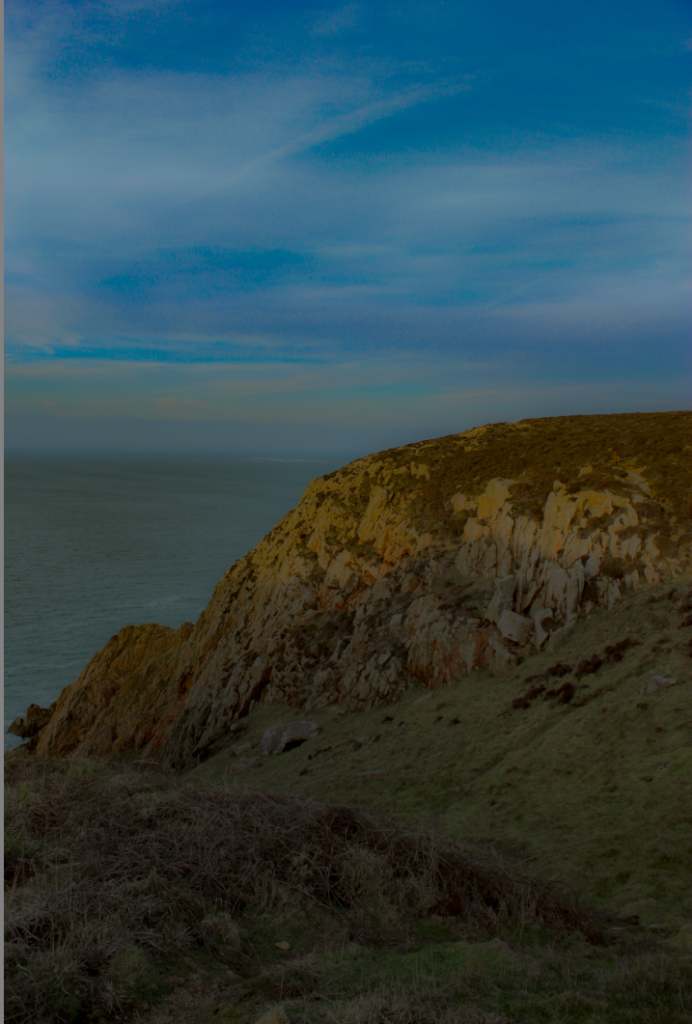
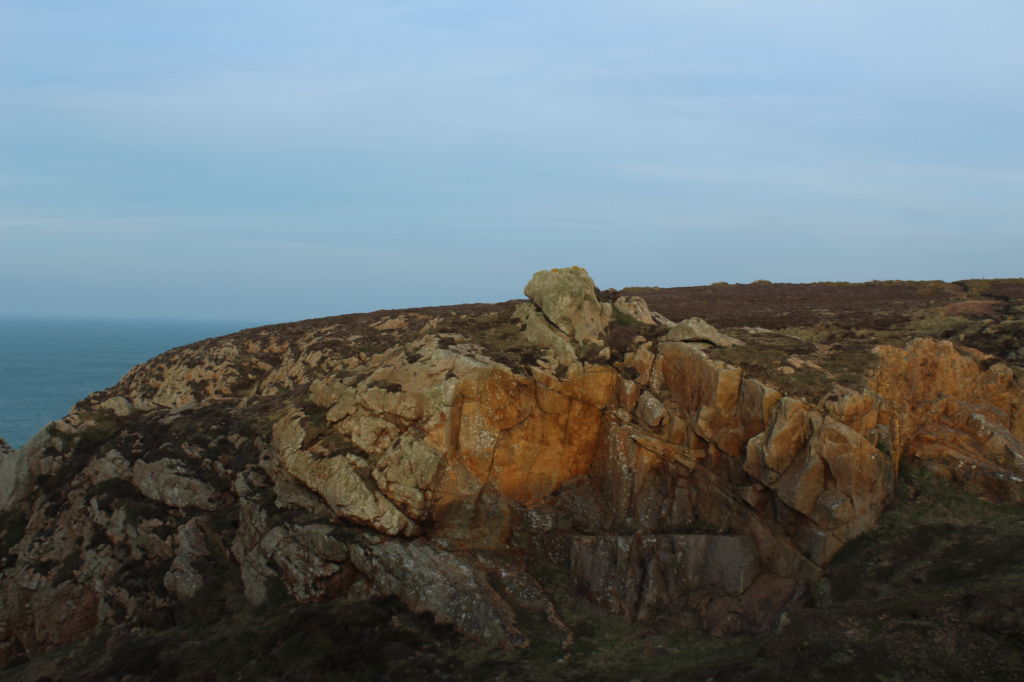
Image N01
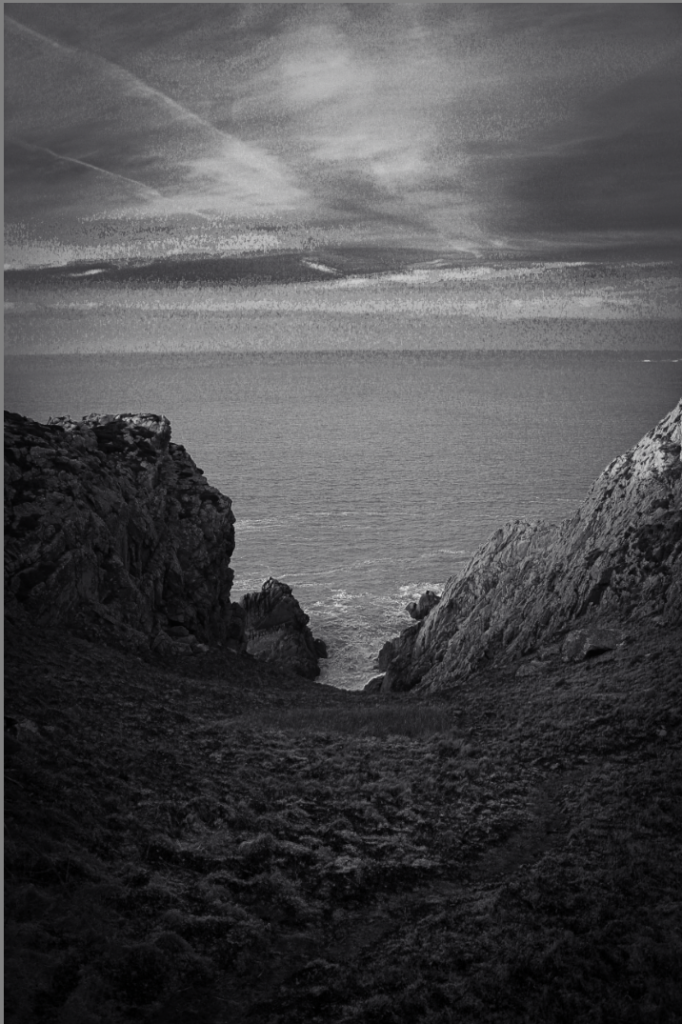
This my image before the editing process
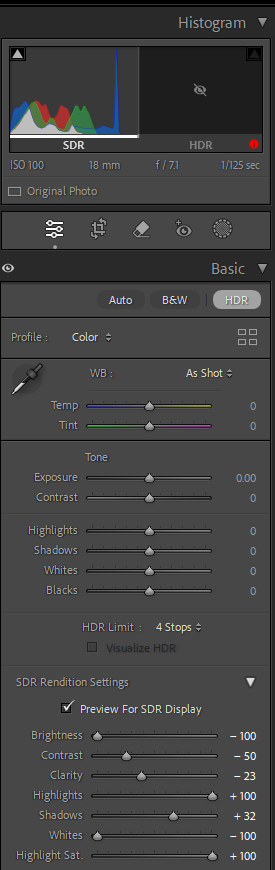
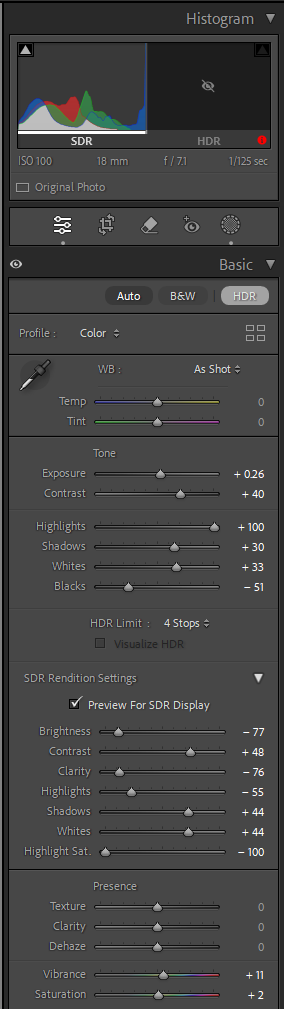
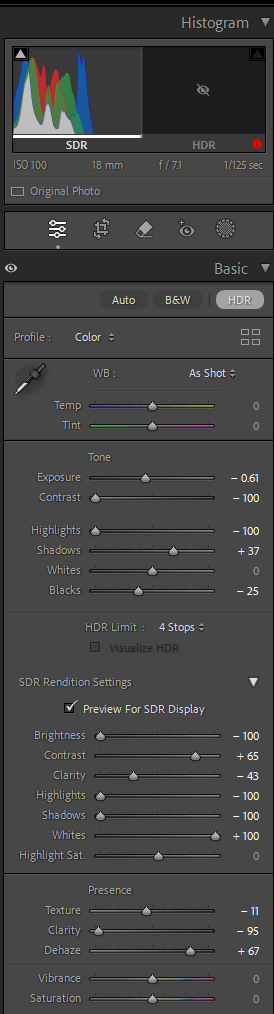
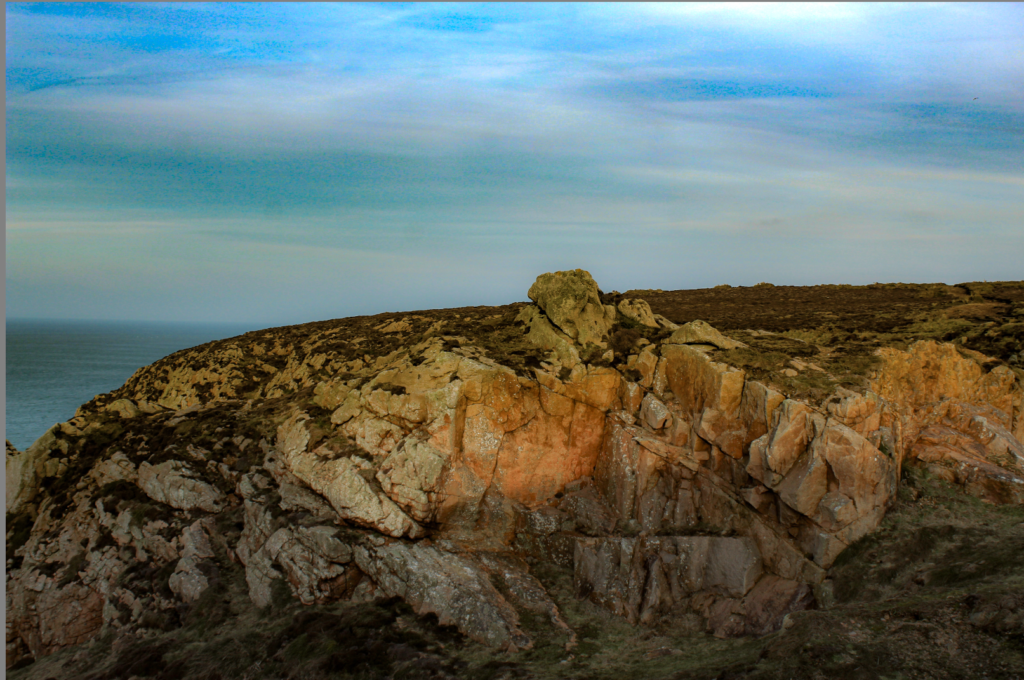
In this image I have used the SDR setting to lighten the sky and it also slightly darkens the foreground of the image.
This is what I used to edit my final image.
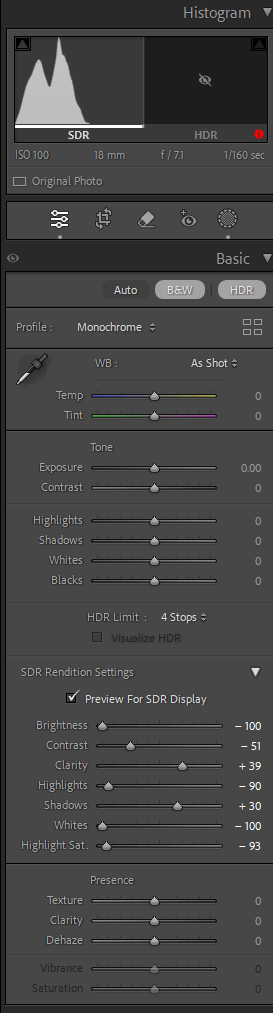
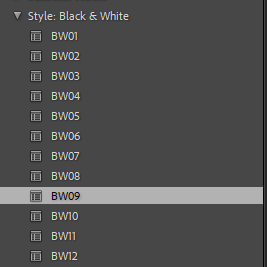
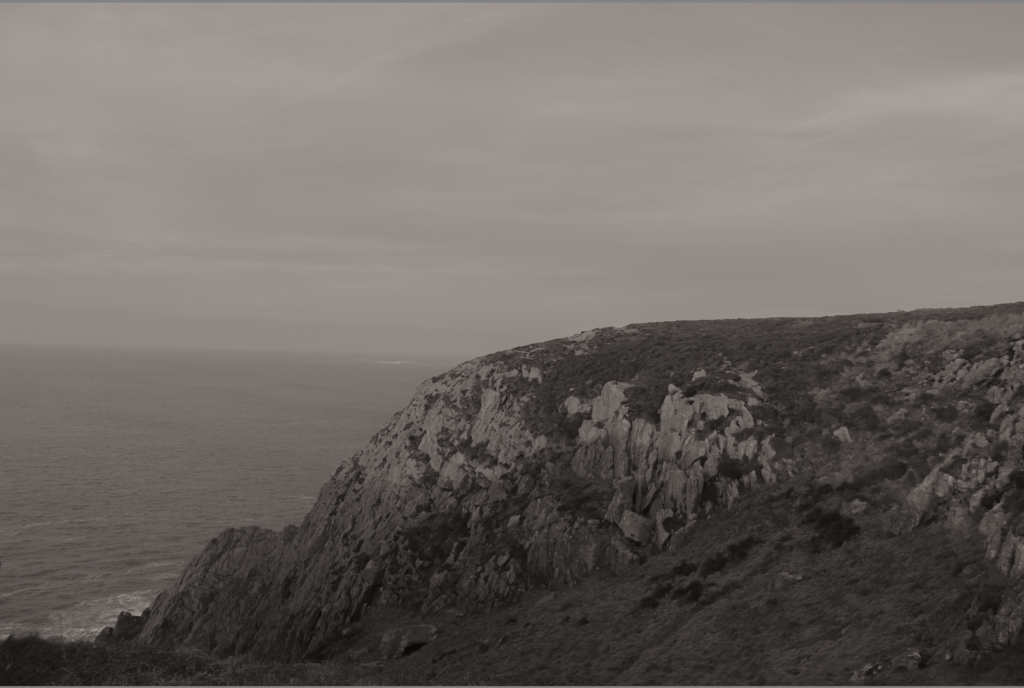
Black and White Edit
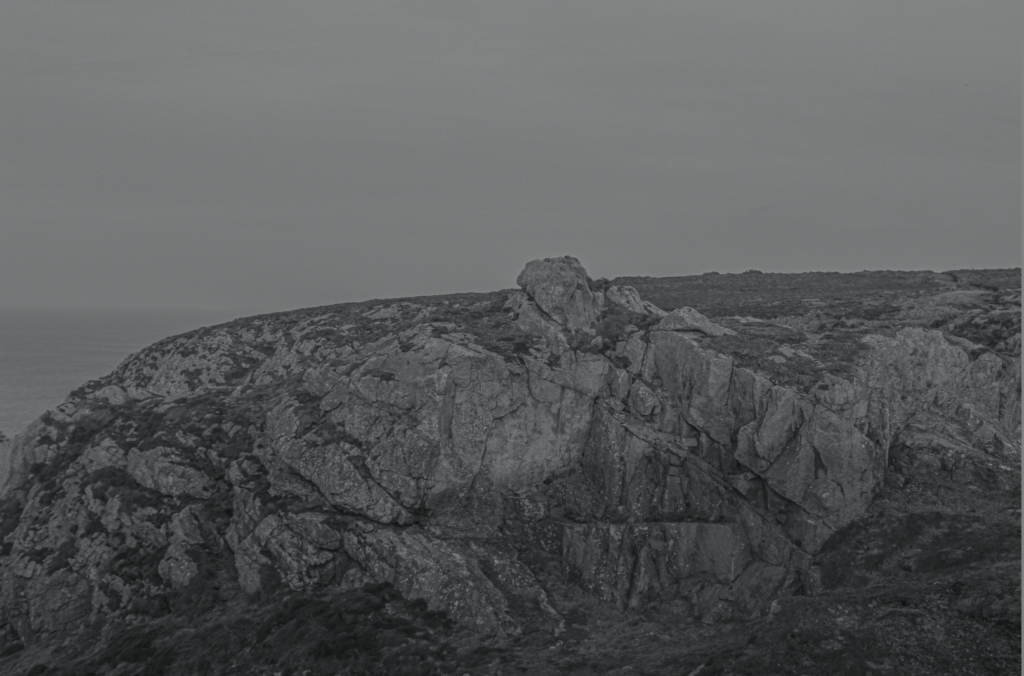
This is the Black and white edit.
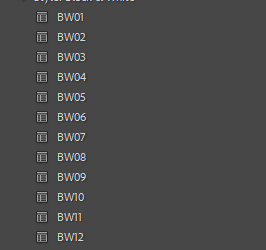
The filter I used was called BW07.

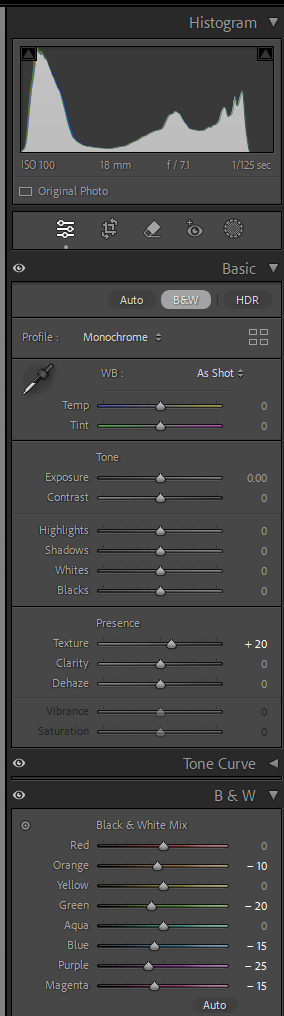
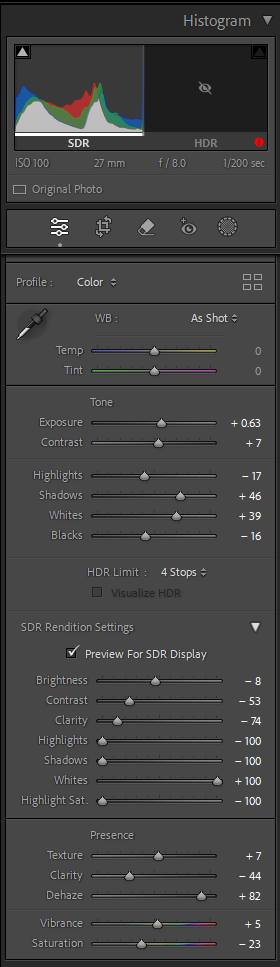
These are the settings I used to get a balanced exposure between black and white. This will make sure some parts of the image are not to dark or to white.
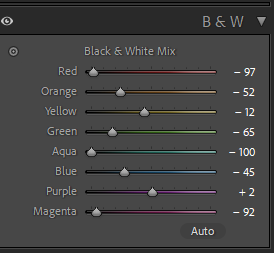
This is what I used to make the image lighter in some parts , so it didn’t look to dark.
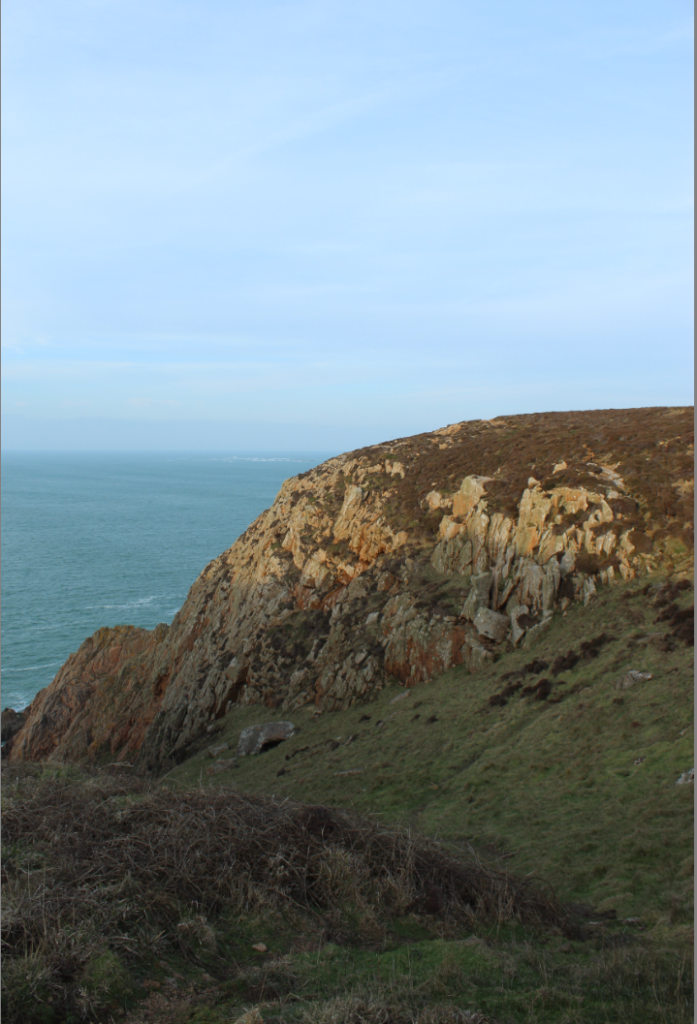
Image N02
This is my second image I want to edit.
For this image I also used the SDR setting to bring more blue out from the sky, so it has brightened it. It has also darkened the the foreground and some of the background.
This is how I edited my image.
Black And White Edit

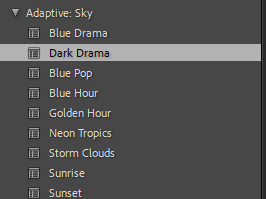
This is the filter I used , which is called Dark drama.
This is how I balanced the brightness and shadows in this image.
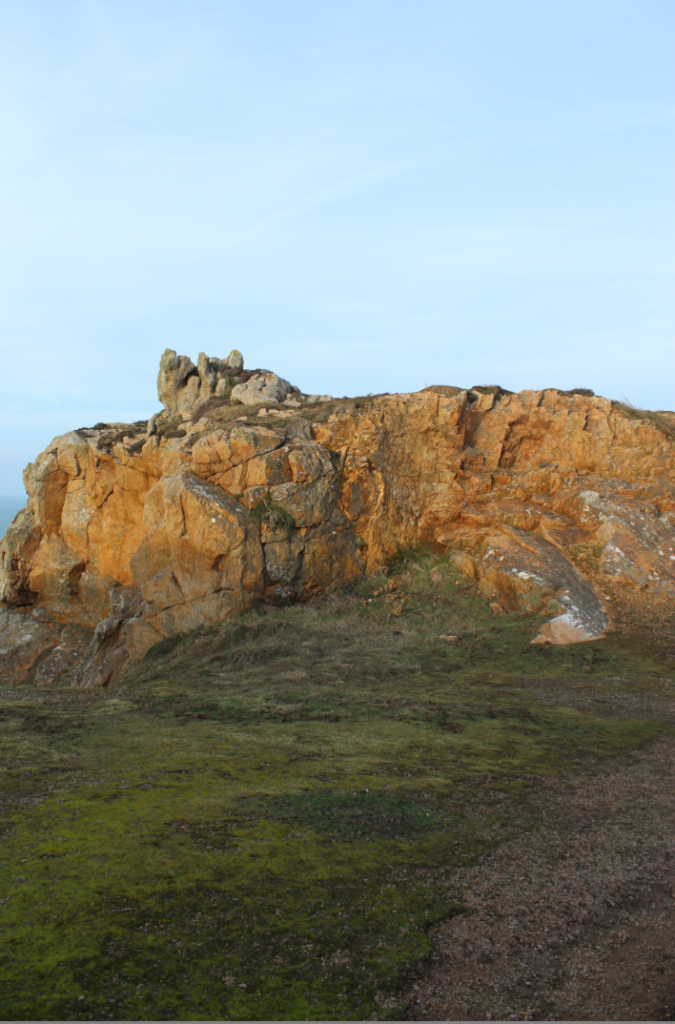
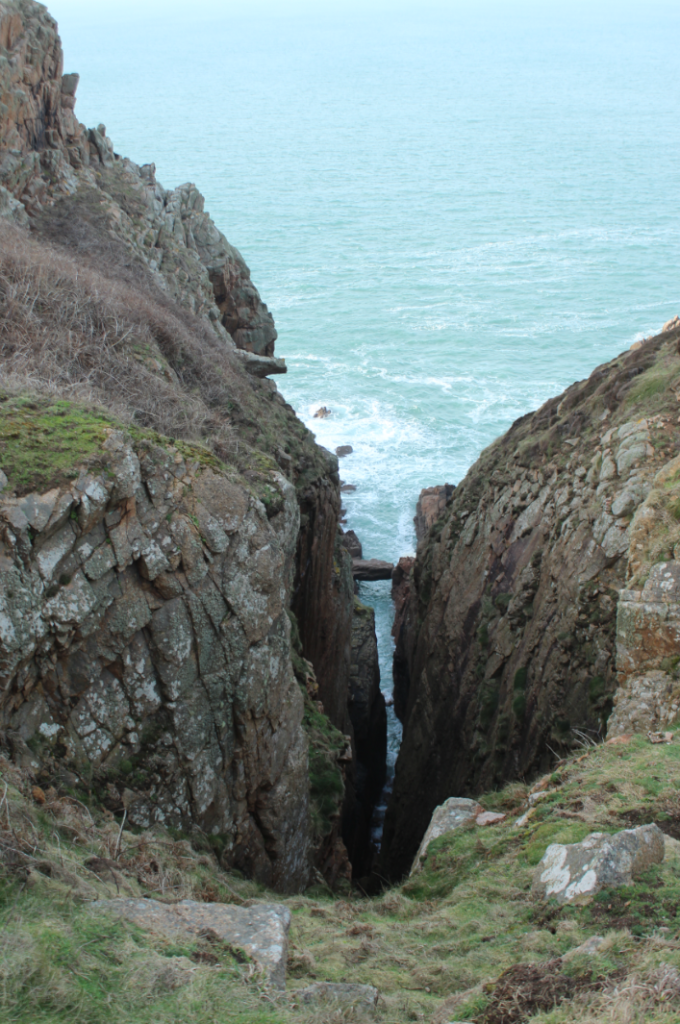
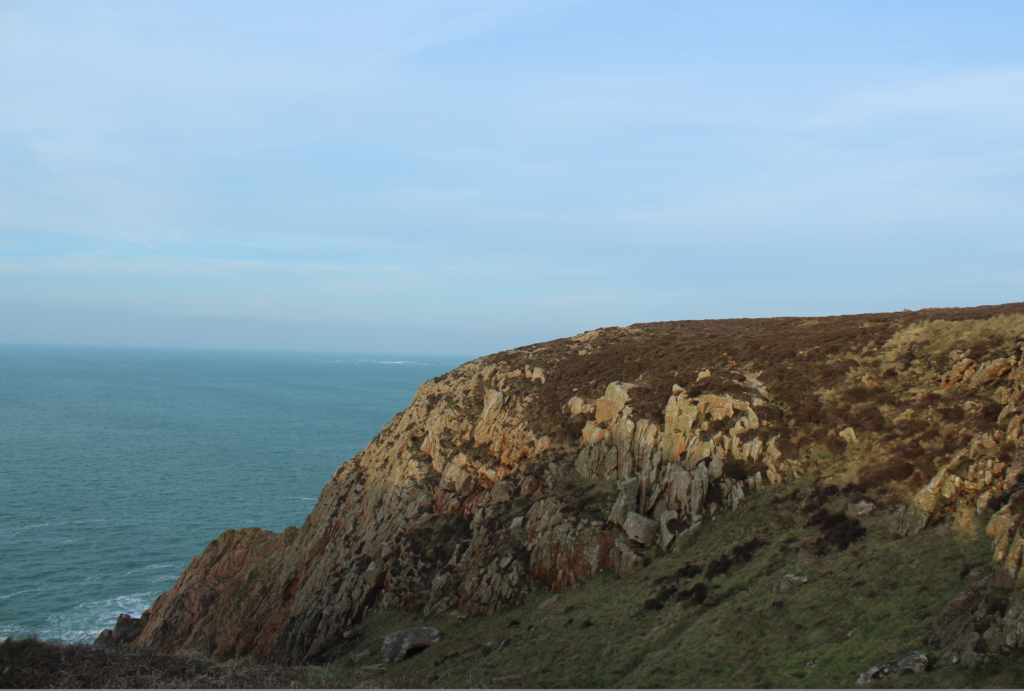
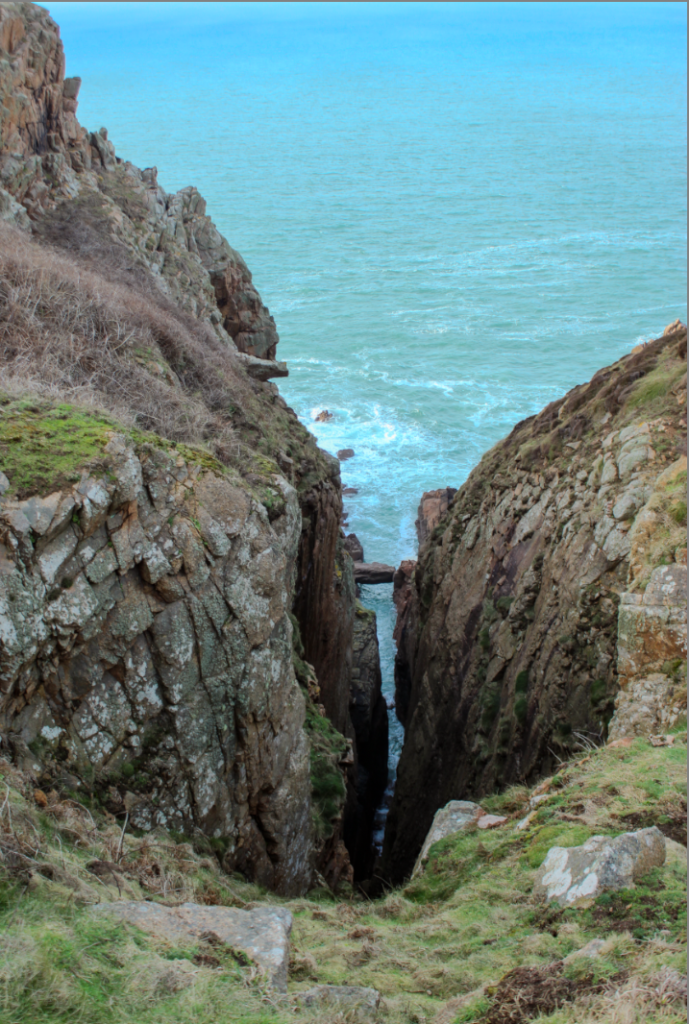
Image N03
This is my Third image I want to edit.
In this image I used the filter called Blue Drama and it from the sky range. This has caused the sky to have a very deep shade of blue, which pops out in the background. In this image I have lightened the foreground of the image.

This is how I edited my image.
Black And White Image
This is what I used to make the image lighter in some parts , so it didn’t look to dark.
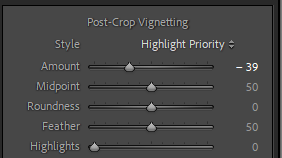
I also added a vignette to make the image proportional and so the leading lines will attract you to the centre of the image.
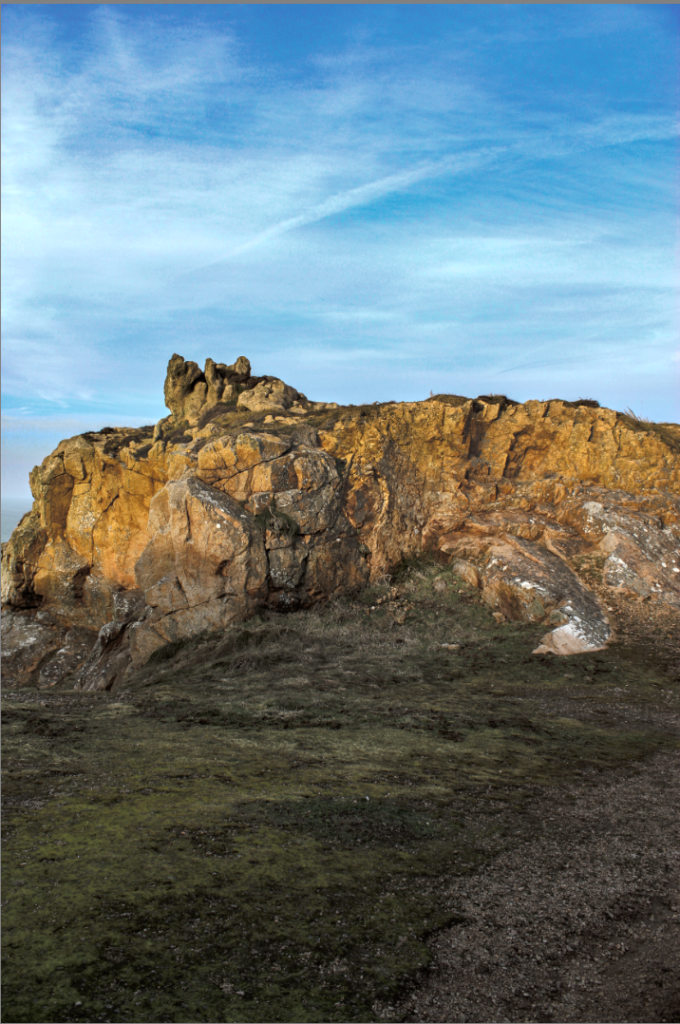
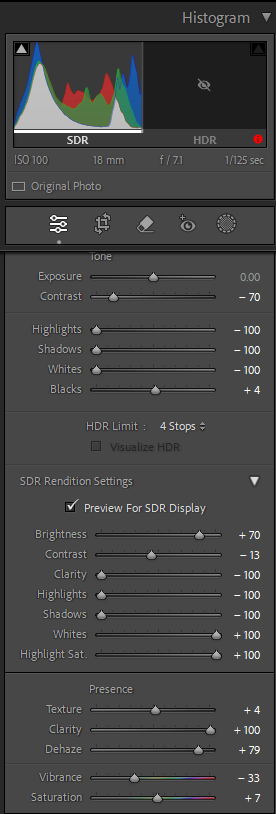
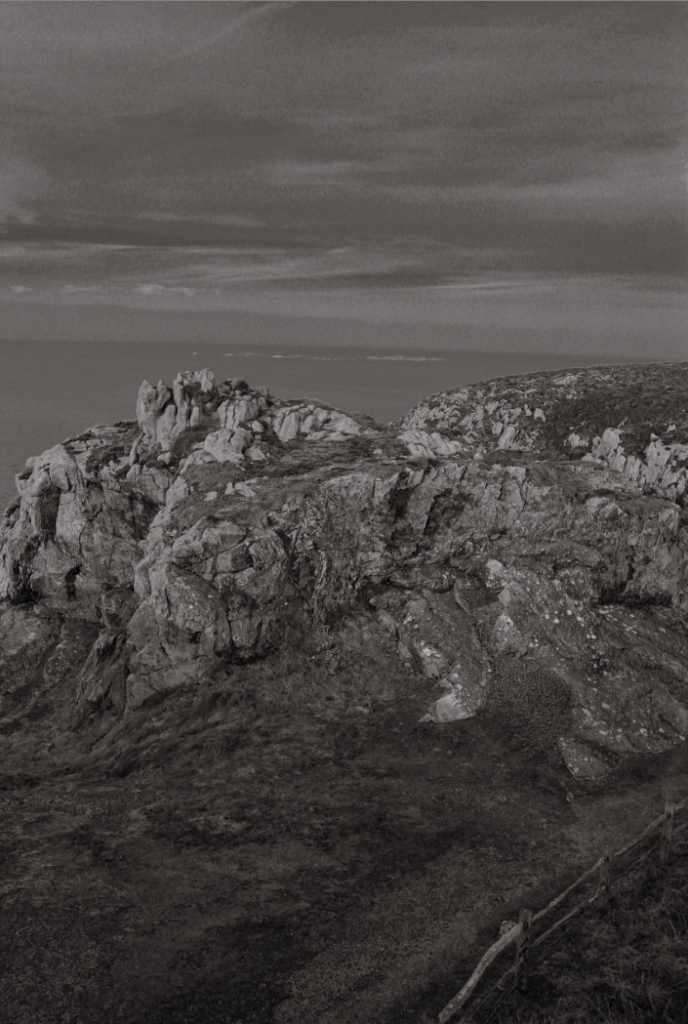
Image N04
This is the 4th image I want to edit.
For this image, I experimented with texture,brightness and darkness and many more settings.
This is how I edited my image.
Blake And White Image

Above is the filter/Pre-set I used, which is BW03.The amount is used is 45, because it creates a big more contrast between the black and white.

This is what I used to make the image lighter in some parts , so it didn’t look to dark. I also adjusted the contrast because I wanted a clear difference between black and white.
Image N05
This is the original image that I want to edit.
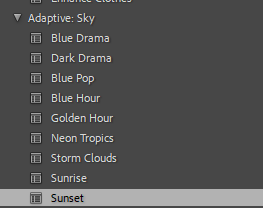
This is the edited image and I used the filter called sunset to make the blue water in the background a little bit darker.
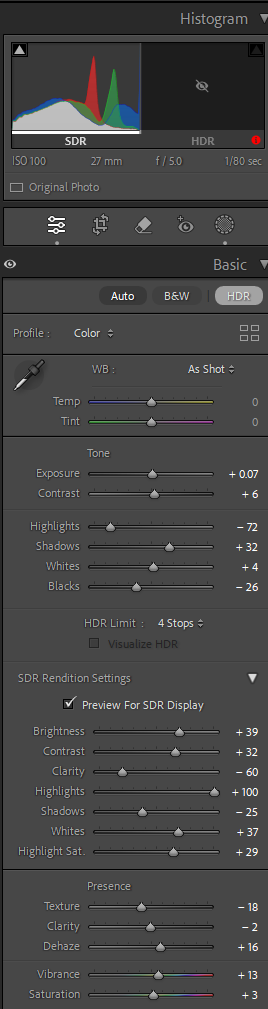
This is how I edited my photo.
Black and White Image
This is what I used to make the image lighter in some particular parts , so it didn’t look to dark. I also adjusted the contrast because I wanted a clear difference between black and white.
Image N06
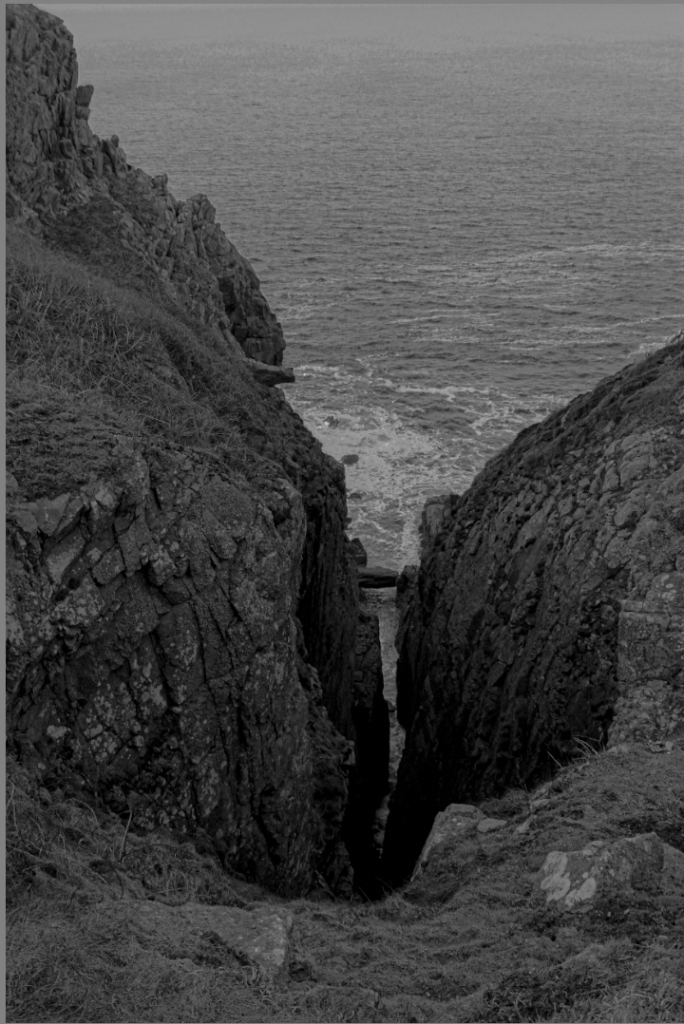
This is the original edit.
This is the edited image.
In the foreground of the image I created texture on the rock which will bring out the layers of rock (strata)and this also focused the lighting on the layers of rock.
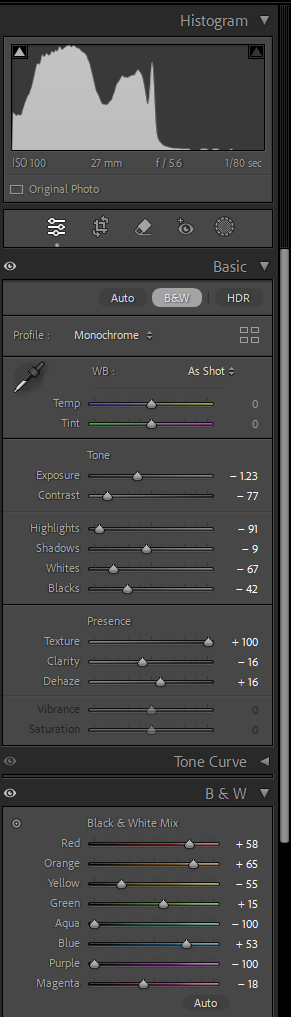
This is what I used to edit the image. I used a combination of dehaze, texture and clarity and I also used much more.
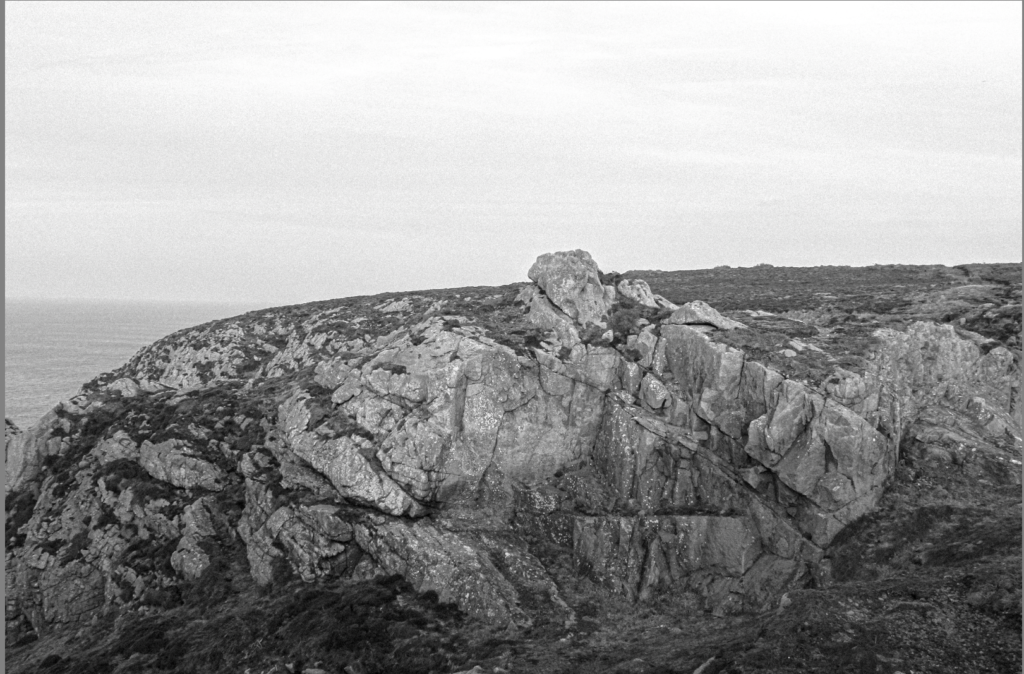
Black And White Image
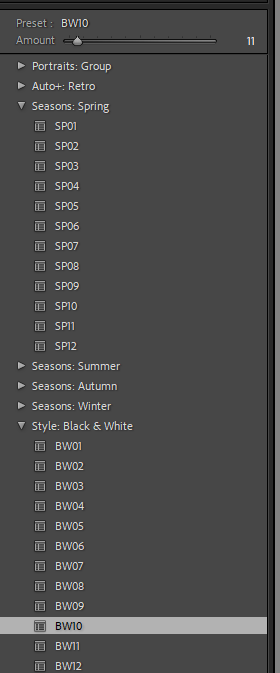
This is the pre-set I have used, which is called BW10.

This is what I used to make the image lighter in some particular parts , so it didn’t look to dark.
The Zone System Image
This photo shows the zone system because there are places that are very light and some that are very dark. When the Zone System is used, the darkest areas of a photographic image are referred to as low values (Zones I — III), the grey areas are called middle values (Zones IV — VI), and the light areas are high values (Zones VII — IX). The zones are always represented as roman numerals.
Virtual Gallery
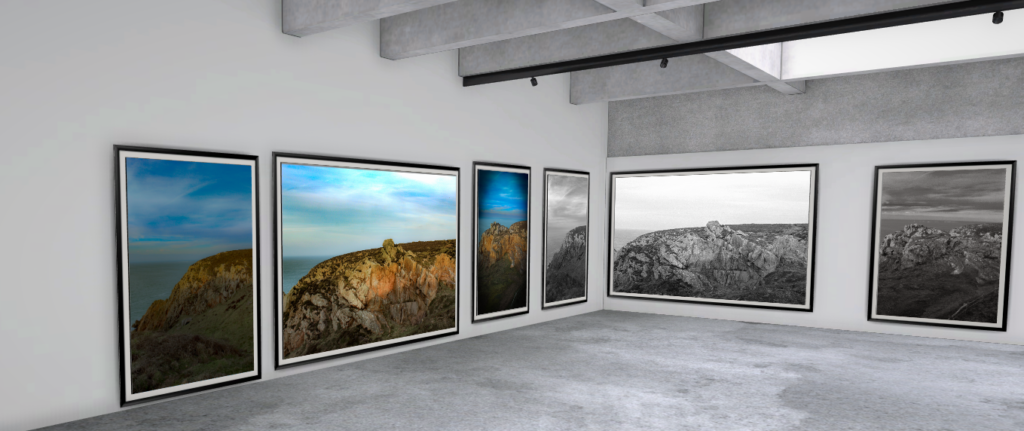
These are my 6 final images in the virtual gallery.