Contact Sheet
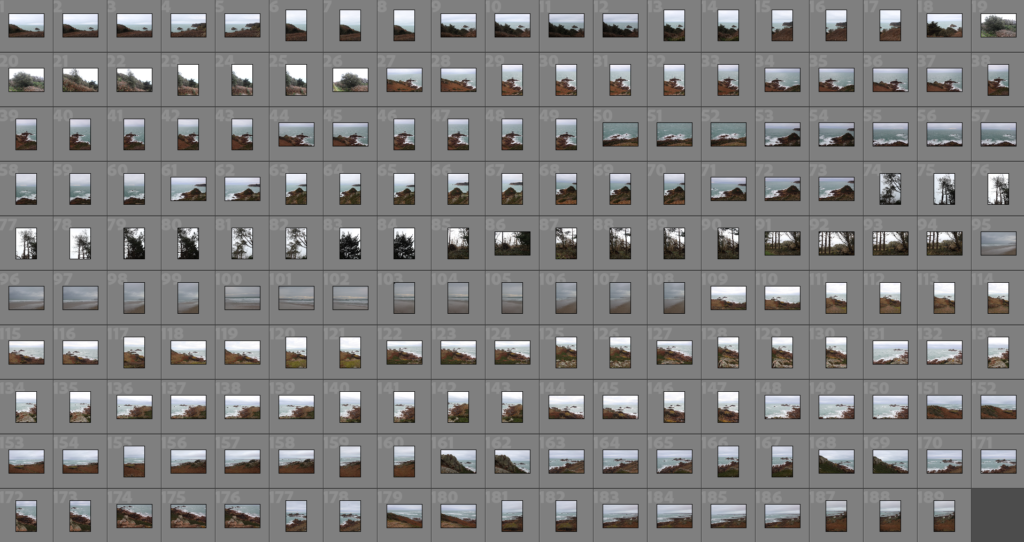
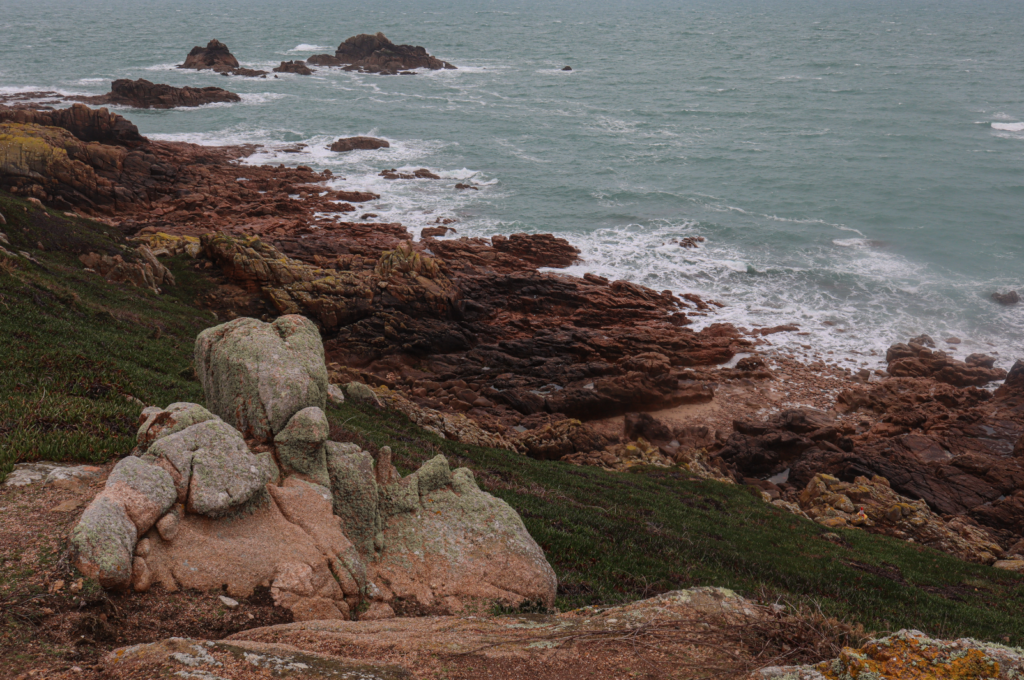
For my photoshoot, I focused mainly on cliffsides and the seascape whilst also experimenting with trees and greenery.
Selection

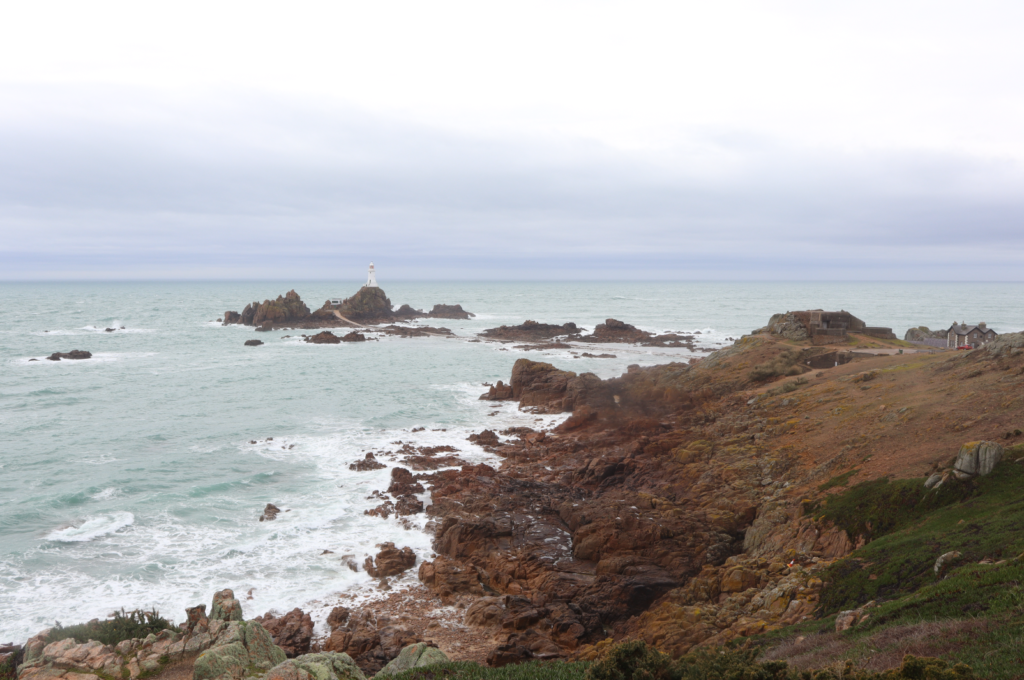
The pictures I have selected for editing each have a wide range of light and dark tones as well as compositions which create depth and drama that I will experiment with to see how editing can amplify this (e.g. to see if making the images black and white effectively uses the Zone System).
Editing/Experimentation
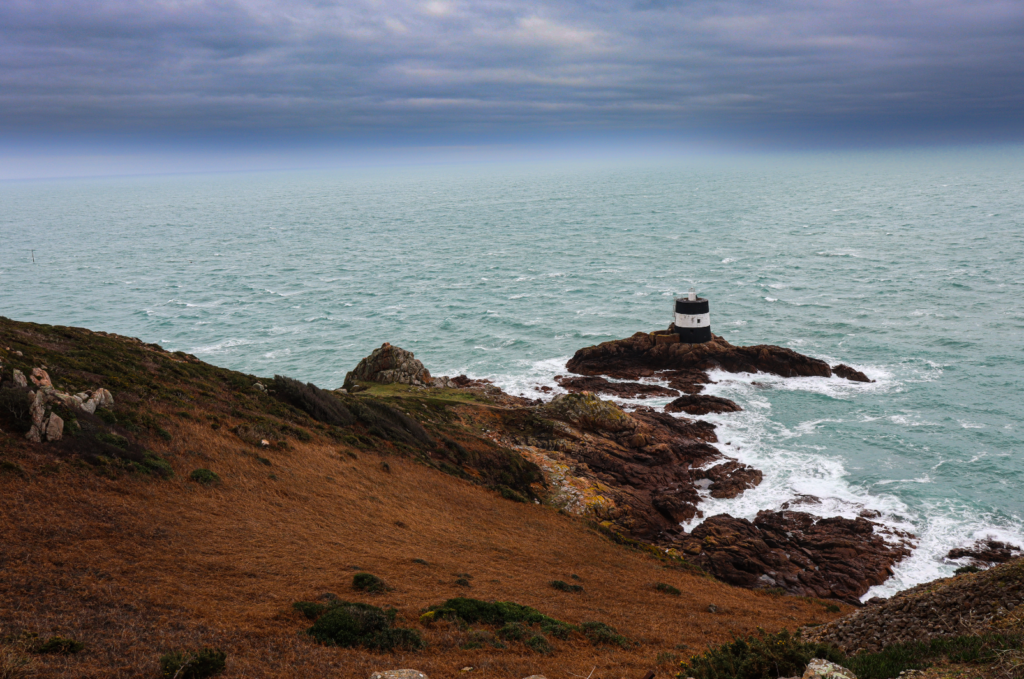
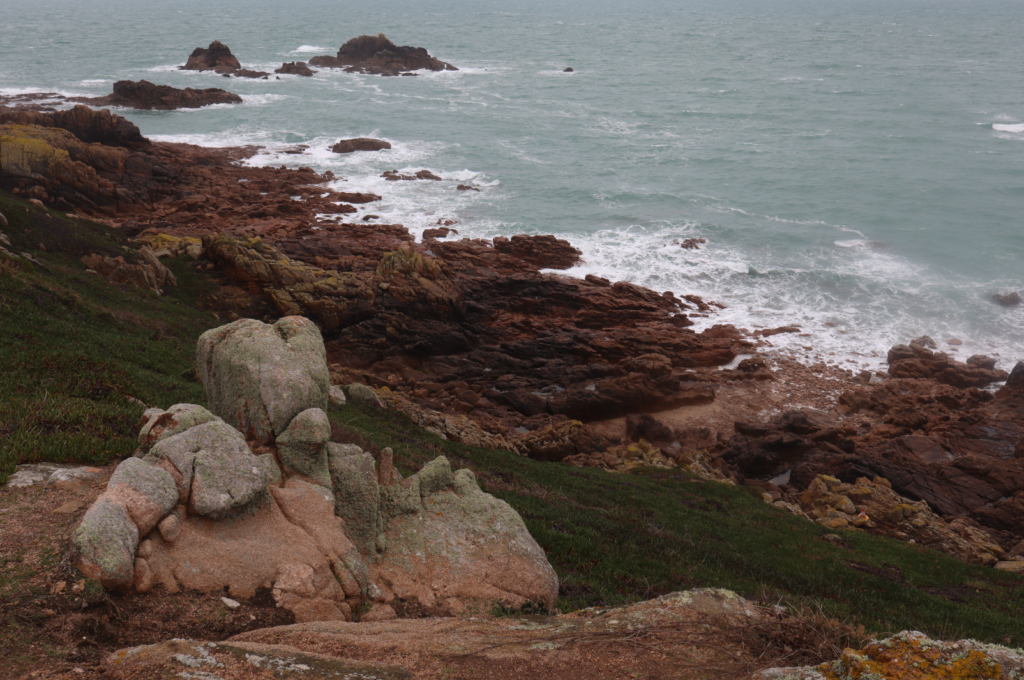
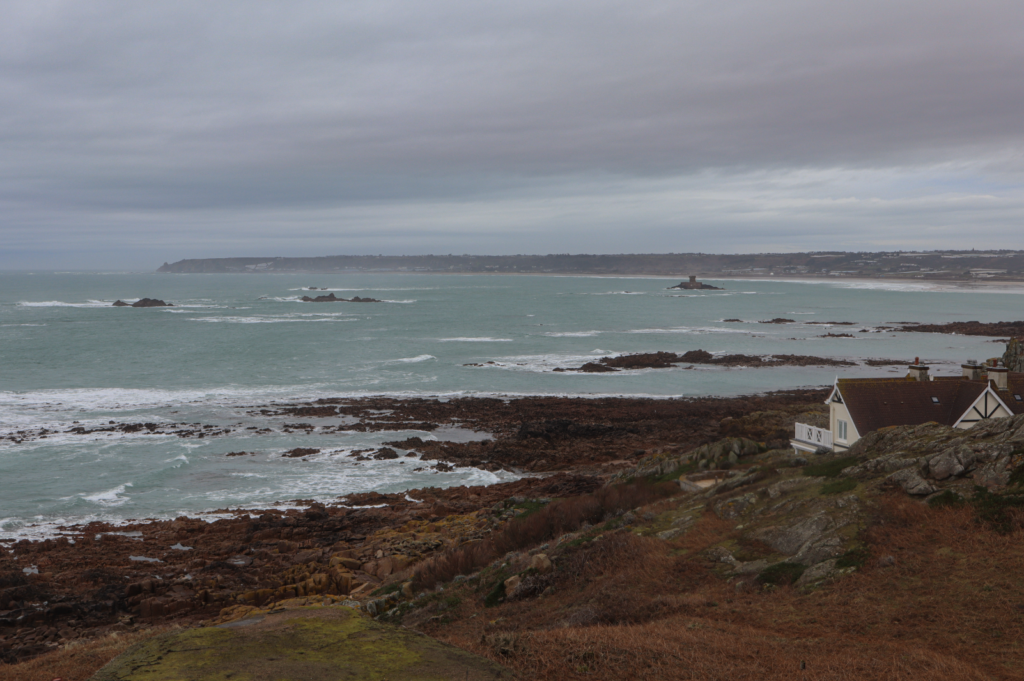
For my first edits of this image I darkened the sky to create more contrast between light and dark tones as well as create drama, and turned up the contrast and clarity for the foreground.
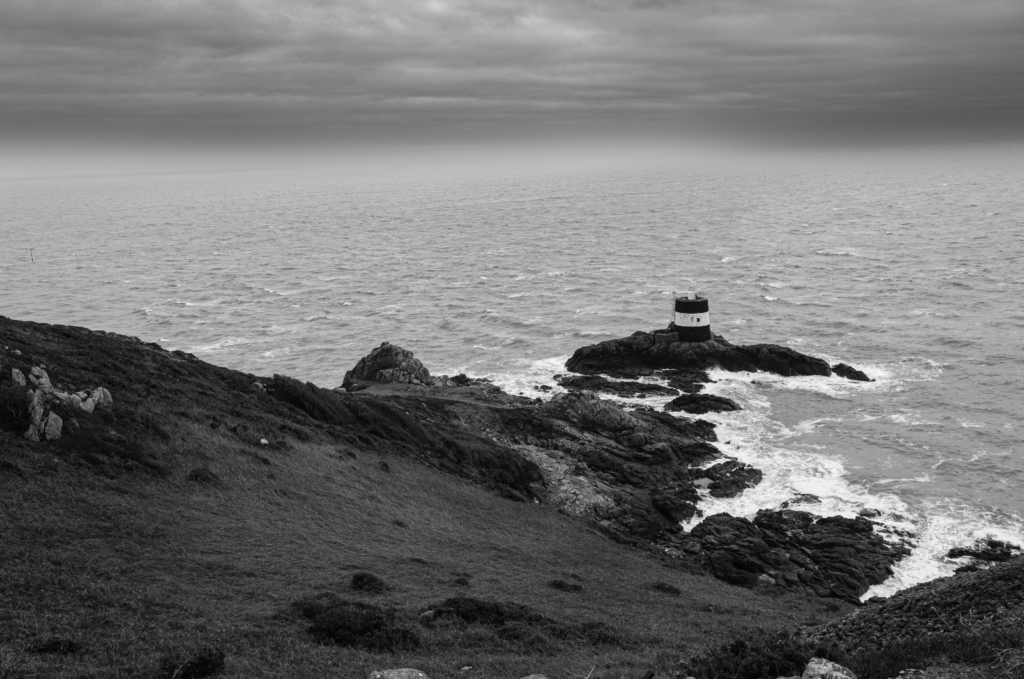
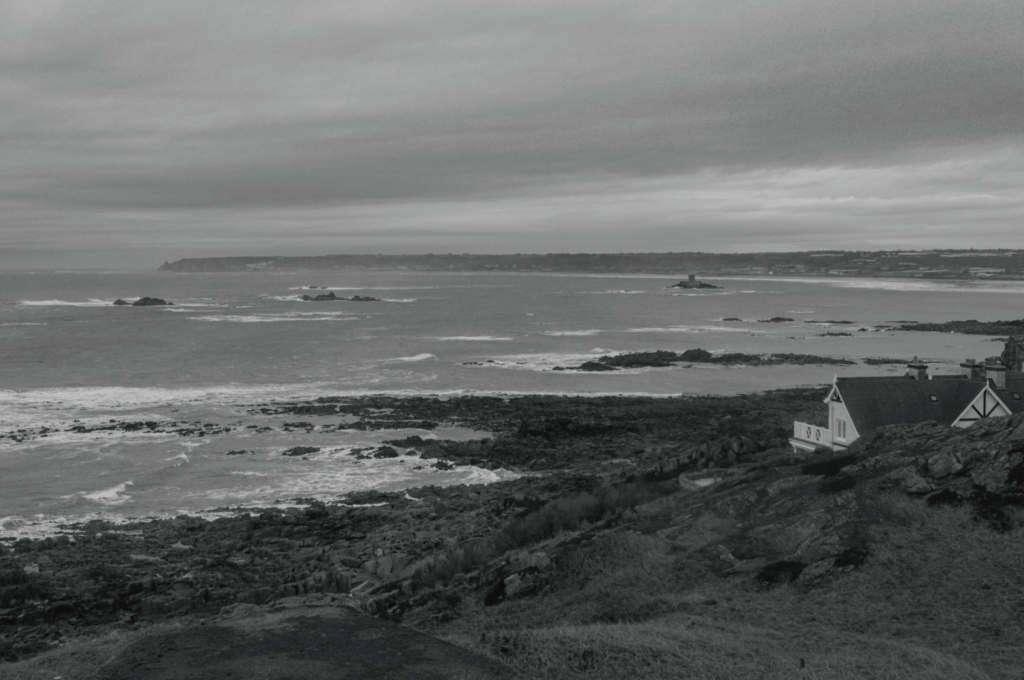
I then experimented with making it black and white, which I really liked since the darker tones of the foreground contrast effectively with the lighter tones of the sea and midtones of the sky.
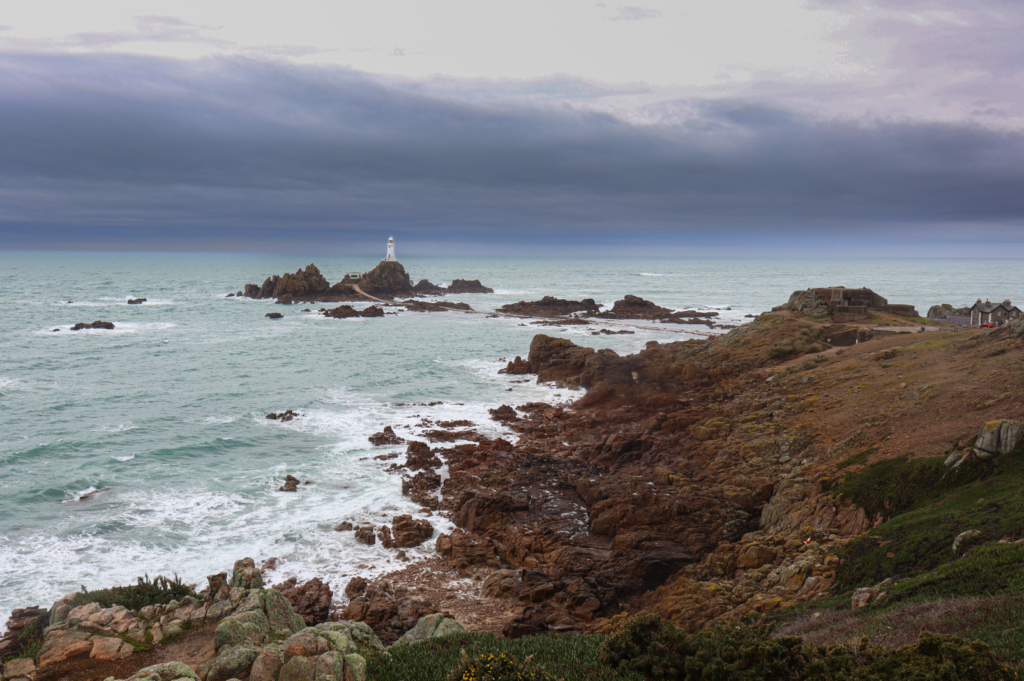
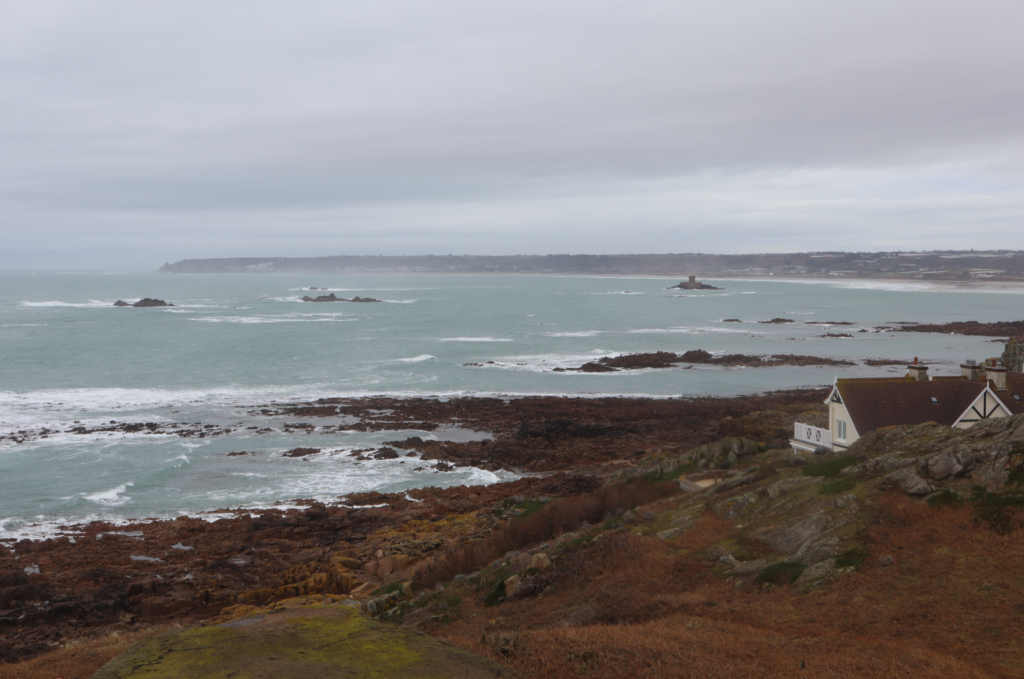
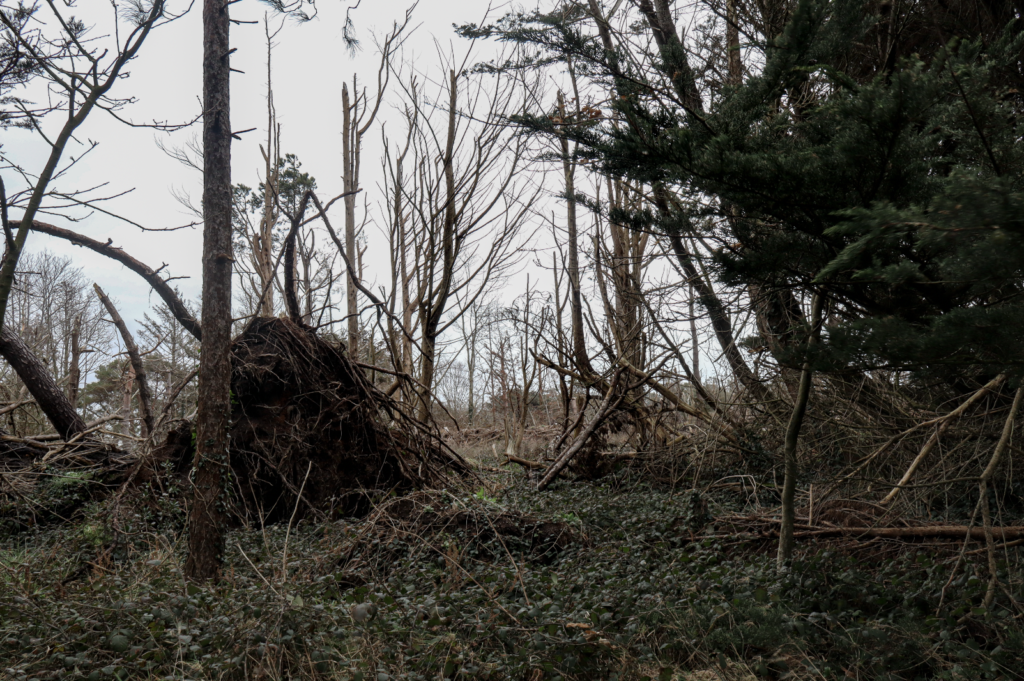
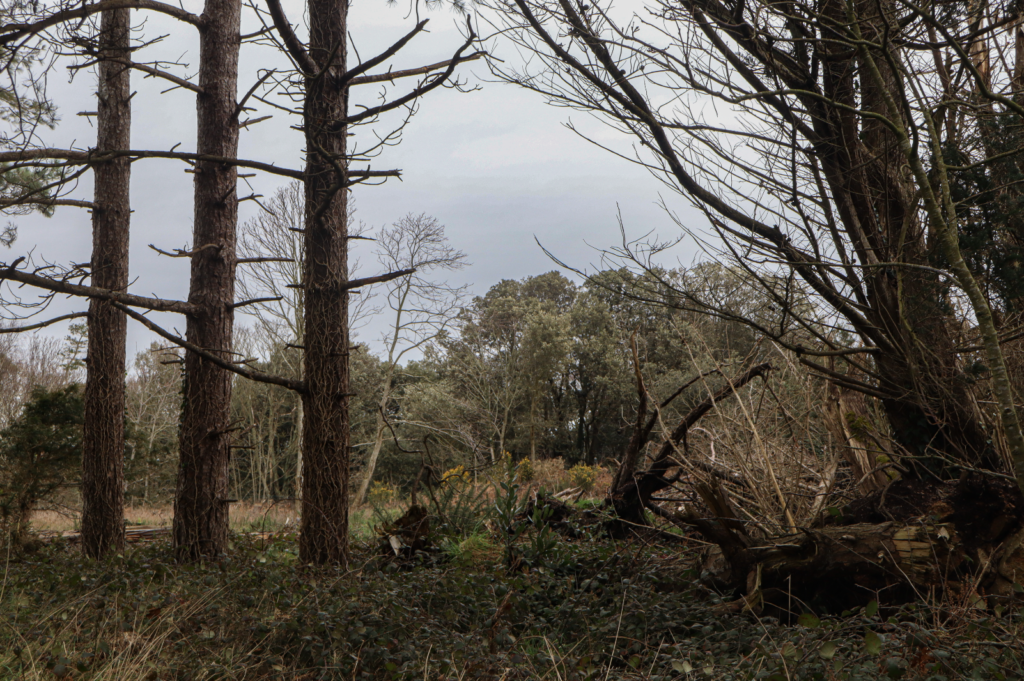
With this image I darkened the sky again to create more drama since in the original image the sky was pastel-ly and bleached out.
Black and white variation, showing contrast between the sea, sky and landscape.
Lowered highlights and whites, increased contrast.

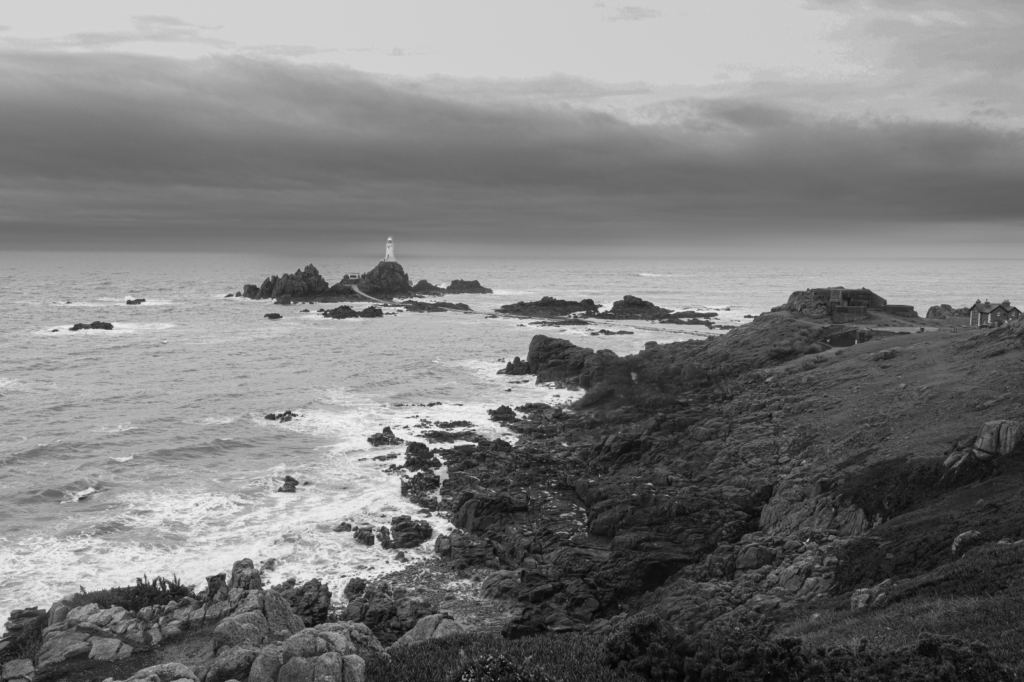
Black and white, creating a greater sense of drama.
Decreased contrast and highlights.
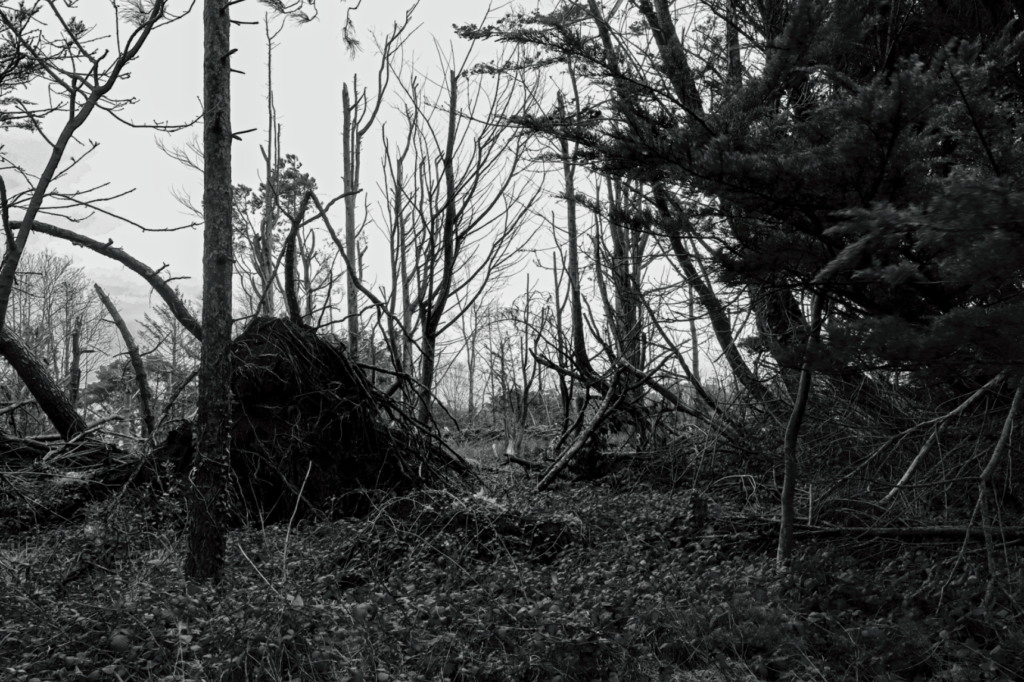
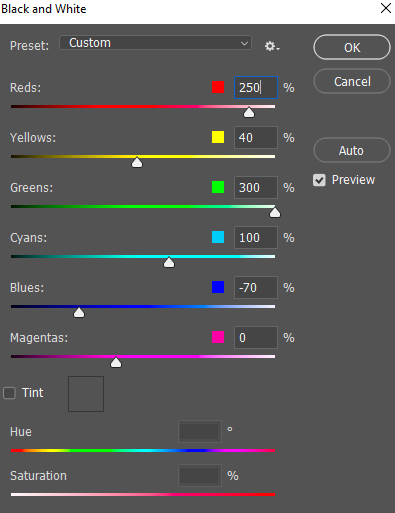
I then turned the image black and white in Photoshop, manually adjusting each colour, then increasing highlights, brightness and contrast to create more drama.
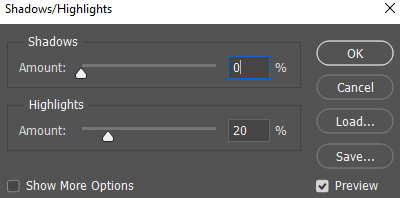
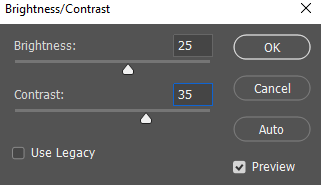
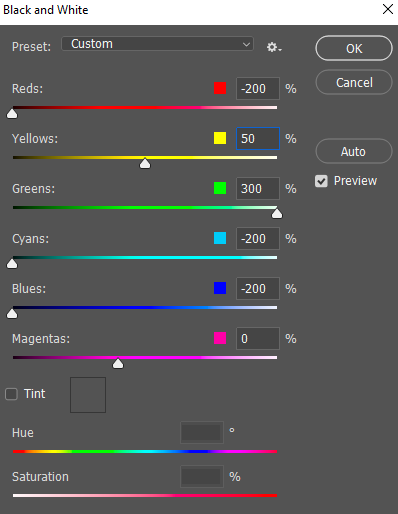
Above are the settings I used to create the effect.
Decreased highlights and whites to create more drama in the sky.
Black and white to create more contrast between the sky, sea and rocky foreground and increased contrast to highlight the range of tones in the rocks more.

Settings used to edit the photo.
Decreased highlights, slightly increased exposure and contrast.
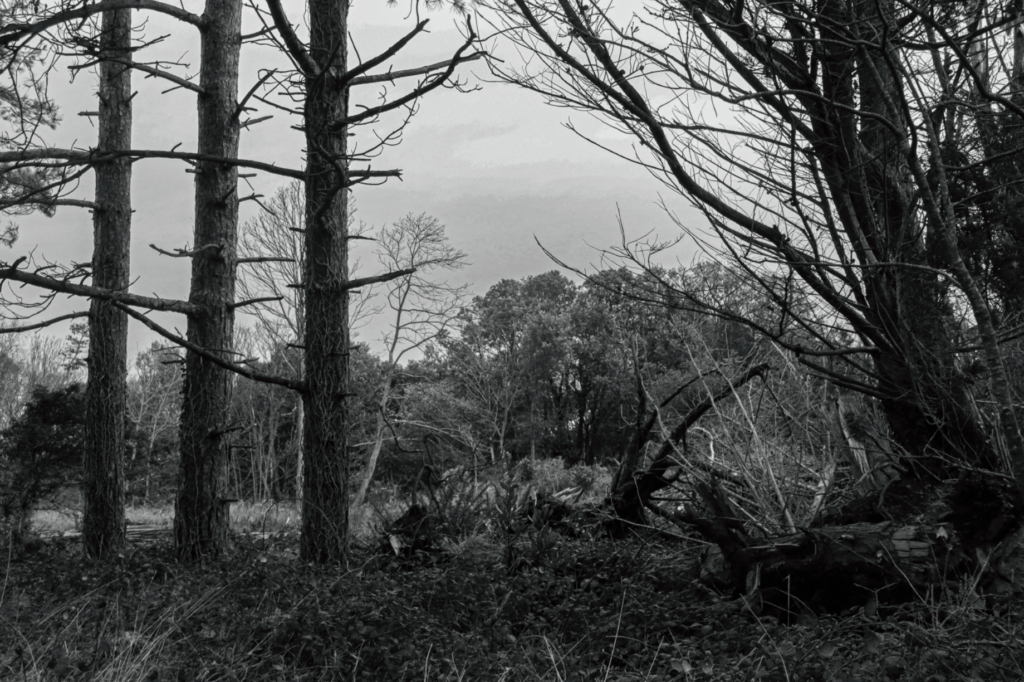
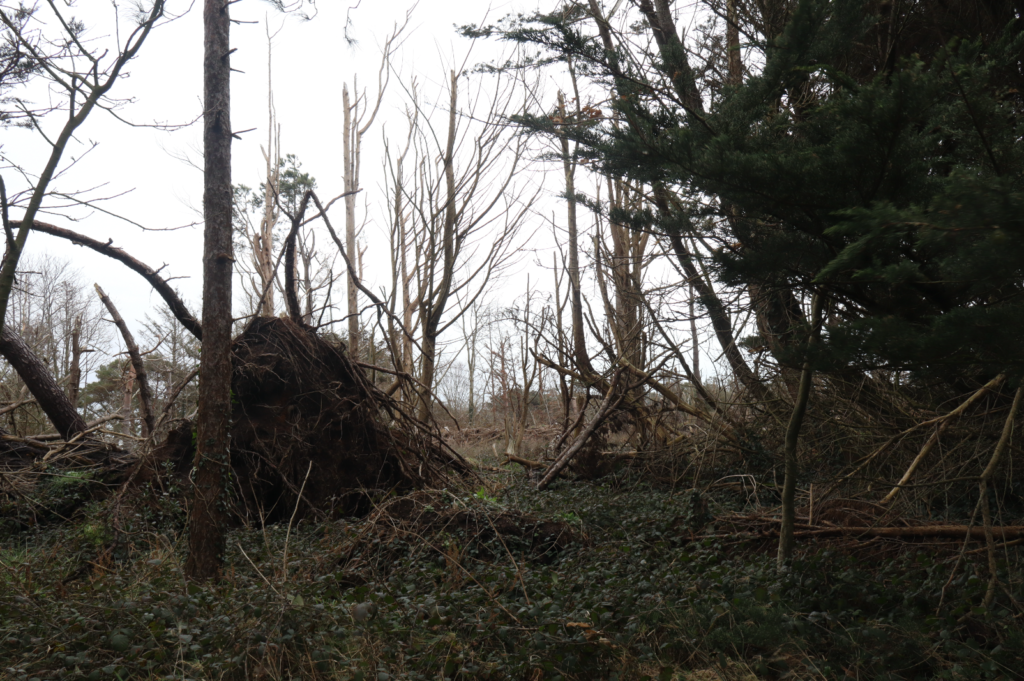
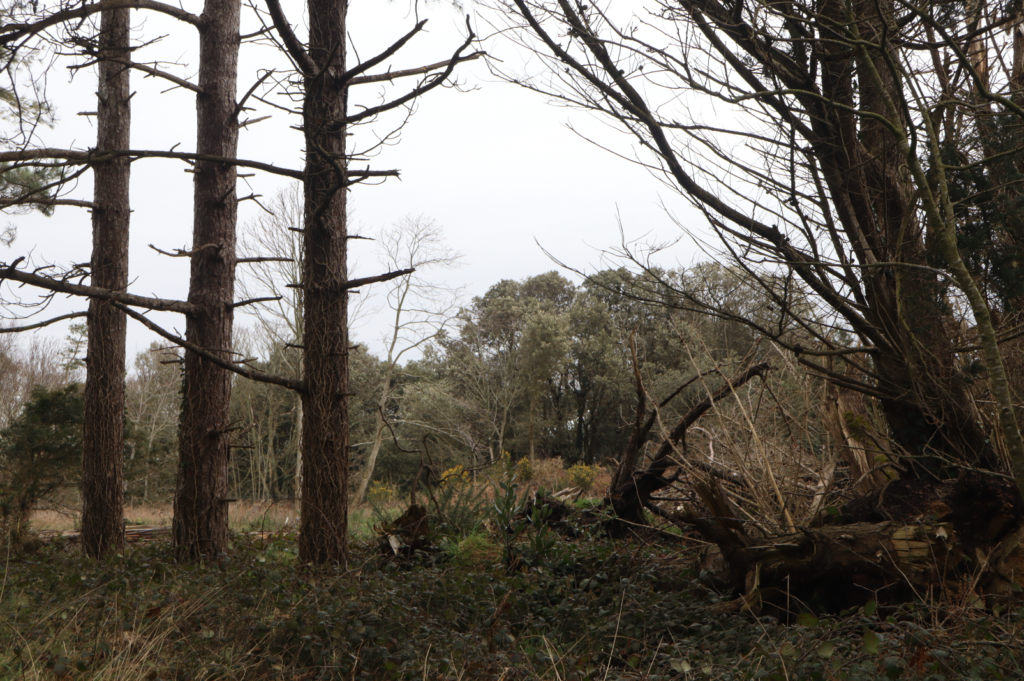
Edited to have darker tones in the trees and leaves, midtones in the trees in the background and lighter tones in the sky.
Settings used to edit the image.
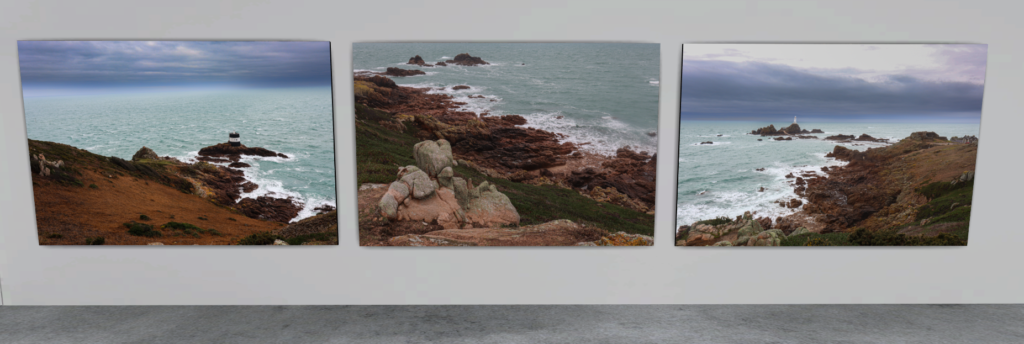
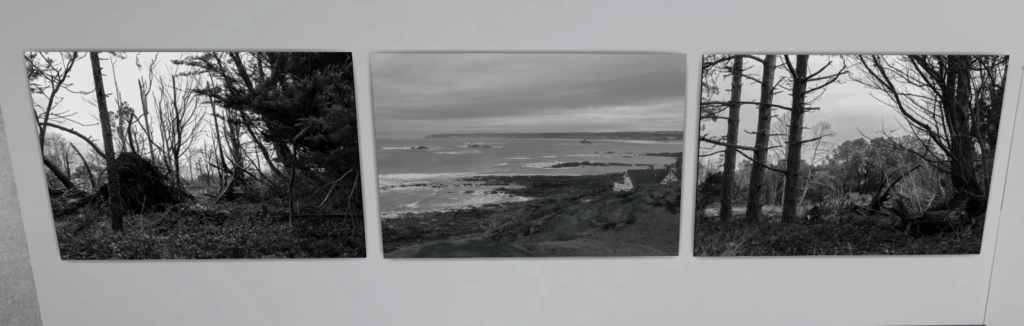
Presentation in ArtSteps