- Open Indesign
- Choose More Presets
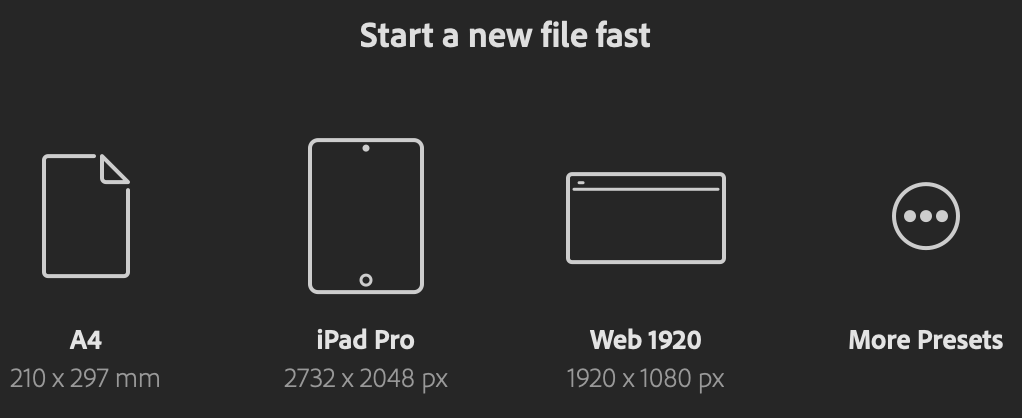
3. Choose from the presets or add your desired dimensions. ‘Print’ presets offer your traditional paper sizes like A5 / A4/ A3
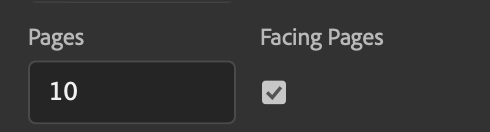
4. Select the amount of pages you want the booklet to be and TICK FACING PAGES. (You can edit the number of pages later if you are unsure),
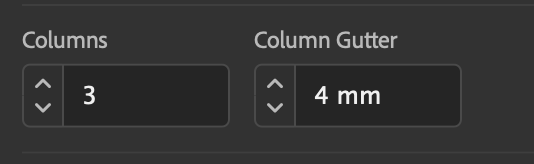
5. Columns allow you to organise text and images with more structure. It allows your design to look consistent, neater and more sophisticated.
Column gutters are the spaces between columns of text. When you need to add space between two columns of text in a document, you can use a column gutter
(You can edit columns and column gutters later if you change your mind)
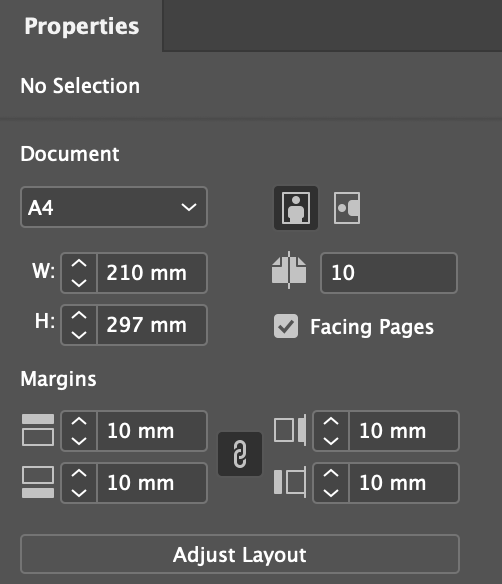
6. Margins are the distance from the edge of the document to the content you are adding. This ensures everything is placed neatly.

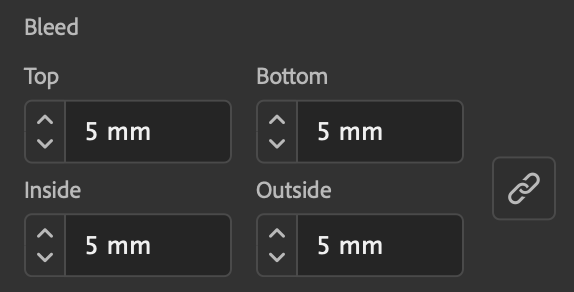
7. Bleed refers to the area of the document that extended beyond the artwork area. Your background or image should extend into the bleed area but should not contain important information as it will get cut off. The bleed ensures there are no gaps when the image is cut to size.

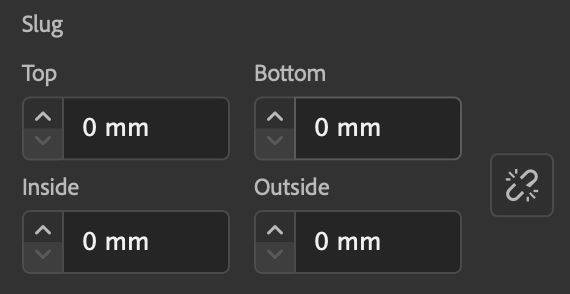
8. (The slug is the area outside the bleed and is mainly extra space for utility and any notes you may need during production that you wouldn’t want to print. Unlike bleed, the slug is not necessary but can be helpful on certain projects)
9. When you are happy with your settings, click ‘create’

10. Your document will look something like this… depending on the settings you applied.
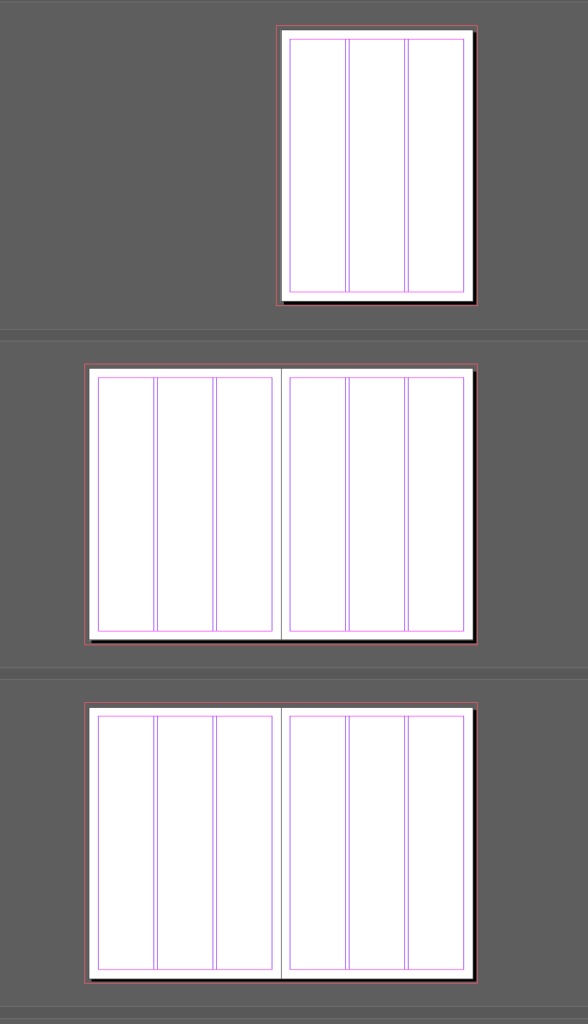
11. You can adjust your pages / margins etc in the properties panel.