
Panoramic photography allows for the capture of expansive landscapes, showcasing the vast beauty of nature, including towering mountains, rugged cliffs, sprawling glaciers, and vast deserts. Unlike standard landscape photography, panoramas provide a broader perspective, emphasizing the scale and grandeur of a scene.
Historically, photographers created panoramas by capturing a landscape in sections and aligning their daguerreotypes or other photographic formats side by side to form a continuous image. This technique was widely used to document historical landscapes, and many antique panoramas are now highly valuable collectibles.
A panoramic image typically encompasses a field of view similar to or greater than that of the human eye, which spans approximately 160° horizontally by 75° vertically. In photography, an image is generally considered panoramic if it has an aspect ratio of at least 2:1, meaning its width is at least twice its height.

Panoramas can be created through various methods, including stitching multiple images together or using a wide-angle or specialized panoramic lens. In filmmaking, the panoramic effect is often achieved by panning the camera horizontally from a fixed position, capturing a sweeping, immersive view of the scene.
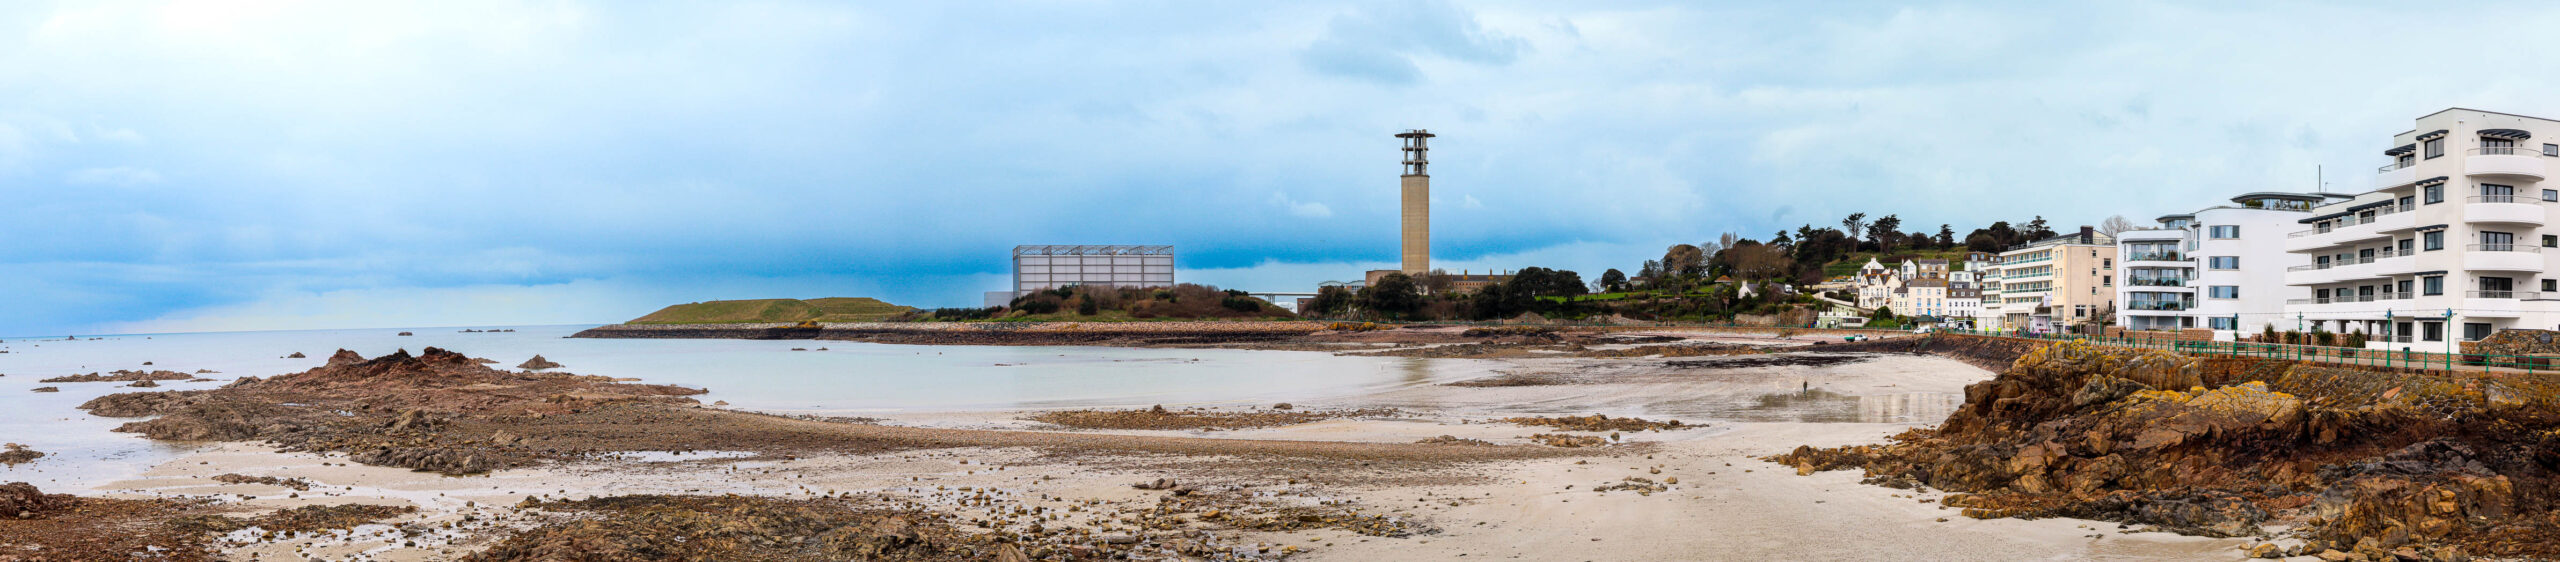
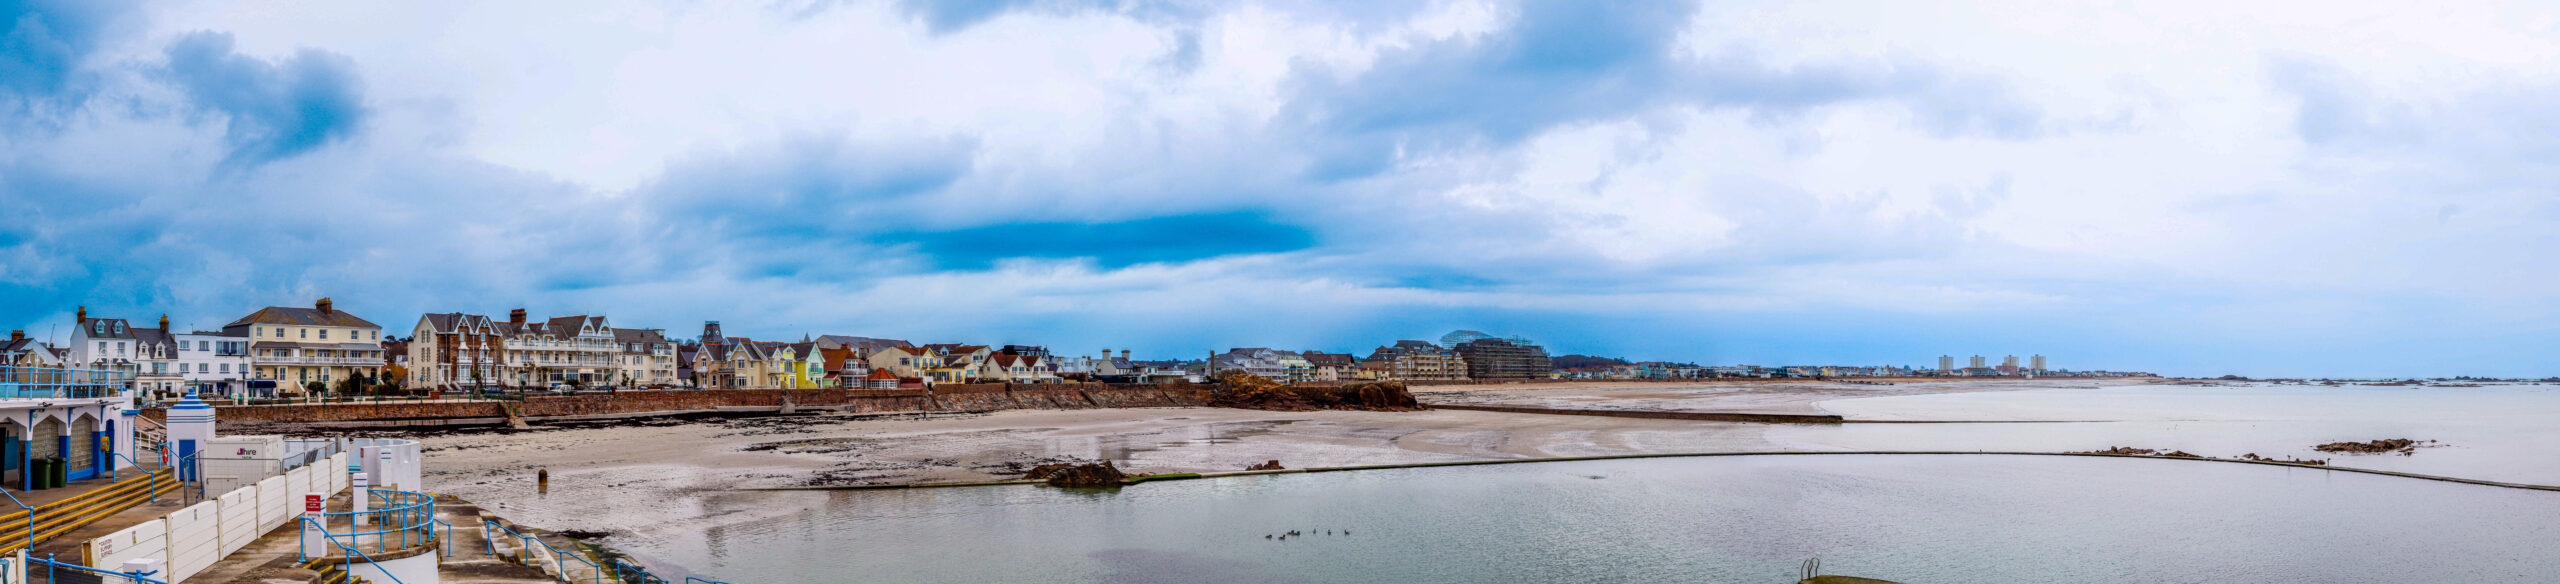
FIRST ATTEMPT AT PANORAMIC LANDSCAPE
Photo Walk: Initial Shots and First Panorama Attempt
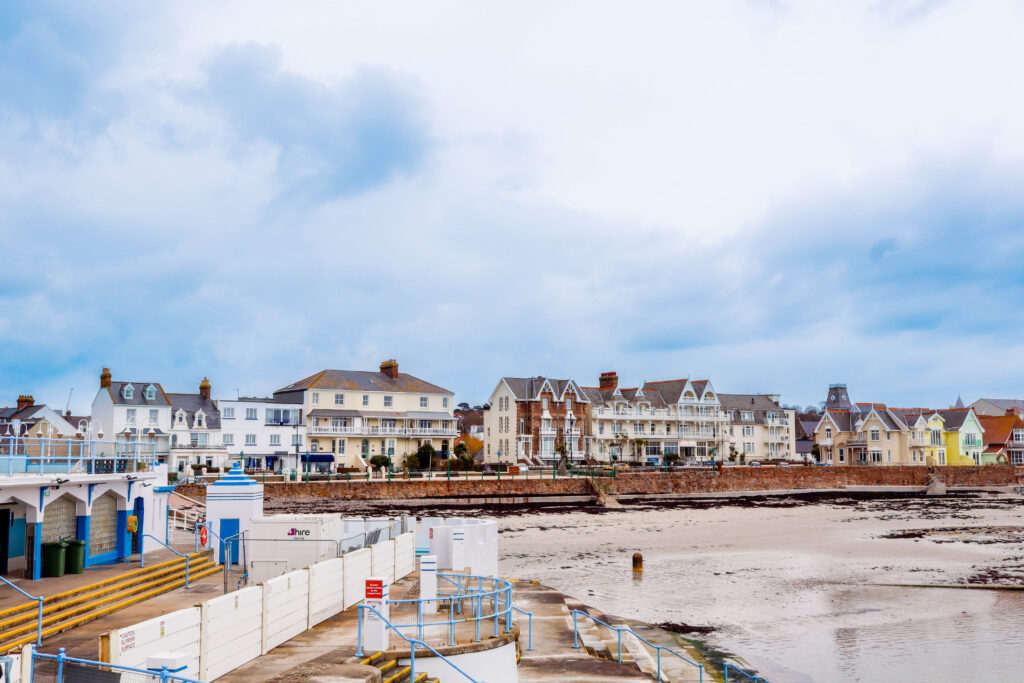
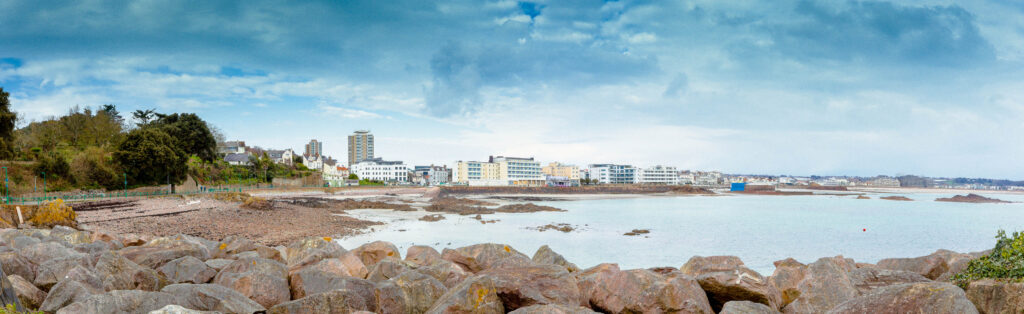
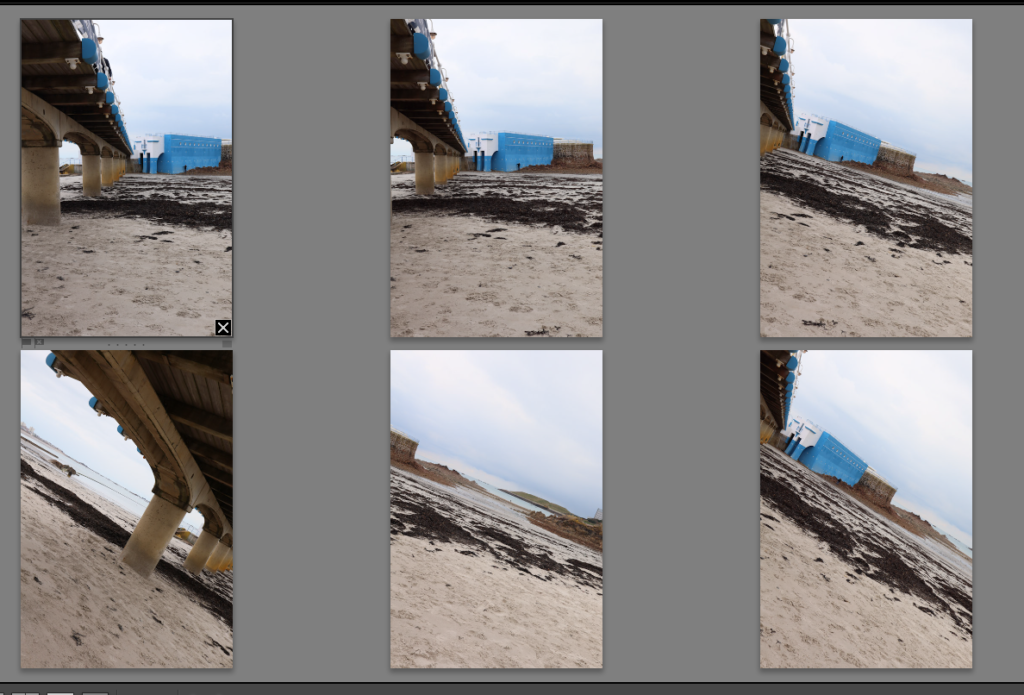
The very first three images I took during our photo walk were quite pale since I hadn’t adjusted my settings yet. These raw shots lacked depth and vibrancy, but they served as my starting point for experimentation.
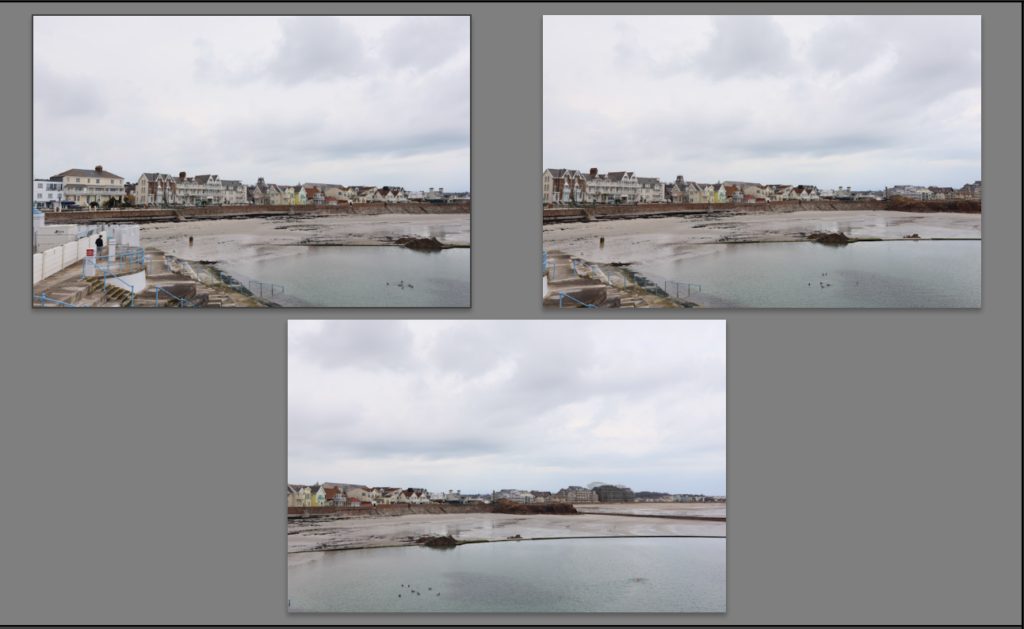
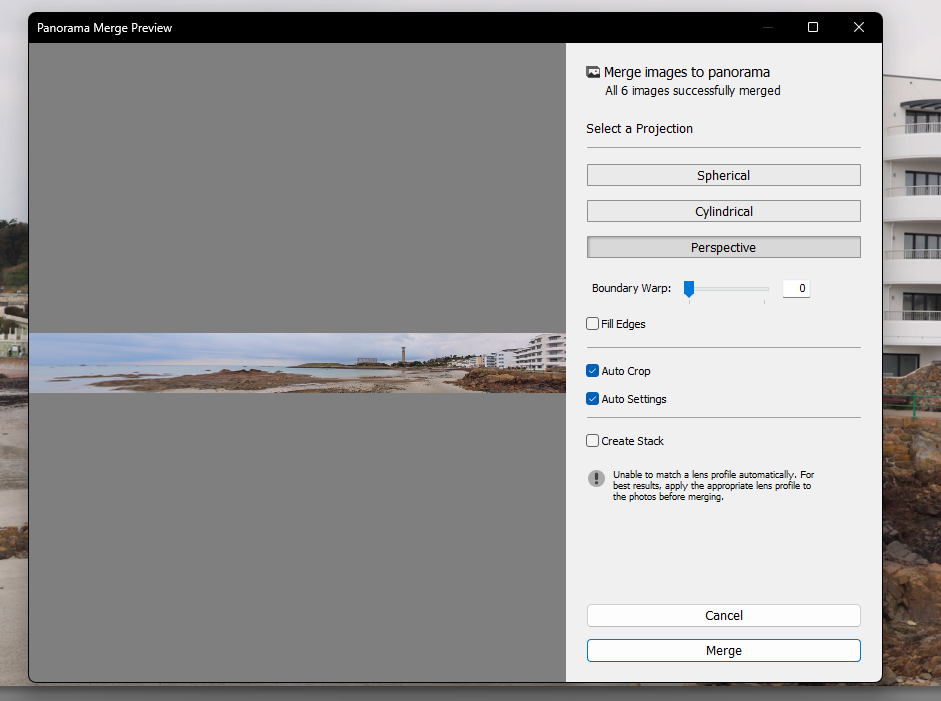
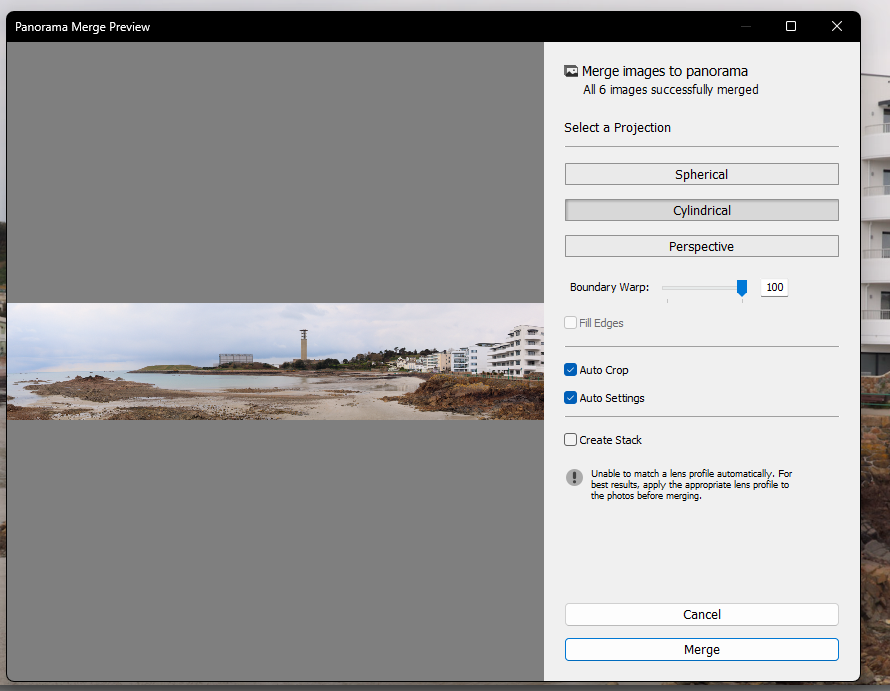
After capturing these images, I used Lightroom’s Photo Merge tool to create my first panorama. The process was straightforward:
- Click Photo Merge > Panorama
- Experiment with different projection options
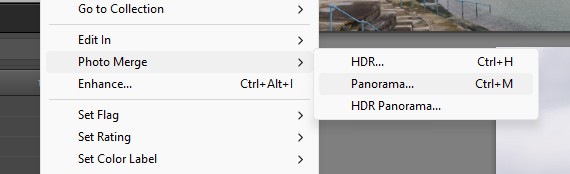
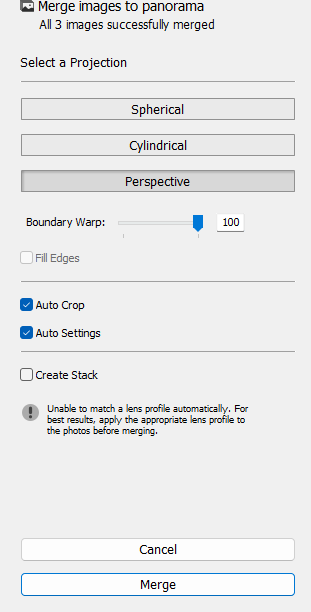
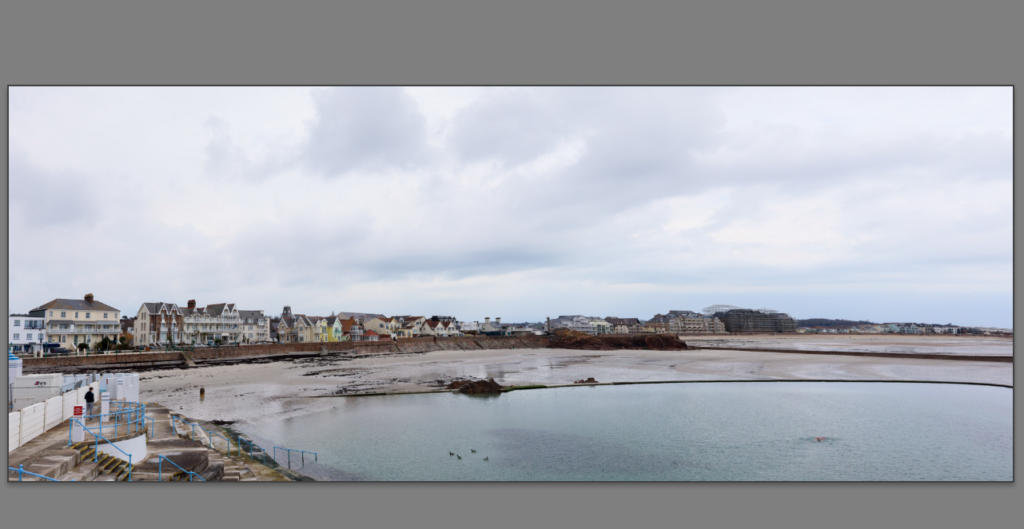
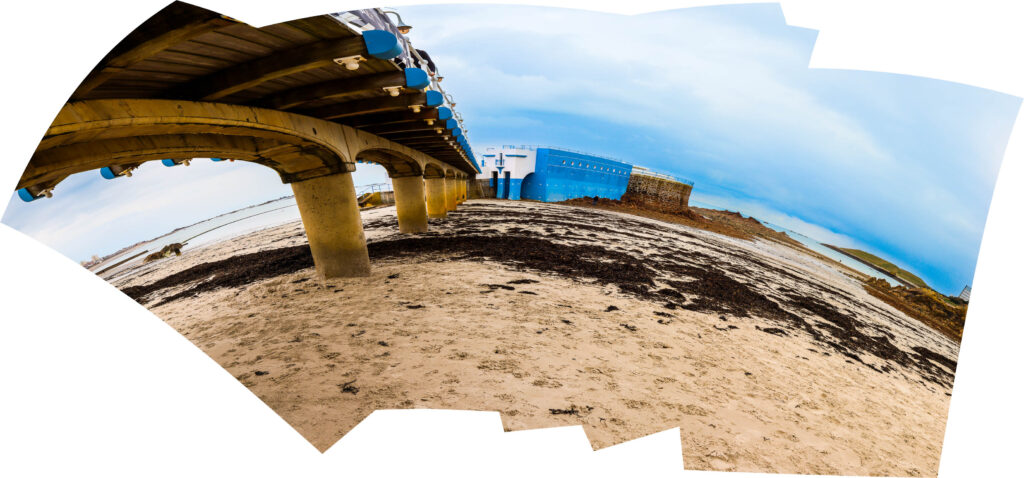
Among the available projections, I found that Perspective Projection with a 100% boundary wrap gave the most cohesive and immersive result.
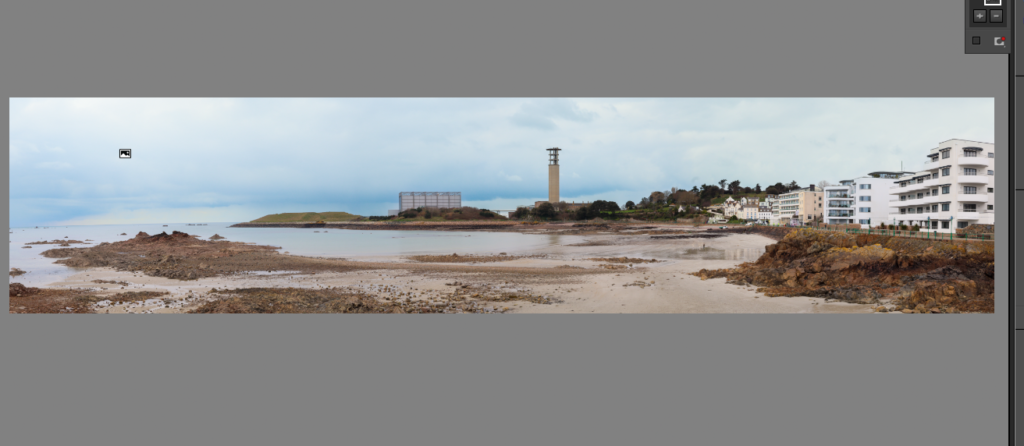
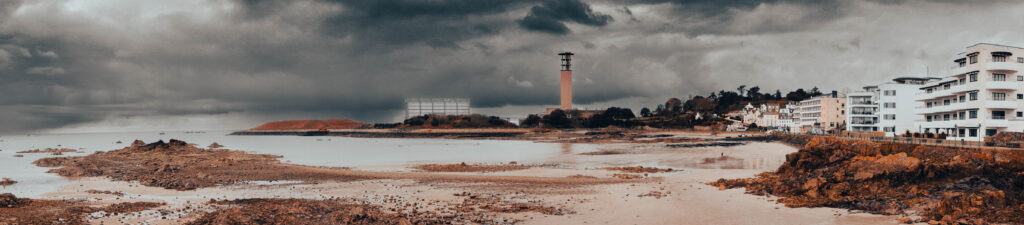
However, the image still lacked impact, so I applied masks to separate the land and sky, enhancing the colours to make them more dramatic but still realistic
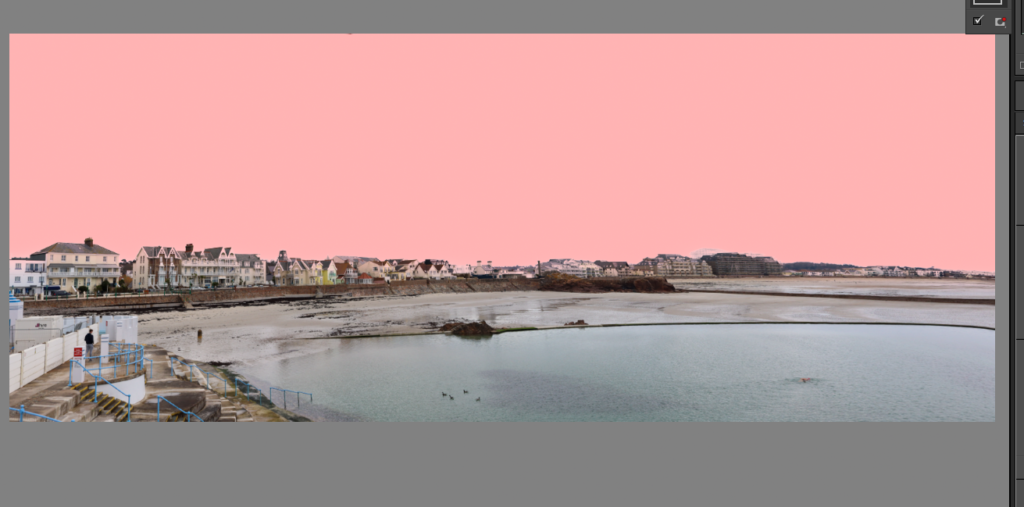
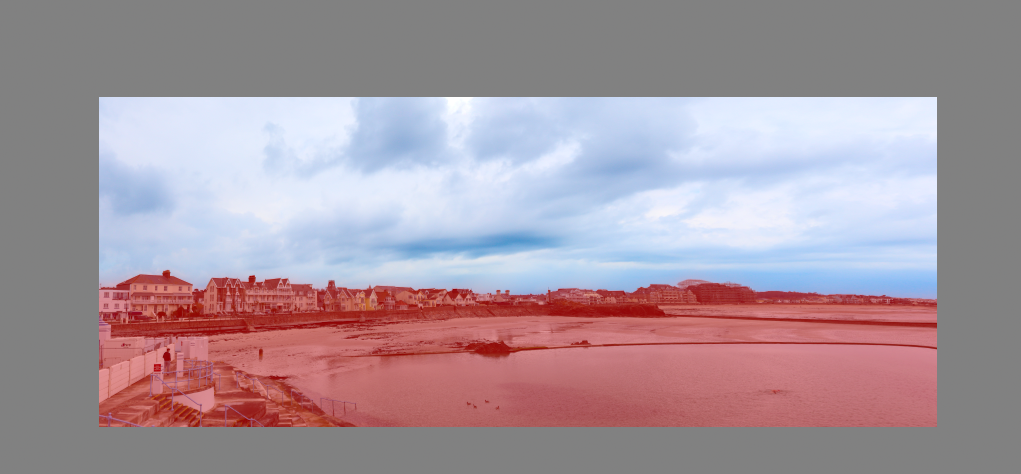
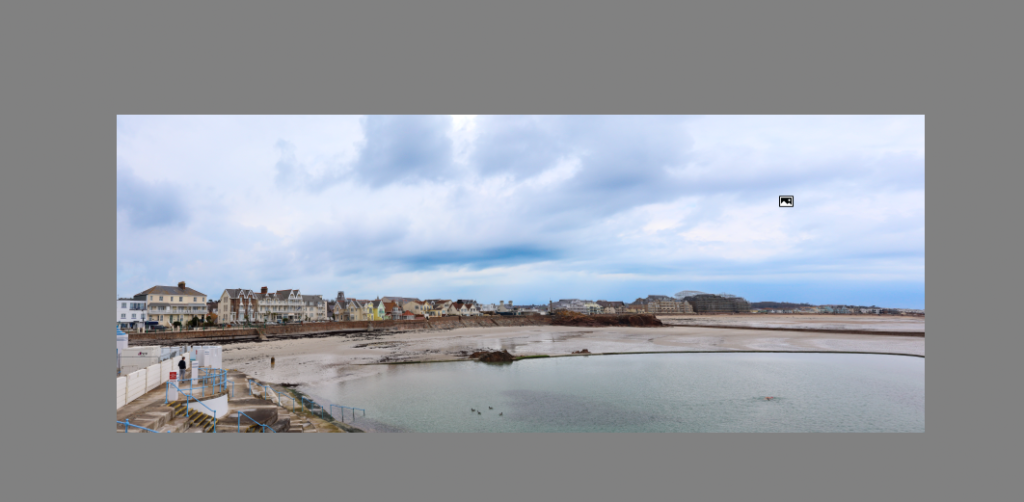
Final panorama
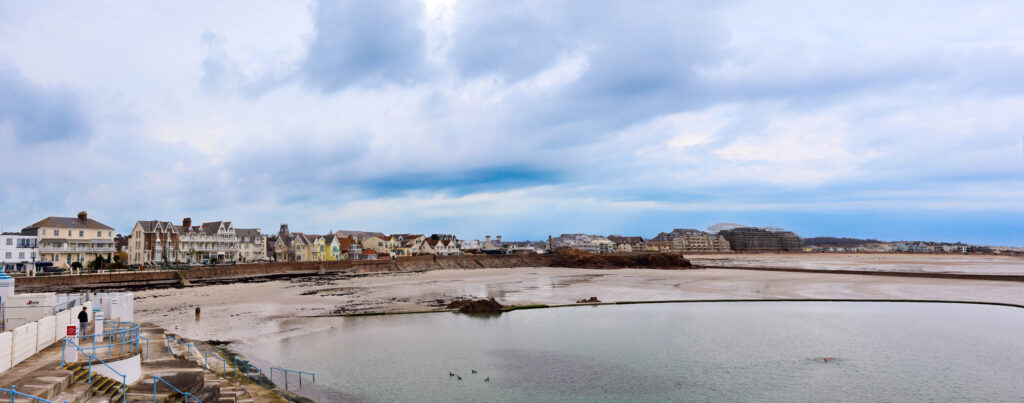
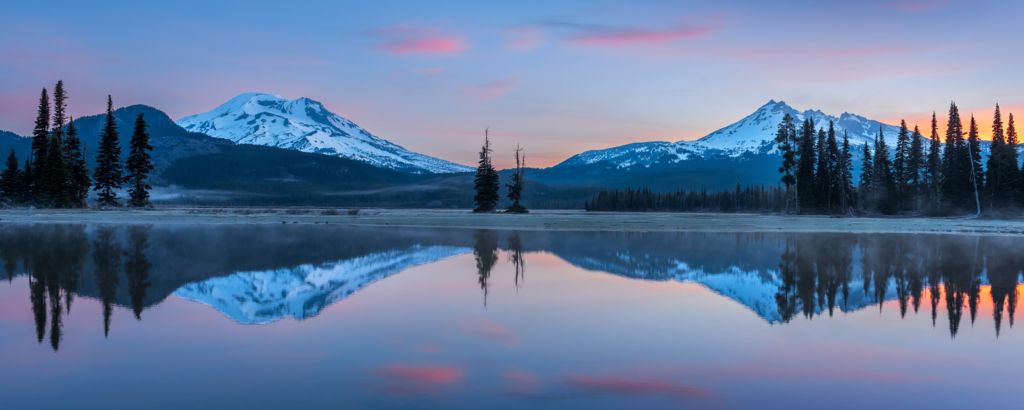
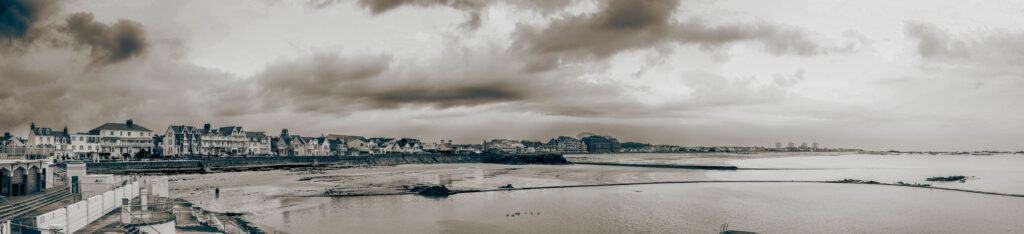
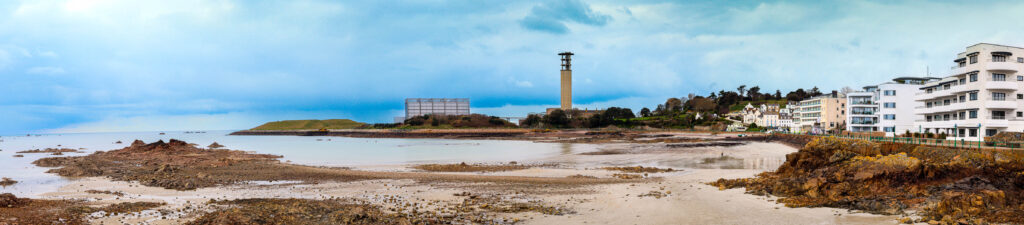
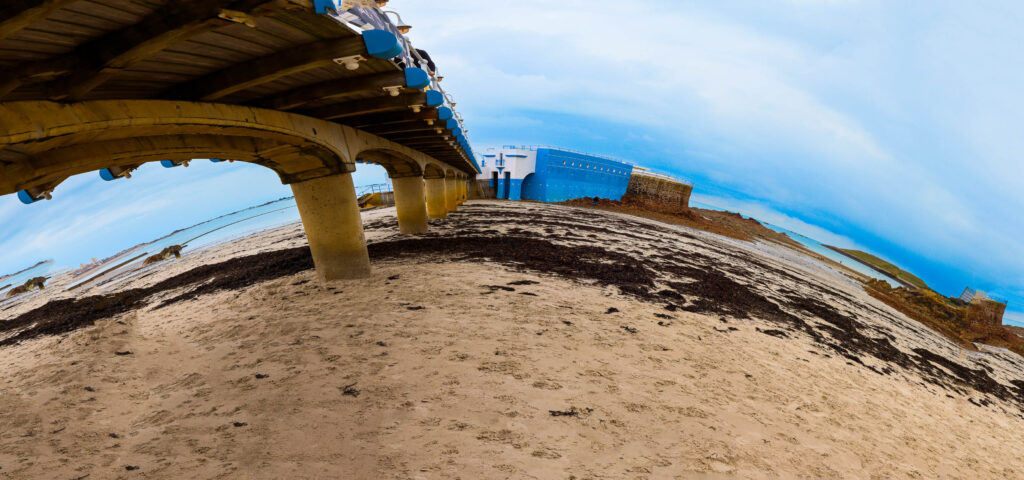
Refining the Panorama with HDR Merging
Although I wasn’t satisfied with my first attempt, I had taken precautions by capturing the panoramic shots using exposure bracketing. This allowed me to merge each set of bracketed exposures into HDR images before stitching them together into a high-dynamic-range panorama.
Steps I followed:
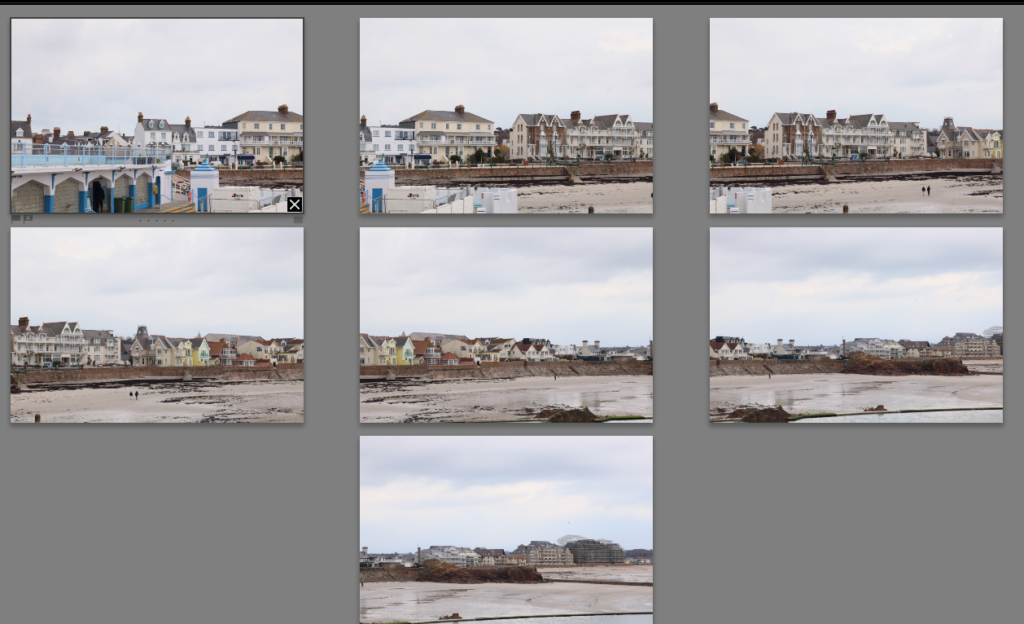
Merged individual exposures into HDR images
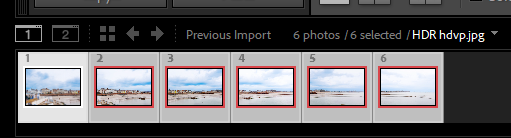
Selected the 6 HDR images and marked them in red to track them easily
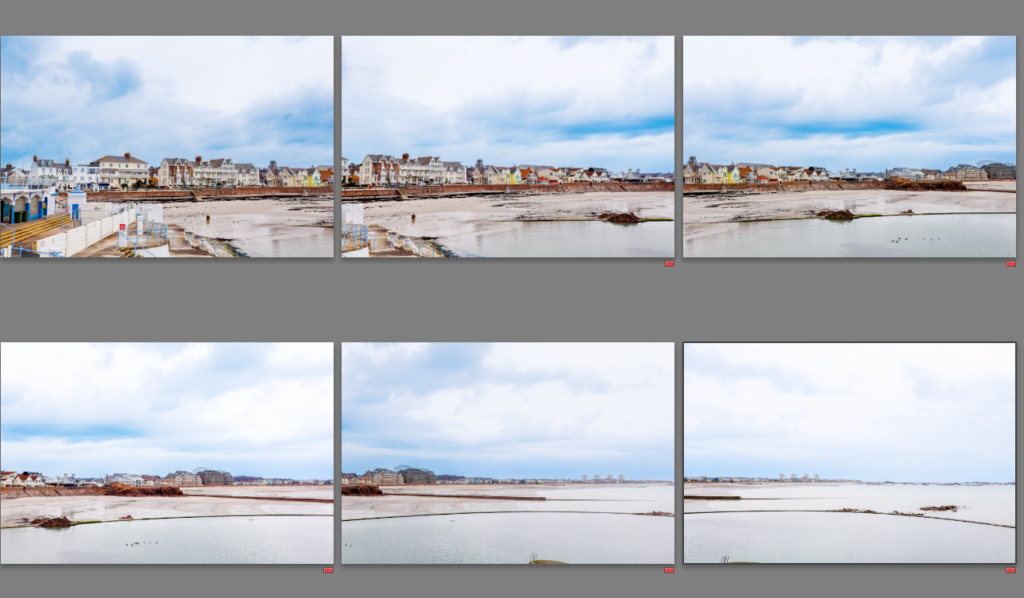
Merged the HDR images into a final panoramic HDR composition
The final HDR panorama was a massive improvement—more vibrant, richer in detail, and with an increased dynamic range that allowed for deeper edits.
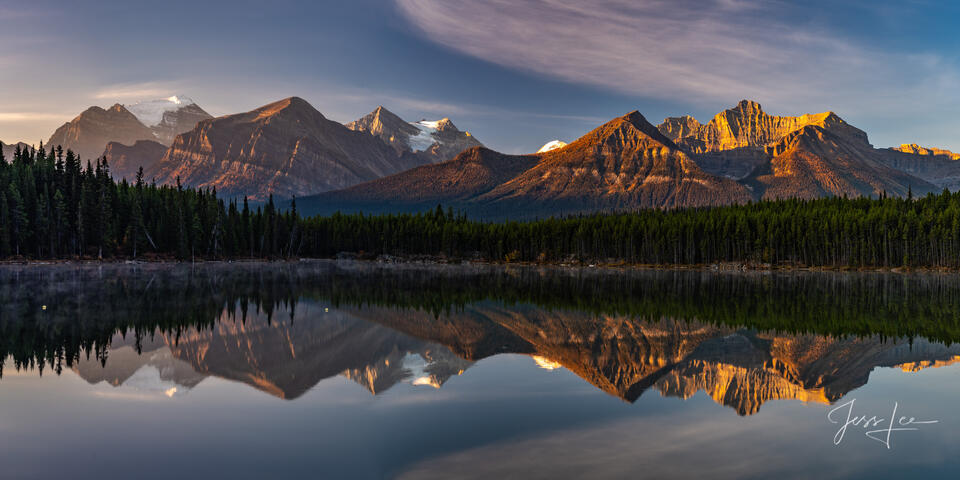
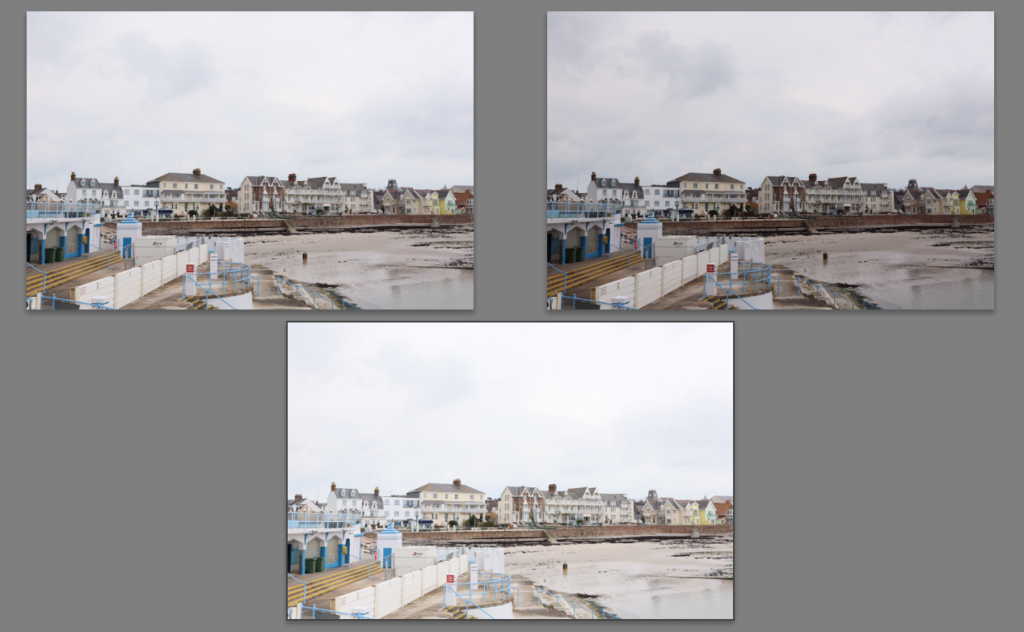
Enhancing Detail with a Closer, Zoomed-in Approach
To push the quality further, I tried a new approach:
Using a 45mm focal length
Increasing aperture for sharper details
Capturing 7 images of the same location with a tighter frame
This resulted in a higher-resolution panorama with improved detail retention. However, a trade-off was a narrower field of view due to the closer perspective. Despite this, zooming into the final image showed incredible sharpness and clarity, proving the technique to be effective.

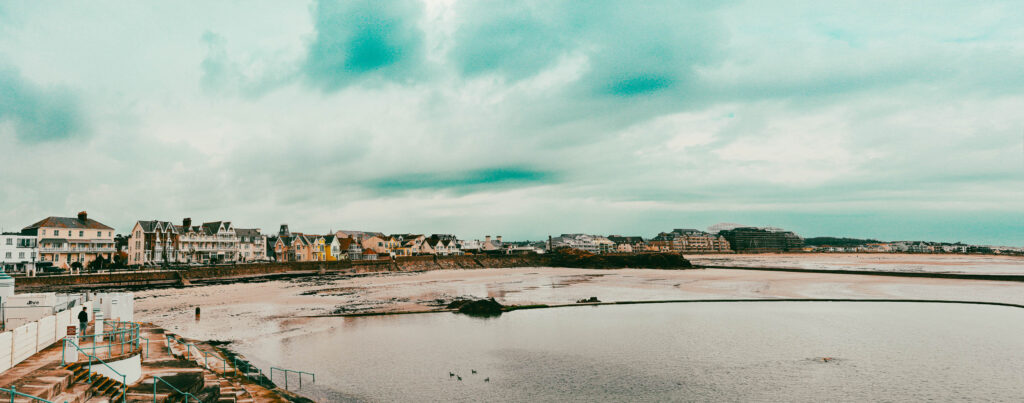
Panoramic Merging Techniques & Adjustments
While merging the panoramas, I experimented with different projection settings to refine the composition:
Perceptual Projection – Created a fish-eye effect but felt unnatural for my scene

Cylindrical Projection (with 100% boundary wrap) – Helped zoom in and make the panorama more readable

Despite these improvements, I still felt some versions were too stretched and zoomed out. To fix this, I tested merging only 4 images instead of 6, creating a more balanced composition. I’m still unsure which version I prefer, but it’s an interesting comparison.
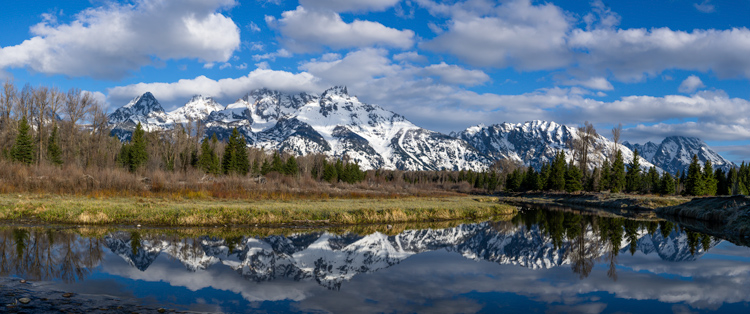
HDR Panormama #2
For this photo, I initially thought that a panoramic composition would work well because the rocks in the foreground aligned nicely, creating a strong sense of depth. The way they naturally lead the viewer’s eye across the image enhances the perception of scale and dimension. A panorama in this setting would not only capture the vastness of the landscape but also emphasize the textures and shapes of the rocks, making them an integral part of the composition.
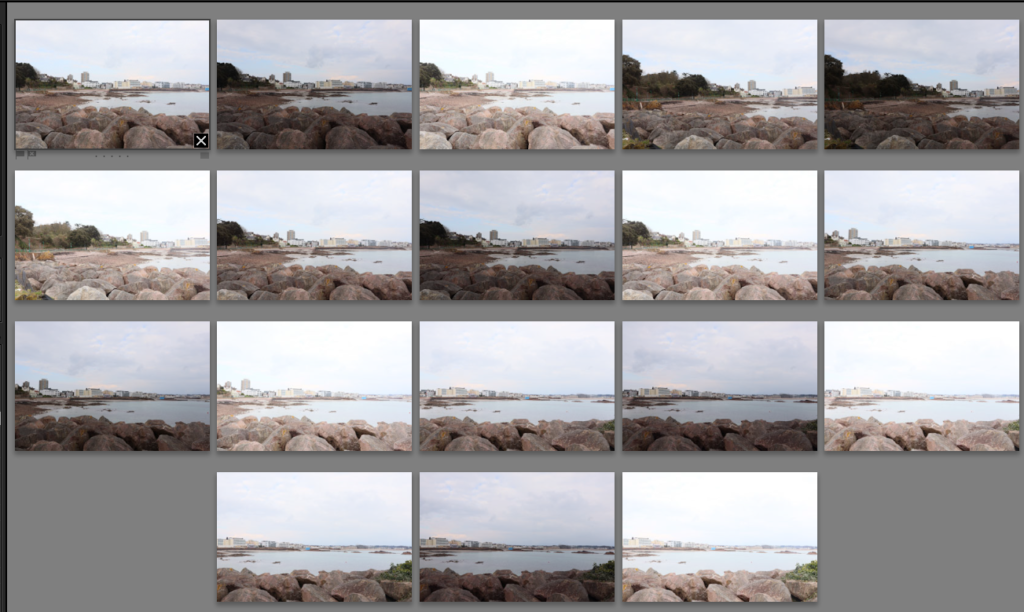
here i merged 18 different images to create a HDR Panoramic.

final outcome after In post editing ;
In this photo, I applied a gradient filter from top to bottom to enhance the sky and make it more dramatic. This technique helped deepen the tones in the upper portion of the image, adding contrast and making the clouds stand out more prominently. By gradually darkening the sky while keeping the foreground untouched, the image gains a stronger sense of depth and atmosphere, making the scene feel more dynamic and visually striking.
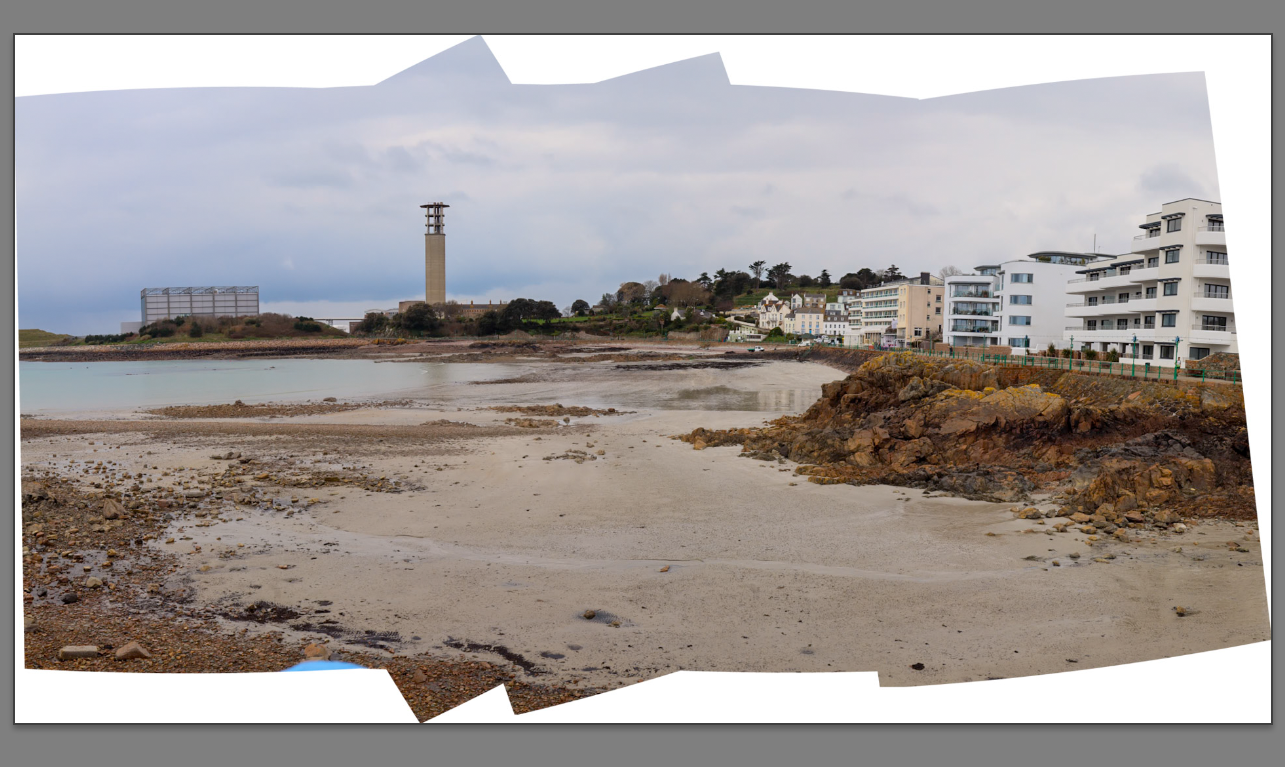
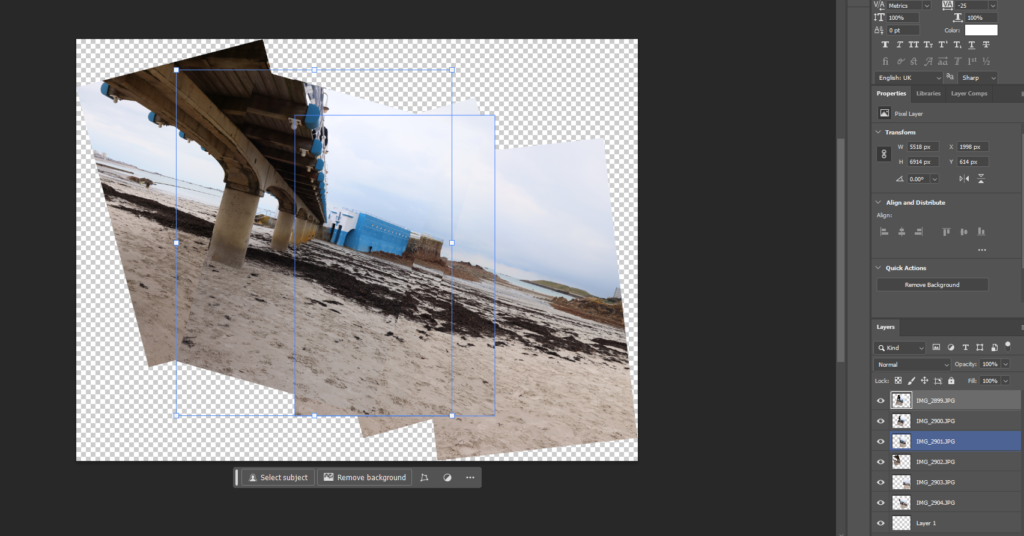
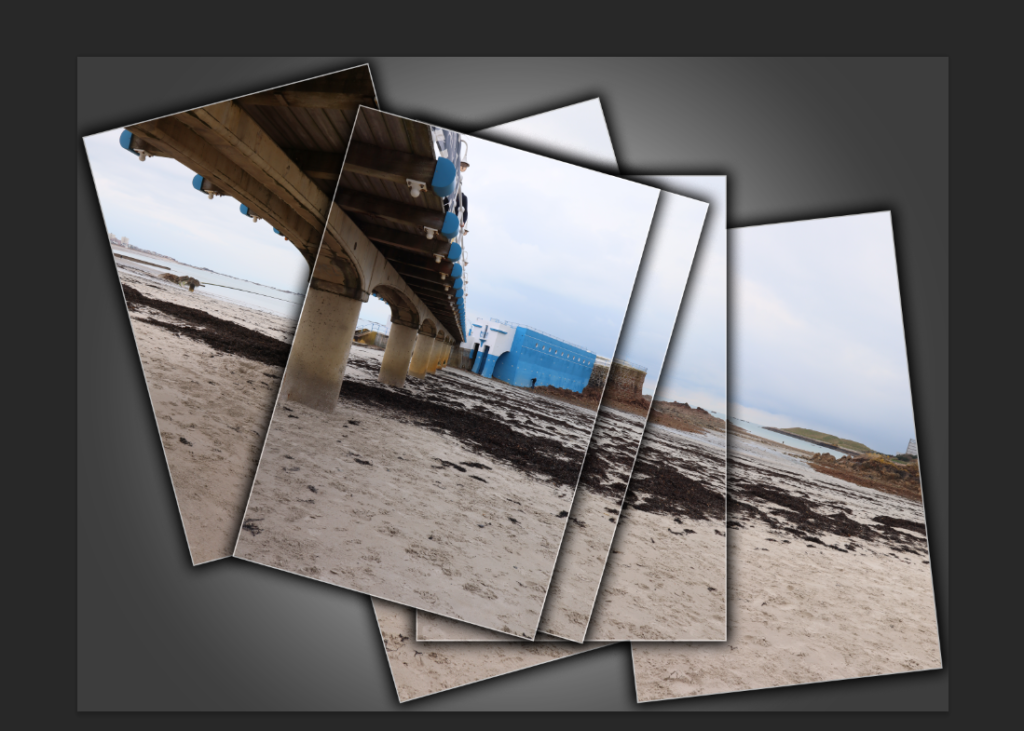
Joiner Panoramas: Experimenting with Angles & Composition
In the same location, I took multiple images from different angles, tilting the camera slightly each time. This technique allowed me to create a Joiner Panorama by merging the images without enabling Lightroom’s boundary fill.

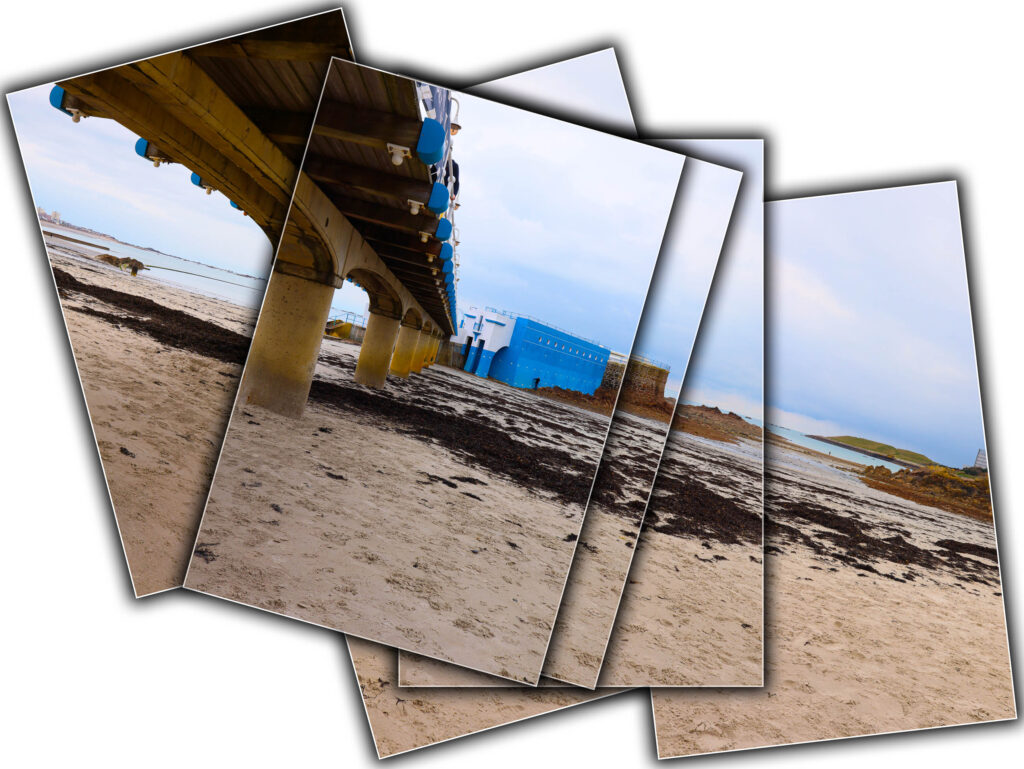
The result was an interesting collage-like image, but I wasn’t completely happy with it it felt a bit too plain. I decided to experiment with a second attempt using different images that could work better for a joiner-style composition.
Second Attempt
Using AI to explore.
Lightroom has an AI-powered option that fills white edges when merging panoramas. I tested it on my joiner panorama and compared the results:
Without AI Fill – The panorama looked more fragmented and artistic
With AI Fill – The image appeared smoother but lost some of the artistic, raw appeal
Surprisingly, I preferred the non AI-filled version because of its colour vibrancy and warped, abstract look—it gave the image a more artistic feel that I really liked.
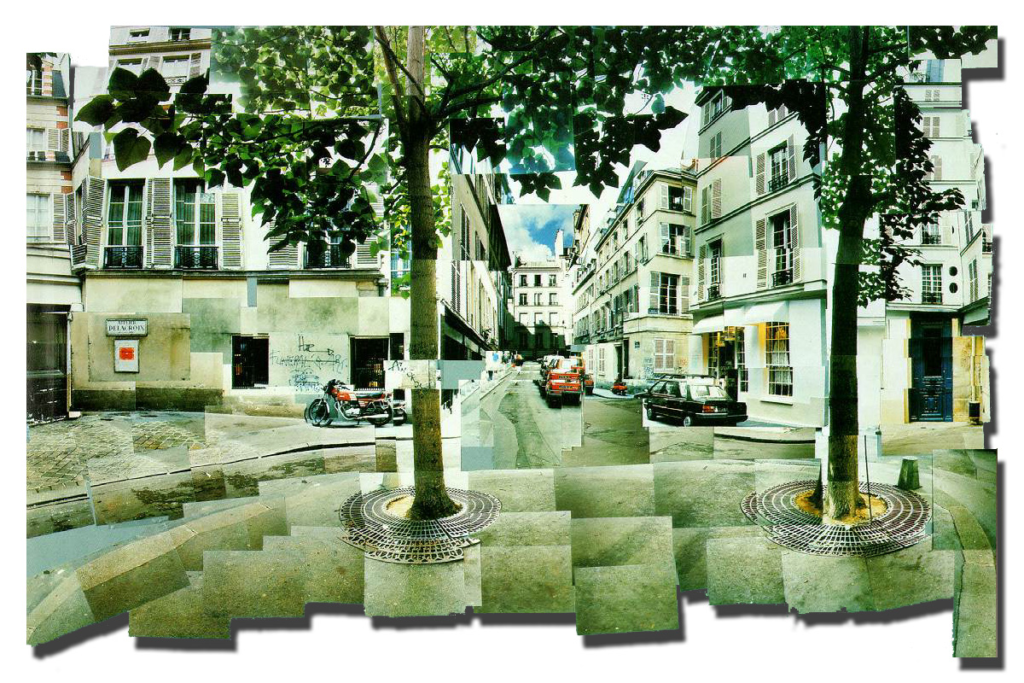
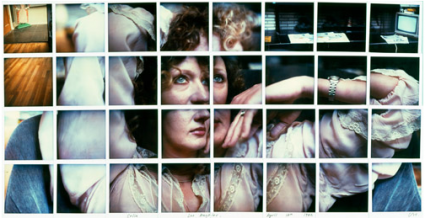
WHAT IS JOINER?
David Hockney, a British artist, pioneered the “Joiner” technique, a style of photographic collage where multiple Polaroid or printed images are arranged to form a larger, fragmented composition. Instead of creating a seamless panorama, Hockney embraced the overlapping perspectives, mimicking the way human vision works over time. His joiners often depict distorted yet dynamic viewpoints, emphasizing movement and depth. This approach directly relates to my piece, as I experimented with merging multiple images from different angles to create a fragmented landscape, similar to Hockney’s method of reconstructing reality through photography.
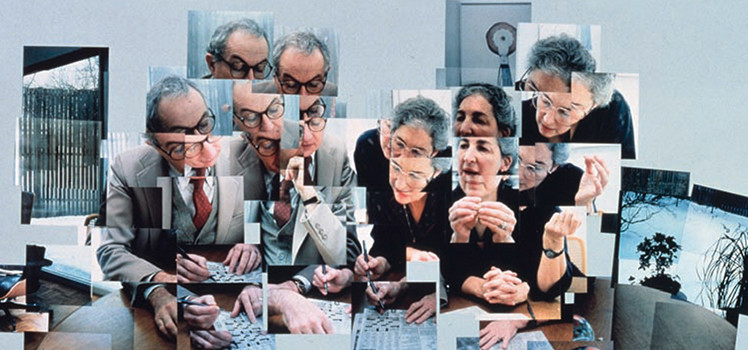
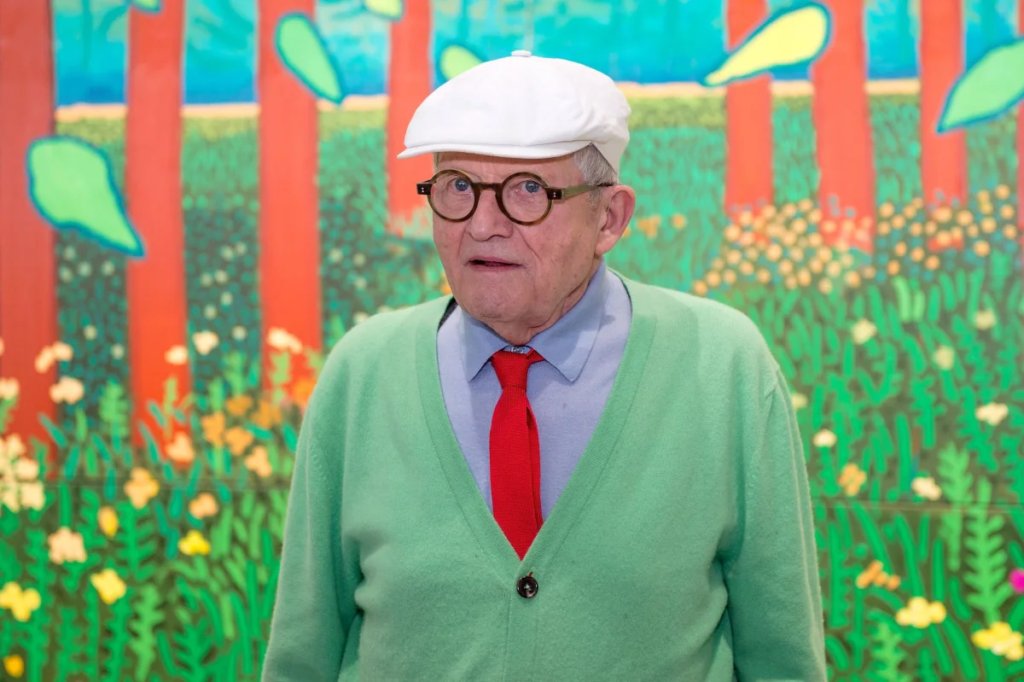
David Hockney and the Joiner Technique
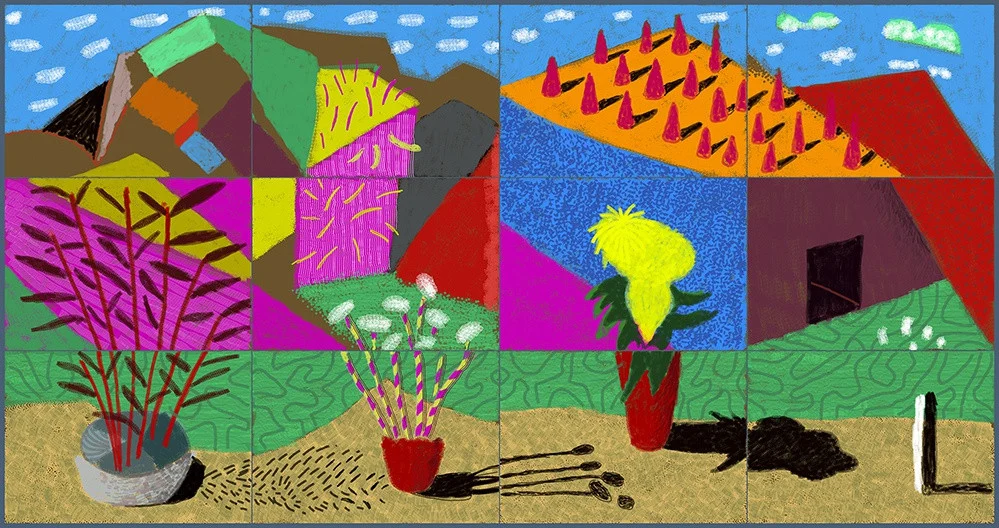
David Hockney (born 1937) is one of the most influential British artists of the 20th and 21st centuries, known for his work in painting, drawing, printmaking, and photography. While he gained fame for his vibrant paintings, particularly those depicting California swimming pools, his Joiner Photographs stand out as a unique contribution to photography and collage art.

Hockney developed the Joiner technique in the early 1980s while experimenting with Polaroid cameras and 35mm film. Instead of taking a single image of a subject, he captured multiple photographs from slightly different angles and at different moments in time, assembling them into a larger composition. This method rejected the idea of a single, fixed perspective, instead creating a dynamic, multi-viewpoint image that mimicked how the human eye naturally perceives the world.
The Origin of Hockney’s Joiners
Hockney accidentally discovered this technique while working on a commissioned piece of a house in Los Angeles. He initially took multiple Polaroid images of the scene and arranged them in a grid-like fashion to recreate the space. He soon realized that this method allowed for a greater sense of movement and time within a single artwork. Inspired by Cubism, especially the works of Picasso and Braque, Hockney continued to refine this fragmented yet immersive style.
How Hockney’s Joiners Relate to My Work
Hockney’s Joiners have a direct connection to my own approach in creating a joiner panorama. Much like his fragmented yet cohesive style, I combined multiple images from slightly different angles to construct a wider perspective of the landscape. By avoiding Lightroom’s auto-crop feature, I allowed the natural misalignments and overlaps to remain visible, mirroring Hockney’s raw and experimental aesthetic. His work demonstrates how photography can move beyond a single, static viewpoint, and this idea influenced my decision to push the boundaries of traditional panoramas in my own project.
Photoshop Experimentation: Joiner Collage
To take my joiner panorama further, I followed a Photoshop tutorial to create a Joiner Collage Effect:
Exported the selected images into Photoshop
Went to File > Automate > Collage
Applied drop shadows to give the images depth
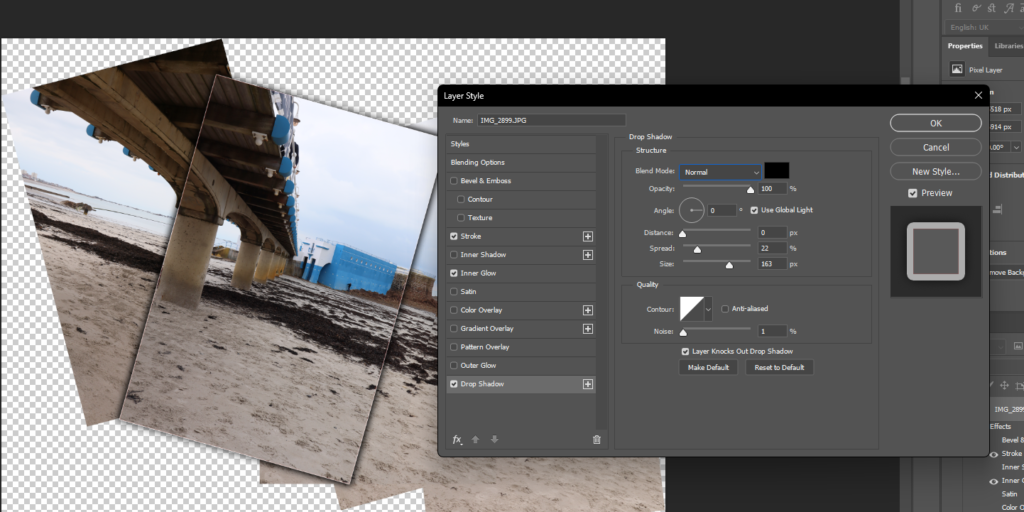

I also tried adding gradient backgrounds, but I found them distracting, so I opted for a simpler look. After finalizing the composition, I re-exported the image into Lightroom for further adjustments, though I ultimately preferred the clean, minimalist version.
Final Thoughts & Takeaways
My first panorama was underwhelming, but exposure bracketing saved the project by allowing for an HDR panoramic merge.
Using a closer focal length resulted in sharper details but a reduced field of view.
Panoramic merging settings make a massive difference in how readable and engaging the final image is.
Joiner panoramas are a fun technique, but they require the right images to work well.
AI enhancements can be useful, but they take away from the artistic side of things.