
What is exposure bracketing?
Exposure bracketing is when you take a picture of the same exact thing with different exposures. One tip that makes your exposure bracketing images come out better is using a tripod. Because if you are trying to do this by hand once you have changed the exposure you will often not be able to place the camera back in the same space and the images will not be identical.
This technique gives you a range of options to choose from when you’re editing as a result its much less likely that you’ll end up with a badly underexposed or overexposed photo.
For example:

Bracketing is a good technique for photographer’s to learn as is can help avoid ruining whole photoshoots when you finish shooting to upload the photos and realise that they’re all either too under or over exposed.
There are a few different way to do exposure bracketing but the best way would be to set your camera to the exposure you think is best for that image then move the exposure and bit either side just in case either one of those exposures look better.
A website with more information below:
HDR
What is HDR?
HDR stands for high dynamic range. And the term dynamic range describes the ratio between the brightest and darkest parts of the image. And high dynamic range can mean the camera or technique you use to capture a greater dynamic range than SDR.
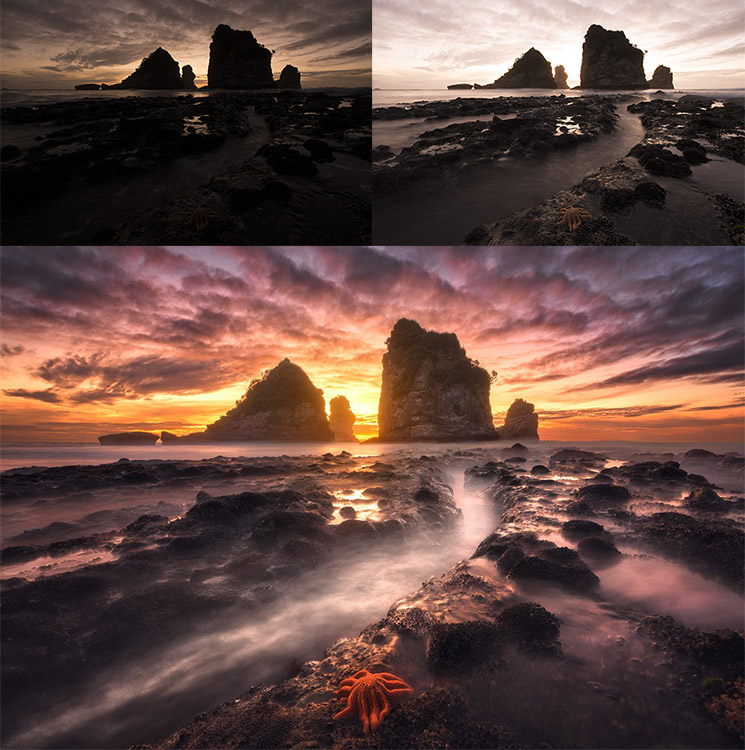
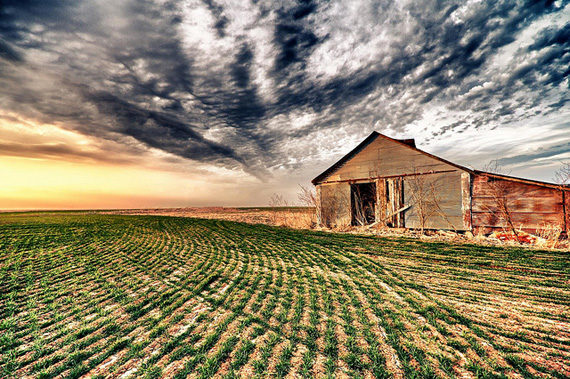
Examples of what exposure bracketed images look like:
I got all my information from: – This link also explains the topic far better than I can so worth giving it a read. https://www.adobe.com/creativecloud/photography/discover/hdr.html
The reason that people decide to use HDR is because the sky and the foreground of the image usually look better in different exposures, so you take 2 images one where you expose the image for the sky and one where you exposed the image for the foreground of the image and they cut and edit them together to create a somewhat surreal looking image. These images can look surreal because that is not how we are seeing that with our eye.
Example with my own images:
before:
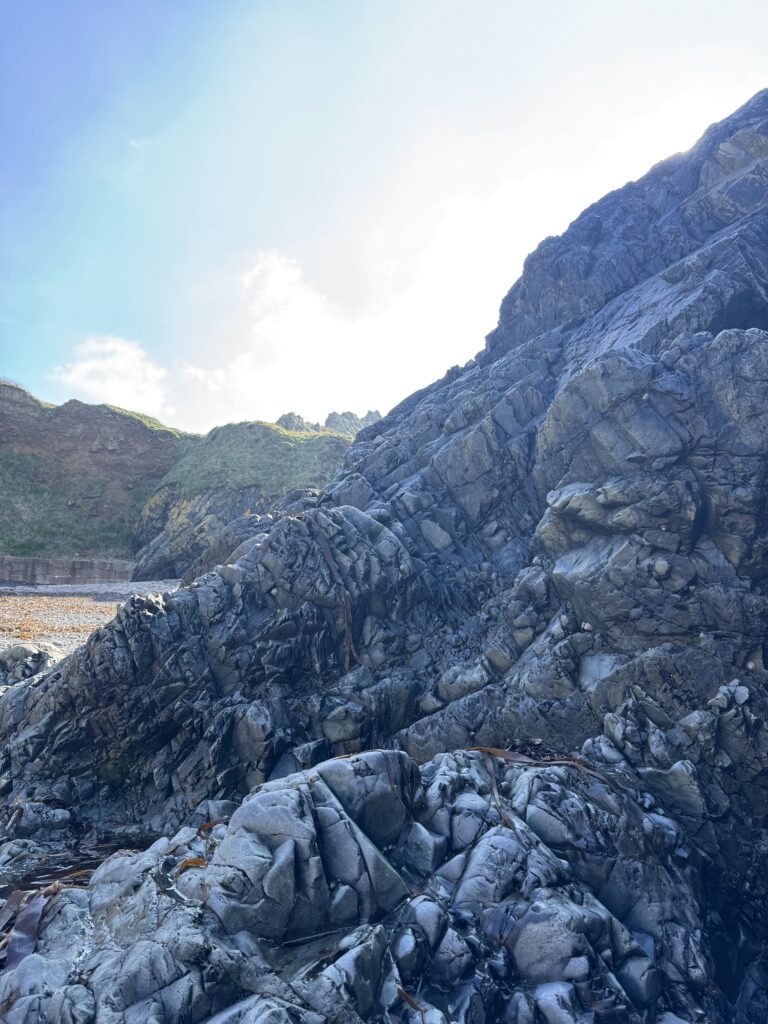
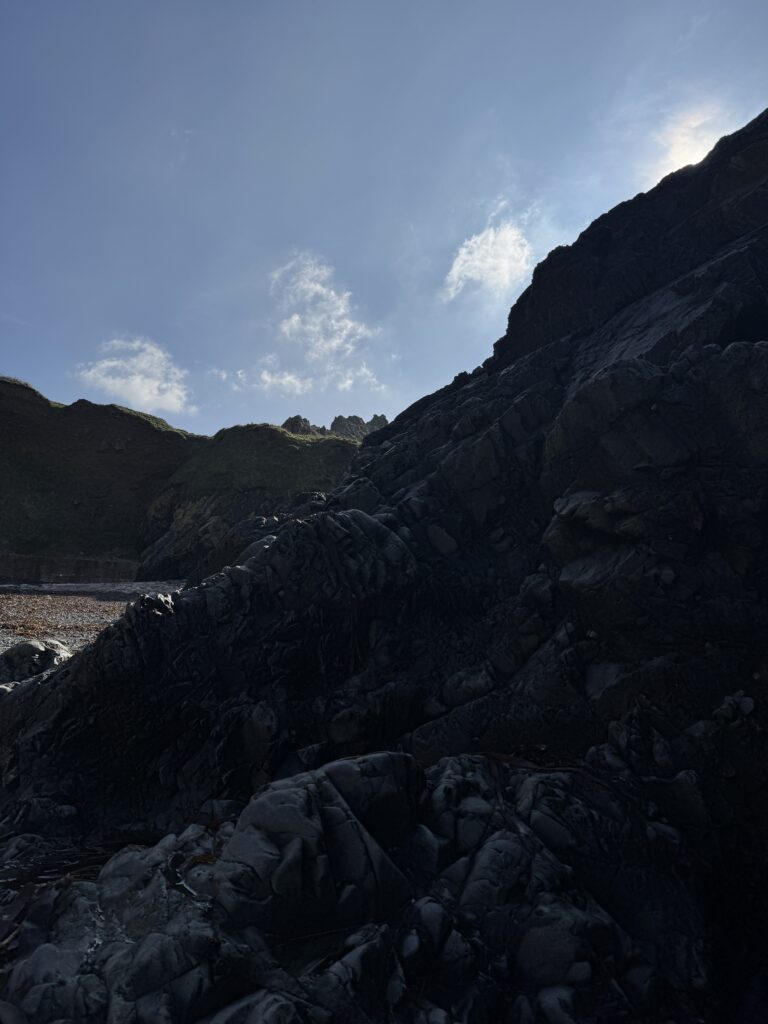
here are 3 of my images that I used for exposure bracketing one that was over exposed (left) under exposed (middle) and a middle of the range exposure (right)
so now I will edit them together to create a an exposure bracketed image.
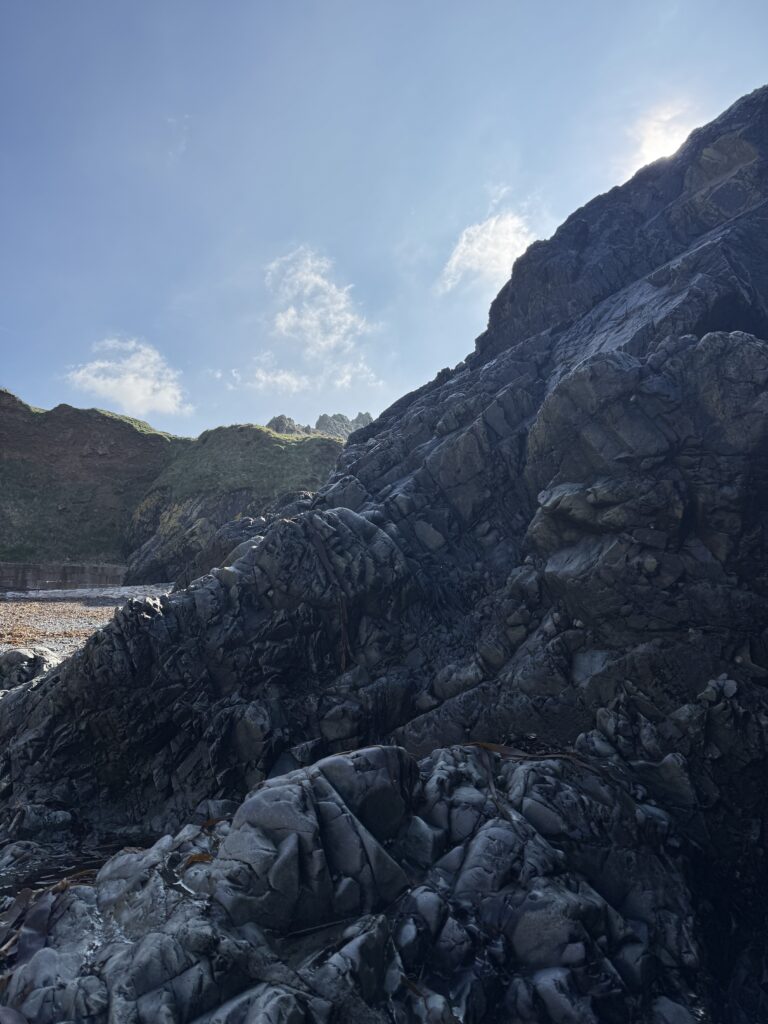
after:

So as you can see on this image I took the sky from the image that was underexposed as it looked better and replaced it with the sky from the overexposed image so that all the rocks still looked nice on the image as well as the sky which required 2 different exposures.
This isn’t the best representation of HDR as the sky on that was relatively clear and quite boring however, you can see a difference between what it looks like now compared to before.