Photoshoot Introduction
I took my photos on and around Petit Port beach, as well as near the Corbiere cliffsides to try and replicate the style of Ansel Adams.
Settings – I aimed to use high aperture values to try keep as much of the image in focus and detailed as possible, similarly to group f/64. I also kept ISO to a minimum to avoid visual noise and was able to use shutter speed values of around 1/50 and 1/60 since it was very sunny.
Angles/Perspective – I used Ansel Adams’ visualisation method to visualise an image before I took the photograph to see how it would turn out, and using this I was able to have the camera’s perspective focus on rocks, cliffsides and water since these contrast nicely with each other as well as creating shadows which work well with HDR/exposure bracketing and would create lots of drama when experimenting with black and white in editing. I also aimed to have the sky take up roughly the top third of the image, creating further contrast as well as adding some negative space and drama so the entire image isn’t cluttered with excessive detail.
Timings – I went late afternoon/early evening so the sunlight would be at it’s peak in order for me to be able to capture effective images with a wide range of shadows for exposure bracketing, as well as enabling me to experiment with slightly more atmospheric images with the sunset.
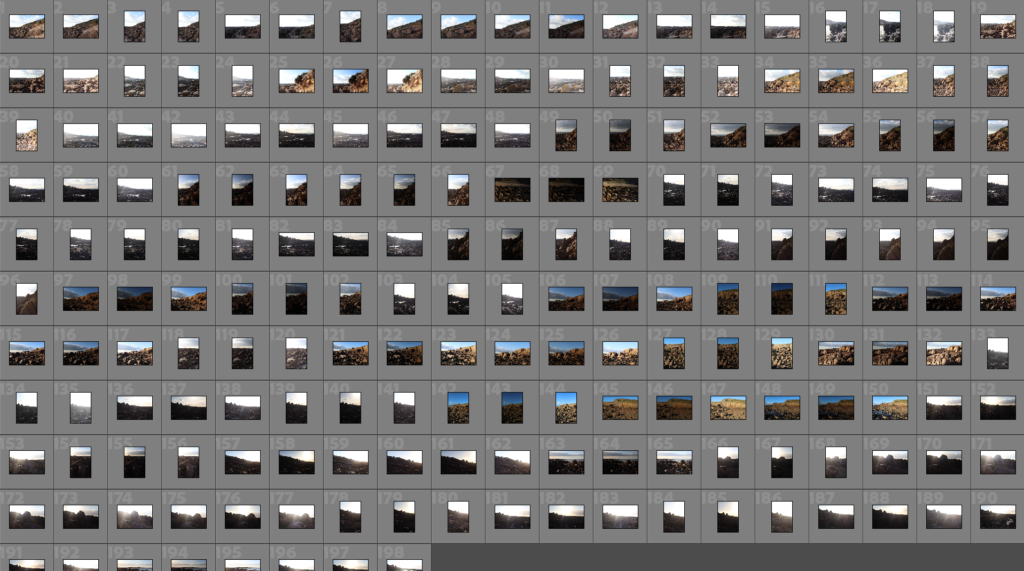
Contact Sheet
Selection
During my selection process, I aimed to choose images that had a sense of drama and would present a range of dark and light tones when edited to be black and white. I also aimed to select images with lots of shadows to allow exposure bracketing to bring out details.
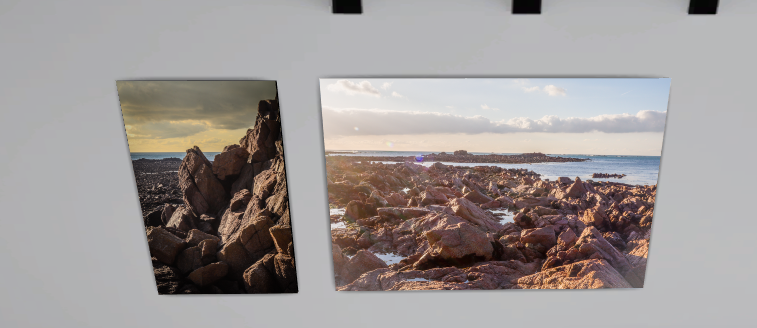
Some of my selected photos:
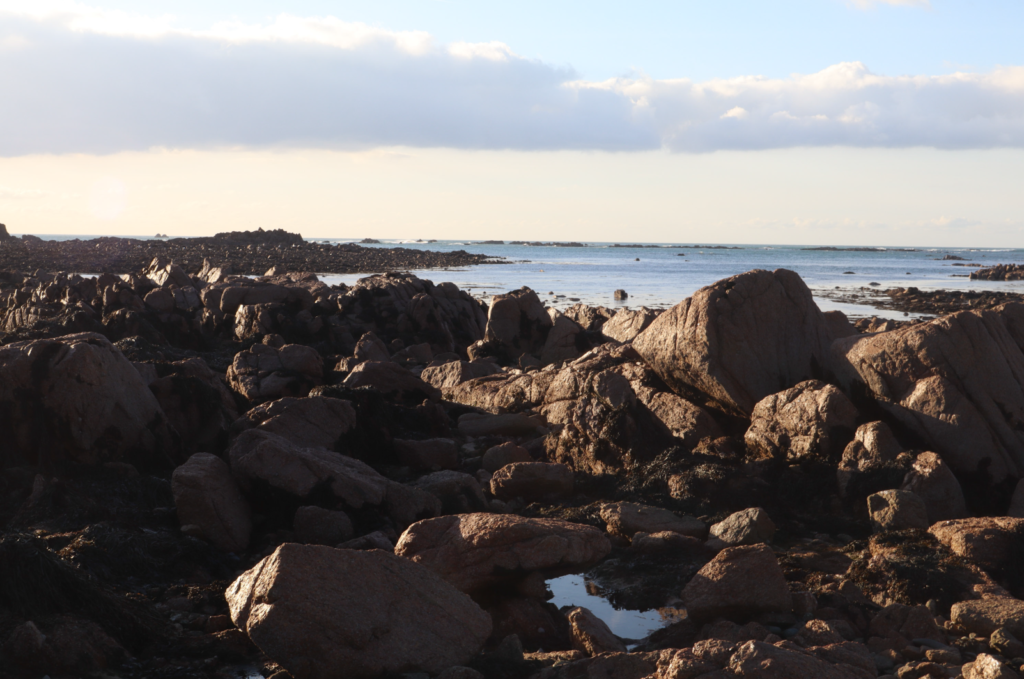
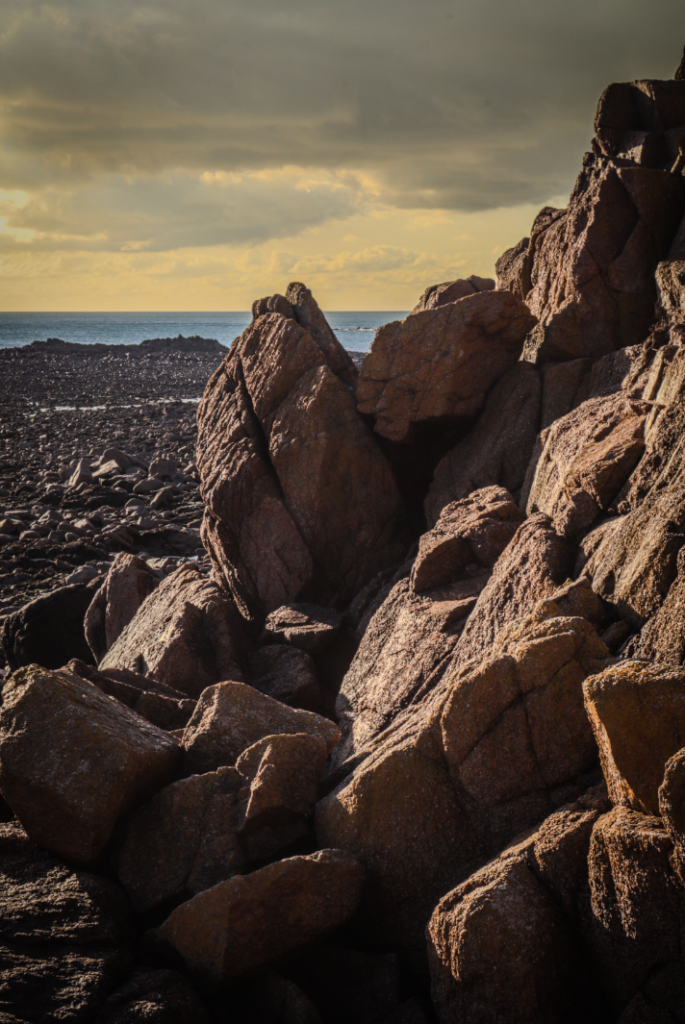
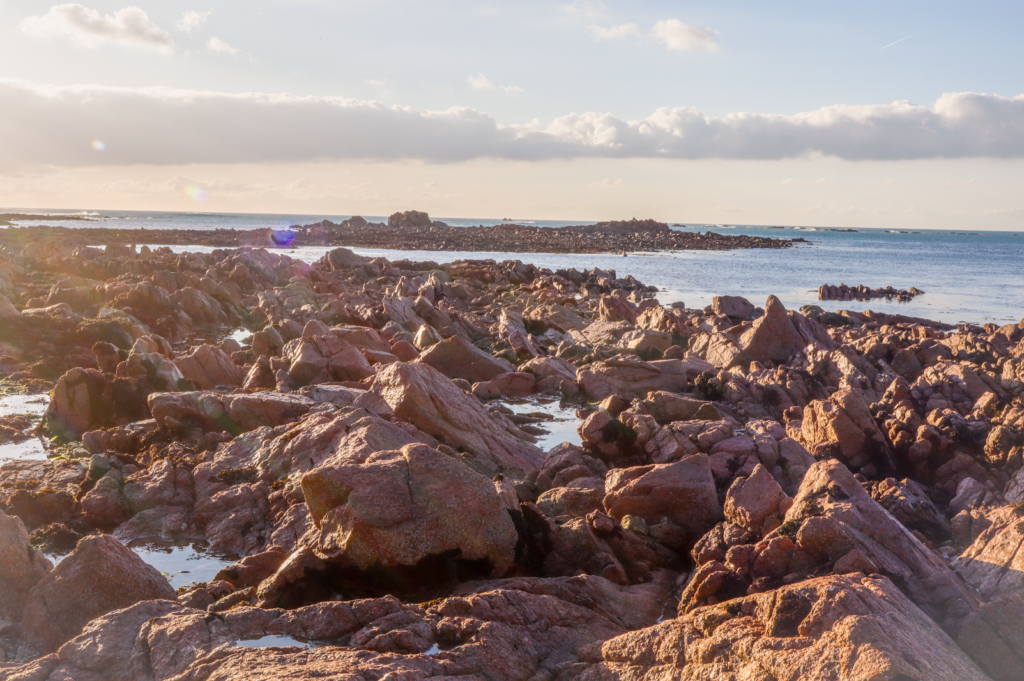
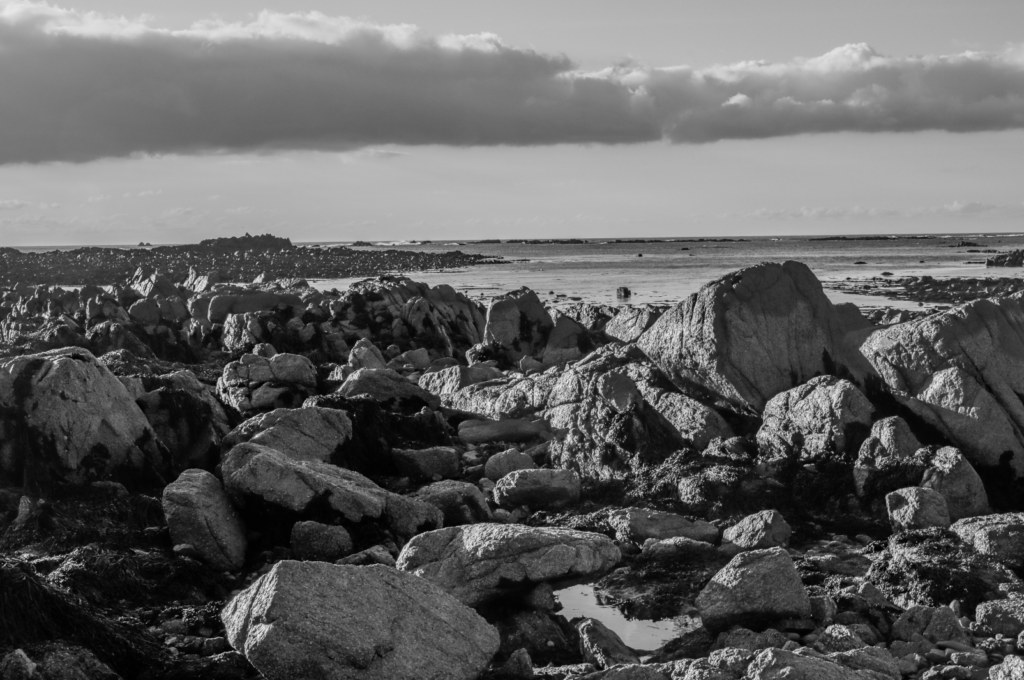
I selected this image since I thought using HDR would bring out lots of detail in the shadows and create an interesting landscape with balanced exposure, similarly to the style of Ansel Adams. I also liked the composition, with darker shadows on the rocks on the left and more sunlight illuminating the rocks on the right as well as the sky being positioned about 2/3 up the image.
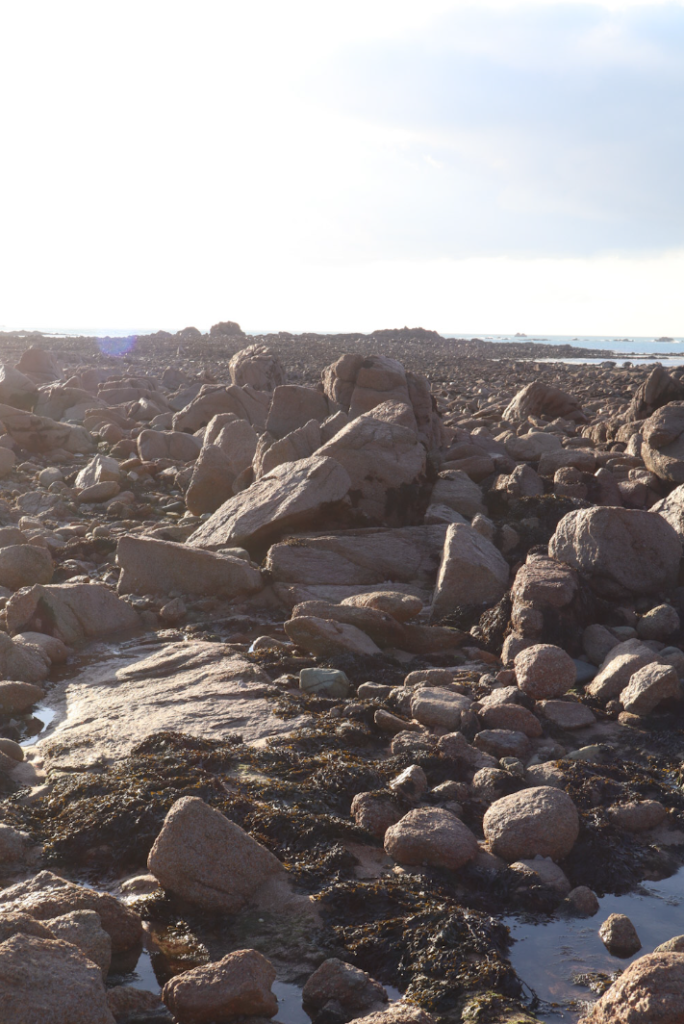
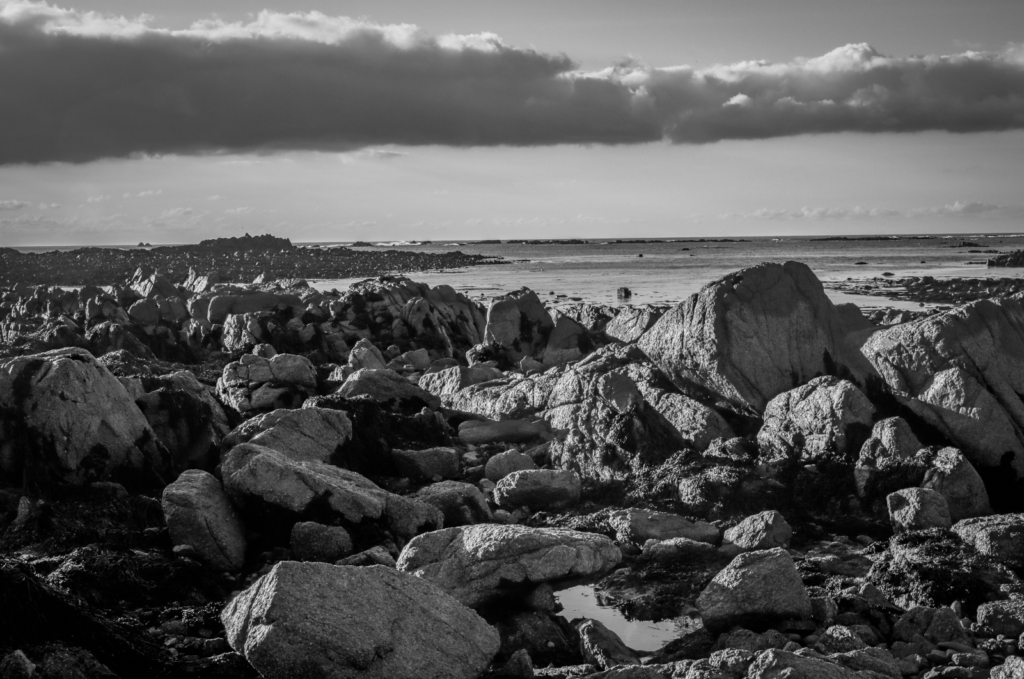
I chose this image because I like the light reflecting of the water in the bottom of the picture, as well as the balance of shadows and illumination throughout the rocks. Although the sky is bleached out due to the sun, I will try and use HDR and masking in Lightroom to adjust the sky to add more detail to the sky as well as contrasting it from the foreground.
Editing/Experimentation
I opened this photo in Lightroom and went into develop mode to use the HDR editing, merging 3 versions of the same image at different exposures to capture detail in less exposed areas.
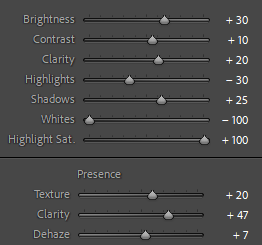
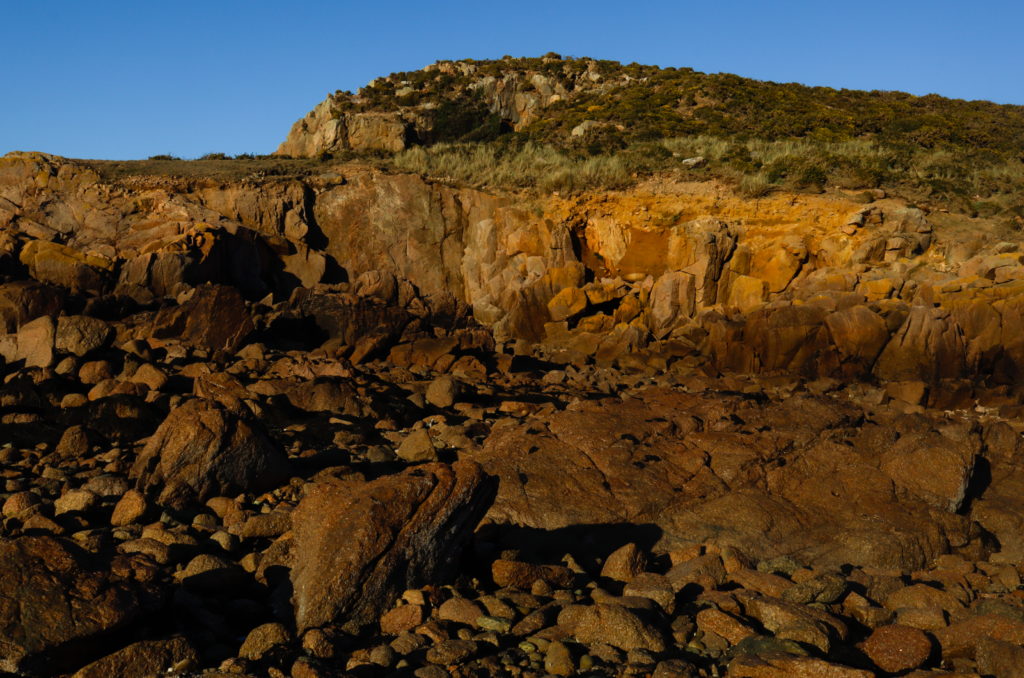
To achieve this effect, I used the golden hour preset, added some dark post-crop vignetting and used the settings above. This adds a nice colour contrast between the orange sky and blue sea, whilst still maintaining good enough exposure to make out details in shadows and have a range of tones from light to dark.
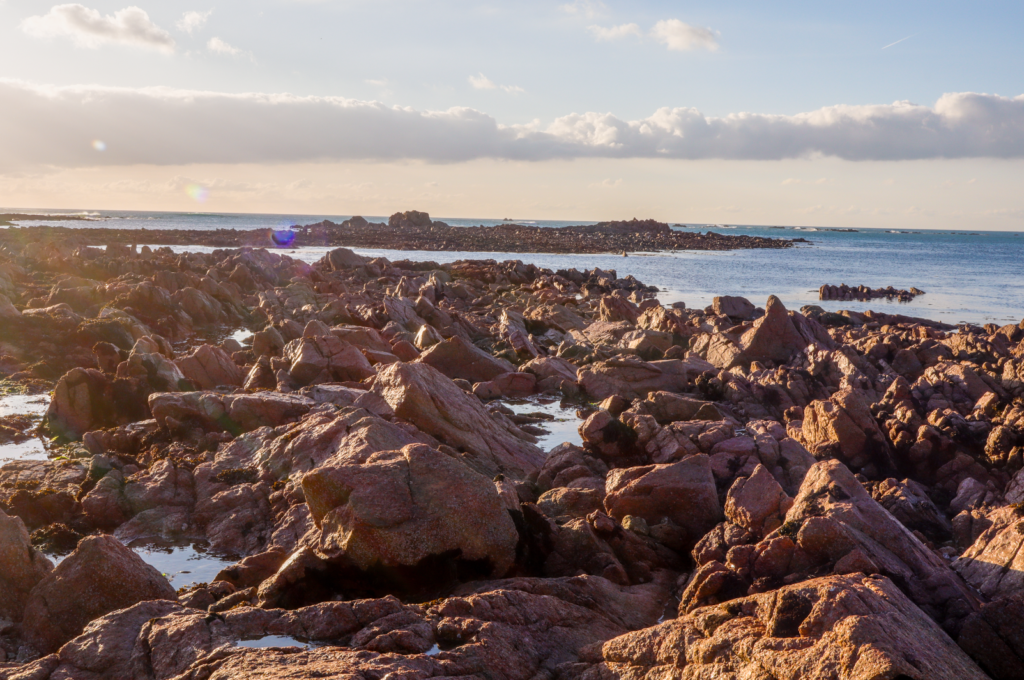
This image was created using HDR photo merge and then decreasing highlights and increasing shadows. The natural light casted onto the rocks creates an effective contrast between the light and shadows on the rocks, as well as complimenting the lighter tones in the sky with the darker tones in the sea nicely.
Finally, I added some slight vignette and increased the clarity and decreased the dehaze. The final result maintains good exposure on all parts of the image which when combined with the use of a high aperture brings out every detail in the image.
For this image I first HDR photo merged it, and noticed overall it was quite underexposed.
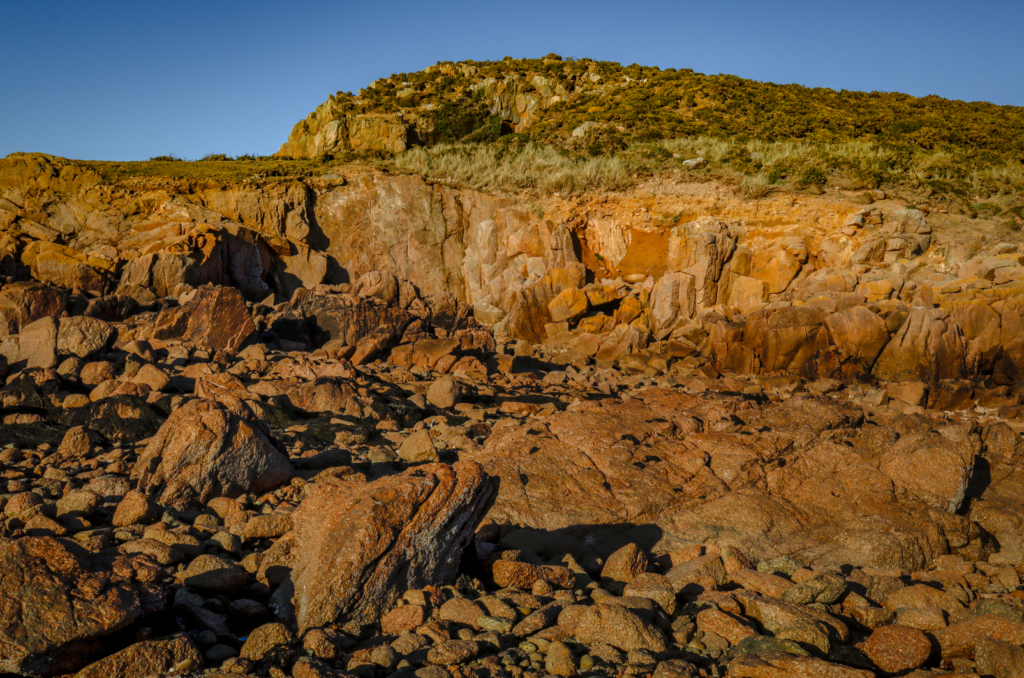
I then increased the exposure and decreased the highlights to bring more details as well as making the photo more visible.
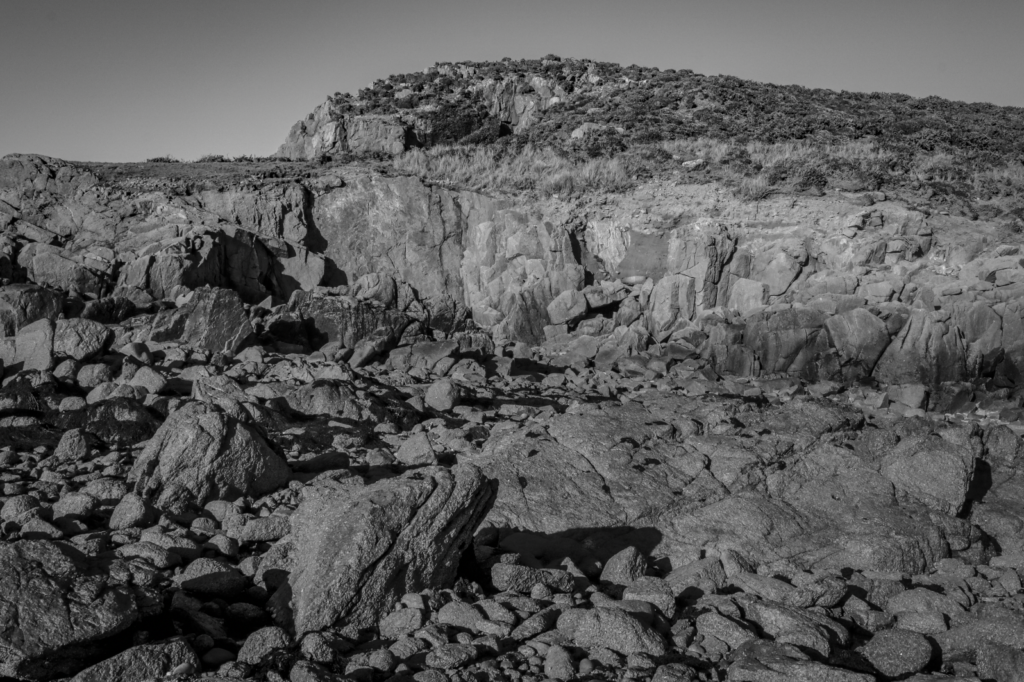
Experimenting with black and white but I don’t like how the sky looks, so I used the masking tool in Lightroom to adjust it and make it contrast more visibly with the lighter tones of the cliff.
Final product, effectively exposed to maintain detail throughout the image as well as having the sky be darker to create a sense of drama.
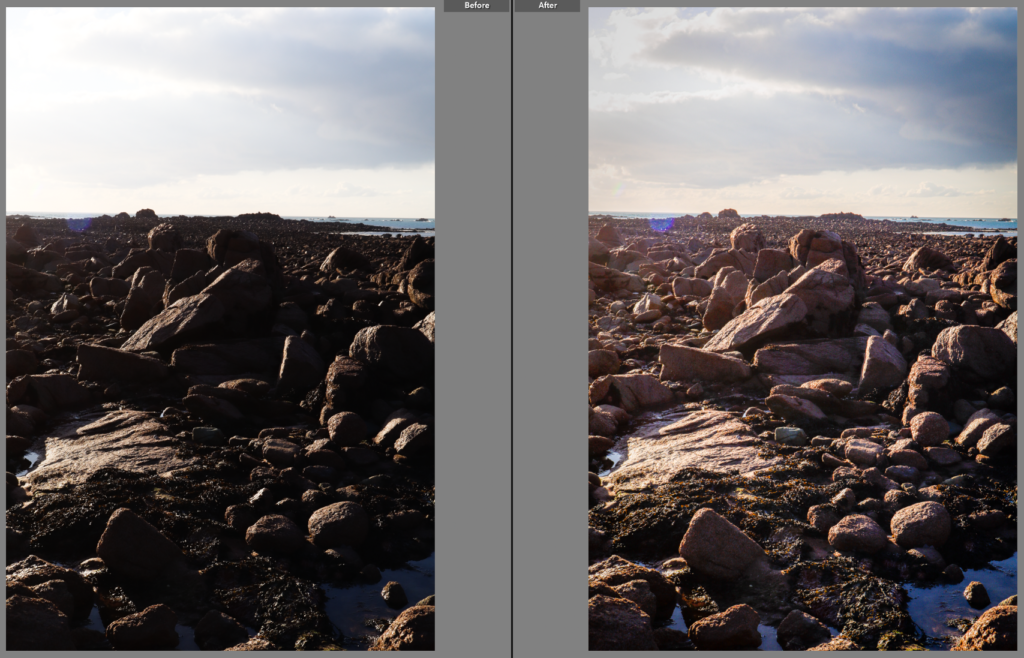
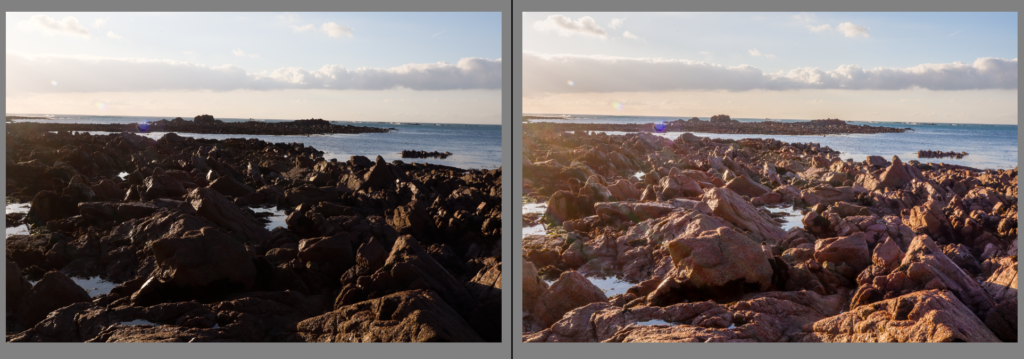
Before vs after HDR. Noticeably more exposed with more details visible in shadows, creating more drama and taking more influence from the style of Ansel Adams.
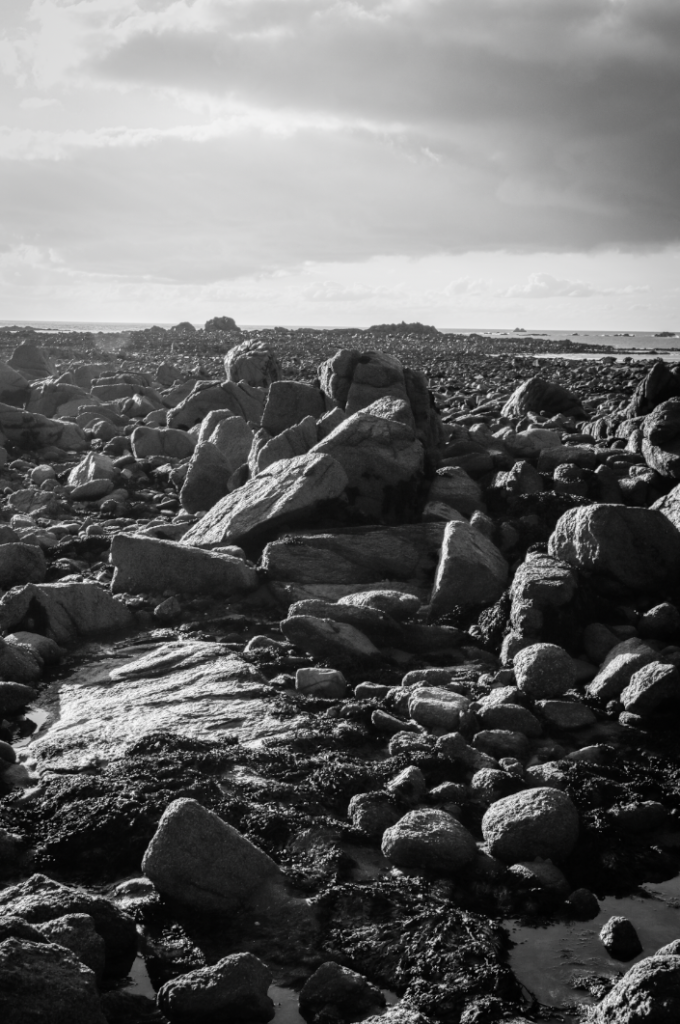
Experimenting with black and white, very effective in bringing out the tonal difference throughout the rocks and creating drama although I don’t like the colour of the sky.
Darkening the sky since it was too light and stood out, now creating more balanced contrasts between light and dark tones. Final image has a greater sense of drama.

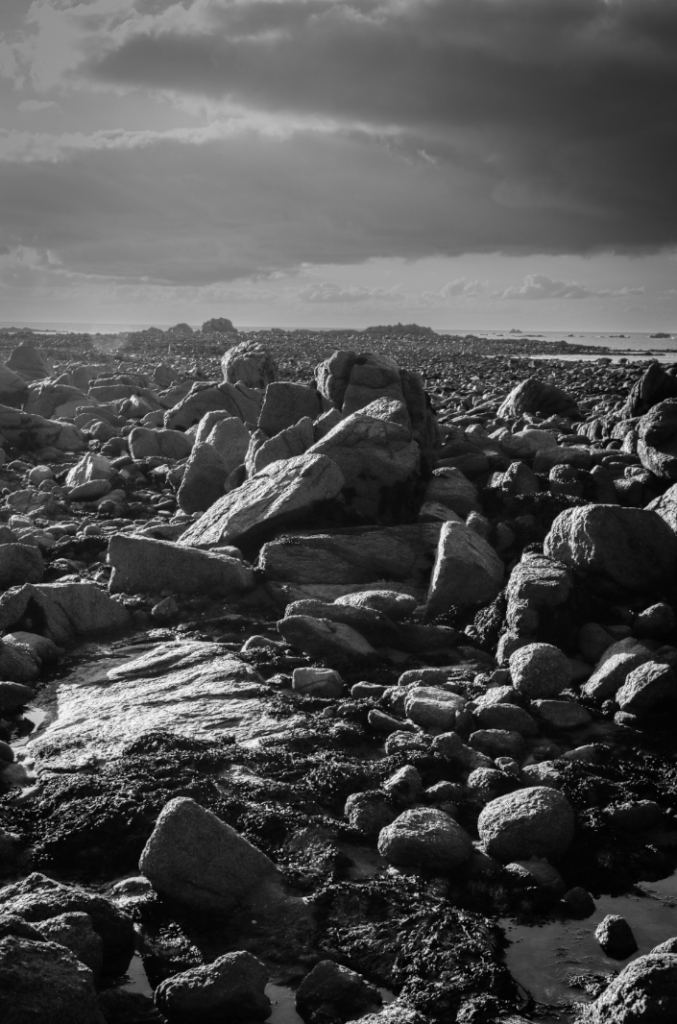
Original HDR image, with adjustment of exposure and shadows to further bring out detail in areas not very well-illuminated by the sun.
Black and white variation, effective with lighter tones noticeable in the clouds and sky, midtones on some of the illuminated parts of the rocks and dark tones in the shadows created on some rocks from the sun.
Exposure increased on the sky to make lighter tones more noticeable, as well as decreasing highlights and shadows and increasing contrast to bring out darker tones in the clouds.
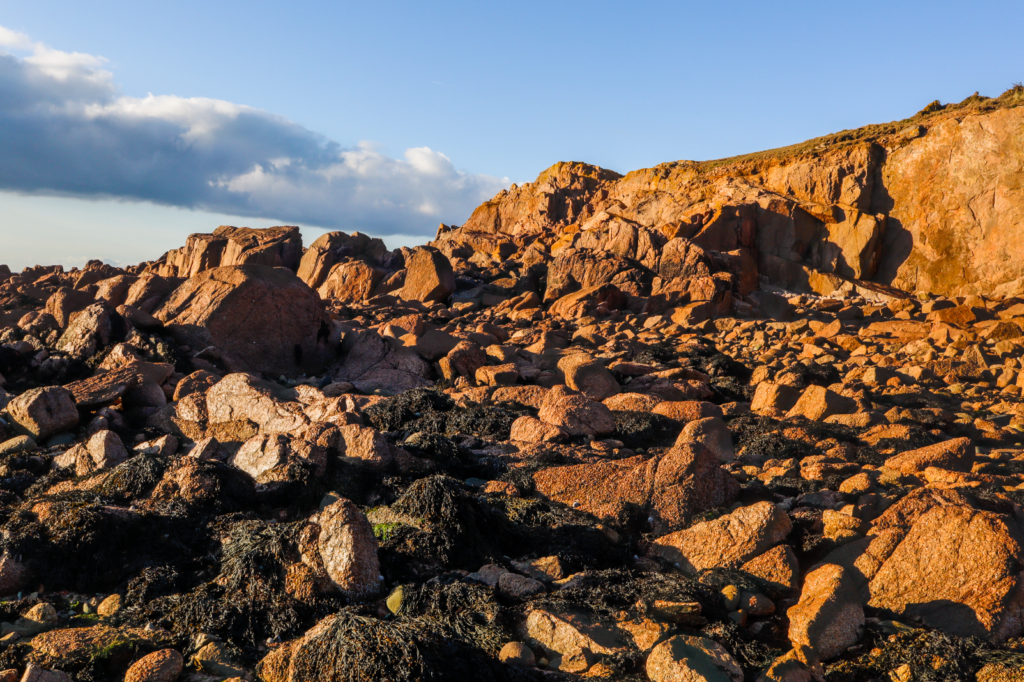
Initial version of the image using HDR, I like it since the vibrance of the rocks exposed by sunlight contrast nicely with the shadows mainly on the left of the image as well as the sky.
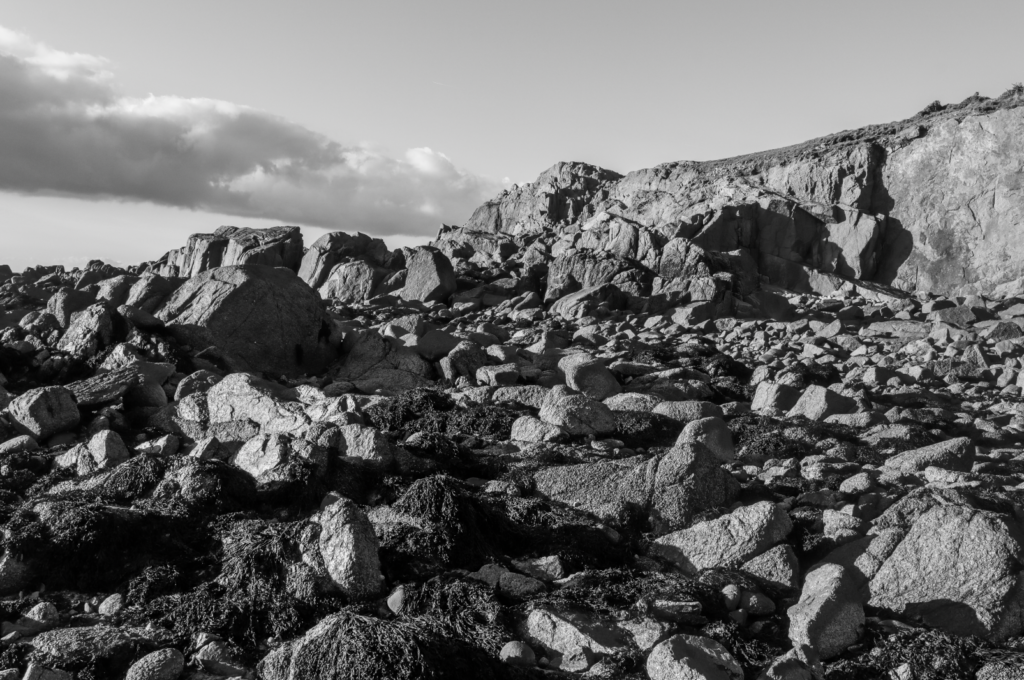
When made black and white, I liked the drama created but noticed detail was lost in the shadows so I will increase shadows/exposure to restore this.

Increased shadows, next I tried to manipulate the sky to make it contrast more nicely with the cliffside and the rocks.
Presentation in ArtSteps

I chose to present all the black and white images together since they all are of similar subjects/landscapes, and this combined with the light and dark tones of each image group them all together effectively, enhancing the drama and atmosphere created by each individual photo. The other two are presented in a diptych, with the darker sky and shadows of the first image contrasting with the lighter tones and sky of the second image, which I found very effective since these two images are creating different atmospheres allowing for this presentation to amplify this contrast.
Photoshoot Evaluation
Overall, I found my photos to be effective in presenting a range of tones as well as creating drama while maintaining Ansel Adams’ style of high aperture values and keeping everything well enough exposed to allow every detail to be visible. Editing also allowed for me to create HDR photos and experiment with black and white, helping me achieve my intention behind each image as well as helping to reinforce the atmosphere each individual image is trying to create.
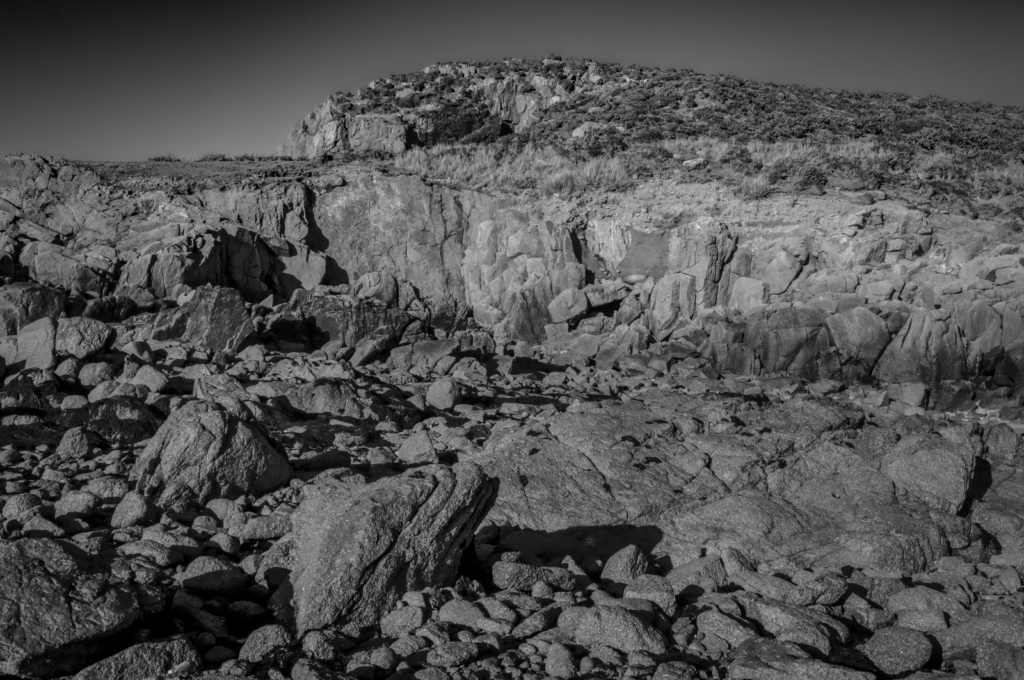
Comparison Against Ansel Adams
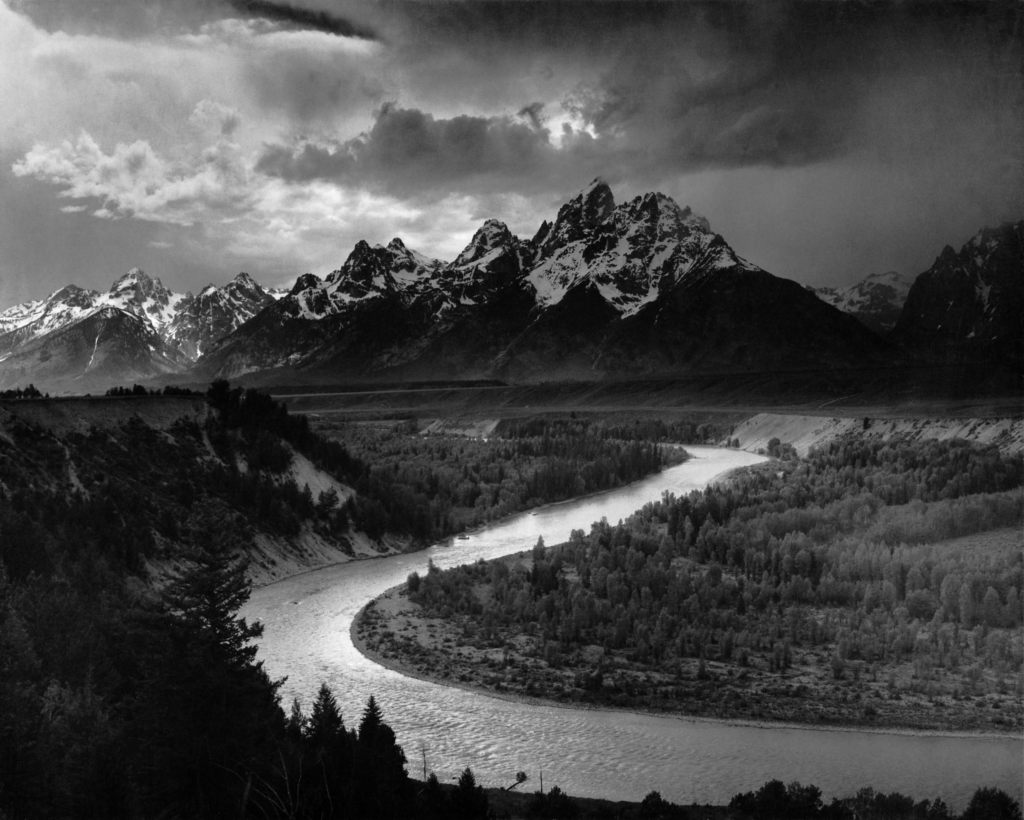
Technical – Both photos were taken outdoors, and thus all of the lighting is natural – both also use a high aperture to create a large depth of field and keep every detail in focus. Finally, there is a visible use of the zone system to have a wide range of different tones from light to dark (also helping to add more drama to the image), so I think I have successfully replicated Ansel Adams’ style.
Visual – Ansel Adams’ image was taken from high up in a mountain range, capturing another mountain range in the distance as well as the river and landscape below all of which uses the zone system to create visible contrast between light and dark tones. My image contains a similar range of light and dark tones, although the sky has been darkened slightly since I found it to be a bit bleached out so it doesn’t have as many lighter tones although the scene itself still has a sense of drama similarly to Adams’ photo.
Conceptual – The idea behind Ansel Adams’ photography was to use high apertures to maintain noticeable detail in every area of the image, showing off the beauty of nature (linking to his work as an environmentalist) and to have a wide range of tones in each image, creating drama. I think both his image and mine make effective use of these techniques.