Who is he?
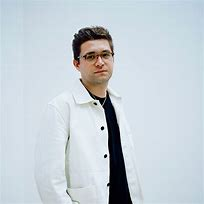
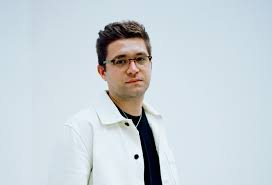
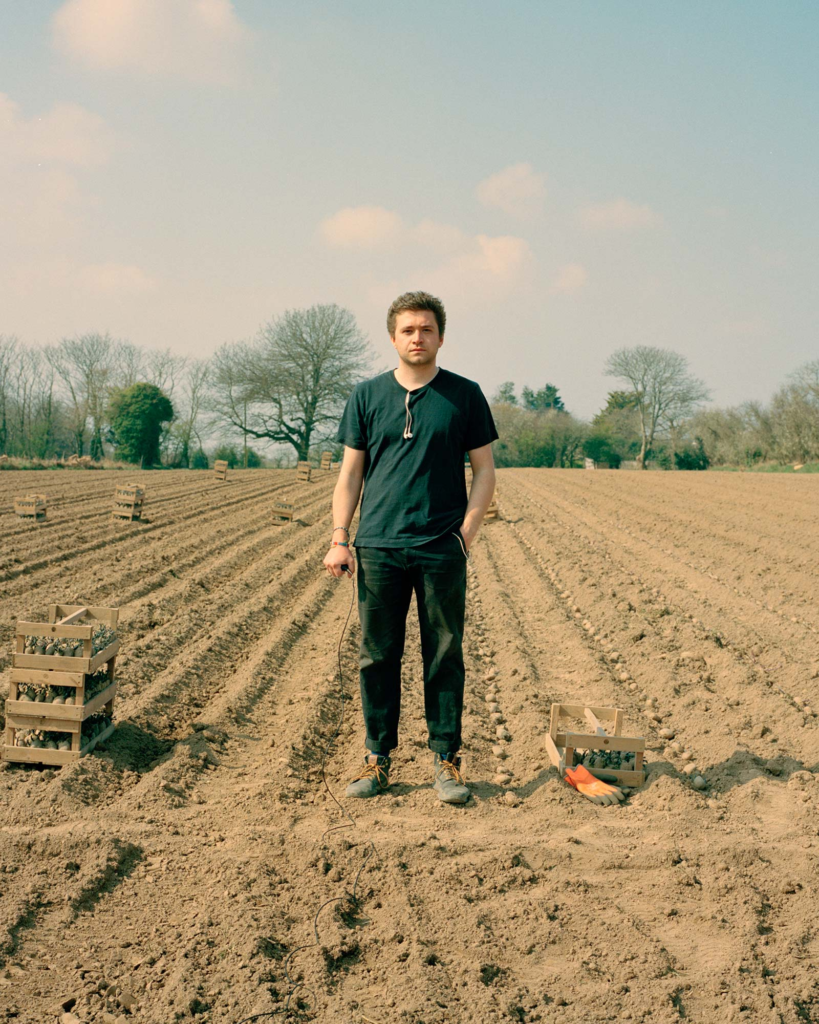
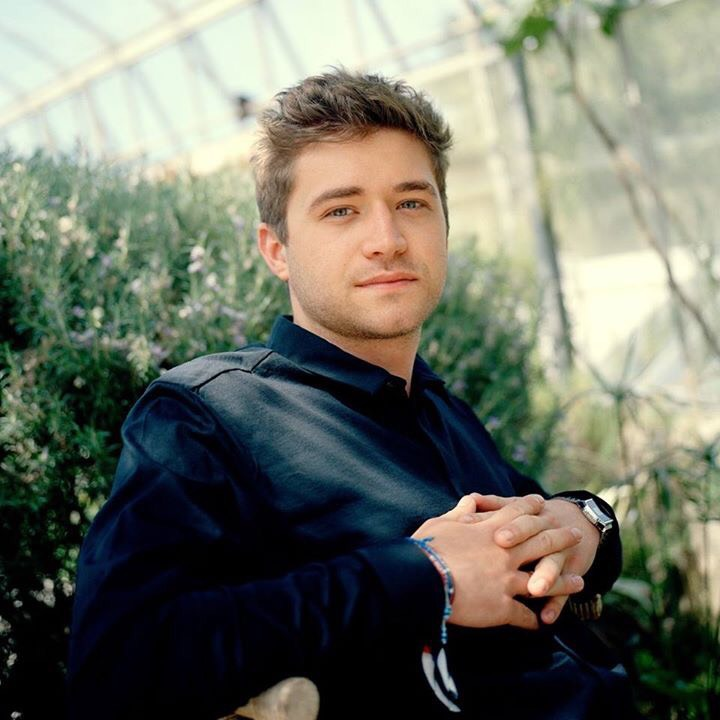
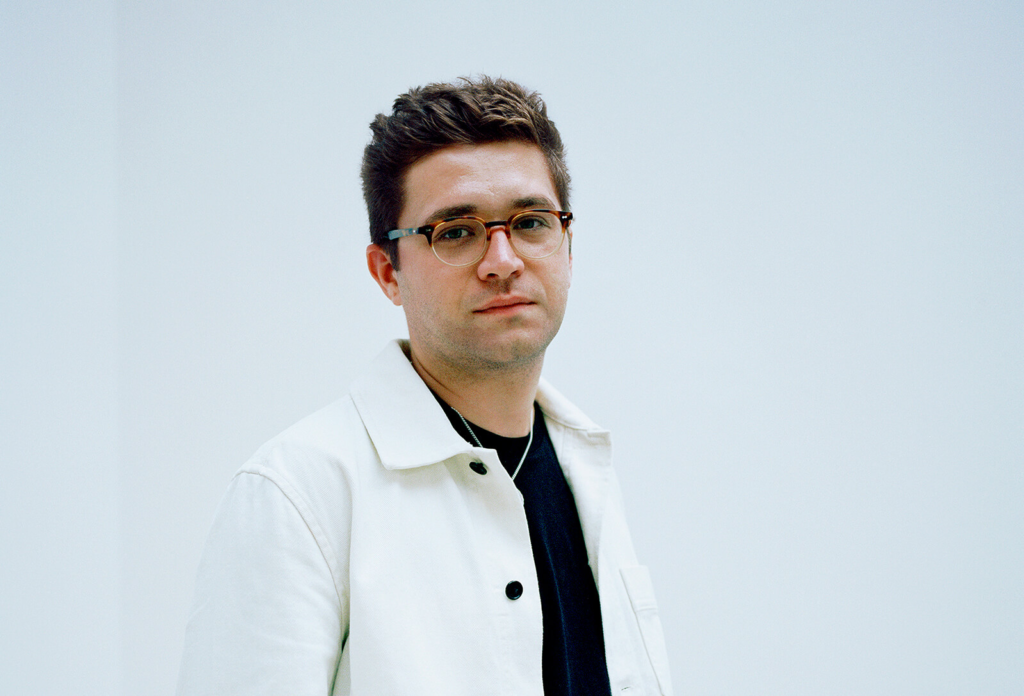
Alexander Mourant is an artist, educator and writer based in London. His first publication, The Night and the First Sculpture, was published by Folium, 2024. He has since been commissioned by FT Weekend Magazine, Hapax Magazine and The Greatest Magazine, and included in BJP, The Guardian, Photograph, Photoworks, METAL Magazine and Photomonitor. He won the Free Range Award and was nominated for the Foam Paul Huf Award. Mourant is a Member of Revolv Collective and Contributor at C4 Journal. He achieved BA Photography at Falmouth University, and MA Photography at Royal College of Art, London. He is a Lecturer in Photography at Kingston University.
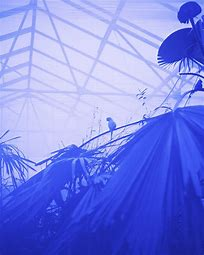
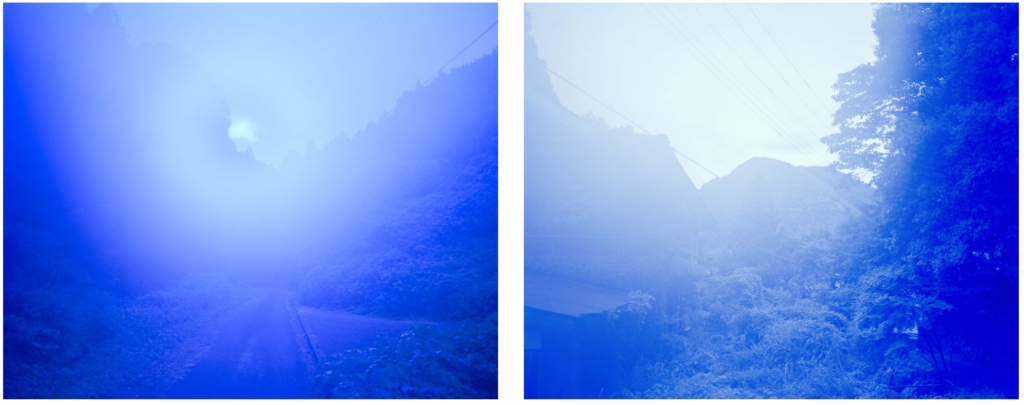
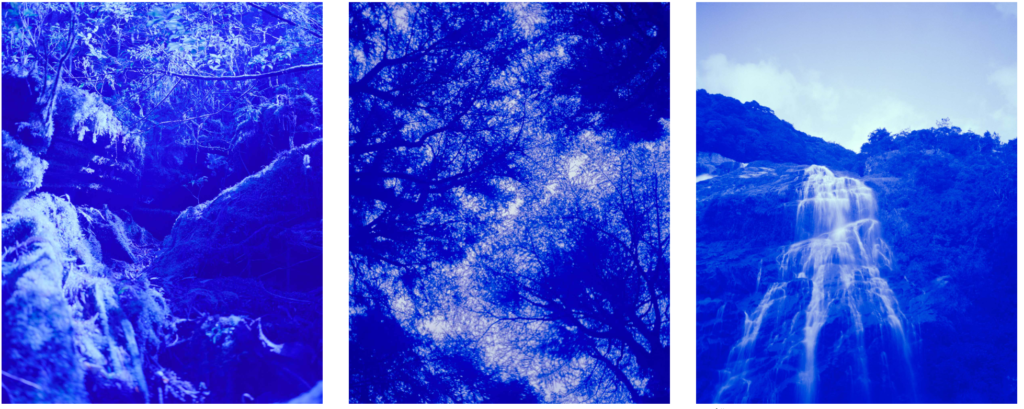
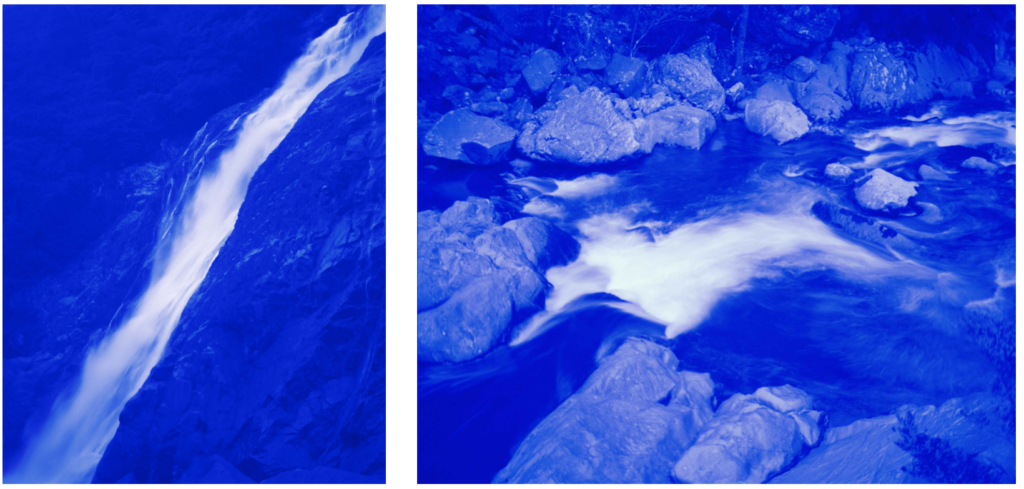
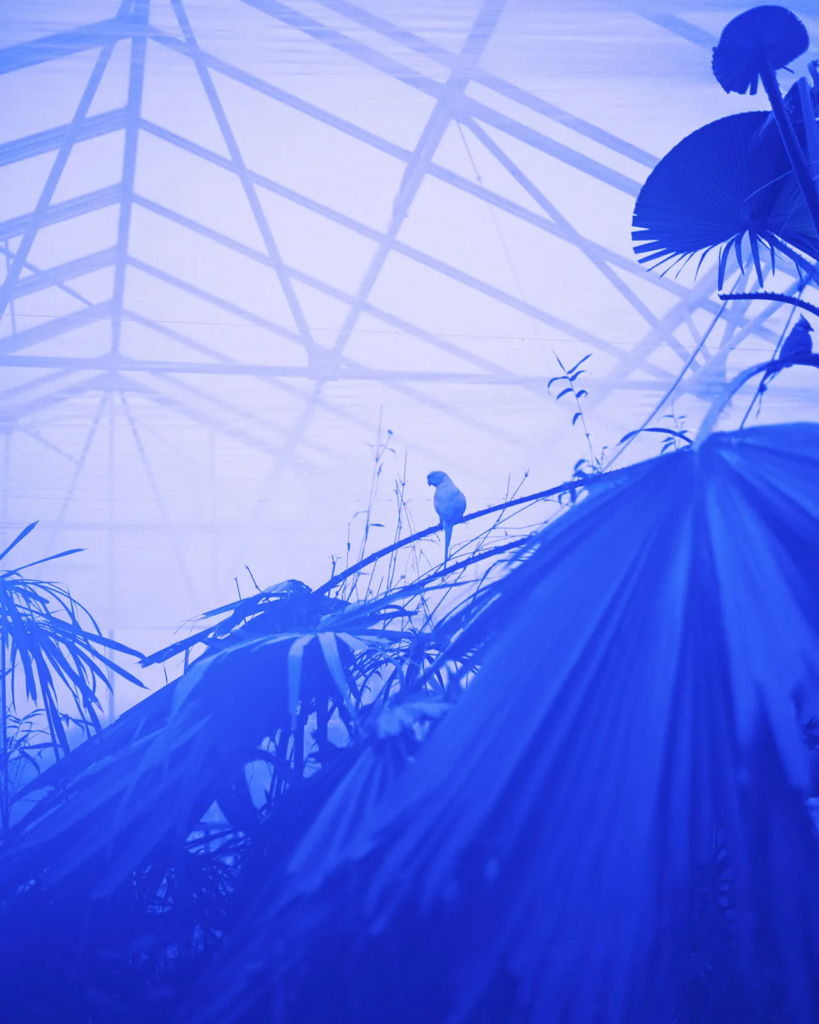
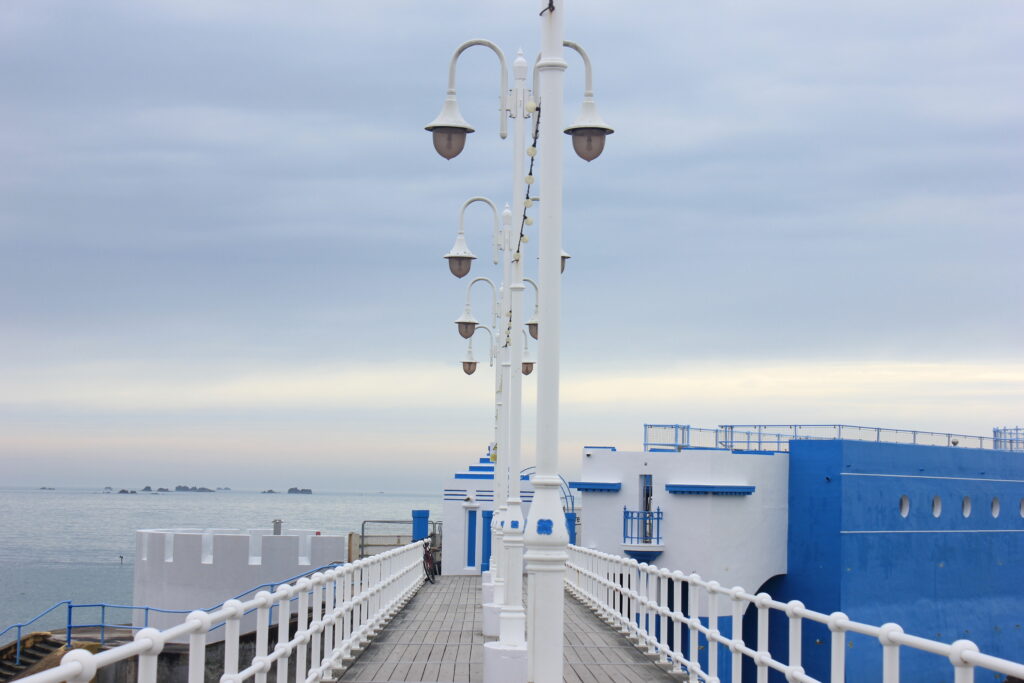
This is one of his most famous photos from his collection ‘Aurelian’ which explores the interior space of British butterfly houses. To get the colour blue he has taken a piece of blue glass from a church window and had it specially cut to fit the lens of his camera. this meant that all the pictures he took were blue.