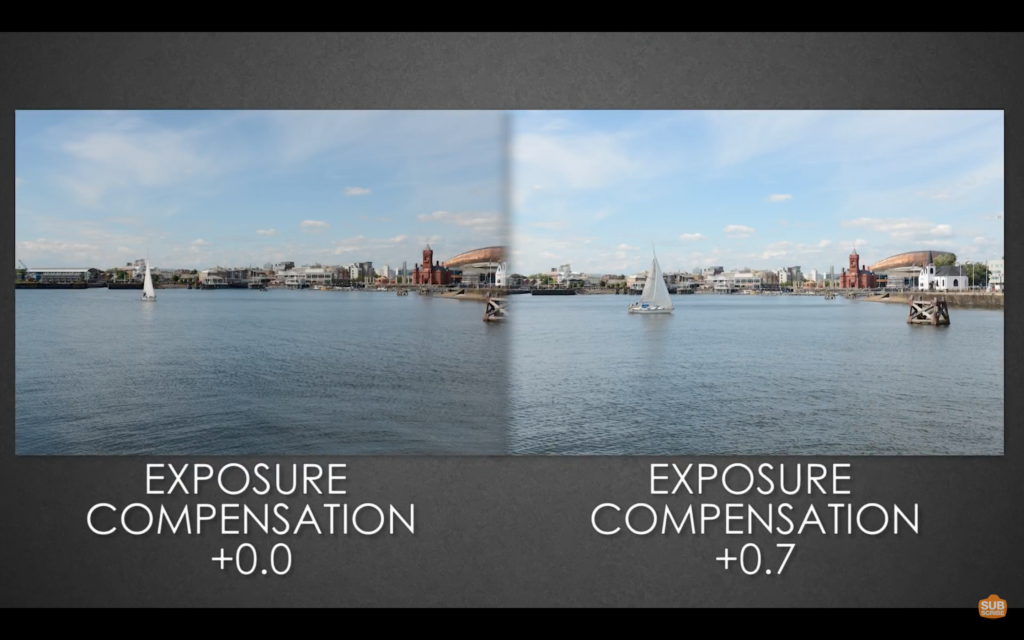
Exposure Compensation –
Exposure compensation basically helps you override automatic exposure adjustments your camera makes in situations with uneven light distribution, filters, non-standard processing, or underexposure or overexposure. It lets you take control of your image’s brightness by manually increasing or decreasing exposure.
Exposure Bracketing –
When you bracket your shots you take exactly the same picture of your subject at several different exposures. This technique gives you a range of options to choose from when you’re editing. As a result, it’s much less likely that you’ll end up with a badly underexposed or overexposed photo.

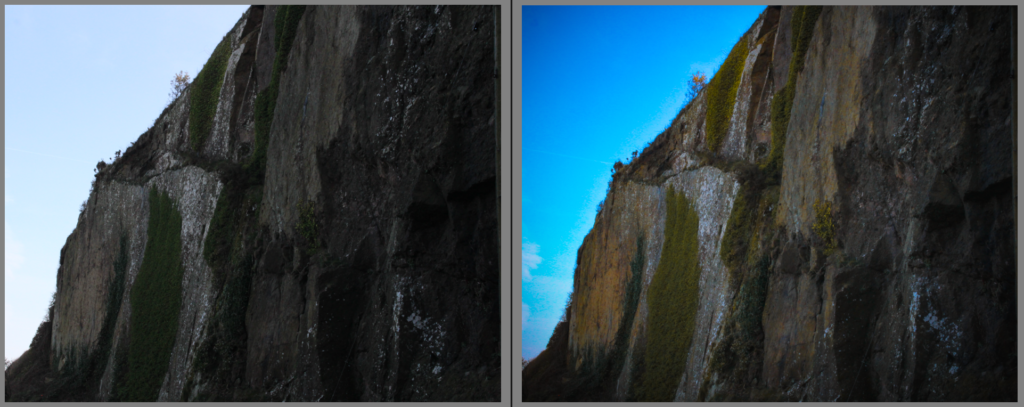
HDR Photos –
HDR (High Dynamic Range) Photos refers to the capture of an entire image scene that has both bright highlights and dark shadows. In other words, instead of capturing highlights that are clipped and pure white, and/or shadows that are lost to total darkness, your image depicts visible detail in all areas.
My Own Exposure Bracketing
I decided to take my own images of the exposure bracketing technique, by changing the settings to apply. The steps were very straightforward,
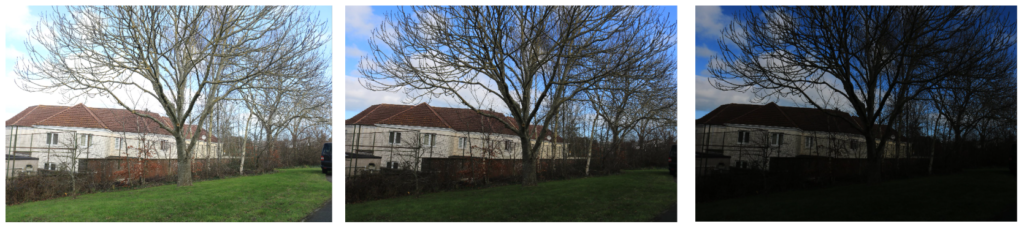
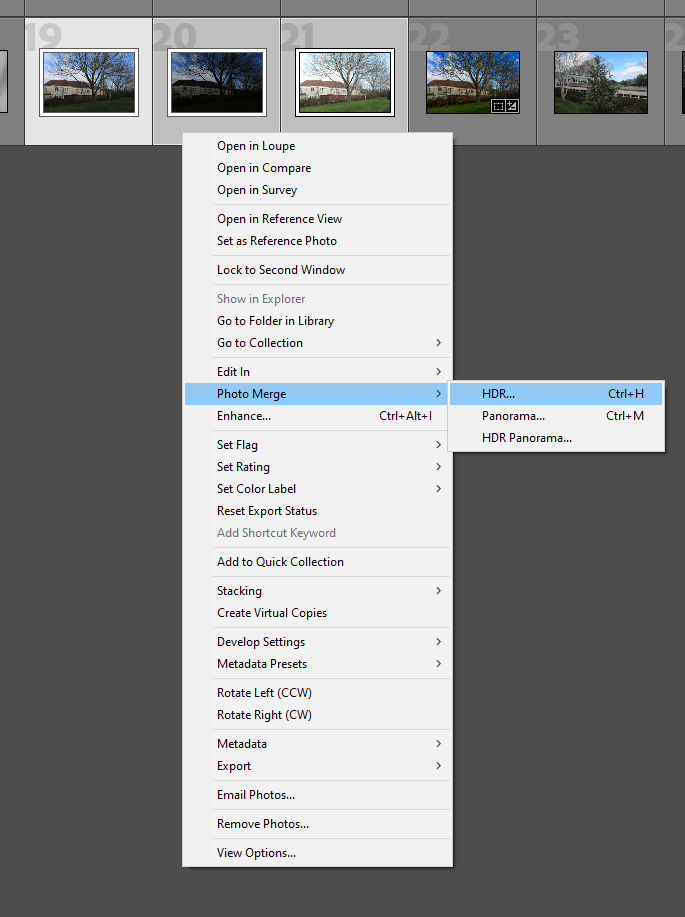
Merging the images
Once I took my three images, I uploaded them to Lightroom where I merged them. The way I did this is by selecting the three images, right clicking, pressing photo merge and lastly, I pressed HDR. This merged the three images together, to create a dramatic and detailed image.
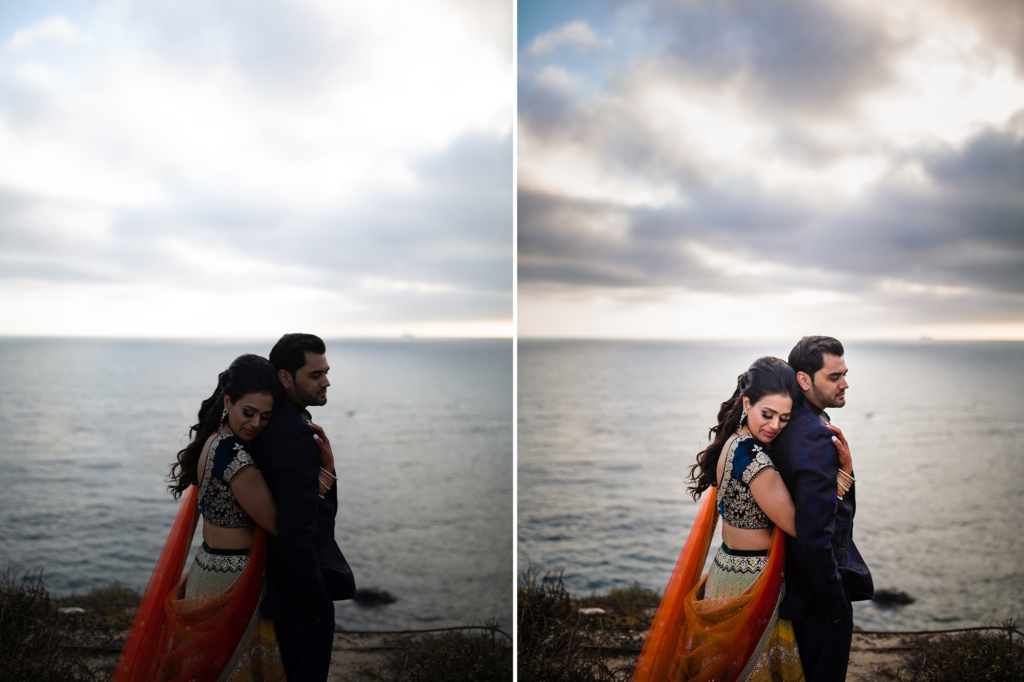
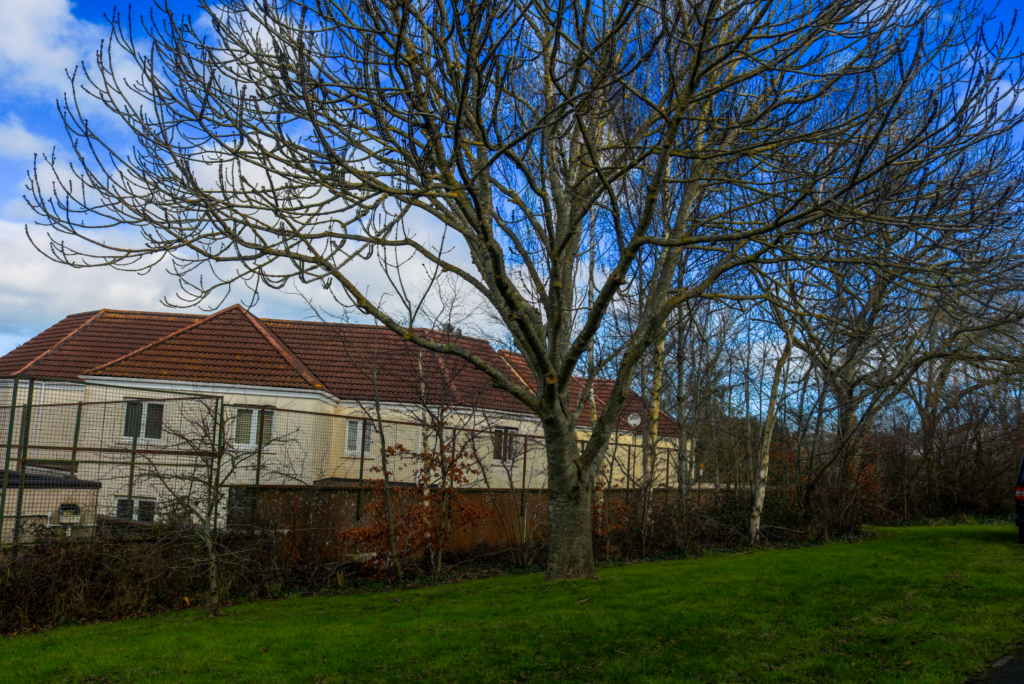
Final HDR image
This is my final image below, where the colours are very vibrant. This is because the three images
Creative Editing
Vignette
Lightening the image – Dehaze