Exposure compensation basically helps you override automatic exposure adjustments your camera makes in situations with uneven light distribution, filters, non-standard processing, or underexposure or overexposure. It lets you take control of your image’s brightness by manually increasing or decreasing exposure.
how to take –
Start with 1 stop variations. So, take a shot at -1 on the exposure compensation dial, then turn the dial so it reads -2 and then -3. Repeat, this time overexposing at +1, +2, and +3. You may not use all these images in the final HDR but it’s good to have the data just in case

Exposure bracketing is a photographic technique where multiple shots of the same scene are taken at different exposure settings to capture the full tonal range and merge them during post-processing
![Exposure Bracketing Photography [COMPLETE GUIDE]](https://phlearn.com/wp-content/uploads/2018/11/2-stop.jpg)
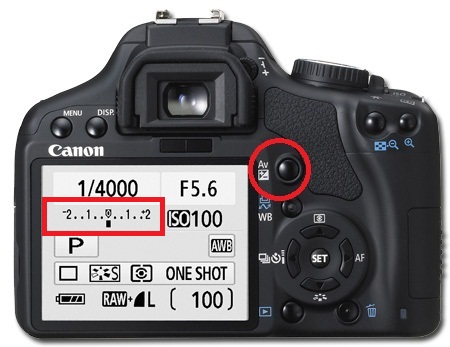
how to take –
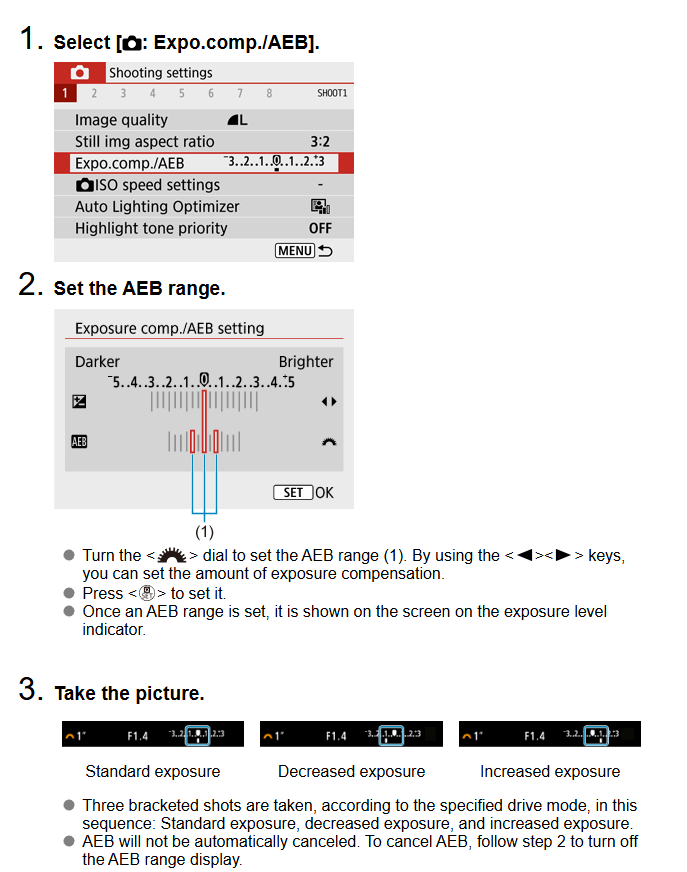
In the menu, select the second tab and go to ‘Expo. Comp. /AEB
Use the dial on the top of the camera to set the range of exposure you want to capture with your 2nd and 3rd photo
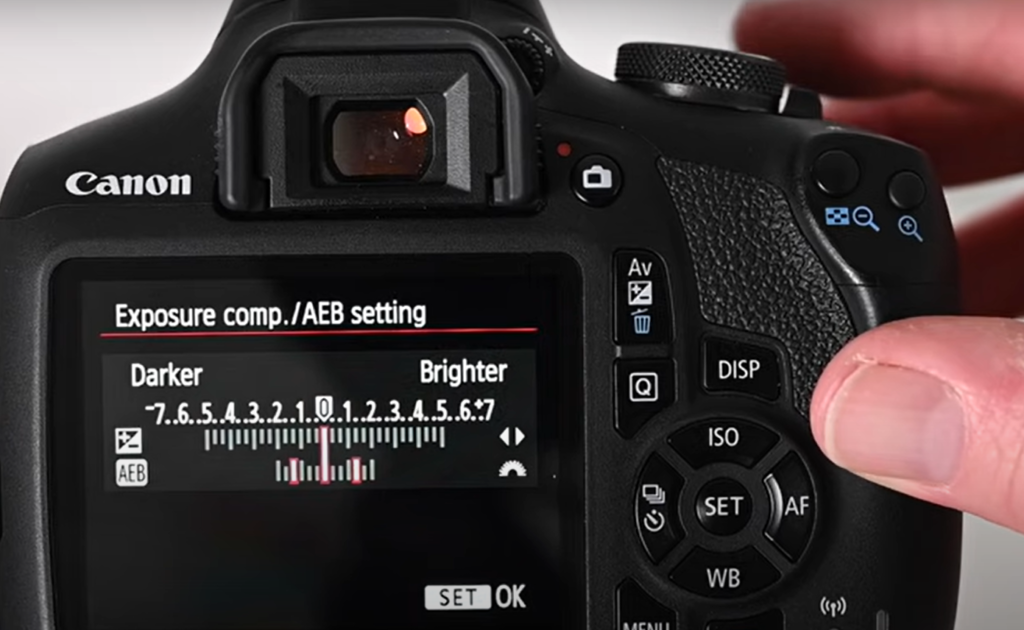
After you have set the exposure range, you will see two extra marks on the exposure metre

Now take 3 photos and your camera will automatically change the exposure for each one.
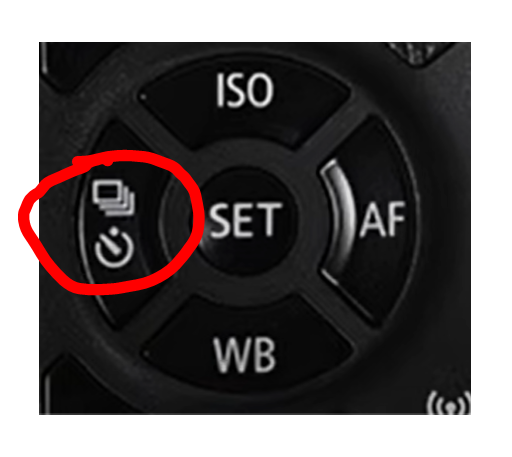
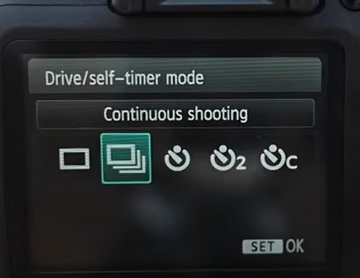
TIP: You can also set the camera to continuous shooting, to take 3 photos in close succession – all you need to do is hold the shutter button down.
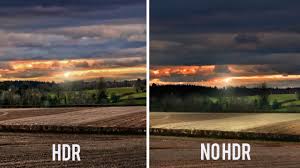
HDR stands for High Dynamic Range, which refers to the amount of contrast between the darkest and the lightest areas of a photograph. Most regular cameras struggle to balance photos where there is a high contrast between dark and light areas.
how to edit into –
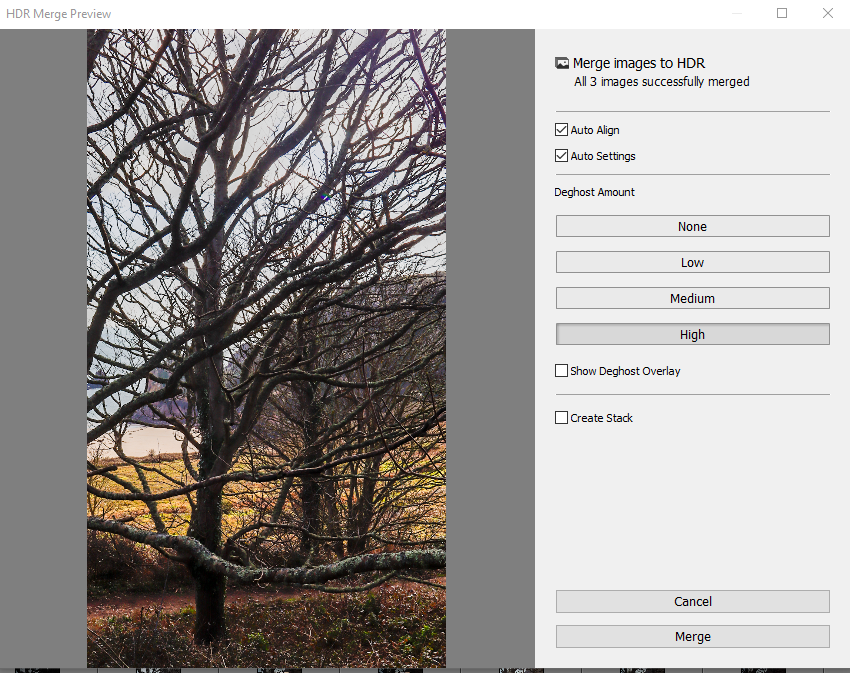
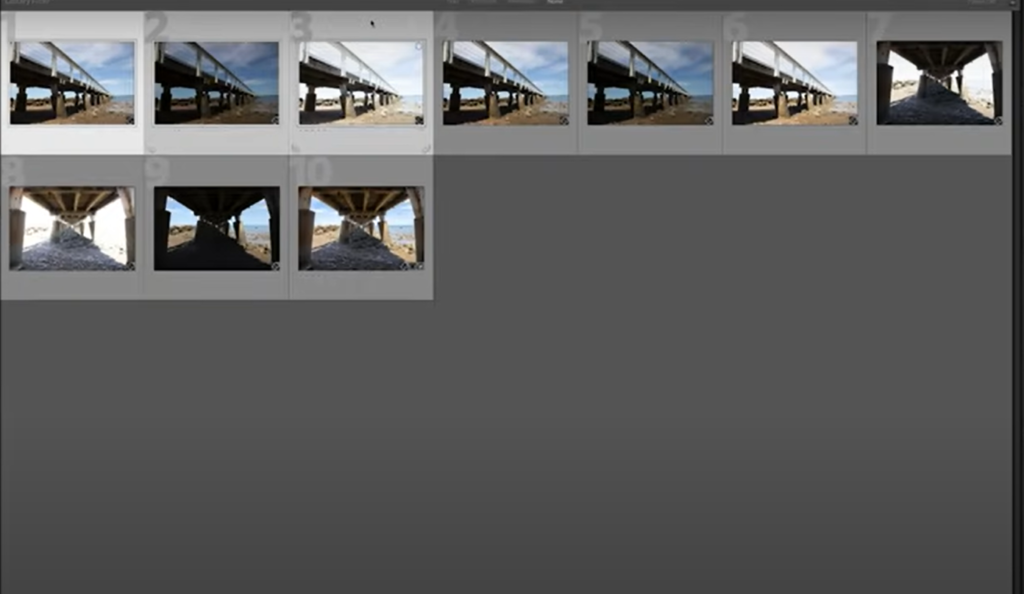
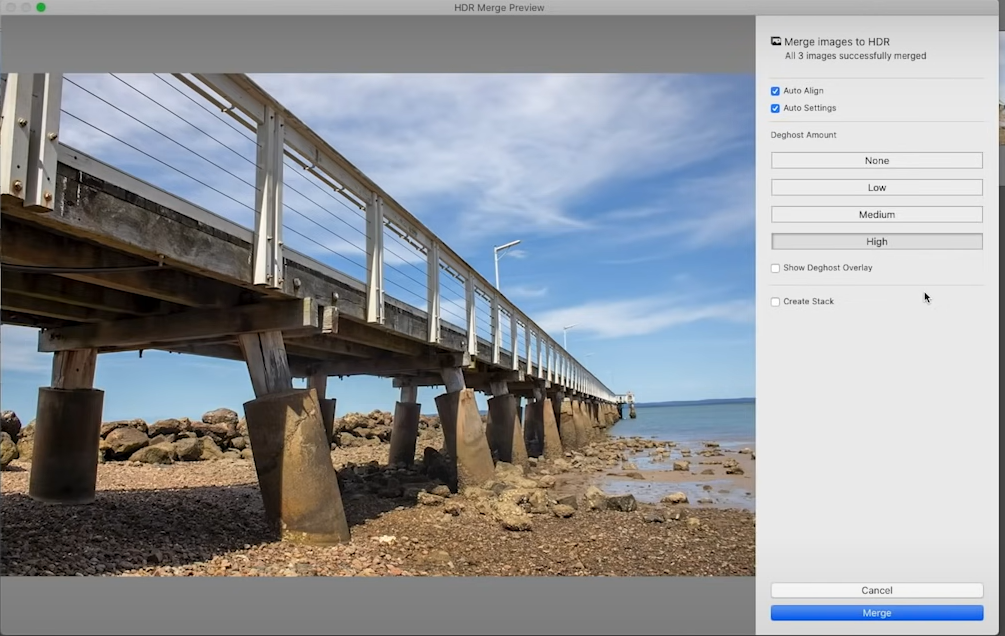
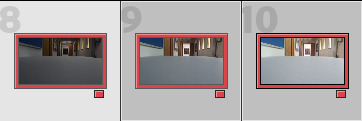
Open your photos in Lightroom Classic, highlight the 3 images you want to merge
Go to the top and click Photo>Photo Merge>HDR
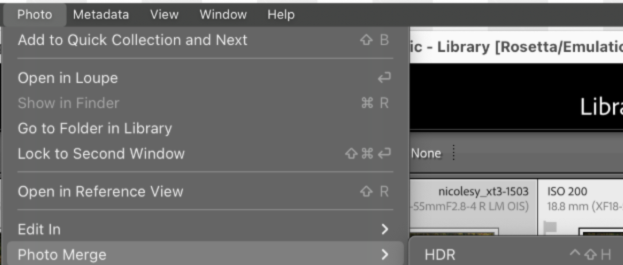
If you’re happy with the preview, click merge
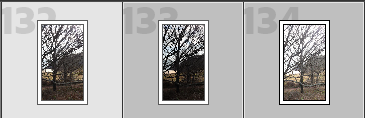
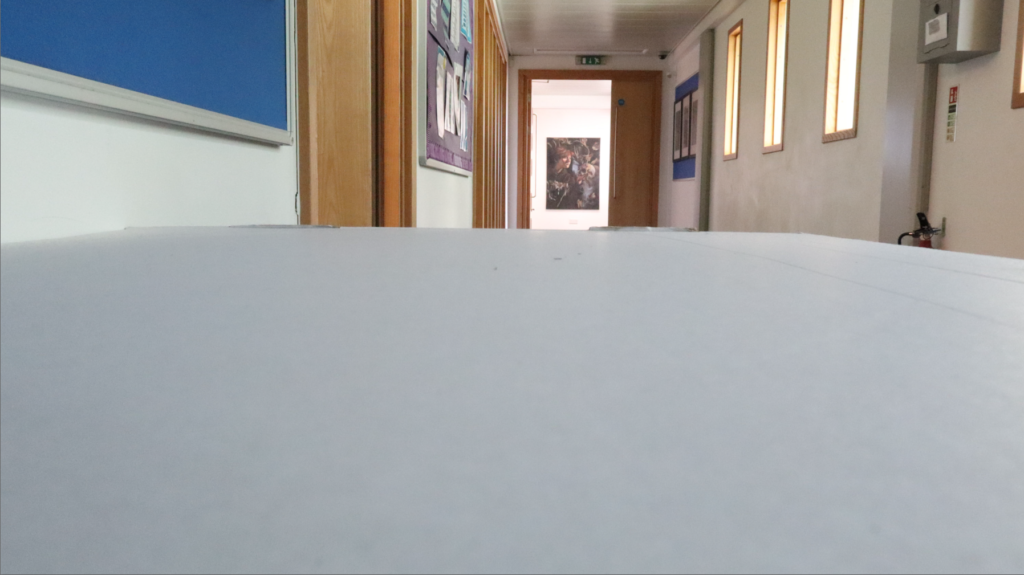
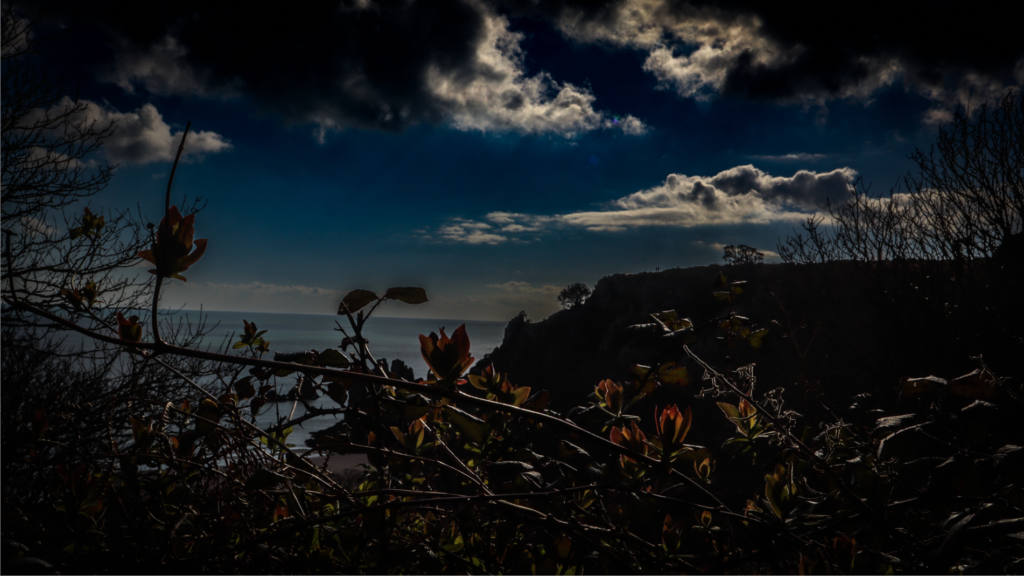
my own examples –
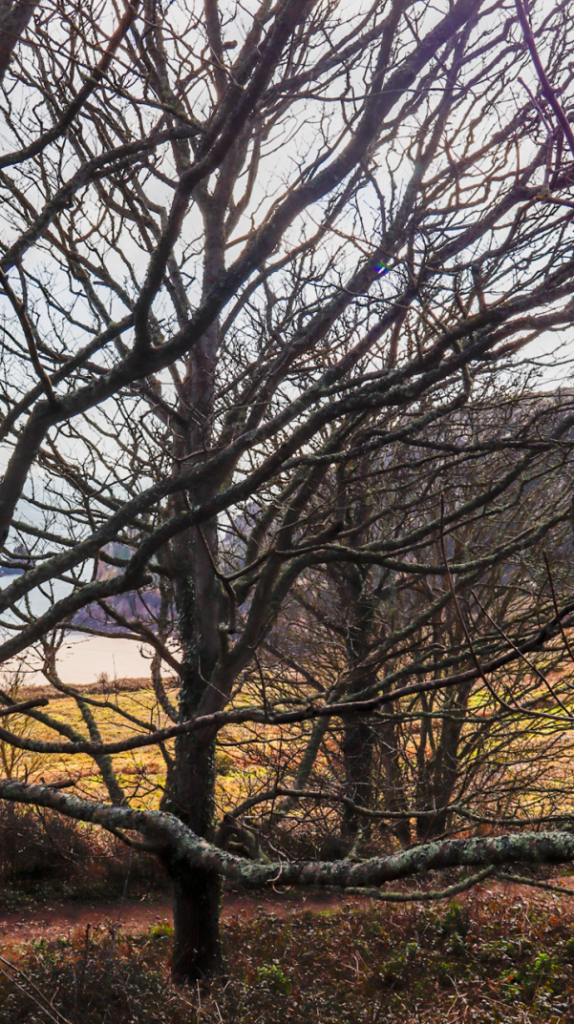
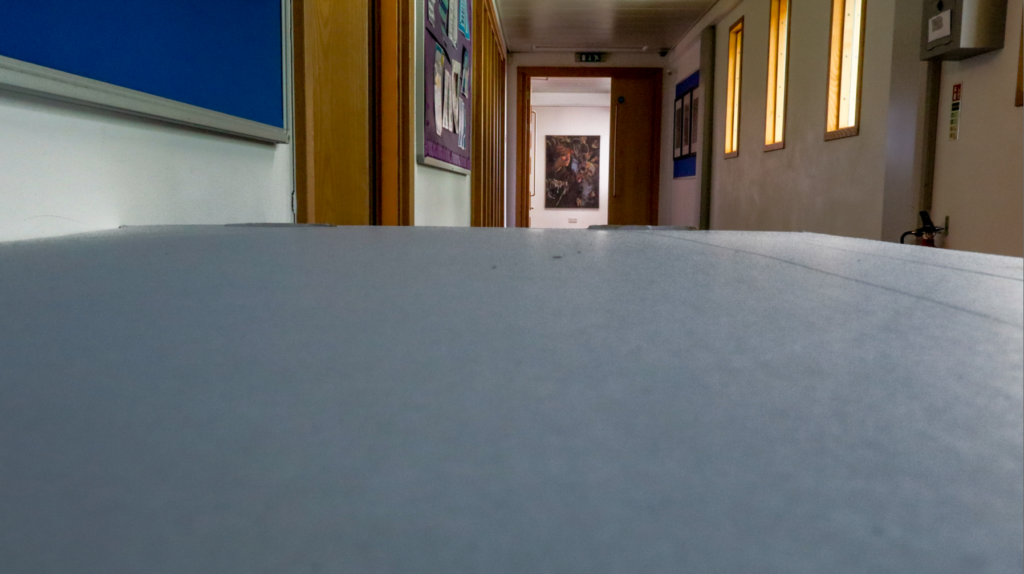
final image from these images – this used the merge method –
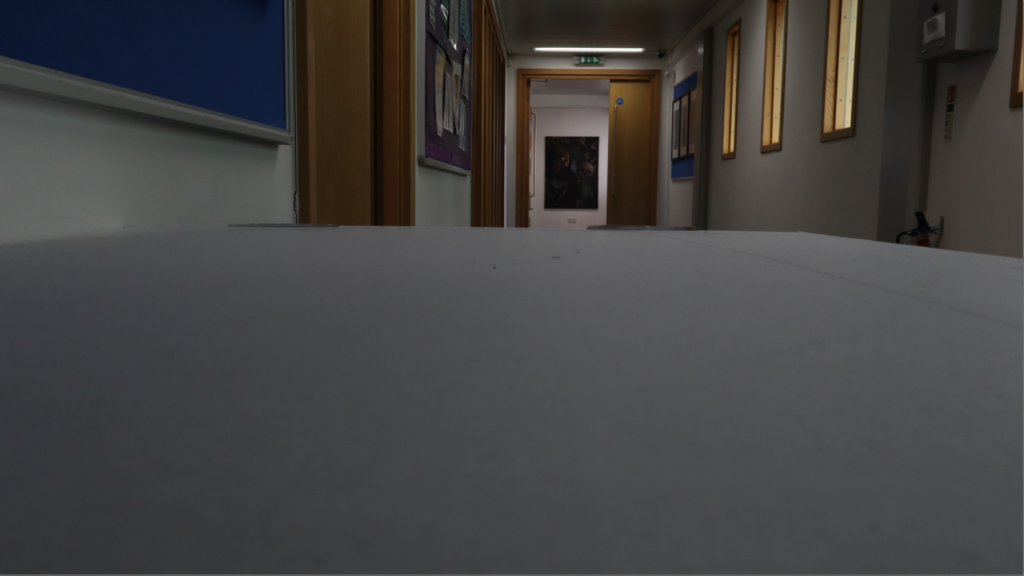
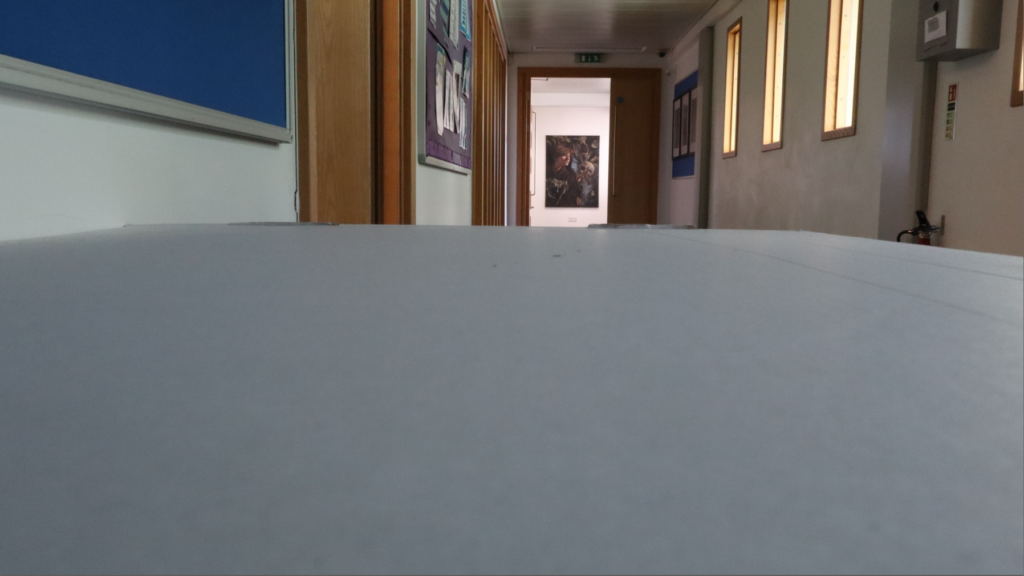
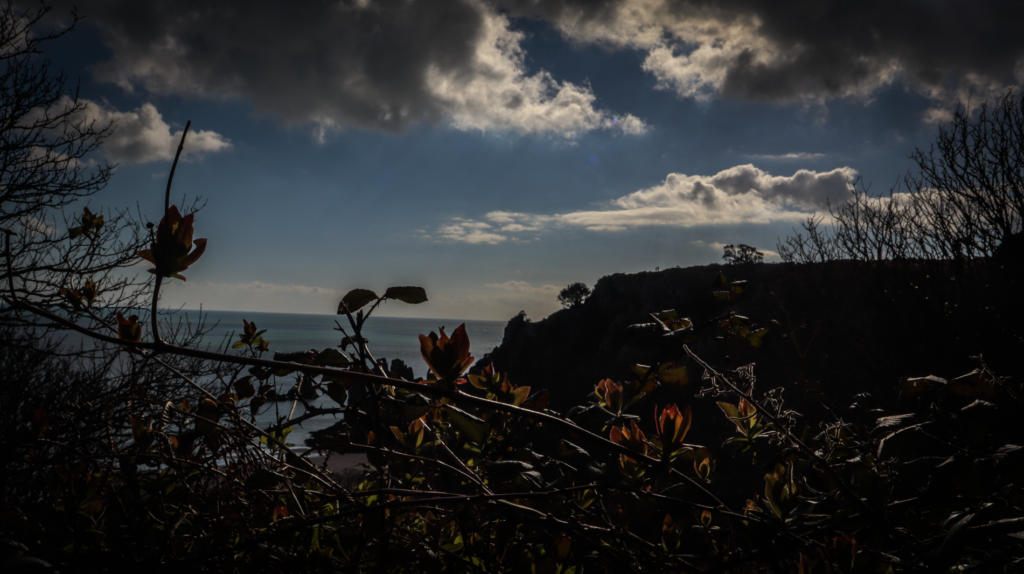
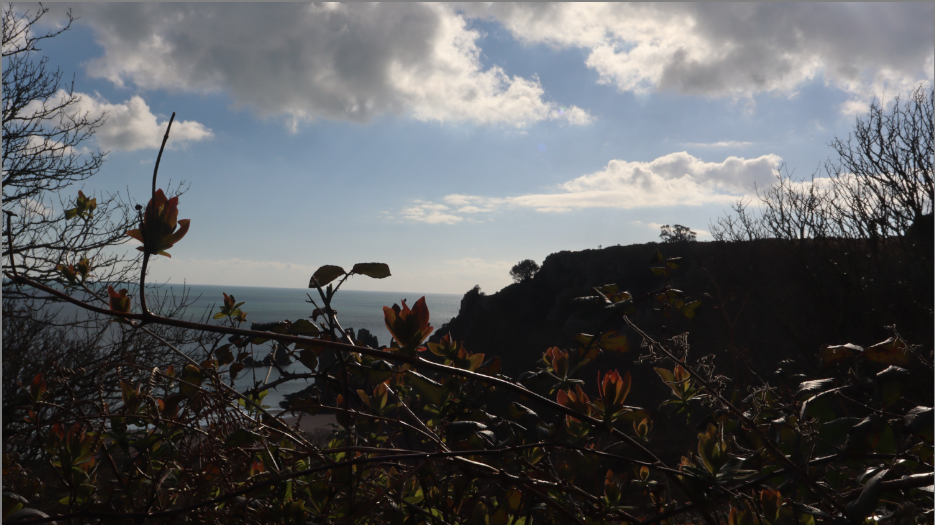
also used some of my photos that I took out of school –
with this u can see that the first photo is when its been edited using HDR on Lightroom and the one below is without.
which I also added a preset called dark drama to edit the sky and to enhance the drama within the image
merge method using better photo –