
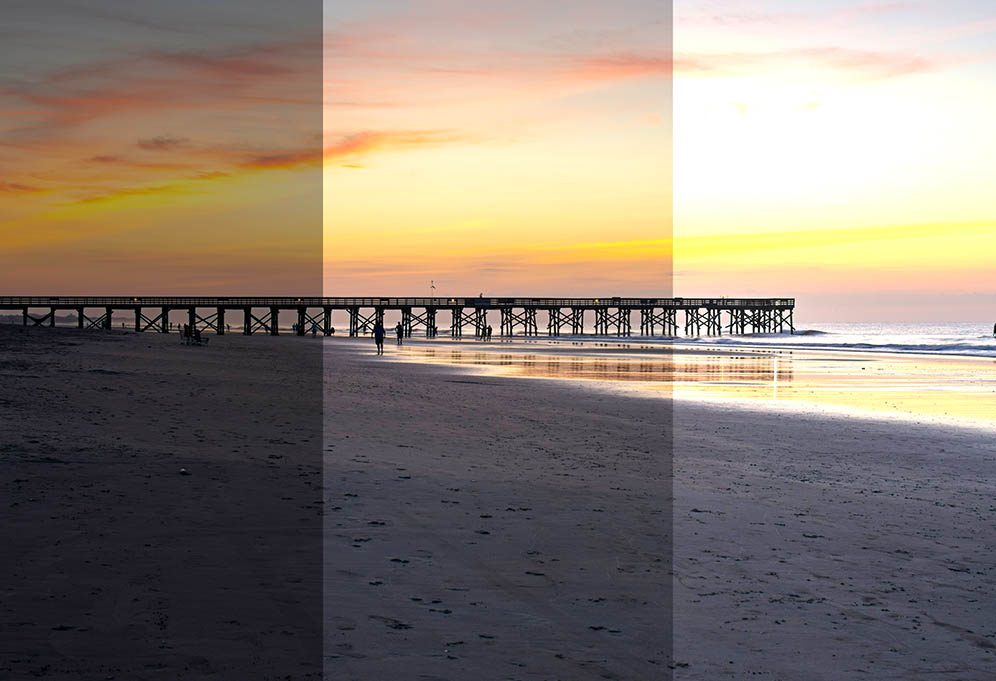
Exposure Bracketing is the process of taking multiple pictures in the same scene with different exposure levels, from really low exposure to really high exposure. You then would use those series of photos to blend and mix them together which in return should create a photo with a much higher dynamic range where it will give you all the details you will ever need.
Exposure Bracketing works very well with still images like landscapes which can help create a HDR Photo that will retain all the details in the images. Exposure Bracketing is not really useful in moving images as if you merge them to make a HDR Photo then you might see some weird effects and it wont be as effective.
Exposure Compensation
Exposure Compensation allows you to override the automatic exposure adjustments your camera makes in situation’s where light is either really bright, dark or uneven. It basically allows you to adjust the brightness of your image manually.
HDR
HDR or High Dynamic Range is a way to capture the lightest detail and darkest detail of a photo, you would typically use Exposure Bracketing to gain a series of high and low exposure photos which you could then merge together to make a HDR Photo.
How does HDR work?
It works by grabbing the details captured from the multiple photos taken in different exposures, for example lets say you take a picture that has some intense shadows and the bright blue sky. With a normal automatic exposure the camera would try to capture all the light and shadows but at the price of sacrificing detail and the amount of light in those certain areas. However by using multiple exposures with Exposure Bracketing it allows you to get the best detail of the sky with the low exposure image and the best detail of whatever is around or in the shadows in the high exposure image. You would then merge the low and high exposure photos together in a program (for example Lightroom) which would then take the best details out of the low exposure image and the best details out of the high exposure image and merge them together to make a HDR Photo with all the details and light being shown to its fullest potential.
My HDR Photos attempt
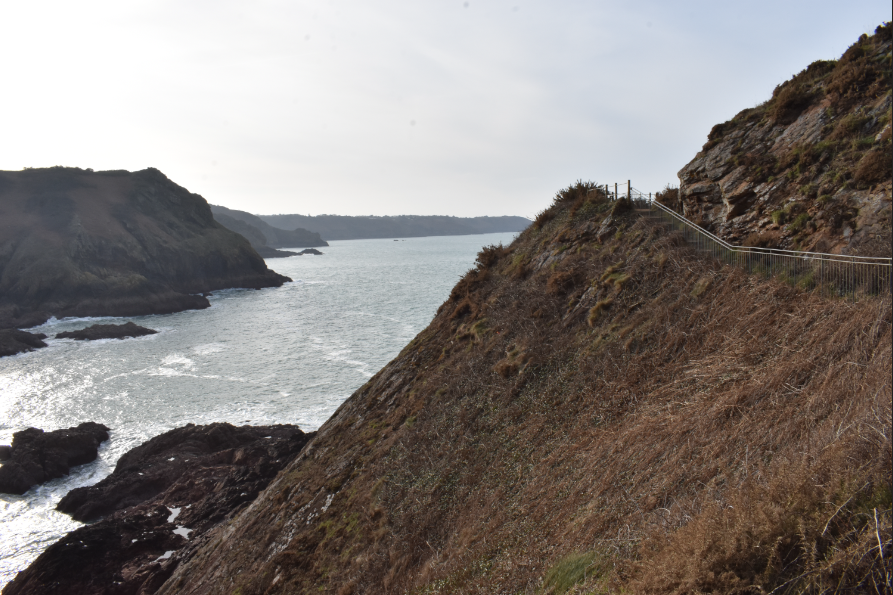
Before
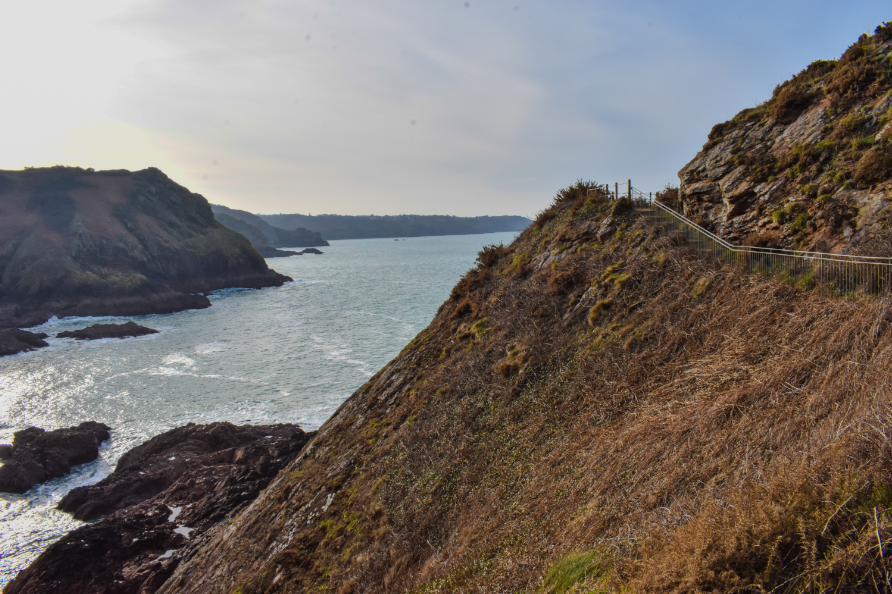
After
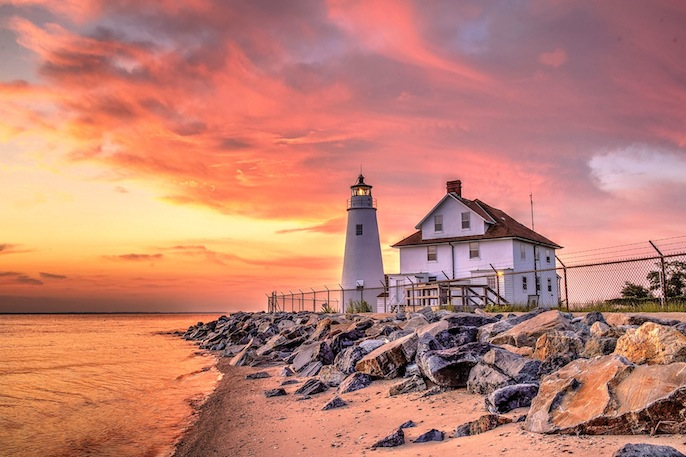
We can see with the before image that the colours are lacking as well as details like the sky or water are quite overexposed due to it being too bright outside. But changing the image into a HDR Photo has helped to bring the water and sky back into the image and it has made it more detailed and viewable with the waves in the water now being viewable as well as the clouds in the sky which is also now viewable. it has also made the colours more vibrant however i did turn up the vibrancy a bit more to capture more detail in those bright colours.
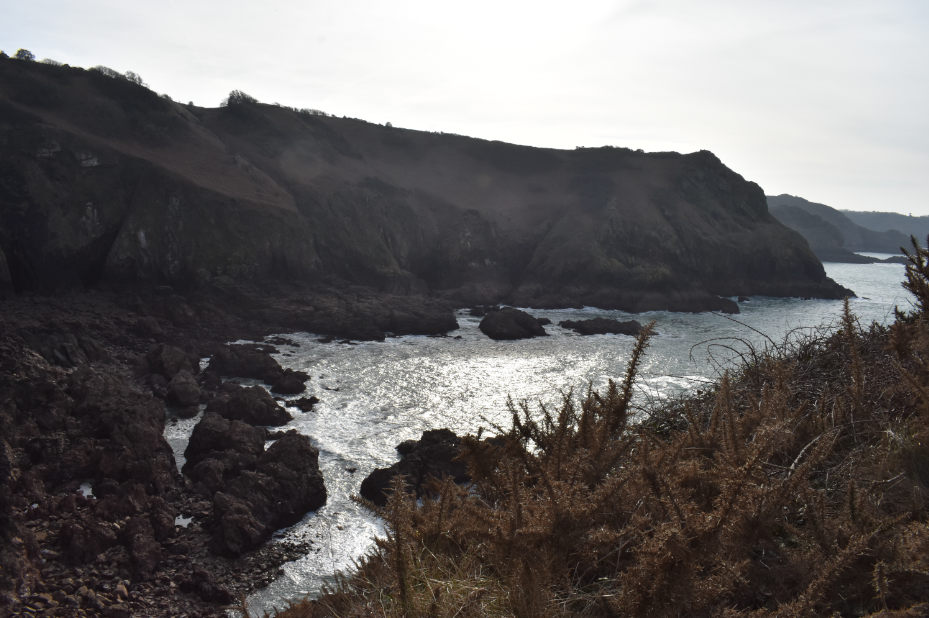
Before
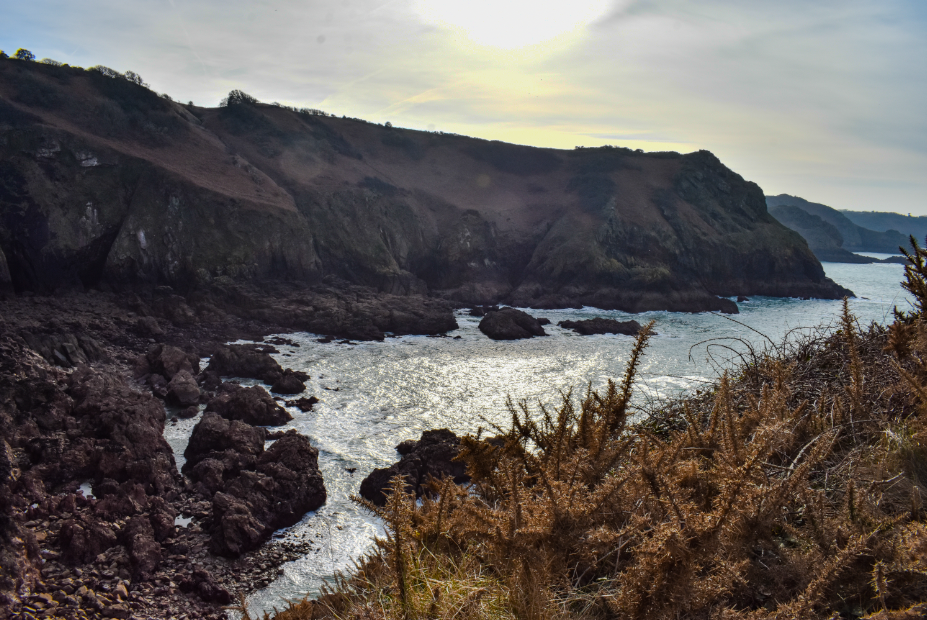
After
We can see with the before image that the sky was quite overexposed with half of the clouds being hidden, we can also see that some details around the rocks in the sea were quite dark. But by changing it into a HDR Photo we can now see that the rocks are more detailed and the clouds in the sky are fully viewable. I have also changed the vibrancy of the image and the saturation in order to brighten up the image and add more colour as well as to help bring more detail into the clouds and rocks at the bottom.
Before
After
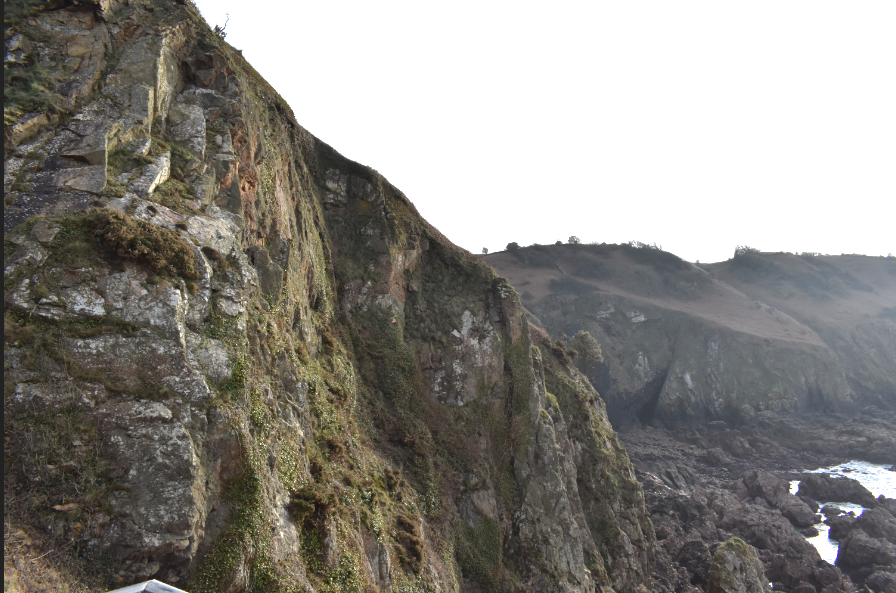
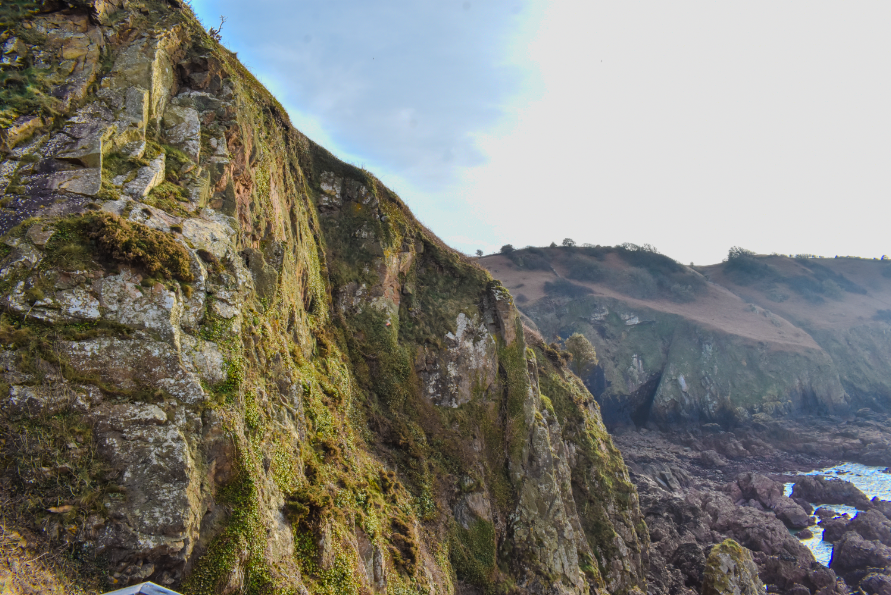
We can see with the before image that the cliffs and the rocks at the bottom are quite dark, we can also see the grass and the plants lack colour and detail. We can also see the sky which appears to be overexposed with the clouds being barley visible. With the after image we can now see that the cliffs and rocks at the bottom have brightened up making the image have more detail and colour, we can also see that the plants now have more detail added as well with more colour which was achieved by adjusting the saturation and vibrancy of the image. The sky was also more visible with the after image and to make it stand out more I adjusted the haze to try and bring out as much detail as I could.