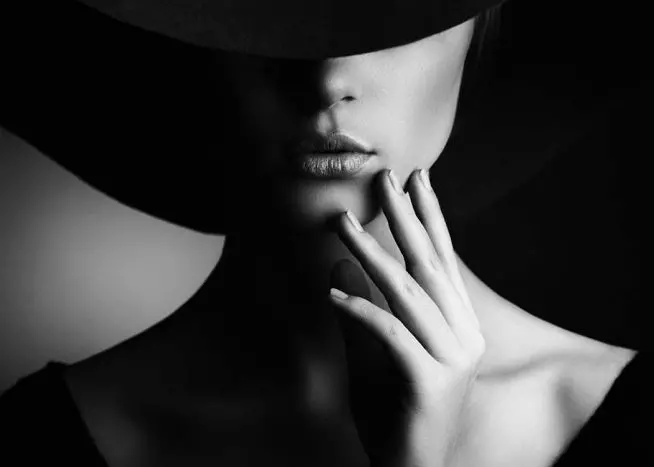
studio lighting

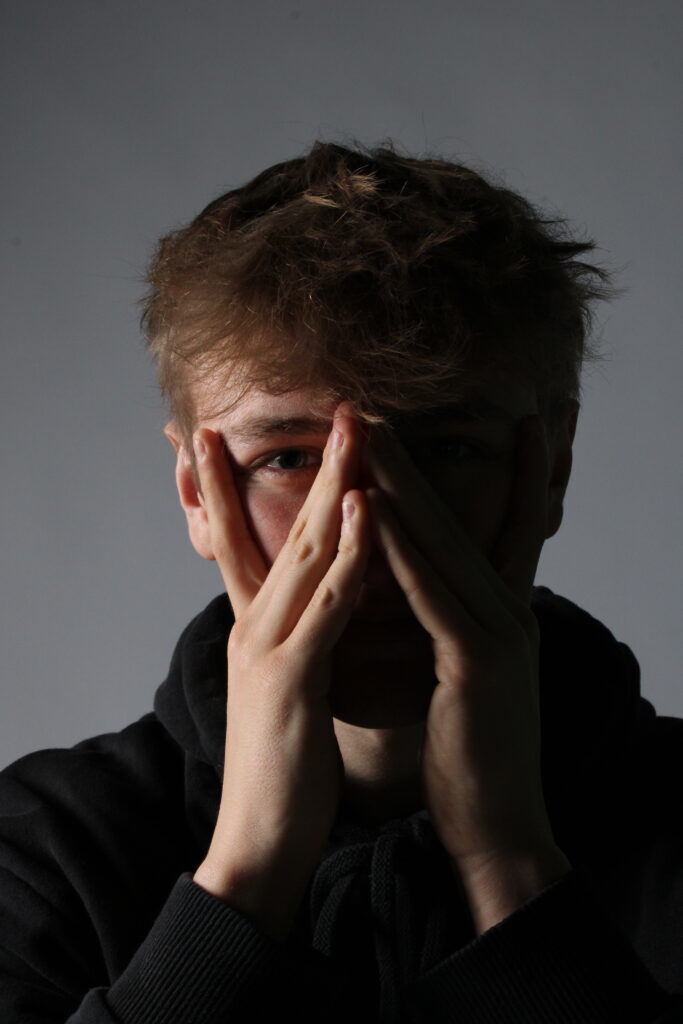
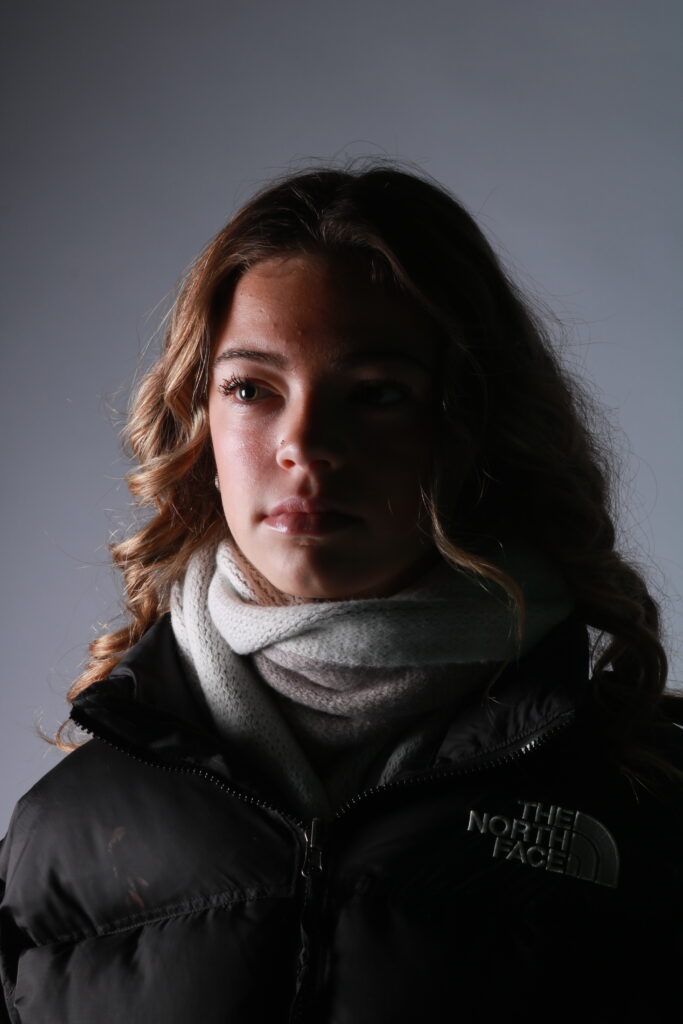
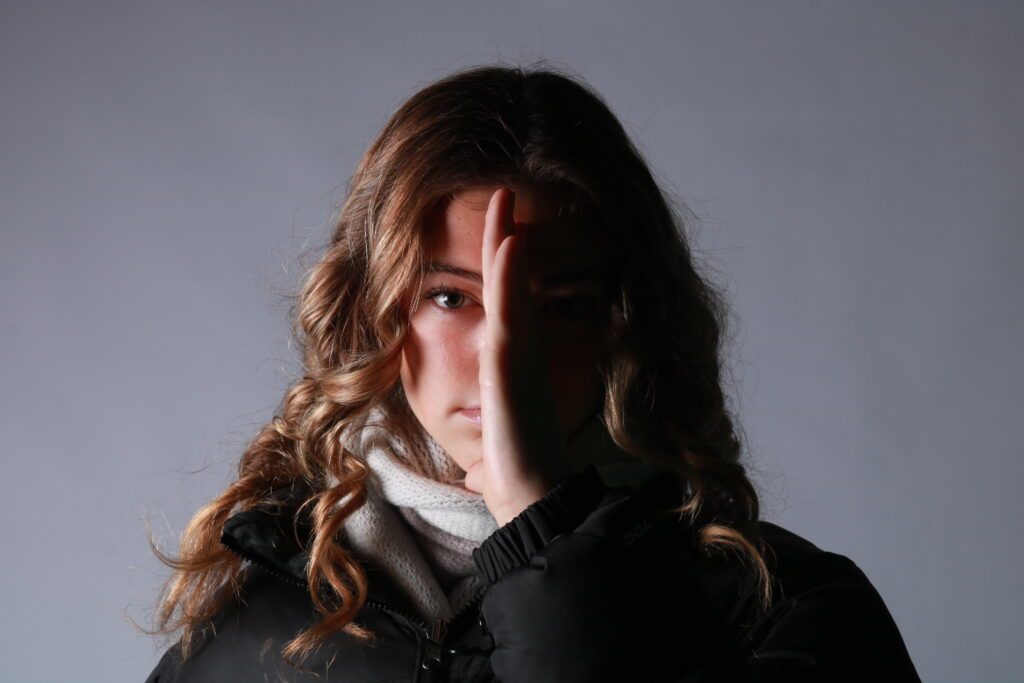
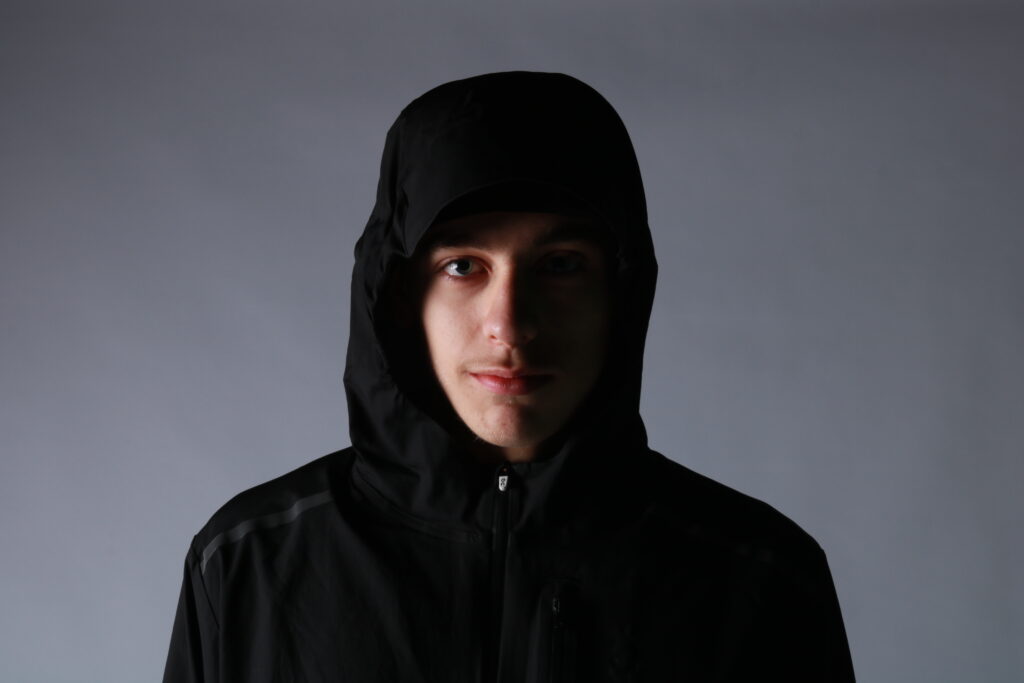
Studio lighting is a popular choice for portrait photographers who want complete control over their lighting environment. In a studio setting, photographers can use a variety of lights, such as soft boxes, umbrellas, and beauty dishes, to create the perfect lighting setup for their subject.

Studio lighting in photography happens when a photographer uses an artificial light source to either add to the light that’s already there, or to completely light their photograph. Setups can range from using a single flash that you mount onto your camera, to multiple off-camera lights.

difference between 1-2-3 point lighting

point 1 – key light

usually the strongest point of light and most influence within the area, places to on side of camera or subject.

point 2 – fill light

if are to lights the more stronger one is your key light and the less one is your fill light, which is usually places the opposite side of the key light, which is used to full the shadows created by the key light. The fill will usually be softer and less bright than the key

point 3 – back light

the third light in your kit after setting up the key and fill will become the back light which is also known as the rimhair, or shoulder light.

The back light is normally placed behind the subject and lights it from the rear.

The back light is the light that makes your shot ‘pop’. Rather than providing direct lighting, like the key and fill, its purpose is to provide definition and subtle highlights around the subject’s outlines. If setup correctly there should be a subtle rim of light around your subject. This helps separate the subject from the background and provide a three-dimensional look.

additional lighting – 4 point light setup

If there is a fourth light available to you then it would become your background or environment light.

The background light is placed behind the subject. Unlike the other three lights, which illuminate foreground elements, it illuminates background elements, like walls or outdoor scenery. This technique can be used to eliminate shadows cast by foreground elements onto the background, or to draw more attention to the background.

This setup would then typically become known as a four point lighting setup.

Rembrandt lighting

is a classic photographic and cinematic technique that creates a dramatic yet natural look by using a single light source positioned at 45-degree angle to the subject and slightly above eye level. it is characterized by a distinct triangle of light on the shadowed cheek, under eye, formed by the interplay of light and shadow. this high contrast effect adds depth and dimension, emphasizing facial features. commonly used in portrait photography and dramatic scenes, Rembrandt lighting evokes a sense of mystery and intensity, making it a popular choice of creating moody, compelling visuals.

Butterfly lighting

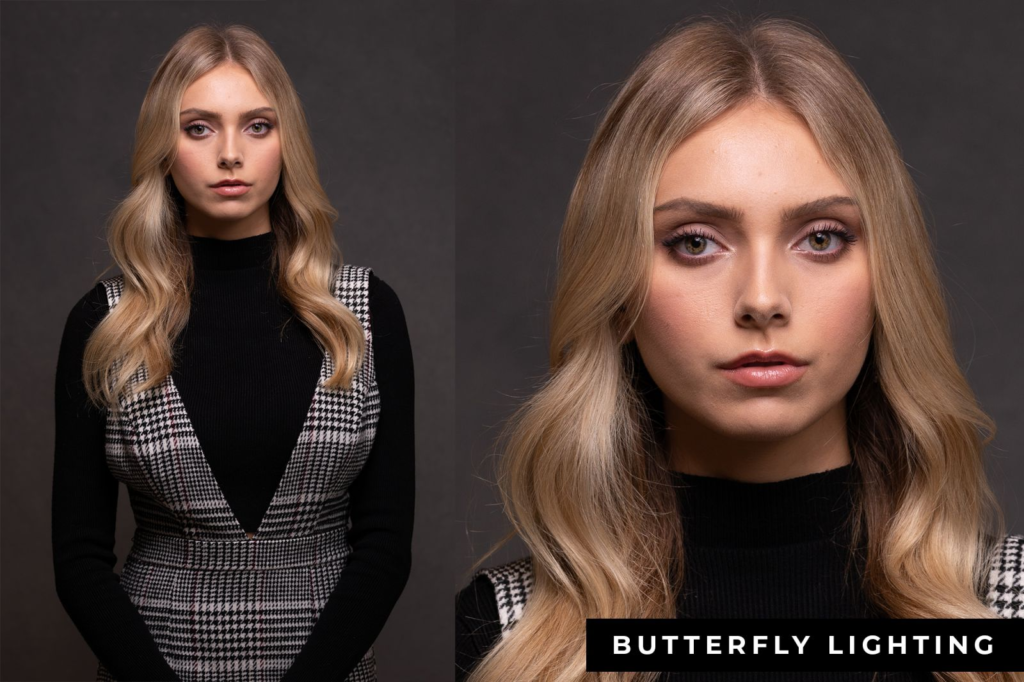
is a portrait lighting technique characterized by a small, butterfly shaped shadow directly under the subjects nose. it is achieved by pacing a single light source above and directly in front of the subject, normally a a 30 – 45 decree angle. this setup highlights the cheek bones and creates a smooth, flattering look, making it popular for beauty, glamor and headshot photography.

Butterfly Lighting

Chiaroscuro

is an artistic technique that uses a strong contrasts between light and shadow to create sense of depth, volume and drama. originating in the renaissance it was formally used by artists like Caravaggio and Rembrandt to emphasize three dimensional forms and evoke mood. in visual arts, chiaroscuro highlights specific areas of a subject while leaving others in shadow, gilding the viewers focus and enhancing the emotional intensity of the sense. this technique is also widely applied in photography and cinematography for dramatic lighting effects.

fill lighting

A fill light is a the style of lighting which is often used in theatre and film as well as in photography. Often used as part of a three point lighting set up, fill lighting is utilised in order to light up the shadowed parts of your setting – this creates less contrast where you do not want it.

raw photos

best raw photos –

yellow shows chiaroscuro and red is Rembrandt and green shows butterfly

Rembrandt –

in this photo its shows the light technique of Rembrandt lighting, and with in this photo a reflector is used to the shadows don’t completely block out half of the face. Also even with the glasses u can see the triangle and how it dose not effect the lighting.

same for this one but its more obvious that’s its Rembrandt lighting, as can see the triangle more so. And the light was moved more so closer to the camera, like half way between the model and camera.

more Rembrandt raw photos

chiaroscuro –

for this photo you can see that its lighting represents more so like Chiaroscuro, this is shown by that half of the face is lit up and the other half is shadow but u can still see the shadow side cause a reflector has been used.

similar for this photos that it represents chiaroscuro, this is achieved by the light to be beside the model, so that the light on the face is only on one side. and again the reflector is used so that the shadow side of the face is still visible.

more chiaroscuro raw photos

butterfly –

within this photo you can kinder see the shadow under the nose and the lighting is focused above the subject to give this effect.

Editing –

chiaroscuro –

other experiments –

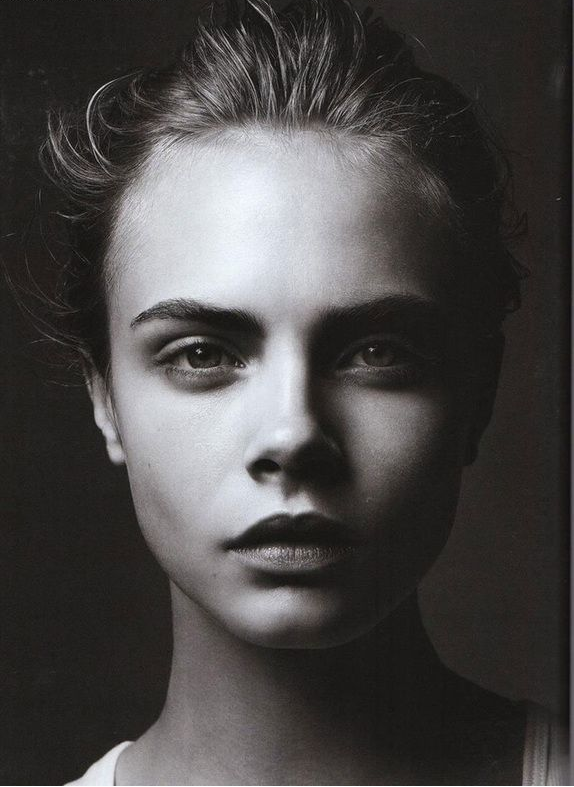
on this photo i edited it into black and white and made the brightness on one side quite bright and on the other side the shadows so that it blends into the background.

Rembrandt –

all edited main photos close up –

tried different experiments –

with this photo I cropped it to seem closer and focused more on the features of the subject.

for this photo I cropped it so was more background and to make photo seem more ominous and makes subject seem really small.

for this photo I tried to see what it would look like in black and white.

Butterfly –

for this I cropped the photo so was made to seem like the subject is really small

with this photo I edited the background so it get rid of the texture and focused on only the subject, made it to a low exposure.

with this photo I edited it in black and white, which made the butterfly effect more obvious.

with in this photo its similar to the last but some of the texture has been taken away.

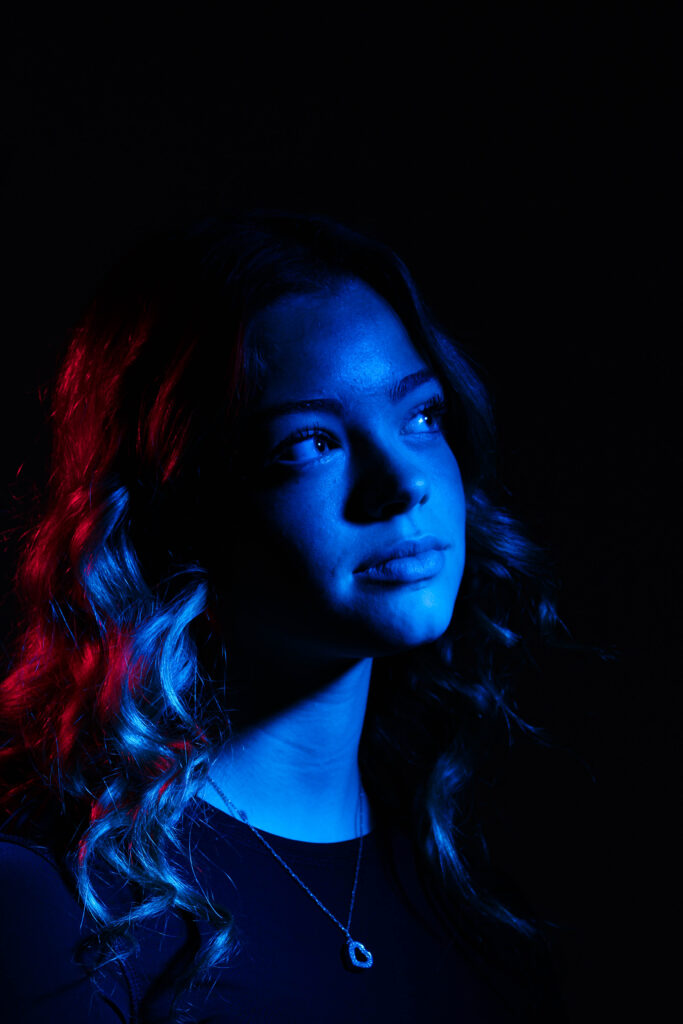
colour gel experiments

raw photos –

edited experiment’s –

final photos –

Studio Portraiture

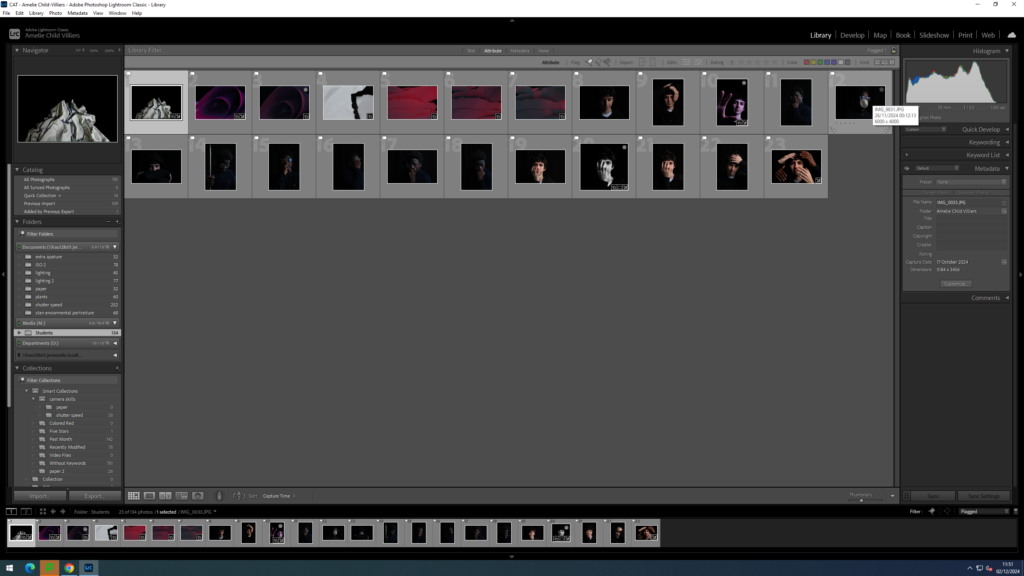
Contact Sheet

Image Selection

Above you can see above I used P and X to flag my images to filter out my worst ones from the ok and good ones, next I rated these images 4 or 5 stars as 4 being ok ones and 5 being good ones, finally I gave them the colour yellow or green, green being the best and yellow being good.

Image Editing

This is one example of Rembrandt lighting due to a triangle present under the left cheek, Which resembles Rembrandt lighting. In this photo there is an intense shadow. On the right of the image you can see all I have done is makes some slight adjustments to the texture and contrast and many other things like that.

This is the same image cropped due to lots of negative space on the left side, which will create an unbalanced photo and I decided to crop the image to centre the subject a bit more.

This is the same photo that has been cropped and slightly edited to enhance the Rembrandt lighting more. By being edited the image looks much more clearer.

Contact Sheet

This is my contact sheet for Rembrandt lighting.

Image Selection

Above you can see above I used P and X to flag my images to filter out my worst ones from the ok and good ones, next I rated these images 4 or 5 stars as 4 being ok ones and 5 being good ones, finally I gave them the colour yellow or green, green being the best and yellow being good.

Original Image

This is one example of Rembrandt lighting due to a triangle present under the left cheek, Which resembles Rembrandt lighting. In this photo there is an intense shadow. On the right of the image you can see all I have done is makes some slight adjustments to the texture and other things like that.

Black and White Image

This is the same image cropped due to lots of negative space on the left side, which will create an unbalanced photo and Next you can see I decided to crop the image to centre the subject a bit more.

This is the final black and white image. This is the same photo that has been cropped and slightly edited to enhance the Rembrandt lighting slightly more. By being edited the image looks much more clearer and concise .

Butterfly Lighting

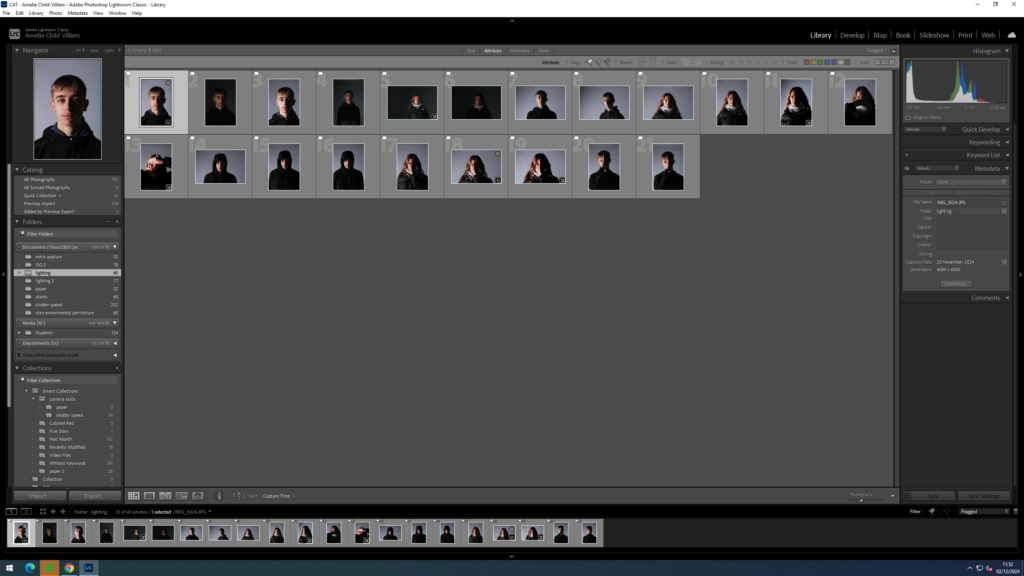
Contact Sheet

Image Selection

Above you can see above I used P and X to flag my images to filter out my worst ones from the ok and good ones, next I rated these images 4 or 5 stars as 4 being ok ones and 5 being good ones, finally I gave them the colour yellow or green, green being the best and yellow being good.

Image Editing

I have done some slight editing to enhance the contrast, texture ,whites and black.

Next ,I’ve decide to crop the image to decrease the negative space on either side , so the photo can looked balanced . I have also cropped the image make the subject more centred.

Final Outcome

Black and White

This is the same image cropped due to lots of negative space on the left side, which will create an unbalanced photo. Next you can see I decided to crop the image to centre the subject a bit more.

Final Photo with an Evaluation

This is the final black and white image. This is the same photo that has been cropped and slightly edited to enhance the butterfly lighting slightly more. The butterfly lighting is present under the frame of her glasses . By being edited the image looks much more clearer and concise .

Spilt Lighting

Image Editing

In this photo, I have some slight editing. I have edited the texture, highlights, black and the shadows.

I have cropped the image due to there being to much negative space on the left side .I have done this because it might ruin the photo and the photo will be unbalanced. I also cropped it to ,make the subject much more centred.

Exploring Lighting

Studio Lighting

Rembrandt lighting is a technique utilizing one light and one reflector or two separate lights.
Butterfly lighting is used in portrait photography where the key light is placed above and at an angle above the subject’s face.
Chiaroscuro is the use of strong contrasts 
between light and dark tones.

Studio Photos

Lighting Set Up
Chiaroscuro
Rembrandt

Butterfly Lighting Photos

Edited Photographs

Colour Gel Experiments

Library of Identity Photographers

Claude Cahun:

  • Adopting various identities

Clare Rae

  • Figurative environment

Cindy Sherman:

  • Portrayal of gender in media
  • montage

Francesca Woodman

  • Long exposure
  • Movement
  • Memories

Photograph moving subjects to create blurred, painterly forms, as in these examples by Mirjam Appelhof:

  • Long exposure
  • Movement
  • Memories
  • Transience

Other examples of slow shutter speed

Morath & Saul Steinberg – the ‘Mask’ series

  • Disguise

Designer Francesca Lombardi created these enigmatic origami animal masks for photographer Giacomo Favilla’s series called “One Of Us.”

Ralph Eugene Meetyard

Lasse Holie

Nikita Pirogov:

  • Juxtaposition – using a second photography to communicate something about the person in the portrait

Christoffer Relander

  • Double exposure
  • Express emotion

Alicja Brodowicz

  • Juxtaposition
  • Body / Natural Forms

David Hockney

  • Distort

The Reflected/Mirror Selfie

Try using a range of reflective surfaces (not just mirrors). What happens when you choose a shop window, curved surfaces or a sequence of mirrors

Duane Michals

 Alban Grosdidier

  • Convey feelings of drowning under pressure

Sakir Yildirim

Wes Naman

The Disguised Selfie

Lots of photographers/artists focus on the theme of disguise, from Cindy Sherman and Claude Cahun to Alec Soth

Alec Soth – ‘unselfie’ from the series Broken Manual, 2009:

 The Obscured Selfie

Associated with the Disguised Selfie, there are several examples of photographic Selfies in which the subject’s face is obscured

Richard Hamilton

 The Human Sculpture/Performance Selfie

Rather than taking a straightforward self-portrait, some artists have experimented with transforming themselves (and others) into sculptures. 

Erwin Wurm – One Minute Sculpture

Clare Rae

The Surreal Selfie

Erwin Blumenfield – Self-portrait, 1945

Brian Oldham – Self-portrait with butterflies

The Mask Selfie

rwin Blumenfeld – Self-Portrait with mask, New York, ca 1958

Simryn Gill – A small town at the turn of the century, 1999-2000

Capture the same scene at different times, as in this photography series by Clarisse d’Arcimoles:

Create a complex ‘unrealistic’ setting and photograph it, as in this composition by Cerise Doucède:

Unknown photographer / Noor+

Digitally draw over photographs, as in these portraits by May Xiong:

Cut through photographs to expose other layers of photographs below, as in these images by Lucas Simões:

Create layered handmade collages, like these works by Damien Blottière:

Combine multiple exposures to create the illusion of repeated objects, like these creative compositions by Lera:

Photograph scenes through small gaps or holes, as in these photographs by Reina Takahashi:

 Gianfranco Meloni:  

Stitch photographs together, like Lisa Kokin

Maurizio Anzeri

Example Student Response to their own research:

Paul M Smith

  • Lad Culture

Michael Clark

Environmental PortraitureMichelle Sank: from her series Insula – a six month residency in Jersey

This image has an empty alt attribute; its file name is 6175-1024x819.jpeg

Michelle Sank: Maurice from Sank’s series My.Self

Other environmental portrait ideas:

Studio Lighting and creative portraiture

What is studio lighting?

Studio lighting is the use of artificial lighting in order to create a mood or atmosphere by adding to the light that’s already there.
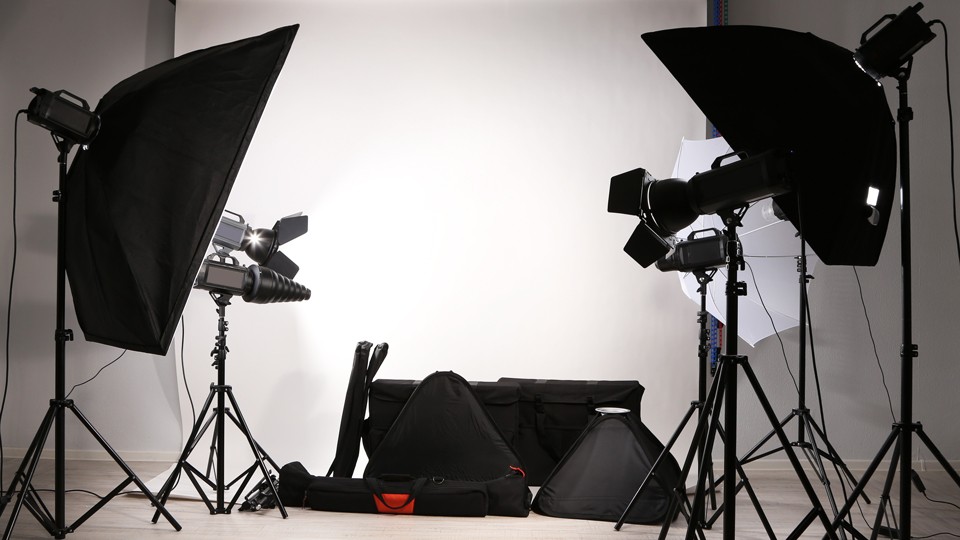
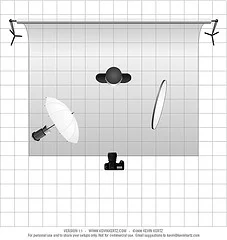
Studio Photography 101 with B&H Photo | Virtual FieldTrips |  CreativeMornings

Different lighting techniques

REMBRANDT LIGHTING

Who was Rembrandt?

Rembrandt Harmenszoon van Rijn otherwise just known as Rembrandt was a dutch painter born in July 15, 1606, Leiden, Netherlands , he was known to be an incredible visual artist and is recognised for his work in regards to lighting

Definition + what you will need

  • achieved using one light and a reflector
  • characterised by an area of the face that is illuminated to appear as though it is an upside down triangle under the eye

How to achieve

‘Normally, the key light is placed high and to one side at the front, and the fill light or a reflector is placed half-height and on the other side at the front, set to about half the power of the key light, with the subject, if facing at an angle to the camera, with the key light illuminating the far side of the face. The key in Rembrandt lighting is creating the triangle or diamond shape of light underneath the eye. One side of the face is lit well from the main light source while the other side of the face uses the interaction of shadows and light, also known as chiaroscuro, to create this geometric form on the face. The triangle should be no longer than the nose and no wider than the eye. This technique may be achieved subtly or very dramatically by altering the distance between subject and lights and relative strengths of main and fill lights’

– Wikipedia

Example
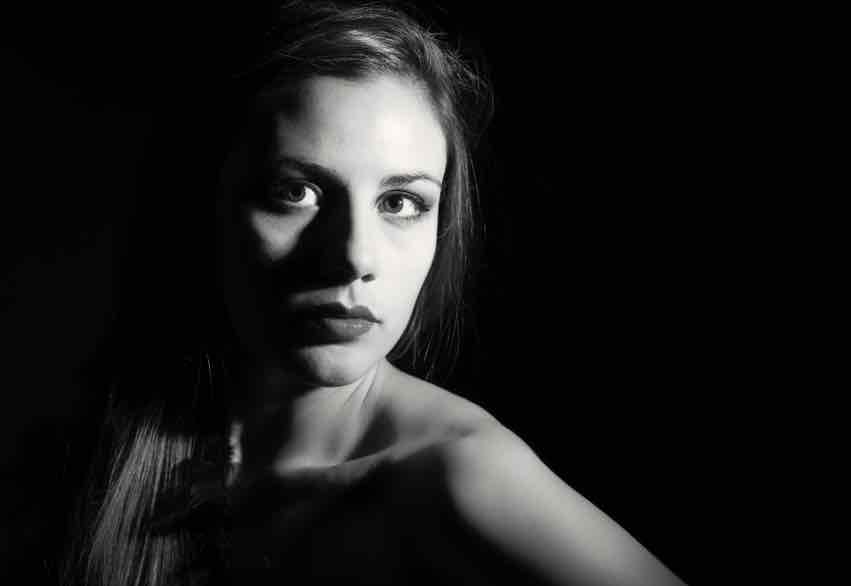
BUTTERFLY LIGHTING

Definition

‘Butterfly lighting is a lighting pattern where the light source is placed slightly above and centre on the face of the subject. You may also see this technique referred to as paramount lighting. When discussing butterfly lighting, we often focus on the tell-tale sign: The shadow under the nose with a butterfly shape.’

You will need:

  • A key light
  • Flashes and triggers
  • Modifiers
  • Reflector

How to achieve

Butterfly lighting setups are simple. In its purest form, it’s a single source (key light) directly in line with the subject’s face and the camera. If the shadows are a little too deep, a reflector can be placed below the subject to bounce light back up into the face. 

– Wikipedia

Example
CHIAROSCURO

Definition

Chiaroscuro is an Italian term which translates as light-dark, and refers to the balance and pattern of light and shade in a painting or drawing.

Example
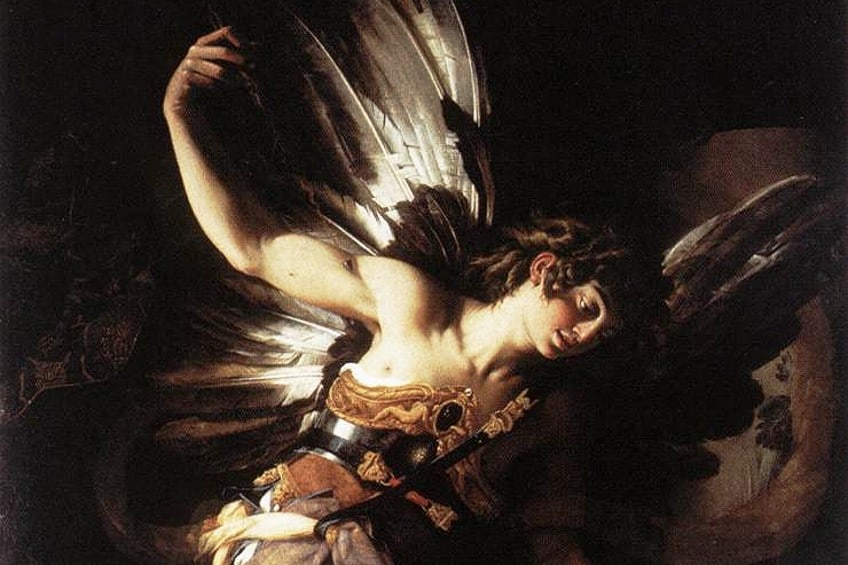
Photo shoot plan

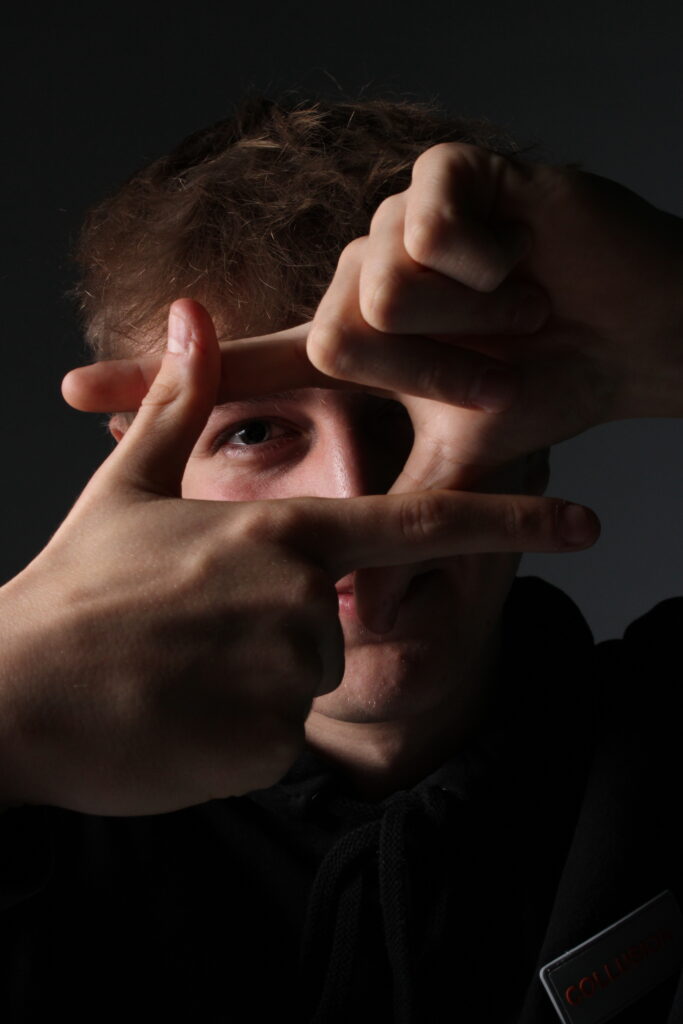
In order to get the most effective lighting and the best photos, i planned to use a studio that had access to different back drops (one white one black) and a plethora of lights , flash lights ,ring lights and more.

I planned to capture split lighting and different coloured lighting and possibly explore rebrand lighting

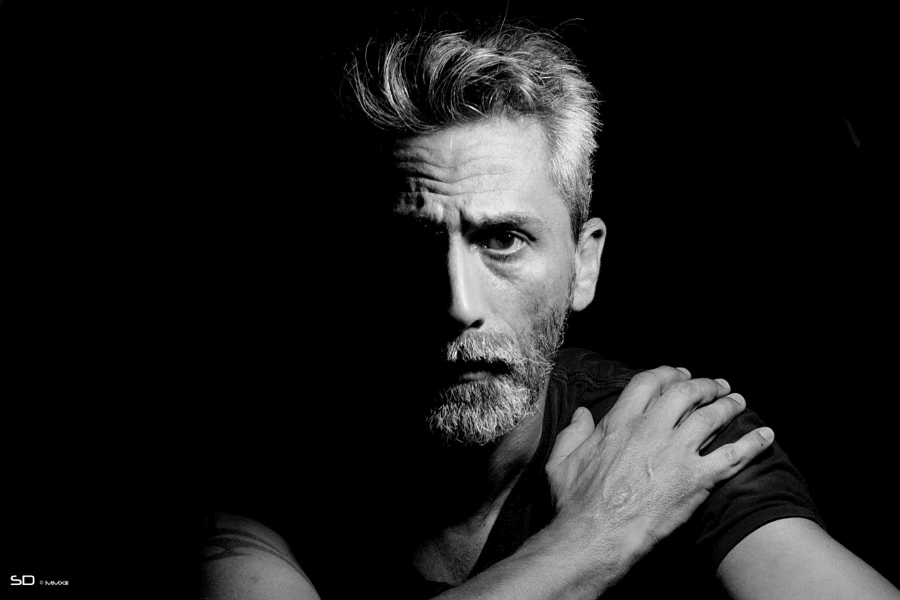
inspiration
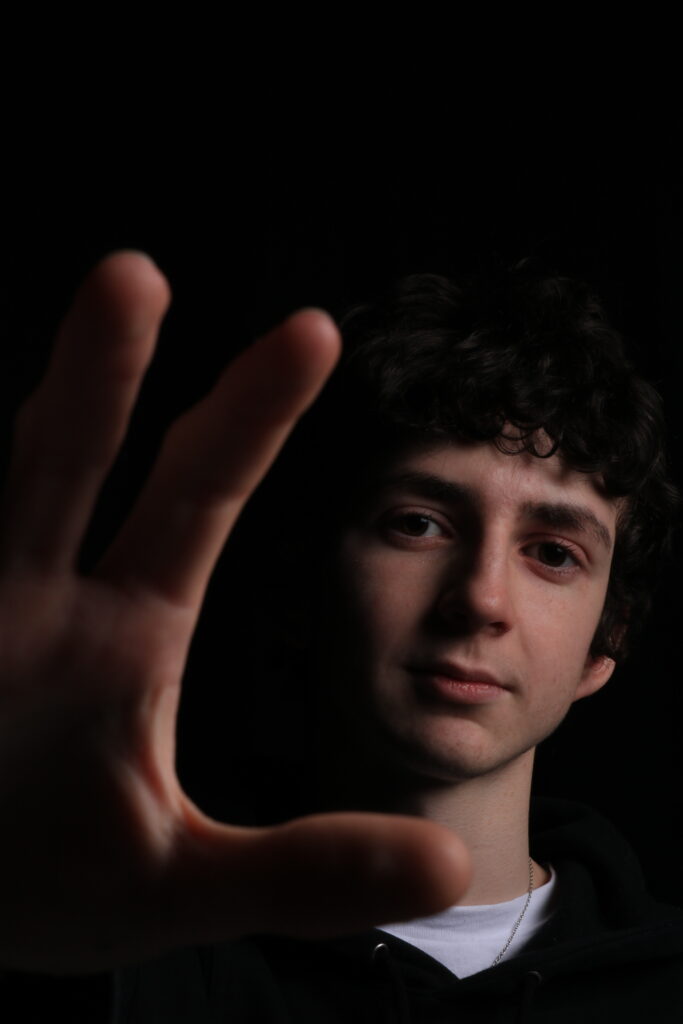
Raw images
Editing and photo selection
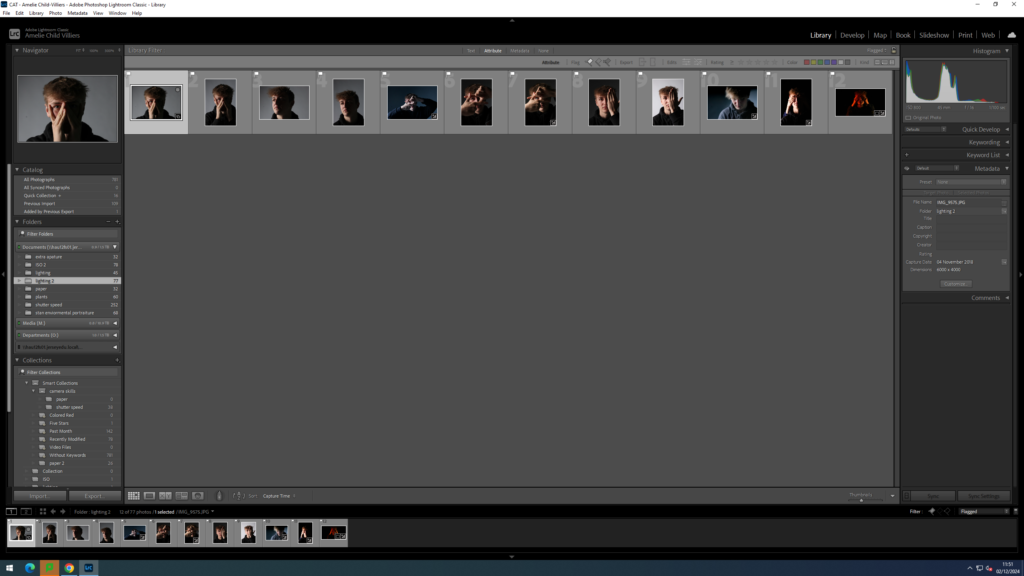
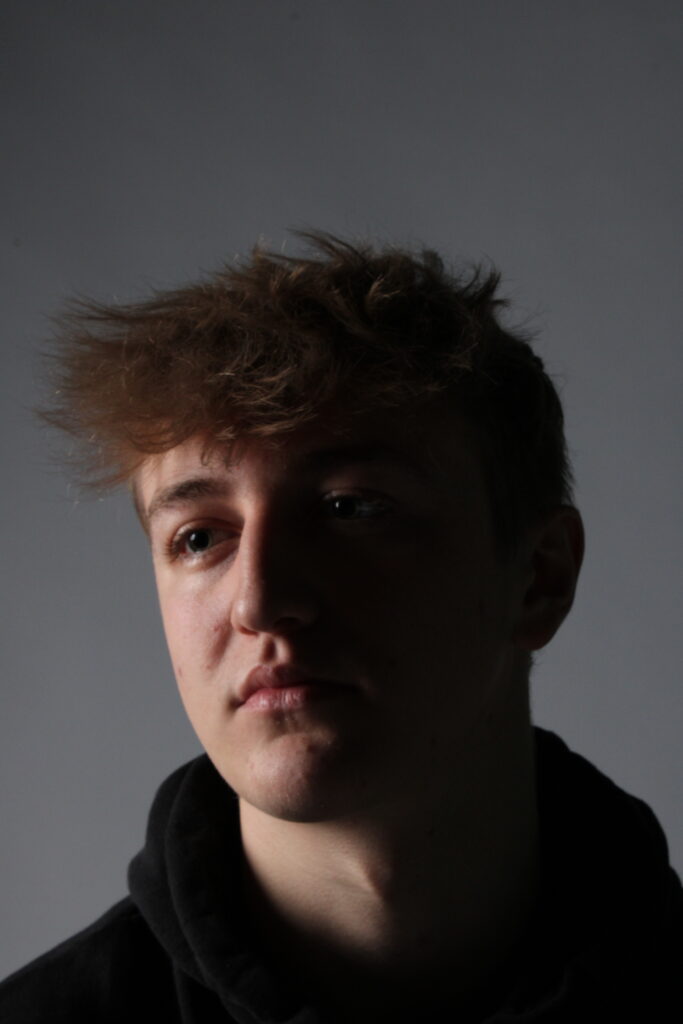
Here is my selection of images from a total of three photoshoots , in each photoshoot i used different models to experiment with how light hits different structures and features on each face

I then took my preferred images and edited them to intensify the lighting

Results analysis
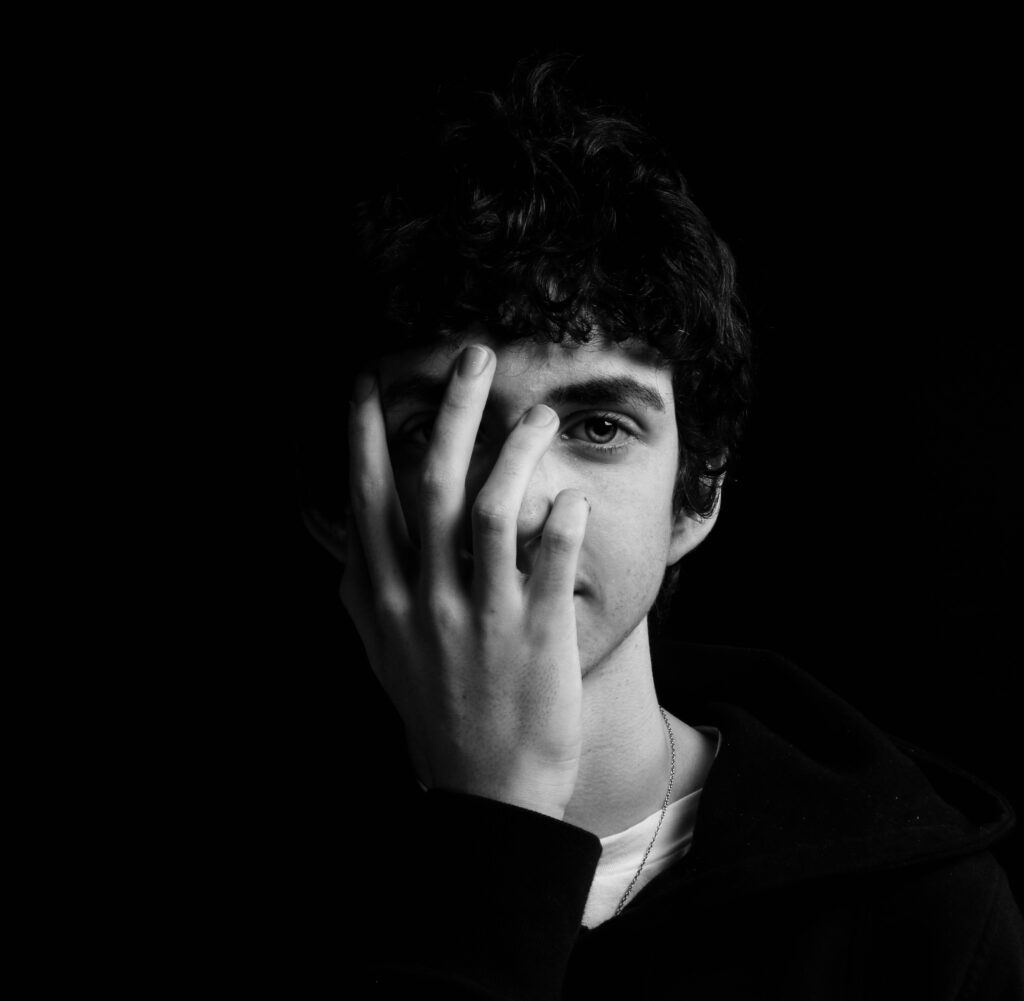
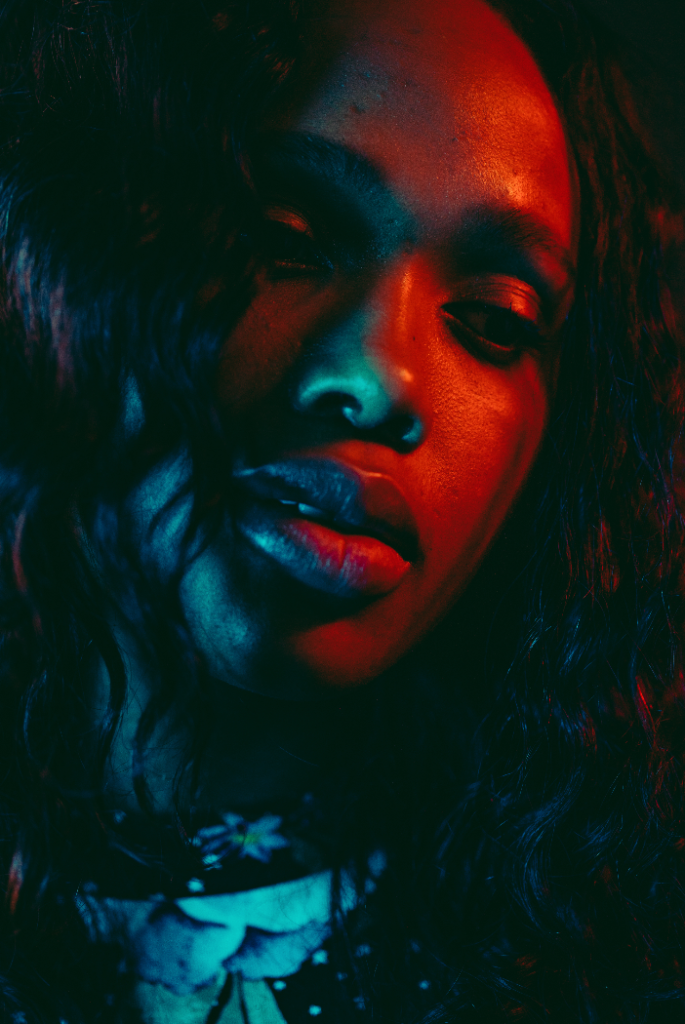
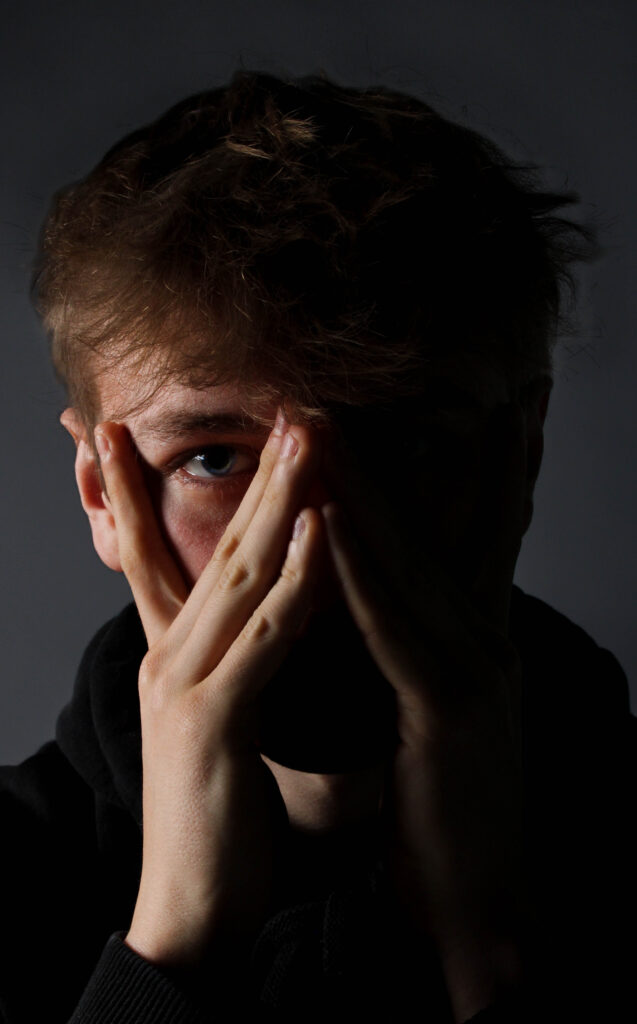
With this image , i cropped the photo to make the subject more central and eye catching , i changed the image to black and white and altered the exposure , contrast , shadows etc. Then i created a ‘mask’ over the eye and increased exposure and contrast to make the iris stand out giving the image a better focus point.

before and after comparison

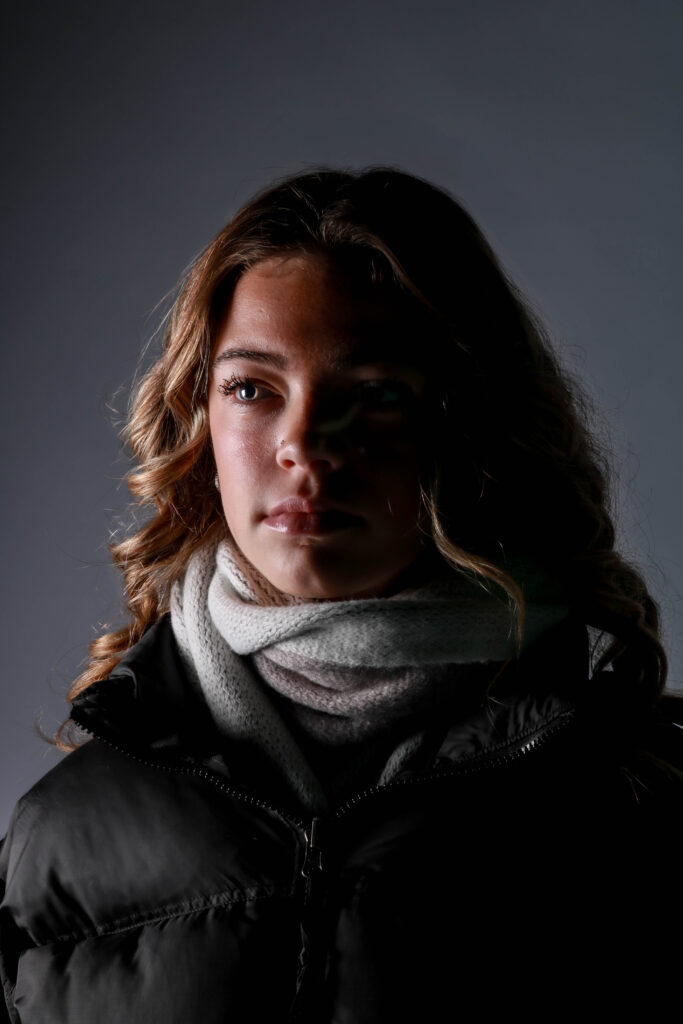
Once again i cropped the image to centralise the subject , i created a mask over the eyes and eyebrows to make them more distinct and then increased exposure and contrast , i decided not to overly edit this image as i didn’t want to take away from the natural context of the contrasting skin
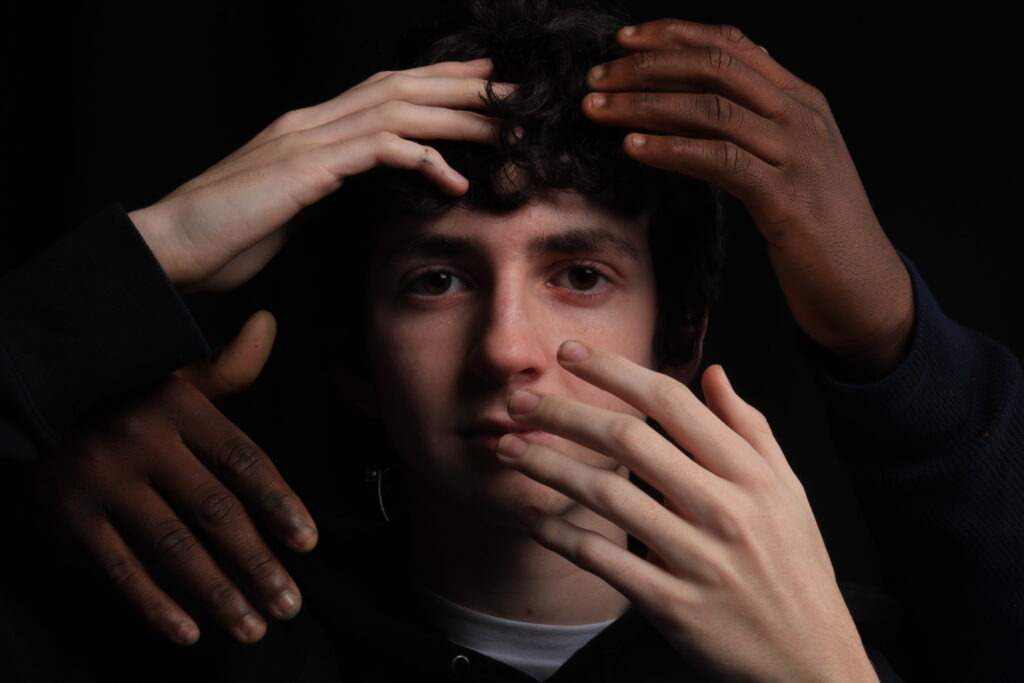
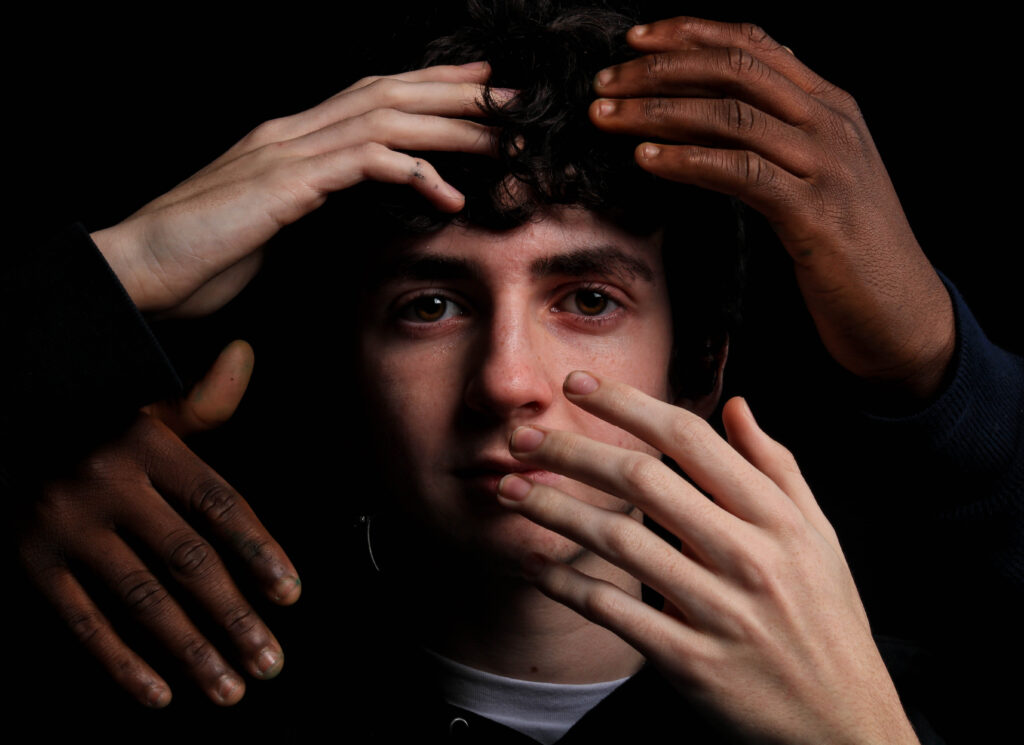
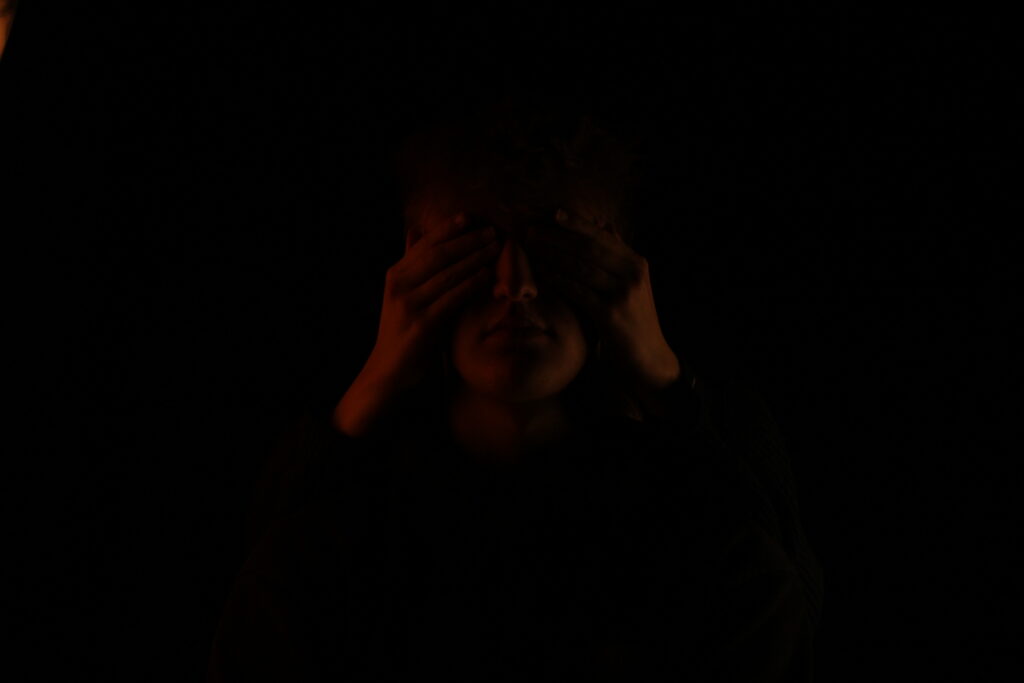
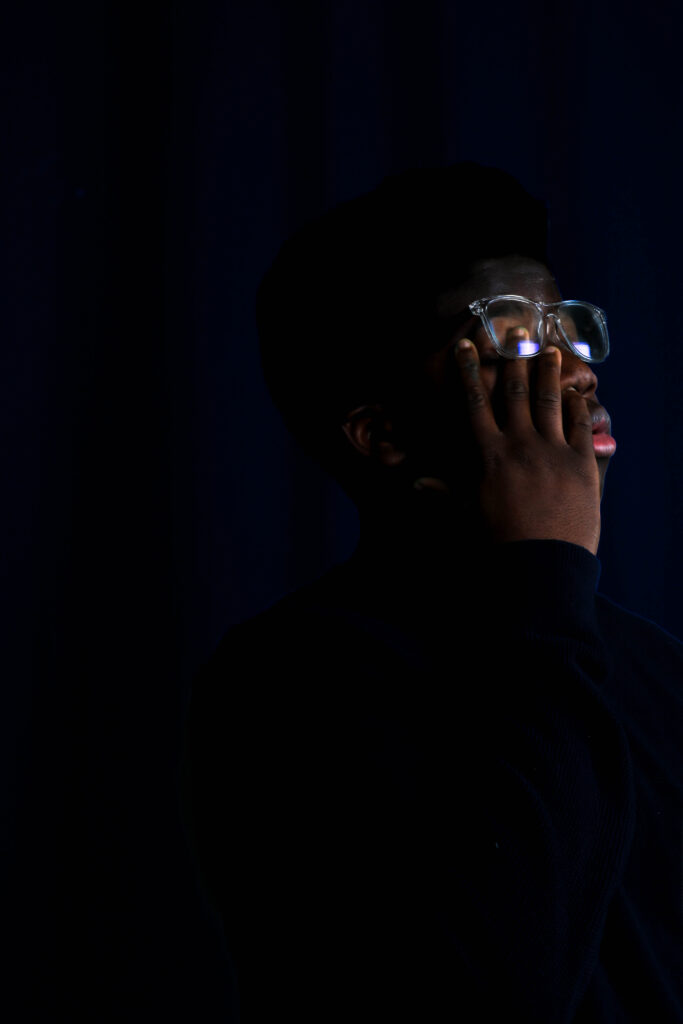
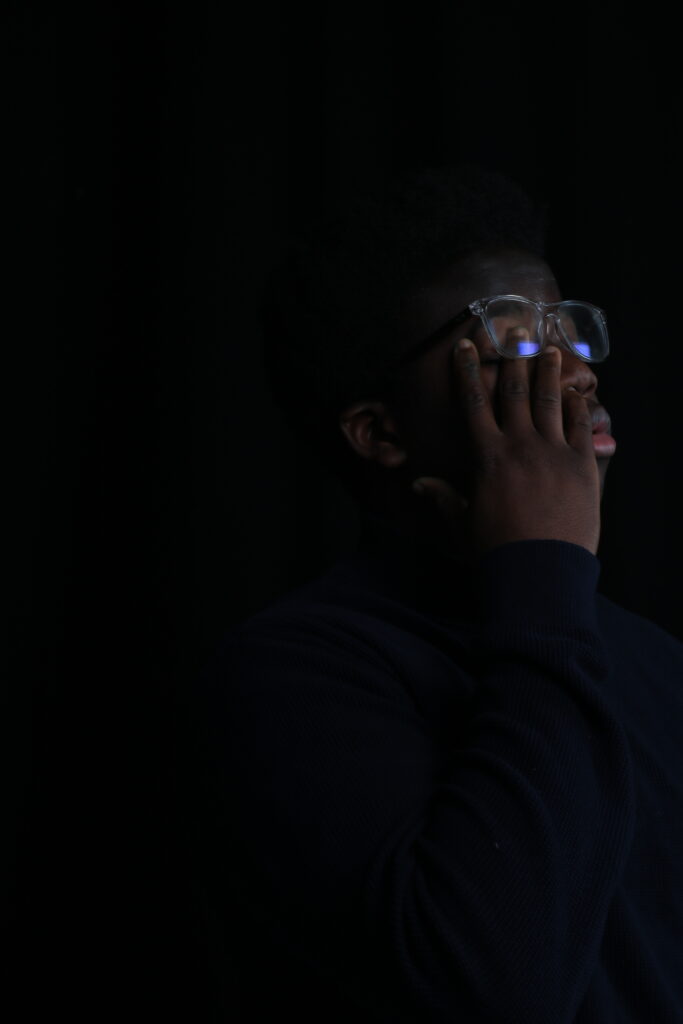
I wanted to keep this image uncropped to explore the idea of negative space , i left the background dark to leave the subject undefined i then adjusted the saturation and exposure
before and after comparison

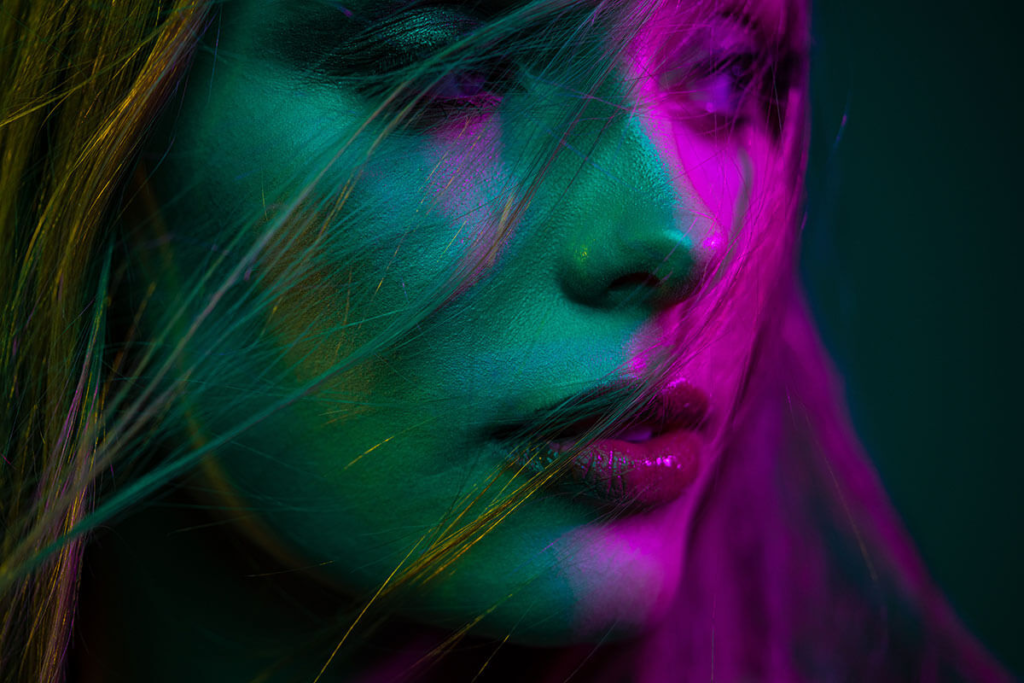
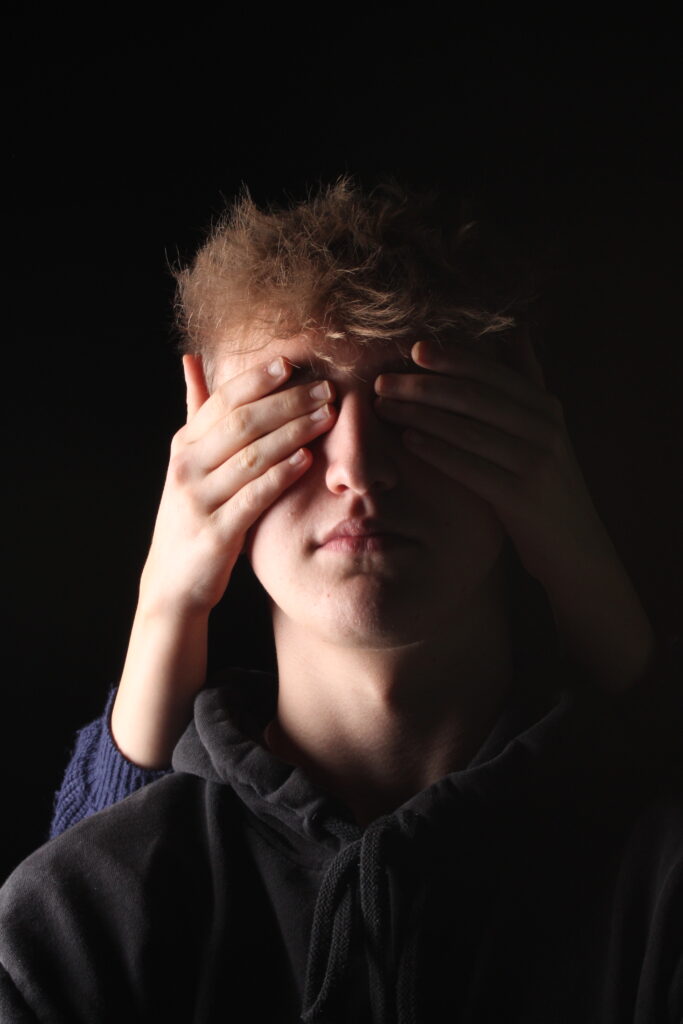
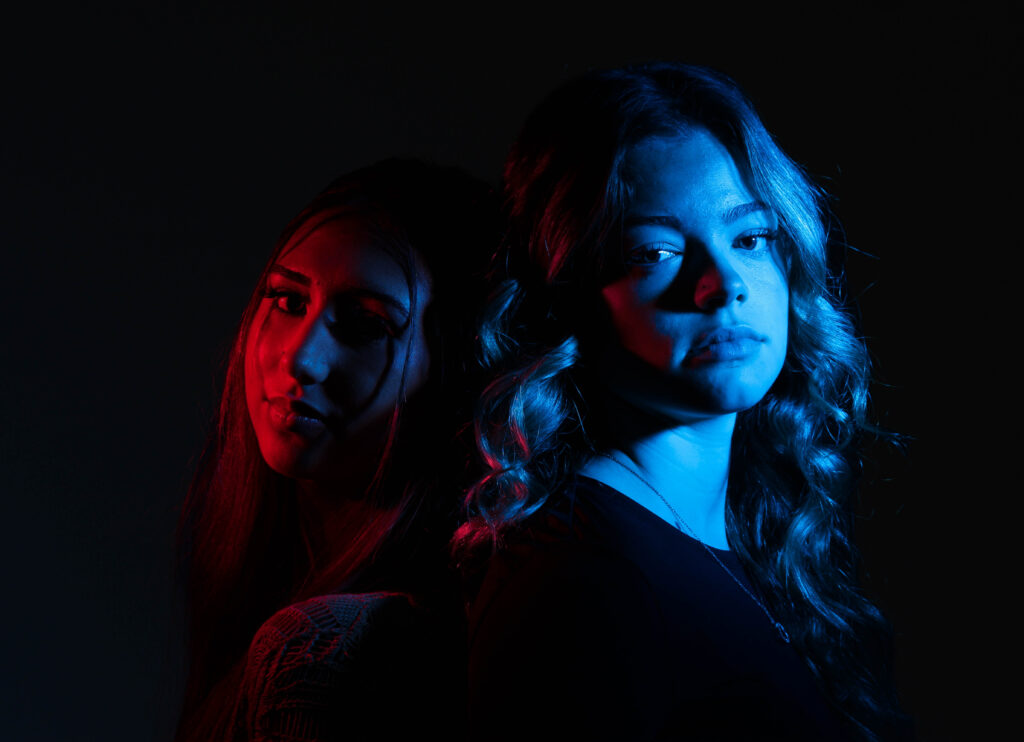
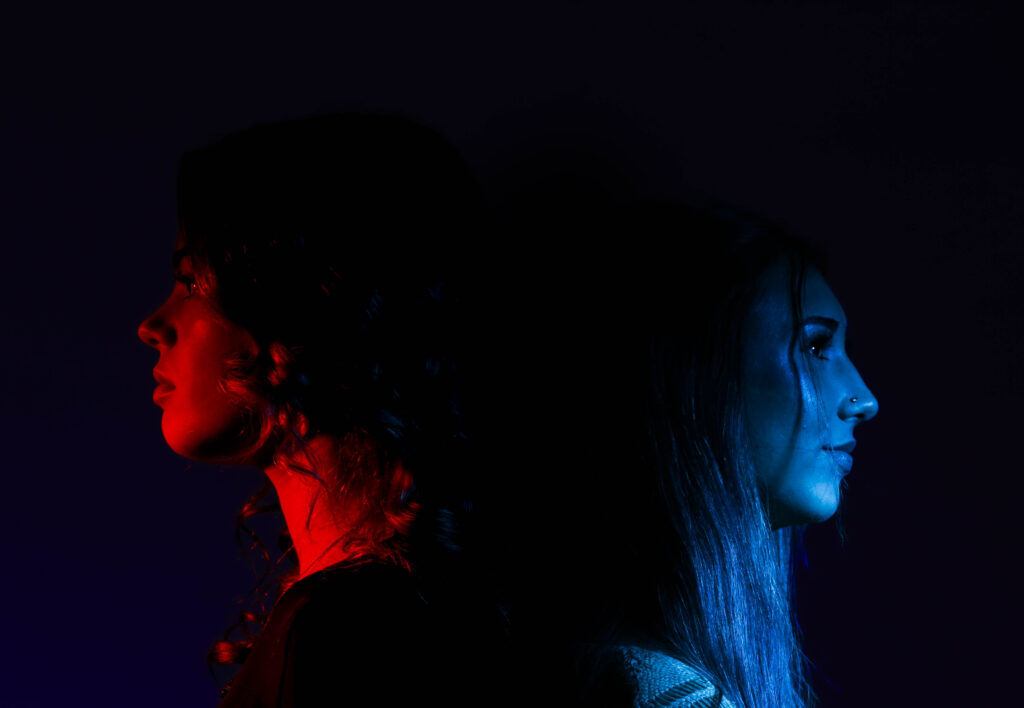
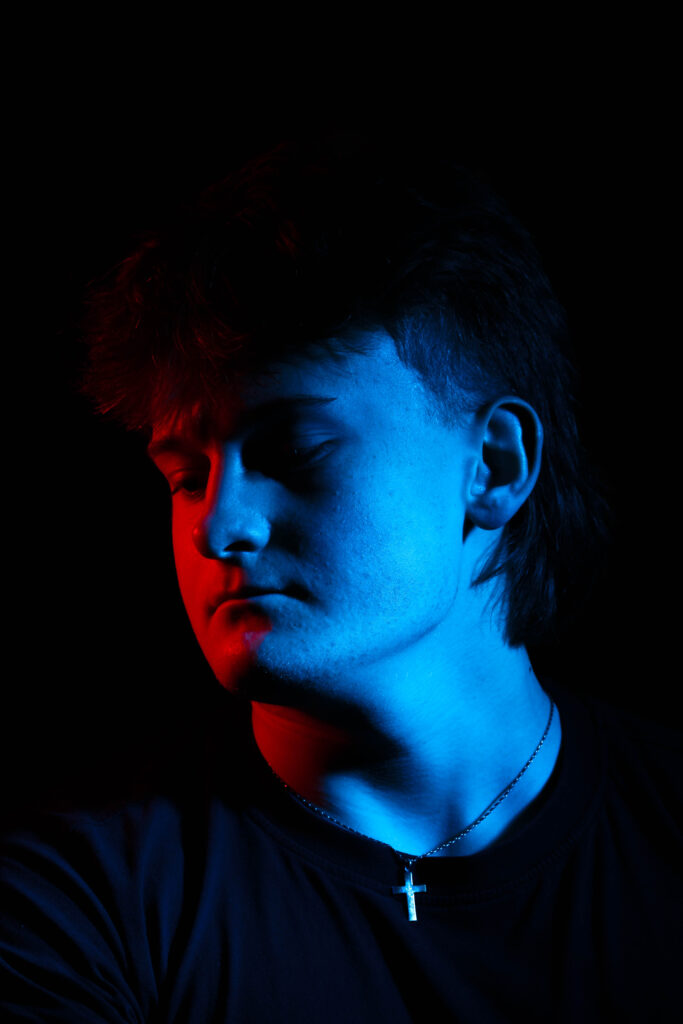
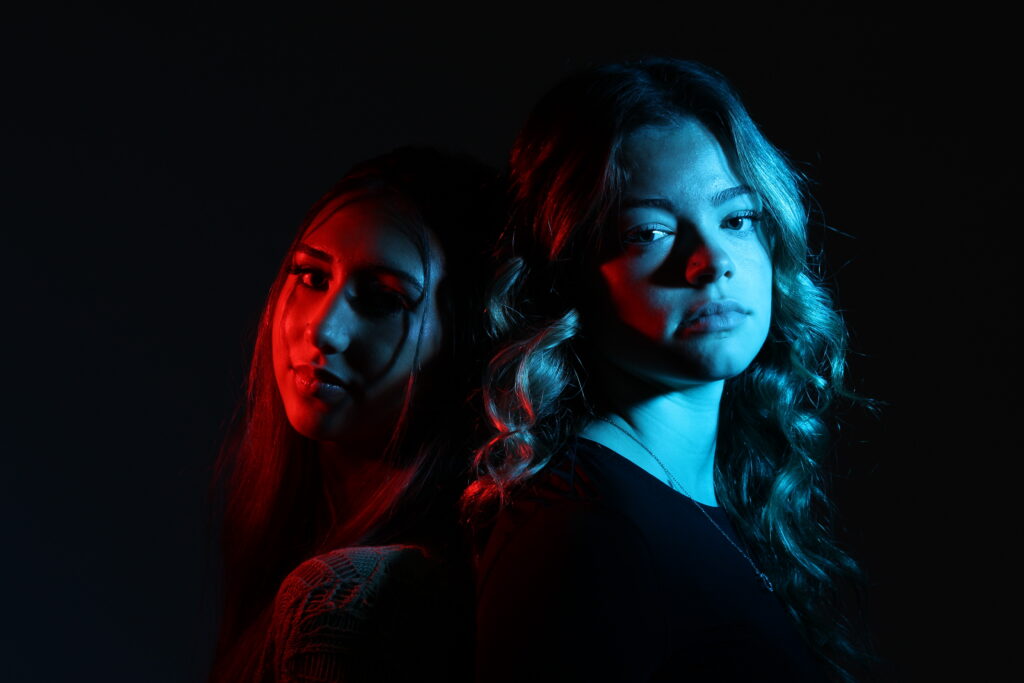
For this image i tried to capture contrasting subjects in the same image without using much editing so i positioned two lights facing two people to make it appear as though its two different environments , i then enhanced the colours in editing and cropped the image
OTHER FINAL IMAGES