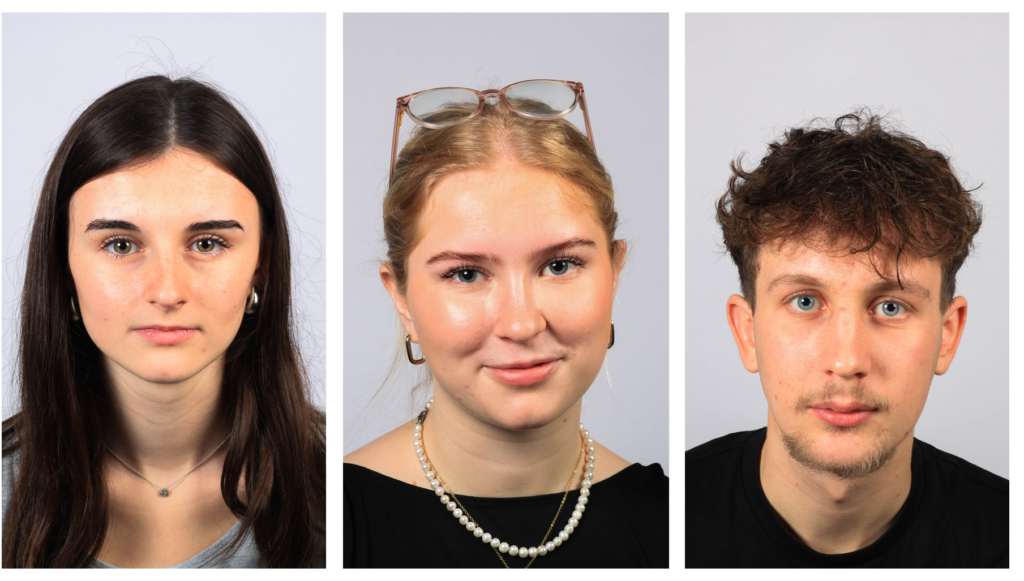
Studio Lighting Mood Board
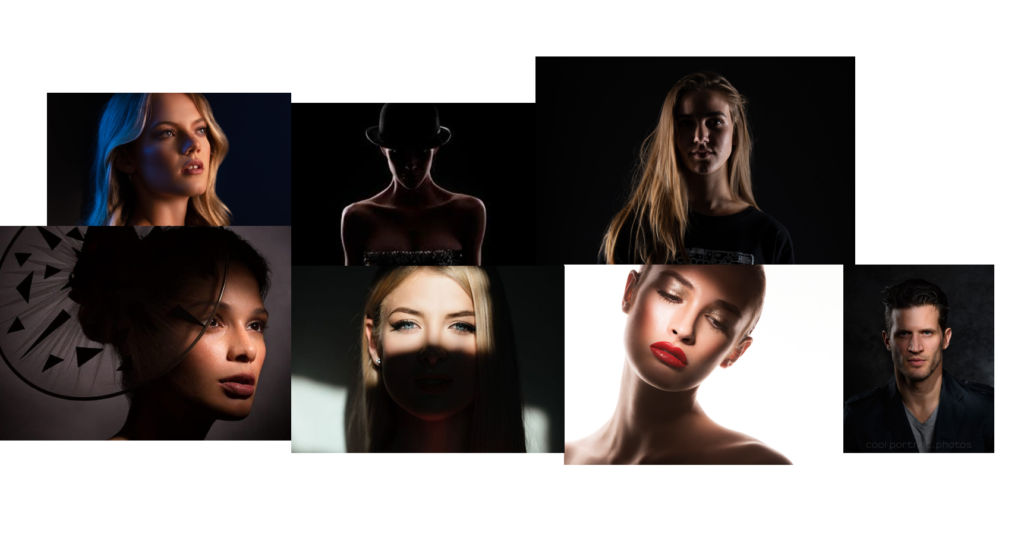
What is studio lighting?
Studio lighting in photography involves using artificial lights to shape and control how a subject is lit. This allows photographers to create specific effects, moods, and emphasize details that natural light can’t achieve.
The main components are:
- Key Light: The main light that highlights your subject.
- Fill Light: A softer light that reduces harsh shadows from the key light.
- Back Light: Light behind the subject, adding depth and separation from the background.
- Background Light: To light up the background and create texture or mood.
Why do we use it?
Studio lighting gives photographers control over how a subject is lit, allowing for specific looks and effects. Unlike natural light, it offers:
- Control: Consistent lighting regardless of time or weather.
- Flexibility: Different modifiers create various lighting styles.
- Creativity: You can highlight details and create moods that natural light can’t.
- Consistency: Reliable results, important for commercial or portrait work.
- Detail: It brings out textures and features more clearly.
What is the difference between 1-2-3 point lighting?
1. One-Point Lighting:
- Setup: Just one light
- What it does: Creates strong shadows and a dramatic look, with high contrast.
- When to use: Good for moody or minimalist shots.
2. Two-Point Lighting:
- Setup: Key light + fill light to soften shadows.
- What it does: More balanced lighting, keeping some shadows for depth.
- When to use: Great for flattering portraits or when you want softer light but still some contrast.
3. Three-Point Lighting:
- Setup: Key light + fill light + back light (creates separation from the background).
- What it does: Well-rounded, balanced light with depth and dimension.
- When to use: Ideal for professional portraits or video, giving a natural, detailed look.
The types of lighting we are exploring:
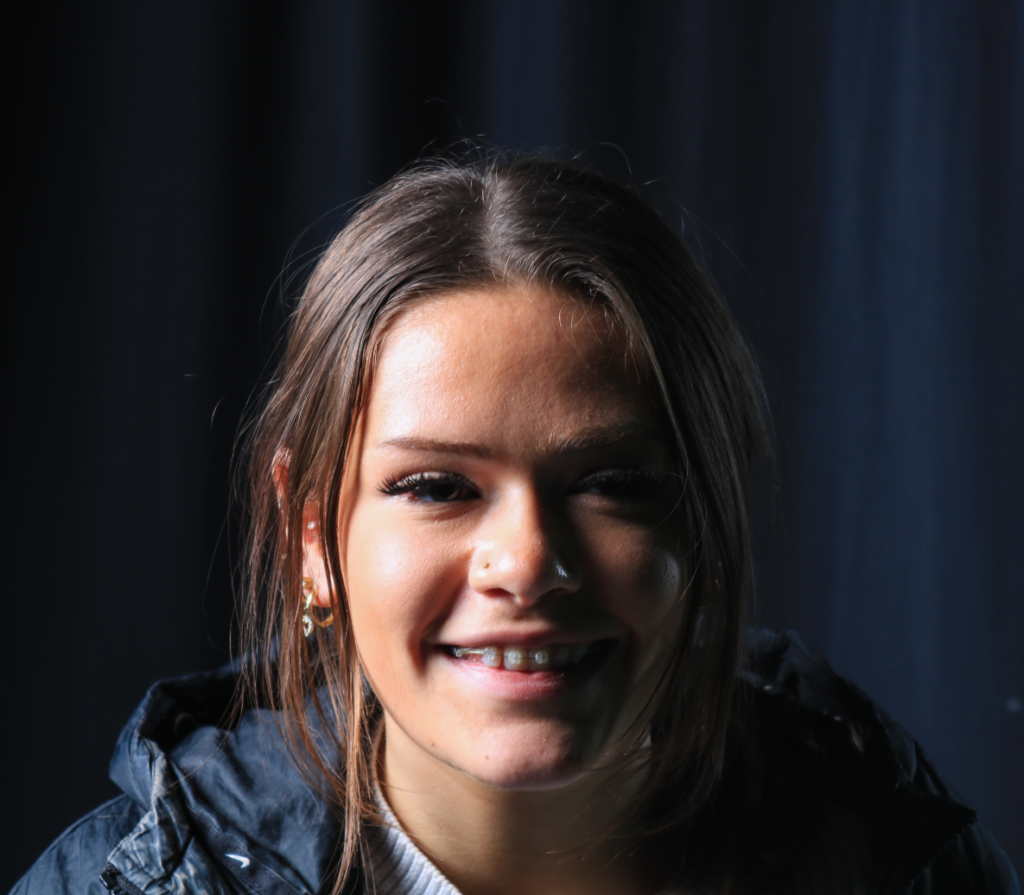
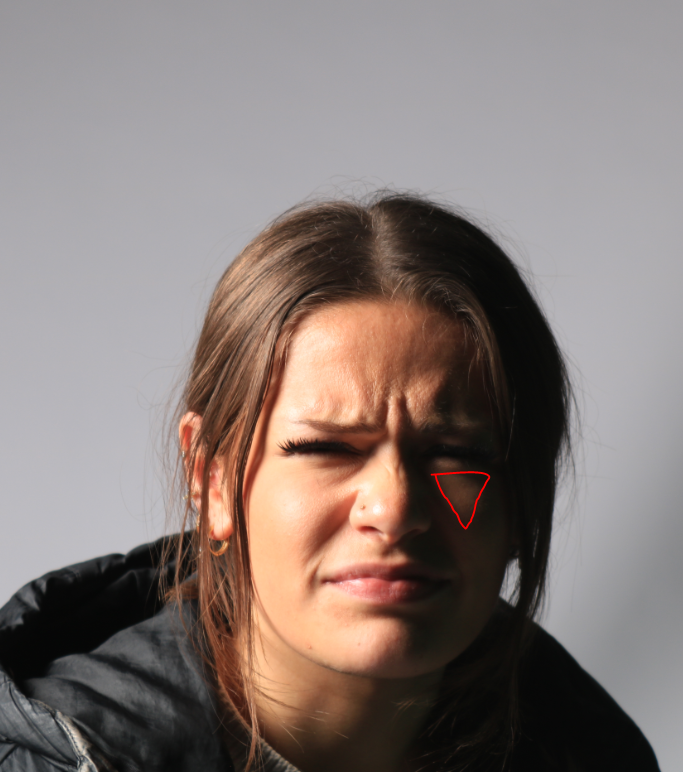
1. Rembrandt Lighting
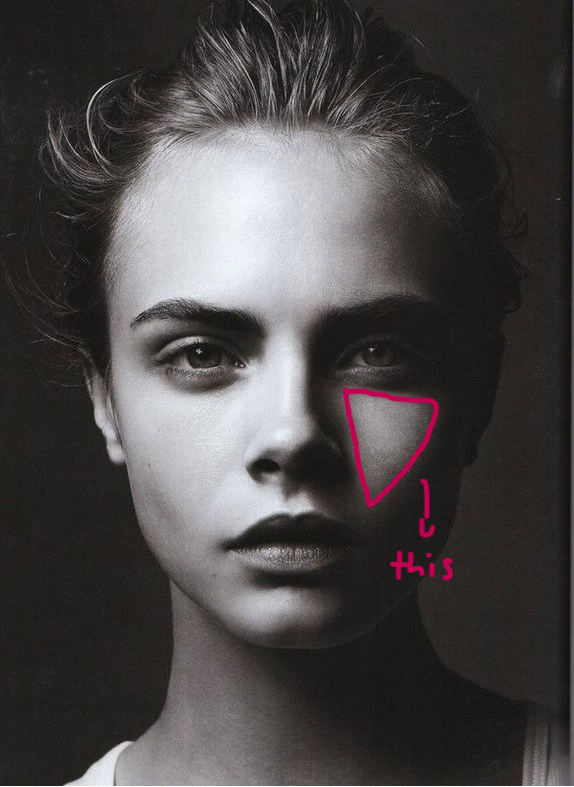
Rembrandt lighting is a classic portrait lighting style named after the famous painter. It creates a triangle of light on the shadowed side of the face. To set it up:
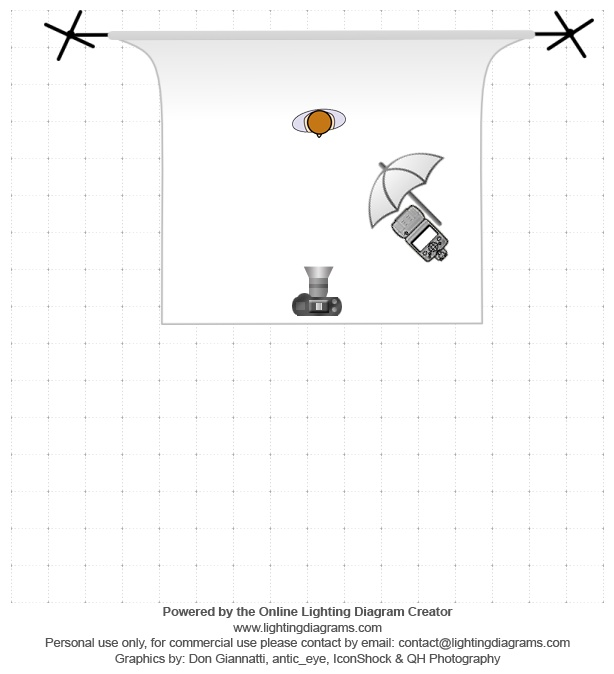
- Position the light at a 45-degree angle, slightly above the subject.
- This setup casts a shadow on one side of the face and forms a small triangle of light under the eye. It’s often used for dramatic, moody portraits.
Lighting Set Up:
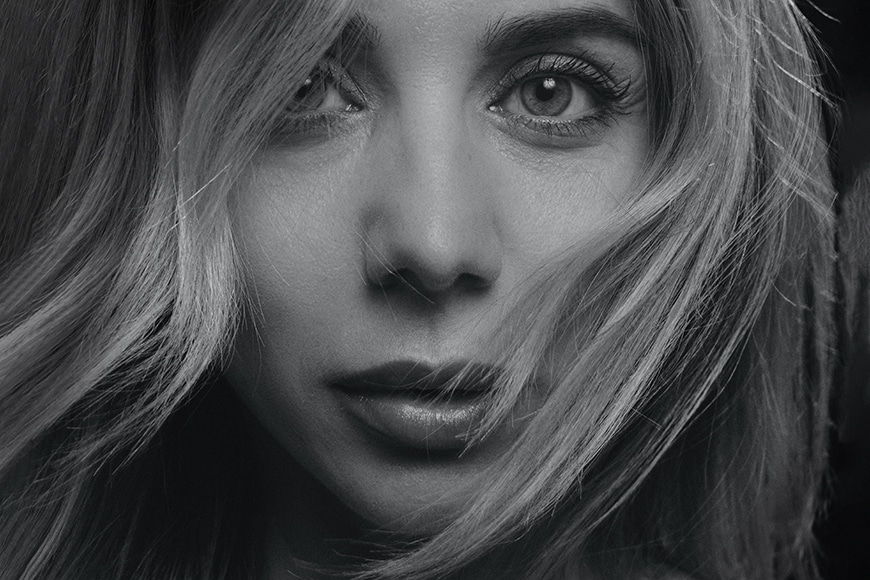
2. Butterfly Lighting
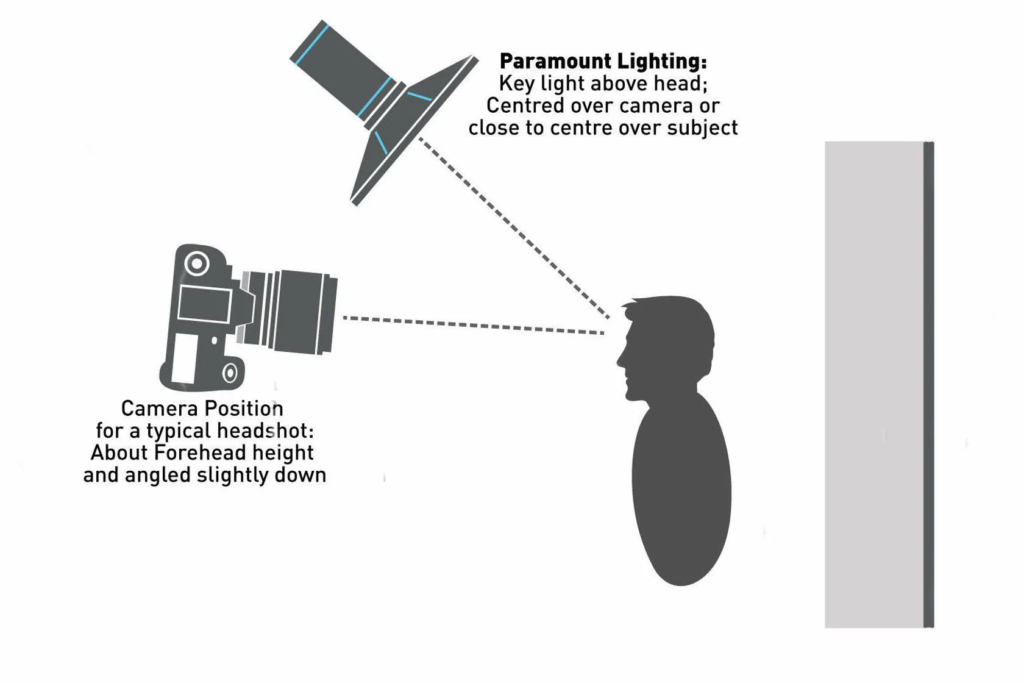
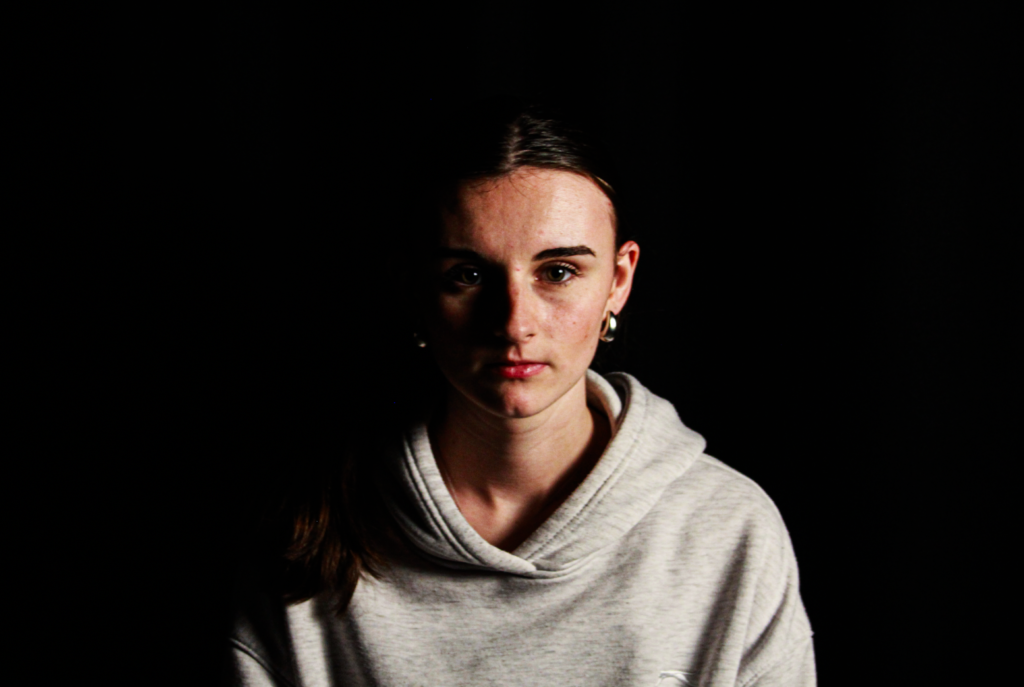
Butterfly lighting is named for the butterfly-shaped shadow it casts under the subject’s nose. To achieve it:
- Place the light directly above the subject’s face.
- The result is a shadow under the nose that looks like a butterfly, with the rest of the face well-lit. This style is popular in beauty and fashion photography because it’s flattering and emphasizes the cheekbones.
Lighting Set Up:
3. Chiaroscuro
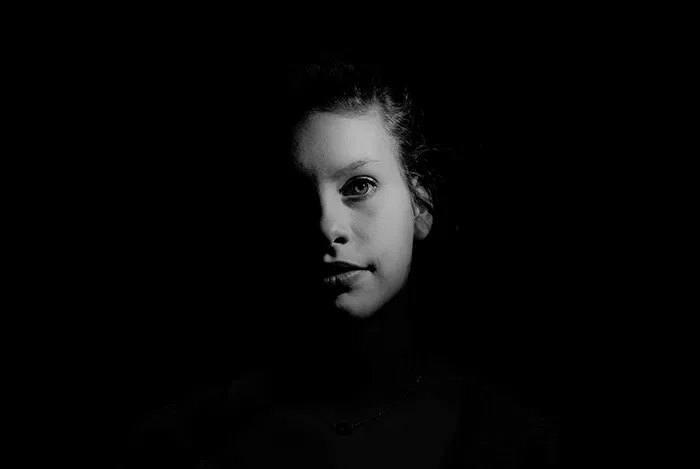
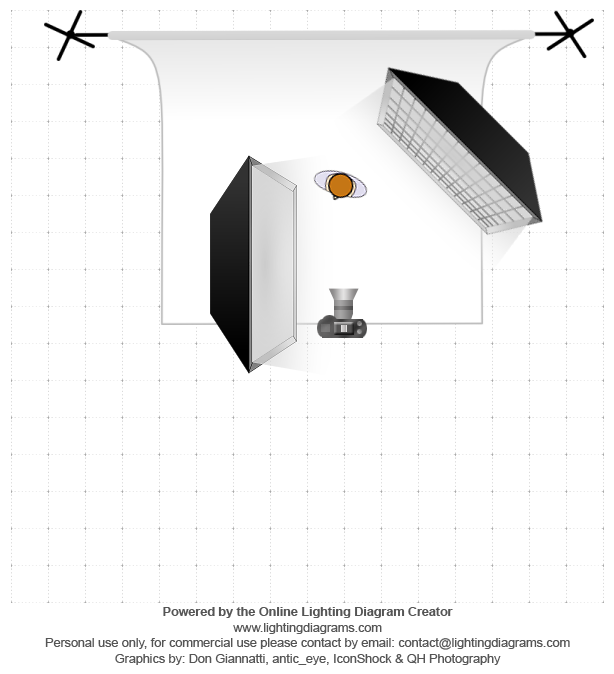
Chiaroscuro is a technique where light and dark are used in strong contrast to create depth and drama. It’s a concept from painting but is also used in photography and film. It involves:
- Lighting parts of the subject while leaving other parts in deep shadow.
- The contrast between light and dark adds a sculptural, dramatic feel to the subject. It’s great for creating a strong, artistic look or a mysterious, intense mood, like in noir films.
Lighting Set Up:
In summary:
- Rembrandt Lighting: Creates a triangle of light on one side of the face.
- Butterfly Lighting: Makes a butterfly-shaped shadow under the nose.
- Chiaroscuro: Uses light and shadow contrasts for depth and drama.
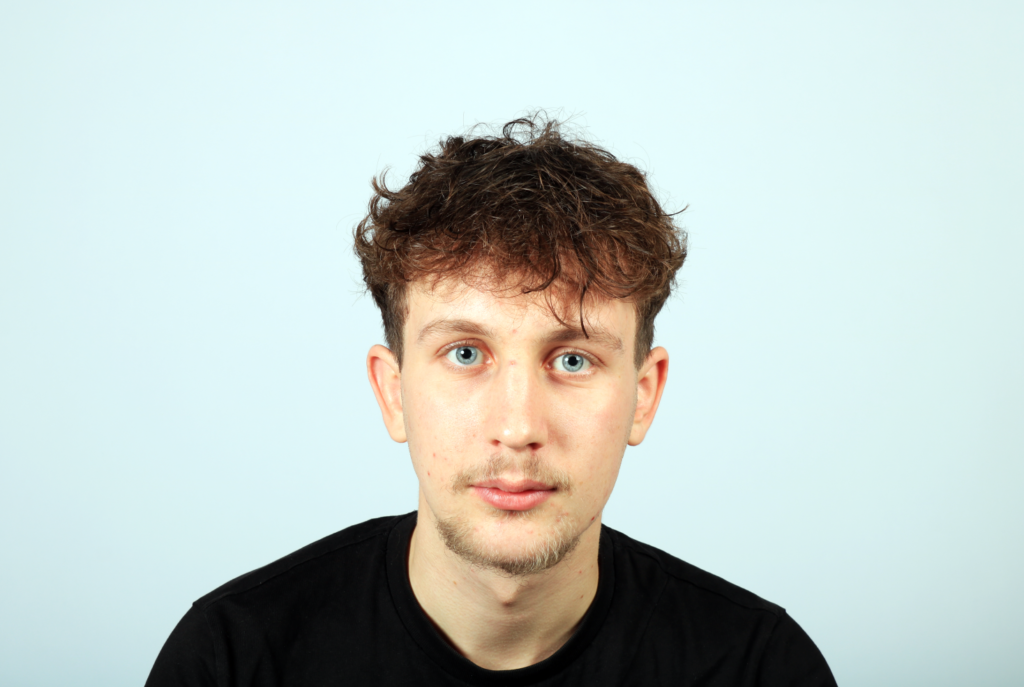
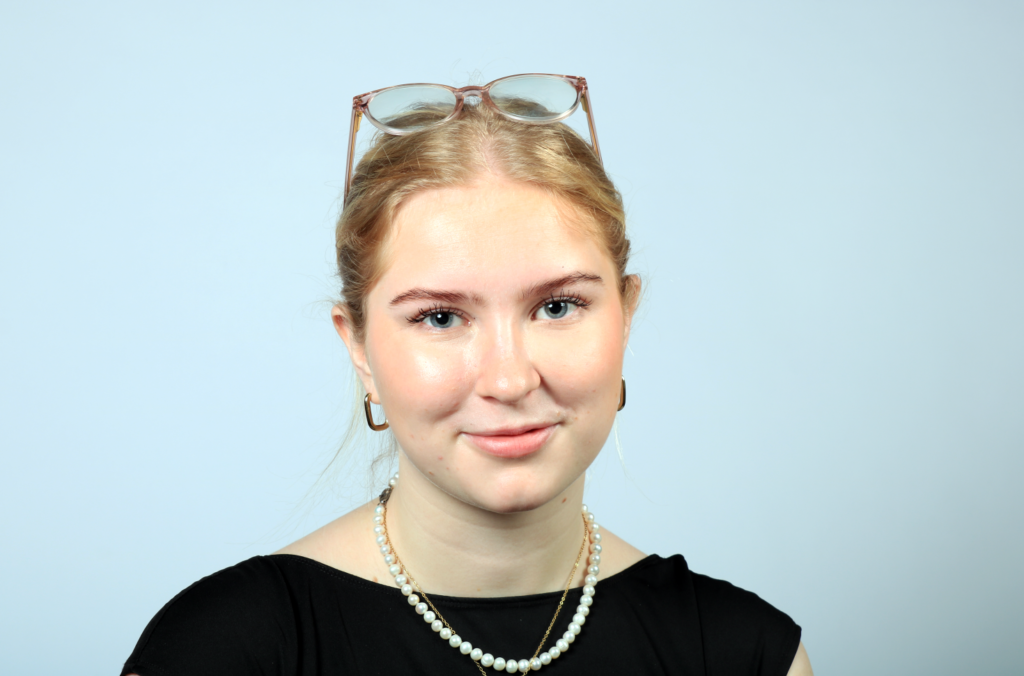
What is Fill lighting?
Fill lighting is used in photography or video to brighten up the shadows created by the main light. It helps soften harsh shadows, making the overall lighting more balanced and natural looking.
The idea is to add just enough light to the darker areas without making them too bright, so the image doesn’t look too contrasty. Fill light is usually dimmer than the key (light about half or even less) so it doesn’t overpower the main light.
You can use things like reflectors or even a second light set to a lower power to create fill light. The aim is to make the shadows less intense while keeping the overall look nice and even.
First Photoshoot
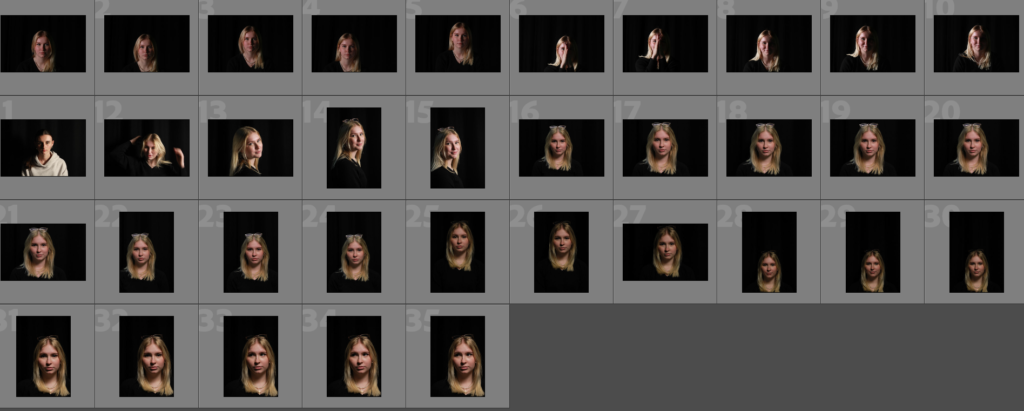
Editing
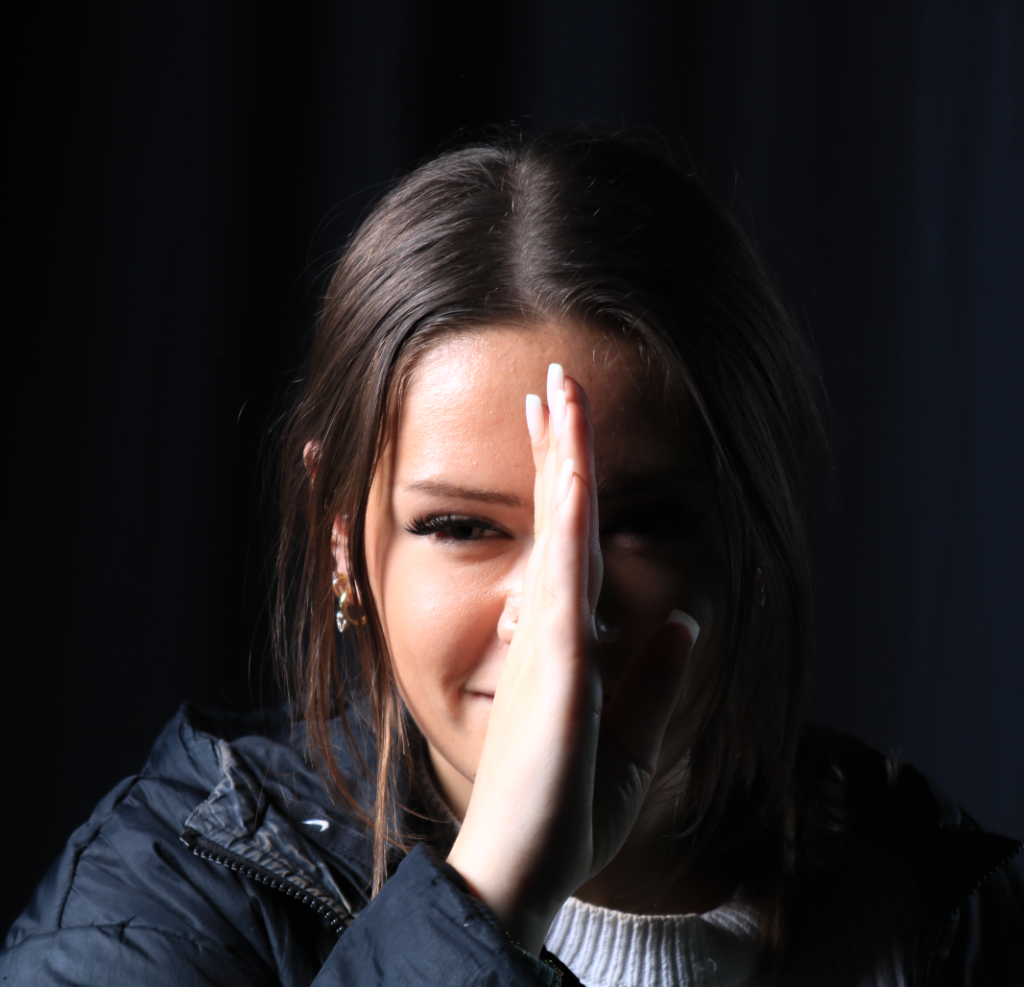
Chiaroscuro Lighting
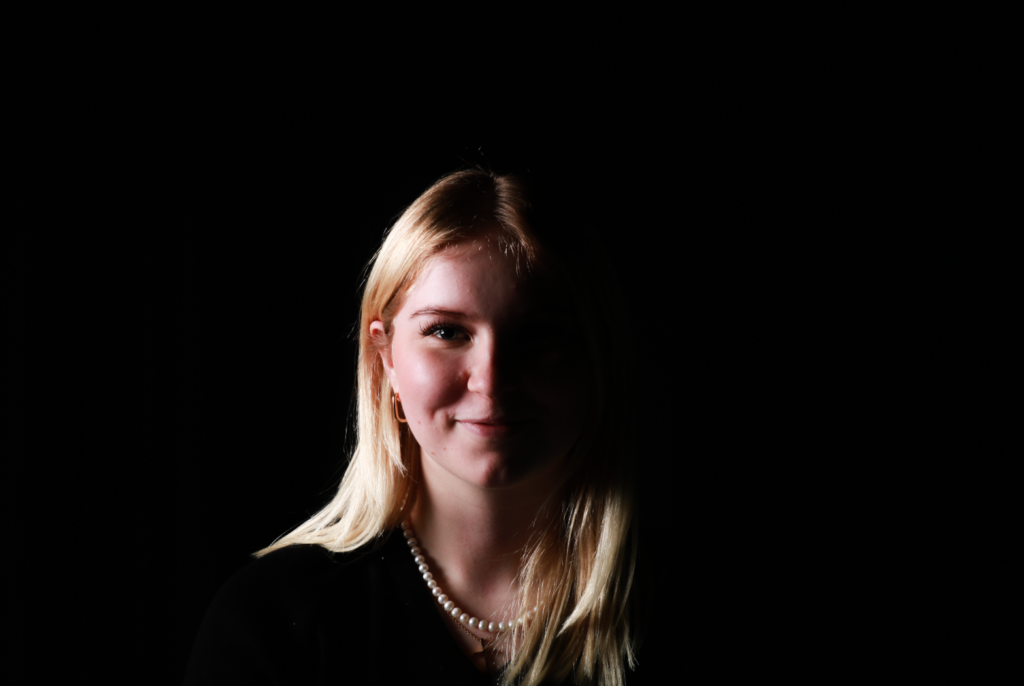
This image shows chiaroscuro lighting. I achieved this by only having a light source on one side of the image and having a black background to exaggerate the contrast between light and dark.
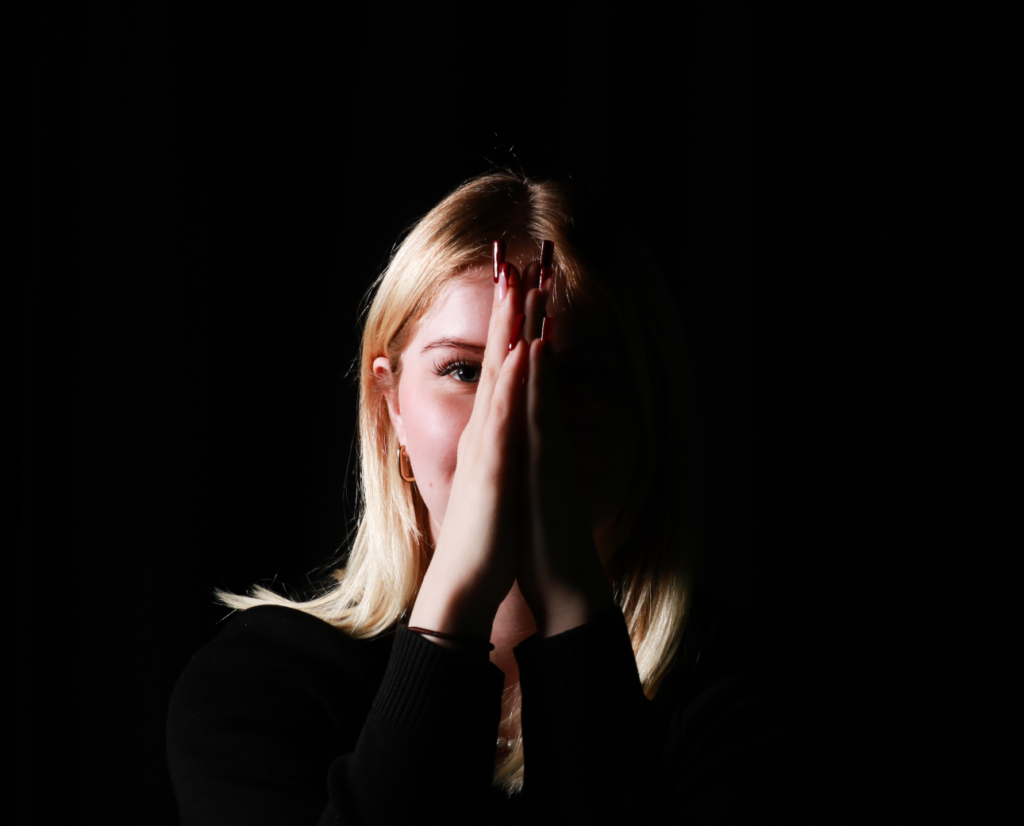
Here Chanell put her hands in the middle of her face in order to show and exaggerate the clear distinction between the light and dark parts of her face.
Butterfly Lighting
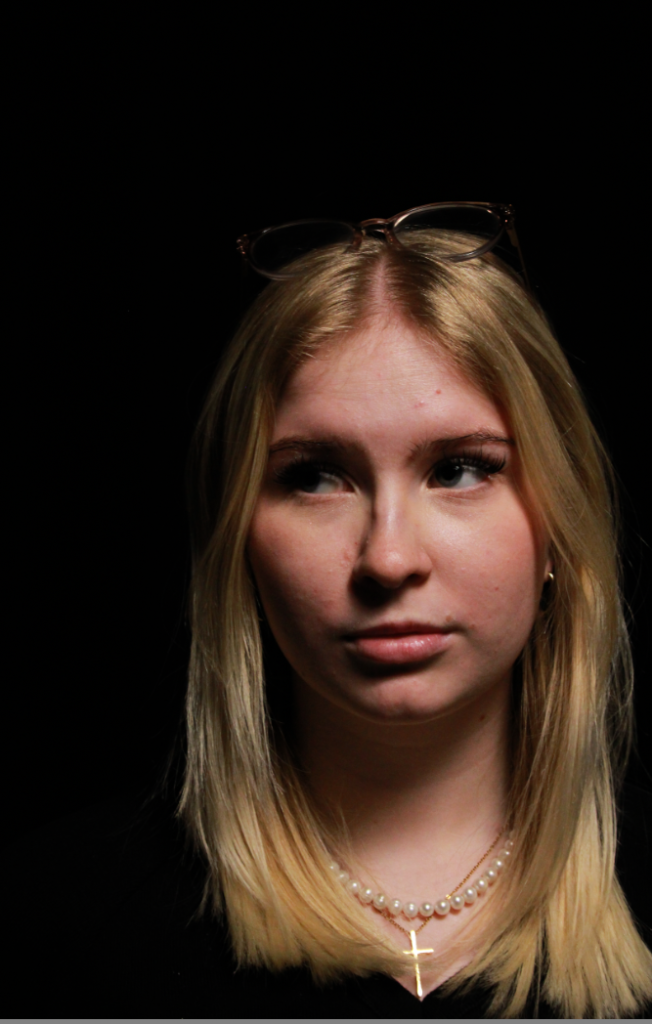
I put the light source high up to create the butterfly shaped shadow under her nose.
Second Photoshoot
Contact Sheet
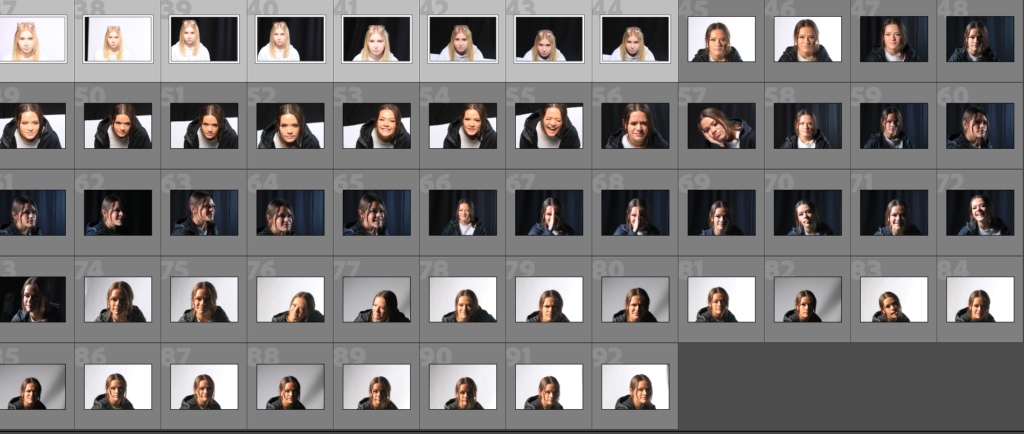
Butterfly Lighting
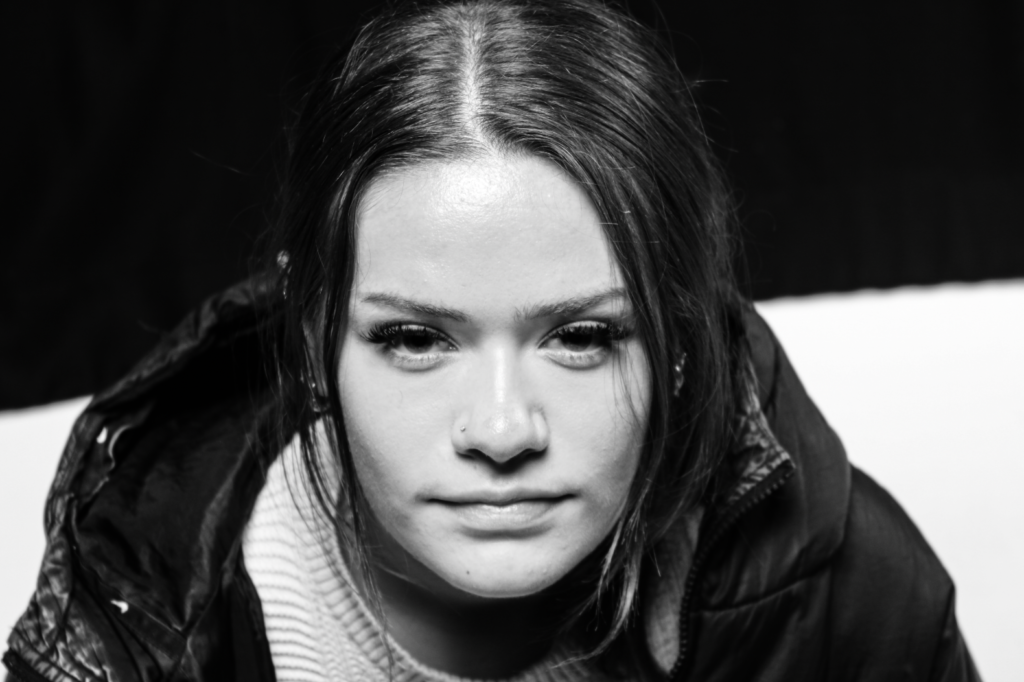
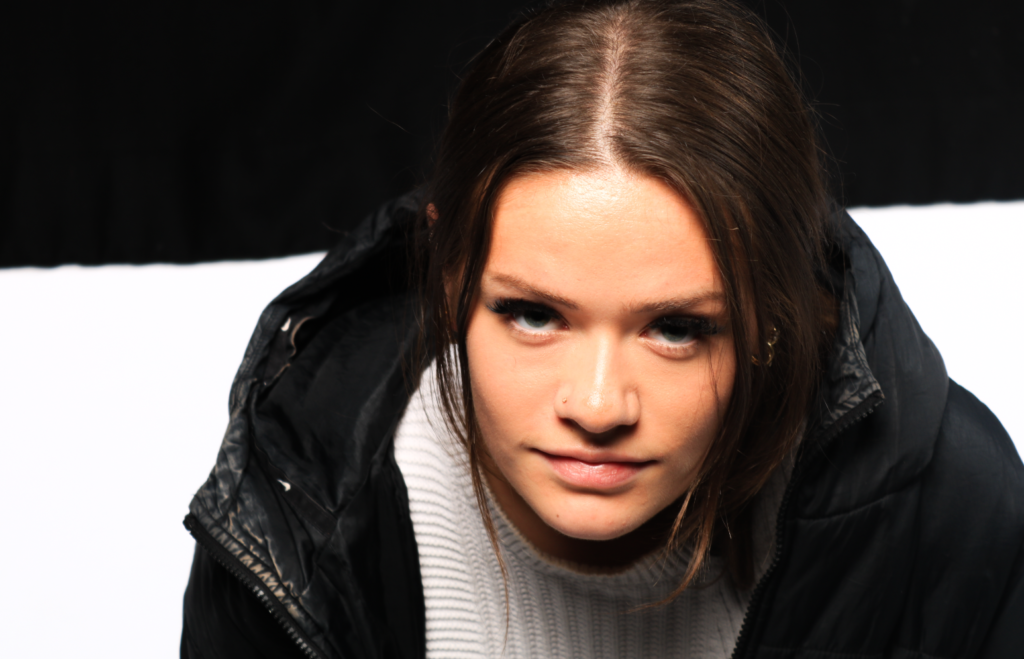
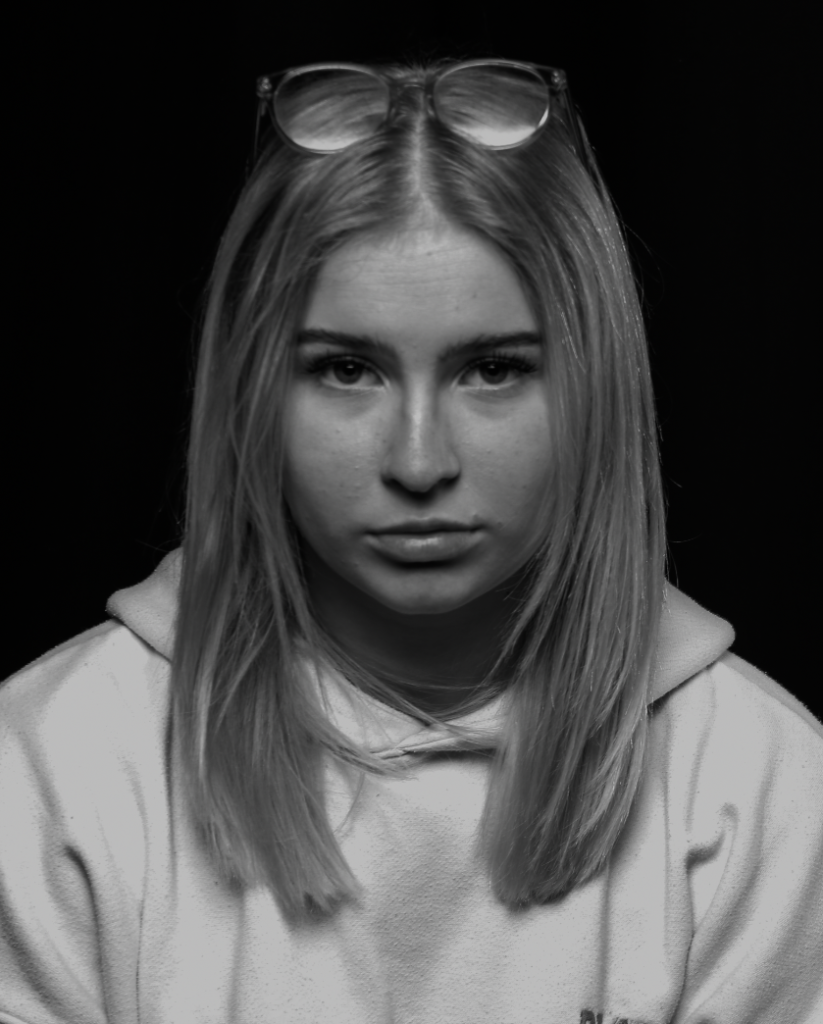
Chiaroscuro Lighting
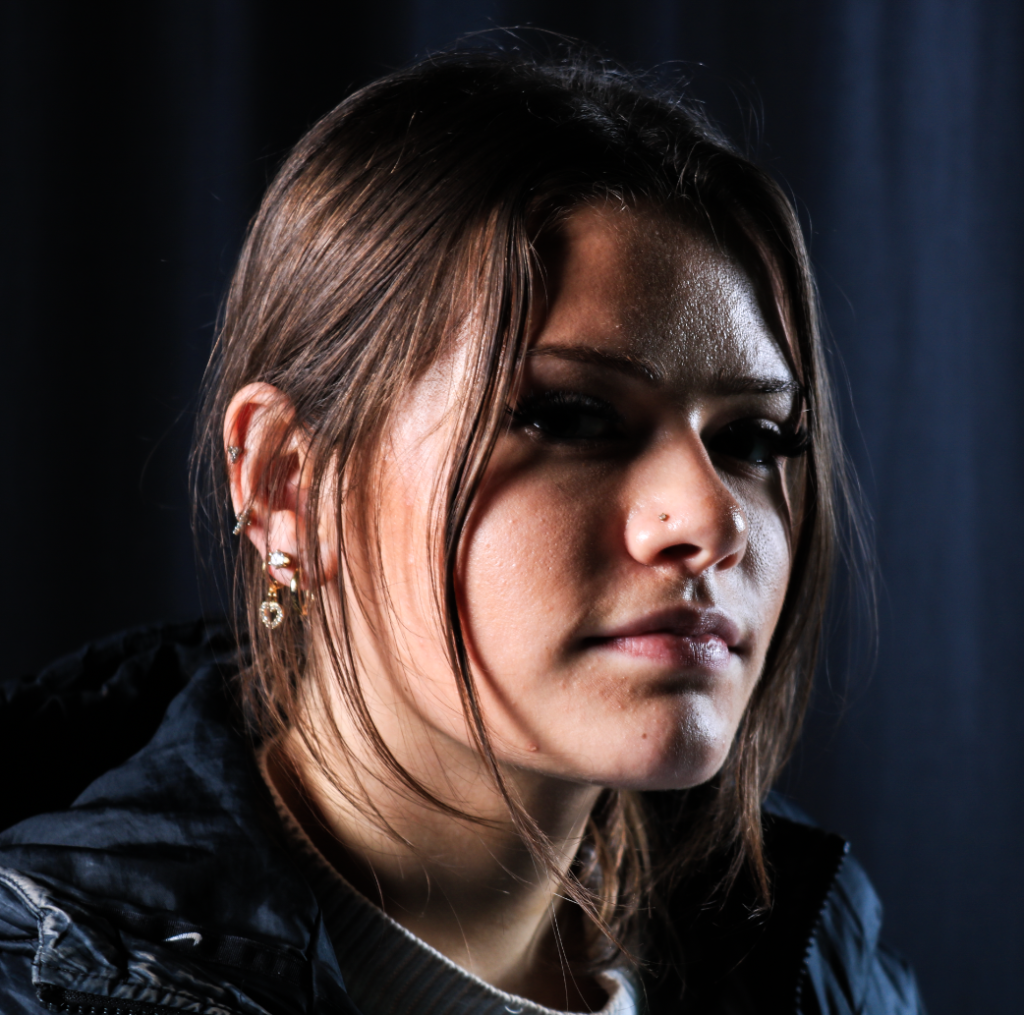
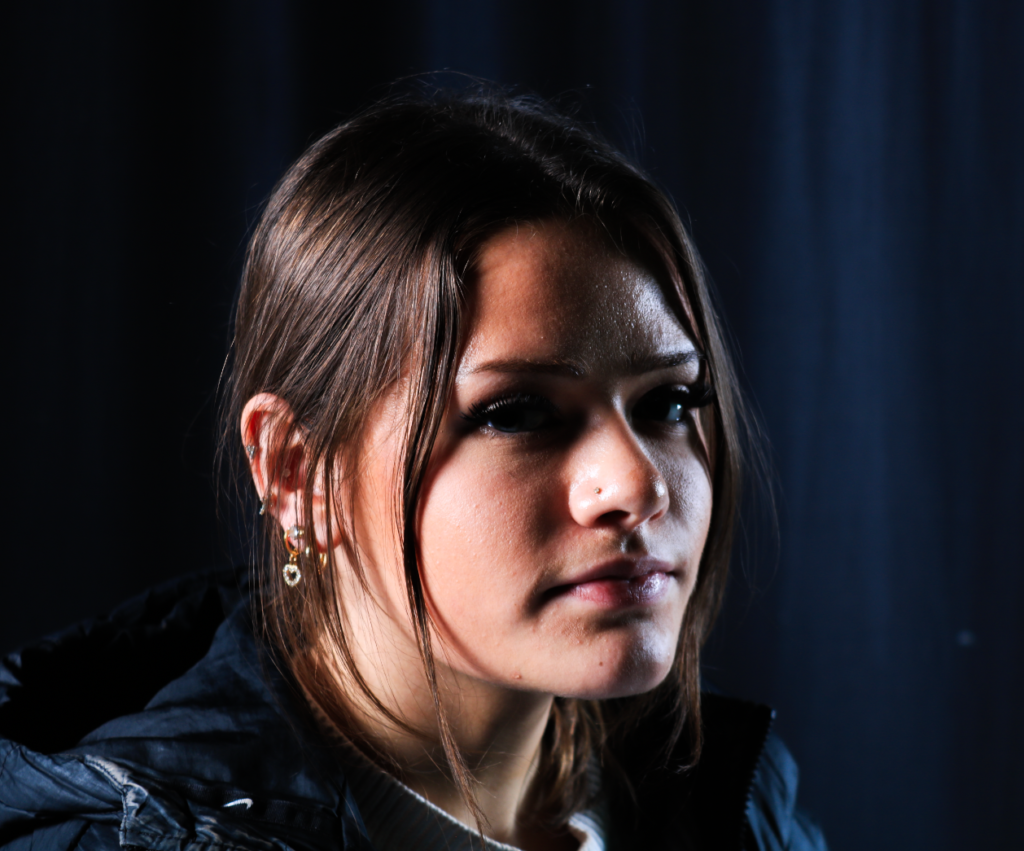
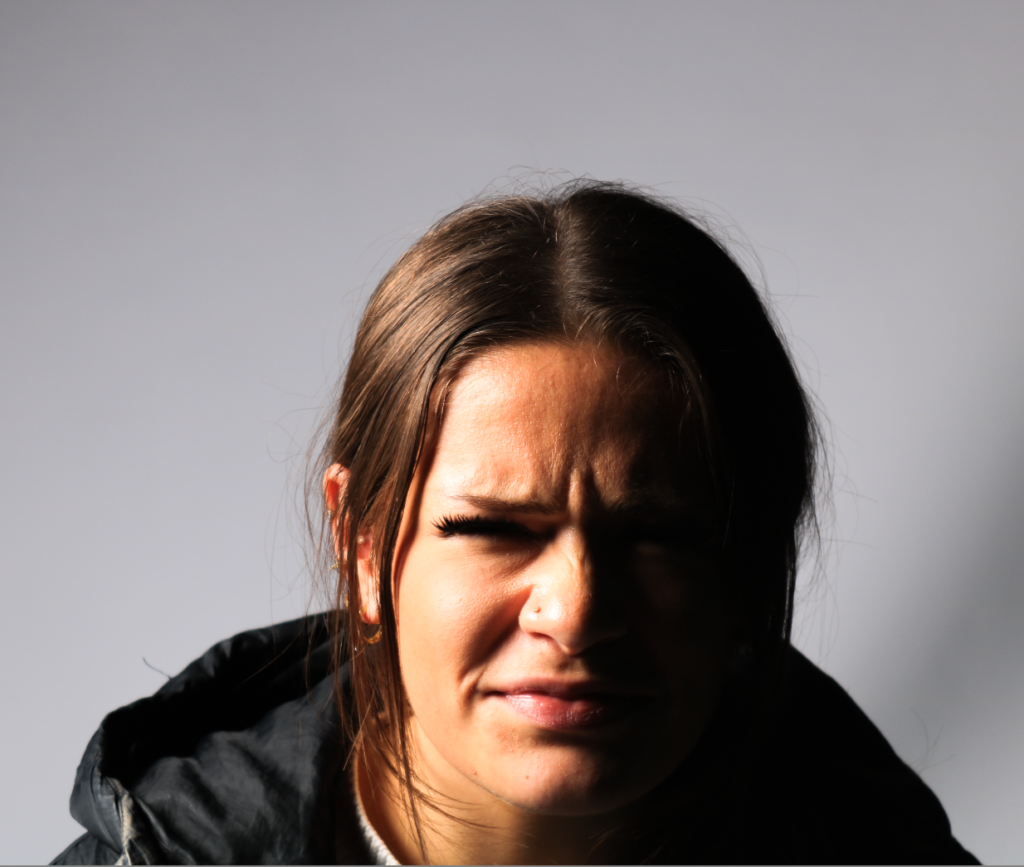
I got her to scrunch her face to convey emotion but also to exaggerate the shadows formed by the lines on her face.
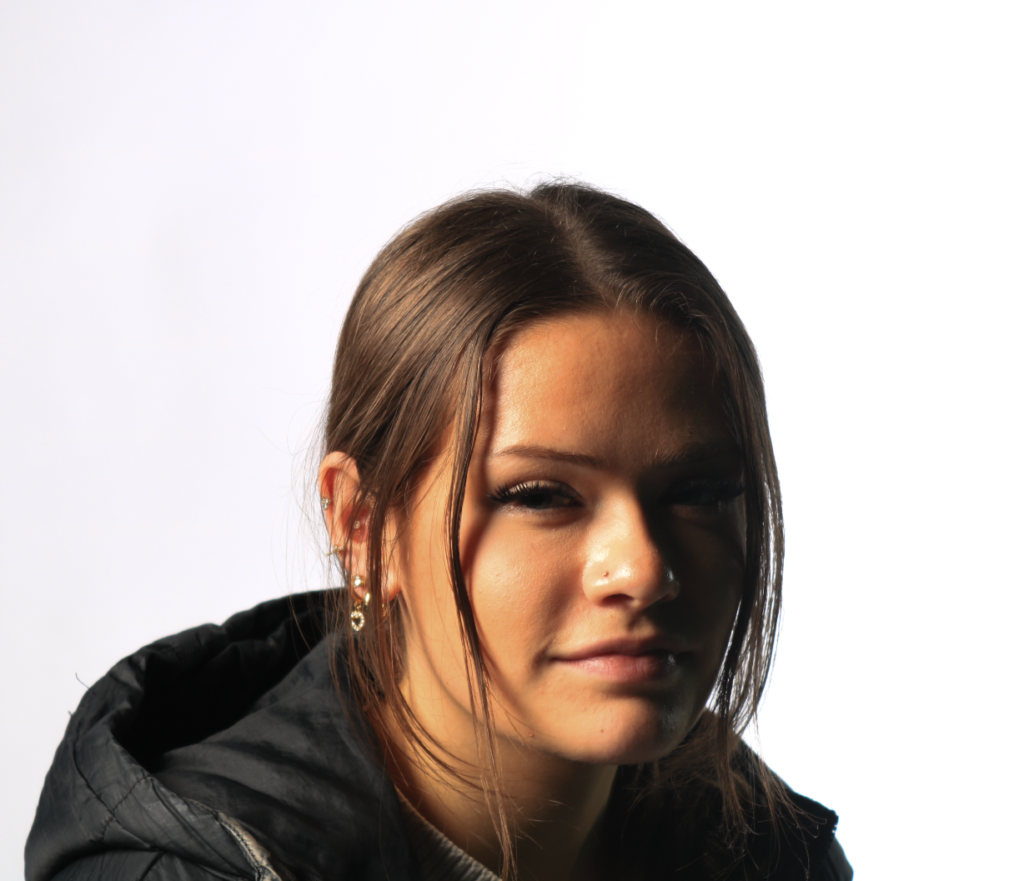
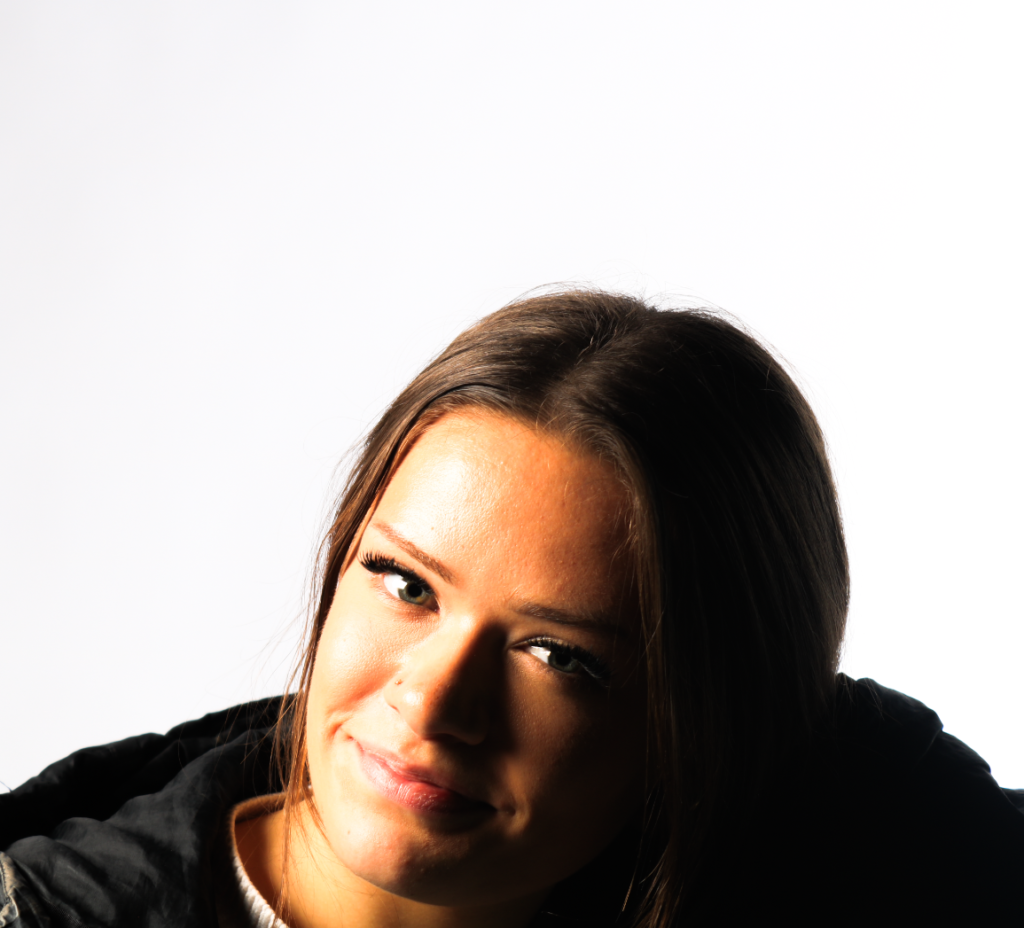
Rembrandt Lighting
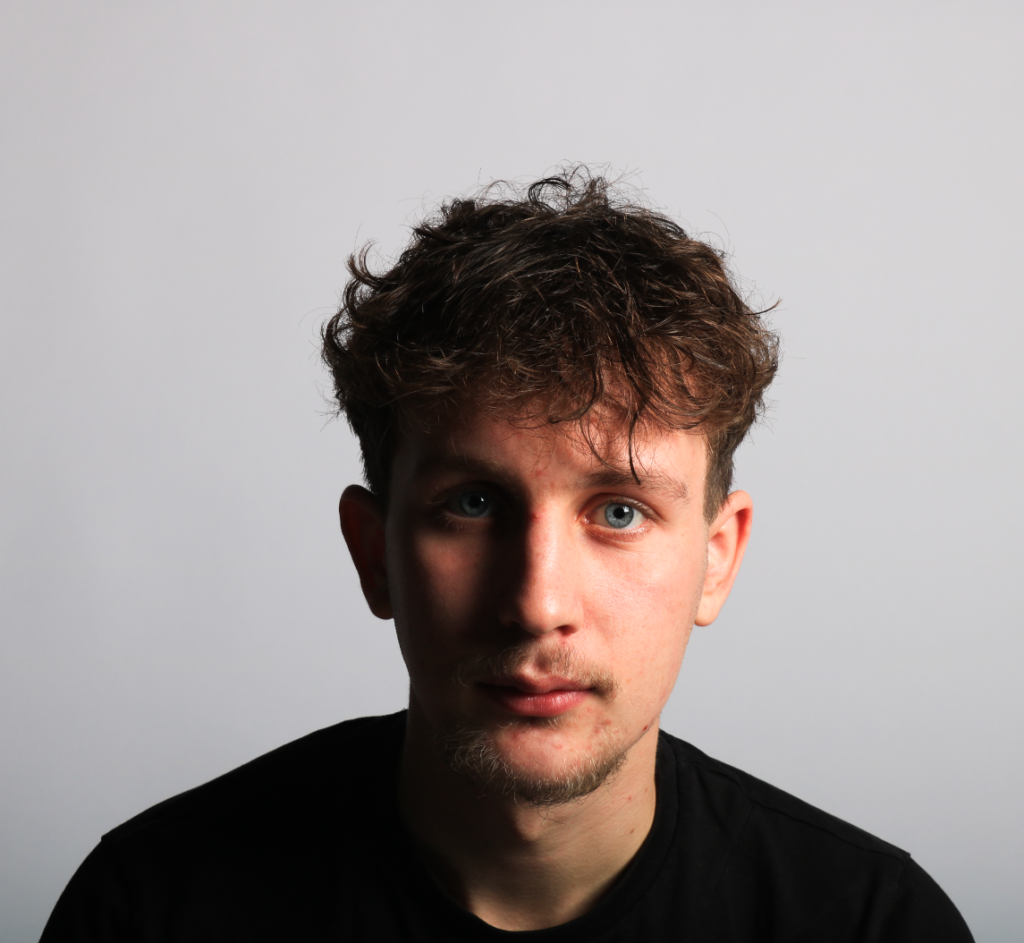
Fill Lighting
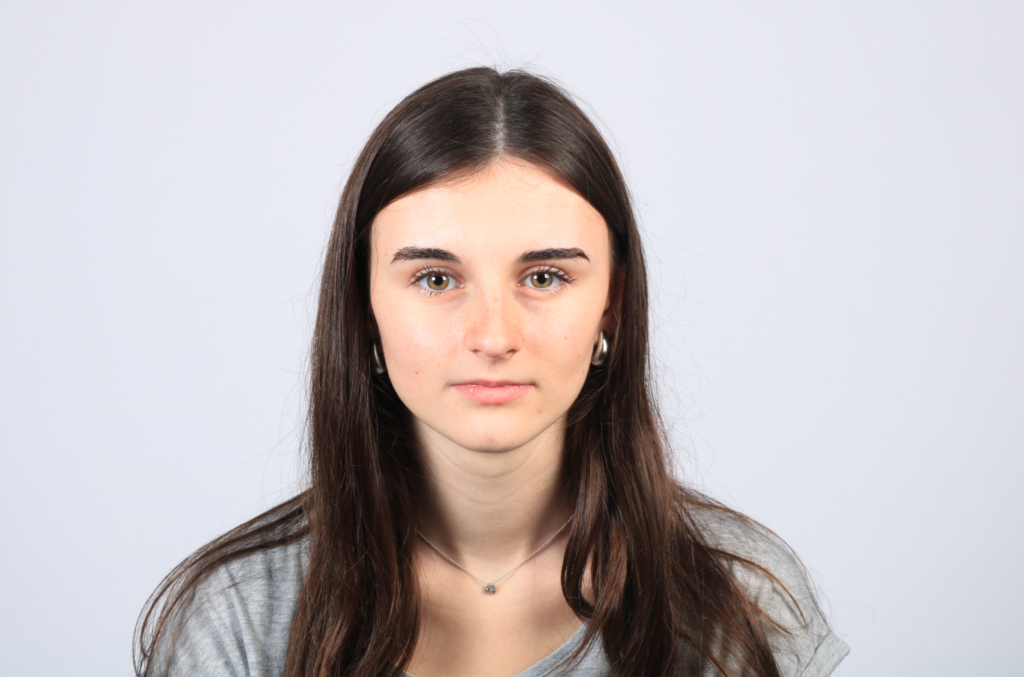
Experimenting with photoshop
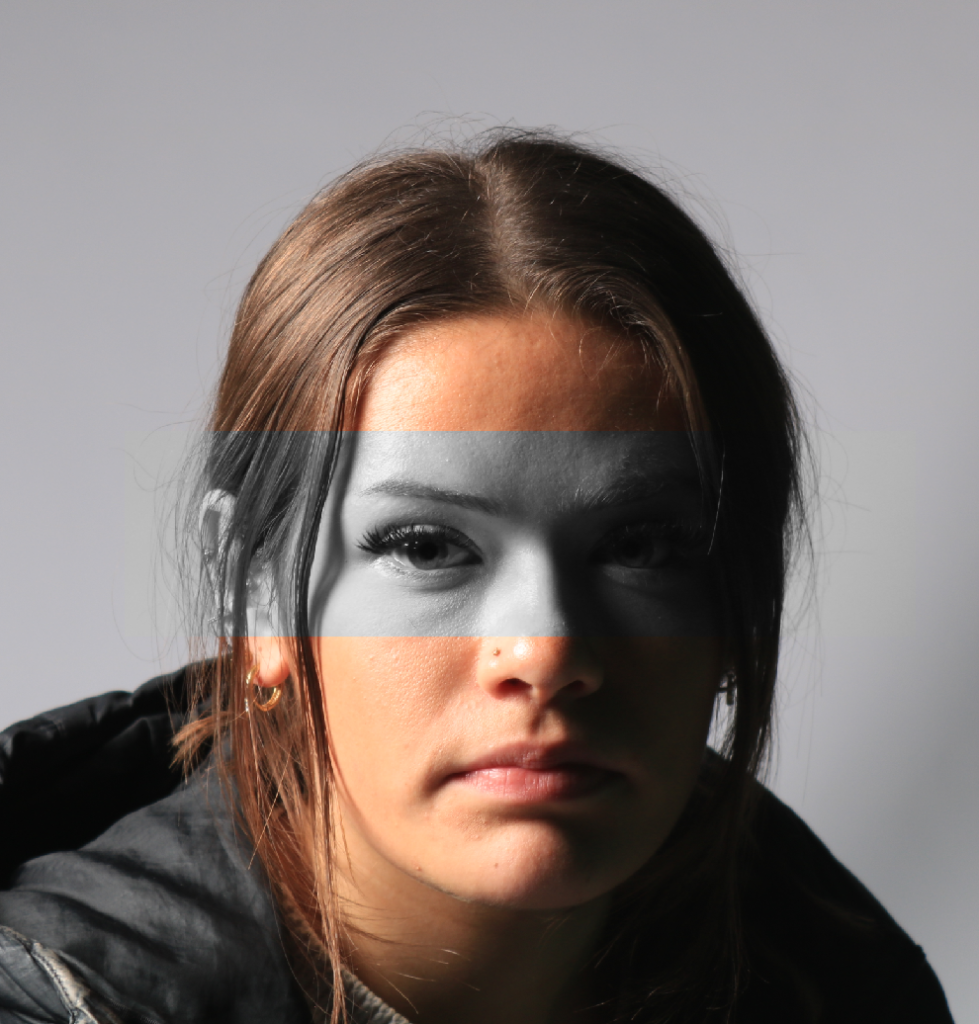
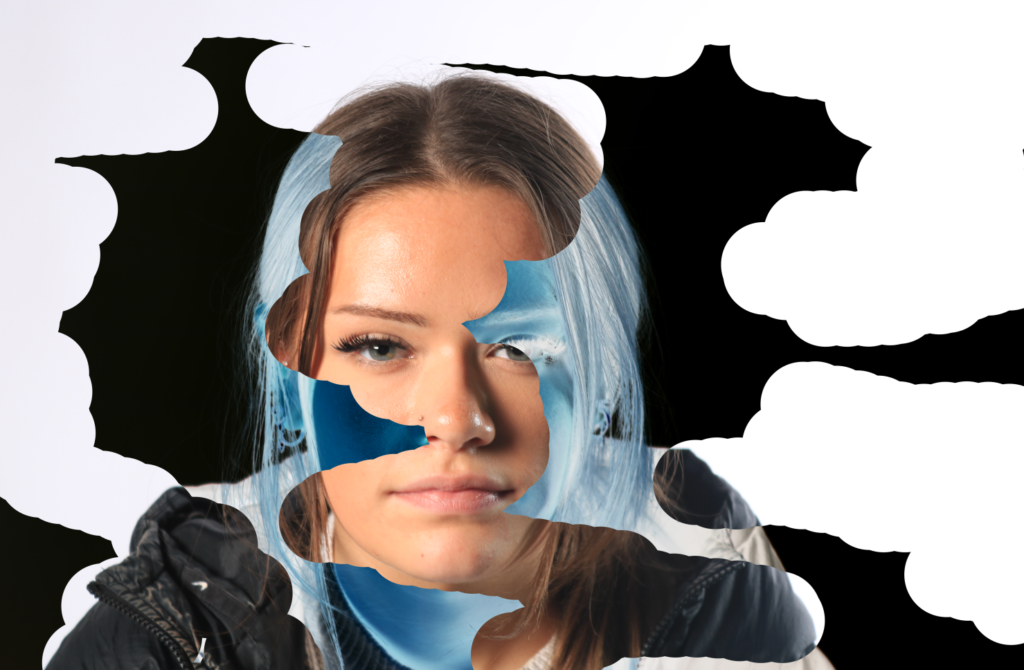
Final Images:

These 3 images include Rembrandt, butterfly and chiaroscuro lighting.
