Photographers use studio lighting to be able to have full control over the lighting used on the subjects face. This way, it is easier to direct the model or manipulate the lighting by changing the position of both to create the effect that Whereas, with natural lighting, it can be more unpredictable, so it makes it harder to get the shot. There is more consistency with studio lighting as the weather and time of day does not affect the lighting unlike the natural light so many photographers prefer to use it.
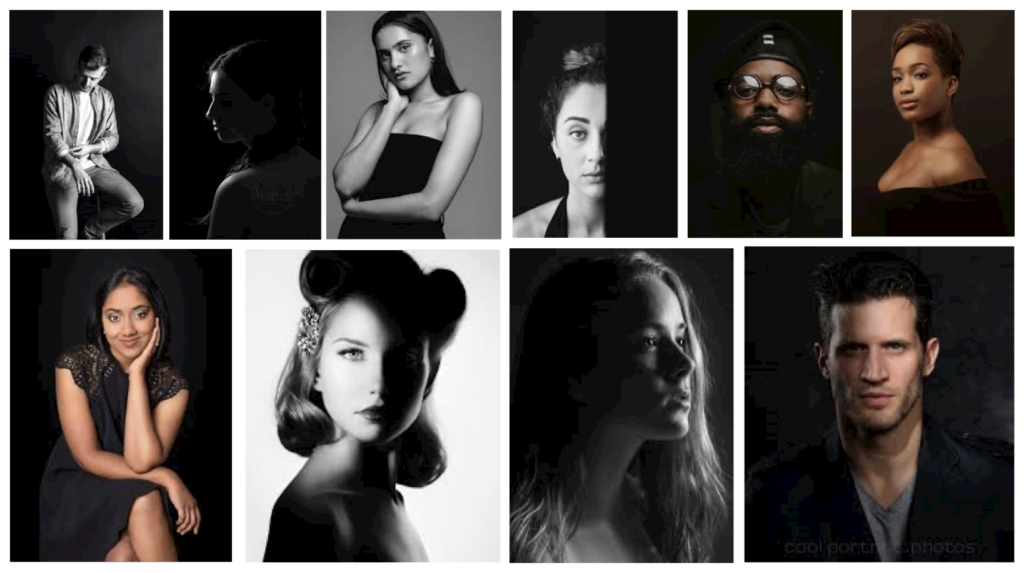
1 point lighting helps to illuminate the subject so they are visible in the camera lens, but with this lighting it also helps to define and dramatise their features as it enables a lot of shadows, creating a high contrast in the image as there is only one light source. This can create a minimalist look as it is the most basic type of lighting to do. This setup can create different looks depending on where you place the light. For example, putting the light directly in front of the subject gives even, flat lighting, while moving it to the side or above can create shadows and highlight texture. This simple lighting technique is used for portraits as it gives a dramatic or natural effect depending on how the light is positioned. It focuses the attention towards the subject and also helps to control the mood of the image.

2 point lighting uses 2 light sources where one acts as the main and key light source whereas the second is an accent light that can help to add interest to the image and also reduce shadows in comparison to 1 point lighting, but they are still noticeable. This is useful as it introduces depth as the second light source can enhance the contrast or soften it depending on what angle the light is at.
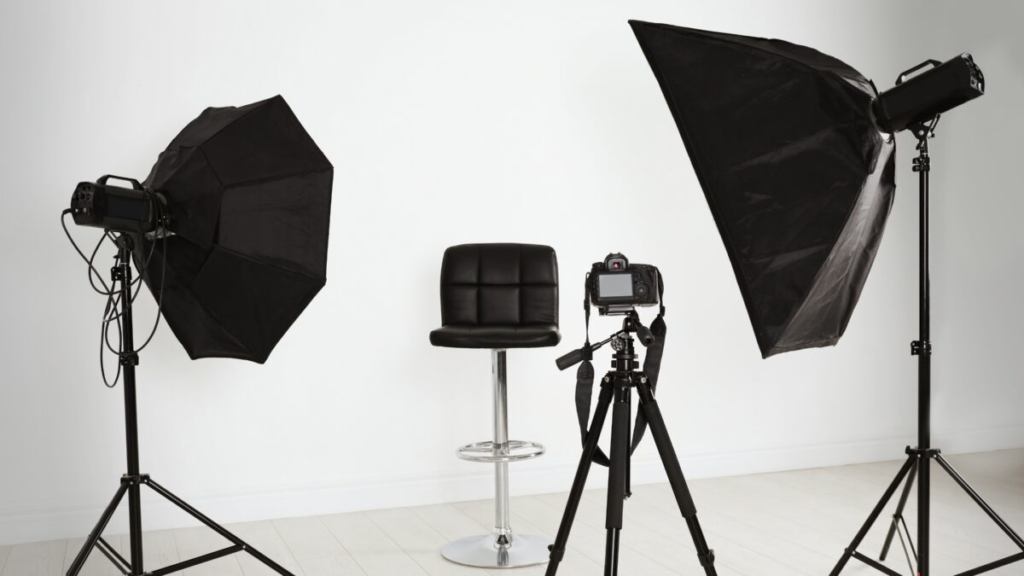
3 point lighting is the most commonly used type of lighting as it involves 3 varied lights to illuminate the face, which automatically makes a well-balanced, controlled image as the shadows are more soft. Typically, with 3 point lighting, there is a main light (the key light) which is used as a primary source of lighting the face up, followed by a fill light which is used to soften the shadows created by the main light to make the image less intense, and lastly, a back light (which is normally behind the subject) to separate the subject from the background and create a distinct divide between them. This is mostly used for high-end fashion, or beauty as the lighting focuses on the subject by illuminating them fully.

Fill lighting in photography refers to a technique where additional light is used to soften and reduce the harsh shadows created by the key light. Its primary purpose is to balance the overall exposure of the image, ensuring that the shadow areas are visible and not overly dark, while still maintaining the dramatic contrast created by the key light. This is usually a reflector that is placed on the other side of the light to balance the harsh shadows created with the key light.
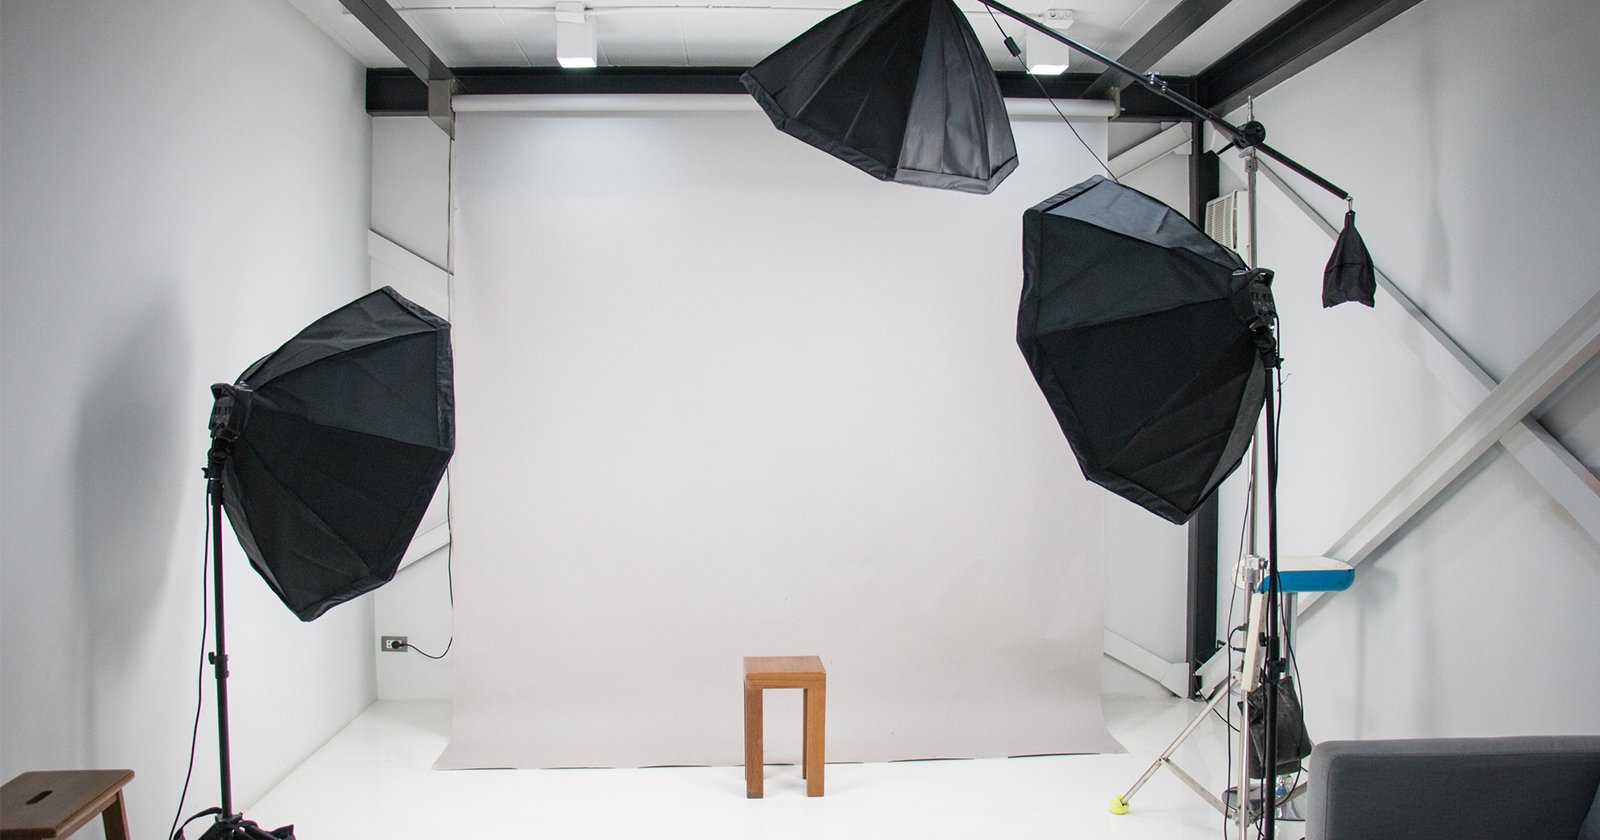
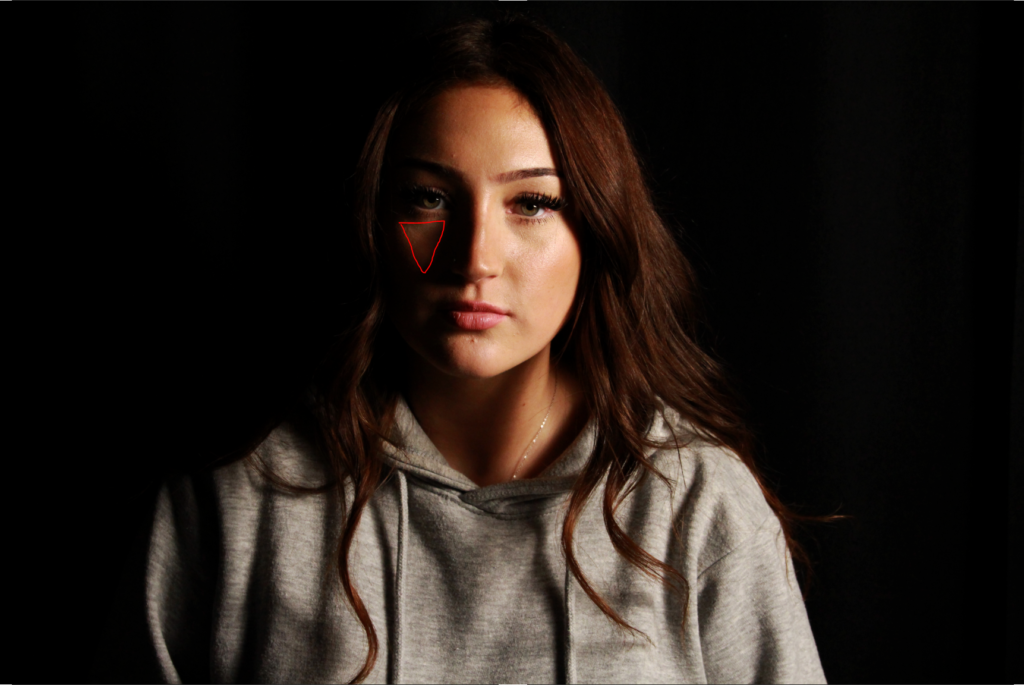
For Rembrandt lighting, the aim is to light one side of the face while leaving the other side in the shadow, creating a highlighted and obvious triangle of light on the darker side of the cheek. This technique is perfect for producing a dramatic yet natural-looking portrait that accentuates the subject’s facial features, adding depth and dimension, whilst also being creative.

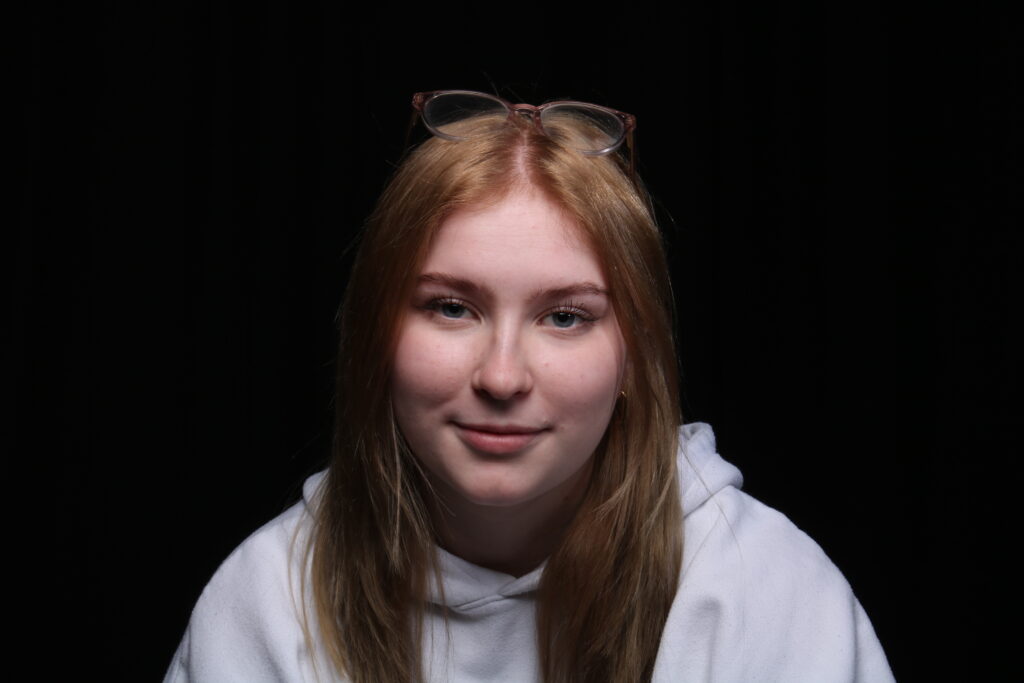
Butterfly lighting is a regularly-used, portrait lighting technique where the light is placed above and directly in front of the subject, creating a shadow under the nose that resembles a butterfly shape (which is where the name came from). This setup is often used to flatter the subject’s face, highlighting and exaggerating their cheekbones and jawline while creating soft shadows. It’s commonly used in beauty and fashion, as it provides a slightly dramatic look with a focus on the face. This technique is great for giving subjects a polished, elegant appearance.

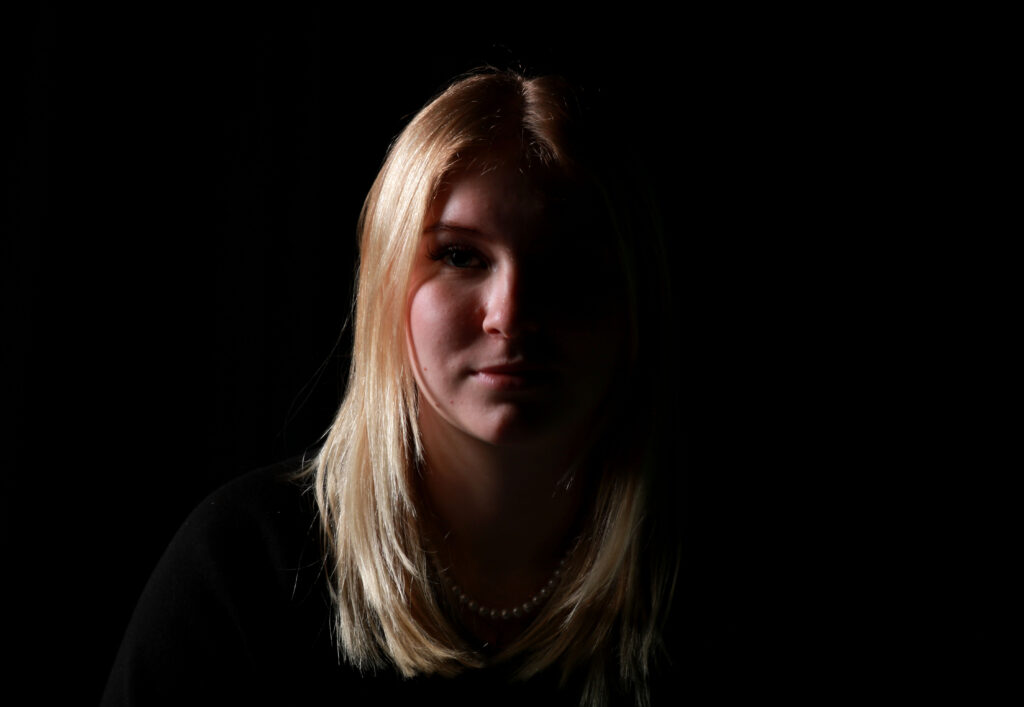
Chiaroscuro lighting in photography refers to a technique that emphasises and exaggerates strong contrasts between light and dark areas to create a dramatic effect. The term is Italian, which translates to “light and dark,” and is inspired by the painting style of the same name. In photography, chiaroscuro lighting is achieved by using a single light source to cast shadows and intense highlights, often leaving parts of the subject in complete darkness while brightly lighting up other areas. This lighting style is very effective for creating a mood or depth in the image. This lighting technique is mostly used for portraits, and dramatic fashion photography. By carefully controlling the light and shadow, chiaroscuro can highlight the subject’s shape and form.

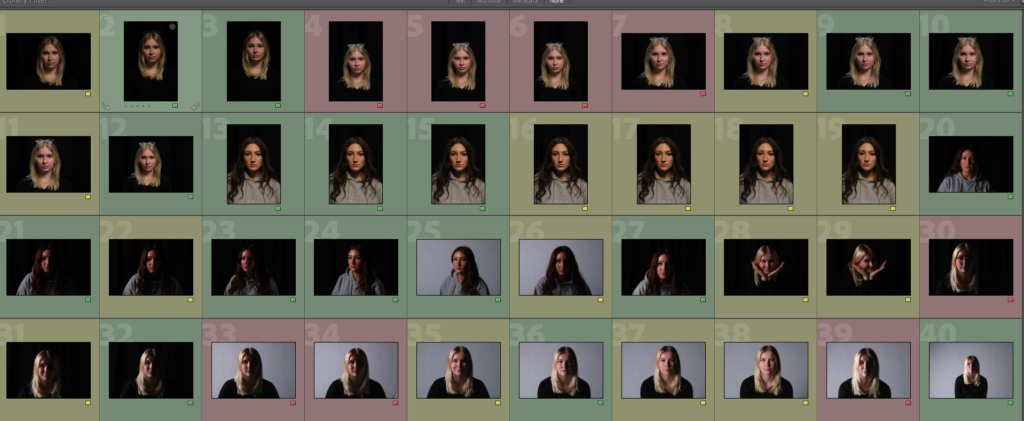
This is my contact sheet for all the images I took. As you can see, there is a wide variety of poses and angles to capture the lighting in each photo, as I used all three of the lighting techniques (Chiaroscuro, Butterfly and Rembrandt).

Below is my image selection, where I carefully highlighted the best photos in green. The images I placed in red were the ones that I thought weren’t to the best standard they could be, due to the positioning of the camera (off centre) or due to the model not being serious. The images I placed in yellow were the ones that I thought were average, but they didn’t stand out to me.
This is my example of Rembrandt lighting, where I outlined the triangle on the darker side of the face in red, to exaggerate the obvious difference in lighting. This happens as the nose casts a shadow onto the darker side of the face due to the position of the lighting, and therefore the light can only hit a certain amount of the face (creating the triangle).
This is my example of Chiaroscuro lighting, where the contrast between light and dark is key to this technique. This technique makes half of her face blend into the background, to highlight the light side and draw your attention.
Lastly, this is my example of Butterfly lighting, where the light casts a shadow beneath your nose by placing it above the camera position.
Virtual Gallery
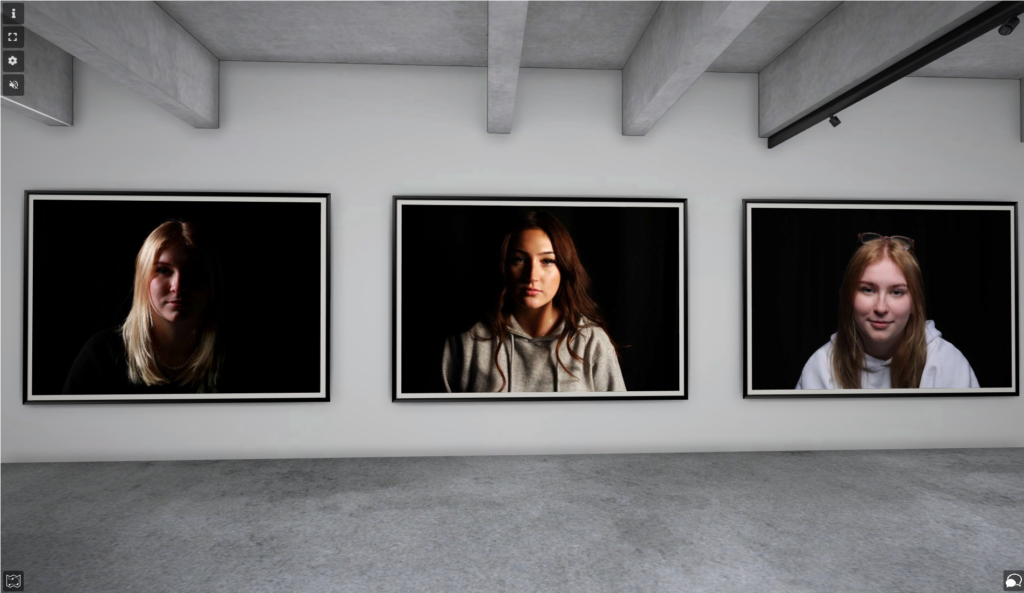
For my virtual gallery, I decided to go for a black and white border as I feel like it makes the image look complete. I also decided to do this as this was three different lighting techniques, so by doing this border it unifies them all together. I also placed the same subject on the outer sides to make the final piece even, as the middle is a different person.
Gel Lighting and Split Lighting
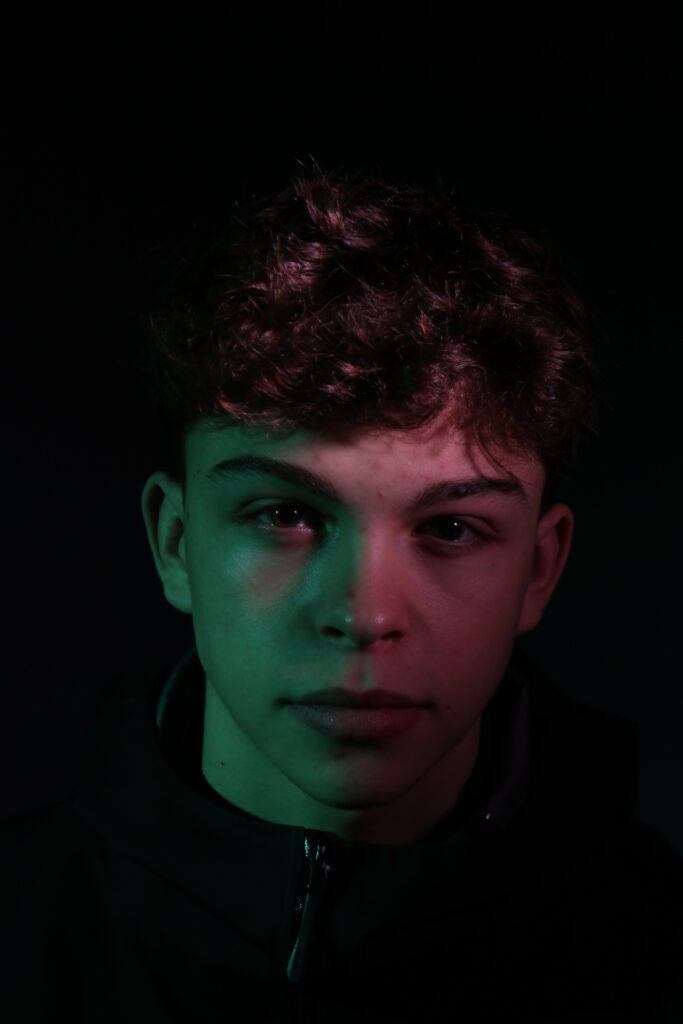
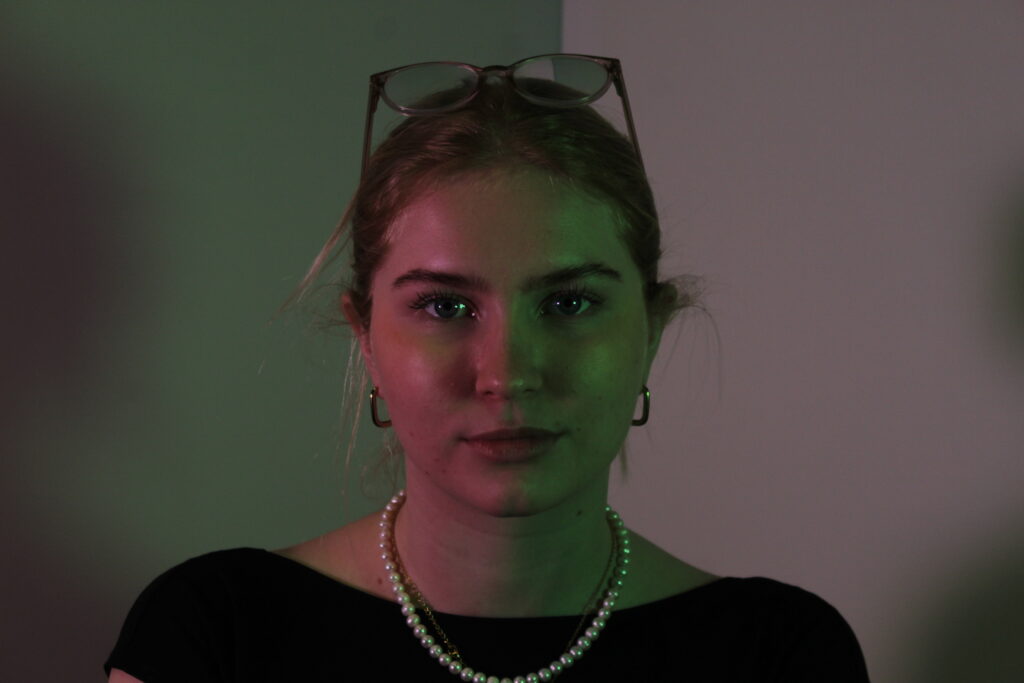
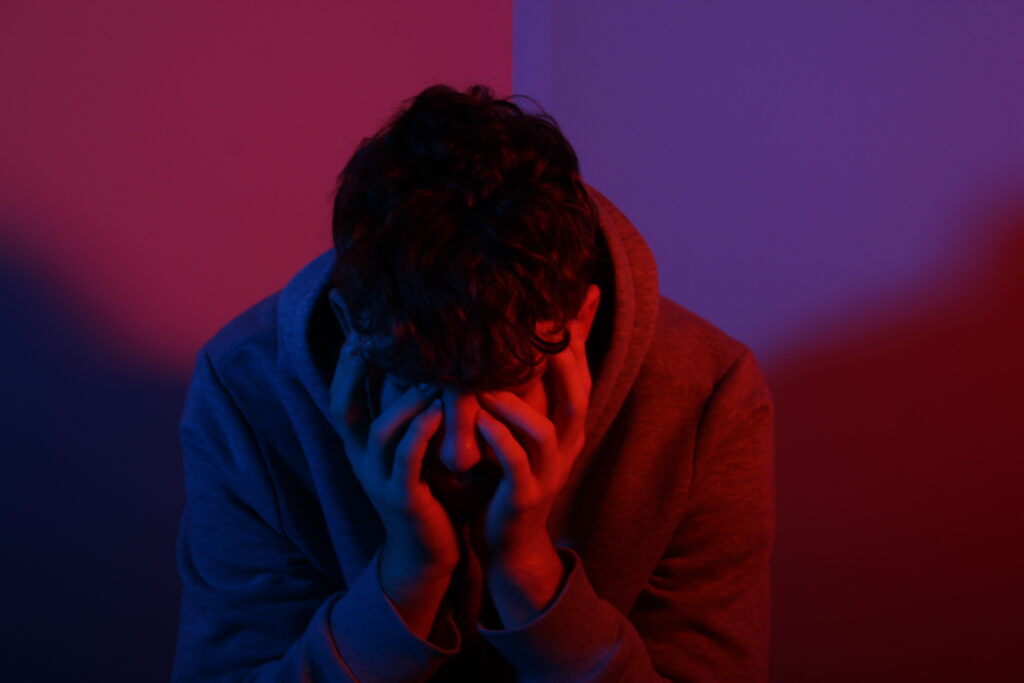
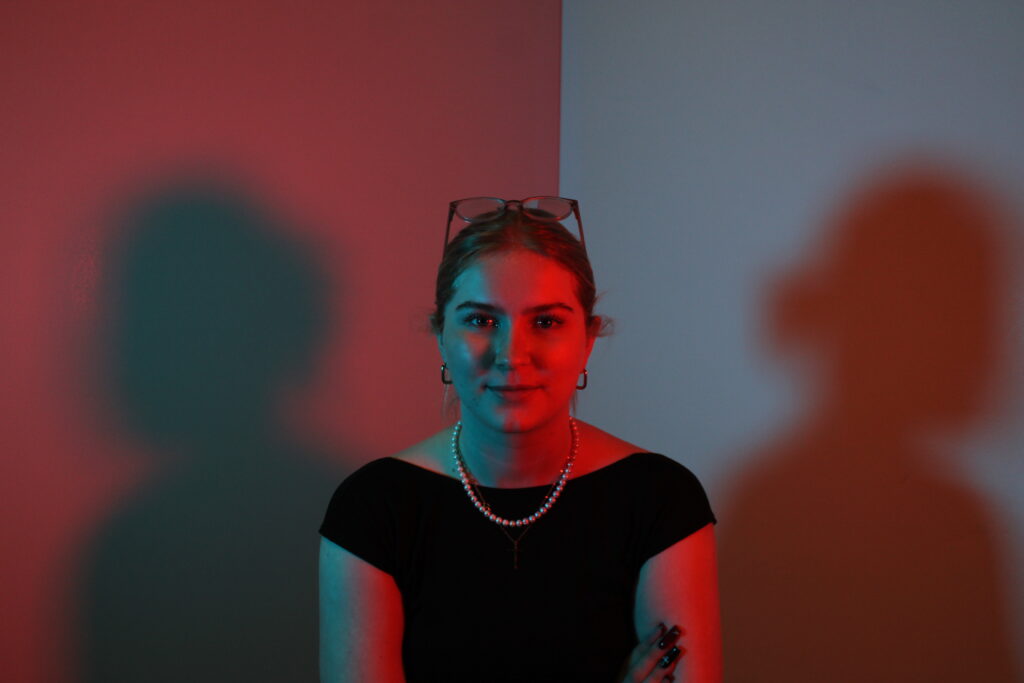
Gel lighting photography is when photographers use coloured filters (which are called gels) to change the colour of the light in a photo. These gels are placed over the lights shining on the subject to create different moods or effects. For example, a blue gel can make the light look cool, while a red gel gives a warmer feel to the image. Photographers use gel lighting to add creativity, highlight certain parts of a photo, or set a specific mood, which can overall make the image look more intriguing. Similarly, split lighting also uses the gels, however the lights are placed on opposing sides to create a unique contrast between the two gel colours.

Contact Sheet and Image Selection
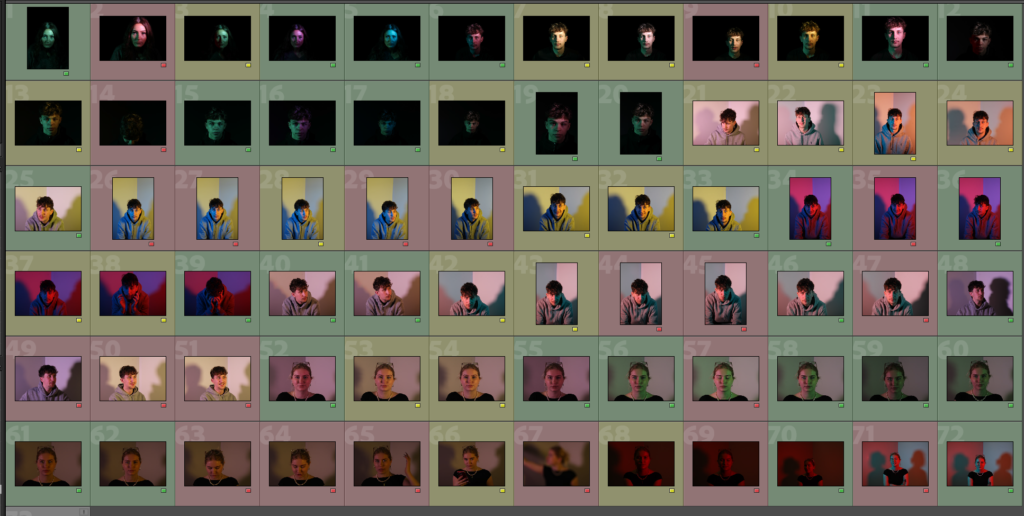
This is my contact sheet for both my gel lighting and my split lighting, however the images that are in red are due to the subject moving, or the camera making the image blurred. The ones in yellow I found weren’t the best images I took, but they had nothing wrong with them (like blurriness). From doing this photoshoot, I realised that I really like this style of studio photography, as it changes the vibe to the image, and it creates more fun ways to capture portraits.
Best Images
