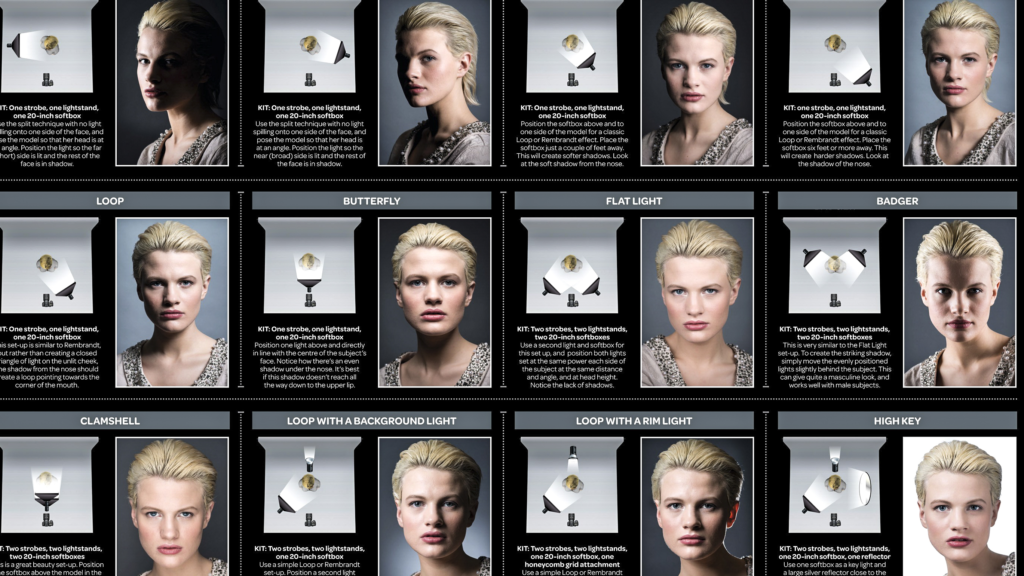
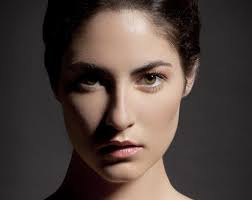
This photo shows difference types of lighting and how it affects the portrait.
What is Studio Lighting and why do we use it?
Studio lighting setups give photographers the flexibility to create different looks and lighting effects in their photos. These setups have a big impact on the style and mood of your images–allowing you to create the effect you or your clients desire.
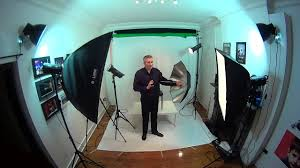
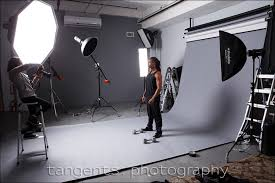
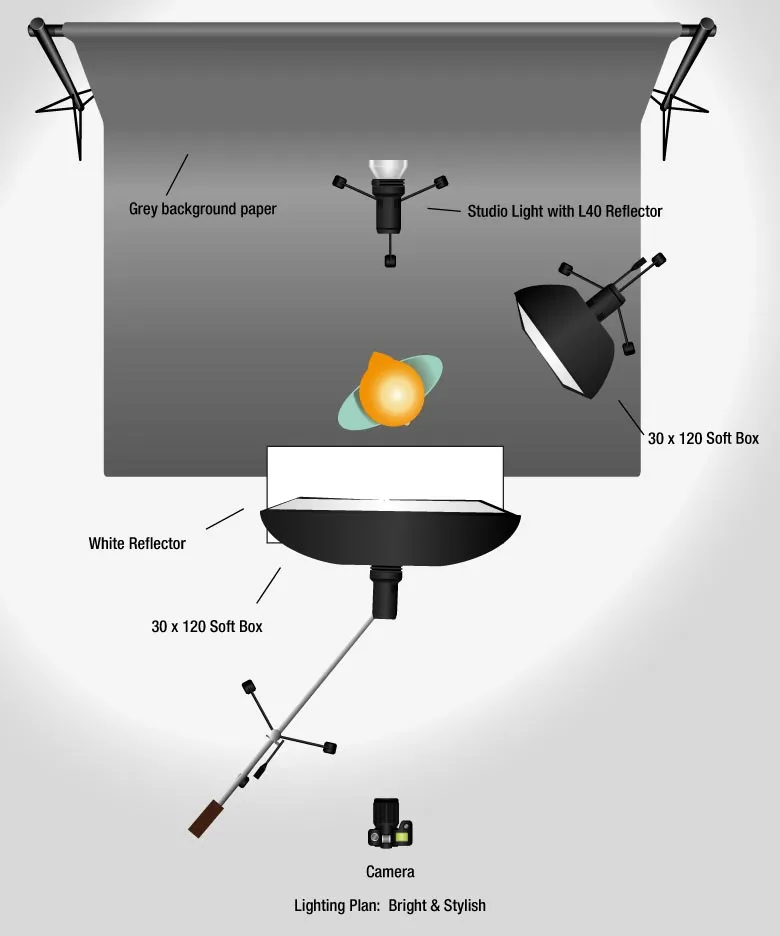
1, 2 and 3 point lighting
In photography, 1-point, 2-point, and 3-point lighting refer to different setups for illuminating a subject. These setups control the mood, depth, and focus of the subject through how light is positioned. Each technique addresses different visual and narrative needs.
1-Point Lighting
One-point lighting is the most basic lighting setup, involving a single light source. This primary light, known as the key light, is typically placed at an angle to the subject. The result is a photograph with strong shadows and high contrast, which adds a dramatic and mysterious feel to the image. This setup is often used in portrait photography to create a moody and intense atmosphere.
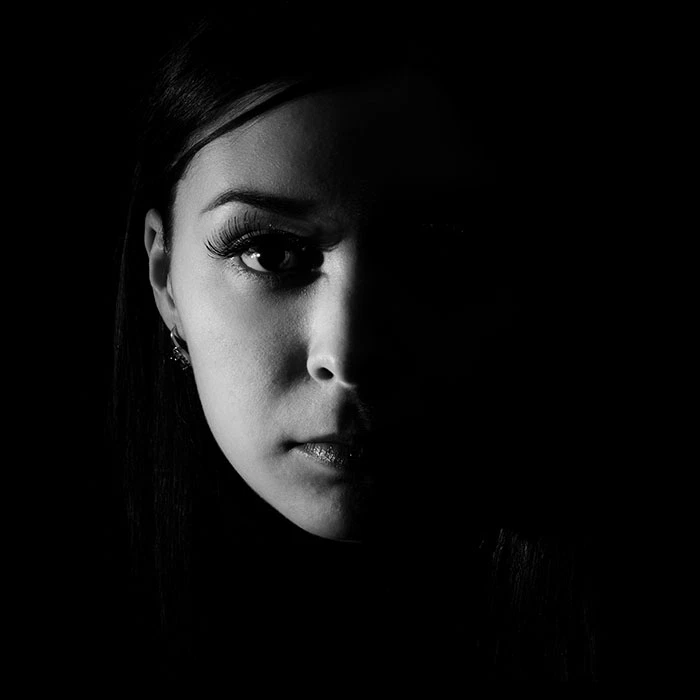
In this portrait, I used a hard one point lighting so create half light half shadow effect. This one point lighting technique uses a single key light at an angle to the face this makes one half of the face lit up and the other in darkness. This particular one point lighting technique is also called split lighting. This is where the face is split in contrast between light and shadow. This technique is used to create a dramatic and moody atmosphere. I also experimented with a black and white version of the portrait which gives the image a dramatic effect.
2-Point Lighting
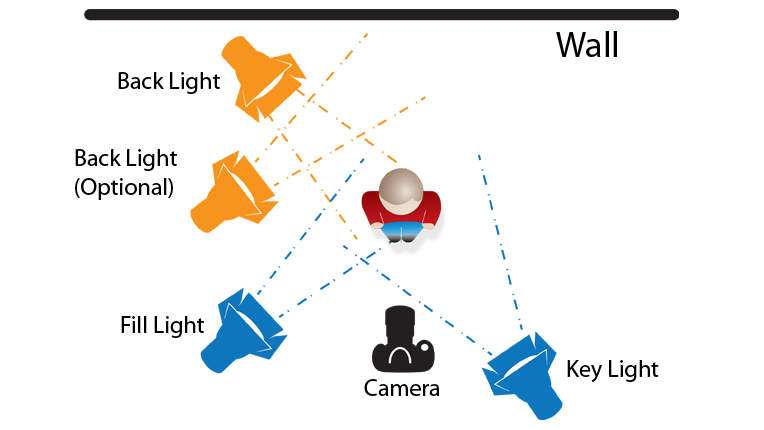
When moving to a two-point lighting setup, an additional light source is introduced—the fill light. The key light remains the primary source of illumination, placed at an angle to the subject, while the fill light is positioned opposite the key light. The purpose of the fill light is to soften and reduce the shadows created by the key light, resulting in a more balanced and natural look. This technique is useful in both portraits and product photography to highlight details without casting overly dramatic shadows.


3-Point Lighting
The three-point lighting setup is more advanced, involving three light sources: the key light, the fill light, and the back light (also known as the rim light). The key light and fill light are positioned similarly to the two-point lighting setup. However, the addition of the back light, placed behind the subject, adds a crucial element by creating a sense of depth. This back light helps to separate the subject from the background, giving the image a more three-dimensional and professional appearance. This technique is widely used in film, television, and portrait photography to achieve a polished and well-lit look.


Rembrandt Lighting
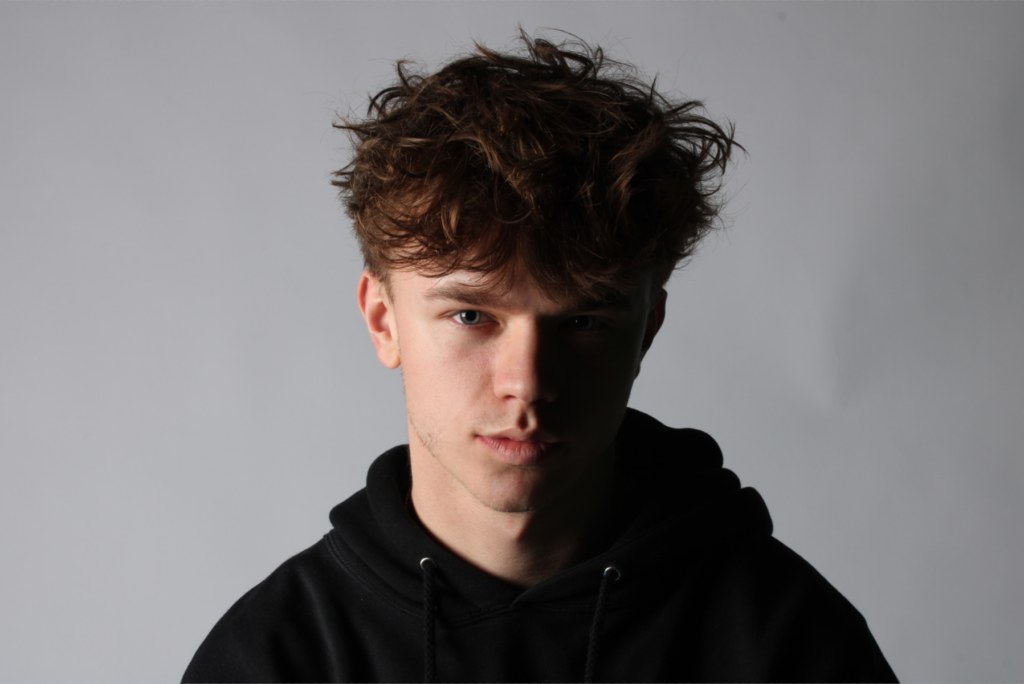
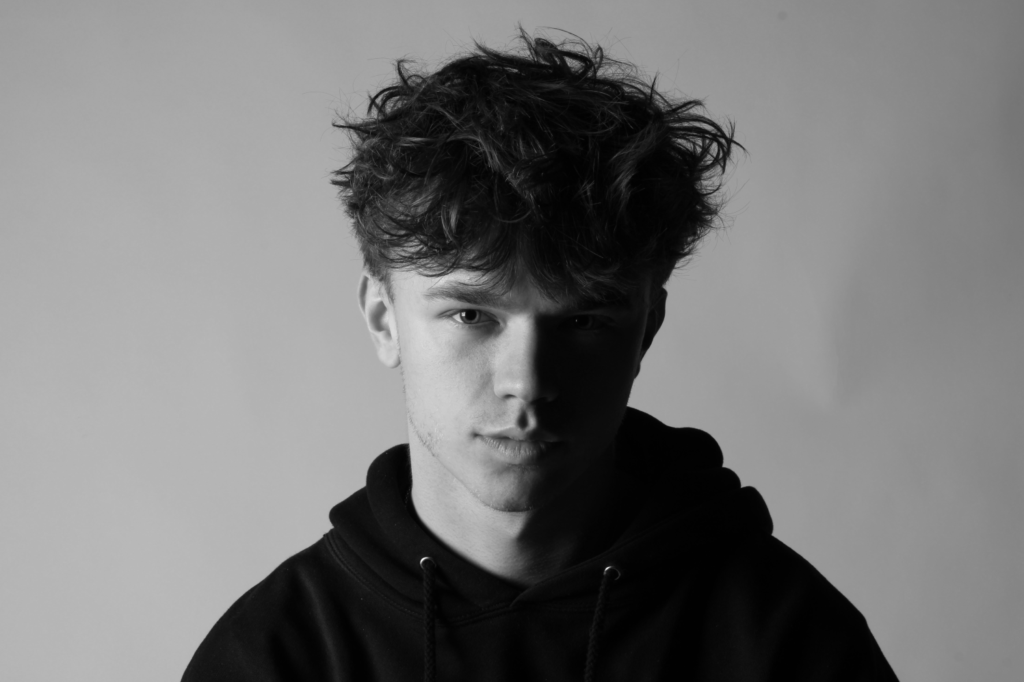
Rembrandt lighting is a popular technique in photography where the light source is positioned at about a 45-degree angle from the subject. This setup creates a distinctive triangular patch of light under the eye on the side of the face that is in shadow. It’s named after the Dutch painter Rembrandt, who often used this lighting style in his portraits. This technique adds depth and dimension to the subject’s face, making the photograph look dramatic and visually appealing. It’s particularly effective for portraits, as it enhances facial features and adds a professional touch to the image.
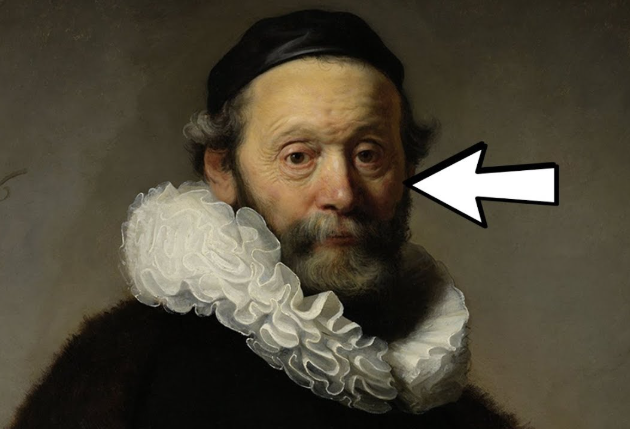
Recreating Rembrandt Lighting
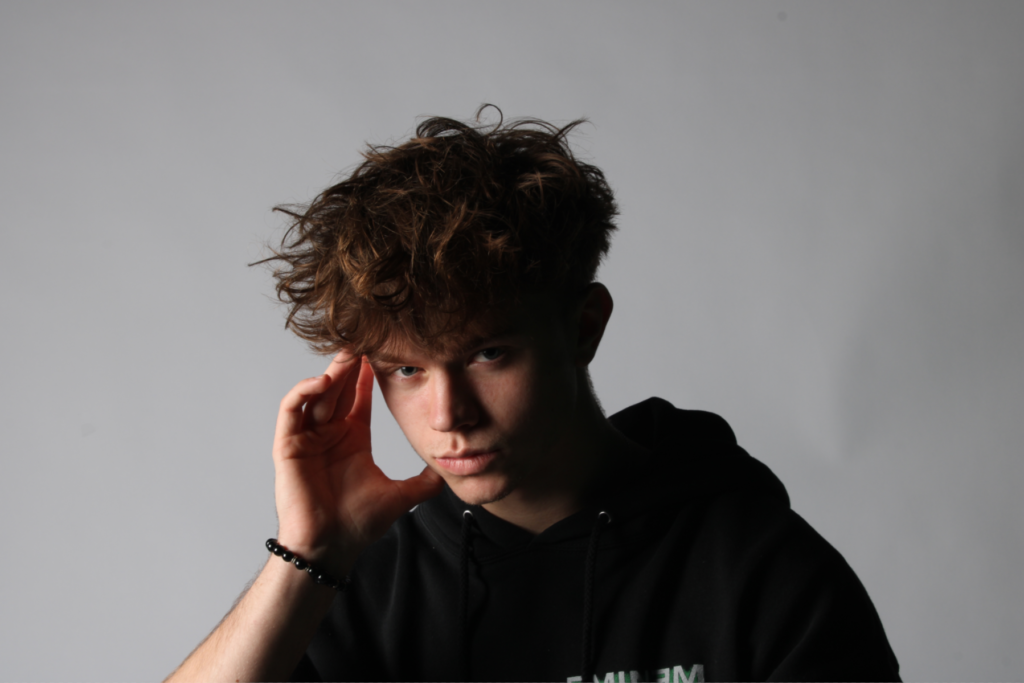
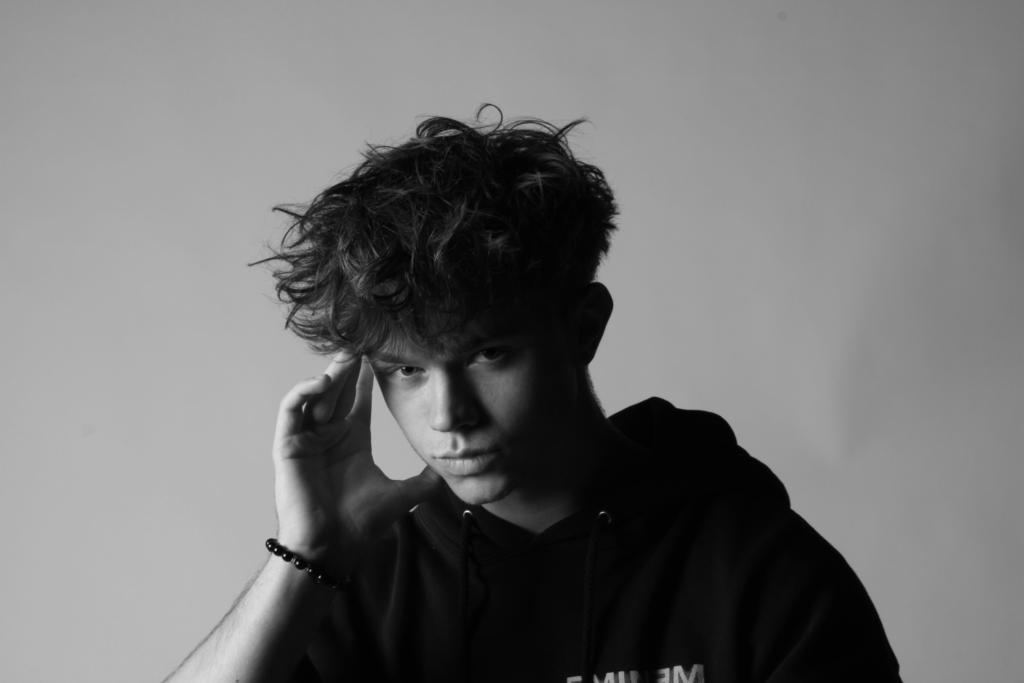
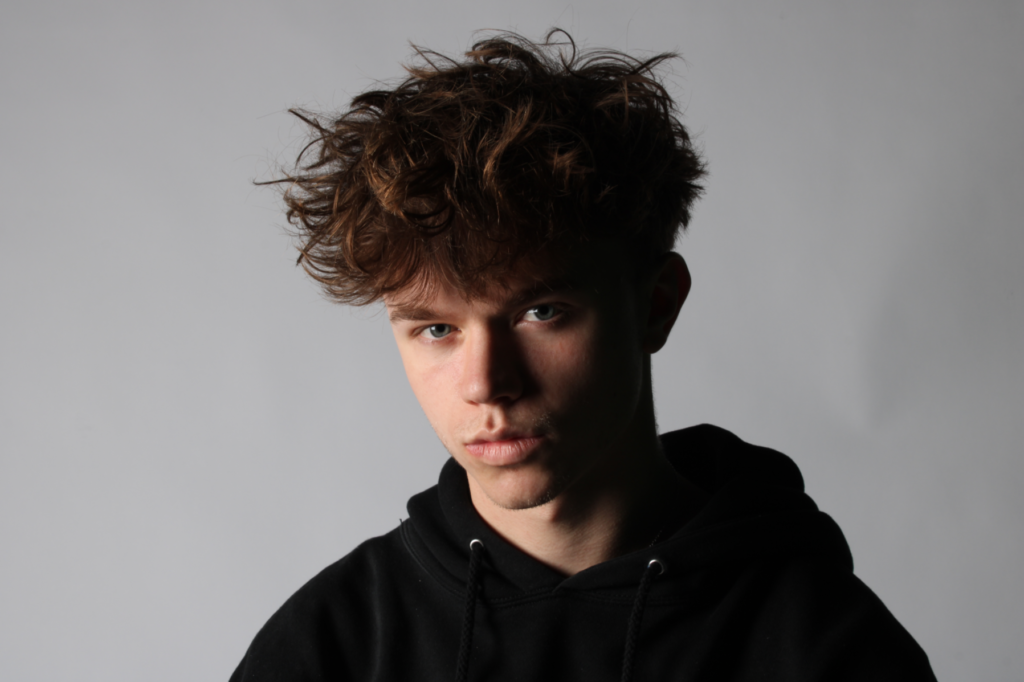
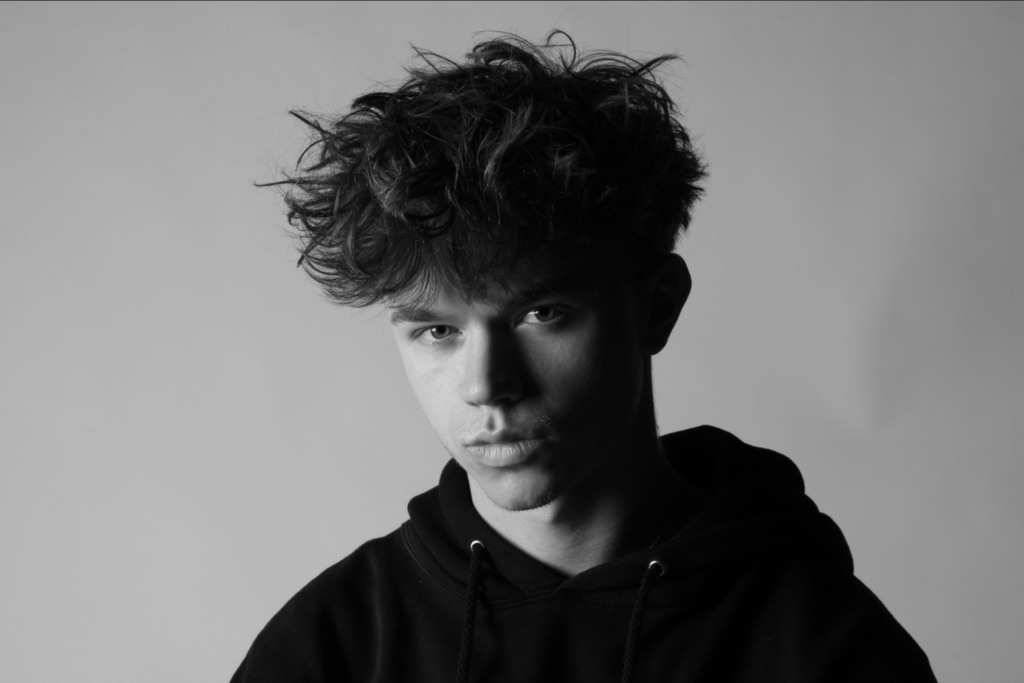
In these photos, I attempted to create Rembrandt Lighting by positioning the light source at about a 45 degree angle from the subject. These photos were successful as I managed to create the distinctive Rembrandt triangle underneath the eye. To improve these portraits, I could experiment with the angle of the lighting more to create a more vivid and bold triangle of light on one side of the face making it more distinct and standing out more. I also experimented with black and white versions of the portraits which accentuate the lighting technique and creates a more dramatic effect with the light and shadow.
Butterfly lighting
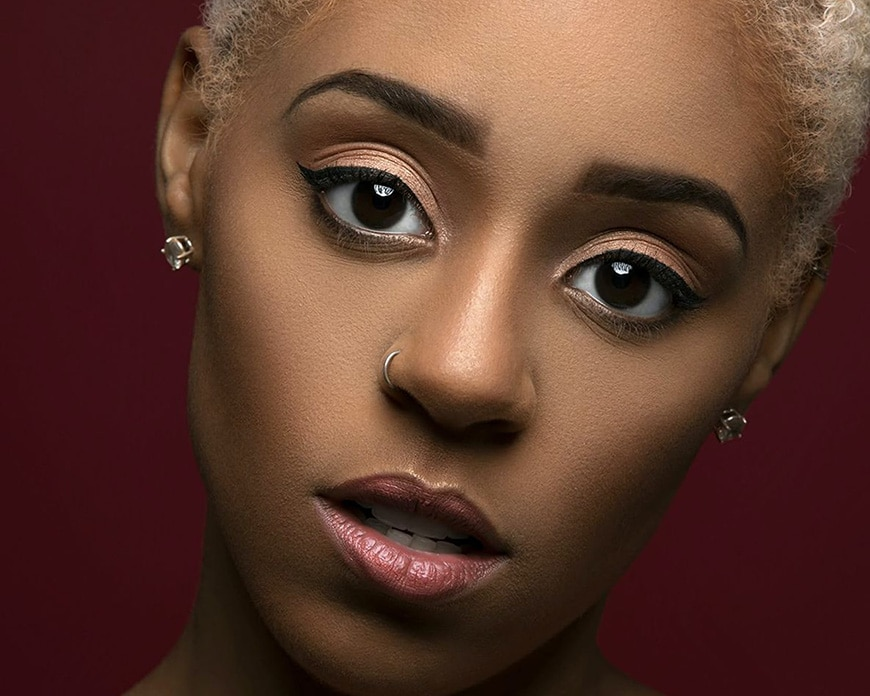
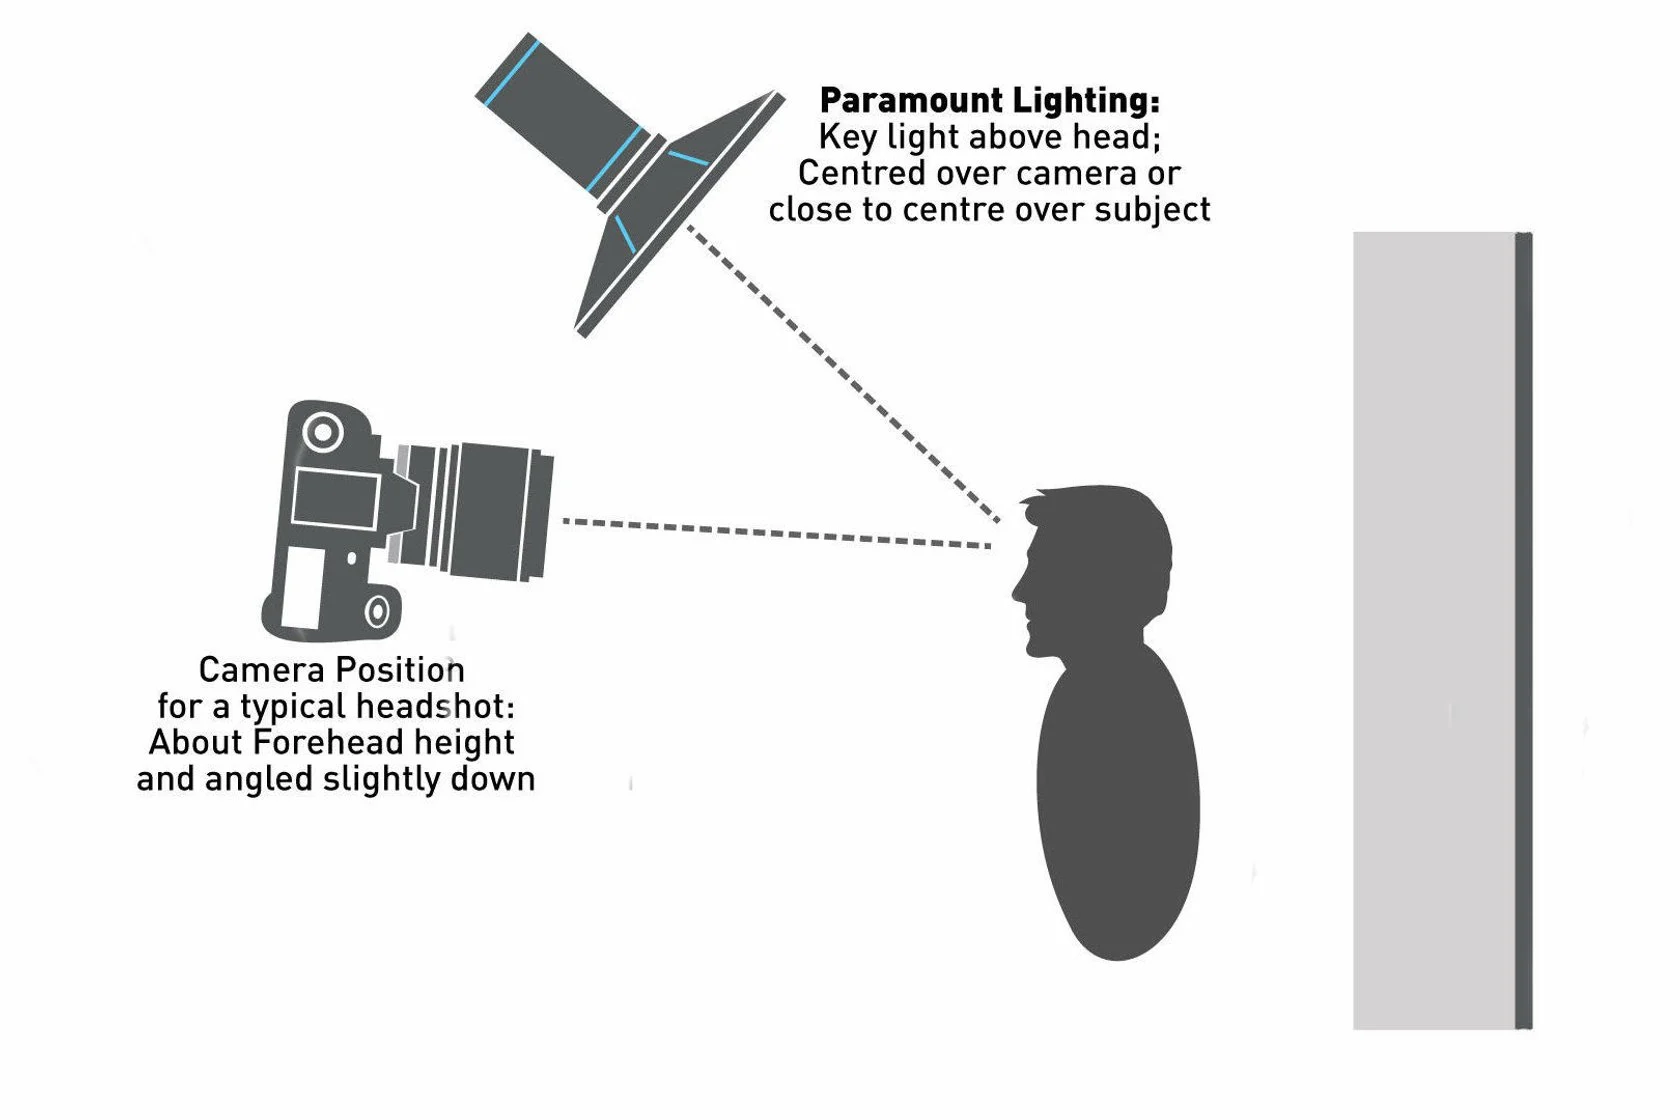
Butterfly lighting is a technique where the main light source is placed directly in front of and above the subject, typically above their eye level and angled downwards. This setup creates a shadow under the nose that resembles a butterfly, hence the name. This lighting style highlights the cheekbones and creates a flattering, glamorous look, making it popular in beauty and fashion photography. Butterfly lighting is especially effective for subjects with prominent cheekbones or a slim face, as it enhances facial contours and adds a touch of elegance to the portrait.
Chiaroscuro lighting
Chiaroscuro lighting is a technique in photography that creates a strong contrast between light and shadow, resulting in a dramatic and moody effect. The term “chiaroscuro” is derived from Italian, where “chiaro” means clear or light, and “scuro” means dark or shadow. This lighting style uses a single light source to illuminate the subject, while the rest of the scene is left in shadow. The stark contrast enhances the three-dimensionality of the subject and adds a sense of depth and texture. It’s often used in portrait photography to create intense, powerful images with a striking visual impact.

Fill lighting
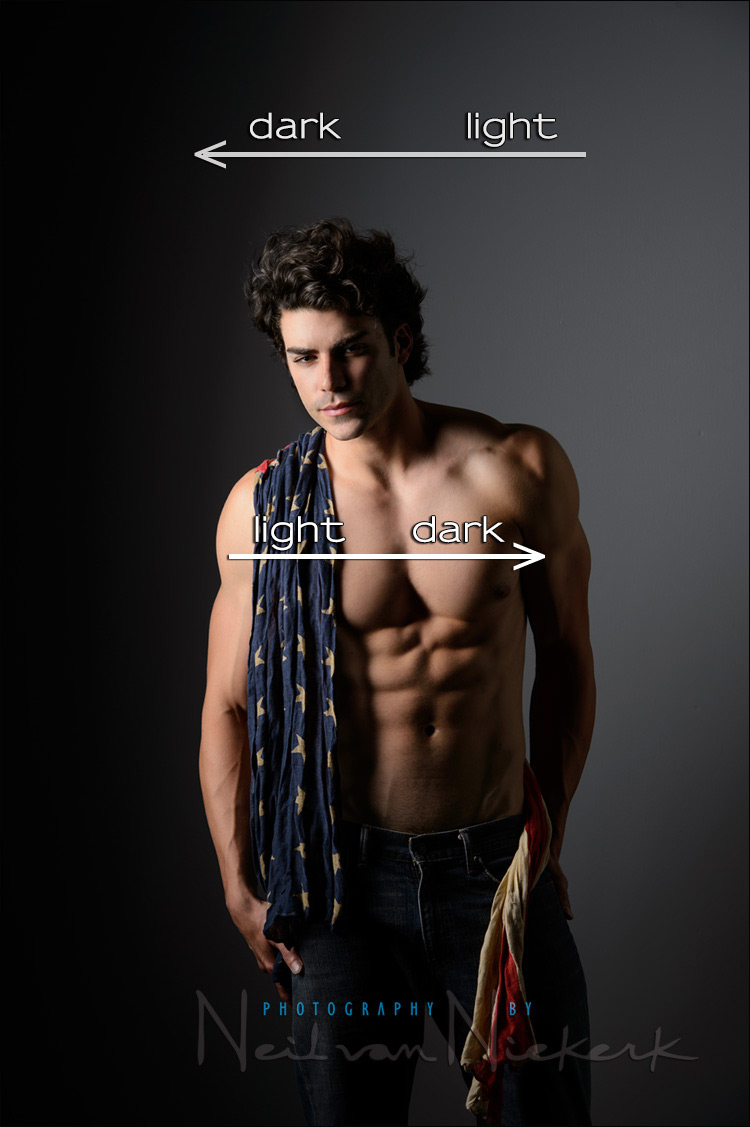
Fill lighting in photography is used to reduce shadows and soften the overall lighting of a scene. Imagine you’re taking a photo of someone, and one side of their face is in deep shadow because of the main light source, called the key light. By adding fill light, you gently illuminate those darker areas, creating a more balanced and natural-looking image. This helps to ensure that details are visible in both the brightly lit and shaded parts of the photo. Essentially, fill lighting adds that extra touch to make your photos look more even and pleasing to the eye.
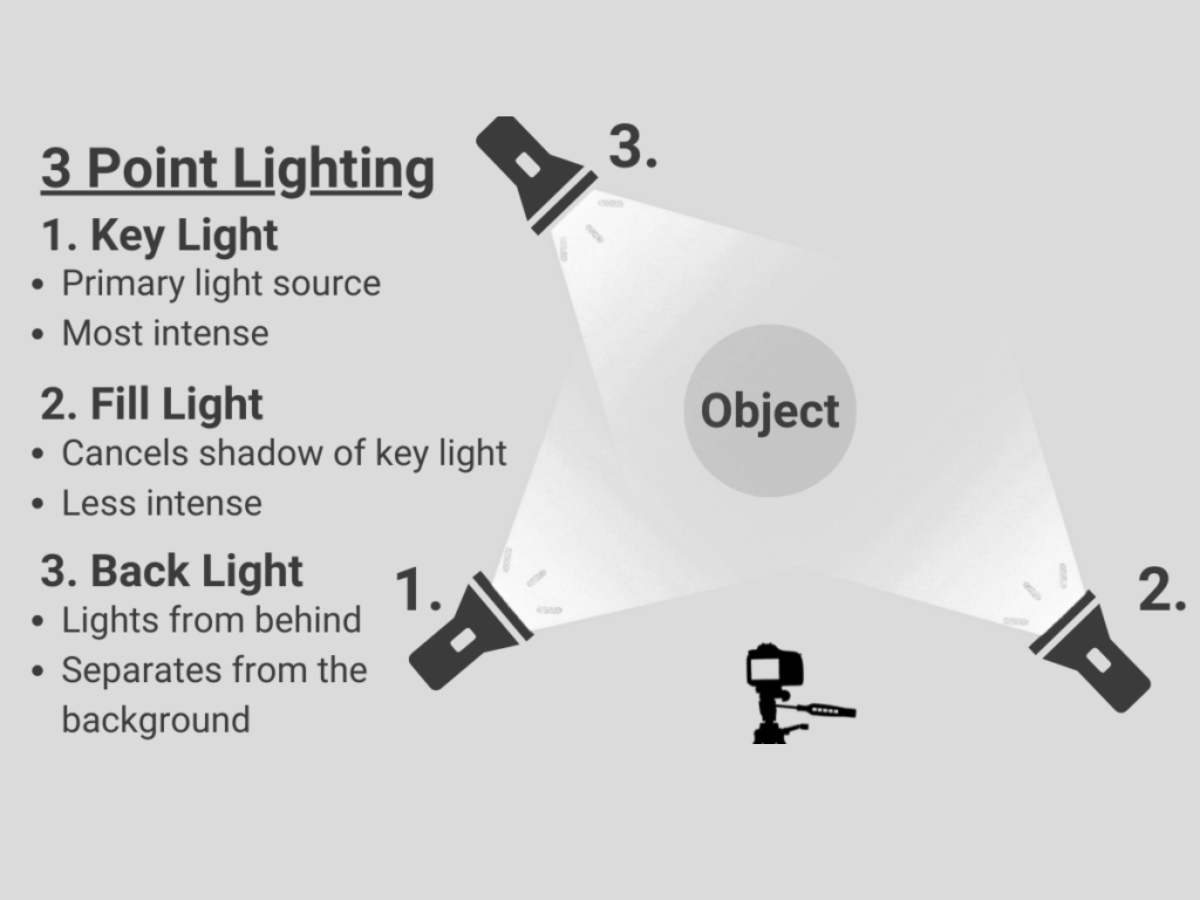
Experimenting with fill lighting using a reflector
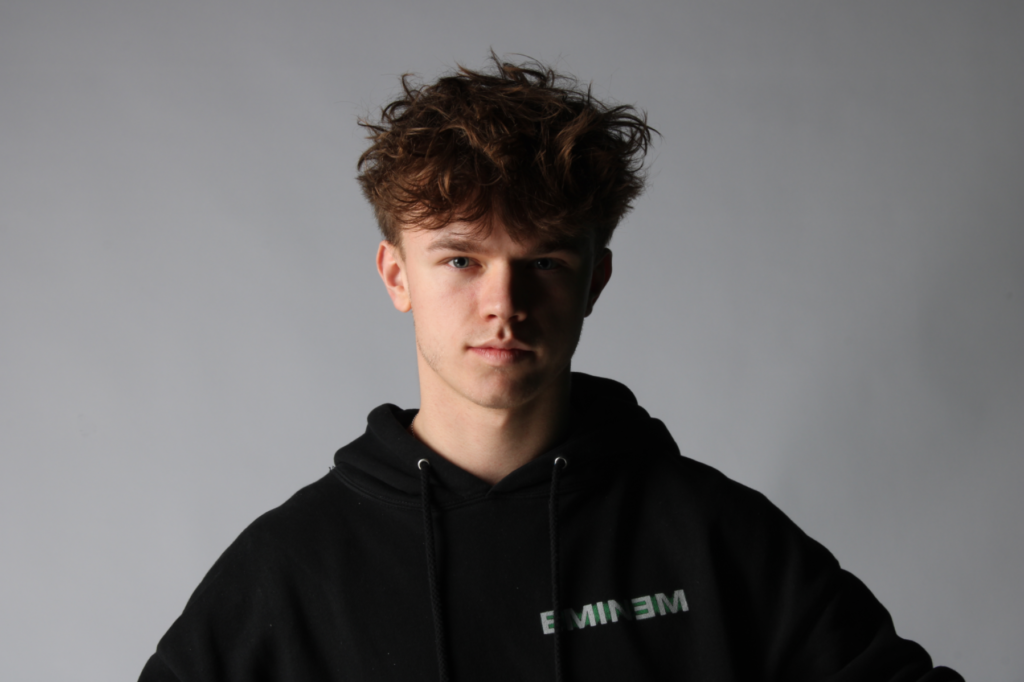
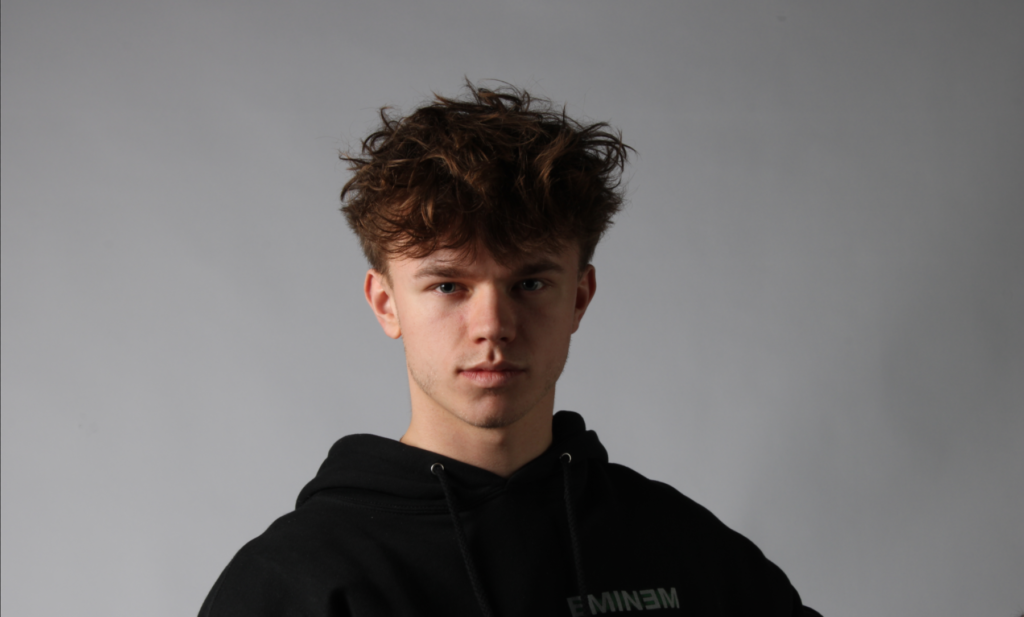
In these portraits I used one key light positioned to one side of the face. As shown in the first portrait, one side of the face is lit up and the other is in shadow. In the second portrait, the model held up a reflector. This reflector acts as a fill light in which it subtly lights up the other side of the face. This fill light reduces the shadows and improves the general lighting in the portrait and shows more detail in the face. This creates a more balanced and natural looking image. Essentially the reflector makes the image more pleasing to the eye and reduces the moody effect that the extra shadow portrays
Back lighting
Back lighting in photography is when the main light source is behind the subject, pointing towards the camera. This creates a silhouette effect, highlighting the edges of the subject with a glowing outline while the front of the subject is darker. It’s often used to create dramatic or ethereal images, making the subject stand out against the background.
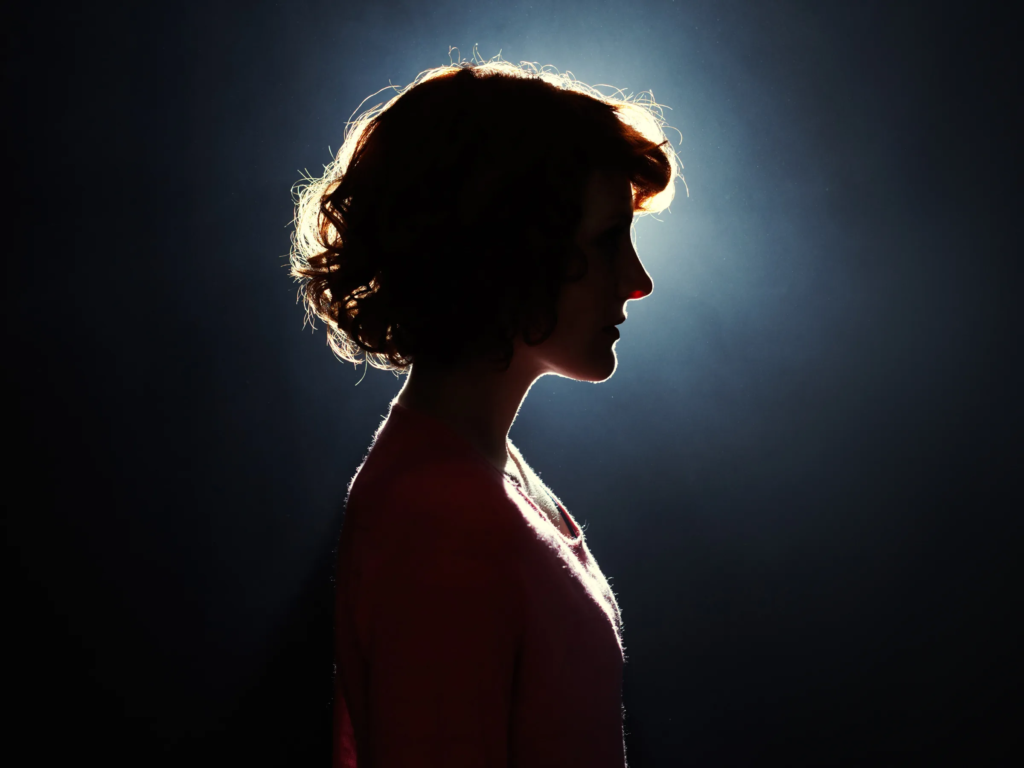
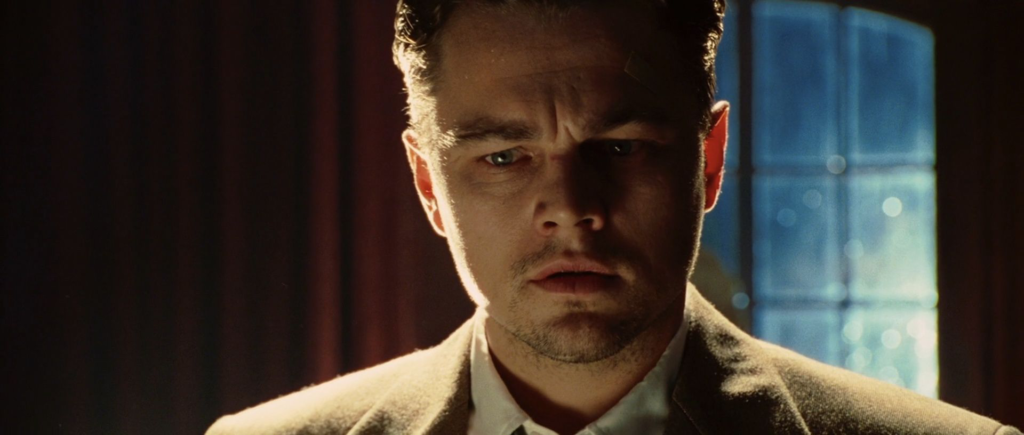
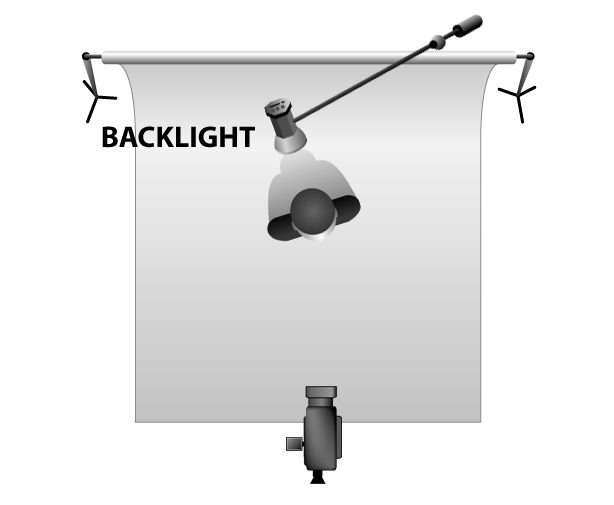
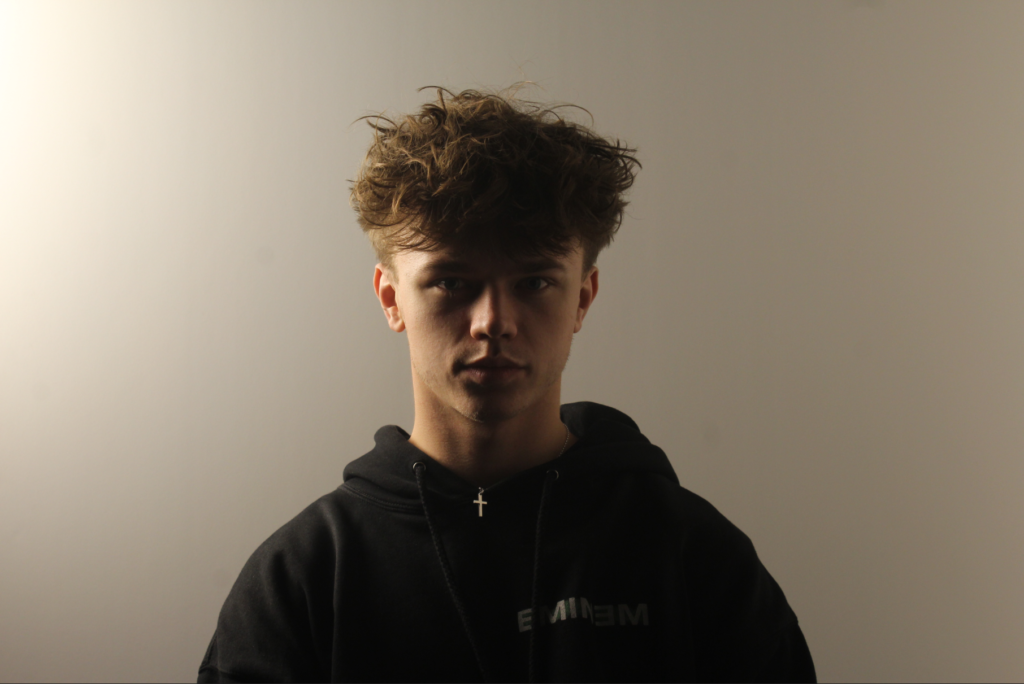
This isn’t perfect backlighting in this portrait because the light source isn’t directly behind the subject, it is more to the side. As shown in the example images above, the image on the left is more silhouette like and is what backlighting would look like if the light source was directly behind the subject. The example image on the right of Leonardo di Caprio is more like the image I created. With this particular lighting the left side of the face is illuminated however there is shadow around the eyes and the centre of the face. This creates a moody tone and a different effect.
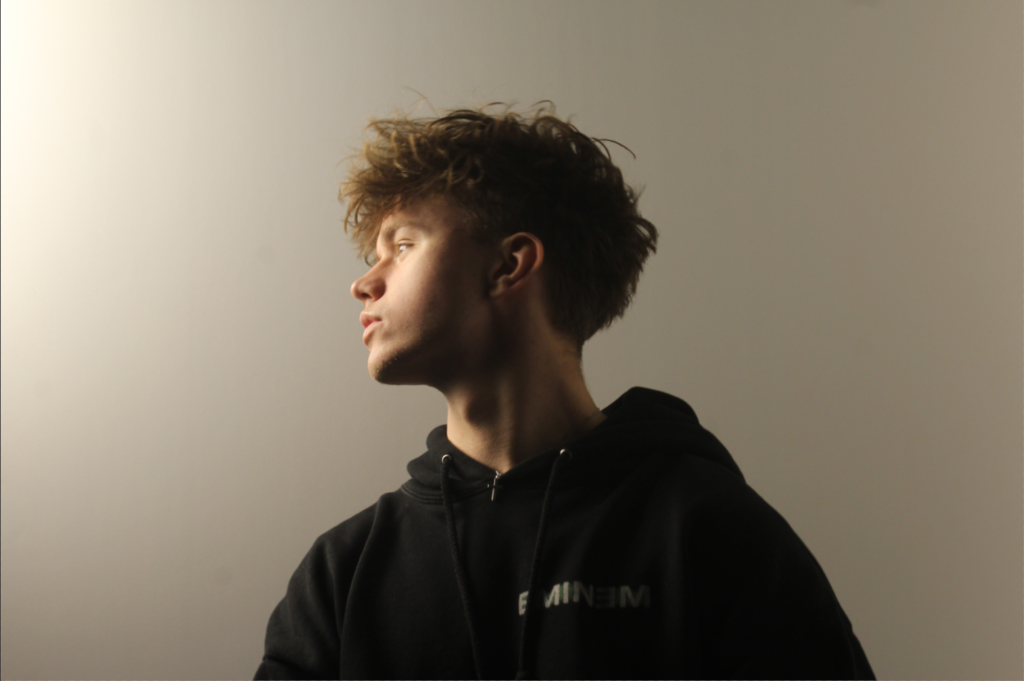
This is a portrait with the same lighting as the last however, the subject is in a different pose which their face is illuminated and since they are looking up at the light and the light is shining down on them, it creates shadow underneath the chin and from the jaw. This makes most of the neck area in shadow. This lighting creates a dark and moody effect with the shadow, however the face being in light still gives the image a natural look.
Virtual gallery
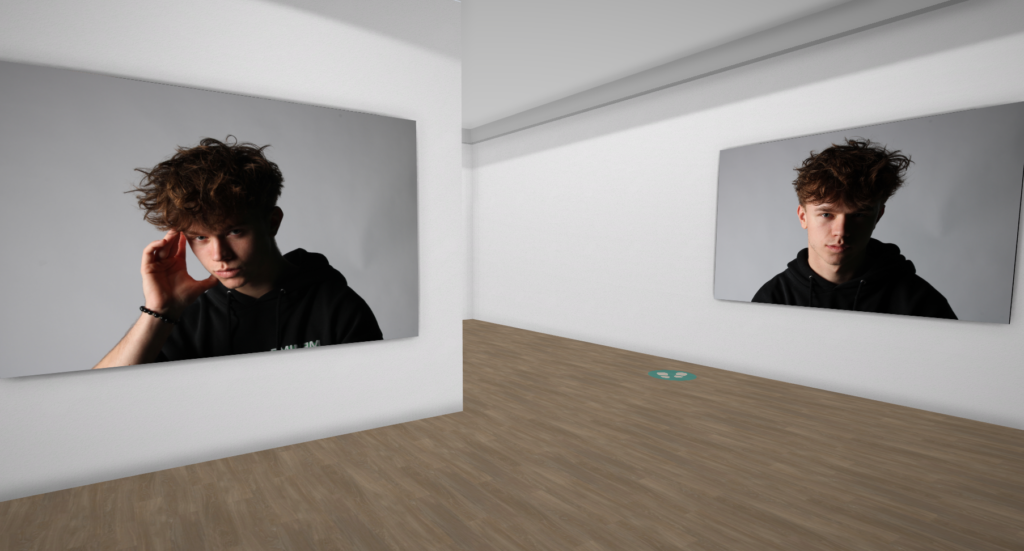
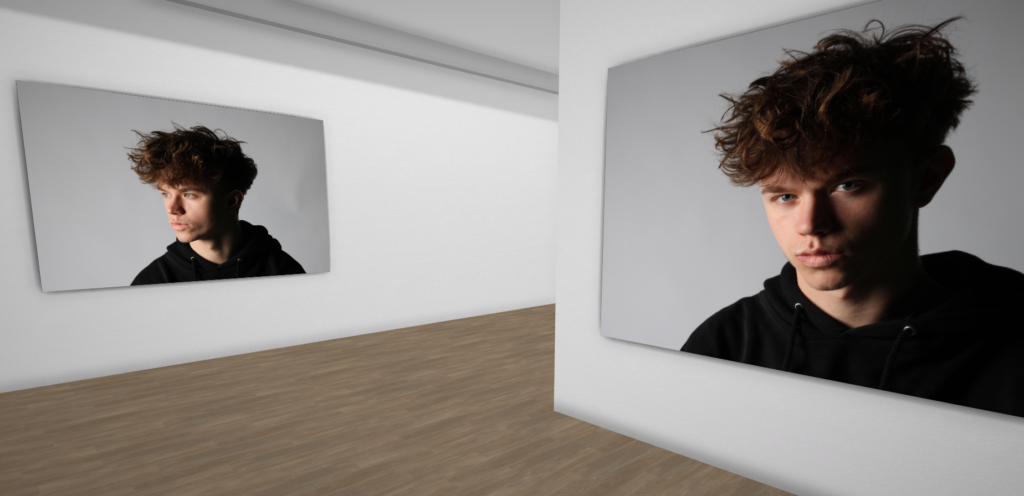
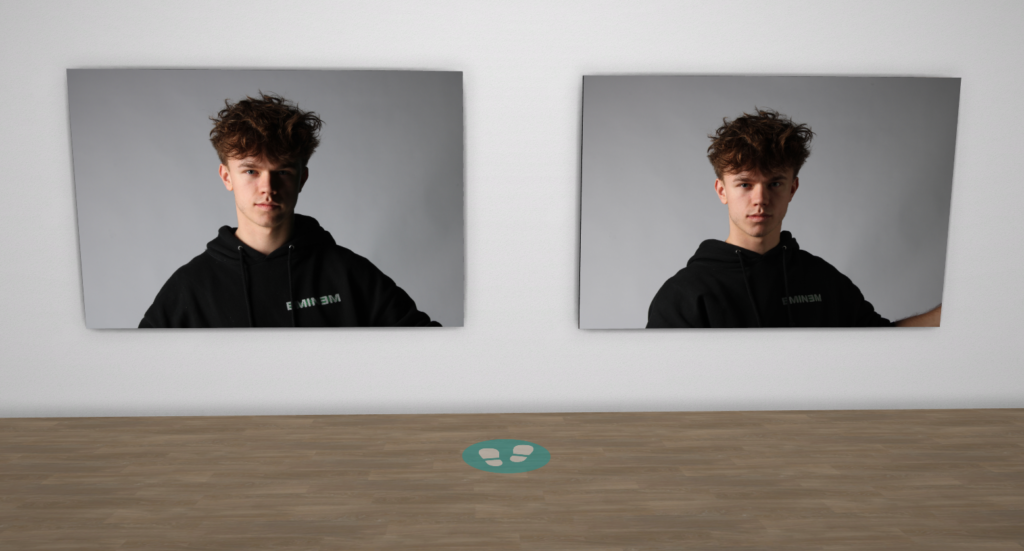
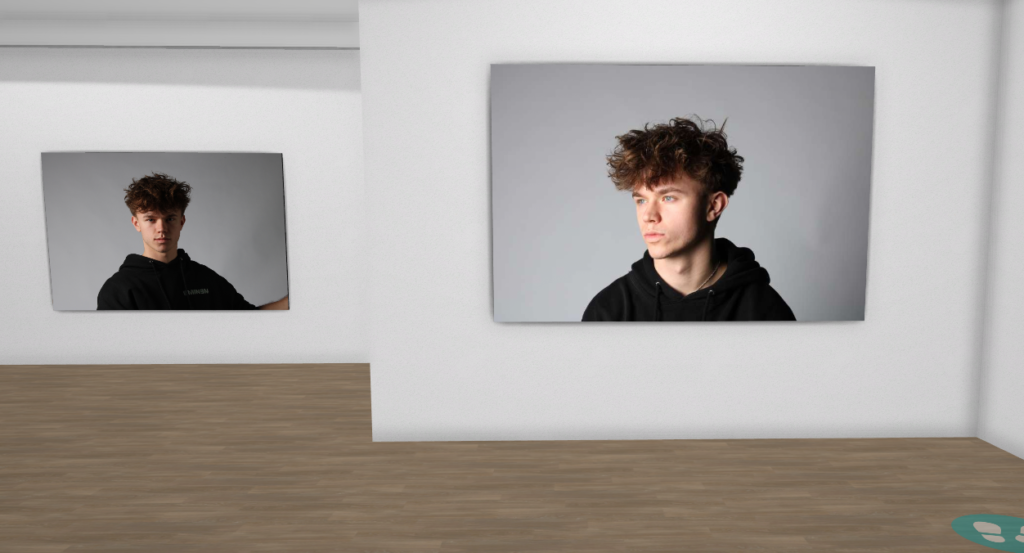
Finally, I created a virtual gallery to show all the different types of lighting techniques in my portraits. One, two, three point lighting, Rembrandt lighting and butterfly lighting. All these different lighting techniques are used to create different atmospheres and each portrait has its own mood and vibe set by the lighting. If that’s lots of shadow or minimal shadow in different areas, all the techniques create unique portraits with their own feel.

Although you have some confident examples of work here, your blog is lacking in consistency.
You MUST complete current blog posts on a weekly basis, review them and publish them.
This allows us to assess your work and offer feedback and guidance to help steer your ideas in the best possible direction with a chance to control the quality too.