Double/Multi Exposures
Double/multi exposure is a technique that combines two different exposures or images that are layered on top of each other; the image overlaid is less than full opacity so a bit of both images can be seen, producing an almost ghost-like image. Double/multi exposure can be created in-camera with certain settings or with editing programs like Photoshop/Lightroom using layers.
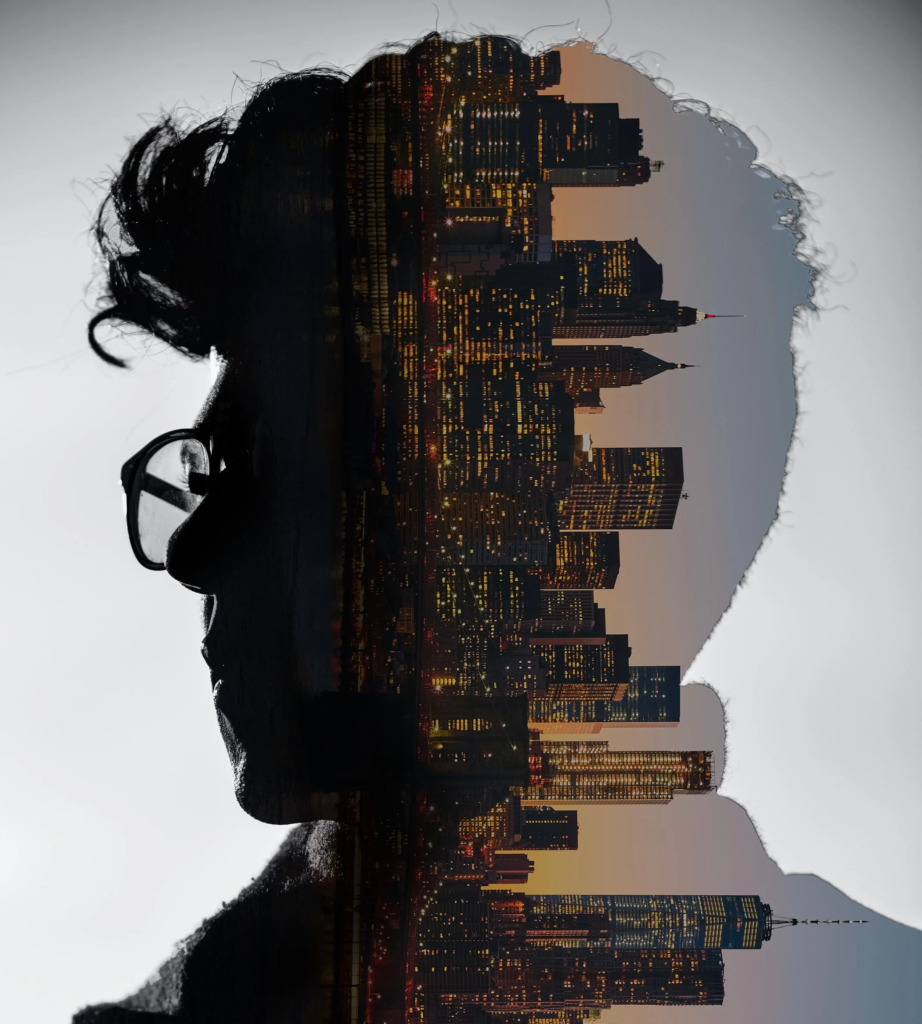
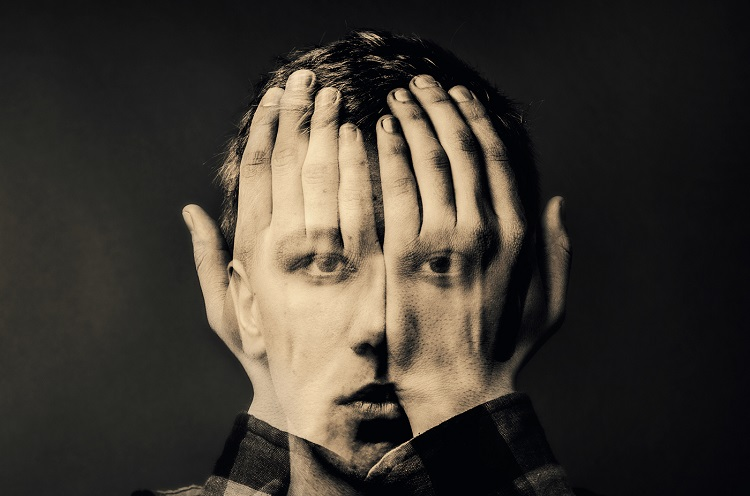
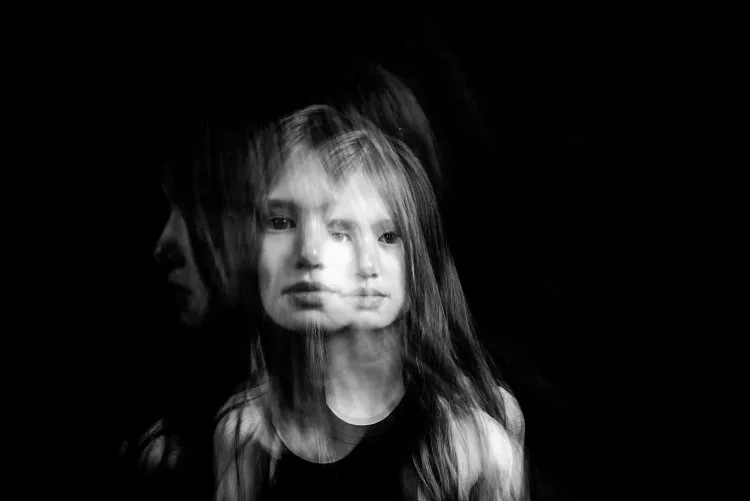
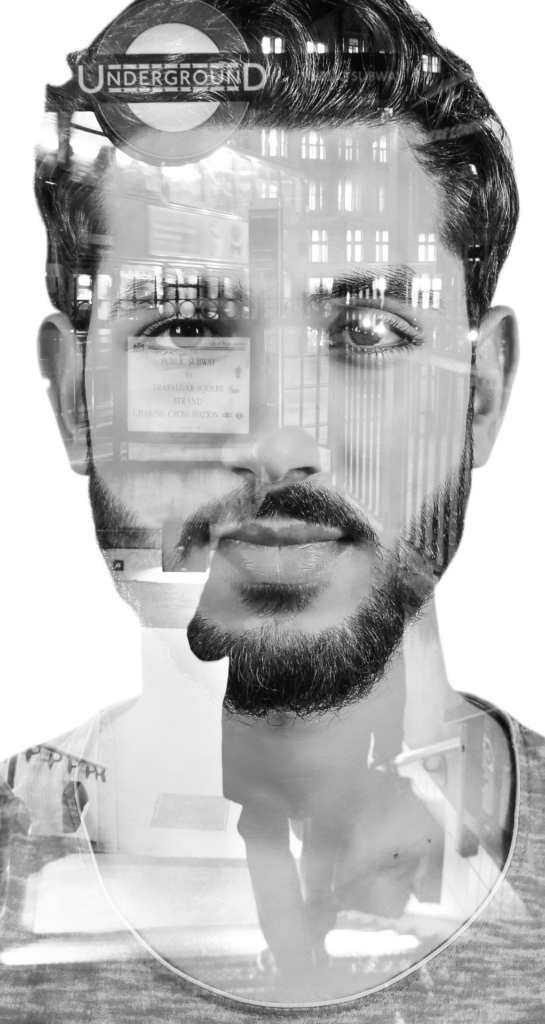
Double exposure can be used to make abstract, creative images that explore themes such as time, memory, and identity. By combining multiple elements and layering them into a single image, double exposure allows us to create new interpretations of reality and dream-like imagery.
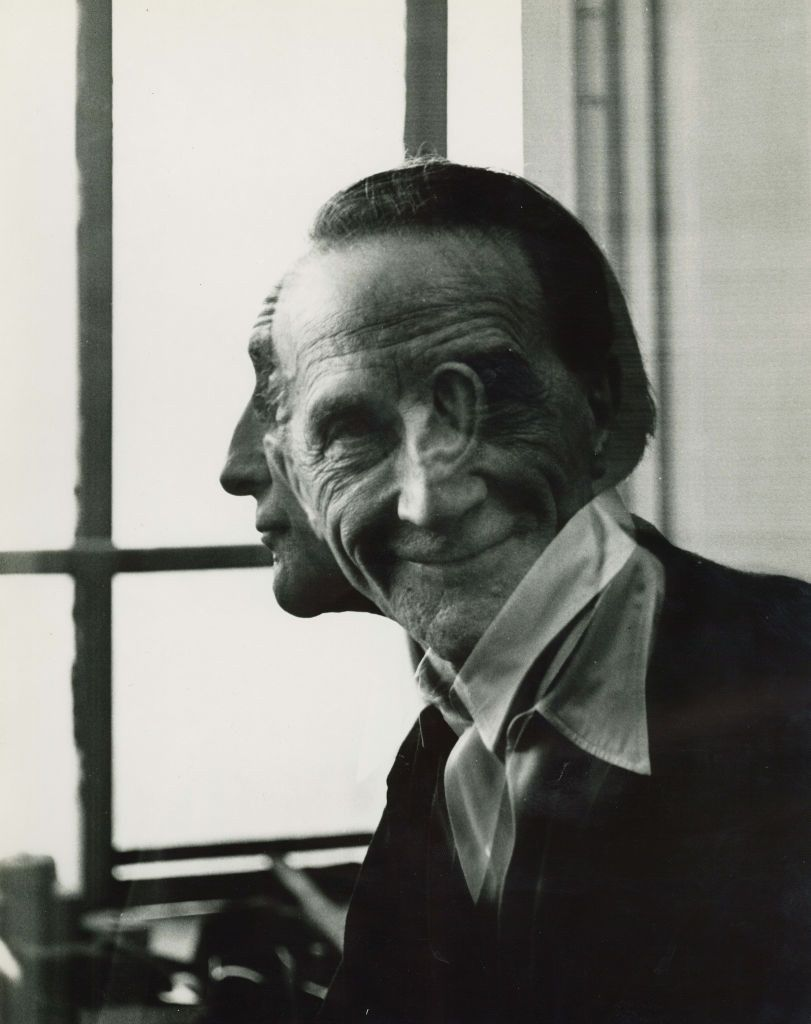
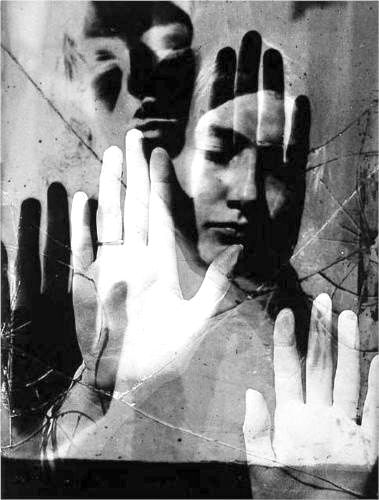
One of the most renowned multi exposure photographers was Man Ray, an American visual artist who spent most of his career in Paris. He contributed significantly to the Dada and Surrealist movements, and produced major works in a variety of media but considered himself a painter above all. He is most famous for his surreal dream-like multi exposure portraits, and is credited with increasing the popularity of this style of photography.
Above are two example double exposure images from Man Ray, where a person has been photographed twice in two different positions and/or expressions – these two photos have then been layered on top of each other as well as being made black and white to which results in a creative, surreal portrait with somewhat gloomy undertones.
Deeper Image Analysis – Man Ray

Technical – The lighting in the image appears to be natural light coming from the window to behind the man, creating light on the forehead of one layer and the side of the head on the second layer which consequently leads to shadows cast on the other half of his face. Furthermore, a low f/stop was likely used as the background is less in focus with more details and texture highlighted on the subject, contributing to the surreal atmosphere the image is creating. Finally, the ISO was likely low such as 100 or 200 since there is little to none visual noise apparent in the background which adds to the emptiness of the background and therefore the dream-like mood the image presents.
Visual – The image is presented in black and white, which when combined with the clash of light and dark tones between the two layers strengthens the contrast in shadows and lighting and adds more to the surreal aspect of the photography. This is also reinforced further with the lack of texture in the background in contrast with the texture present on the man’s face in form of wrinkles, making it seem like the subject photographed has been presented in a dreamy environment. Furthermore, there is clear use of form and 3D elements seen with the two different layers which combines with the other visual techniques mentioned creates a very captivating and intriguing surreal environment.
Conceptual – Being part of the surrealist movement, the reasoning behind this image was to spin a creative twist on the traditional portrait using multi exposure and an abstract background to create a dream-like effect which creates interest.
Juxtaposition
Juxtaposition is having two photos presented side by side to show contrast or highlight similarities. This can tell a story about a person and a place/person/memory associated with them, for example juxtaposing a builder with the construction site they are working in allowing the viewer to make a clear connection between the two images.
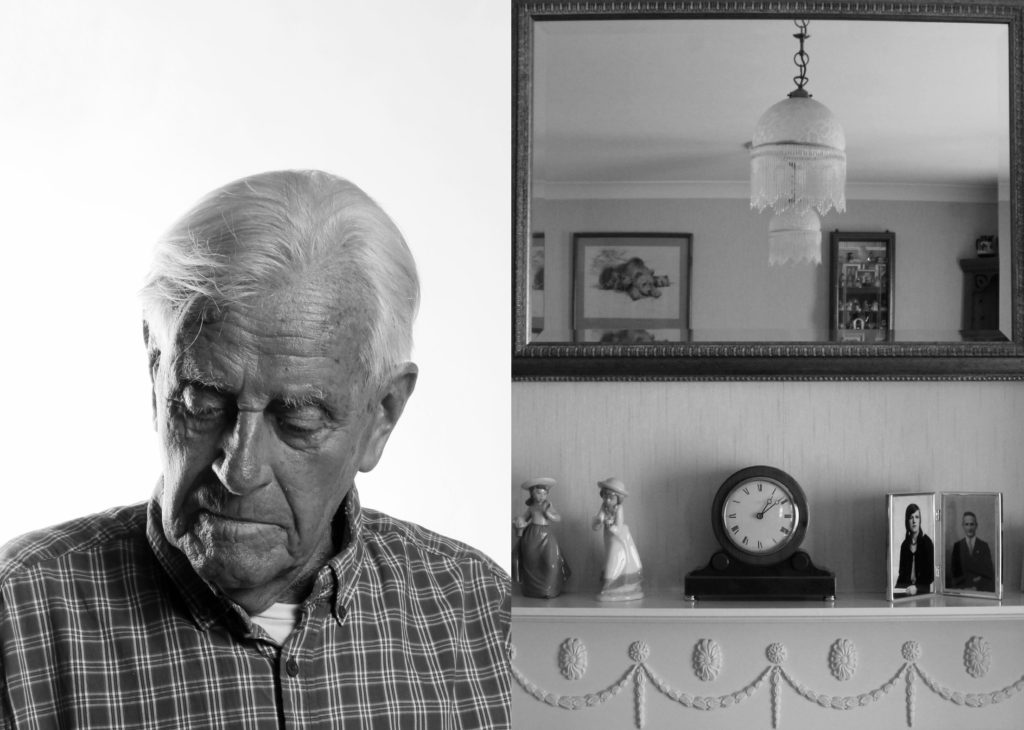
In the example image above, a portrait of an old man with a visibly distant and sad expression looking down from the camera has been juxtaposed alongside a picture of what seems to be a living room, with a mirror alongside a clock and some old pictures. From the man’s expression, a connection can be made between the two pictures as we can assume it is his room and the mirror represents reflection, with the clock and old pictures suggesting that the man is reflecting on his youth and past memories and seems to regret or miss them due to the lack of eye contact between him and the camera and his dull, depressed expression.
Photomontage
Photomontage is the process of making a composite photograph by cutting, gluing, rearranging and overlapping two or more photographs into a new image.
Photomontage is often used as a means of expressing political dissent. It was first used as a technique by the Dadaists in 1915 in their protests against the First World War, and one of the most famous examples of photomontages is Aleksander Rodchenko’s work during the Russian Constructivism – an artistic and architectural theory that originated in Russia at the beginning of 1913 by Vladimir Tatlin. This was a rejection of the idea of autonomous art by constructing it, and the movement supported art as a practice for social objectives.
Rodchenko was a highly adaptable artist who played a significant role in the constructivist and productivist movements following the Russian Revolution. Initially, he focused on painting and graphic design, but later shifted his attention to photomontage and photography. His photographic work was deeply connected to social issues, breaking new ground in style, and rejecting traditional painting techniques. He believed in the importance of analytical and documentary photography, often capturing his subjects from unusual perspectives – either from high above or low below – to surprise the audience and delay their understanding. He wrote: “One has to take several different shots of a subject, from different points of view and in different situations, as if one examined it in the round rather than looked through the same key-hole again and again.”
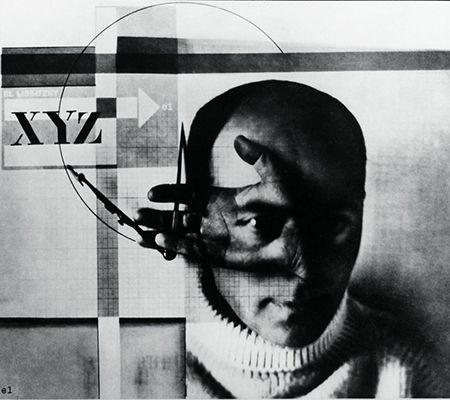
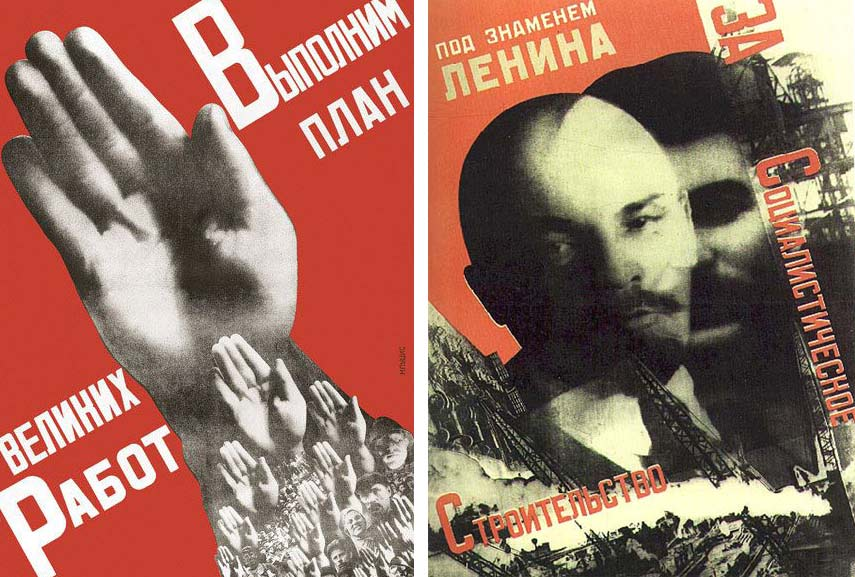
His photomontages often had the subjects presented in black and white with text and different images such as hands or other faces layered on top of/around the subject, creating unique and intriguing images.
My Multi Exposure Work
To replicate the multi exposure effect, I took two of my studio portrait images to import into Photoshop.
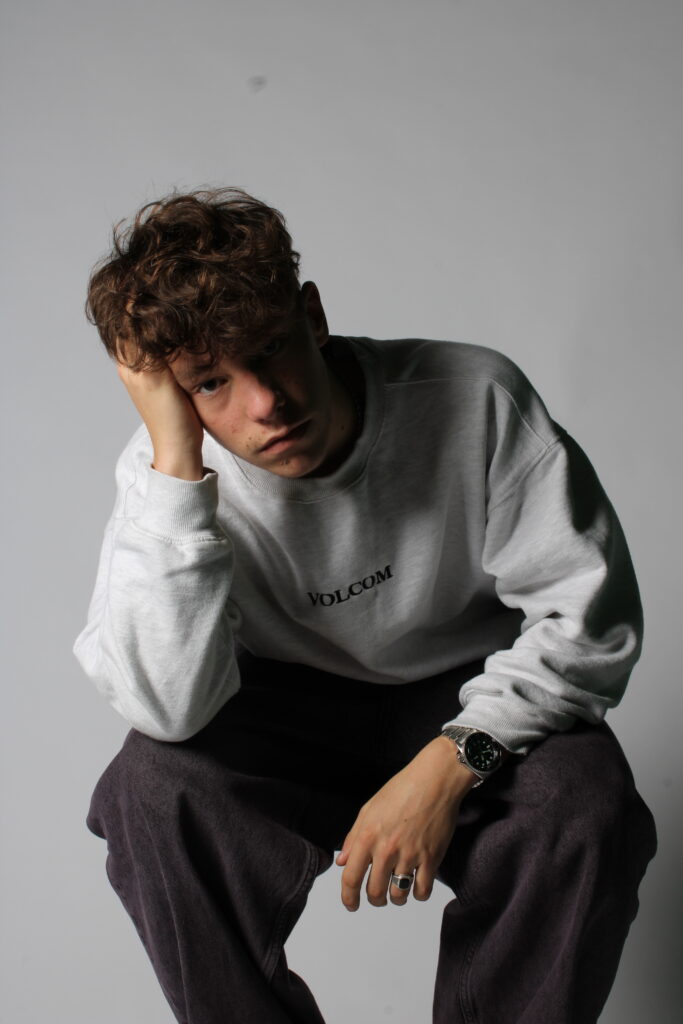
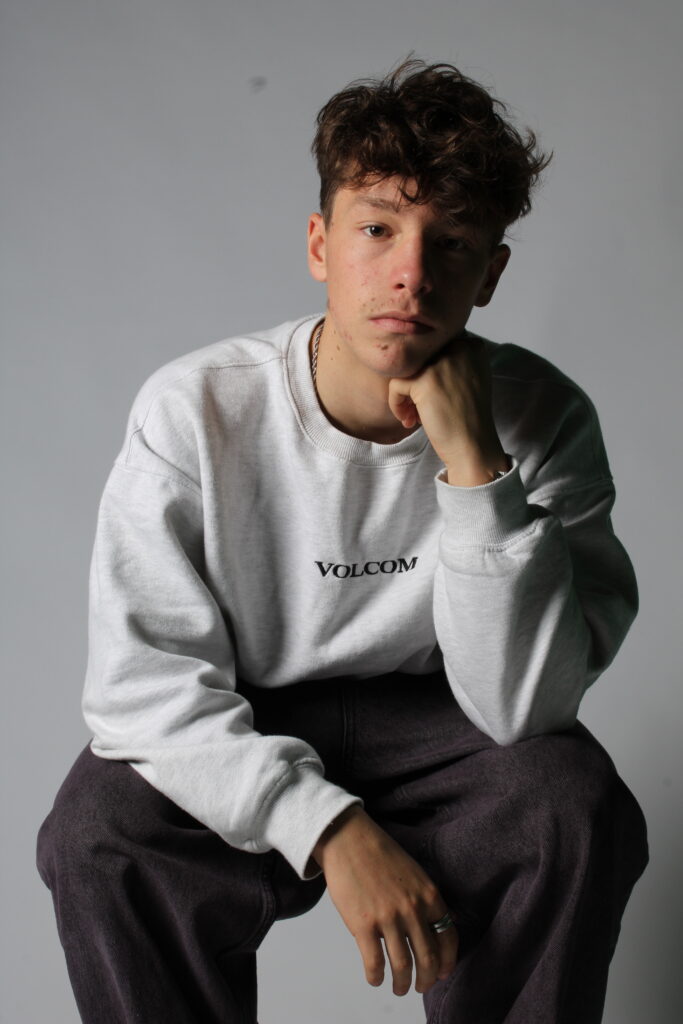
After I had chosen my two images, I then layered them on top of each other as seen below.

I then experimented with the different options available to see which one I liked most.
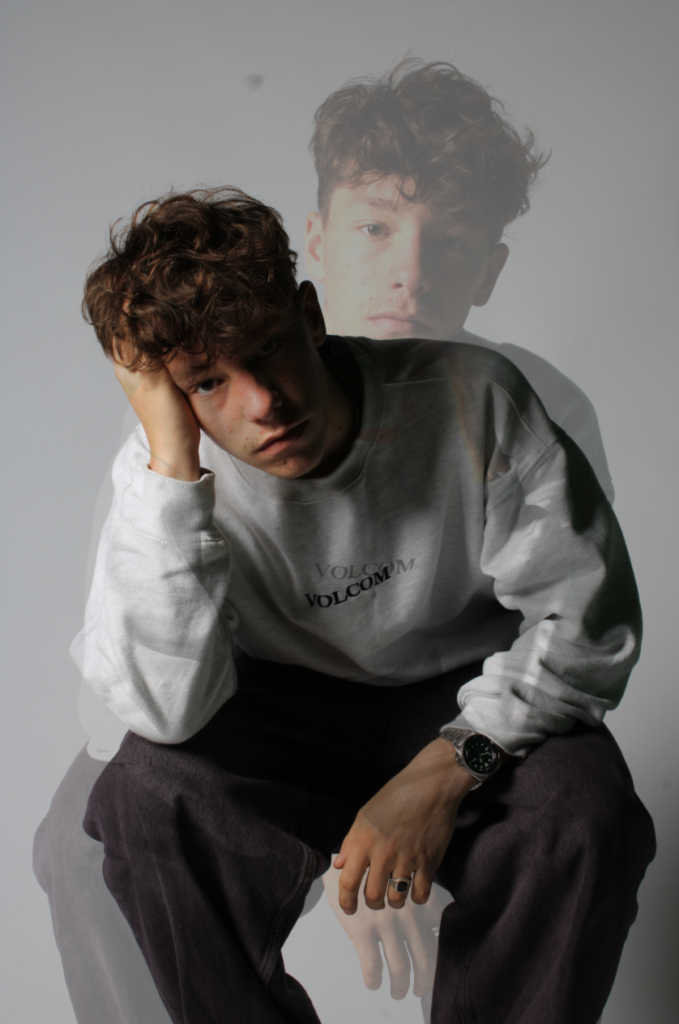
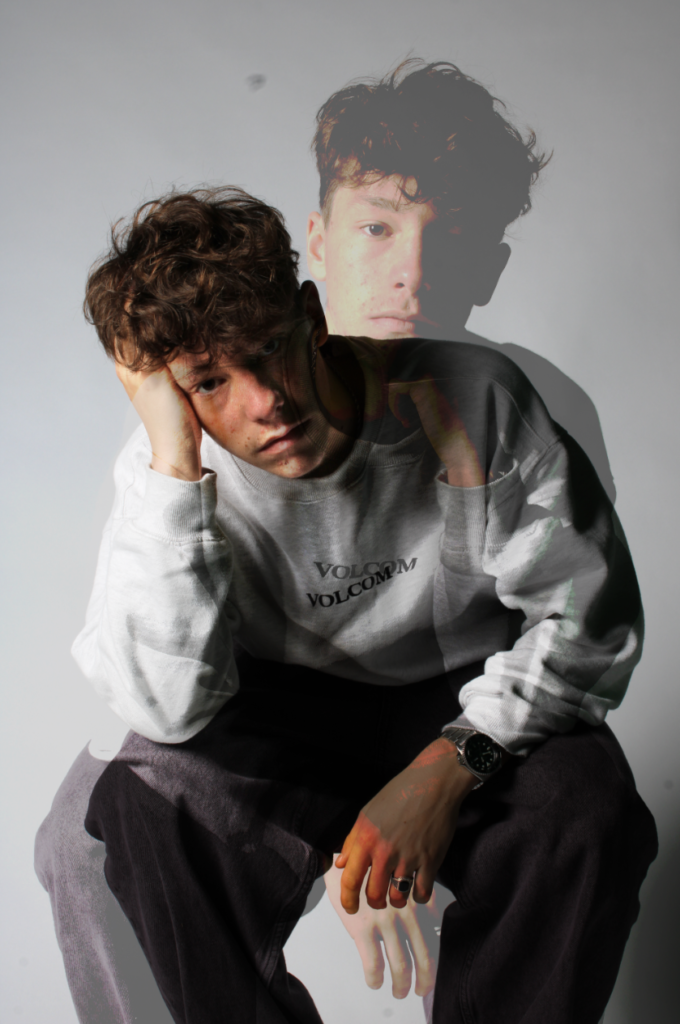
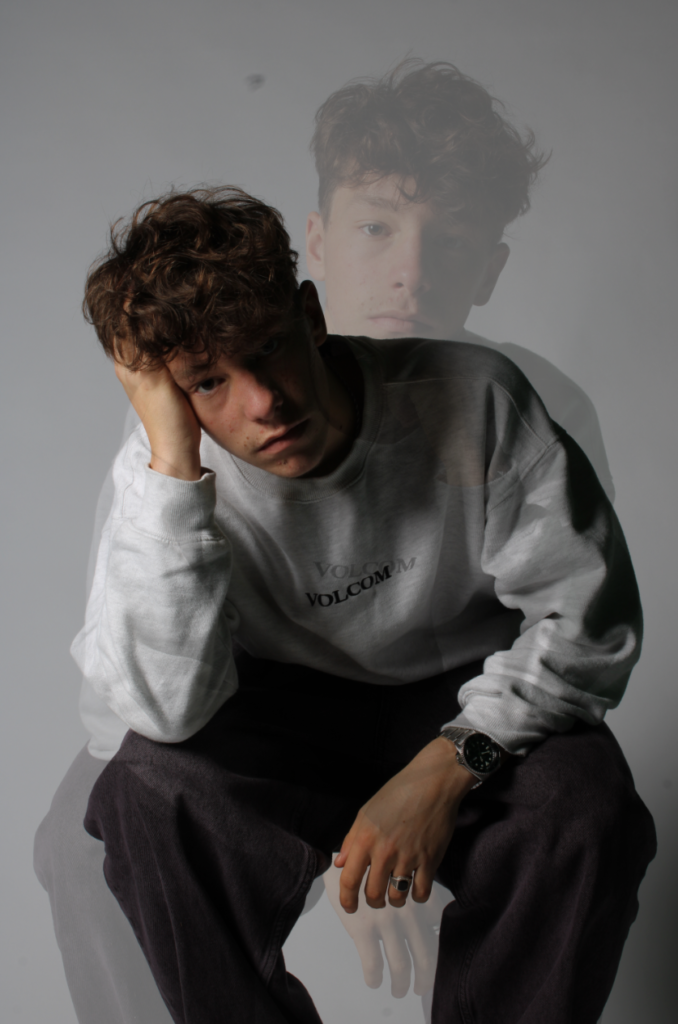
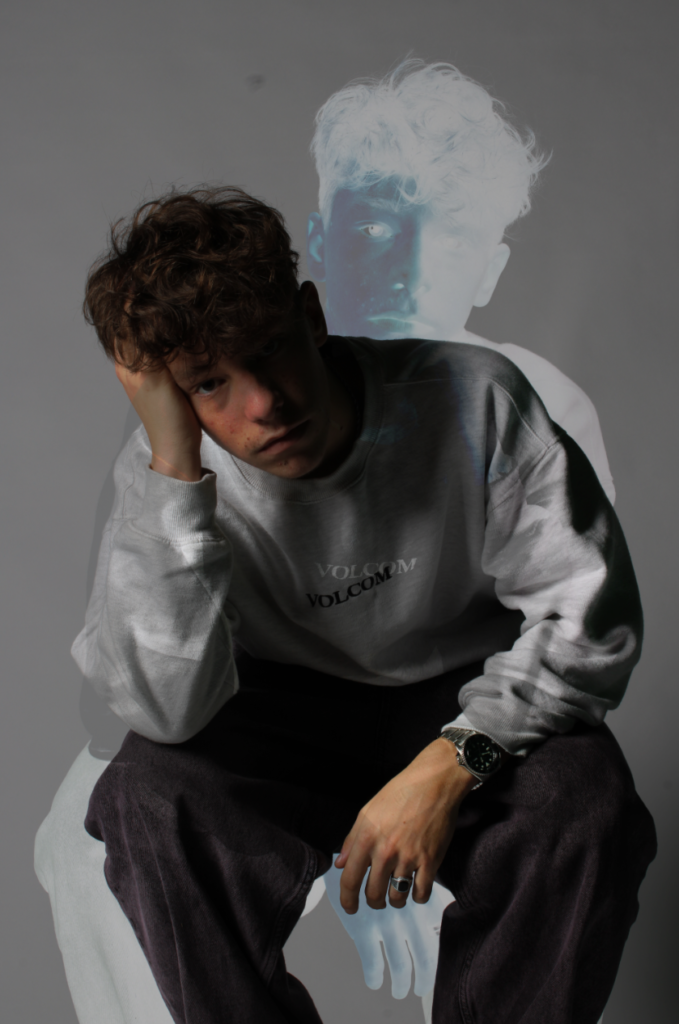
After deciding to use the subtract setting, I then tried changing the opacity to different levels and editing each layer separately (e.g. making the main one black and white while keeping the other one in colour) to see how this would affect the final outcome of my image.
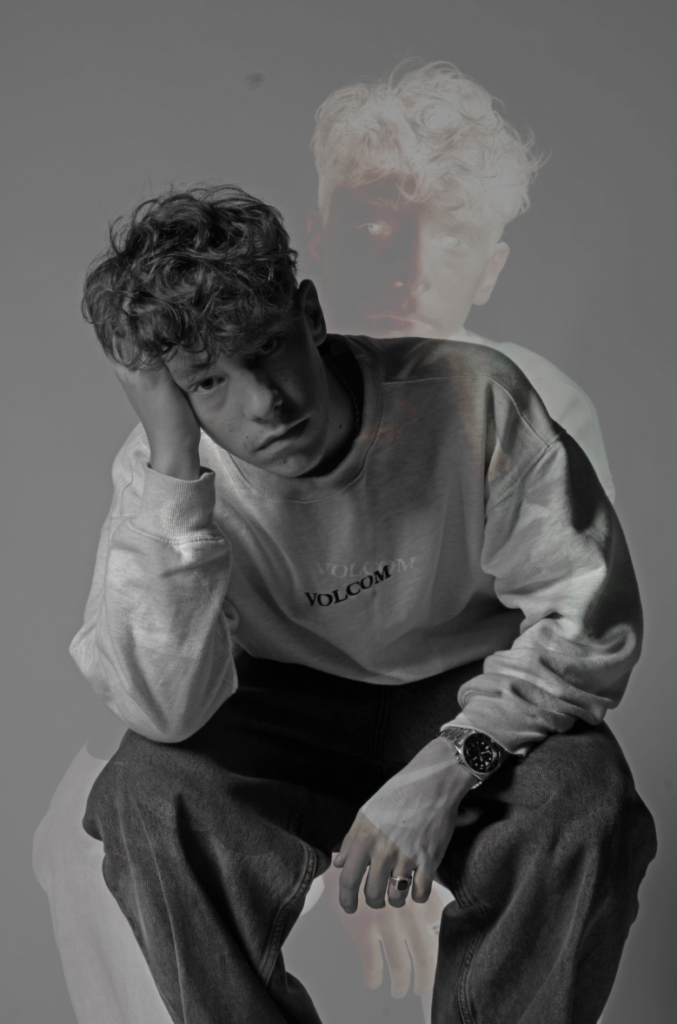
I think this image turned out really well since the dull black and white colours as well as the hunched over pose of the first layer create a melancholic mood which clearly contrasts with the more intriguing atmosphere from the second layer due to the more vibrant colours and upright pose.
More Multi Exposure Experiments:
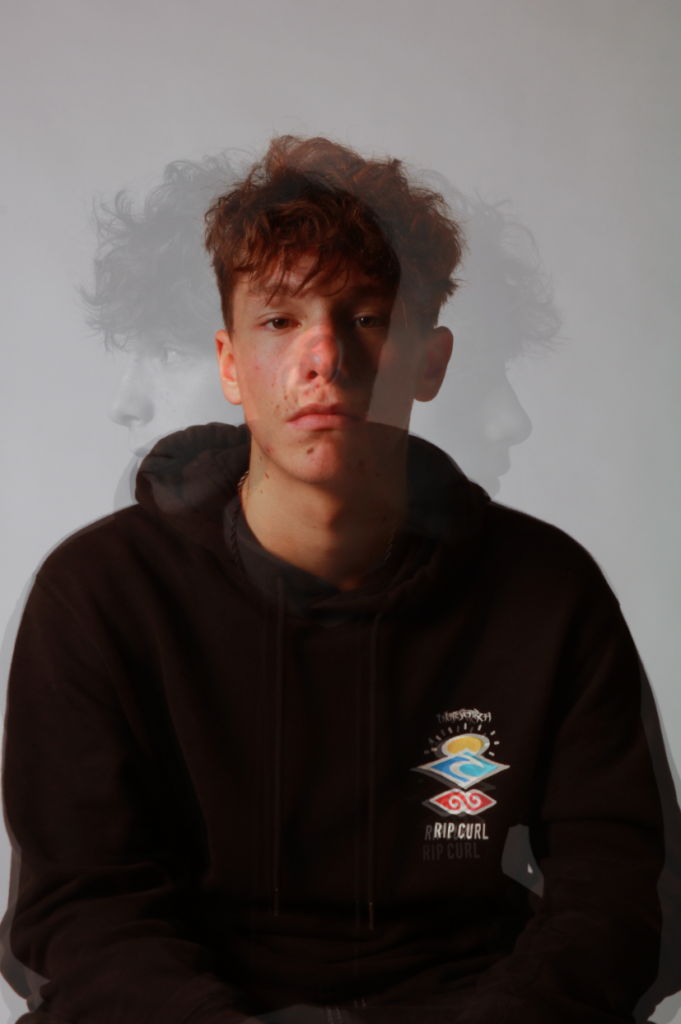
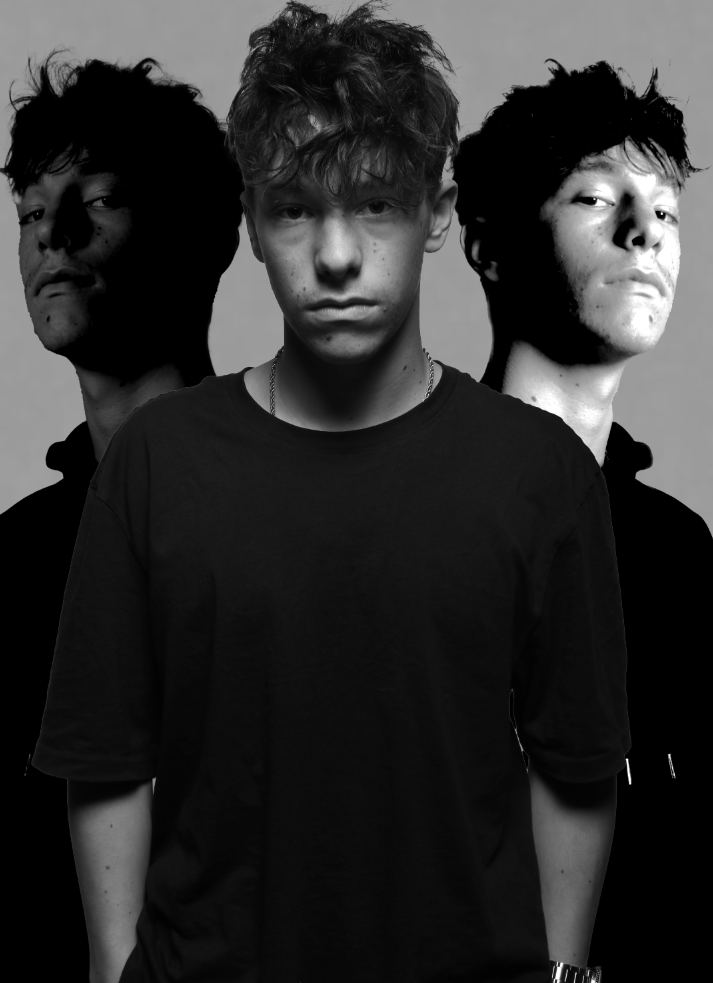
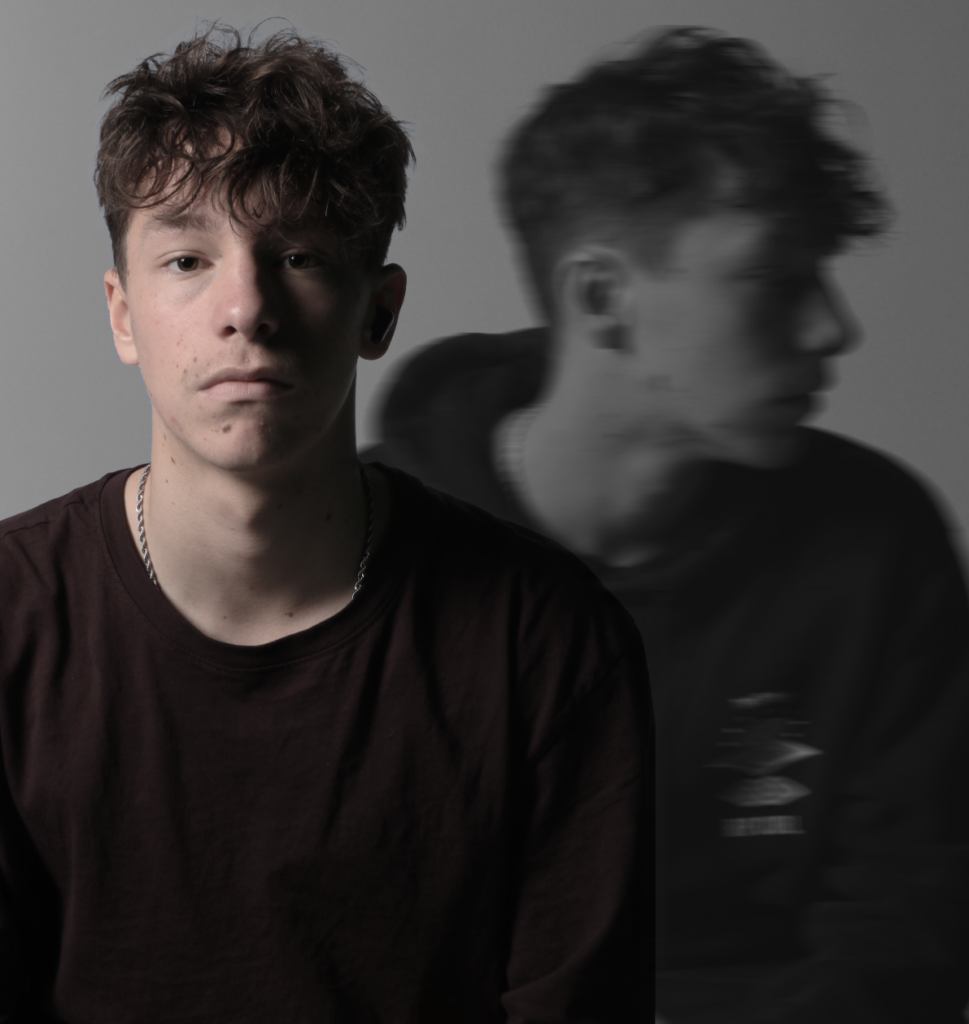
I then tried using images which were different to each other (e.g. some were headshots whereas some were half-body and some had Finn gazing directly at the camera whereas some had the gaze off to the side) and tried layering these images with each other and adjusting opacity to see what effect it would give my images. I found the most effective image was the last one, where I took I picture of Finn staring straight at the camera with a Rembrandt effect and put it in the foreground combined with a black and white, slightly motion blurred side profile shot in the background which clearly contrasts with the foreground and creates a dull and melancholic mood.
My Juxtaposition Work
For my juxtaposition experiments, I tried contrasting two images which were very clearly different to each other (e.g. one looking left and one looking right) and if needed editing one of the images to further highlight contrast.
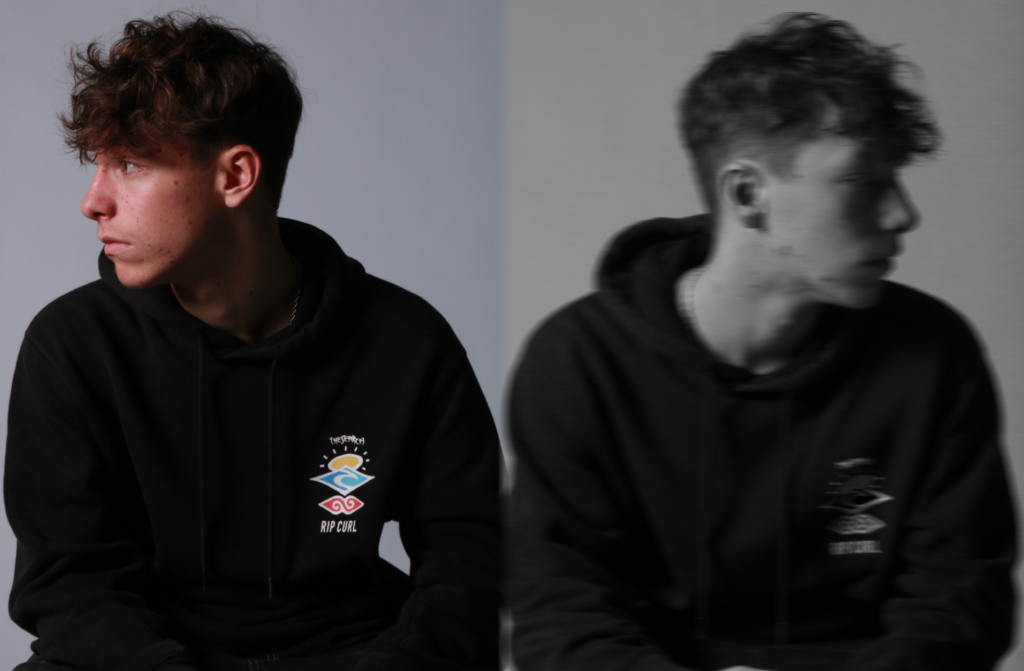
For this juxtaposition, I took two portraits where Finn was looking in different directions and placed them side by side to contrast this difference. I thought this wouldn’t be enough so I took the right image where his face was slightly darker due to the lighting and made it black and white to amplify these shadows as well as further contrast from the left portrait, and finally added some motion blur which works really effectively to make the two portraits stand out from each other even more.
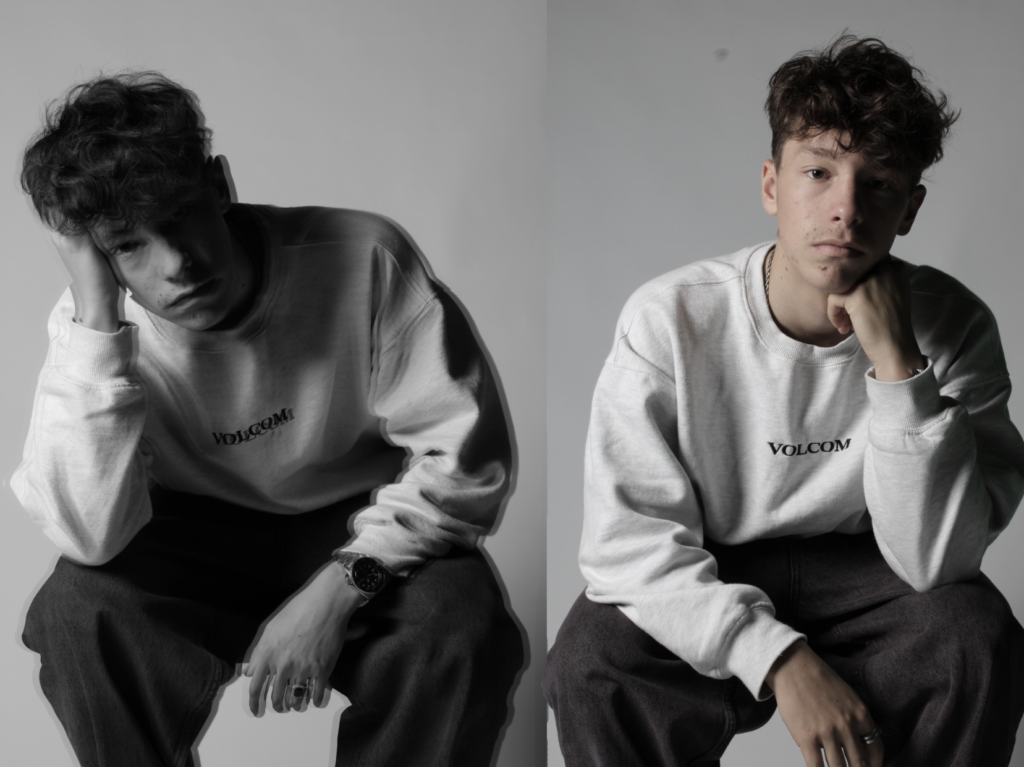
I then tried a similar idea, taking two portraits with contrasting positions and making one different from the other to highlight contrast. With the image on the left, I felt the subject’s body language and position had dull undertones to it so I made it black and white and copy and pasted the image while stacking it on top of it but moving it slightly to the left and right which created a blur/distortion effect. I found this worked really well since there is a clear difference in colour, lighting, composition and body language in both images which I was able to highlight using juxtaposition.
My Photomontage Work
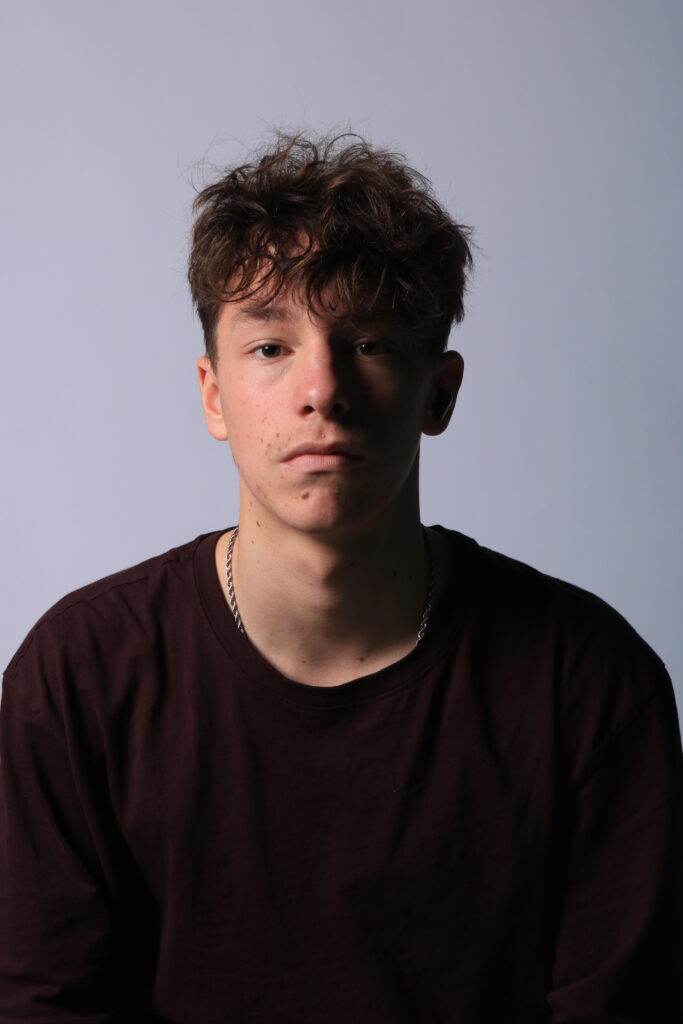
For my photomontage, I decided to try and replicate the Russian Constructivism style of photomontages used by Rodchenko.
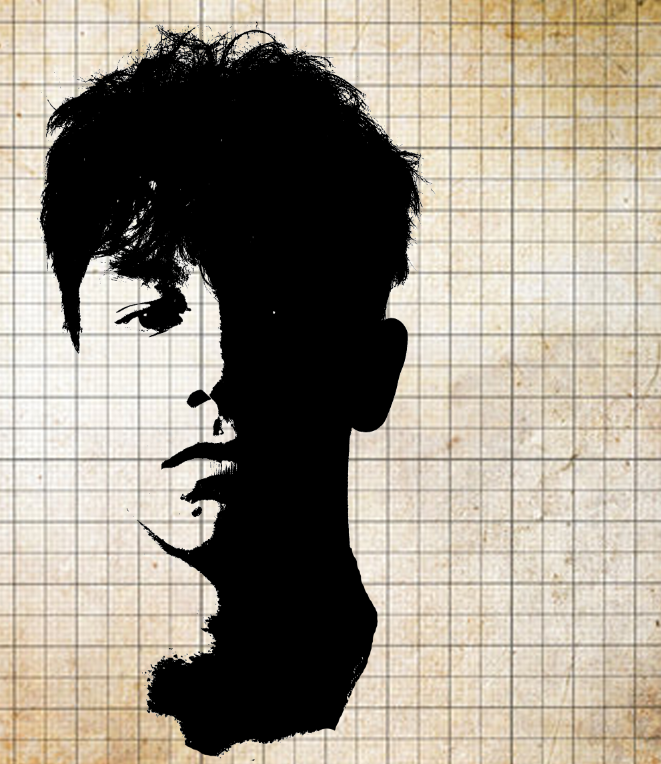
I first got my background and got the head of my subject from the portrait before adjusting the threshold and placing it above my background, and then changing the blending.
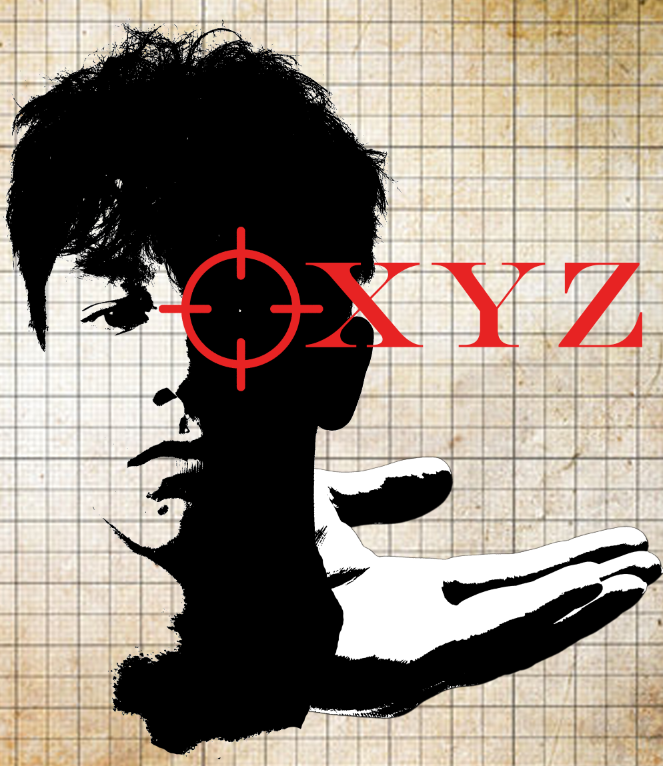
I then added a crosshair on the eye and some text alongside it to better achieve the photomontage effect, as well as an outstretched hand.
Photomontage – Compare vs Reference


I think I replicated a photomontage in the style of Rodchenko effectively since I have layered multiple images and text over each other, including a main subject with a hand layered on it. The only difference is mine has been done in colour since I like the contrast created between the black and white layers and the red crosshair with red text, and I think the crosshair fits nicely into the photomontage as an additional layer as well as bringing focus back to the subject’s eye in the dark half of his face.
Final Images


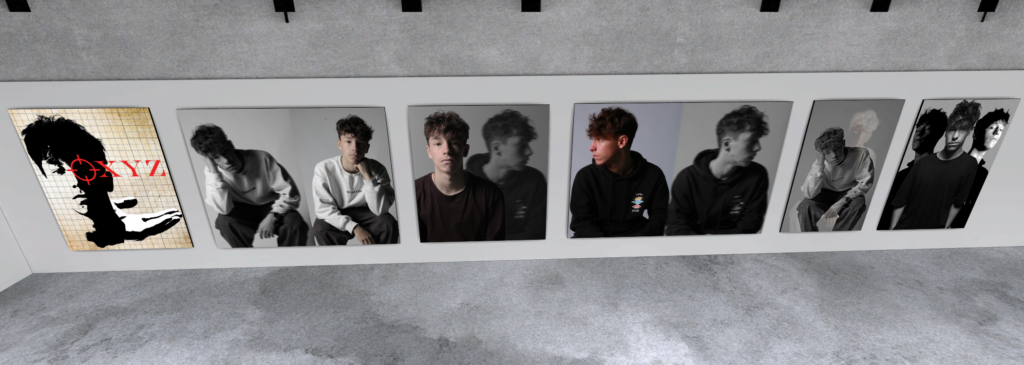
Presentation in Artsteps
