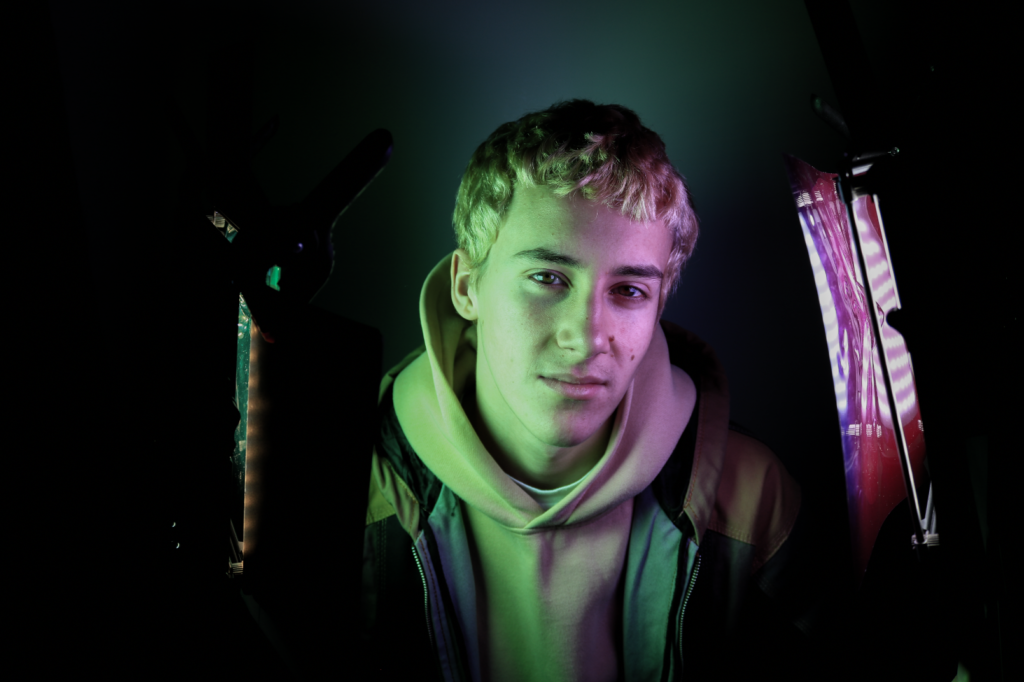
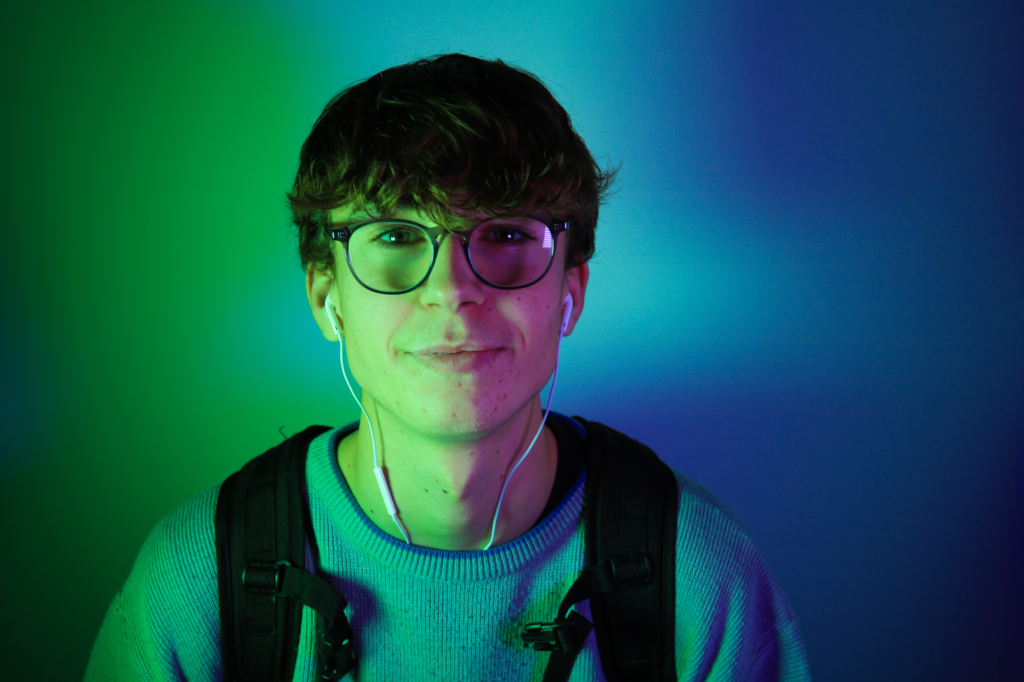
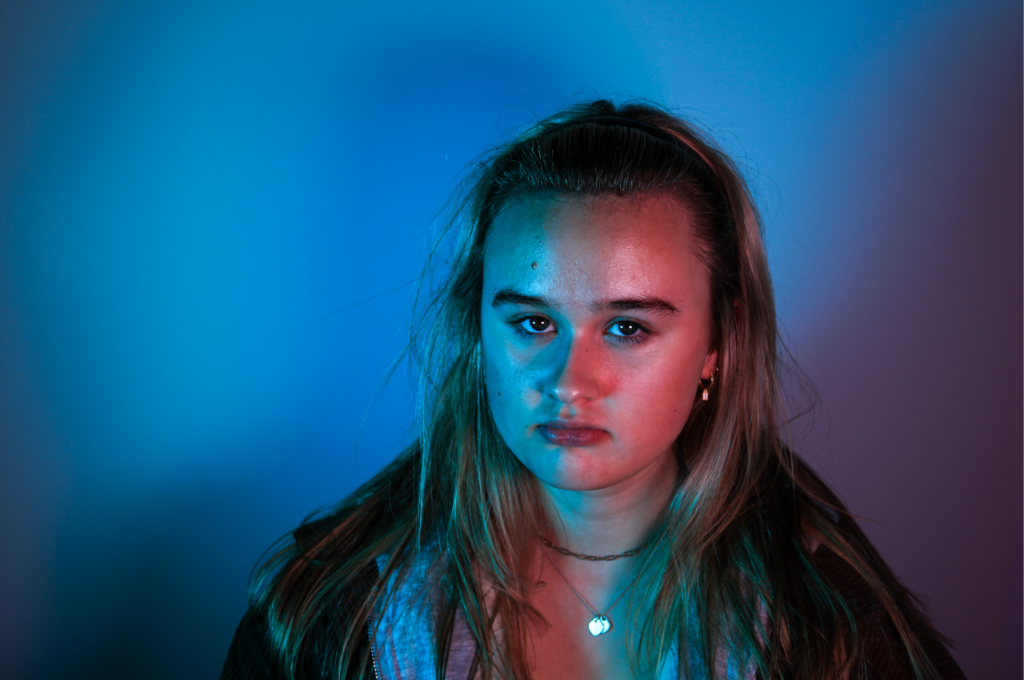
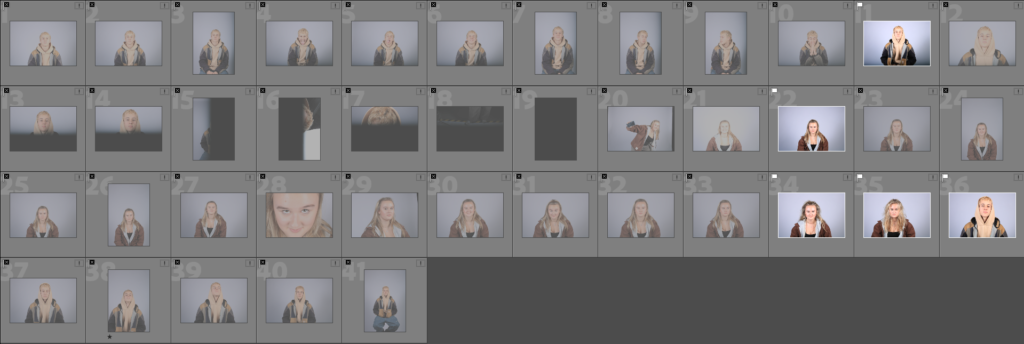
For all these photoshoots, we were all taking photos, then looking at them, chipping in on what settings to change, what we could all do differently on the camera and the model to make the photos better – this was a join photoshoot and not all the photos are directly mine but I had a lot of input in making them camera-wise
Studio lighting is the art of using special lights in a studio to manipulate the camera into catching exactly what you want. There are two types of light – static and flash. There is lots of different ways you can use this to make your photo look, such as Rembrandt lighting and split lighting.
Studio Lighting Experiment
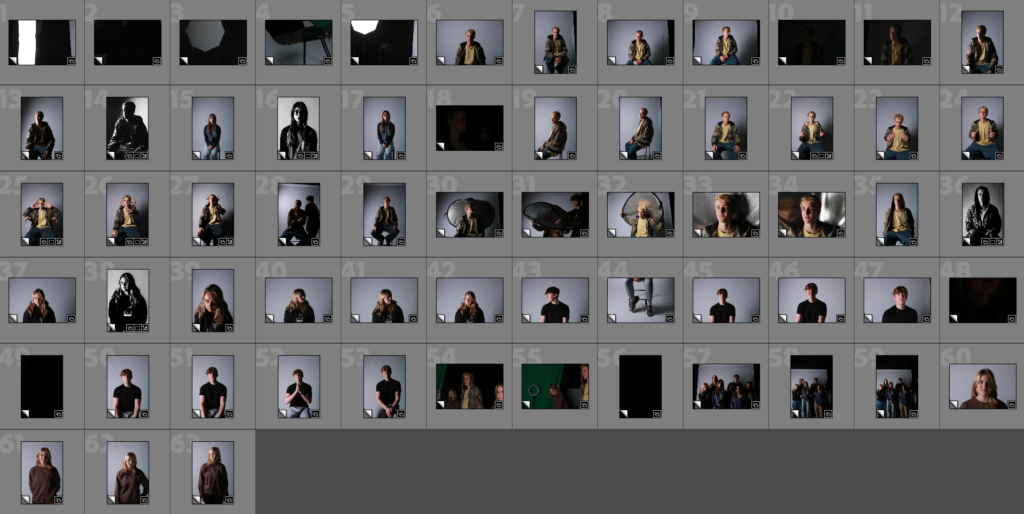
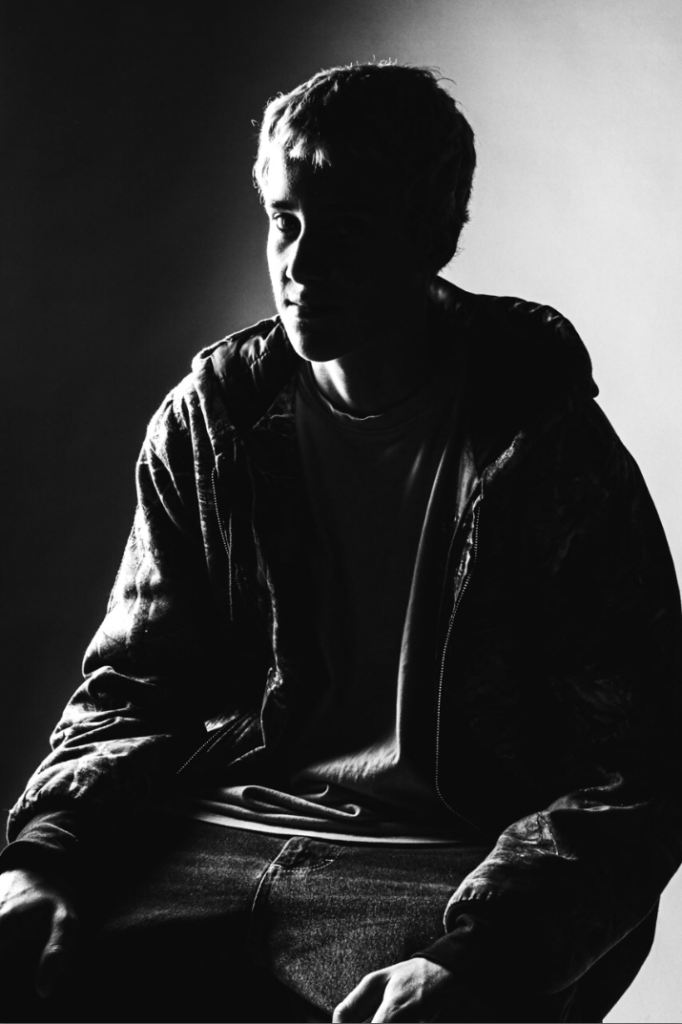
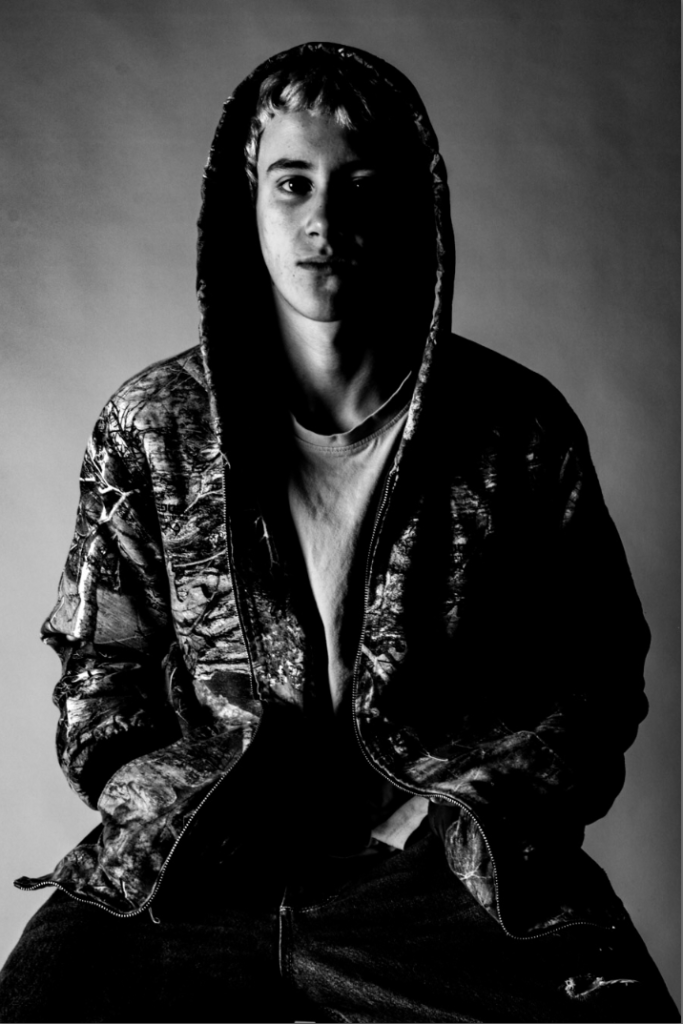
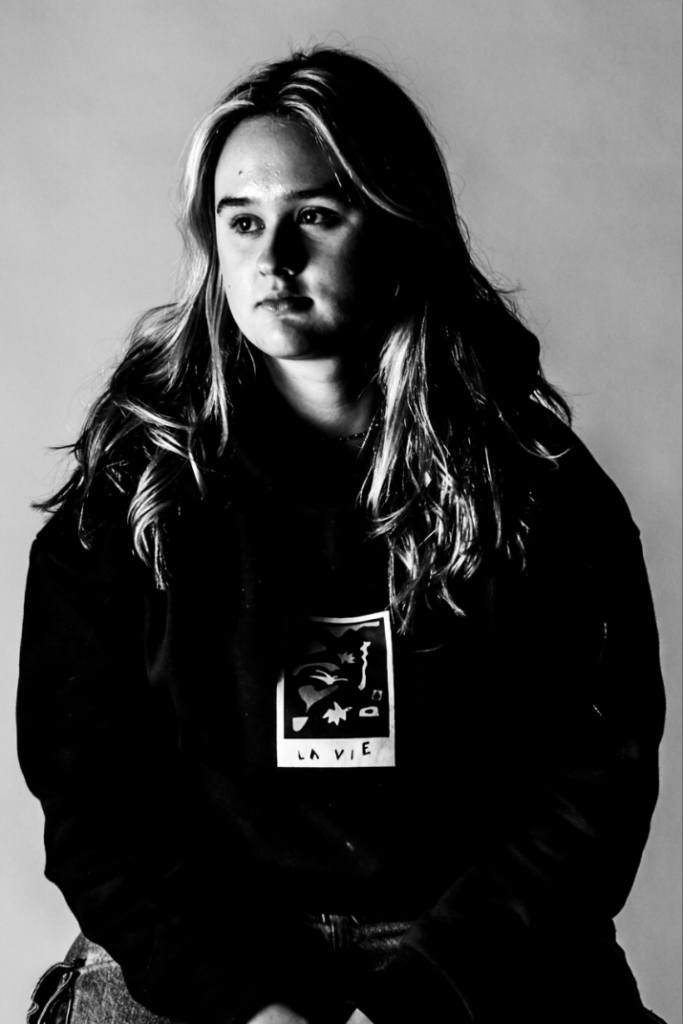
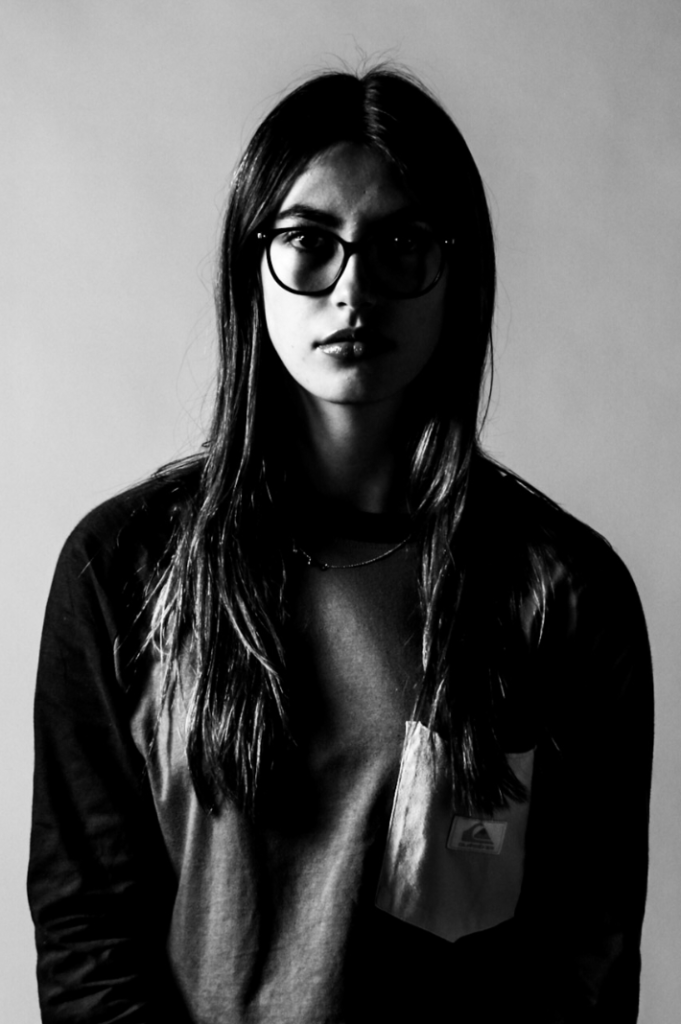
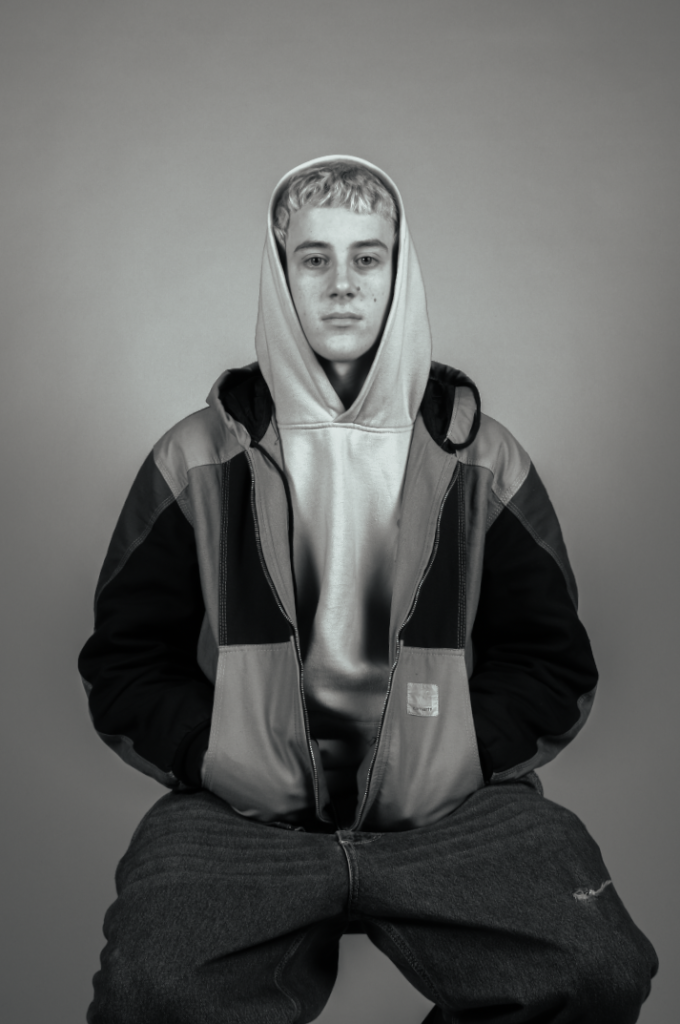
The three photos above are quite a nice set, they are all edited the same way with similar crops and contrast and the same black and white filter.
Rembrandt Lighting
Rembrandt Lighting is using one light at a 45 degree angle from the front of the subjects face, and a reflector on the other side – this creates a beautiful effect that fully illuminates one side of the subjects face, and the other side is dark aside from a triangle of light underneath their eye.
Rembrandt lighting became popular in the 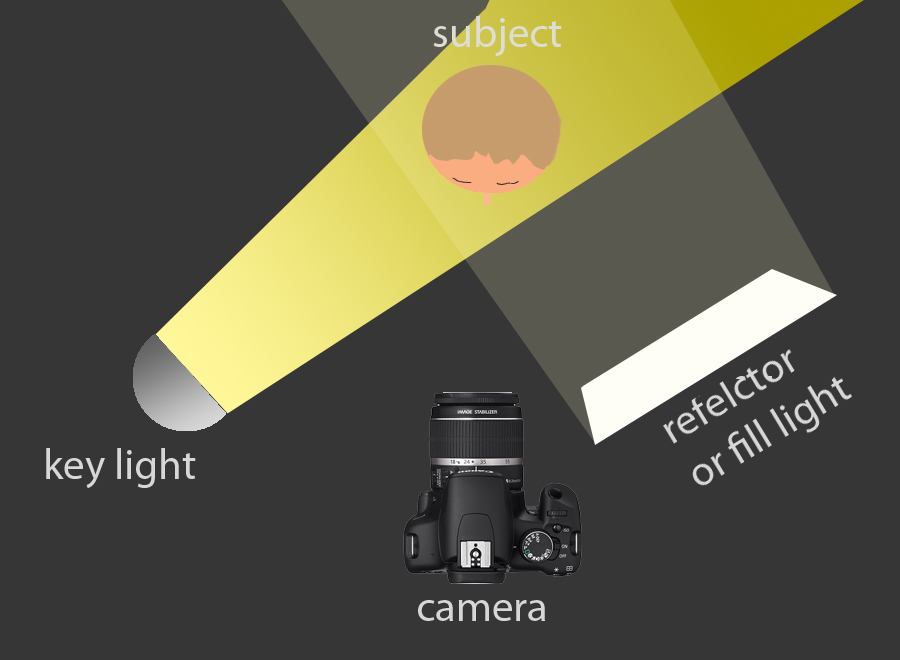
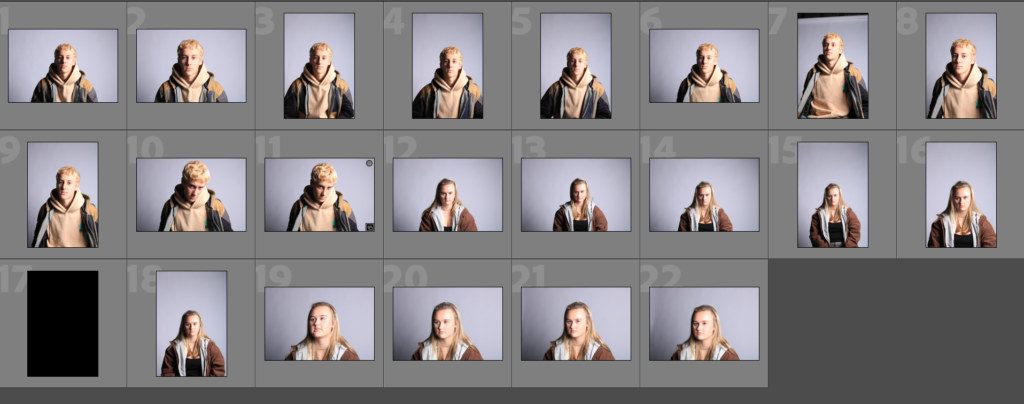
Successful Images
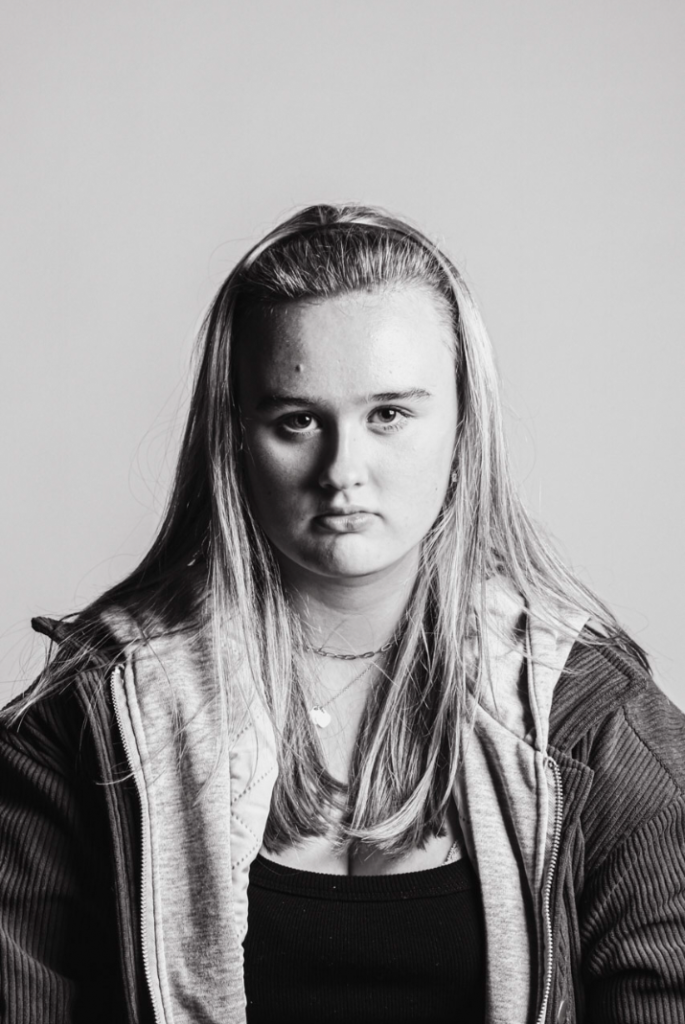
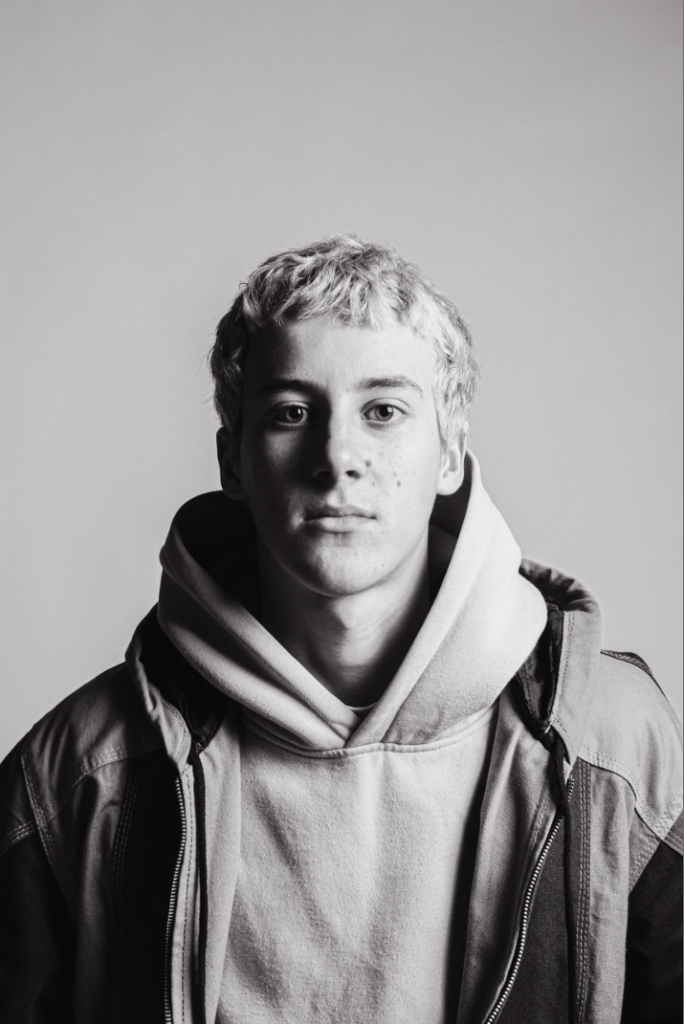
To edit these photos I first had to turn down the highlights because we overexposed the right hand side. This could have been improved at the time by moving away, turning any of the settings down, or reducing the power of the flash on the lighting system – unfortunately we didn’t notice at the time. I then used a black and white filter, turned up the contrast, clarity and texture on both images as well.
Two Point Lighting
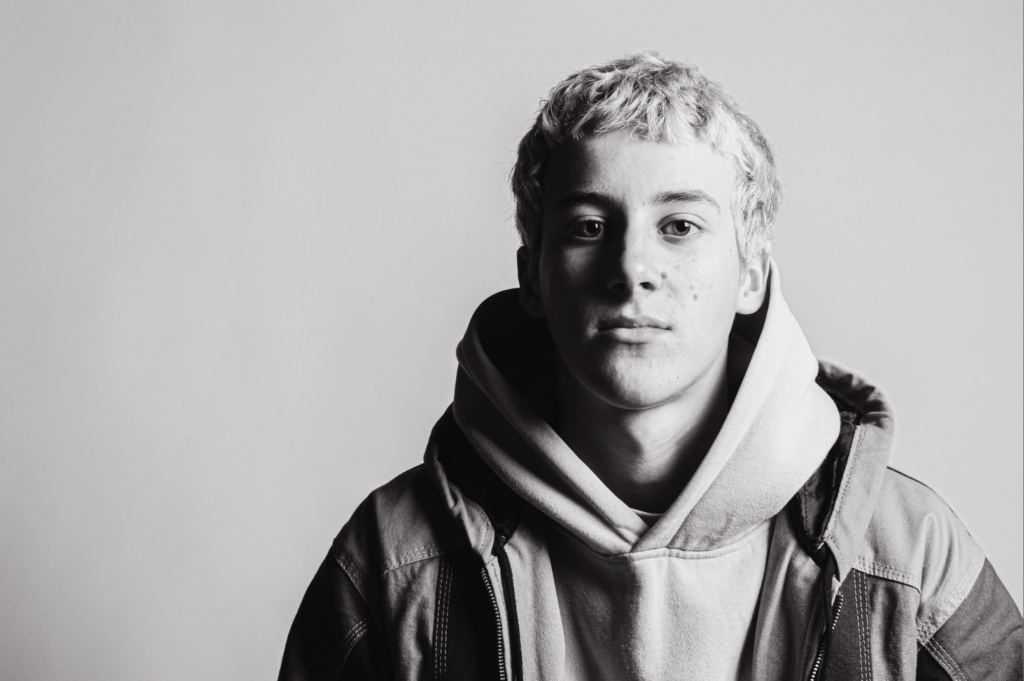
Two point lighting is when you use two lights on either side of the subjects face in order to fully illuminate as much of their face as possible – it creates a realistic effect that looks much more than real like than other types of lighting that might make the photo look more artistic.
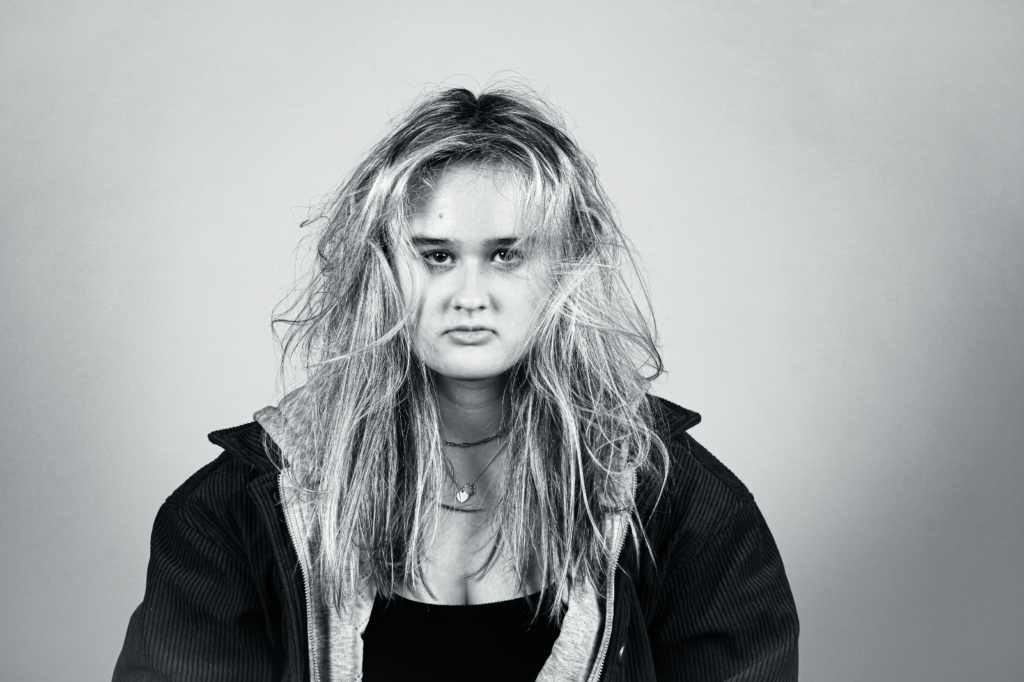
This photo worked because there was very little shadow on her face and she is well illuminated – but at the same time the lighting seems to reflect the moody look of the model in a way. To edit this I turned up the contrast and the texture, and also added a silvertone black and white filter. She is slightly off centre which is a deliberate crop which helps add layers of depth to the ragged and moody look of the image.
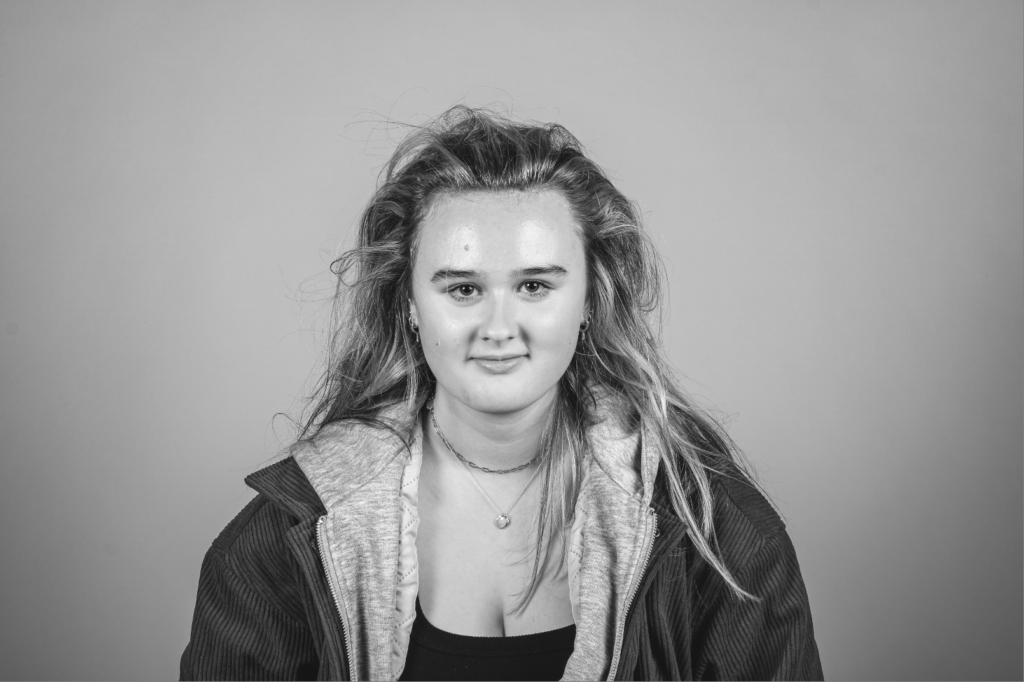
BUTTERFLY LIGHTING
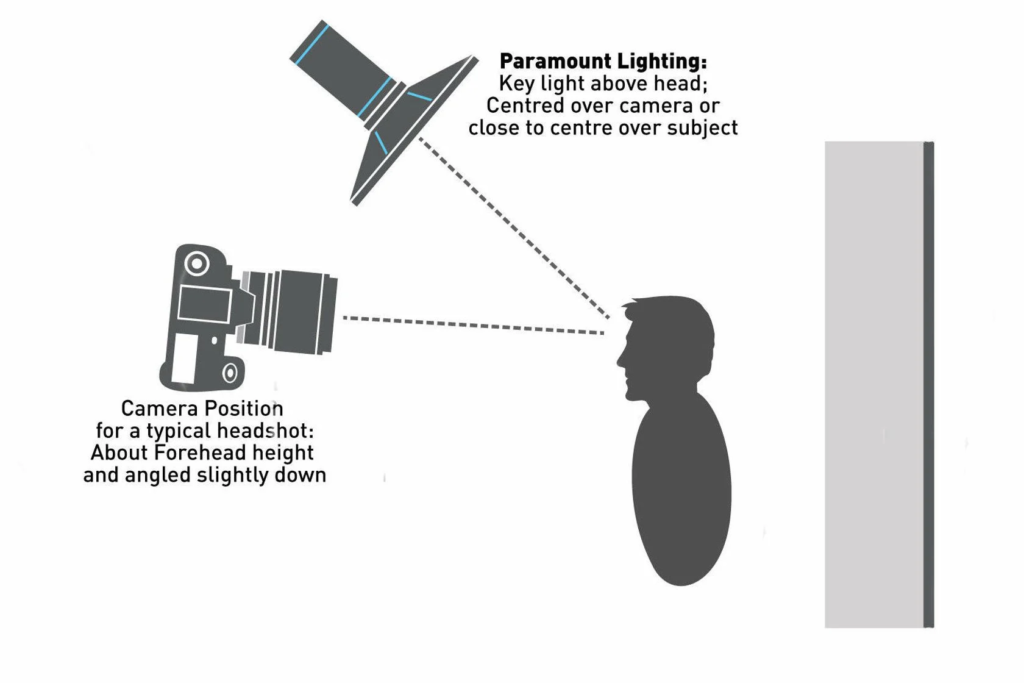
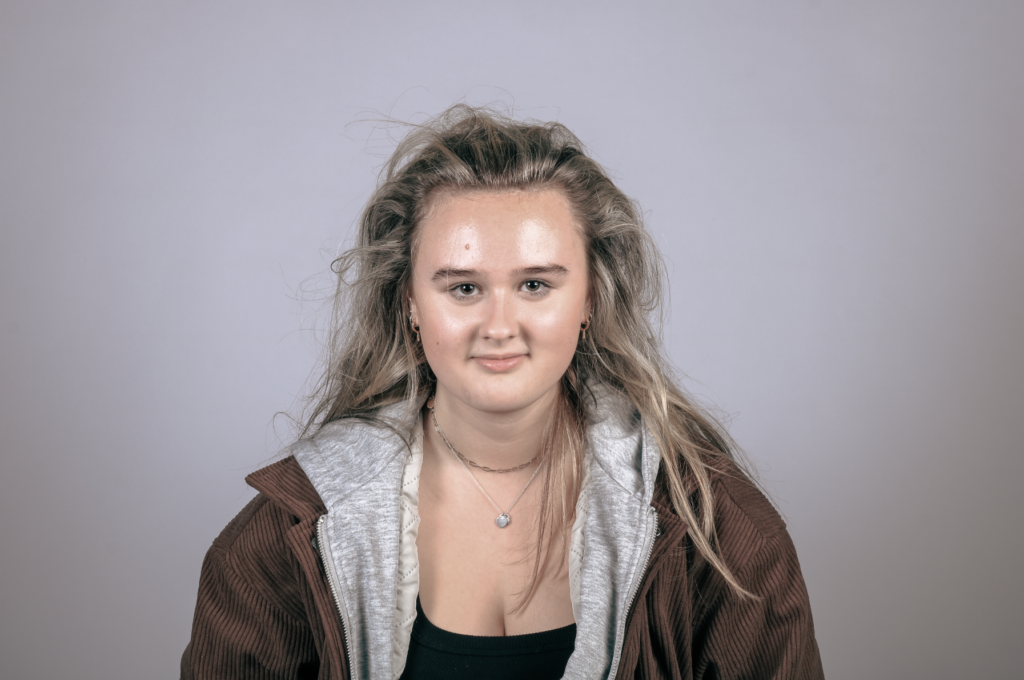
Butterfly lighting is also known as paramount lighting – which is when the only light source is coming from above the persons head, in front of them and angled sharply down.

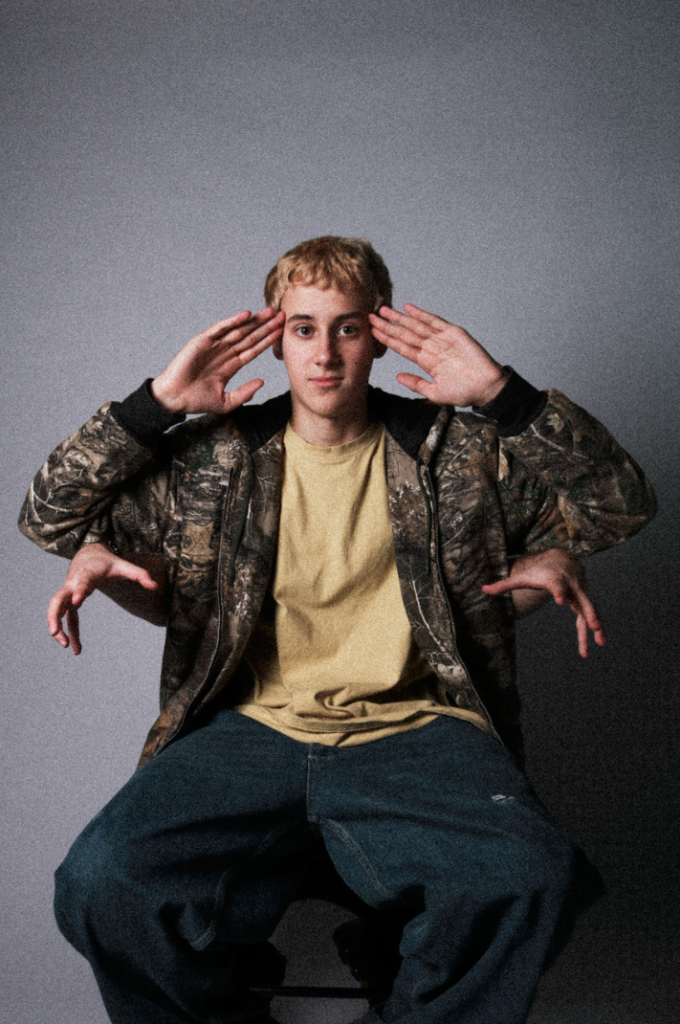
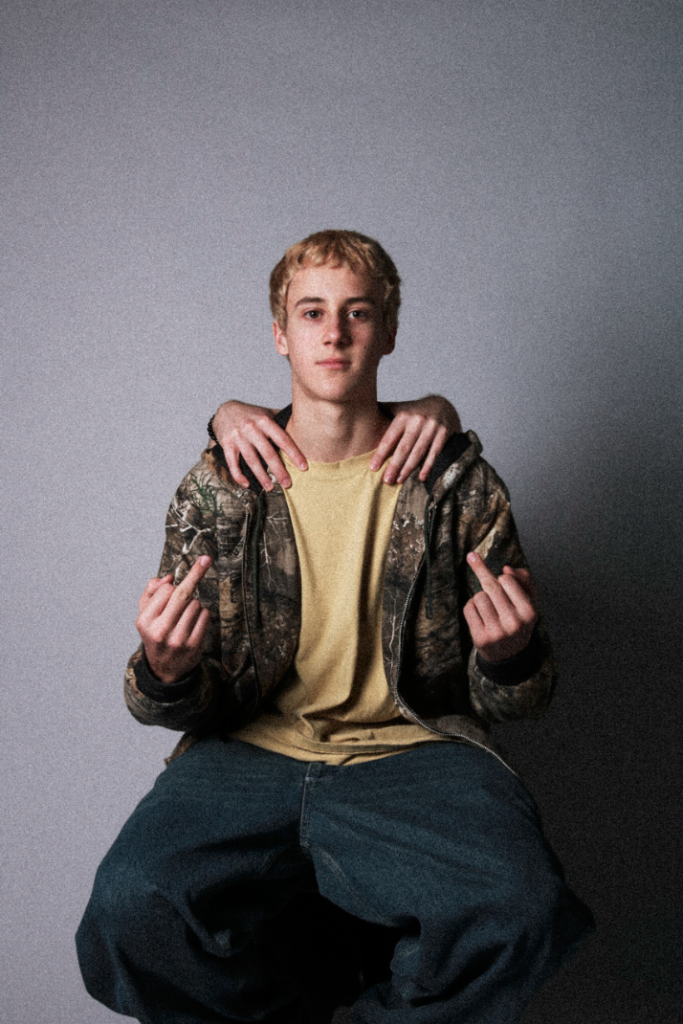
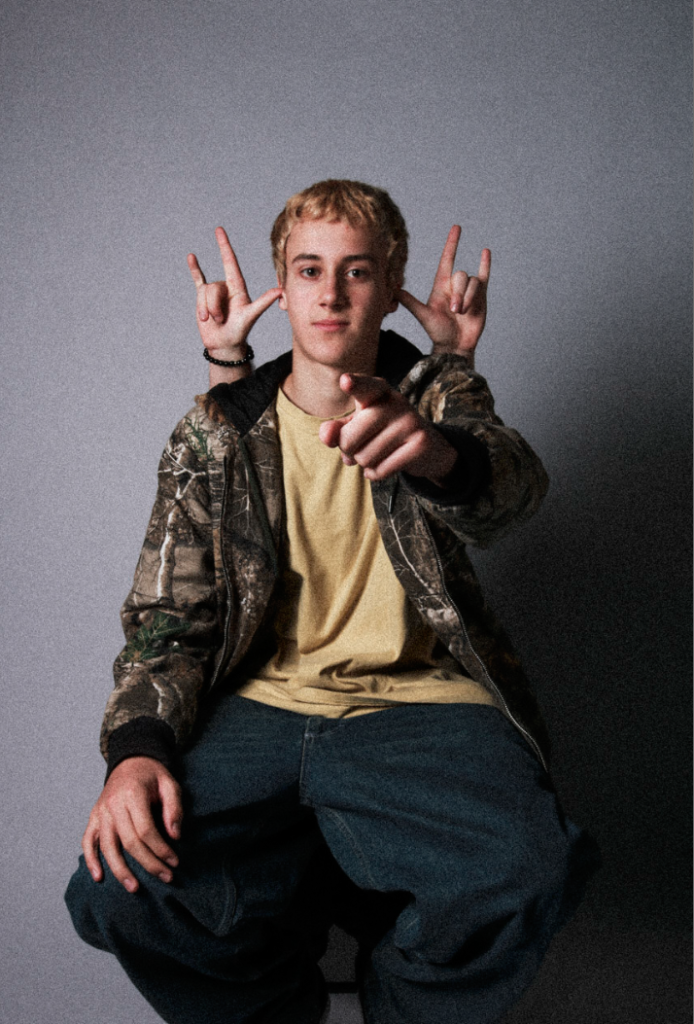
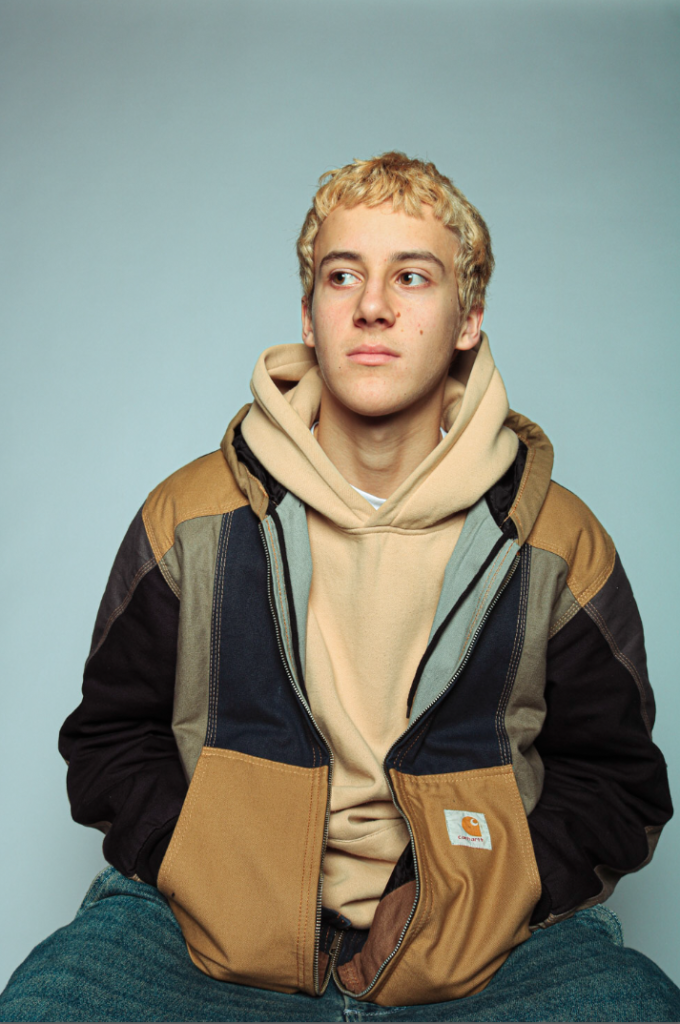
These are three edited photos – I used a lightroom preset to give them an edgy effect which makes the white more blue and everything else a bit yellower.
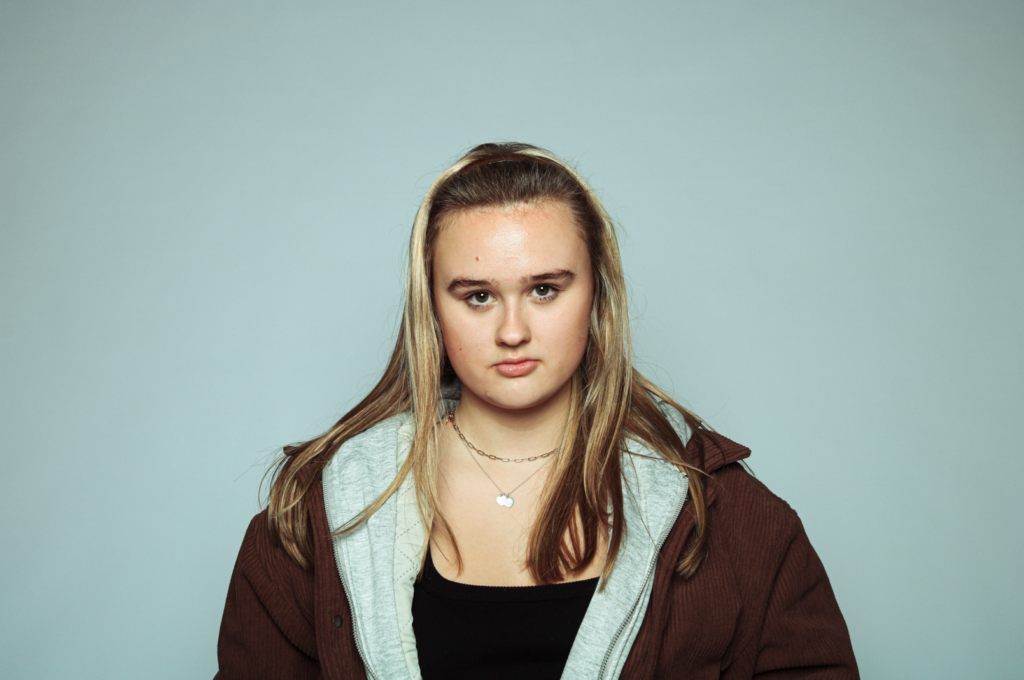
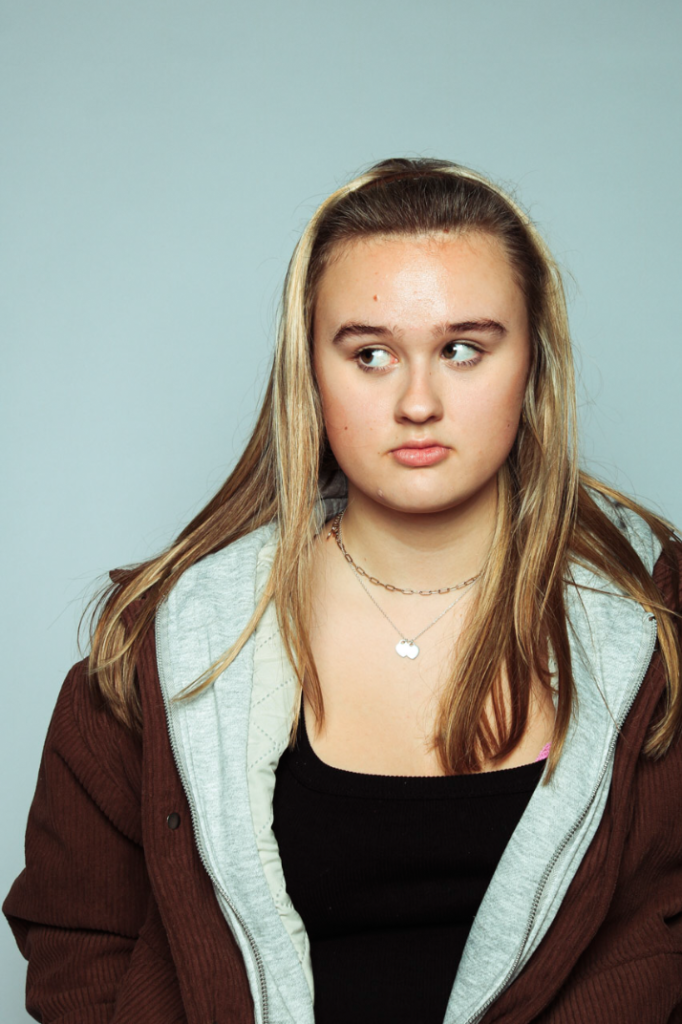
COLOURED LIGHTING
Coloured light is the method of using thin, coloured gels inbetween your subject and the light source in order to create an effect of whatever colour you want. It is a style of creative portraiture and allows for quite a lot of fun experimentation.
