Studio Lighting Moodboard:
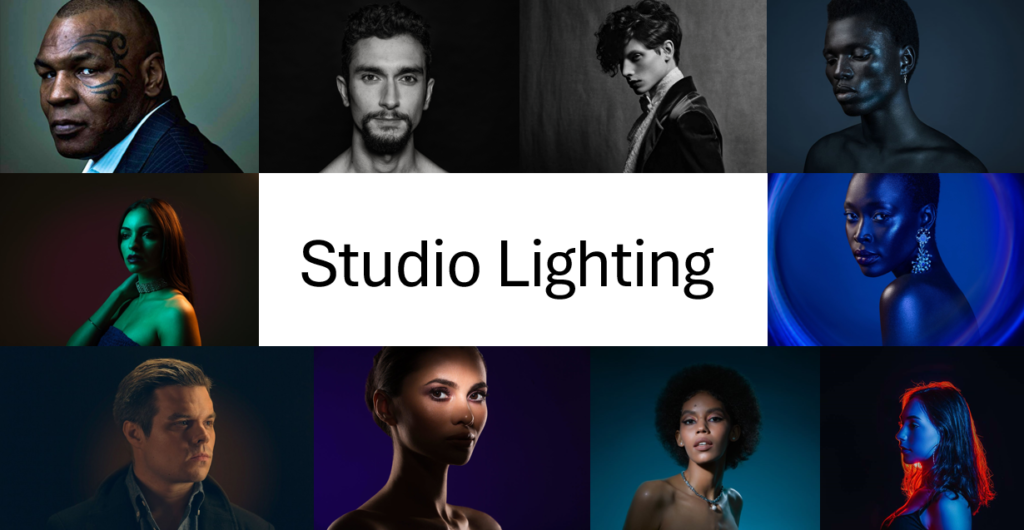
What is studio lighting and why do we use it?
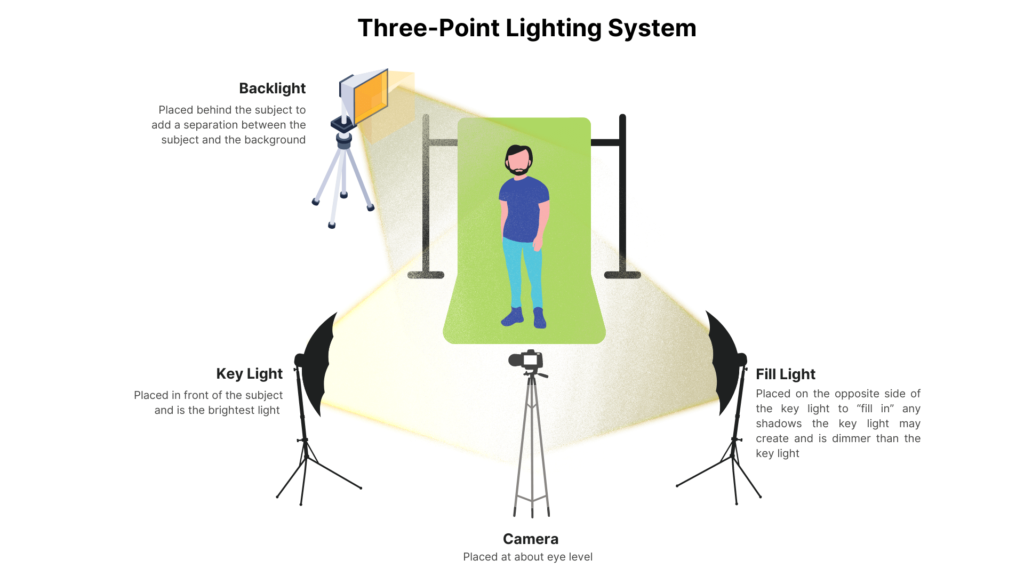
Studio lighting is about using artificial lights in a controlled space, like a photography studio, to light up a subject in a way that looks good on camera. The main goal is to create the right mood, highlight details, and make sure the subject is well-lit. The key light is the main light that shines on the subject, usually placed at an angle to create depth and highlight features. A fill light is used to soften the shadows created by the key light, while a back light is placed behind the subject to help separate them from the background and make them stand out.
1-Point Lighting:
This is the simplest setup, using a single light source to illuminate the subject. It’s typically placed in front of the subject, usually slightly off to the side to create some shadows and depth. It’s great for creating dramatic, high-contrast images where the subject has strong shadows. However, it can make the image look flat or harsh, so it’s often used for more moody, artistic shots or when you want a very minimalist look.
2-Point Lighting:
This setup uses two lights – typically a key light (the main light) and a fill light (to soften the shadows). The key light is placed at an angle to the subject, while the fill light is positioned opposite to lighten up the shadows created by the key light. It provides a more balanced lighting setup compared to 1-point lighting by reducing harsh shadows. It works well for general portraits, making the subject look natural and evenly lit, while still keeping some dimension.
3-Point Lighting:
This setup uses three lights: the key light, fill light, and a backlight (or rim light). The key light is the main source of light, the fill light softens shadows, and the backlight is placed behind the subject to separate them from the background, giving more depth and highlighting the subject’s outline. It solves the problem of flatness and separation from the background, making the subject look more three-dimensional. The backlight helps create depth by adding a highlight around the subject, giving them definition against the background. This is a versatile and classic lighting setup used for most professional portrait photography, video interviews, and more.
What is Rembrandt lighting, Butterfly lighting, Chiarascuro?
Rembrandt Lighting:
Rembrandt lighting is a technique where the light is placed at a 45-degree angle above and to the side of the subject’s face. This creates a small triangle of light on the cheek opposite the light, while the rest of the face is shadowed. It’s a classic, dramatic look that adds depth and highlights facial features like the cheekbones. This lighting style is often used in portrait photography for a moody, professional feel.
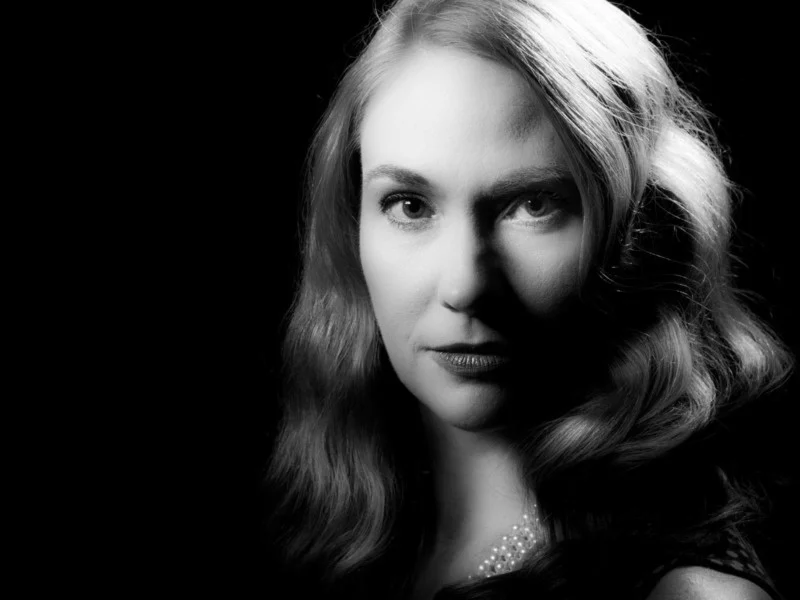
Butterfly Lighting:
Butterfly lighting is when the light is positioned directly above and in front of the subject’s face. This setup creates a butterfly-shaped shadow under the nose, with the rest of the face receiving soft, even light. It’s a very flattering style, making the face look smooth and symmetrical. It’s commonly used in beauty and fashion photography, especially for subjects with high cheekbones.
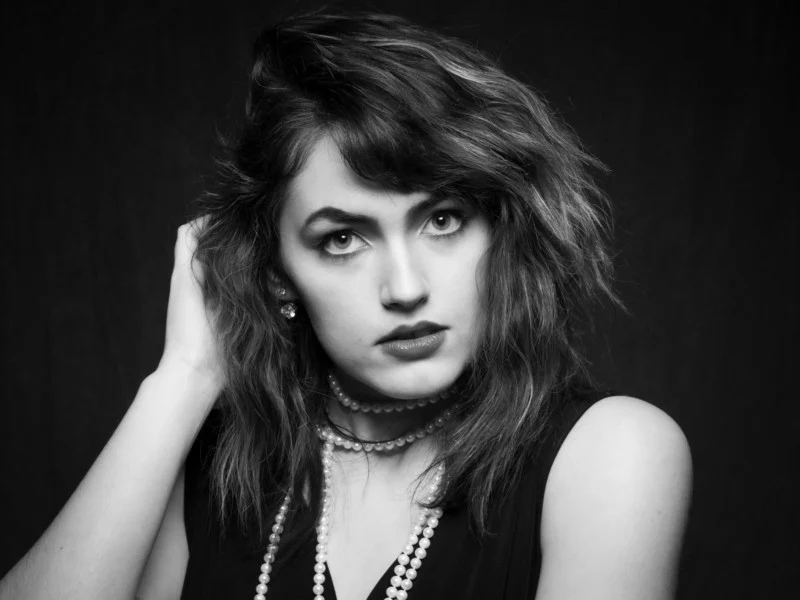
Chiaroscuro:
Chiaroscuro is an artistic technique that uses strong contrasts between light and dark to create depth and drama. The light is usually focused on one part of the subject, while the rest is in shadow. This technique originated in painting but is also used in photography to create a dramatic, almost theatrical look. The emphasis is on depth, with light and shadow working together to highlight the subject’s form.
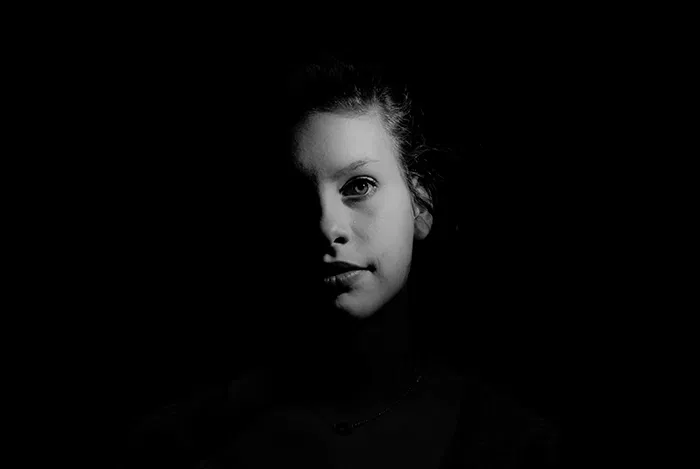
What is fill lighting?
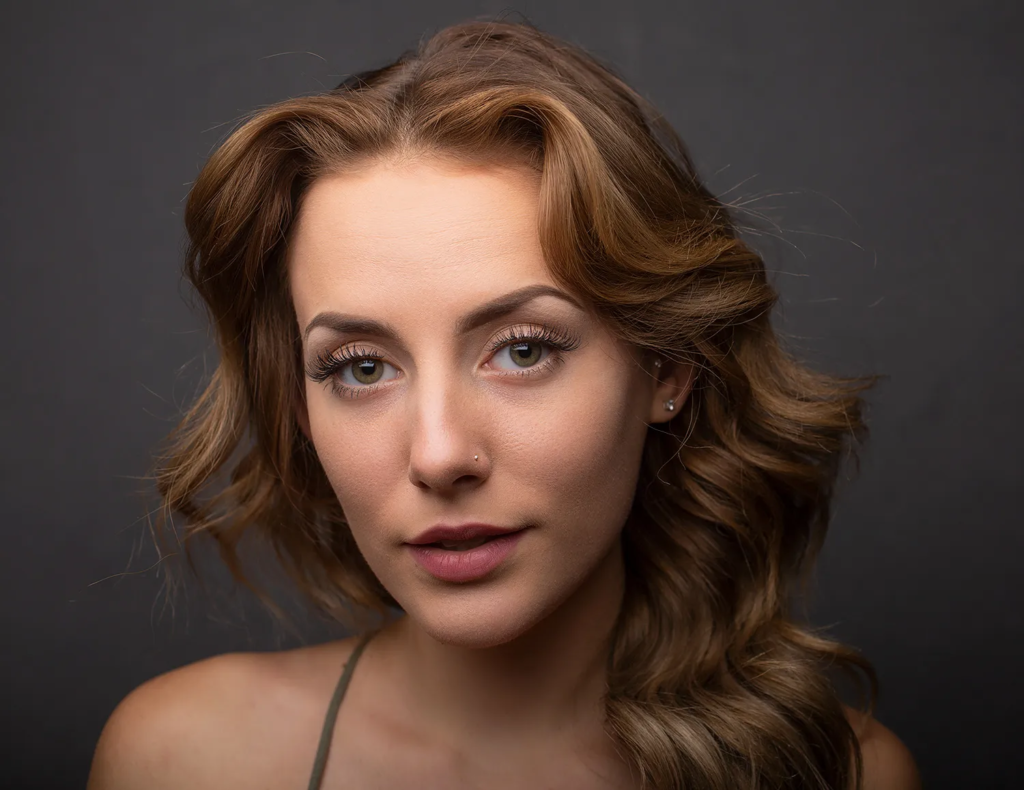
Fill lighting is a type of light used to soften or fill in the shadows created by the main light in a lighting setup. Its purpose is to reduce the contrast between light and dark areas on the subject, creating a more even and natural look. Fill light is typically softer and less intense than the key light, so it doesn’t overpower the main light but helps to soften the shadows and add detail to areas that would otherwise be too dark. It’s often placed opposite the key light to balance the lighting and prevent the subject from appearing too harsh or overly dramatic.
Studio portrait experiments:

Editing:
Before:
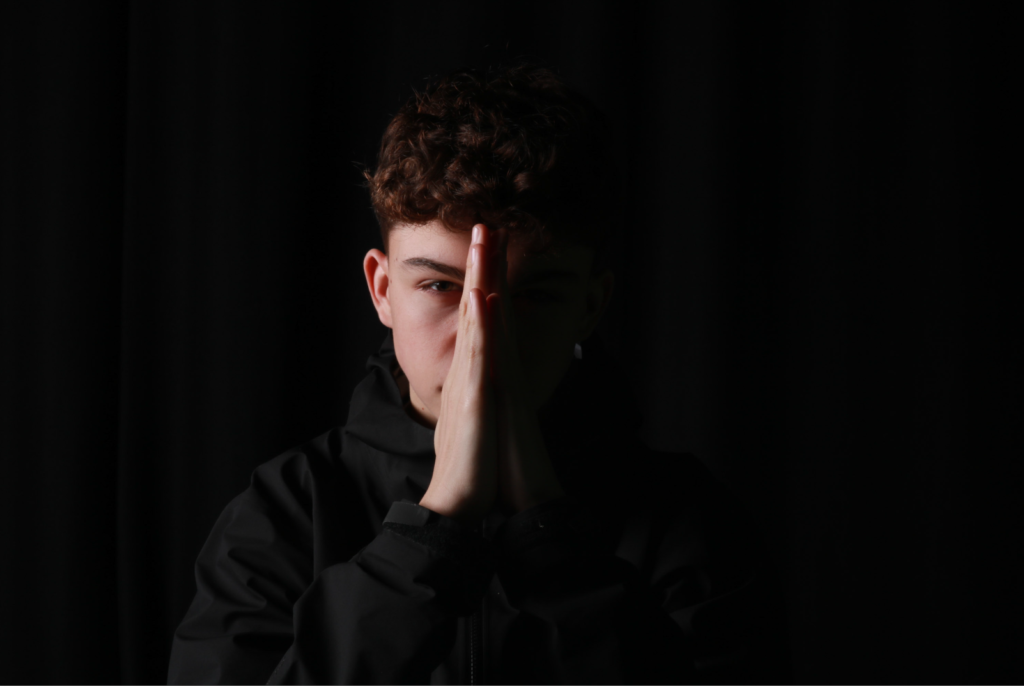
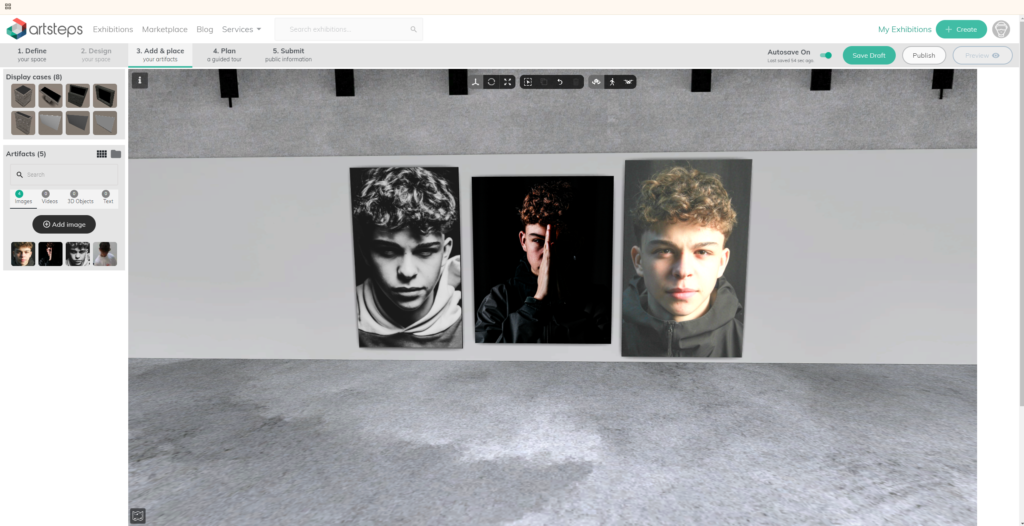
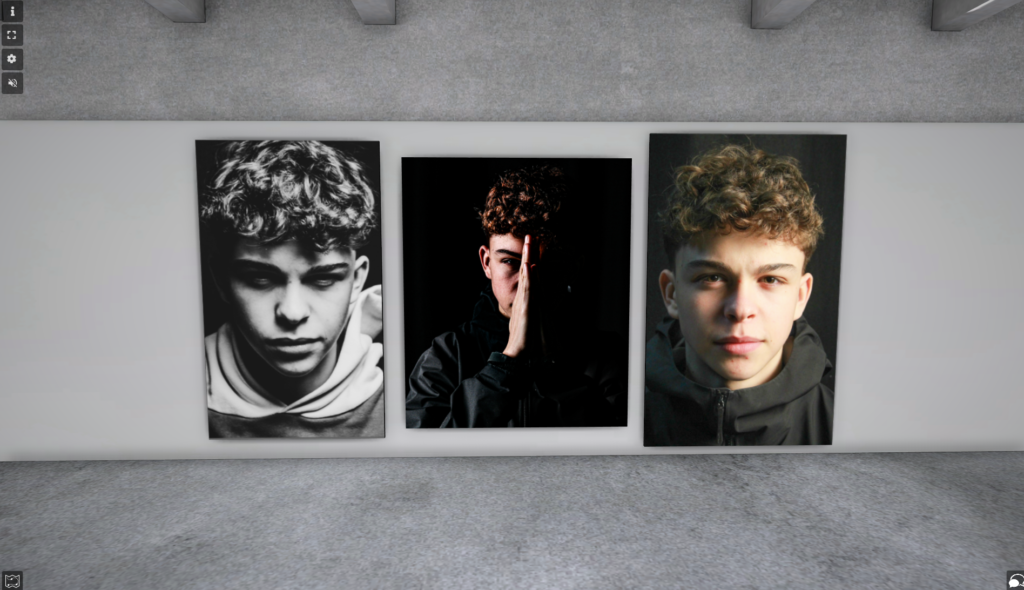
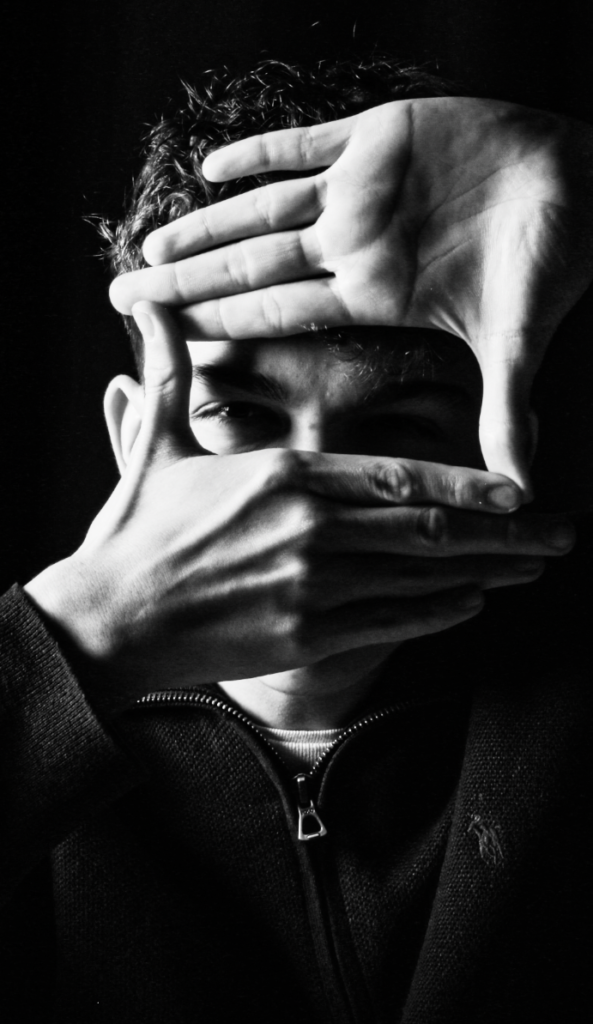
I think this is one of my best photos because it really captures the feel of chiaroscuro lighting. The way the light and shadows play off each other gives the photo a lot of depth and makes it stand out.
After:
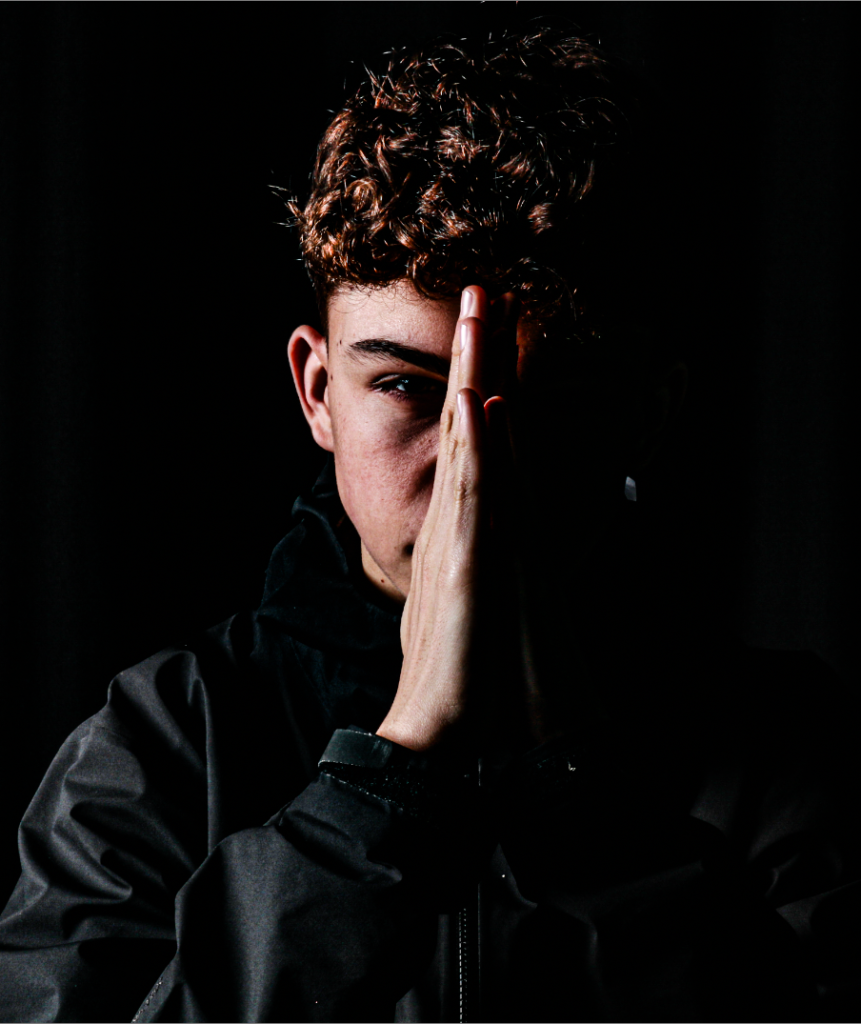
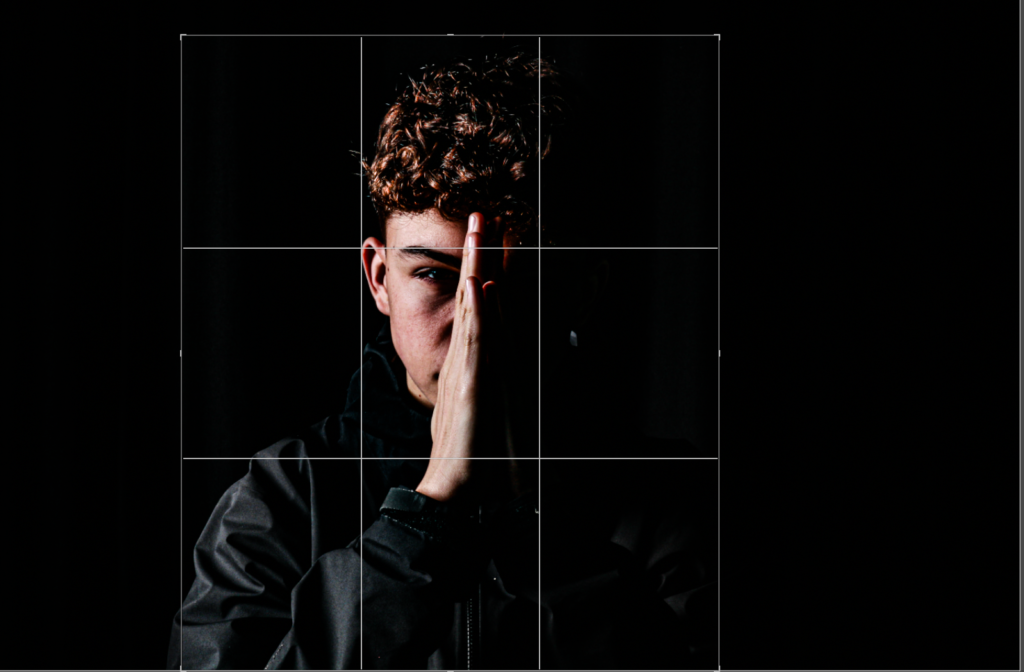
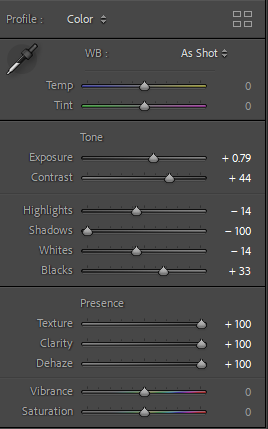
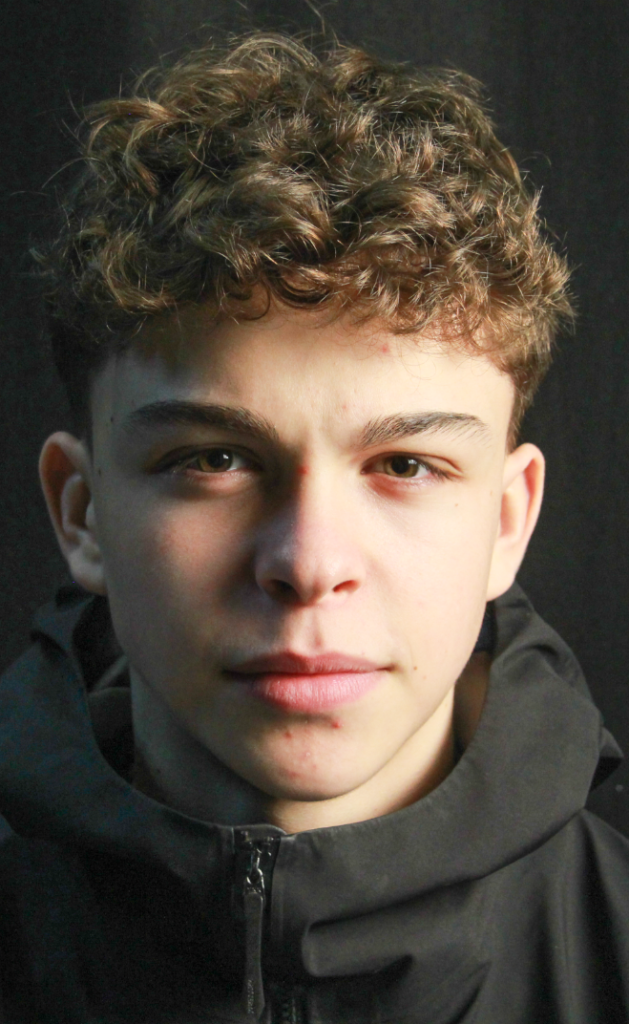
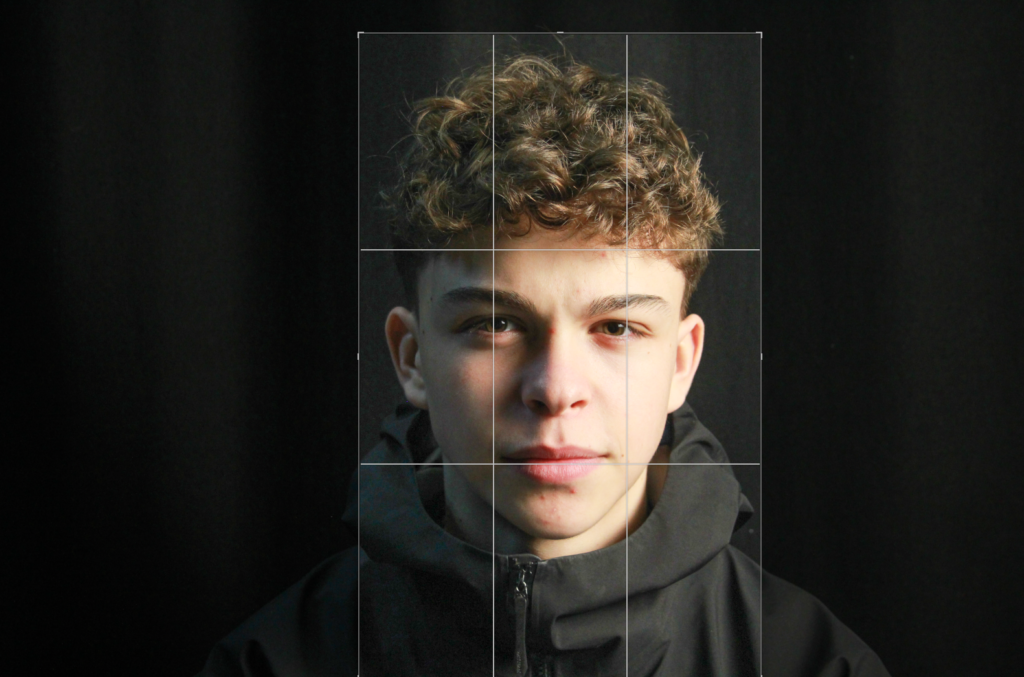
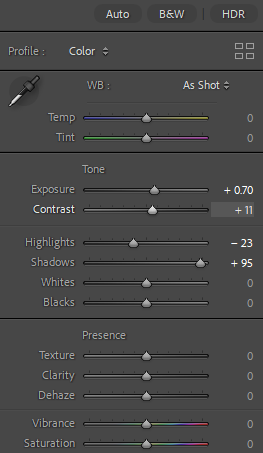
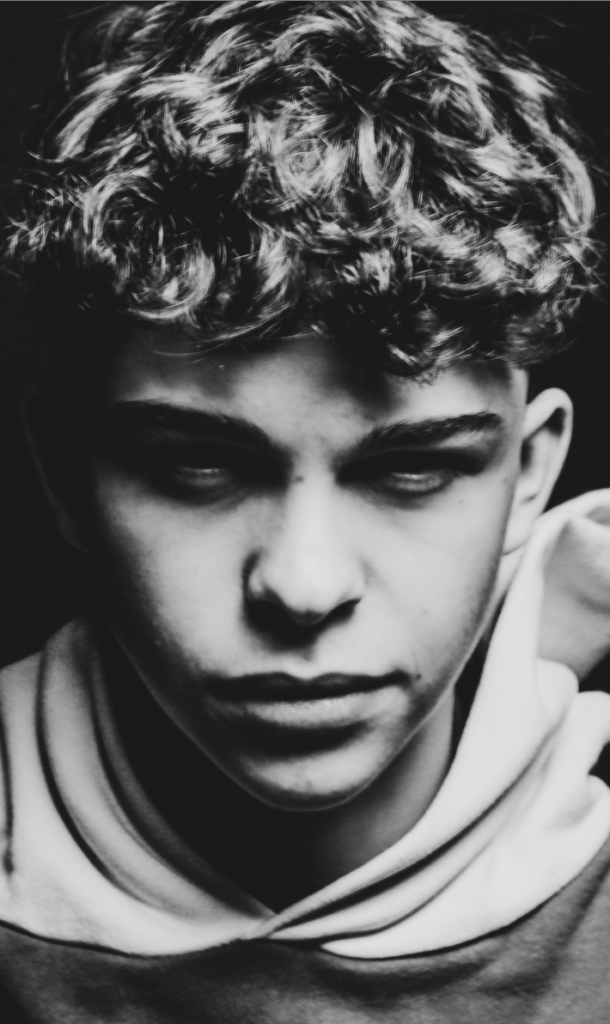
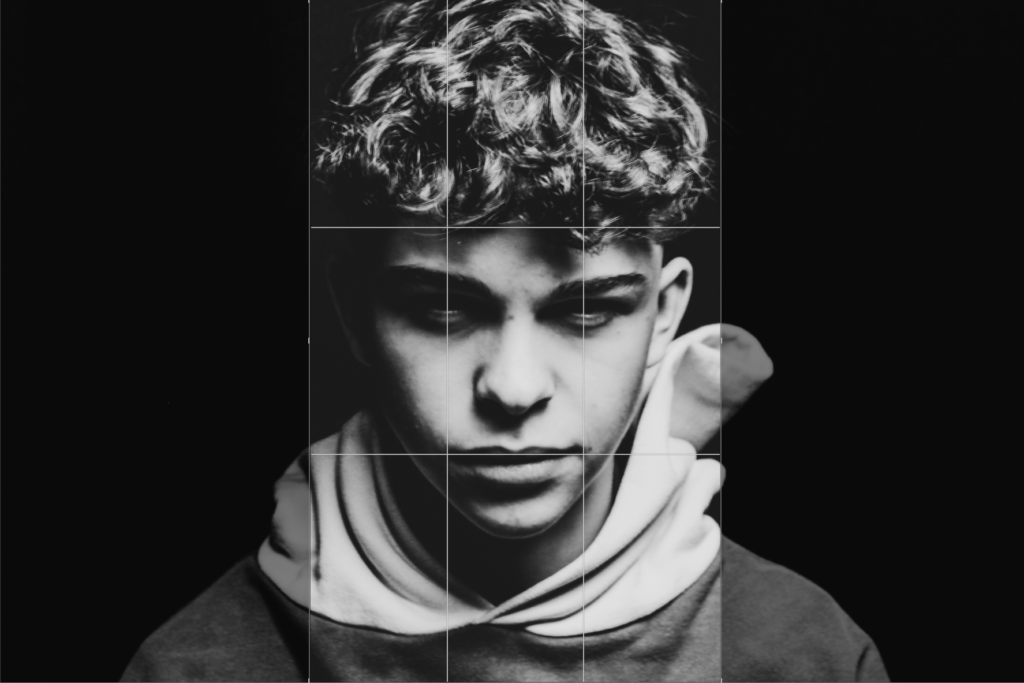
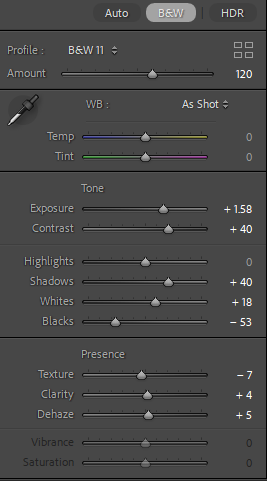
For editing, I aimed to create a more distinctive look by incorporating chiaroscuro lighting to emphasize dramatic contrasts between light and shadow. To enhance this effect, I adjusted the texture and clarity, focusing on amplifying the fine details and sharpness. This approach added depth and dimension to the image, making the lighting contrasts more pronounced and visually striking.
Before:
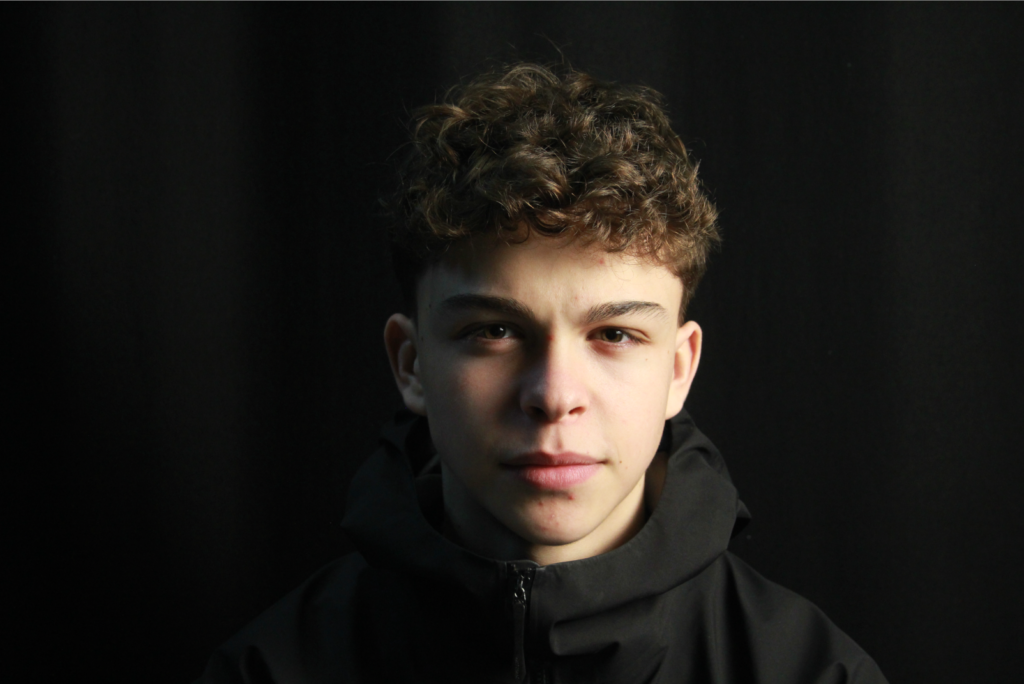
This one really has that Rembrandt lighting vibe, especially with the triangle of light on the cheek. It’s just like the way rembrandt lit his subjects, with one side of the face lit up and the other in shadow, giving it a cool depth.
After:
Before:
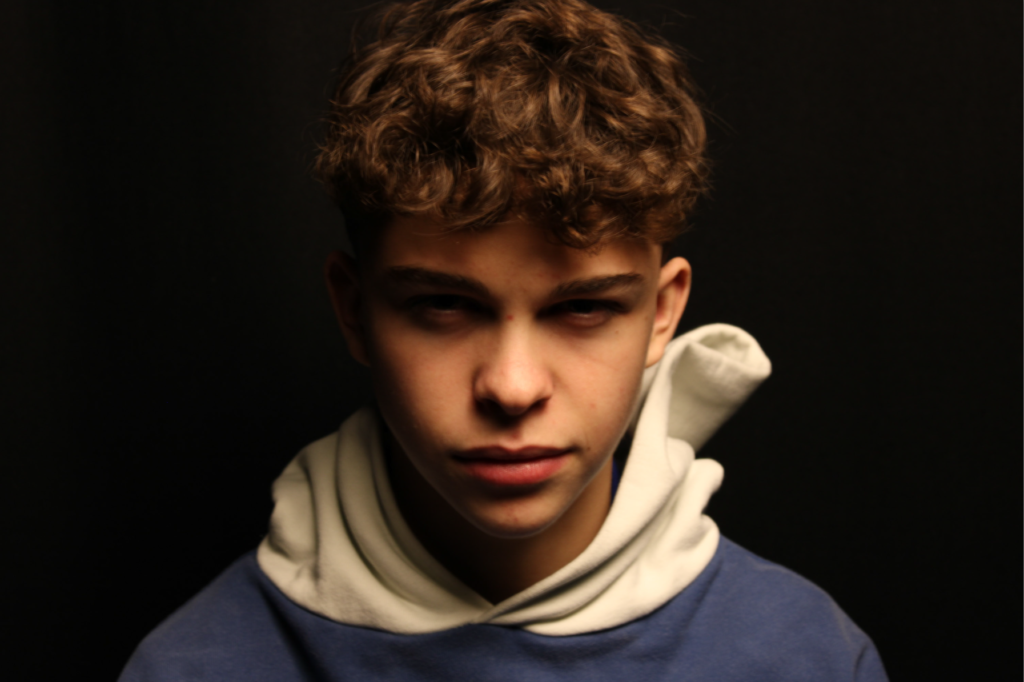
In this photo, I used the technique of butterfly lighting, which I believe resembles the lighting effect the most. Butterfly lighting, is a portrait lighting setup that creates a distinctive shadow under the subject’s nose, resembling a butterfly shape. This look is achieved by placing the light source directly above and slightly in front of the subject, typically at a 45-degree angle.
After:
Before:

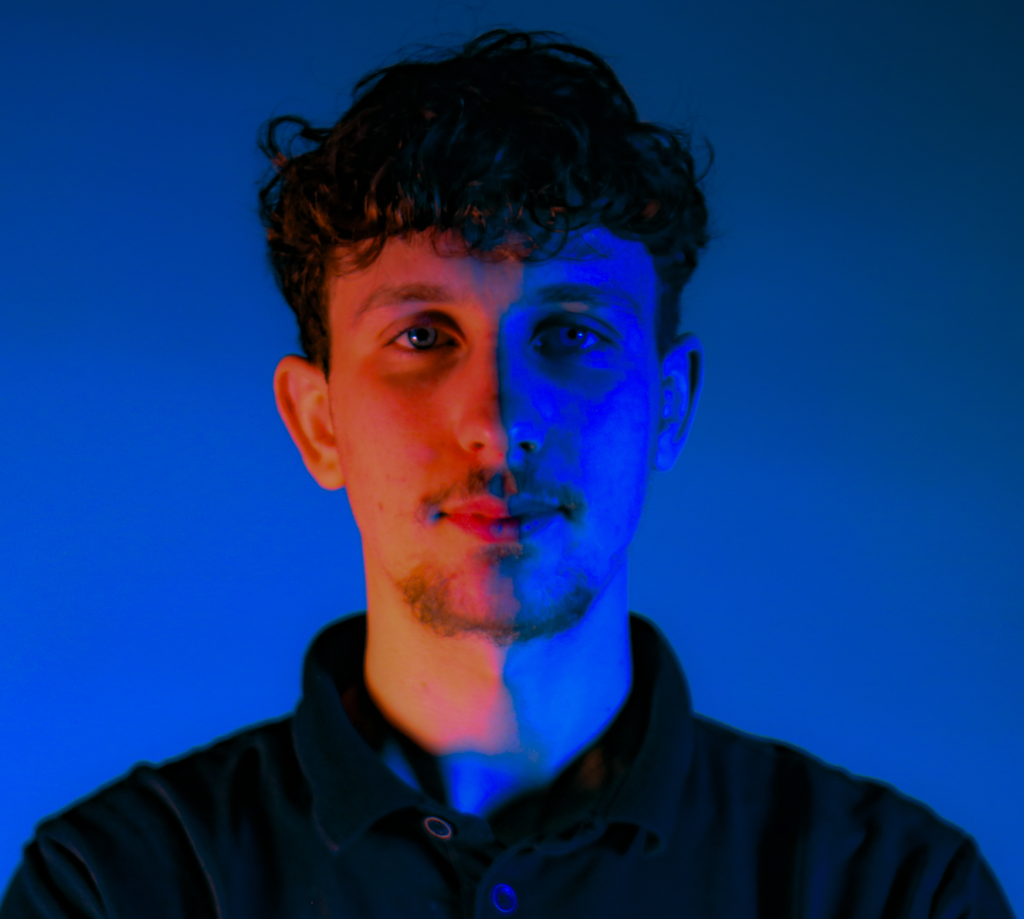
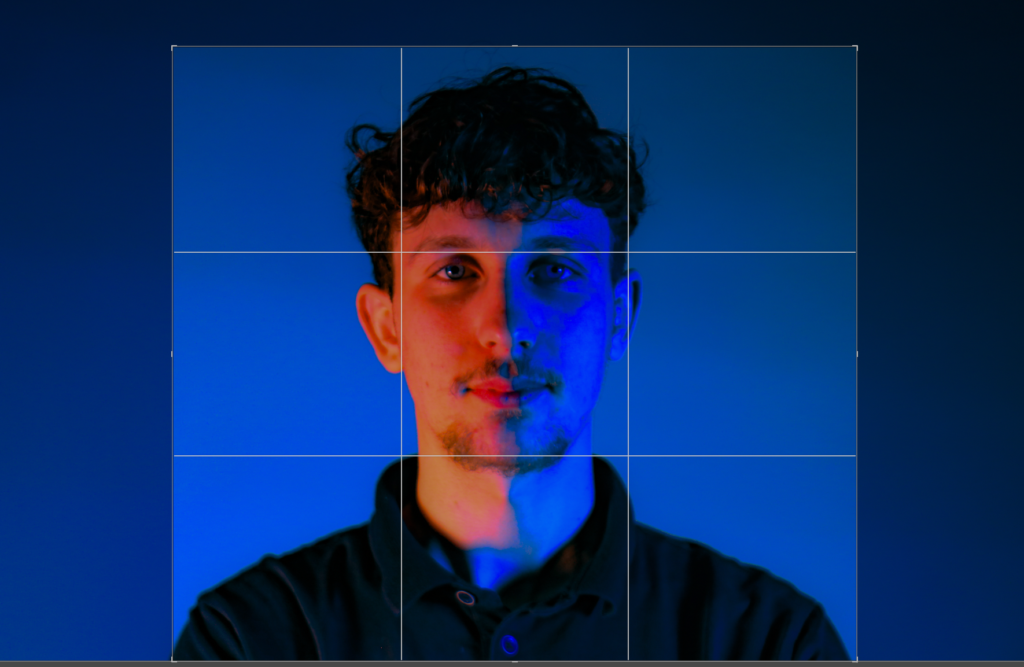
In this photo, the lighting looks like it’s using gels, which are colored filters placed over lights. This is a common trick in photography to create cool color effects. In this case, you can see the contrast between the reddish light on one side of the face and the blueish light on the other. The warm red and cool blue lights are coming from different light sources with colored gels on them, creating a sharp difference that makes the face stand out more.
After:

Artist reference:
John Rankin
John Rankin Waddell, known as Rankin, is a British photographer and director who has made a name for himself with his distinctive, often bold, style. He’s famous for his striking portraits of some of the world’s biggest celebrities, including Kate Moss, Madonna, David Bowie, and even Queen Elizabeth II. Rankin’s photography is known for its raw, edgy feel. He doesn’t just take a picture, he creates a moment that feels powerful and full of emotion. Whether he’s capturing a fashion model or a global icon, Rankin’s portraits often reveal something deeper about his subjects. He’s not afraid to push boundaries, using intense lighting and dramatic angles to create images that feel fresh and unexpected.
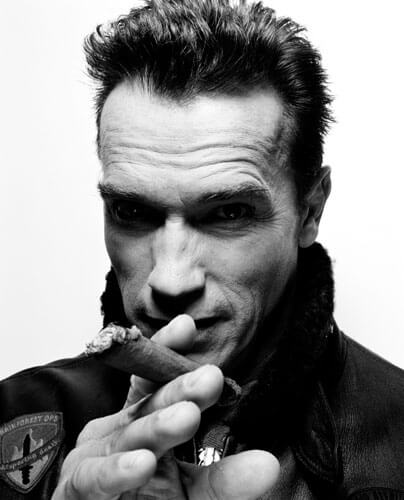
In this image, you can see how the hand reaching toward the camera helps create a sense of depth. The hand in the front is big and draws your attention, making it feel like it’s right there in front of you. This makes the rest of the scene, like the person and the background, seem farther away. The way the hand is positioned gives the photo a sense of space. It feels like there’s more to the scene than just a flat image. The hand being close to the camera creates a kind of depth, while the person and the background fade into the distance.
My edits relating to the artist:
Before:
After:
Final images:
