What is studio lighting?
studio lighting is artificial lighting that photographers use to add to the light already there
Why do we use studio lighting?
Many photographers prefer to use studio lighting so they can have complete control over where the shadows go and can also control the temperature of the light.
One Point lighting
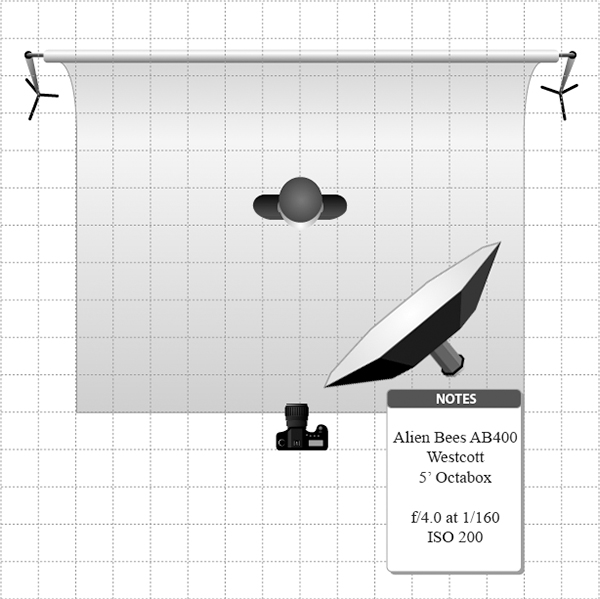
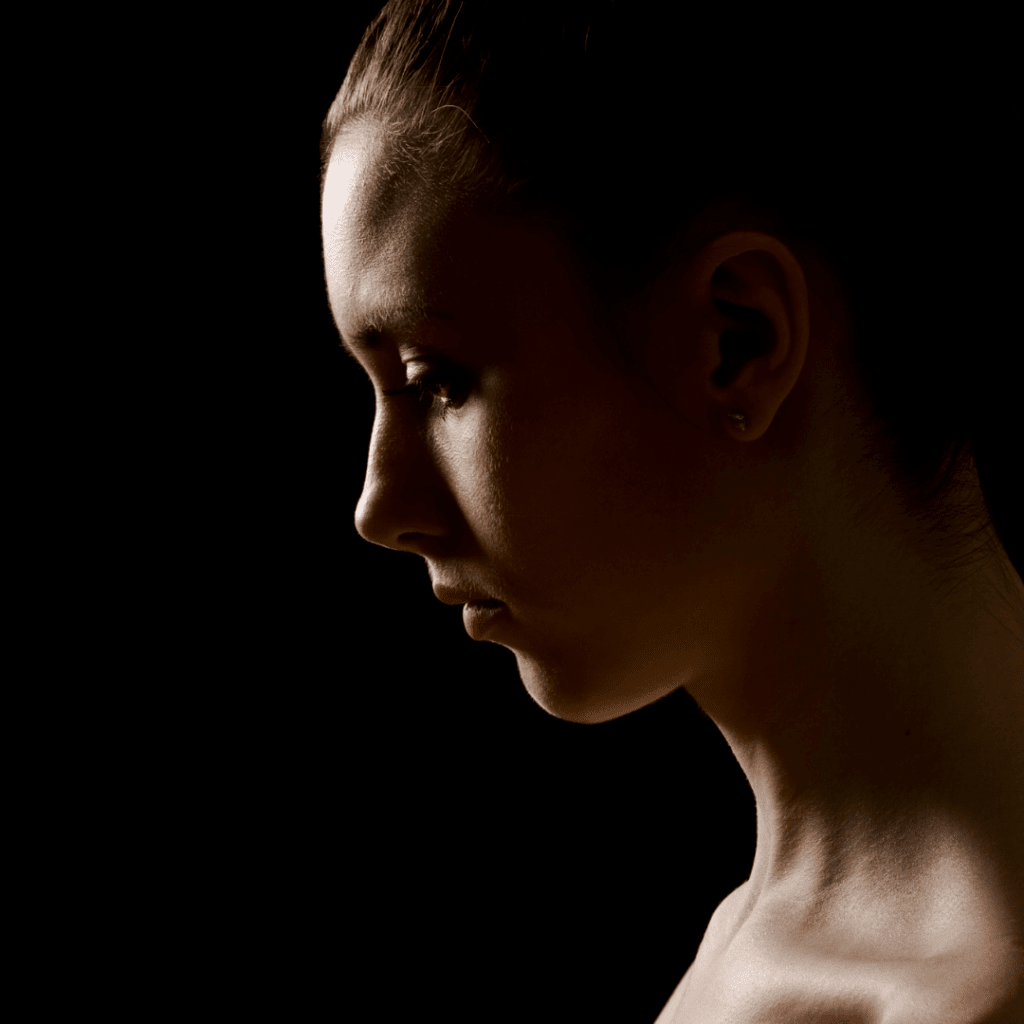
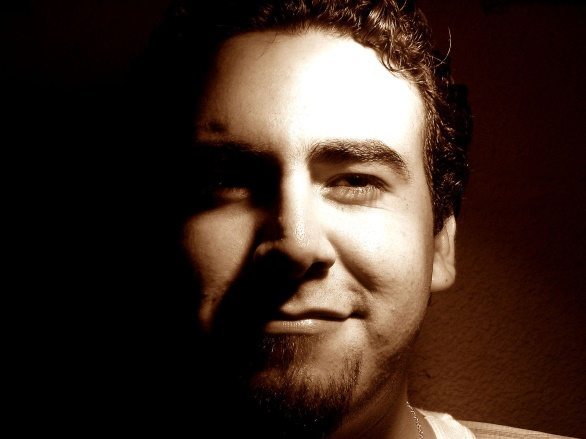
One point lighting portraits are used to capture images where one side of the models face is more exposed than the other. (one side has the light on it and the other side is dark) However they aren’t as harsh as split light photo there are more natural where one side is darker but you are still able to see the other side of their face.
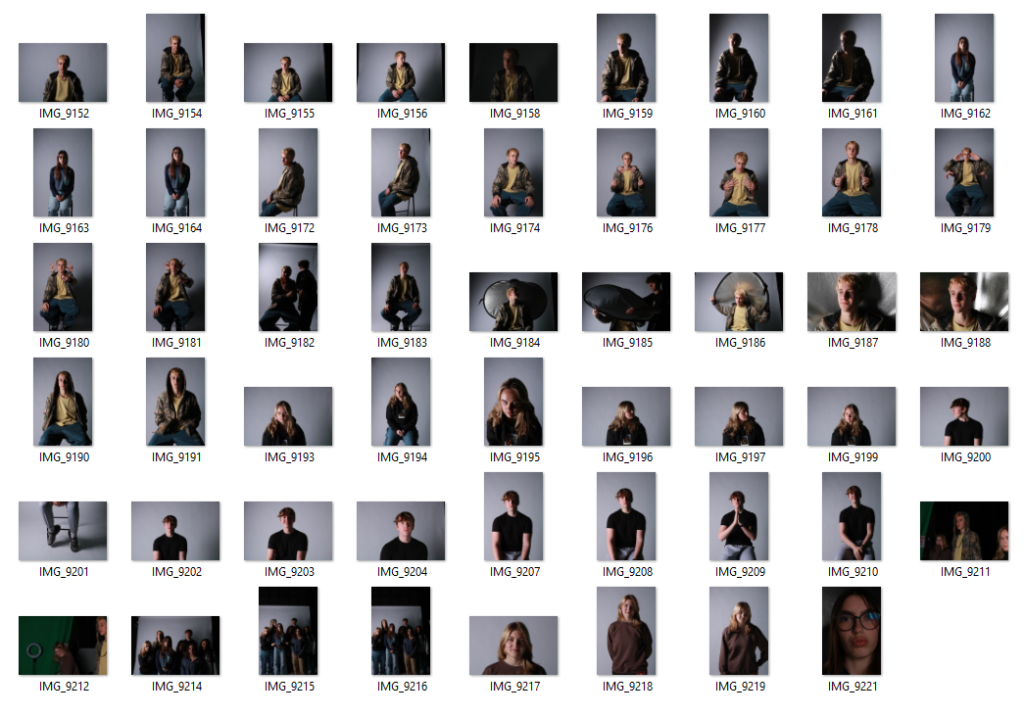
Photoshoot 1 – one point lighting
edited images
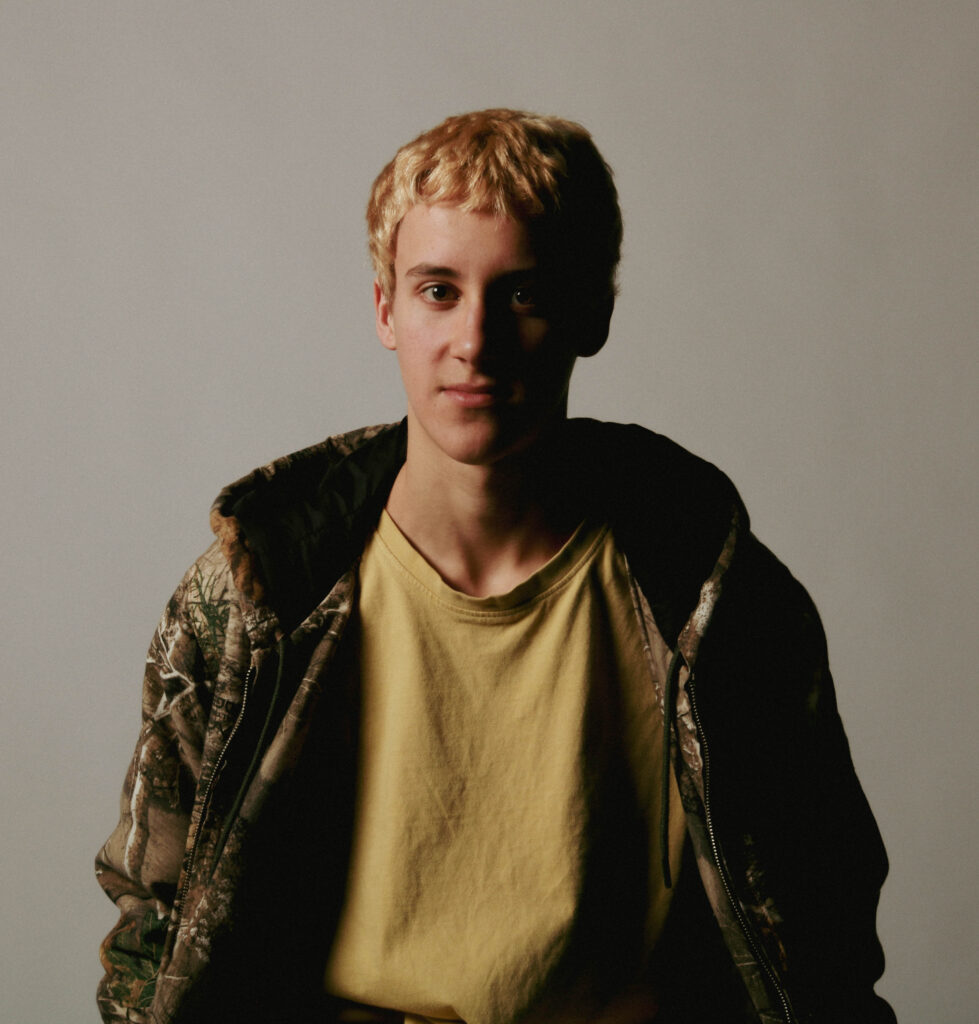
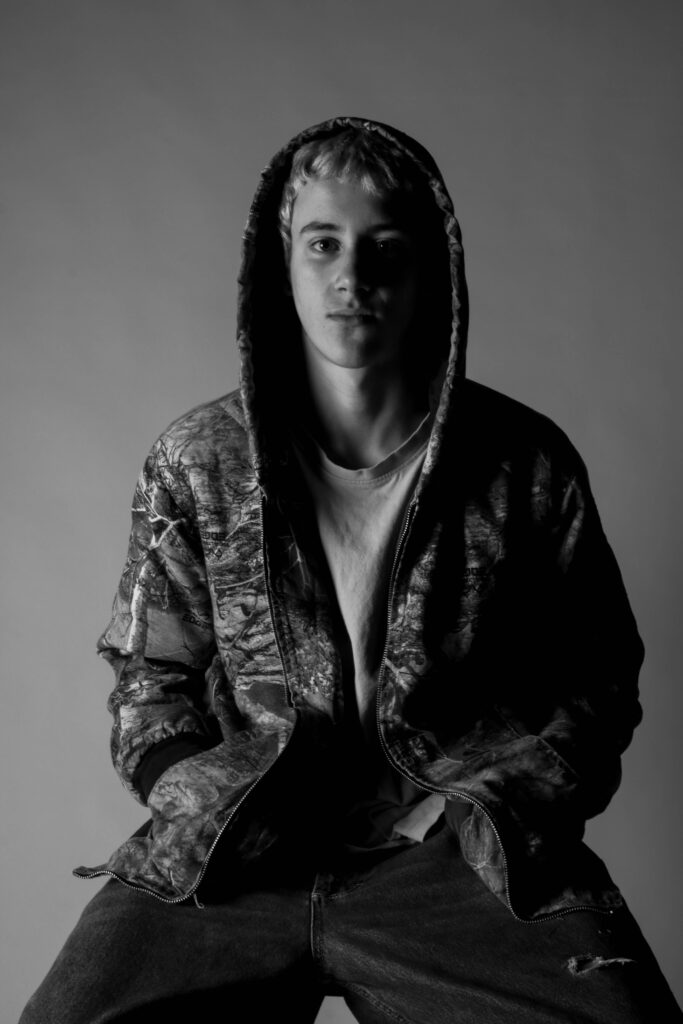
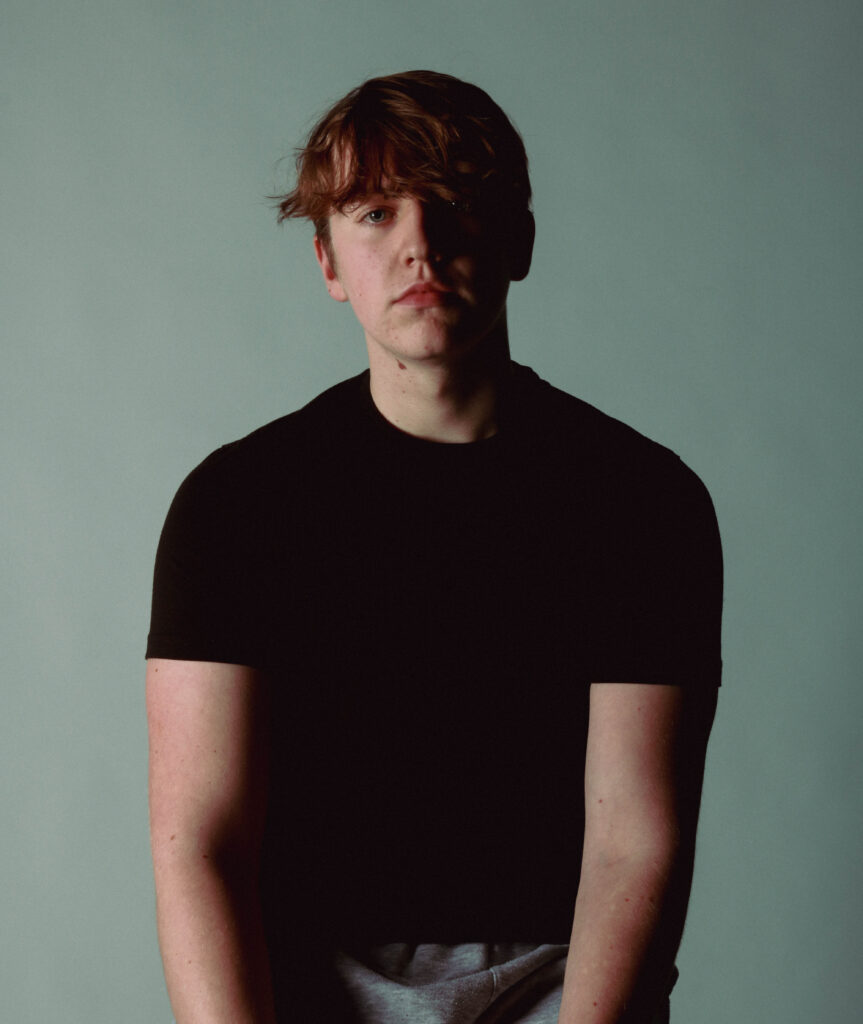
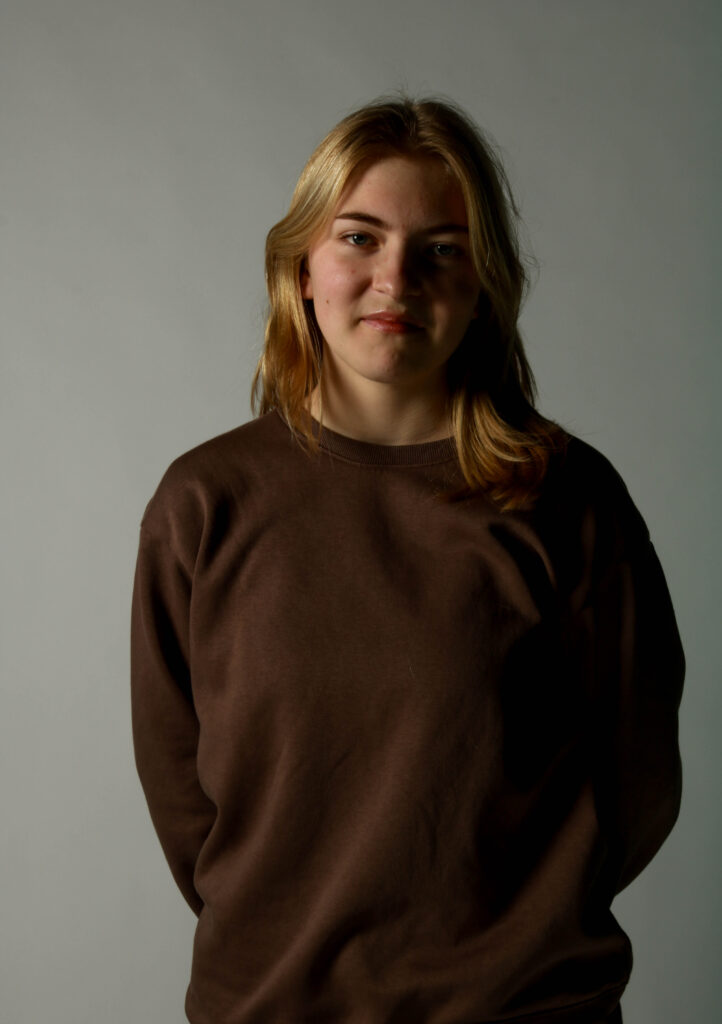
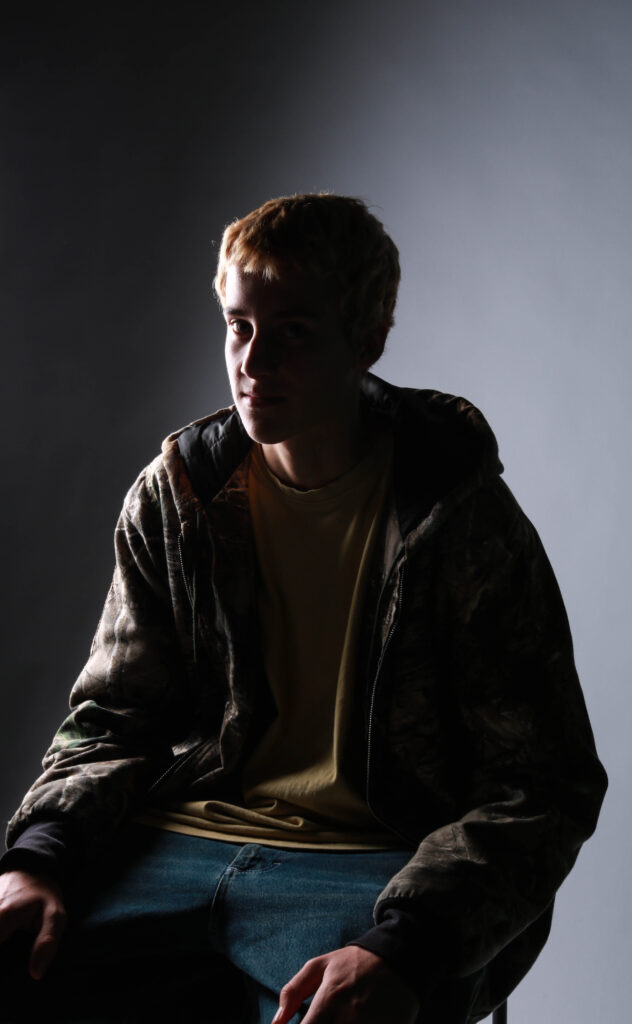
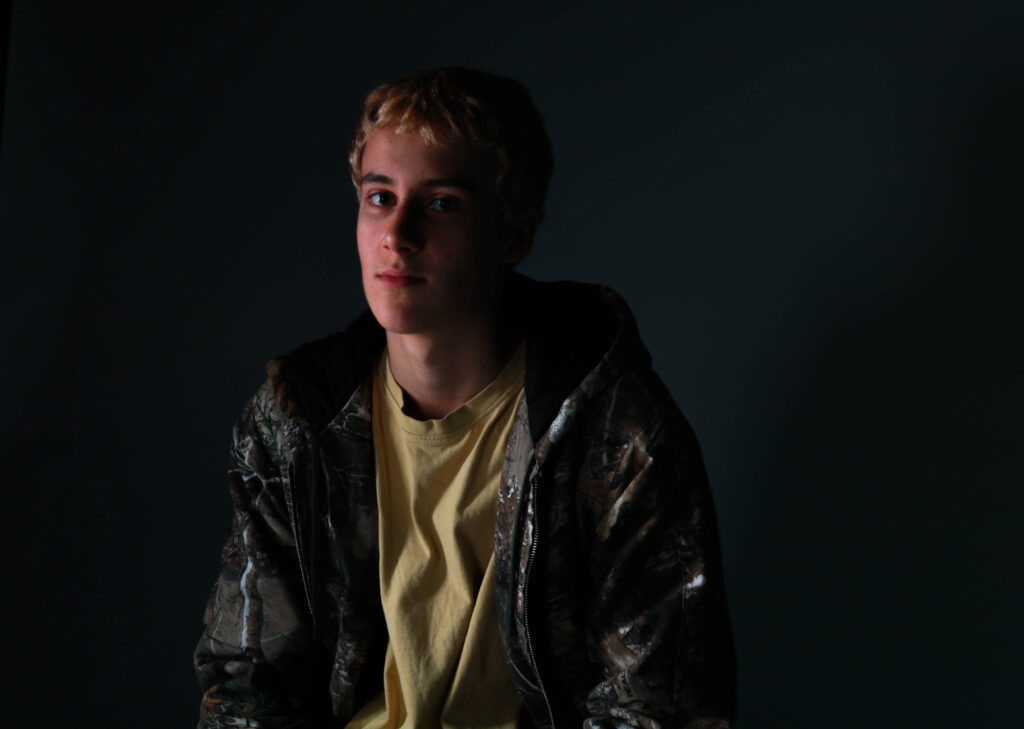
I really like this image as I think the contrast with the black background. As well as it is a good example of split lighting (when half the face is illuminated and the other is dark) Another part of this image that I like is the light parts on the jacket also make good contrast compared to the otherwise dark image.
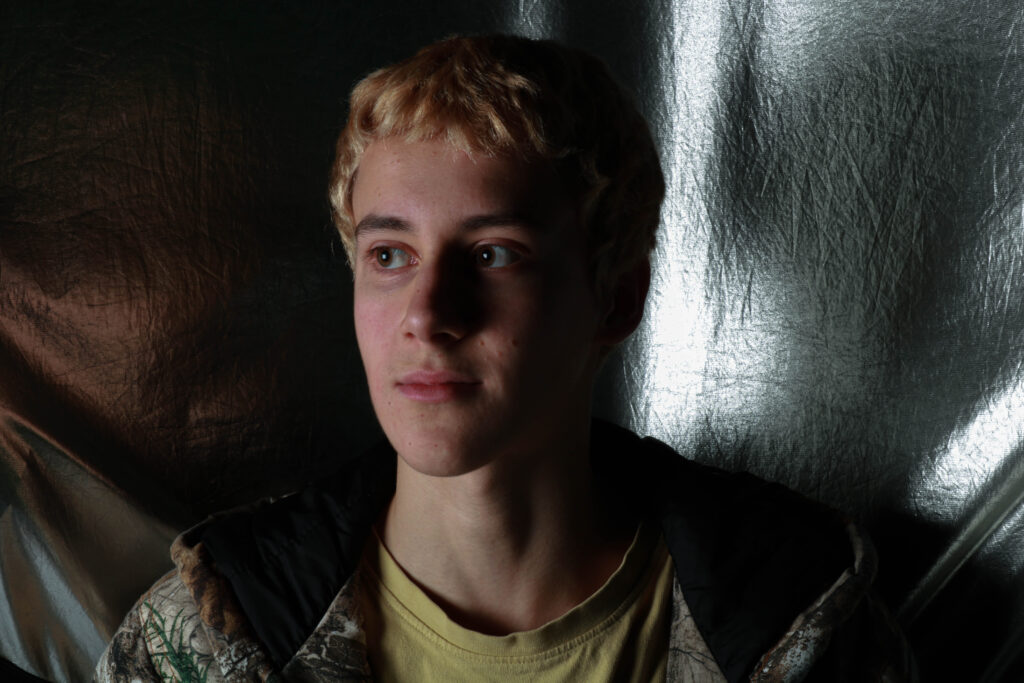
Something I like about this image is that the darkness of the right side of his face and neck against the bright chrome of the background. As well as how one side of the background looks as if it has warm lighting, then the other side has cool tone lighting.
Analysis of my Image
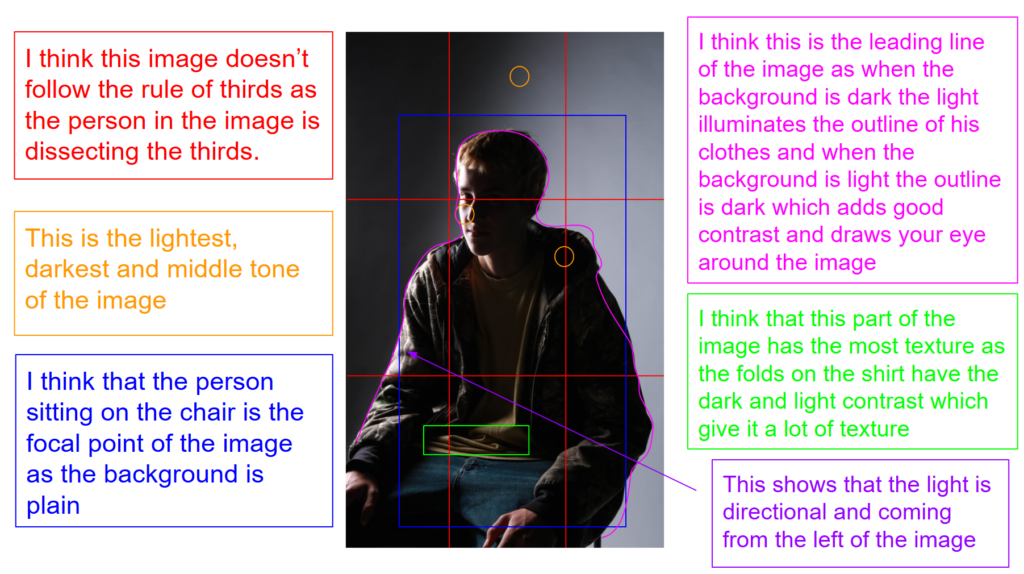
This is image is taken using a digital camera and the genre of this photography is portraiture.
The mise-en-scene presents the portrait photo of a boy sat on a chair. The tone of this image is pretty dark, However you could also argue that the tone of the image also quite bright ad there is sort of a half and half going on in this image. The use of light in this image is very harsh, cold artificial lighting as we were in the studio with specific lighting set up. The focus distance is short as it is a close up photo and the depth of field is large as everything is in focus. The leading lines of the images would be the lightness of his face and side of his jacket against the black background.
I believe the ISO is 100 as everything is in focus and not grainy. I believe that the shutter speed is 1000 as everything is clear.
Rembrandt lighting
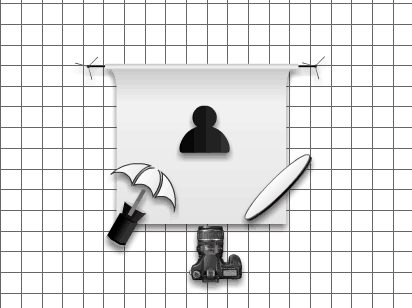
Rembrandt lighting is a commonly used technique in studio photography to contrast Butterfly lighting. All you need is one or two lights and one reflector. It became popular due to producing natural looking images with minimal equipment.
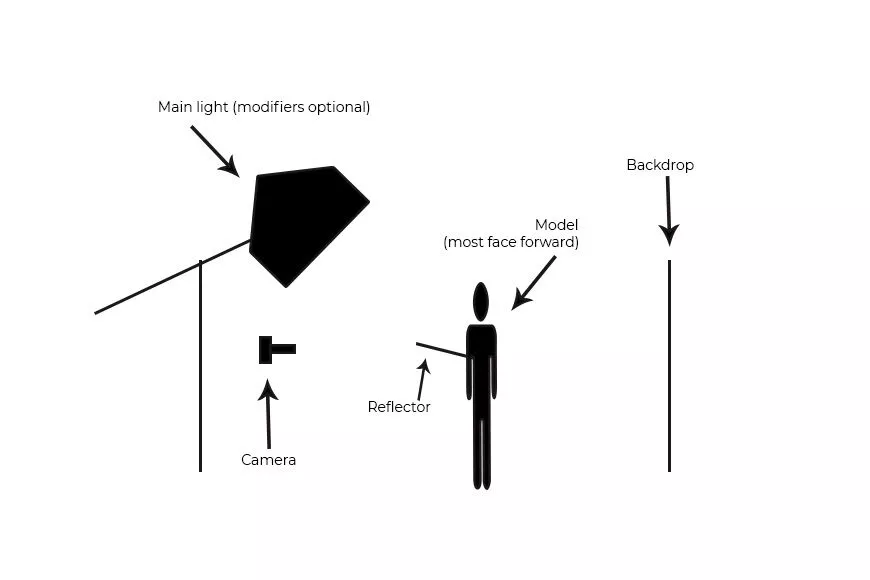
To create this lighting the “main light” is placed high and and to the side, roughly 45 degrees to the side of the model. T he reflector is placed on the other side of the model at half height facing it at an angle to the camera, which helps illuminate the opposite side of the face.
An easy way to identify if an image has Rembrandt lighting is on the darker side of the face there will be a triangle sort of shape illuminated on their cheek
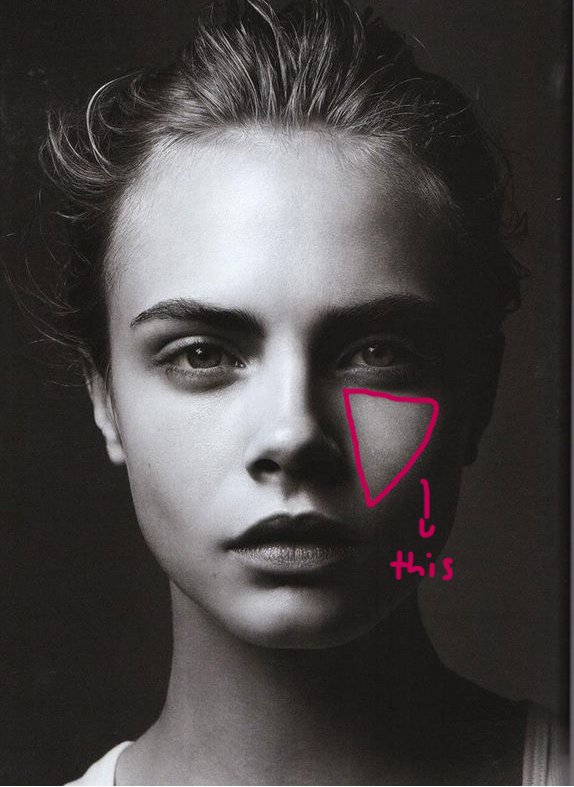
image from Google
Examples of Rembrandt lighting
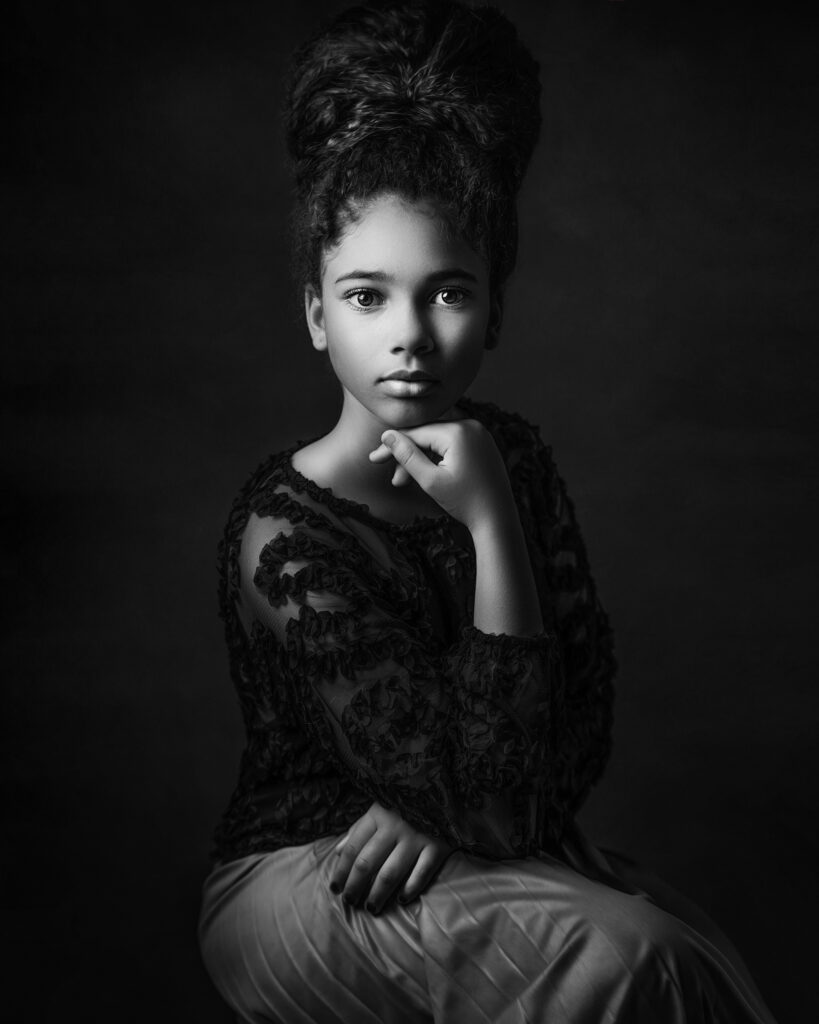
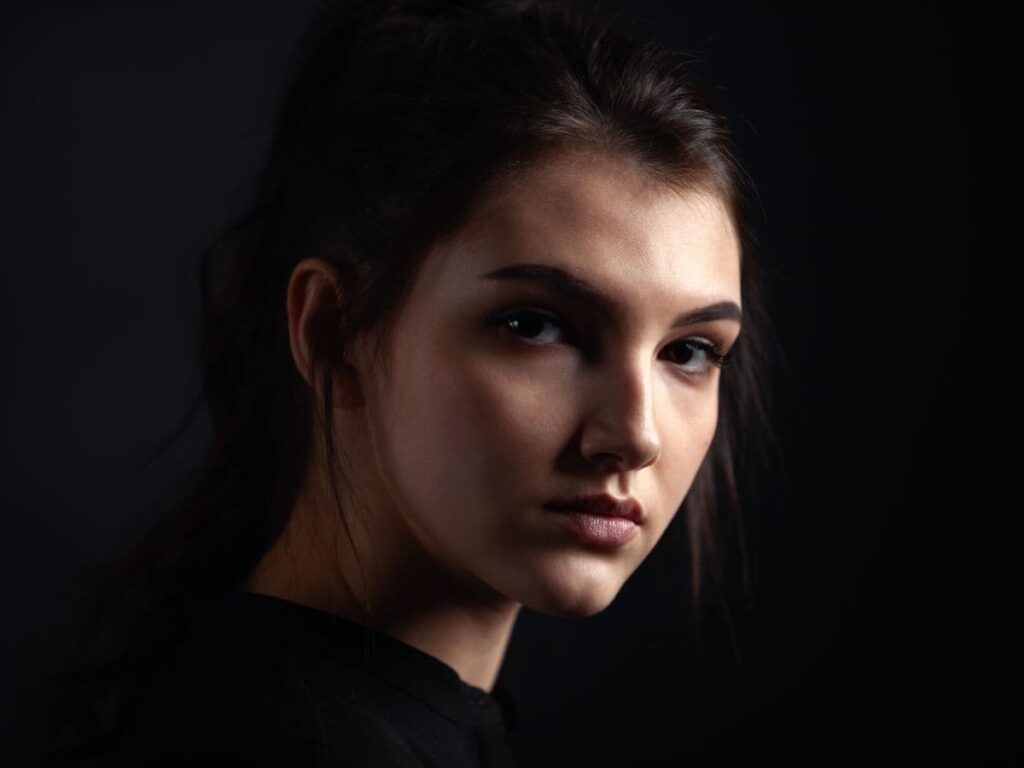
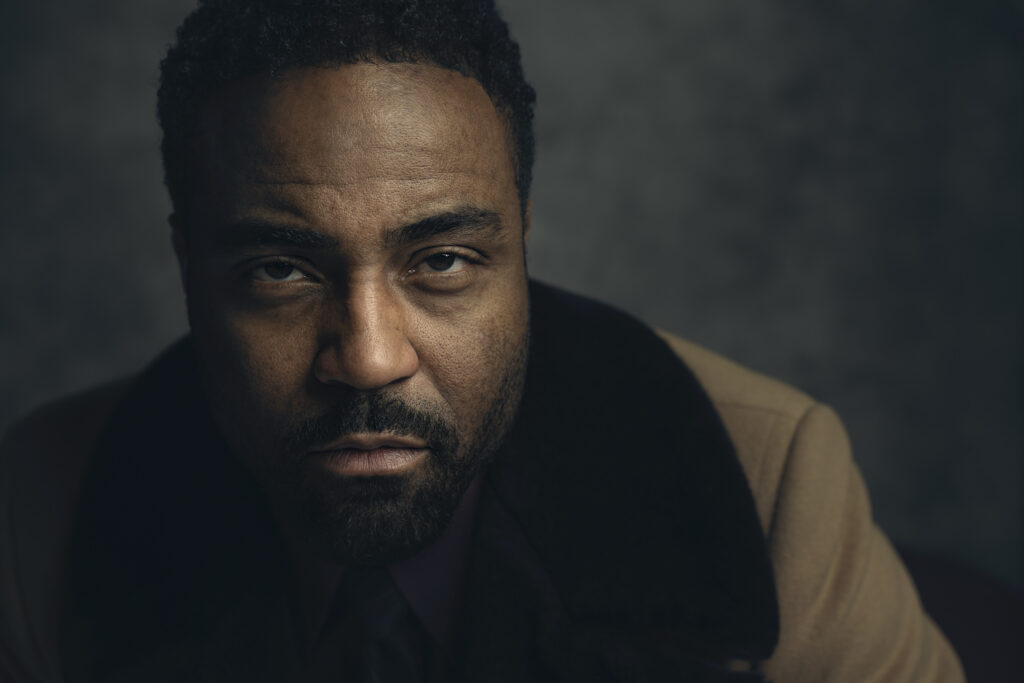
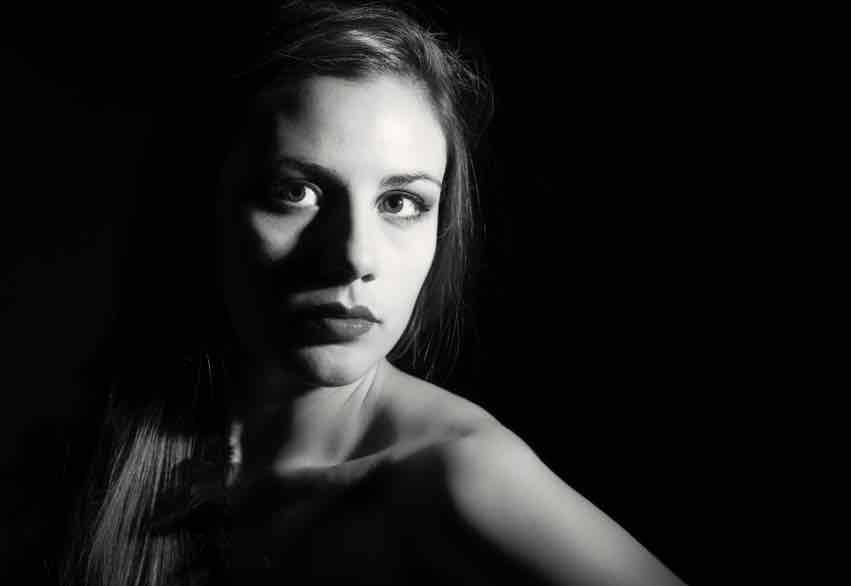
images from Google
Why use Rembrandt Lighting?
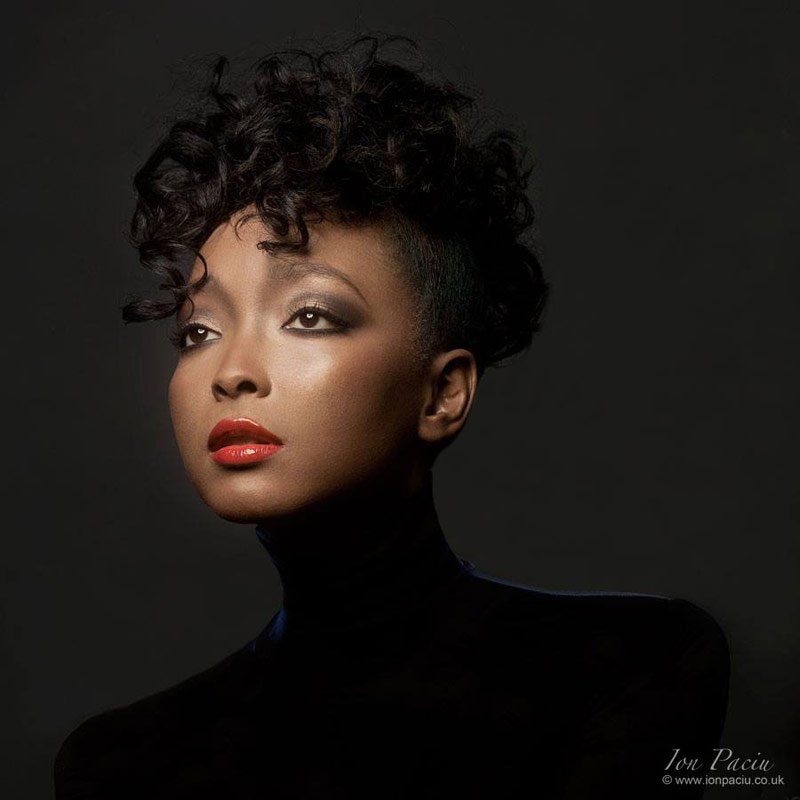
When using Rembrandt lighting you are able to instantly create contrast and depth in an image, as well as added a bit of moody drama and psychological depth.
It is a very effective way of lighting as it is used as a device to draw the viewer to the eye of the subject. As when doing portraits the eyes and usually always the main focus of the image. The triangle of light underneath the eye draws the viewers eyes to meet the focal point of the image and highlights the significance of the eyes in the portrait.
Rembrandt
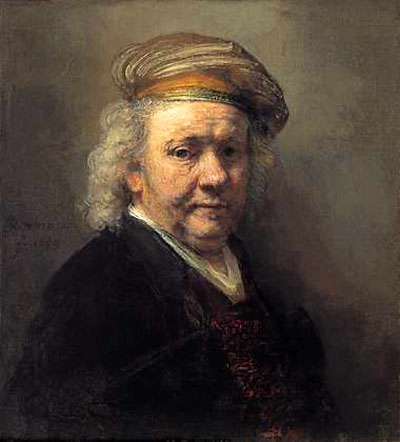
Rembrandt Harmenszoon van Rijn was born July 15 1606, was a Golden Age Dutch painter, printmaker and draughtsmen, and is generally considered one of the best visual artists of history Western art. Over his time Rembrandt created an estimated 300 paintings and 2000 etchings.
Rembrandt’s 17th century work depicted many different genres, such as portraits, self portraits, landscapes, biblical and mythological themes and historical scenes.
At the end of 1631, Rembrandt moved to Amsterdam, a city rapidly expanding as the business and trade capital. He began to practice as a professional portraitist for the first time in which he had great success. During 1634 Rembrandt became a citizen of Amsterdam and a member of the local guild of painters as well as acquiring a number of students.
photoshoot
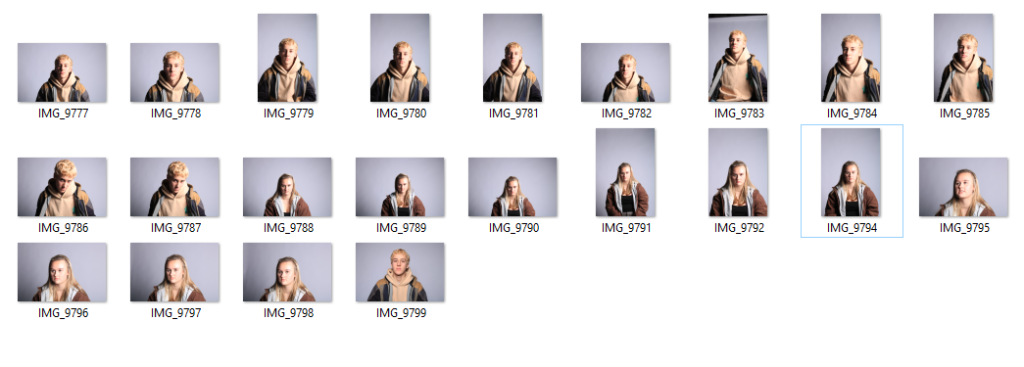
edited images
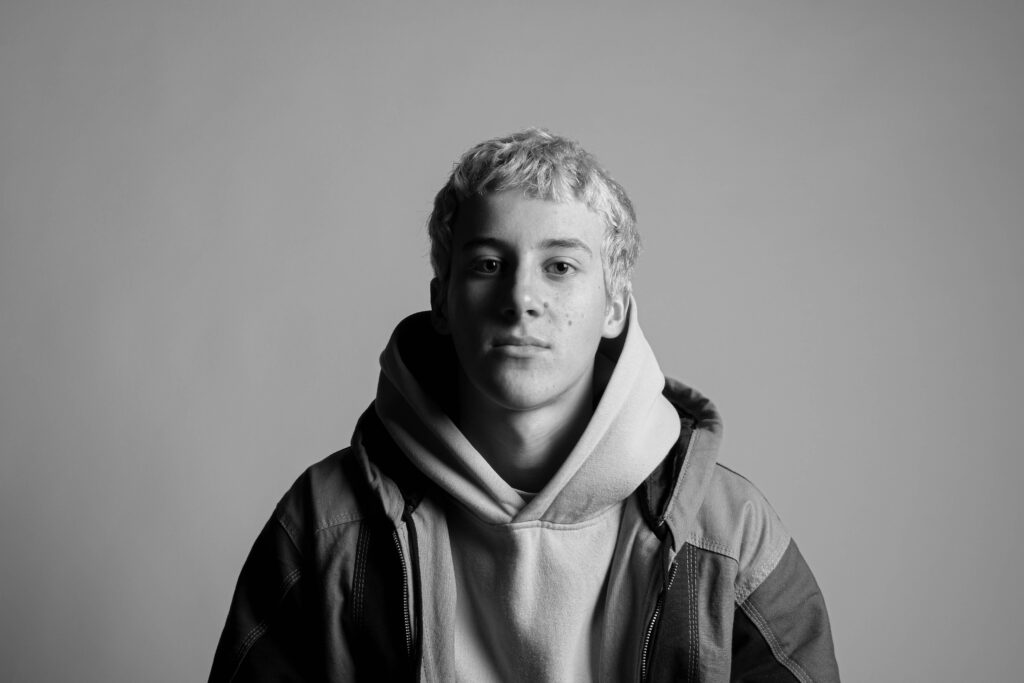
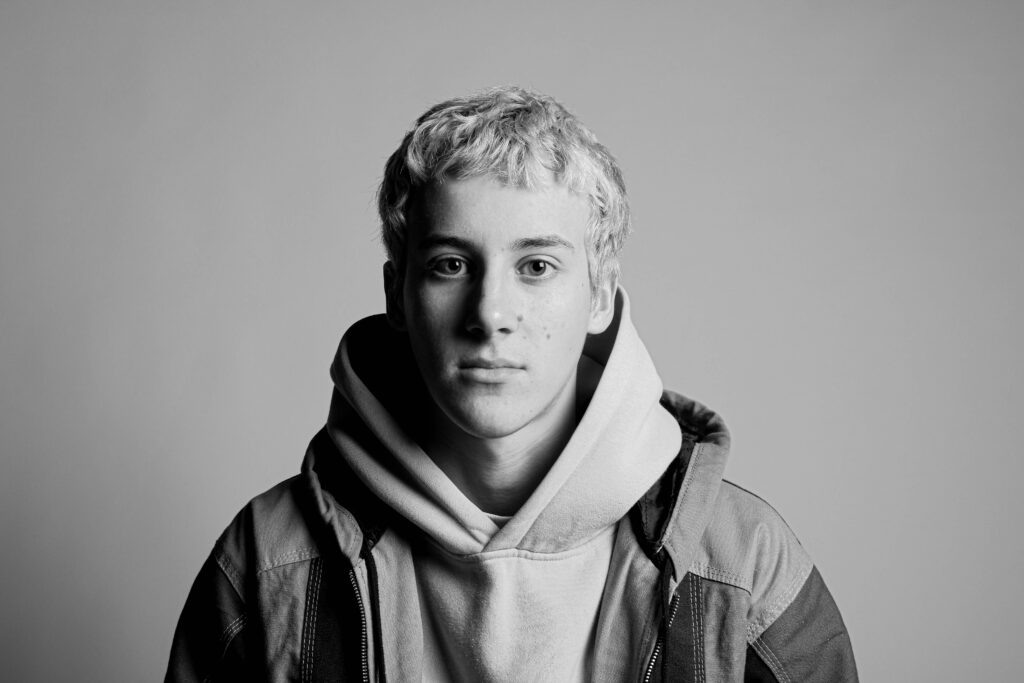
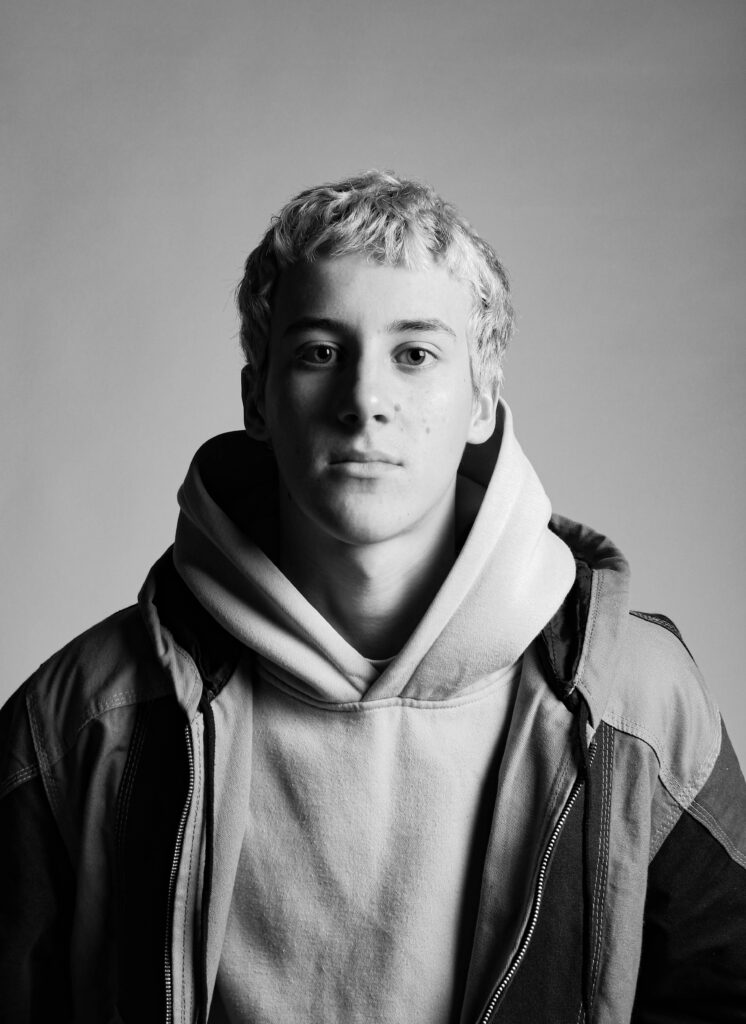
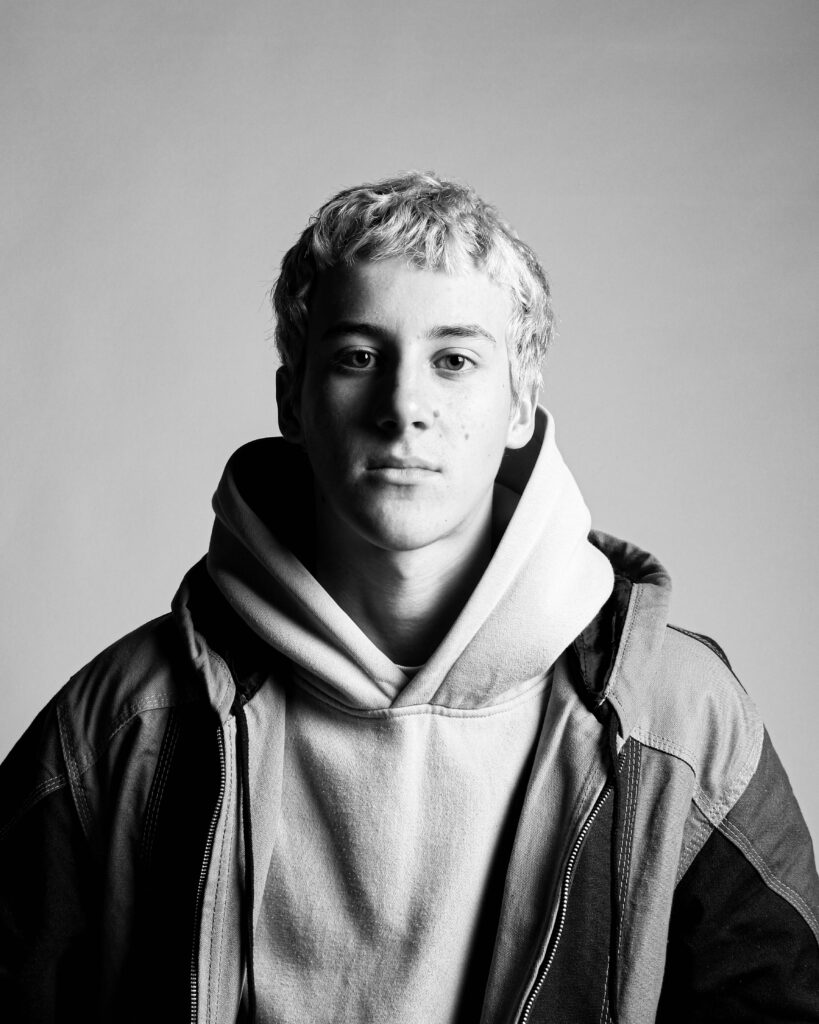
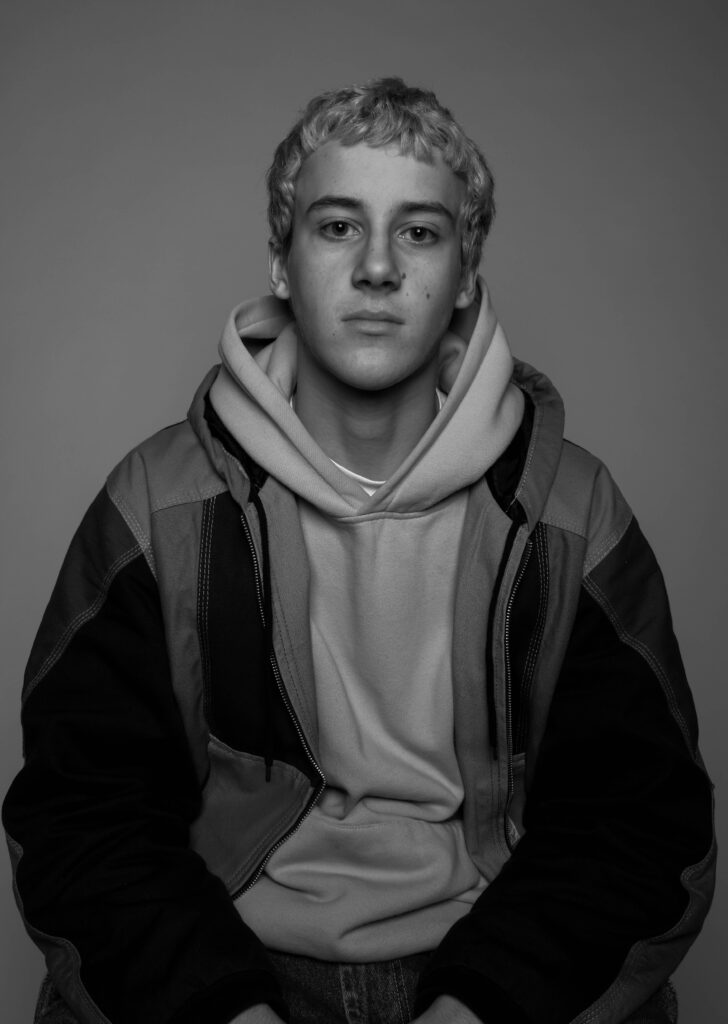
ISO 100, 32mm, F/10, 1/125sec
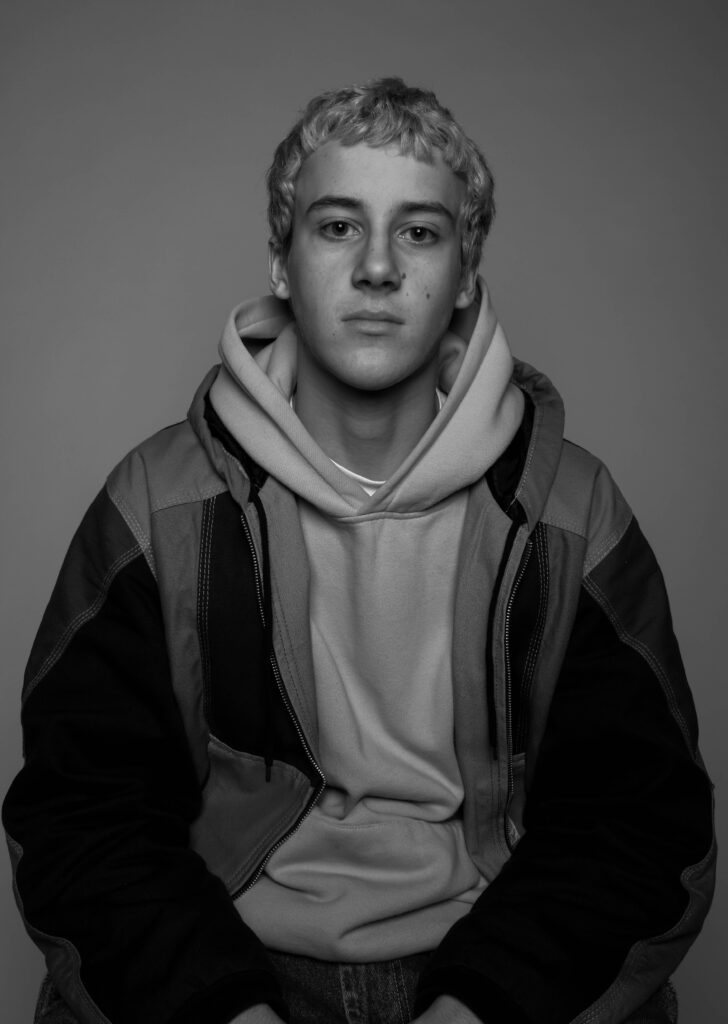
I decided to make these images monochrome as I thought it would make them more dramatic. I think this is one of the best images from the bunch as the triangle under the eye is very clear. Something I like about this image is the darkness from the hood of his jumper compared to the slightly over exposed side of his face.
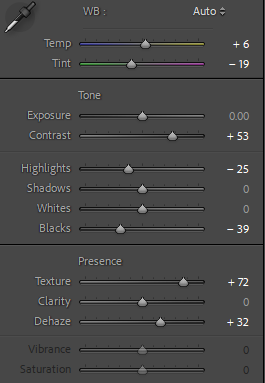
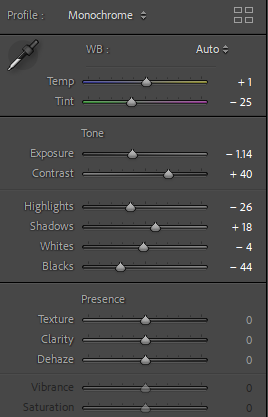
these are all the things on light room classic that I changed to edit this image.
Analysis of my image
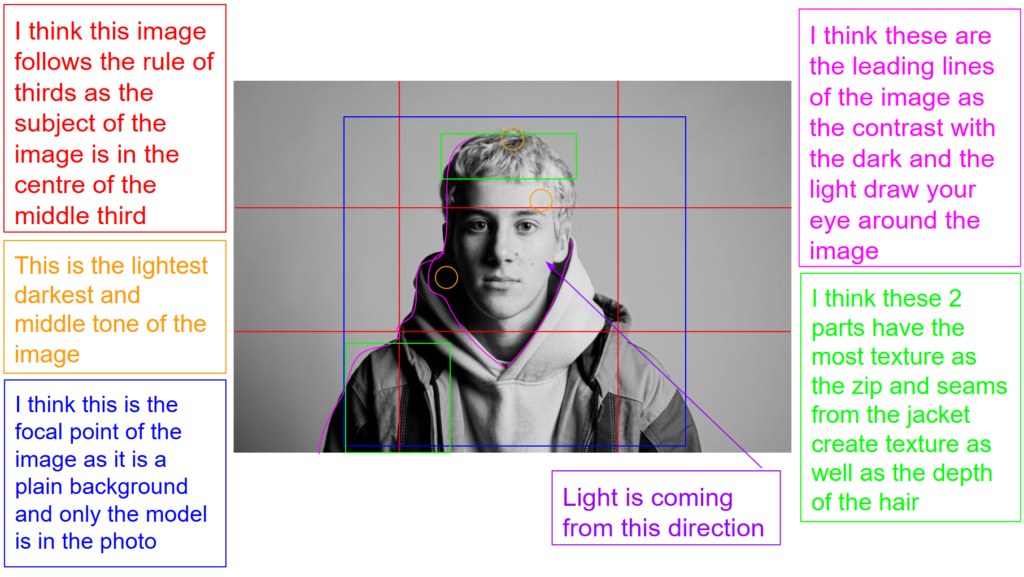
This is image is taken using a digital camera and the genre of this photography is portraiture.
The mise-en-scene presents the portrait photo of a boy sat on a chair. The tone of this image is fairly light, However you could also argue that the tone of the image can be a bit dark based on all the shadows on the left side of his face. The use of light in this image is very soft, cold artificial lighting as we were in the studio with specific lighting set up. The focus distance is short as it is a close up photo and the depth of field is large as everything is in focus. The leading lines of the images would be the darkness of his face and side of his jacket against the light background.
I believe the ISO is 100 as everything is in focus and not grainy. I believe that the shutter speed is 1000 as everything is clear.
Butterfly lighting
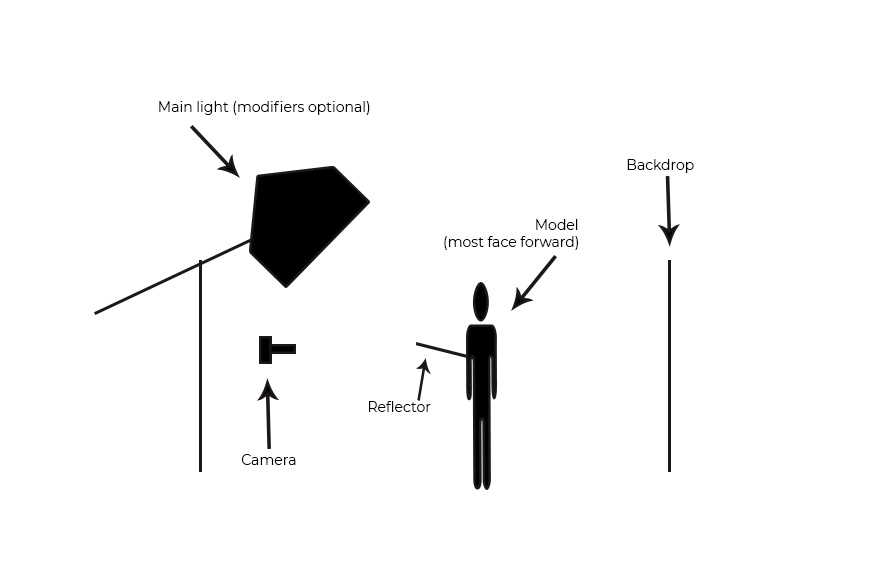
Butterfly lighting in used in a studio setting, and is when the main light is set up in front and above the model you are photographing. The name refers to the “butterfly”-shaped shadow seen under the nose, although in a lot of images the shadow is not strongly defined, it just depends on the strength and intensity of the light.
![]()
Example of a butterfly lighting with the “Butterfly” shadow defined.
Butterfly lighting tends to be a popular lighting set up due to the fact it is usually face slimming as shadows are created on both sides of the face which emphasizes the facial features such as the cheekbones and nose in a photogenic way.
Why use butterfly lighting?
Reasons to pick this lighting pattern are that it is versatile, is easy to set up, doesn’t require a lot of fancy equipment, and creates a natural look
Examples of butterfly lighting


George Hurrell
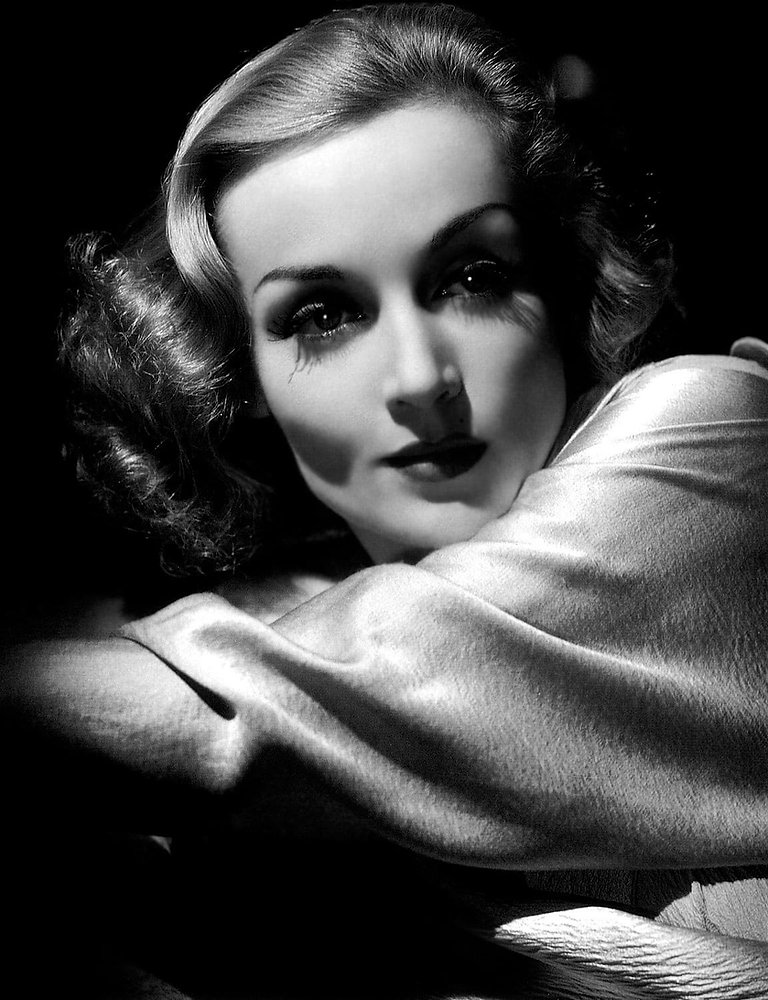
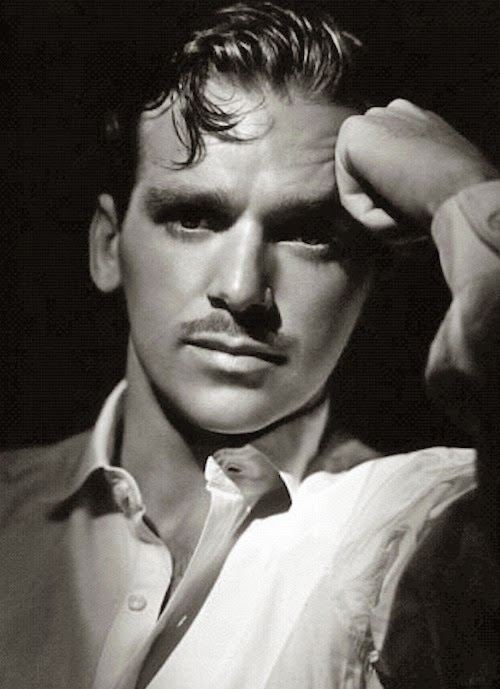
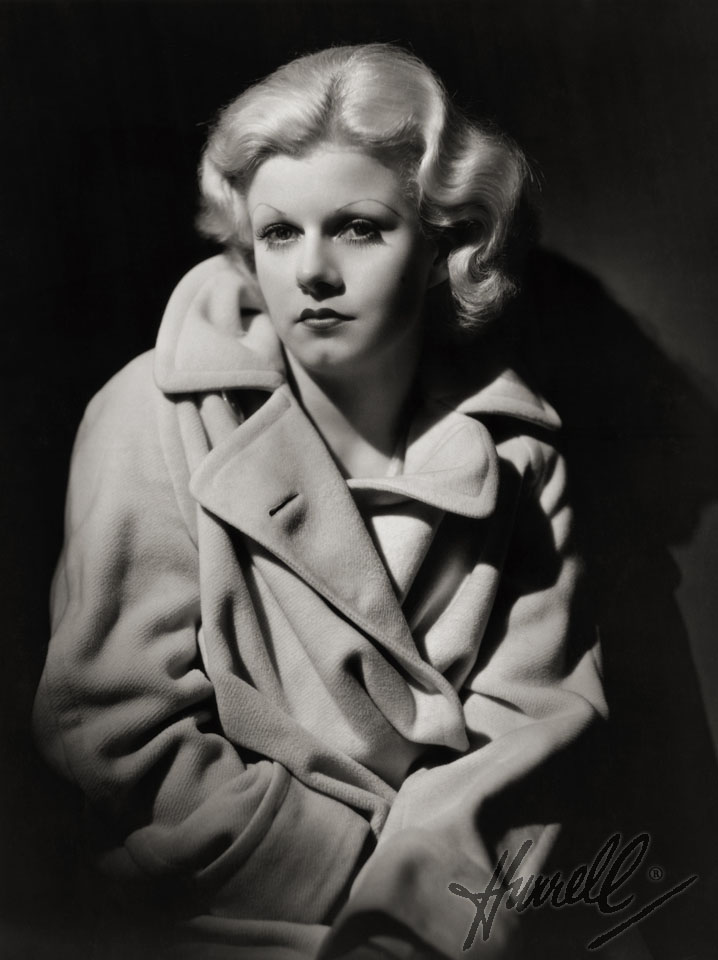
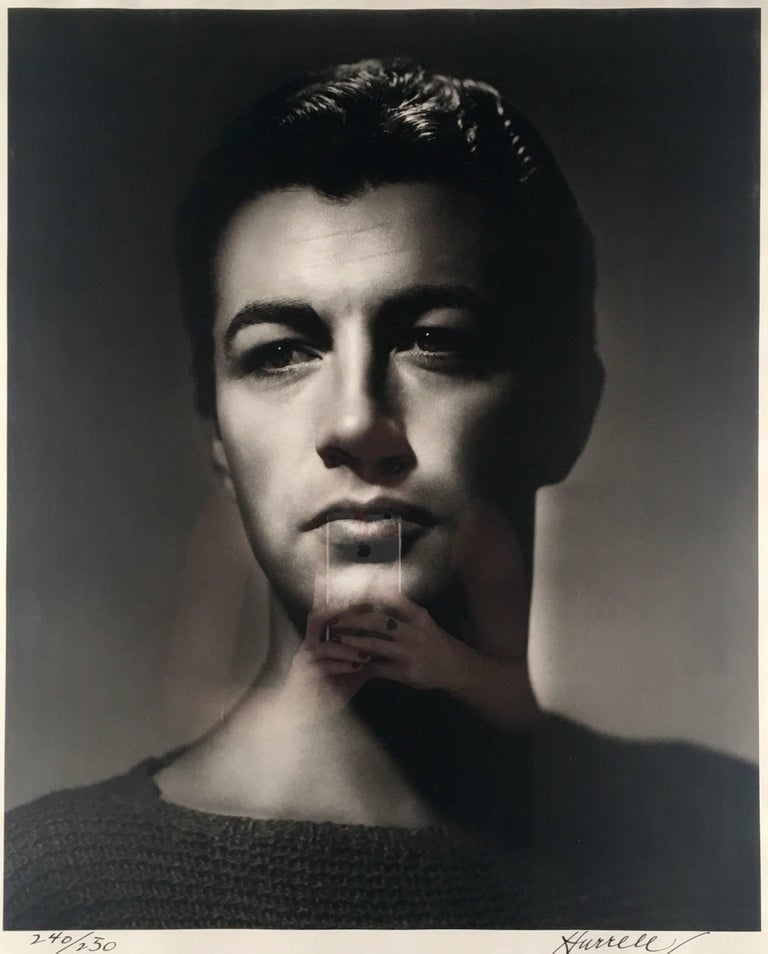

George Edward Hurrell was known for using butterfly lighting in his images in the glamour of Hollywood during the 1930s and 40s. He was born June 1st 1904 and began his life in Ohio.
In the late 1920s he was introduced to famous Hollywood actor Ramon Novarro for who he took a series of portraits. Actor Ramon Novarro was so impressed with Hurrell’s work he then went and told some of the other famous stars he was friends with about the amazing work, and this became the start of how Hurrell became the photographer for the stars, where eventually he opened a studio in LA.
Continuing in the late 1920’s after his career took off he signed a contract with MGM and he became the head of portrait photography department. However he then left MGM in 1932 due to differences with the head of publicity.
Hurrell analysis
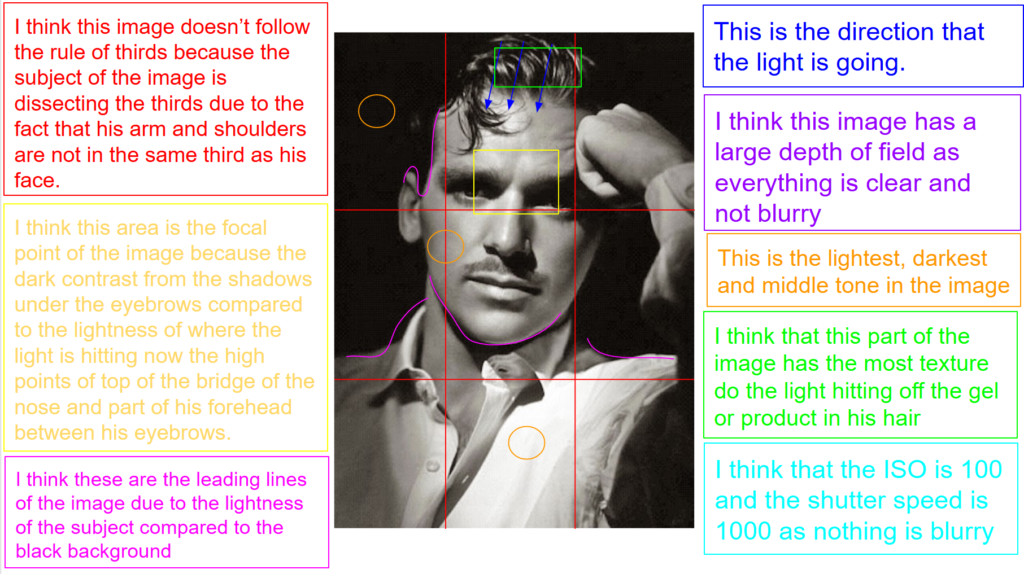
photoshoot
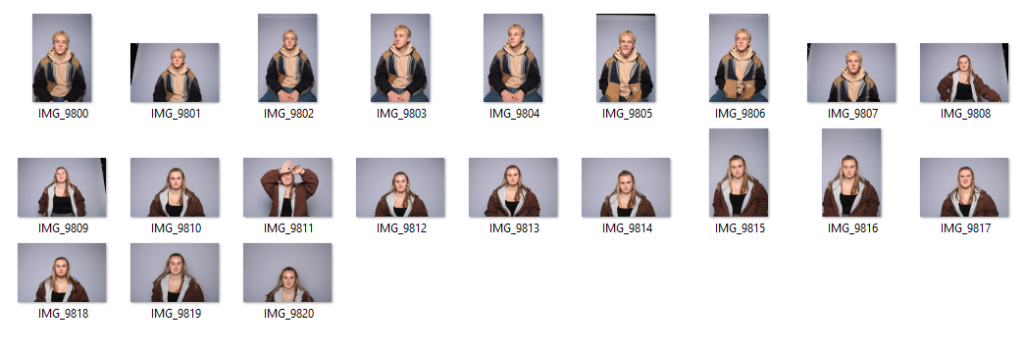
edited images
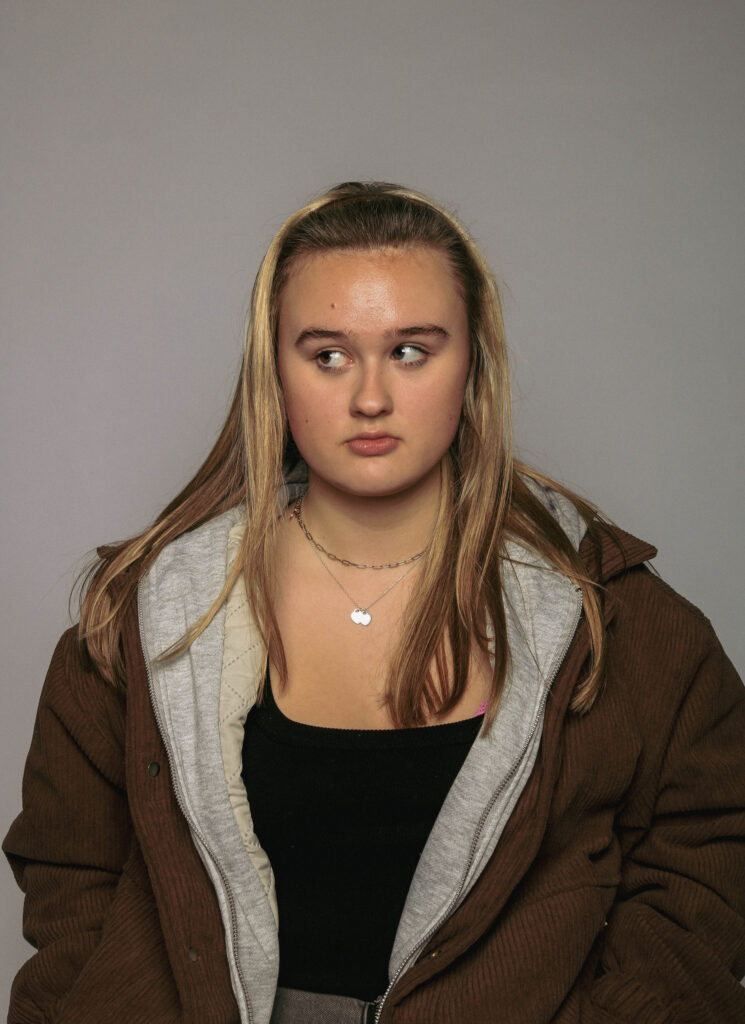
I think this image is a good example to butterfly lighting as you can see the butterfly shape under the nose and the shadows on the side of the face, and especially under the chin which shows the directional light from above.
To edit this image I decided it looked better monochrome, I tried to edit it to emphasize the shadows that were being created by the lighting Here’s everything I changed on light room classic to edit this image
photoshop experimentation
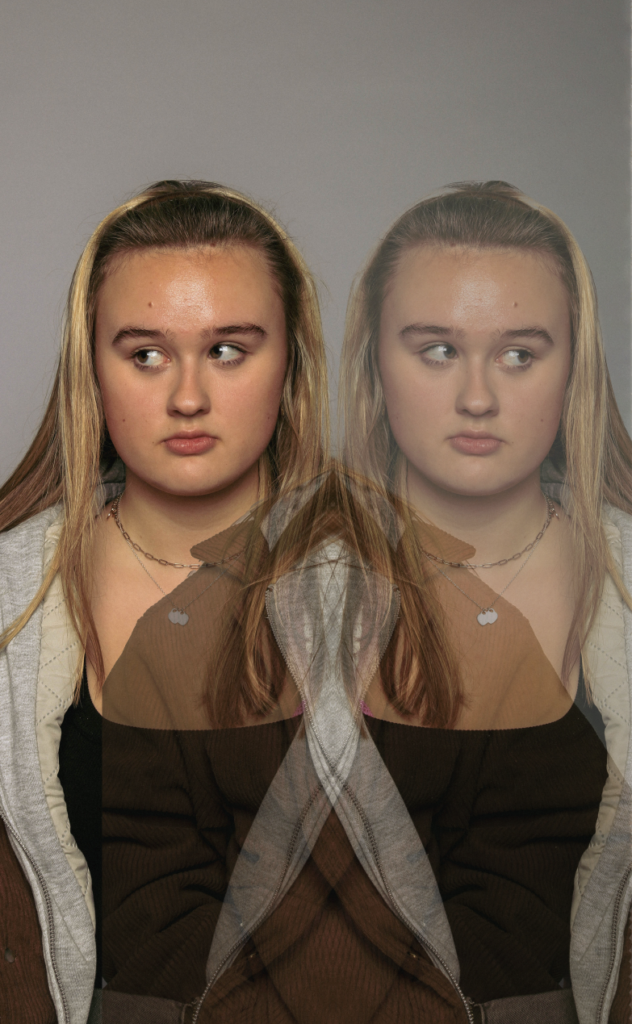
To create this image in photoshop firstly I selected the girl in the image and copy and pasted her and then clicked Ctrl T on my new layer with the copied girl and turned down the opacity and the interpolation tool to flip the image.

This is what I used to flip the image
Two-point lighting

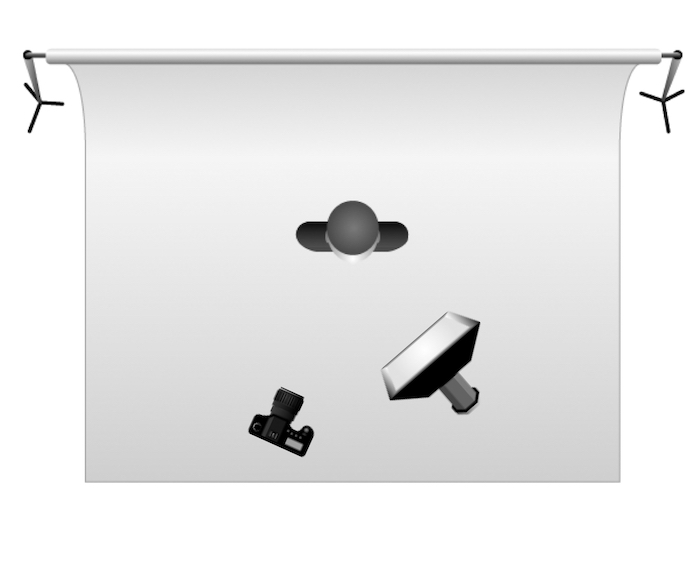
Two-point lighting is when two different light sources are used to illuminate the model. They’re often at an angle from the model and either side of the camera.
Two-point lighting enhances the visual appeal of interviews by using two light sources that create depth and dimension on the models face. Using two lights allows the photographer to have more flexibility and creativity compared to one light.
There is many different lighting techniques you can do with two-point lighting such as soft side lighting and fill which looks like this
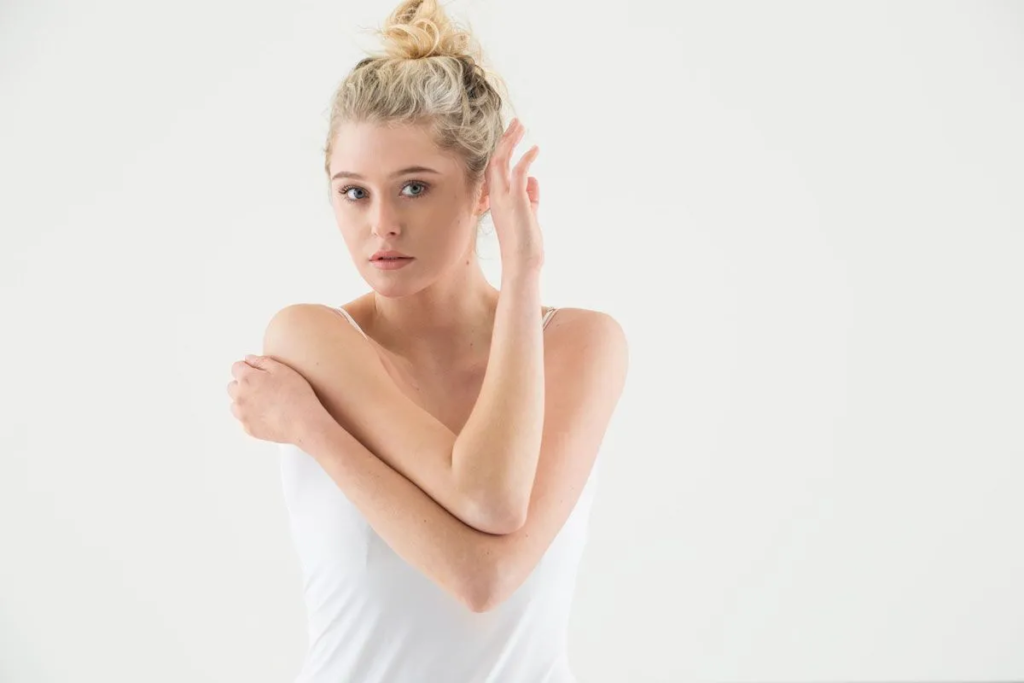
Example of soft side lighting and fill – using 2-point lighting
For this you will need two lights with reflectors positioned either side of the model, the light reflects off the walls of the studio creating softer light.

soft side lighting and fill lighting set up.
Another type of 2 point lighting you can use is the deep umbrella technique which looks a little something like this:
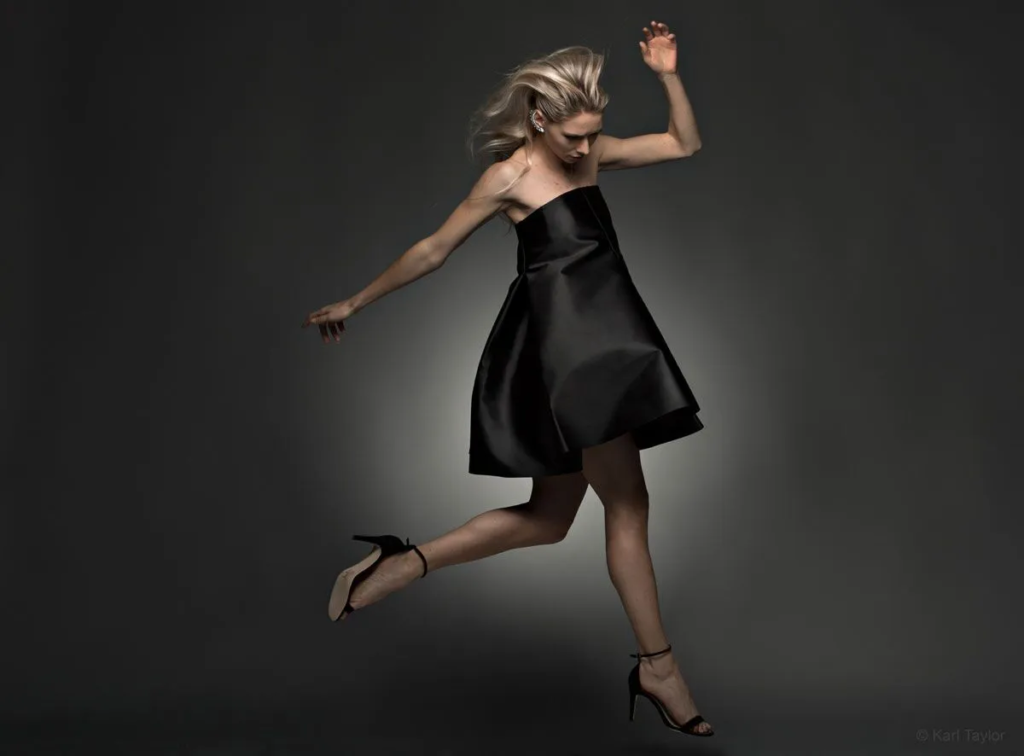
To create this lighting you need two lights with the key light being a focus umbrella, which produces a very versatile like used especially in beauty work and fashion photography.

Example of deep umbrella lighting set up
examples of 2 point lighting
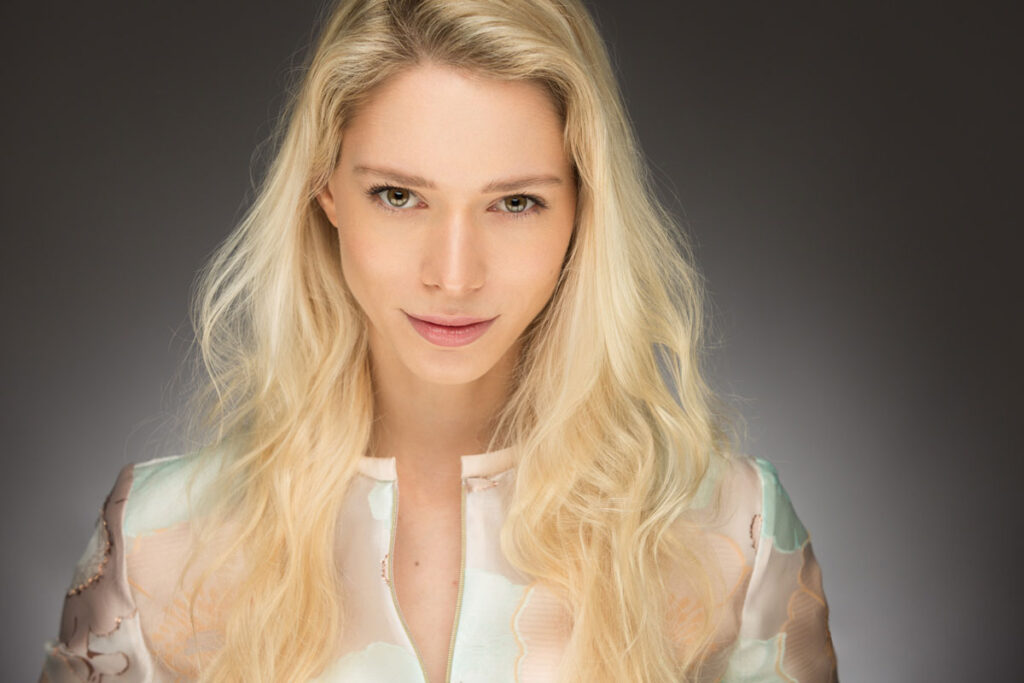
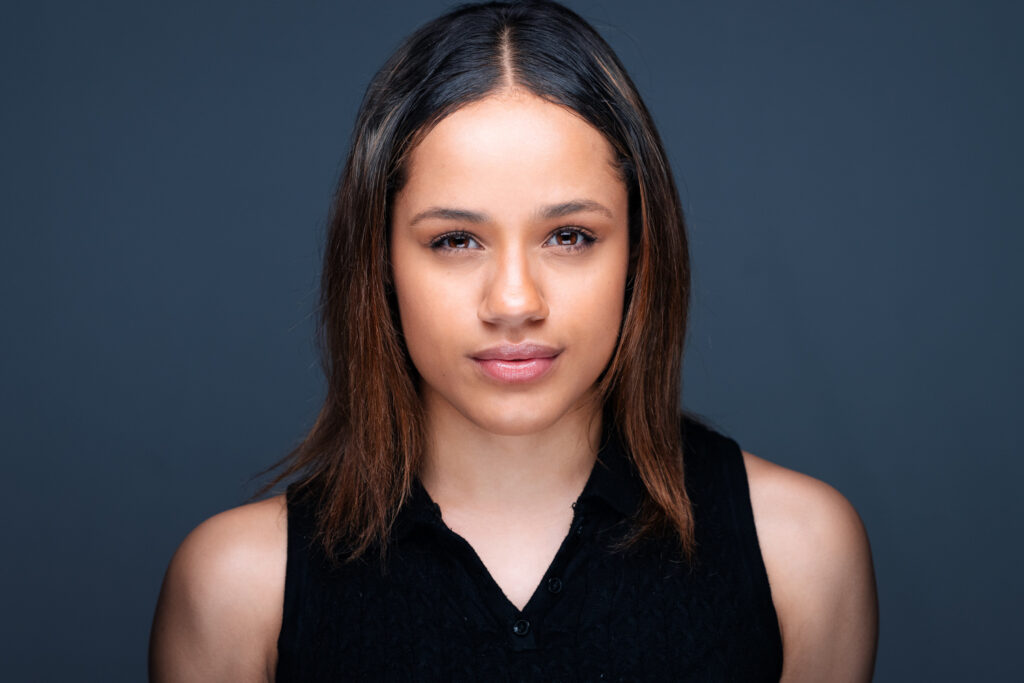

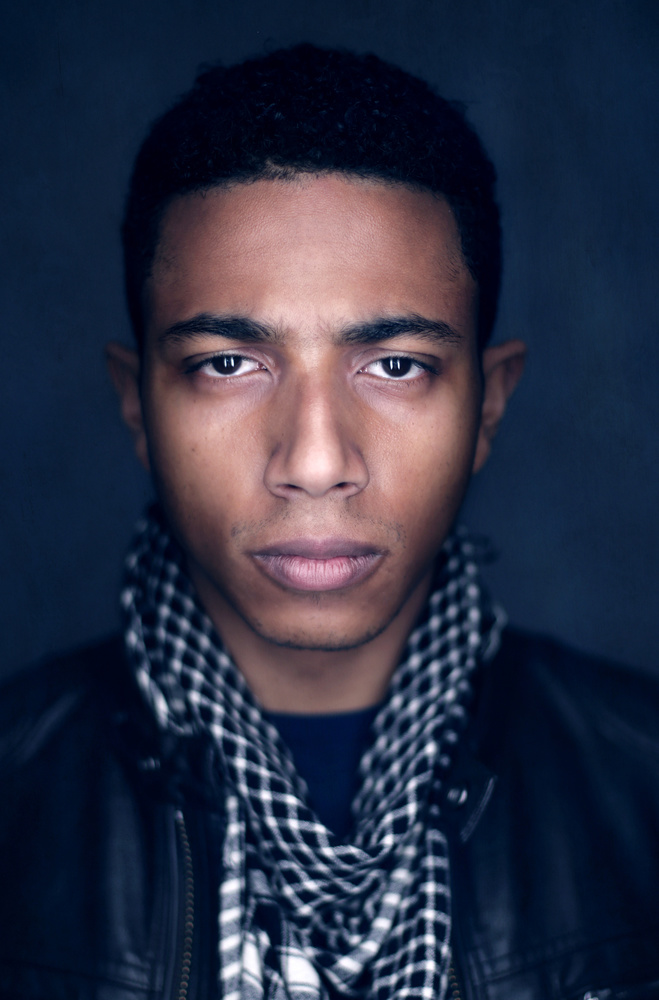
Images from google
These are good examples of basic two-point lighting, as the model is looking straight through the camera and you can see that most if not all of the face is illuminated, with just a few shadows on the side of their face.
Annie Leibovitz
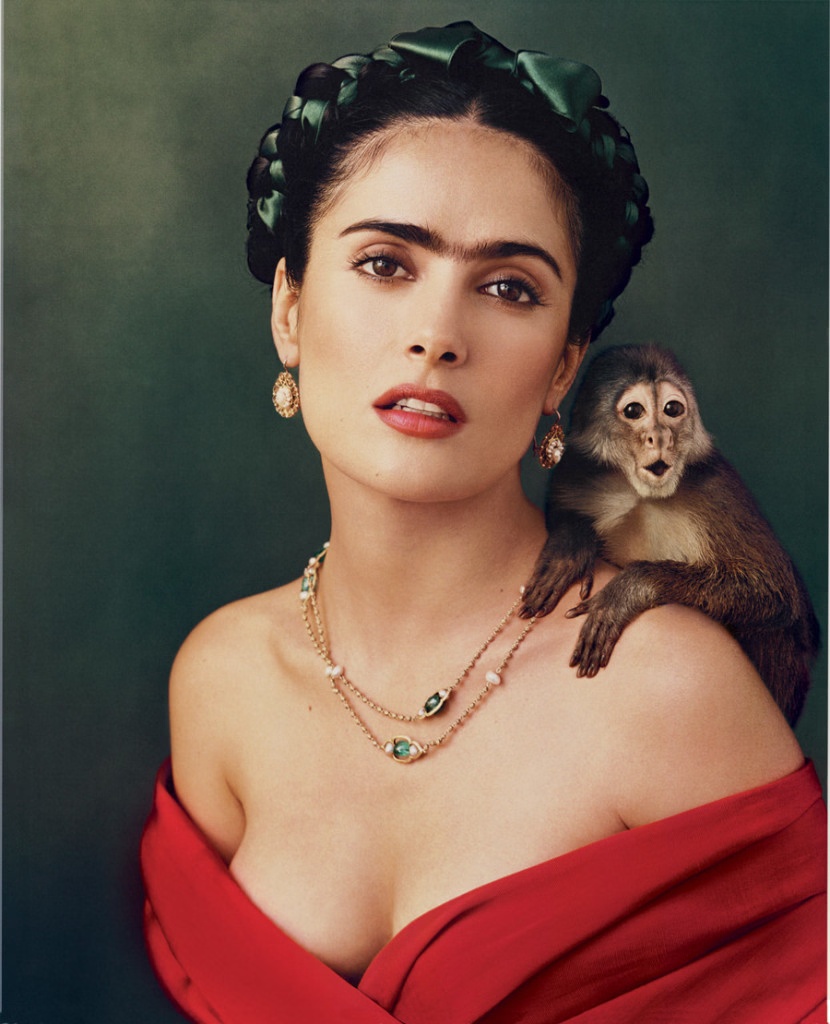
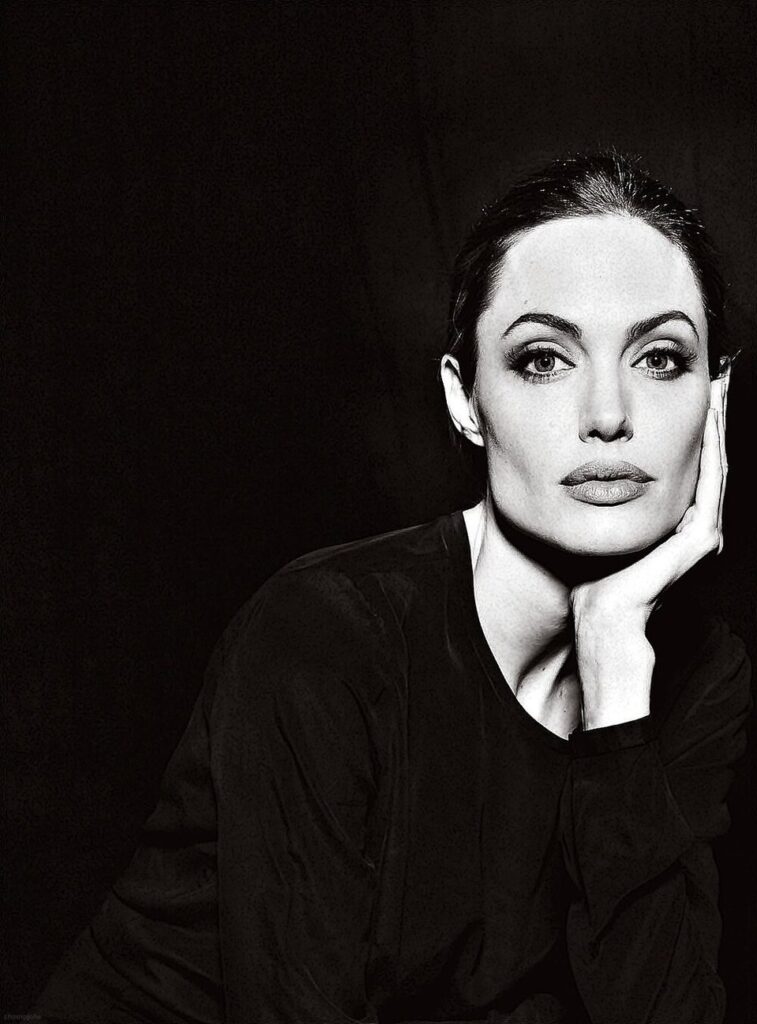
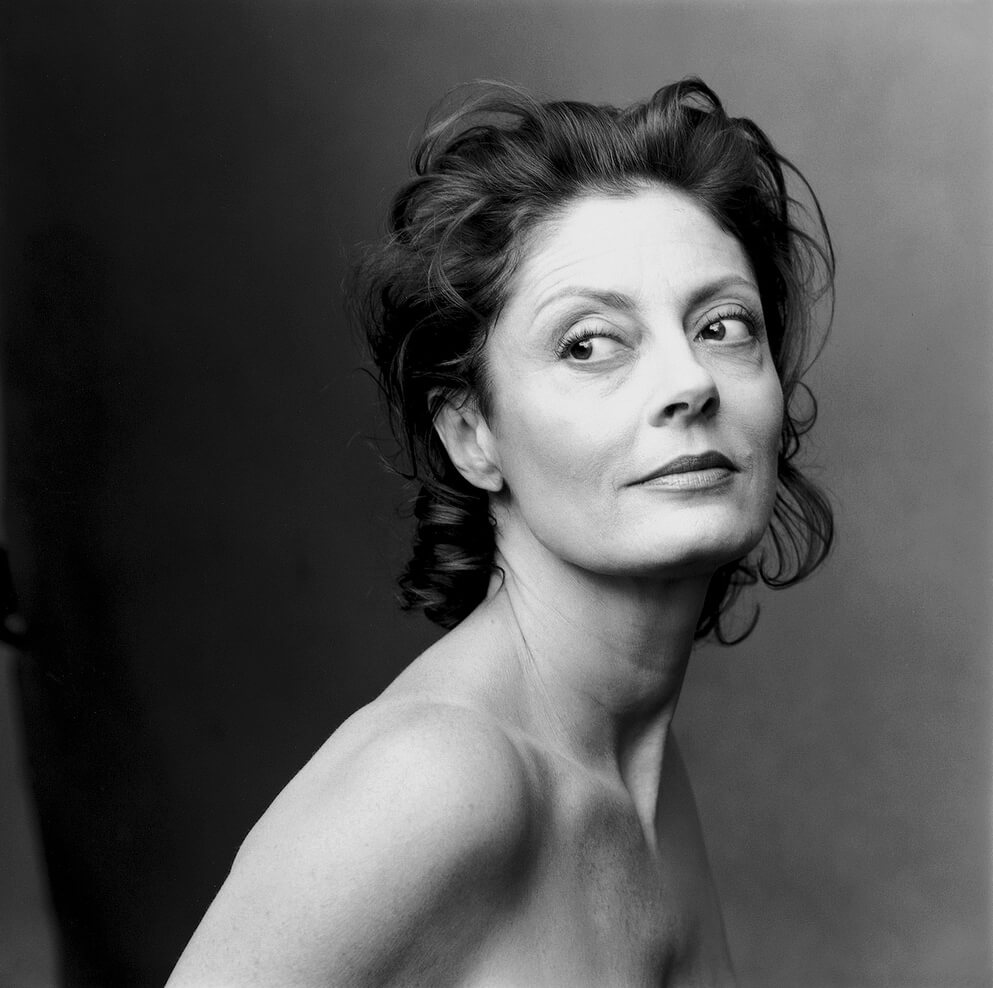
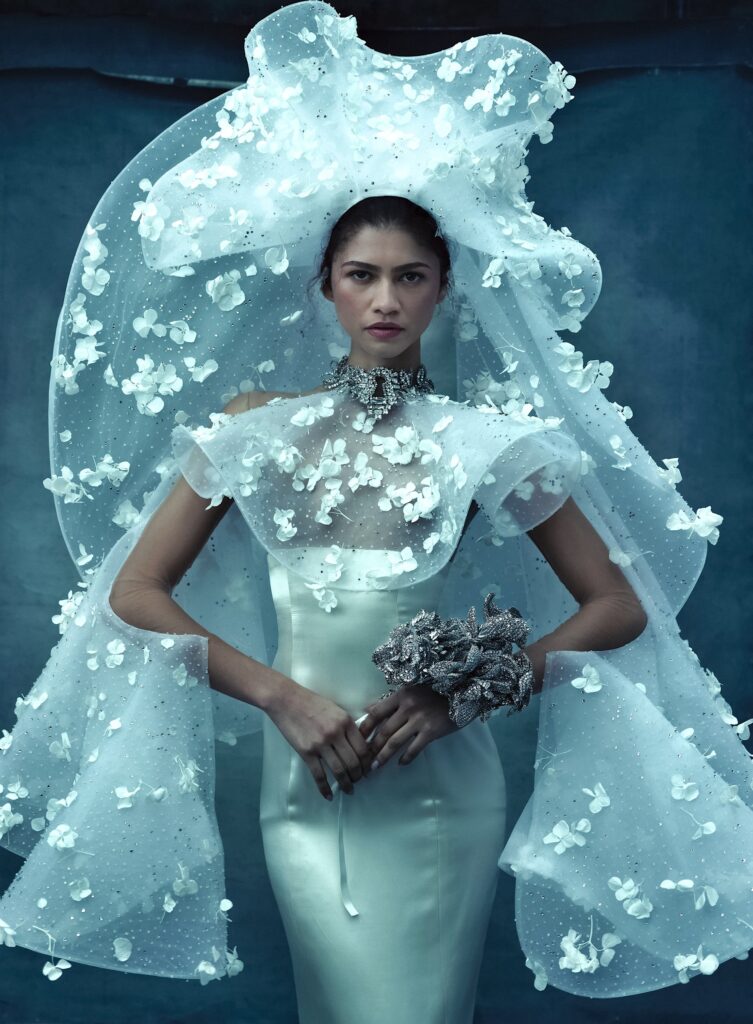
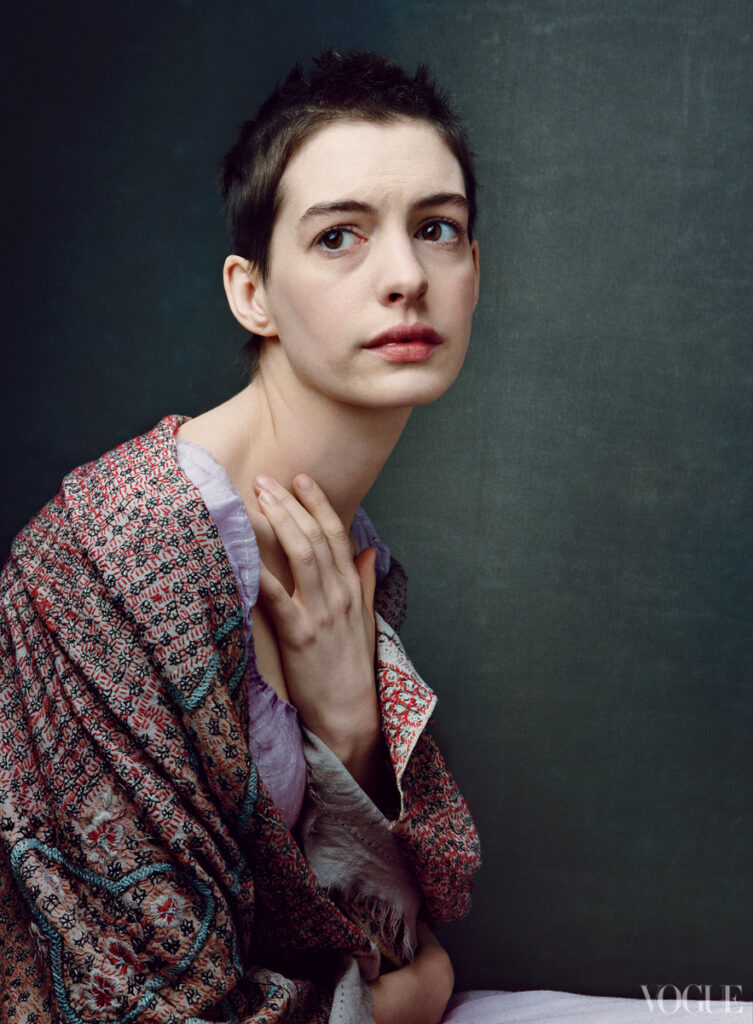
Images by Annie Leibovitz
Annie Leibovitz is an American portrait photographer, best known for her portraits of celebrity’s. And she is the first women to have her images featured in the Washington National portrait gallery. In 1980 – 2000 Annie Leibovitz tried a new way of lighting her portraits and use of bold colours got her a position with Vanity Fair Magazine in 1983, whereas in 1998 Leibovitz started regularly working for Vogue.
Leibovitz started out her career as a photographer for the Rolling Stone magazine polaroid image of John Lennon that was taken only 5 hours before he was killed is now considered one of Rolling stone’s magazine’s most famous covers.
Lebovitz Analysis
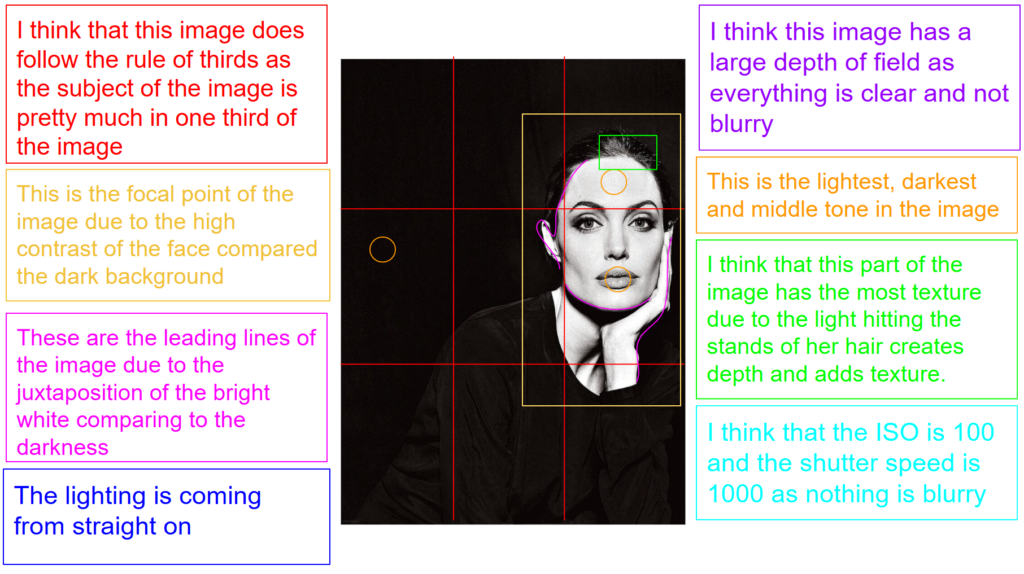
photoshoot + coloured gels
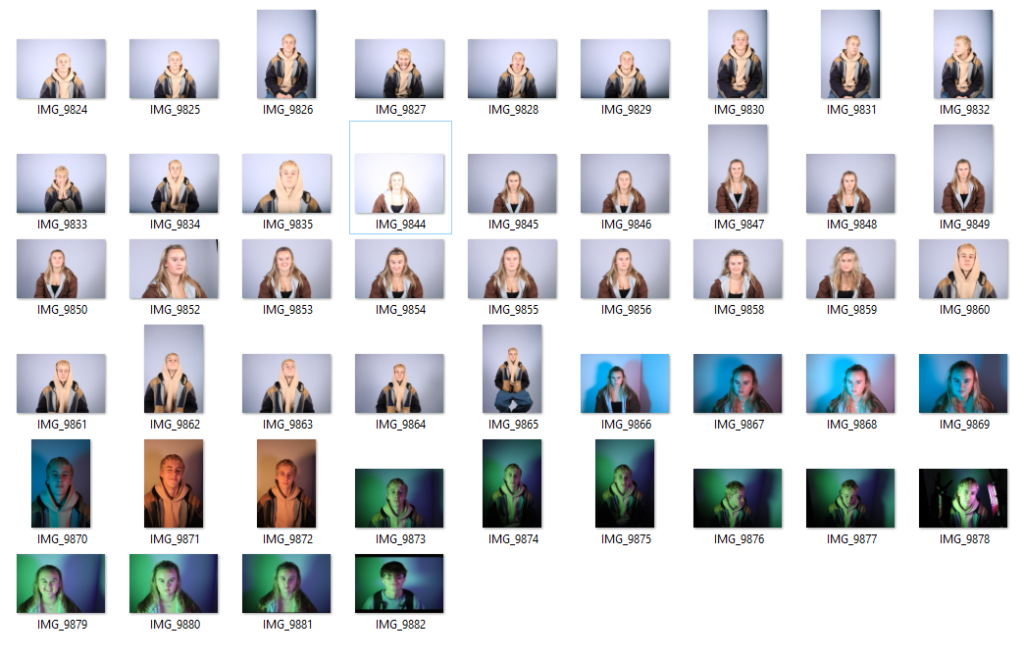
edited images 2 point lighting
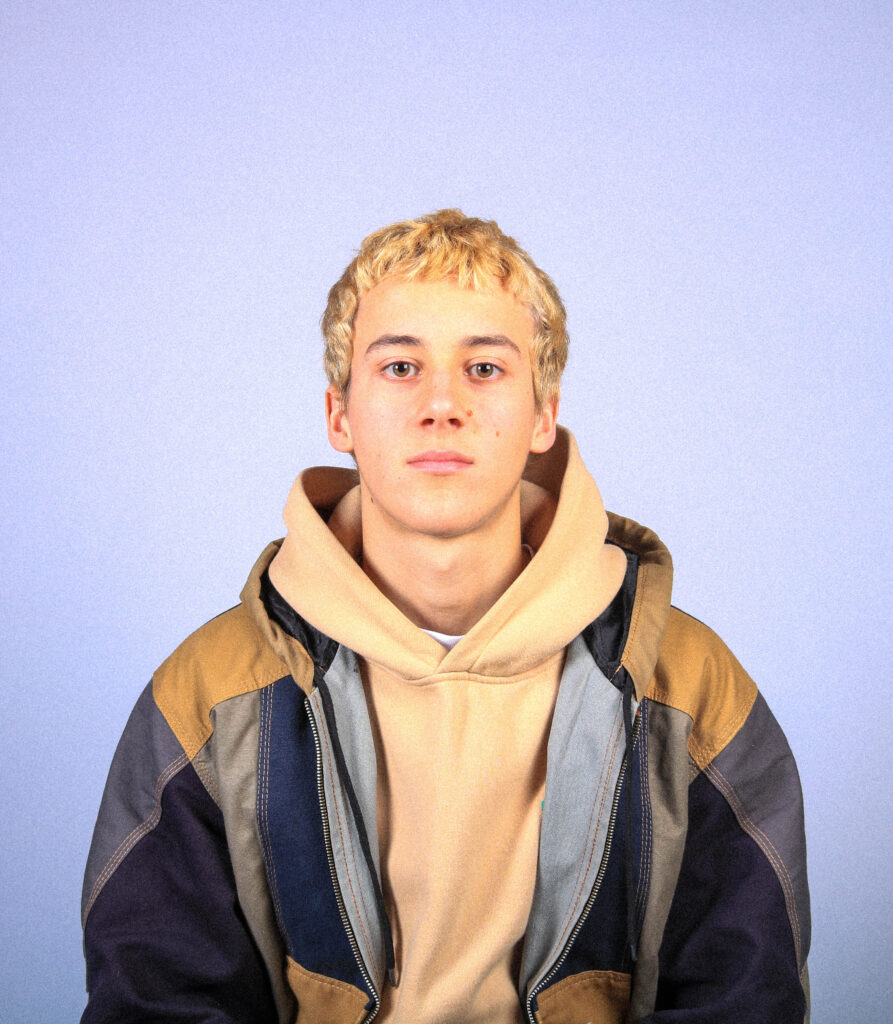
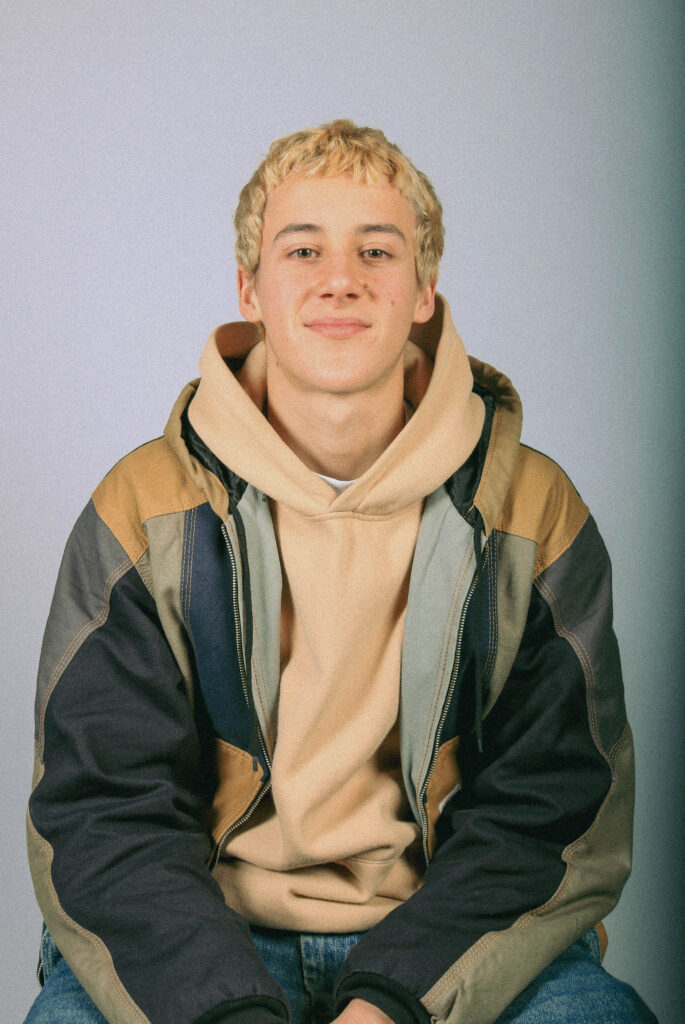
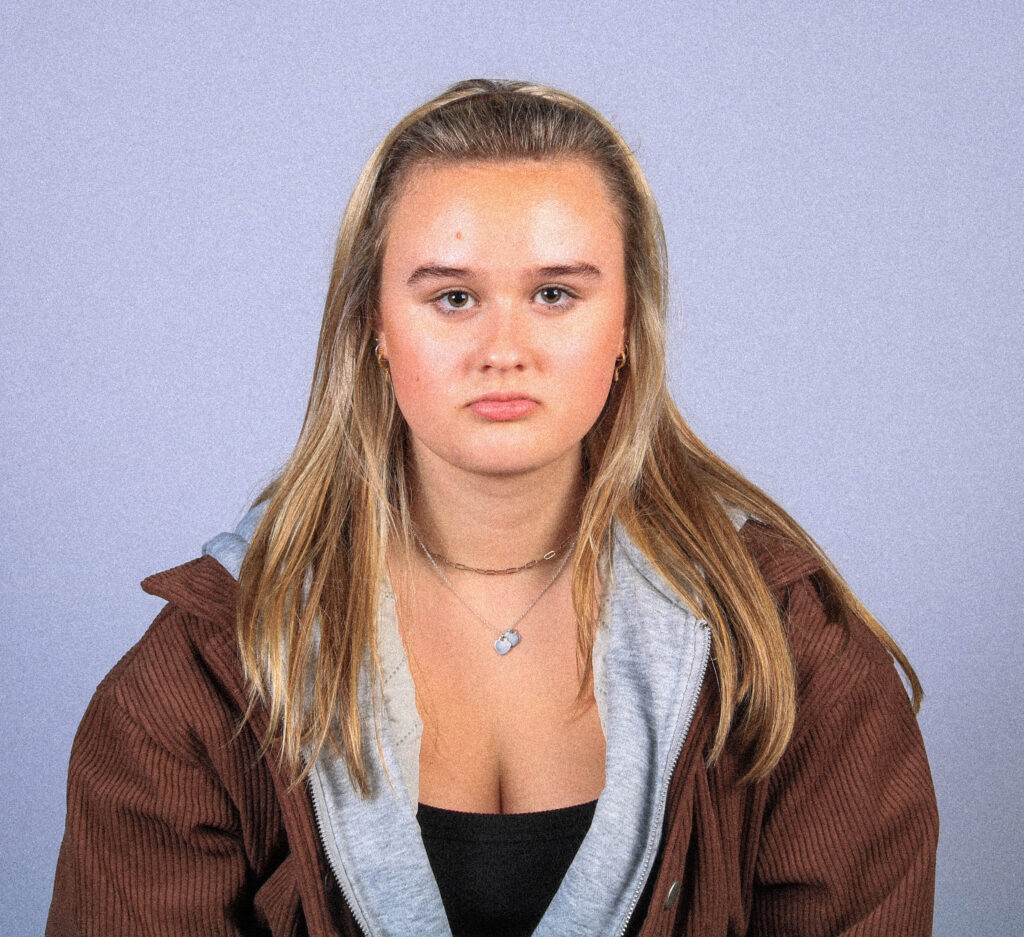
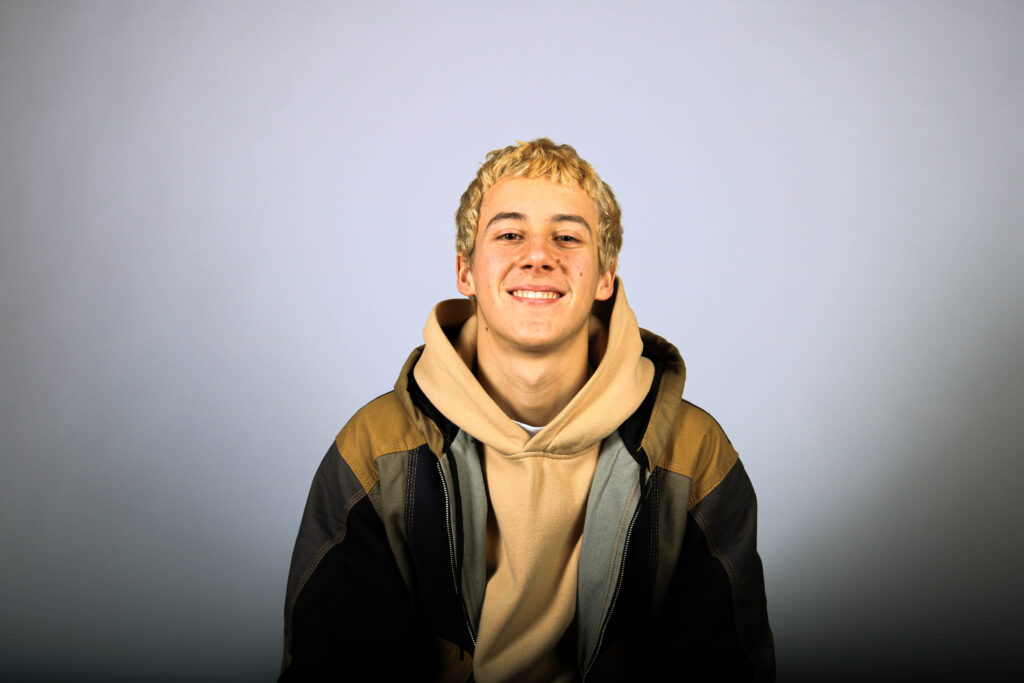
ISO 100, 27mm, f/10, 1/250sec
To edit this image I changed things such as the temperature and the tint of the image as I wanted it to have a slightly more of warmer temperature and green sort of tint, Something I think I could have done a bit better whilst editing this image perhaps crop it a bit as there is rather a lot of blank space of the background.

Here is the image cropped:
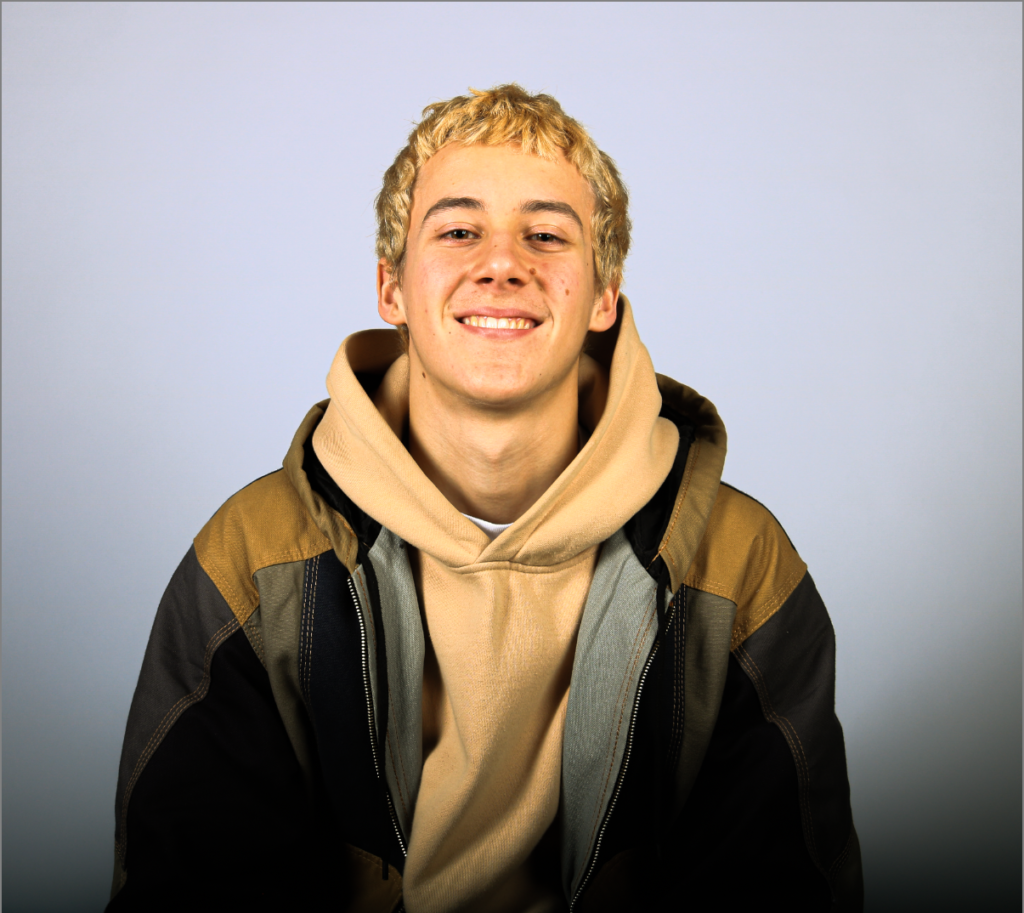
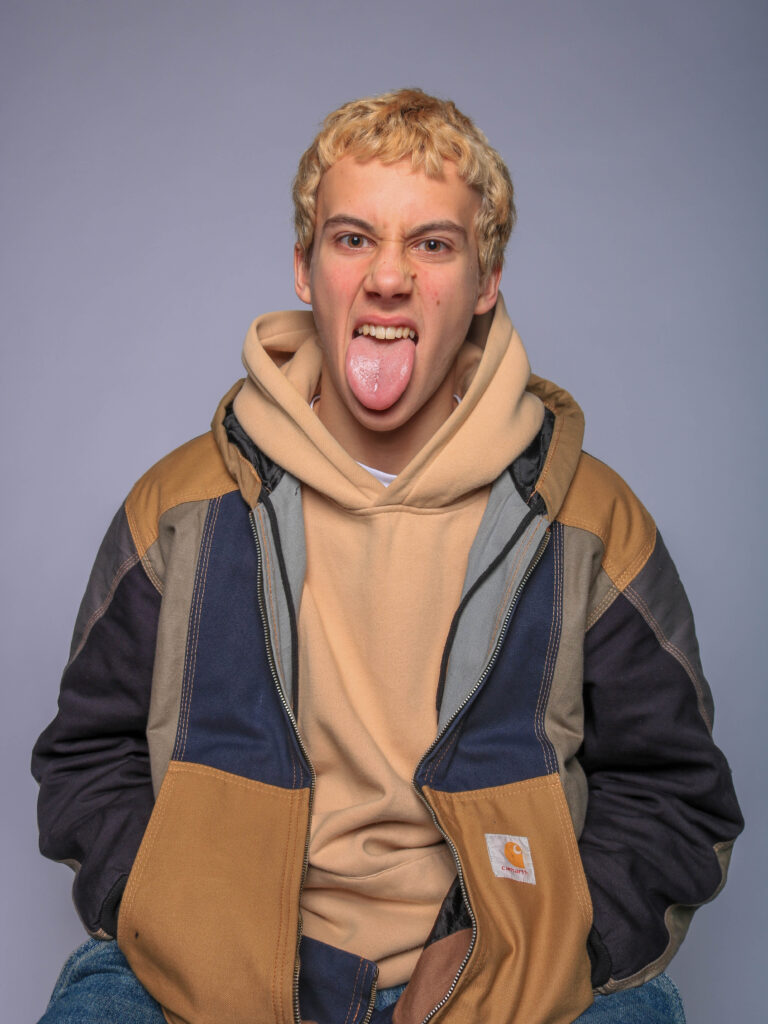
Overall, I think this photoshoot was fairly successful, as many of the photos displayed two-point lighting well as you can clearly see hat both sides of the face are illuminated, However I would enjoy experimenting with the other types of two-point lighting that I said in the above.
edited images coloured gels
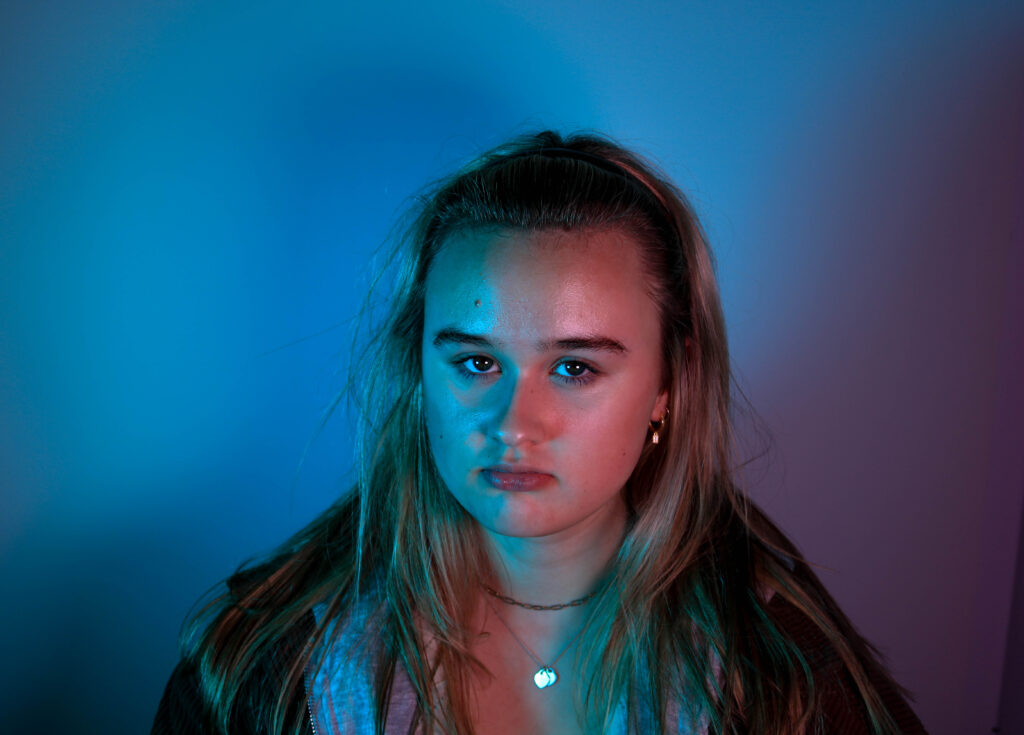
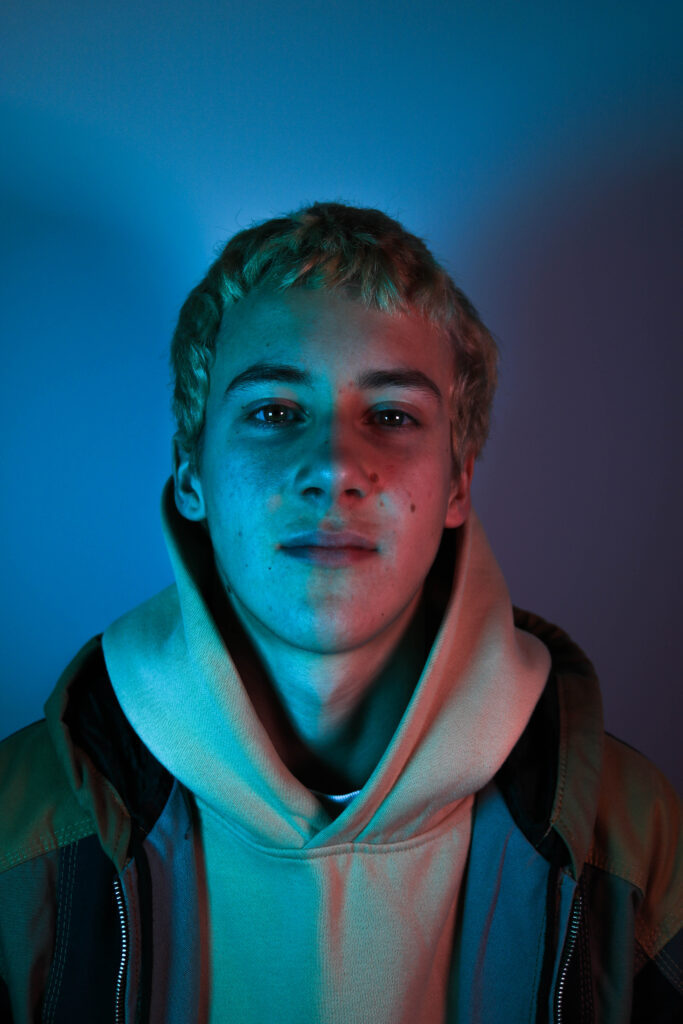
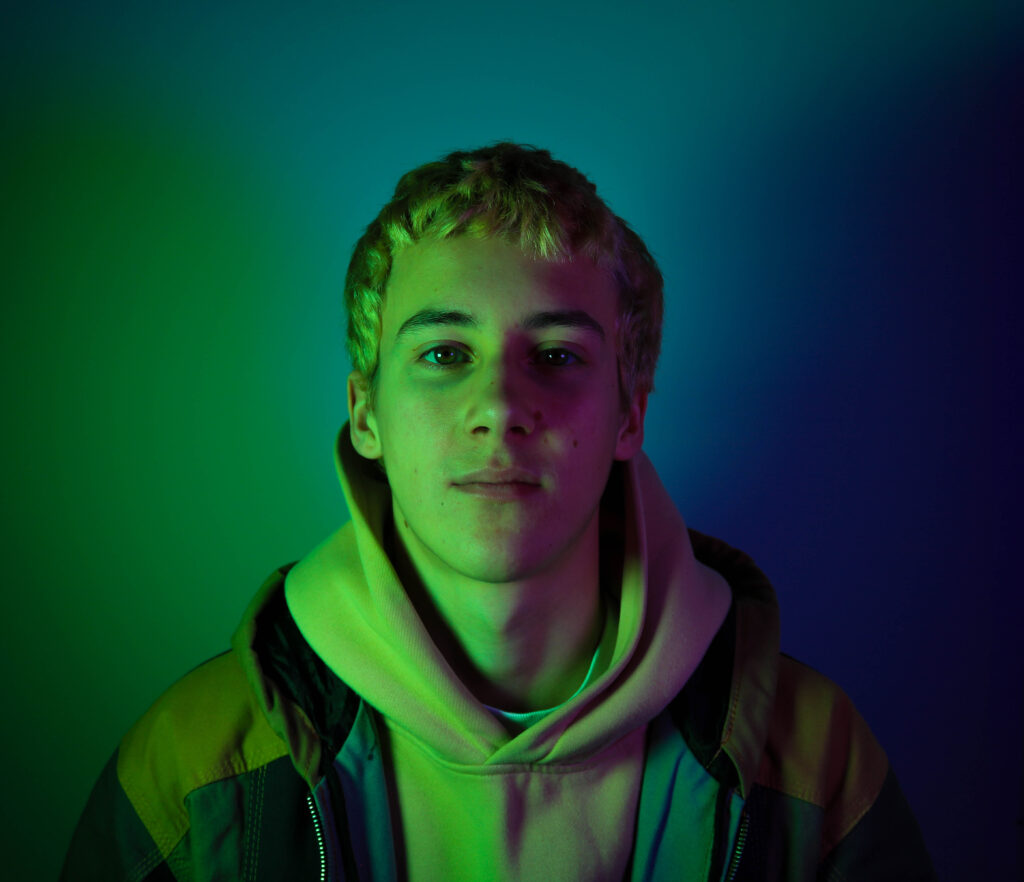
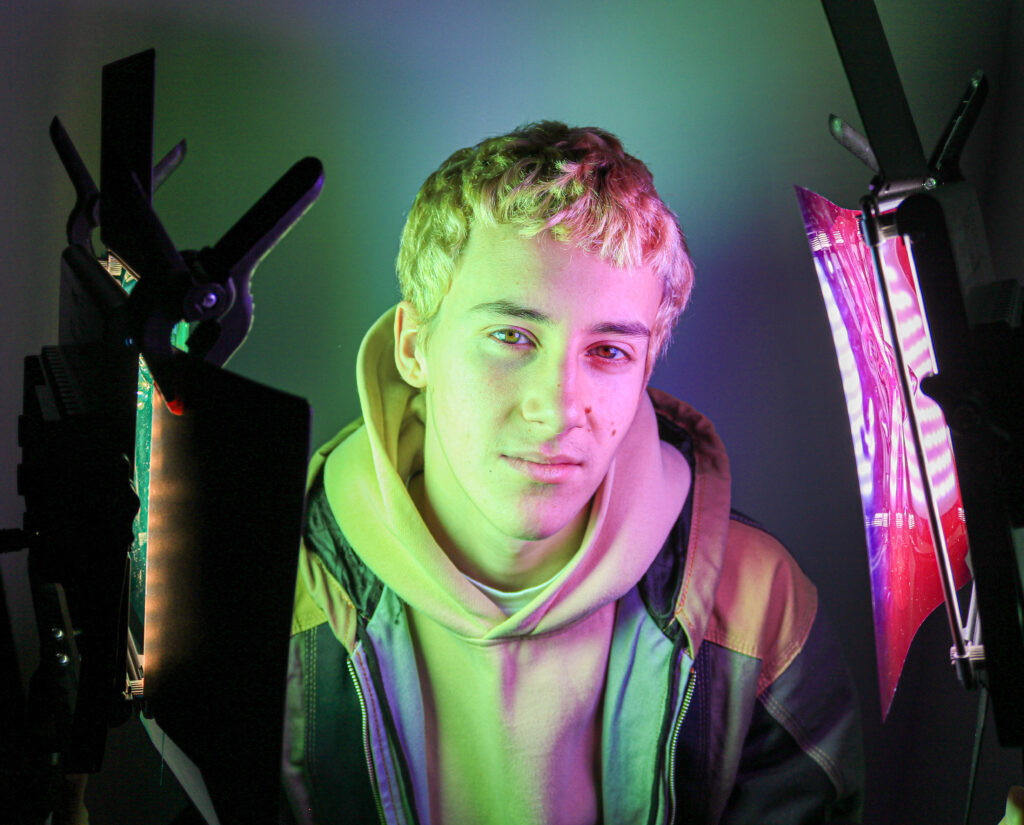
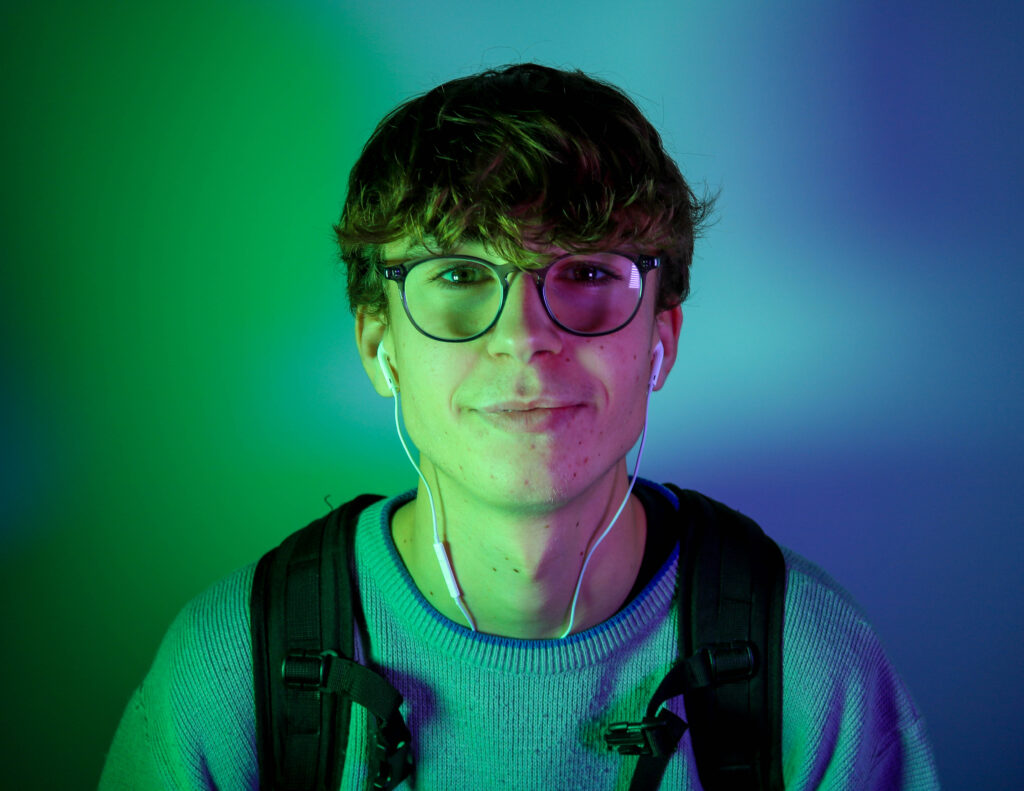
Personally, I really enjoyed using the coloured gels in the photoshoot as it a simple was to introduce a pop of colour into a what could be called “traditional portrait” A reason I particularly like them is that I really enjoy ‘traditional’ photographer however I do love involving colour where I can and this was a good blend of the two for me. I would love to do this again.
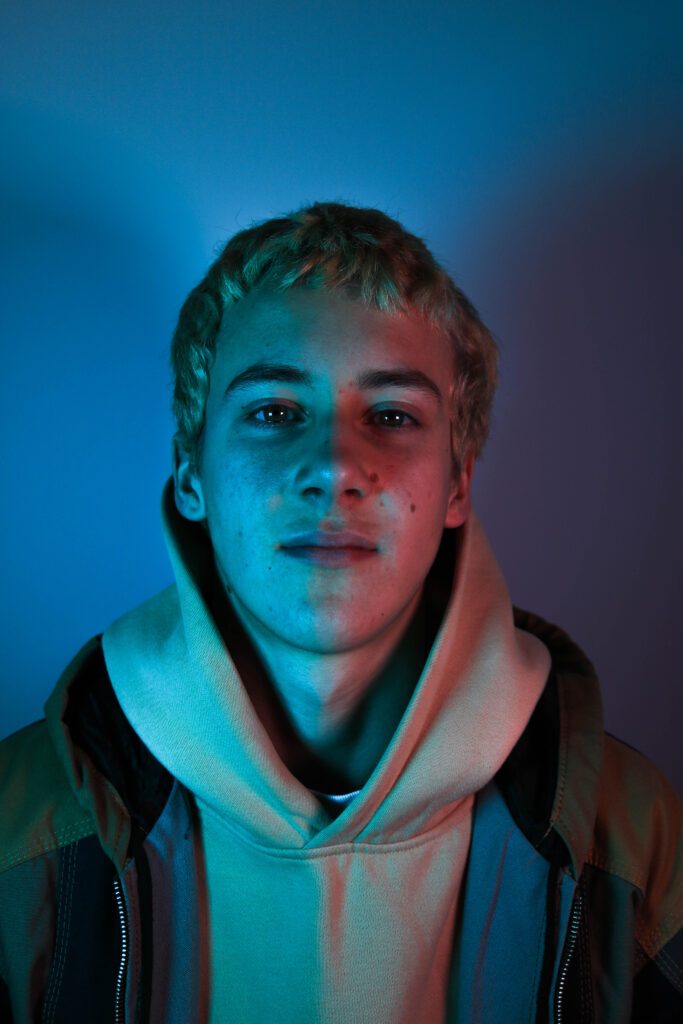
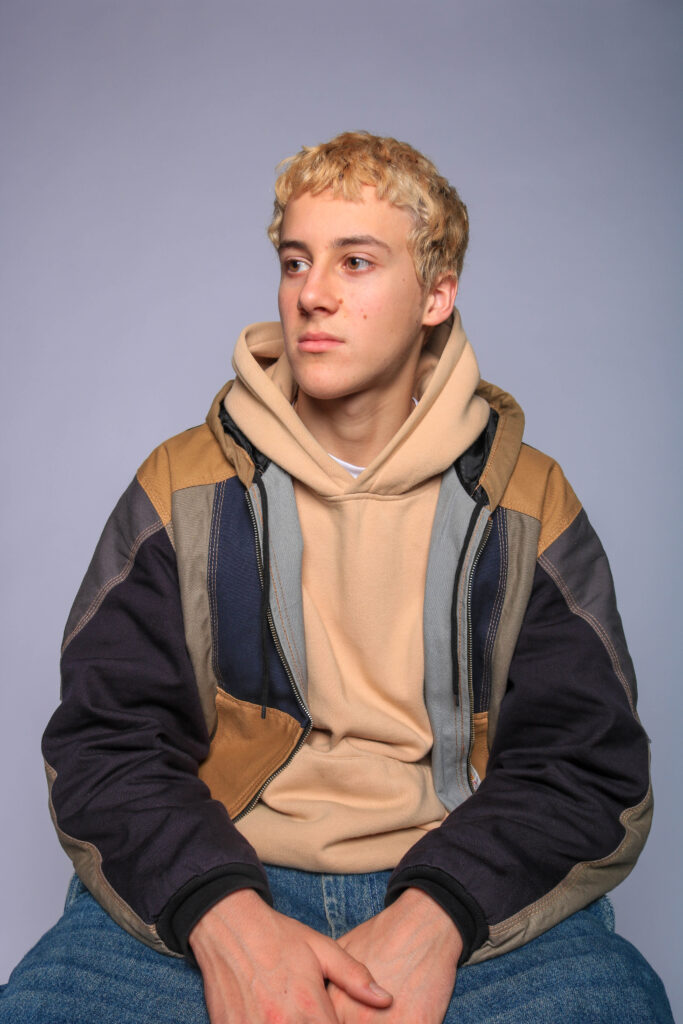
This image is one of my favourites from the shoot as the colours from the lights split almost perfectly down the middle of his face. As well as I think the blue light really compliments the tone of his face.
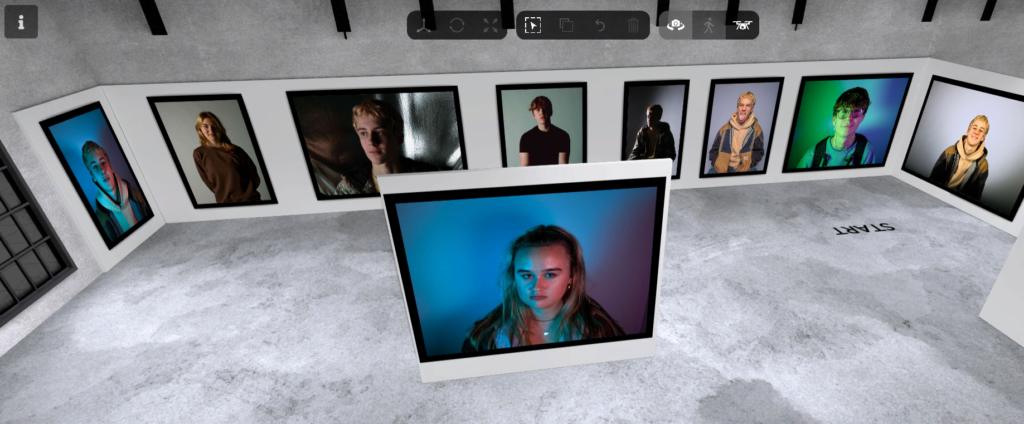
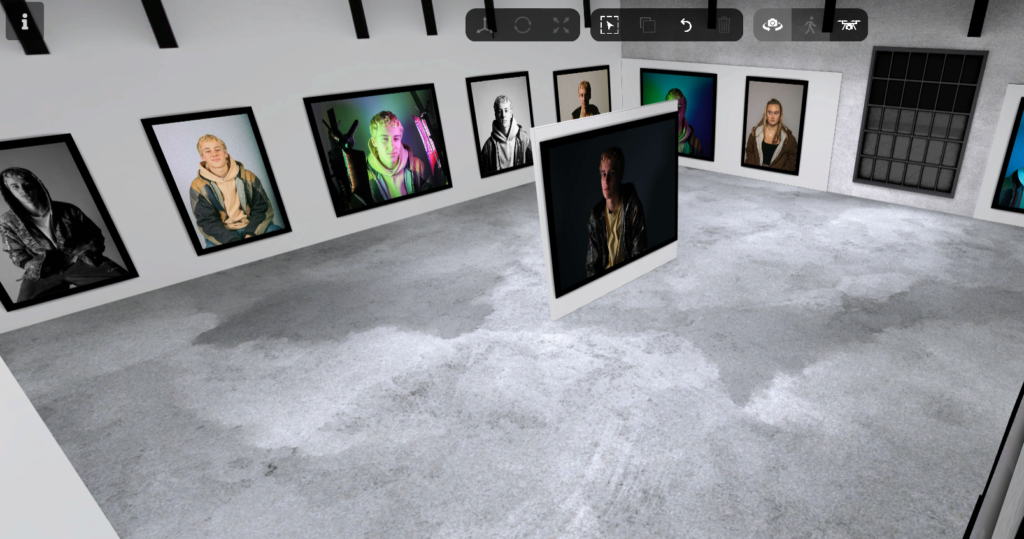
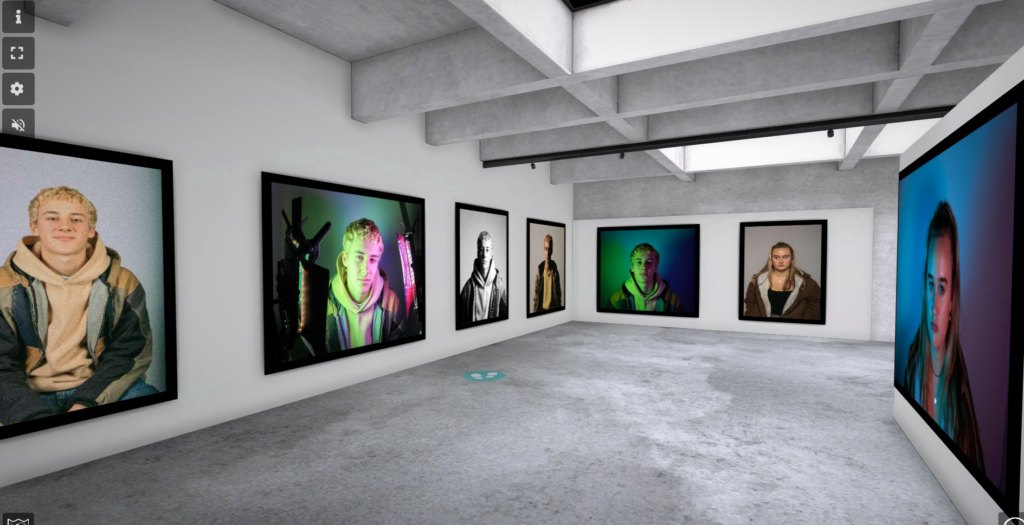
Virtual Gallery
